Learn Scala Environment Setup | How to Install Scala
Scala course with real-time projects Start Now!!
This article on Scala Environment Setup will guide you through setting up Scala for your system. Along with this, we will learn how to install Scala Programming. If you still haven’t begun with the language, now’s your chance.
So, let’s start “How to Install Scala”.
Scala Environment Setup
We know that Scala runs on the JVM. So for Scala Environment Setup, you’ll need to have Java installed on your machine. To check, open the command prompt and type the following:
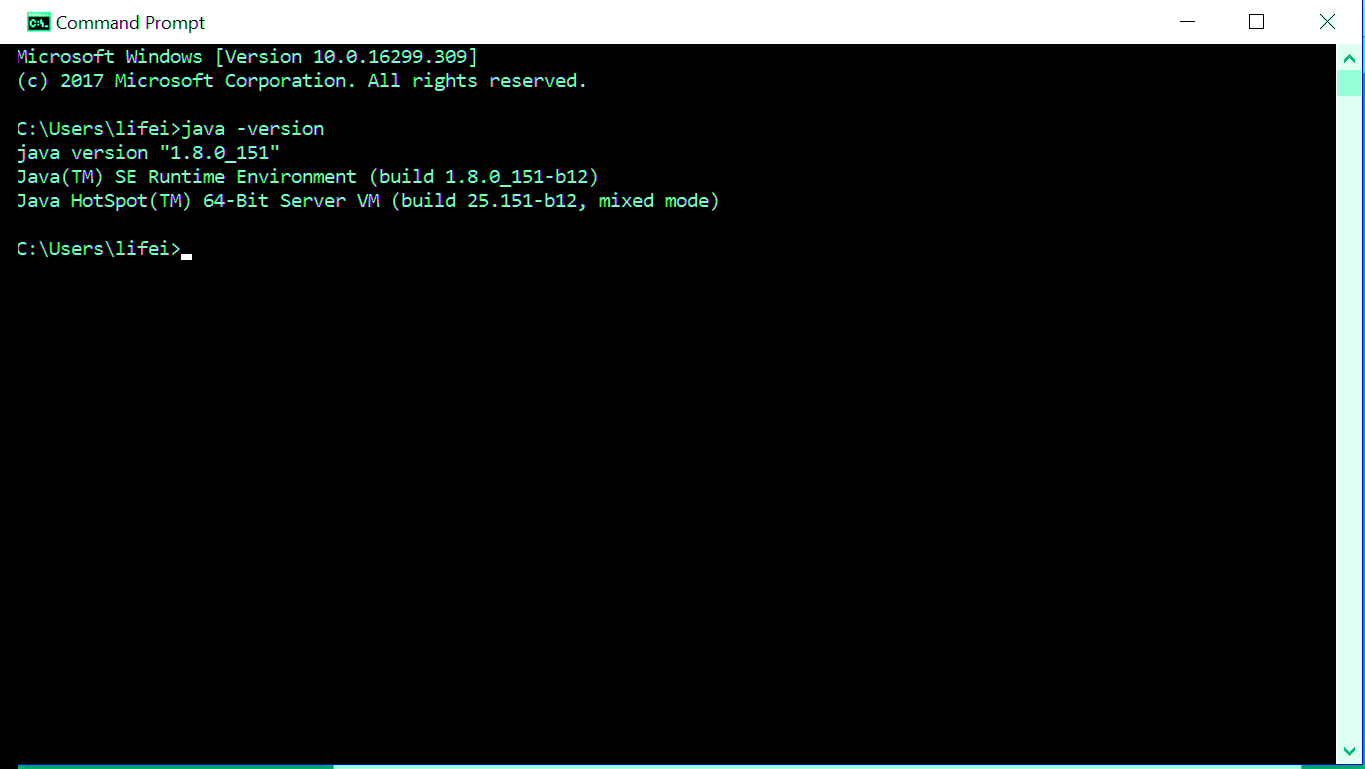
Image.1 Scala Environment Setup
This tells us that we have Java 1.8 involved. If it isn’t installed for you, you can download it here:
http://www.oracle.com/technetwork/java/javase/downloads/index.html
How to Install Scala?
Now, we’ll need to Install Scala. For learning purposes, we can simply download the binaries from the official site:
https://www.scala-lang.org/download/
This is around 123.7MB heavy.
Once you hit download, you’ll see the following:
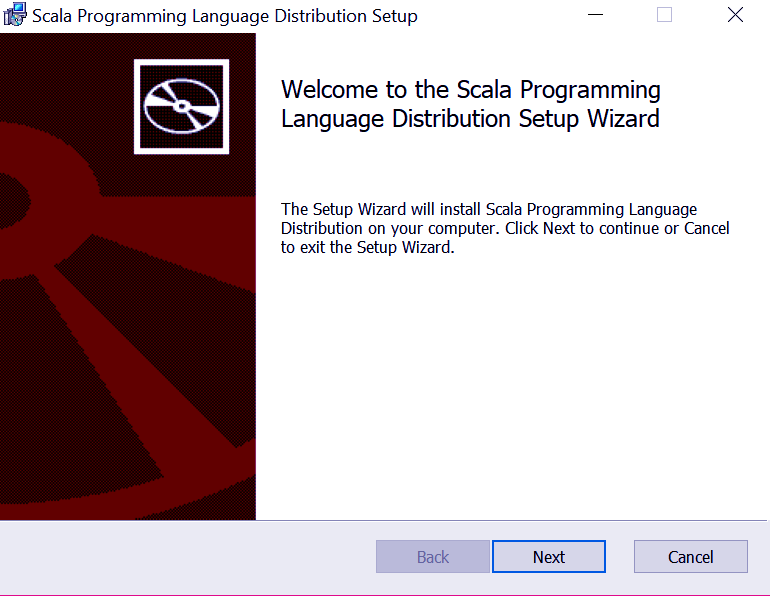
Image.2 Scala Setup Environment: Install Scala
Click Next.
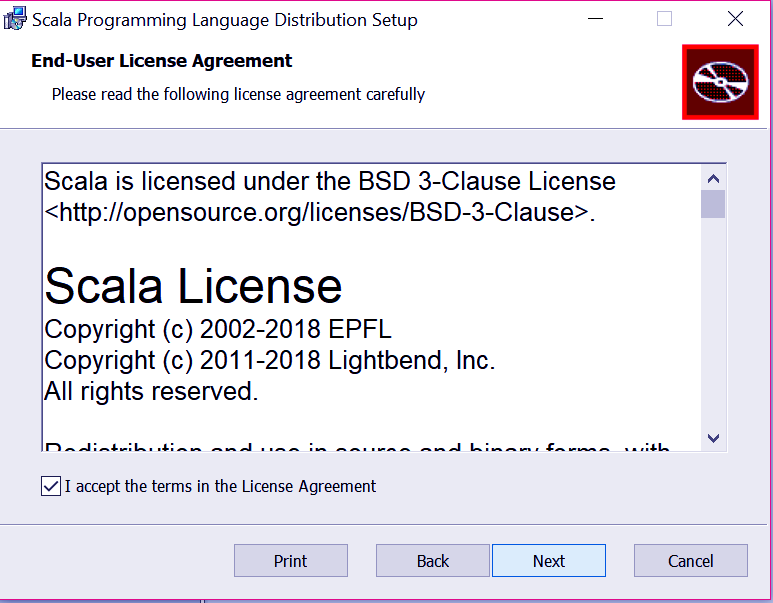
Image.3 Scala Setup Environment: Install Scala
Here, make sure the checkbox for the terms and conditions is checked. Then, click Next.
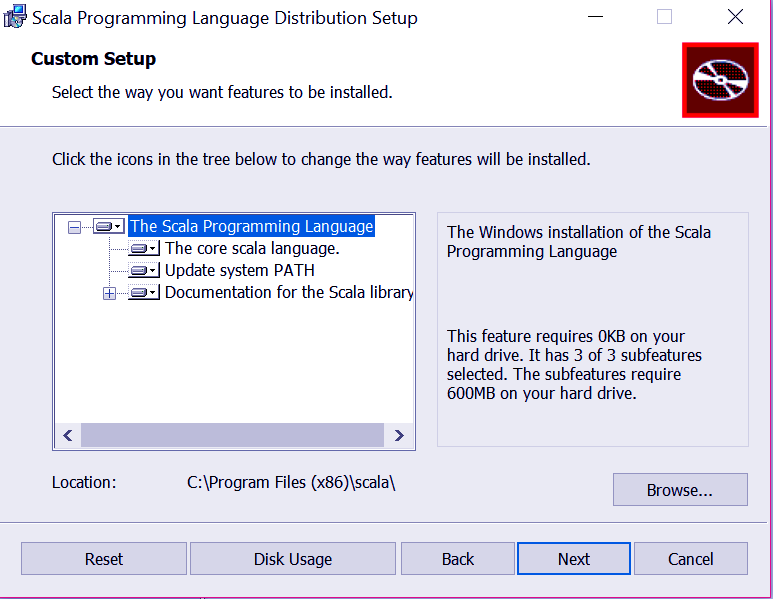
Image.4 Scala Setup Environment: Custom Setup
Now, this dialog lets you select the features you want to install.
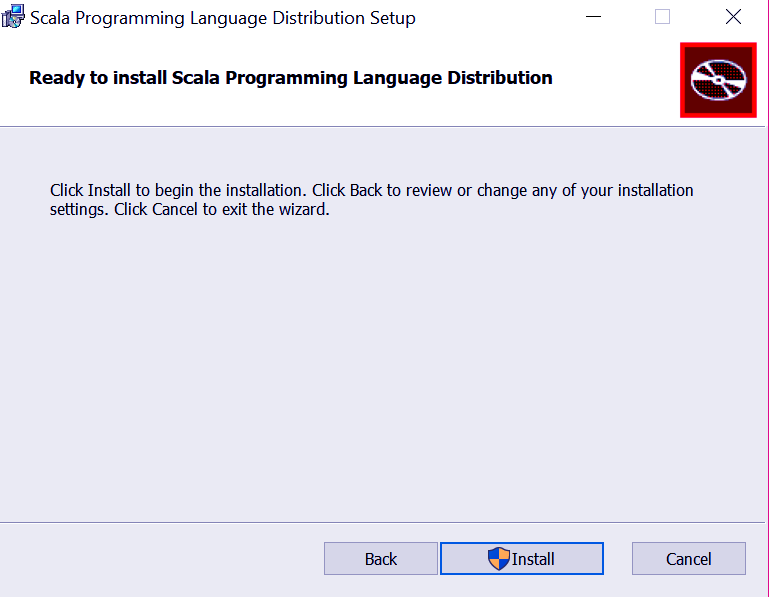
Image.5 Setup Scala Environment: Ready to Install Scala Programming
We’re ready to install it. Click on ‘Install’.

Image.6 Install Scala Programming Language Distribution
Wait as it installs.
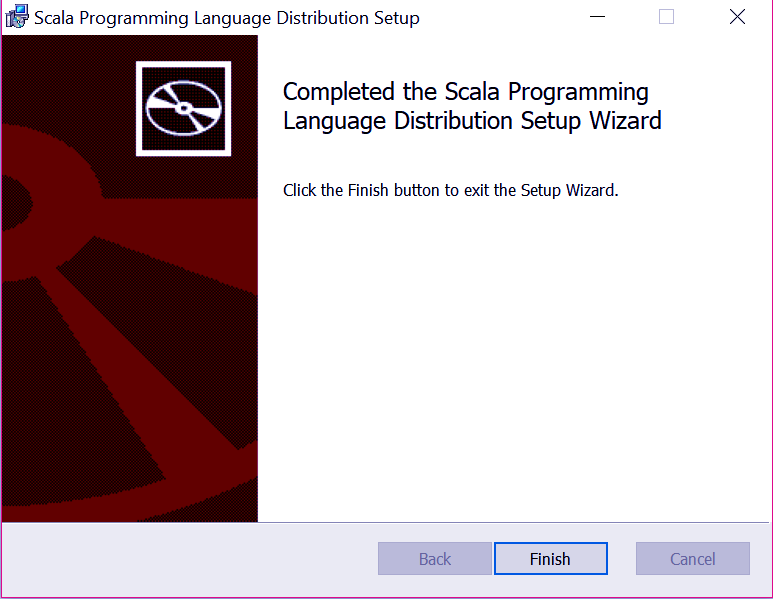
Image.7 Completed the Scala Programming Language Distribution Setup Wizard
We’re done; click ‘Finish’.
Now, when you get in the command prompt, type scala:
C:\Users\lifei>scala
Welcome to Scala 2.12.5 (Java HotSpot(TM) 64-Bit Server VM, Java 1.8.0_151).
Type in expressions for evaluation. Or try :help.
scala>
This will give you the Scala prompt. Here, you can type in expressions to evaluate:
scala> println("Hello")
Hello
scala> 2+3
res1: Int = 5
If, however, you want to run your program as a script, save it as a file with a .scala extension, and move to that location. Here’s the file we use:
object hello extends App{
    println("Hello")
}
First, let’s quit Scala in the command prompt by pressing Ctrl+C and then pressing y, and then Enter:
scala> Terminate batch job (Y/N)? y
C:\Users\lifei>
Now, let’s get to the Desktop, since that is where we saved the file:
C:\Users\lifei>cd Desktop
Then, to compile the script, run the following command:
C:\Users\lifei\Desktop>scalac hello.scala
Next, to run the script, do the following:
C:\Users\lifei\Desktop>scala hello
Hello
C:\Users\lifei\Desktop>
There you go! All set for your journey with Scala.
Getting Started with an IDE
To build projects with Scala, you’ll need to work with an IDE. In this tutorial, we’ll use IntelliJ IDEA. First, download it from here:
https://www.scala-lang.org/download/
Then, you’ll drive through the following screens:
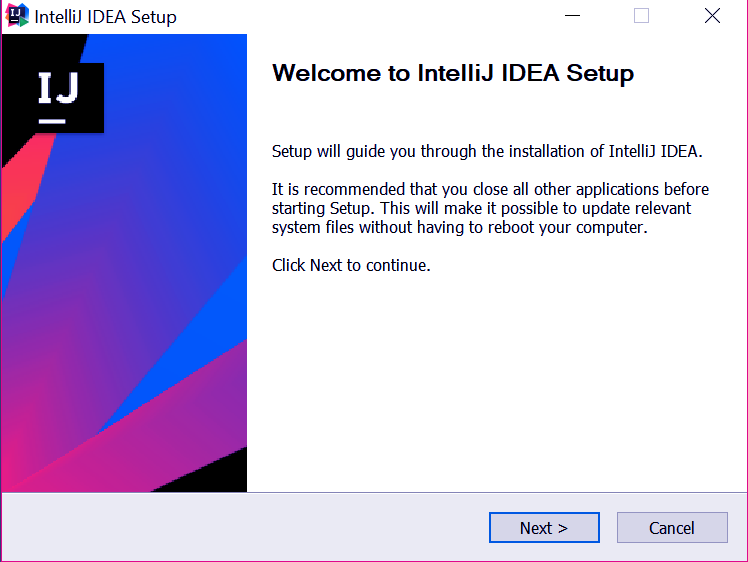
Image.8 Scala Environment Setup: IDEA Setup
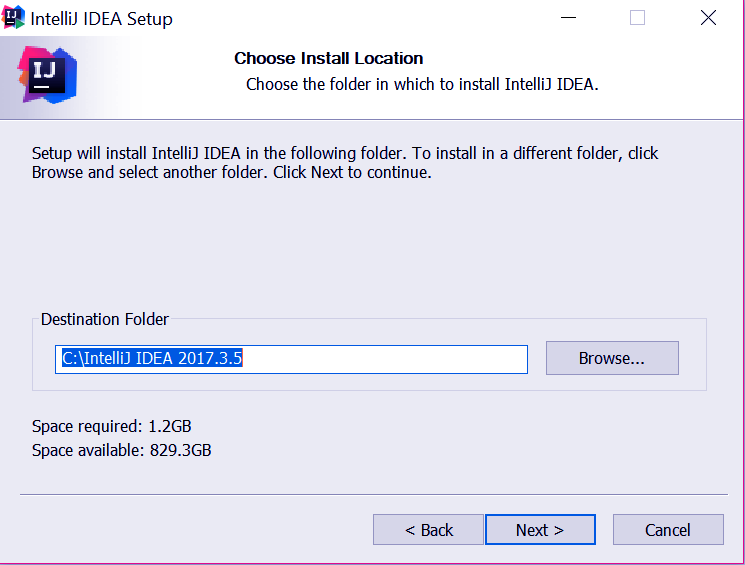
Image.9 Scala Environment Setup: Choose Install Scala Location
Here, you can select which folder to install Scala in.
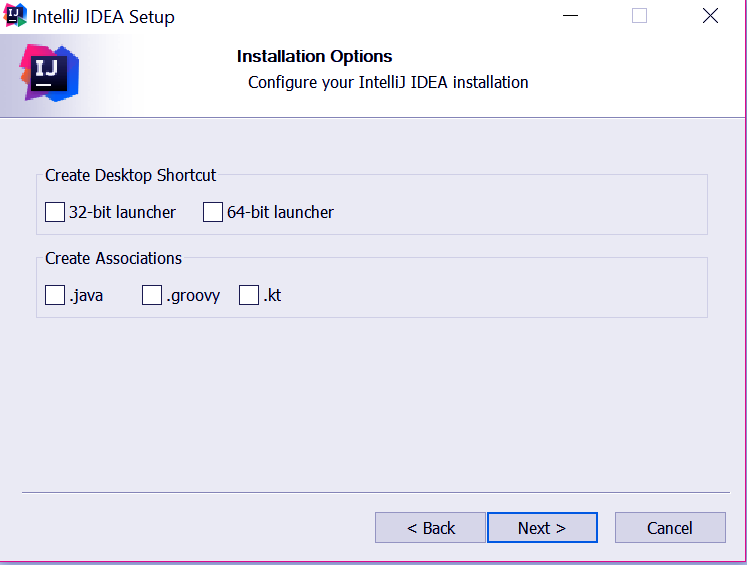
Image.10 Setup Scala Environment: Scala Installation Options
You may choose to create a Desktop shortcut, or even create associations with Java, Groovy, and kt.
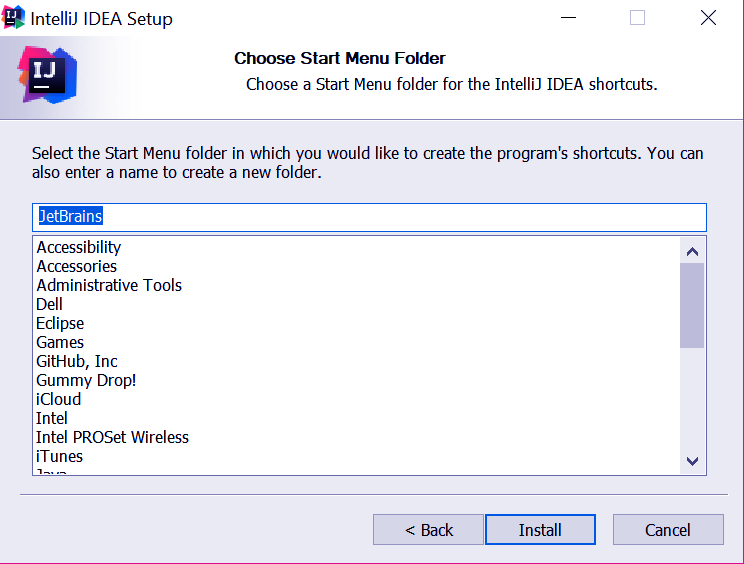
Image.11 Choose Start Menu Folder
Where do you want to create shortcuts for the program in the Start Menu? Or would you like to create a new folder?
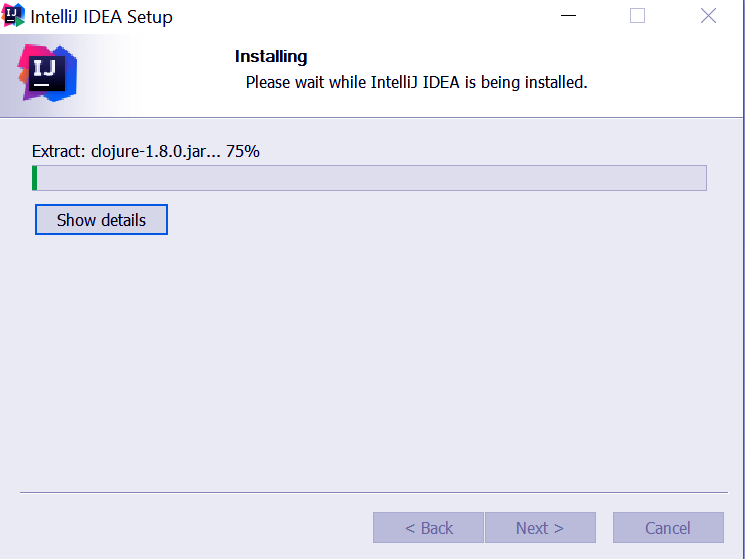
Image.12 IDEA Installing
Let it install.
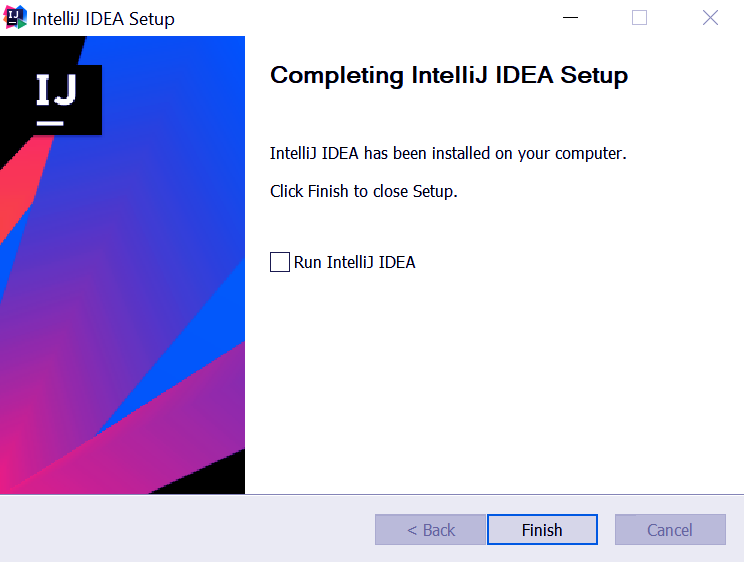
Image.13 Completing IDEA Setup
Phew, we’re done. Now, click on ‘Finish’.
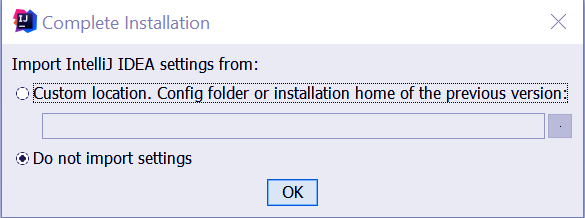
Image.14 Import IDEA setting form
A couple final formalities.
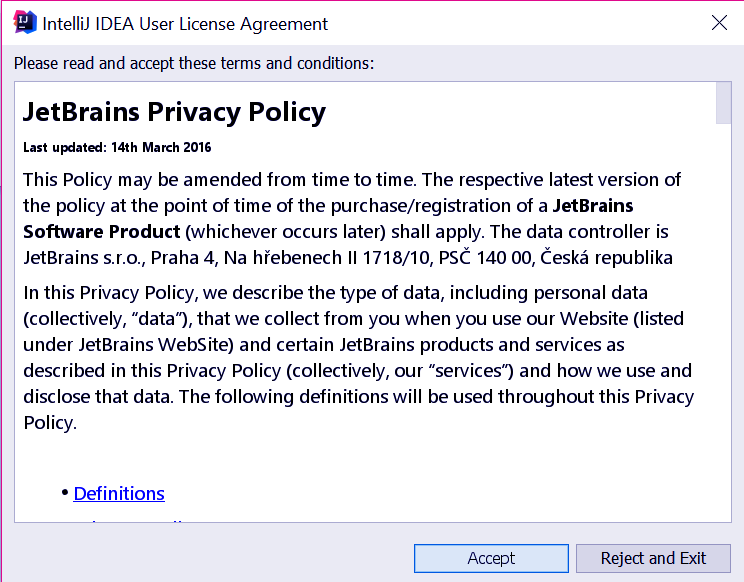
Image.15 License Agreement
Accept the user license agreement to continue.
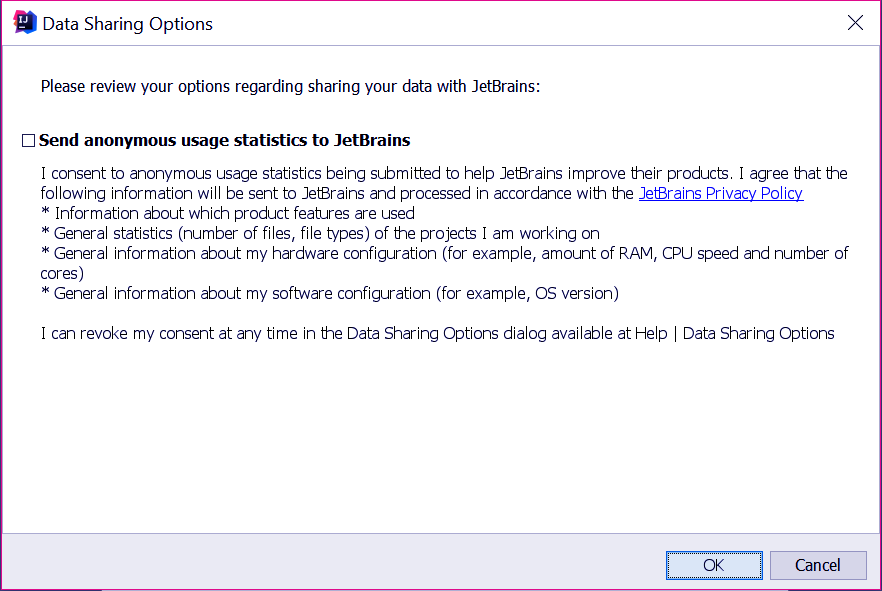
Image.16 Data Sharing Options
You can opt to anonymously send usage statistics to JetBrains, the brain of IntelliJ.
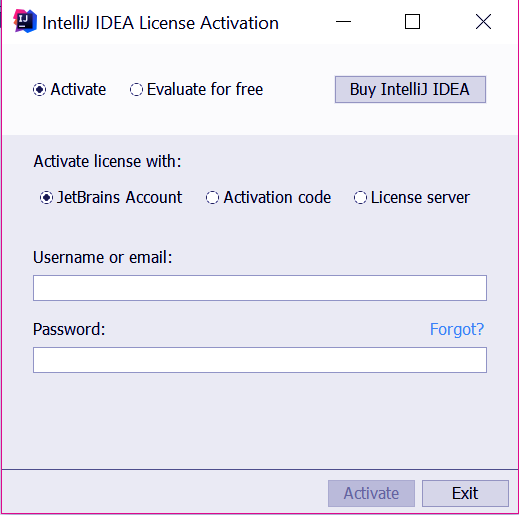
Image.17 Scala Environment Setup
You can either activate your license or evaluate it for free. We downloaded the Ultimate edition.

Image.18 Setup Scala Environment
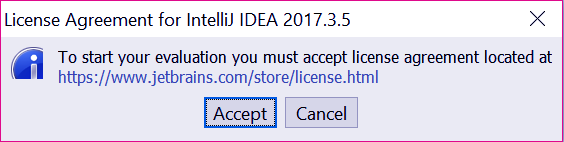
Image.19 Learn Scala Environment Setup and Get Started with an IDE
Let’s evaluate it for free.
Accept.
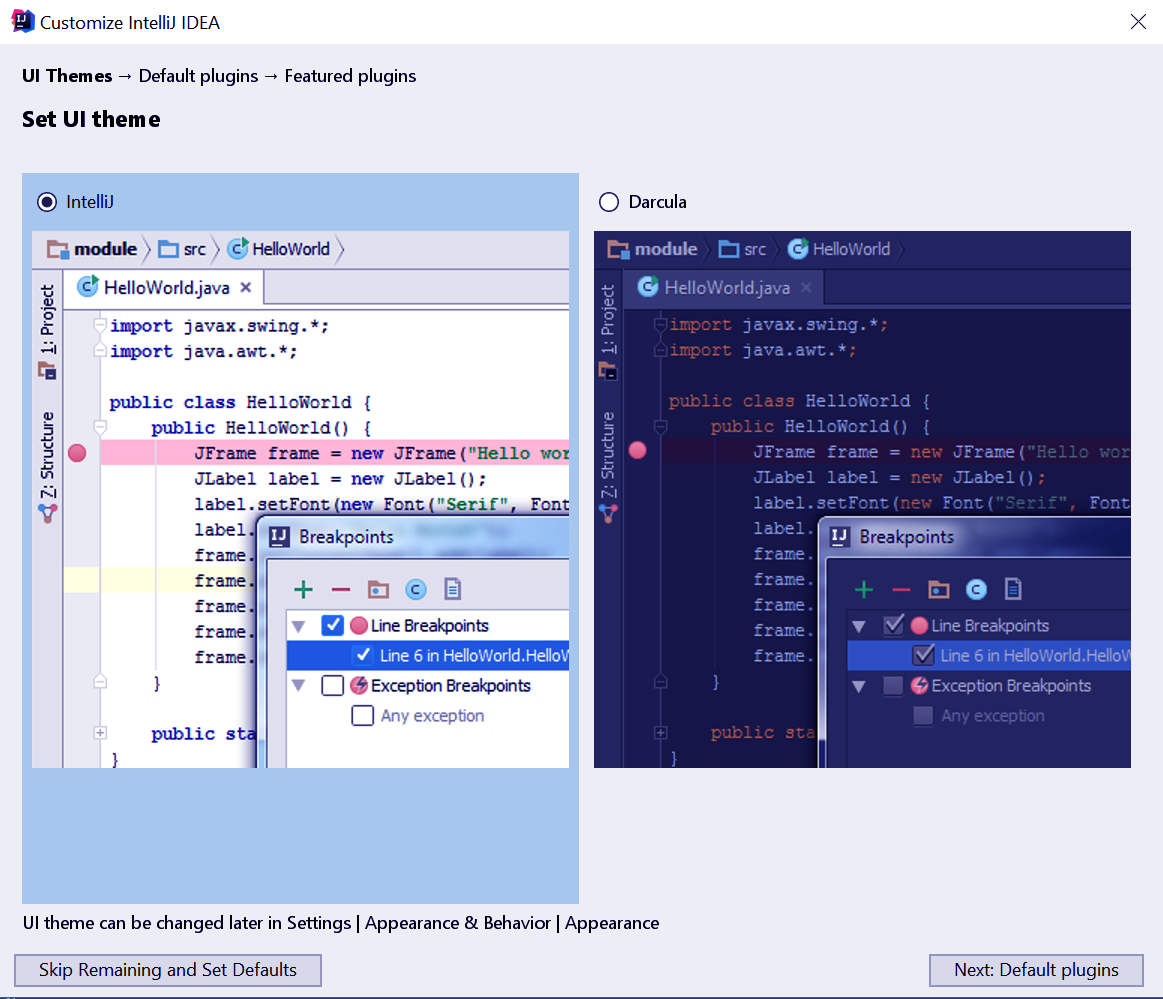
Image.20 Set UI Theme
Do you prefer a lighter theme or the darker, more popular Darcula?
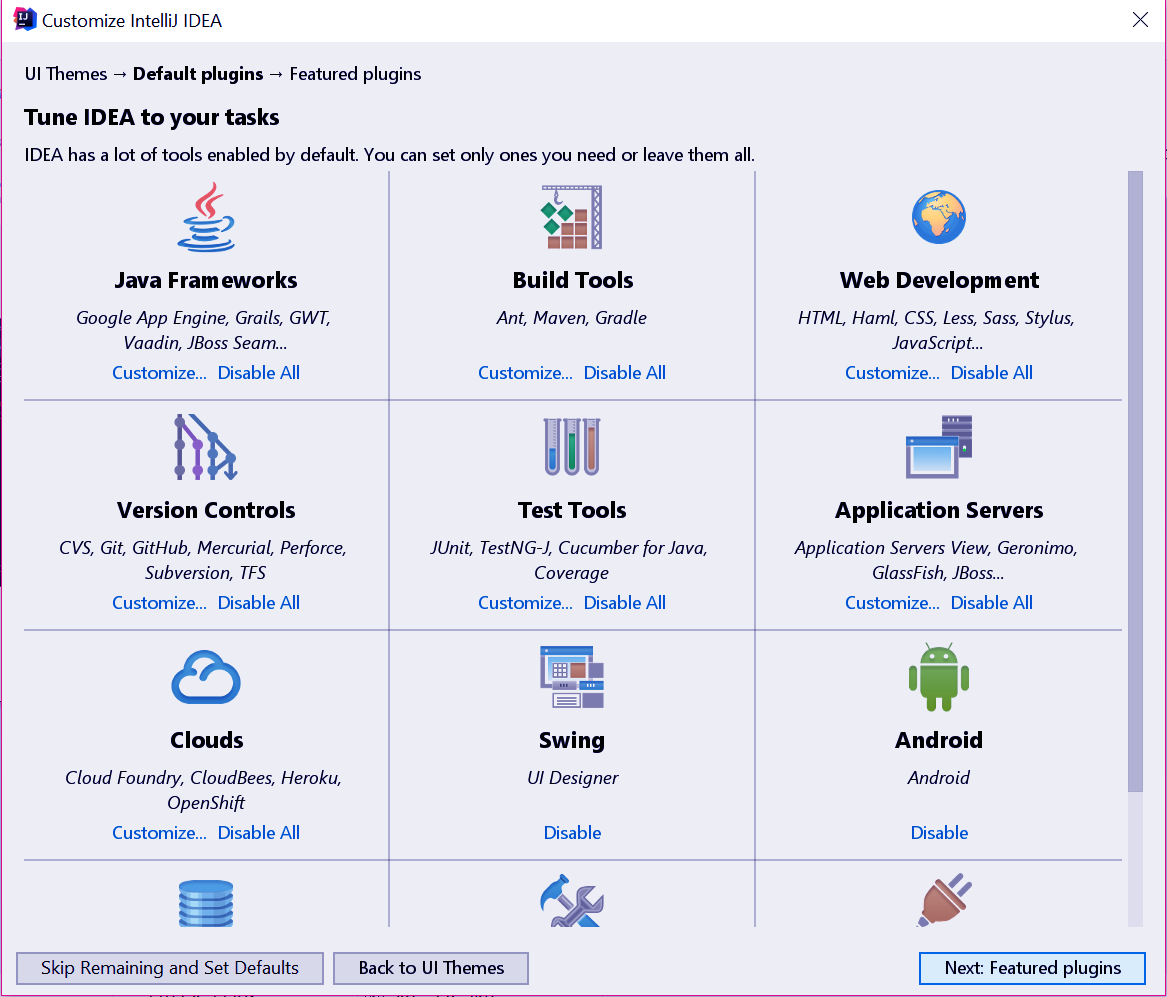
Image.21 UI Themes Default Plugin
Choose the plugins you want.
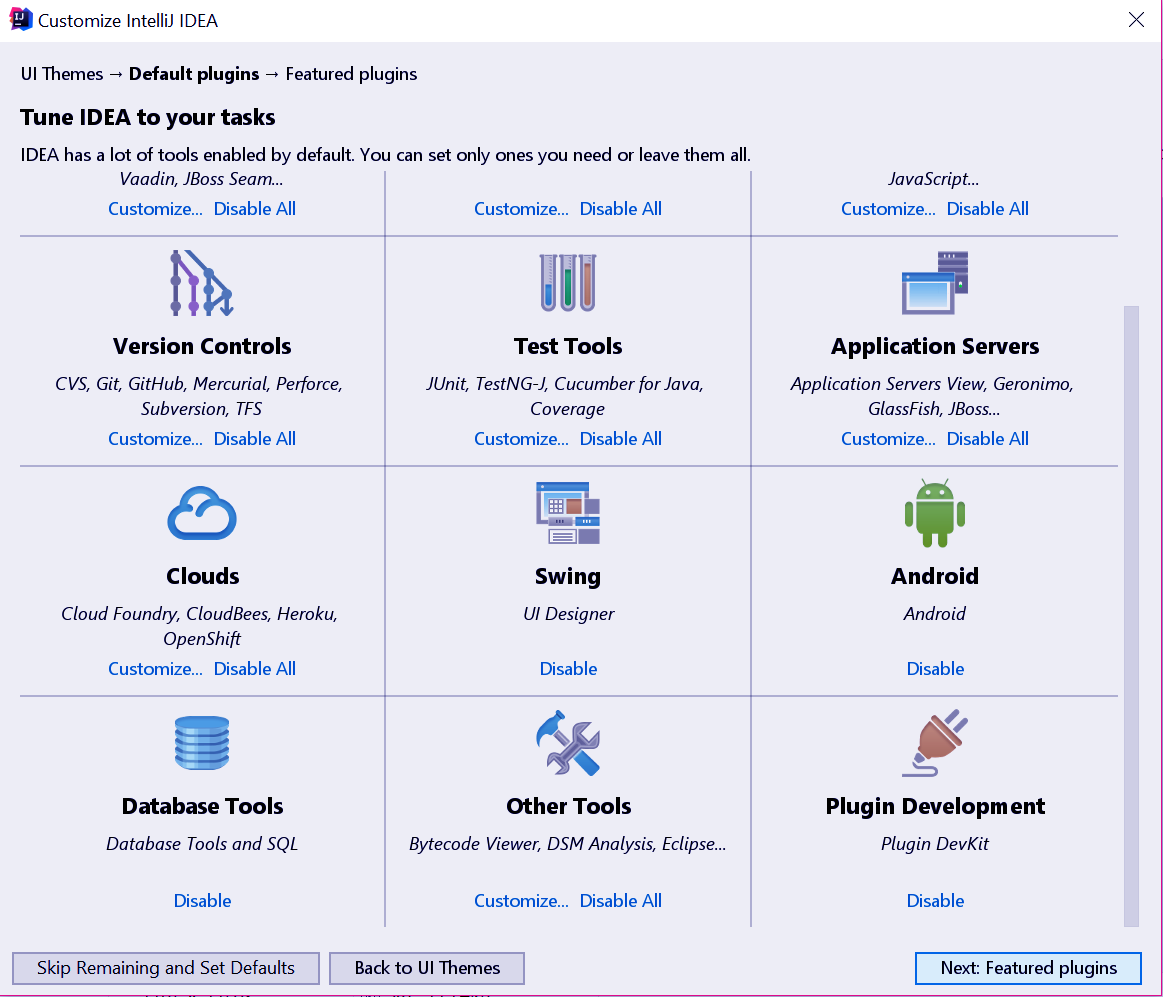
Image.22 Customize IDEA

Image.23 Download Featured Plugins
You can also download featured plugins.
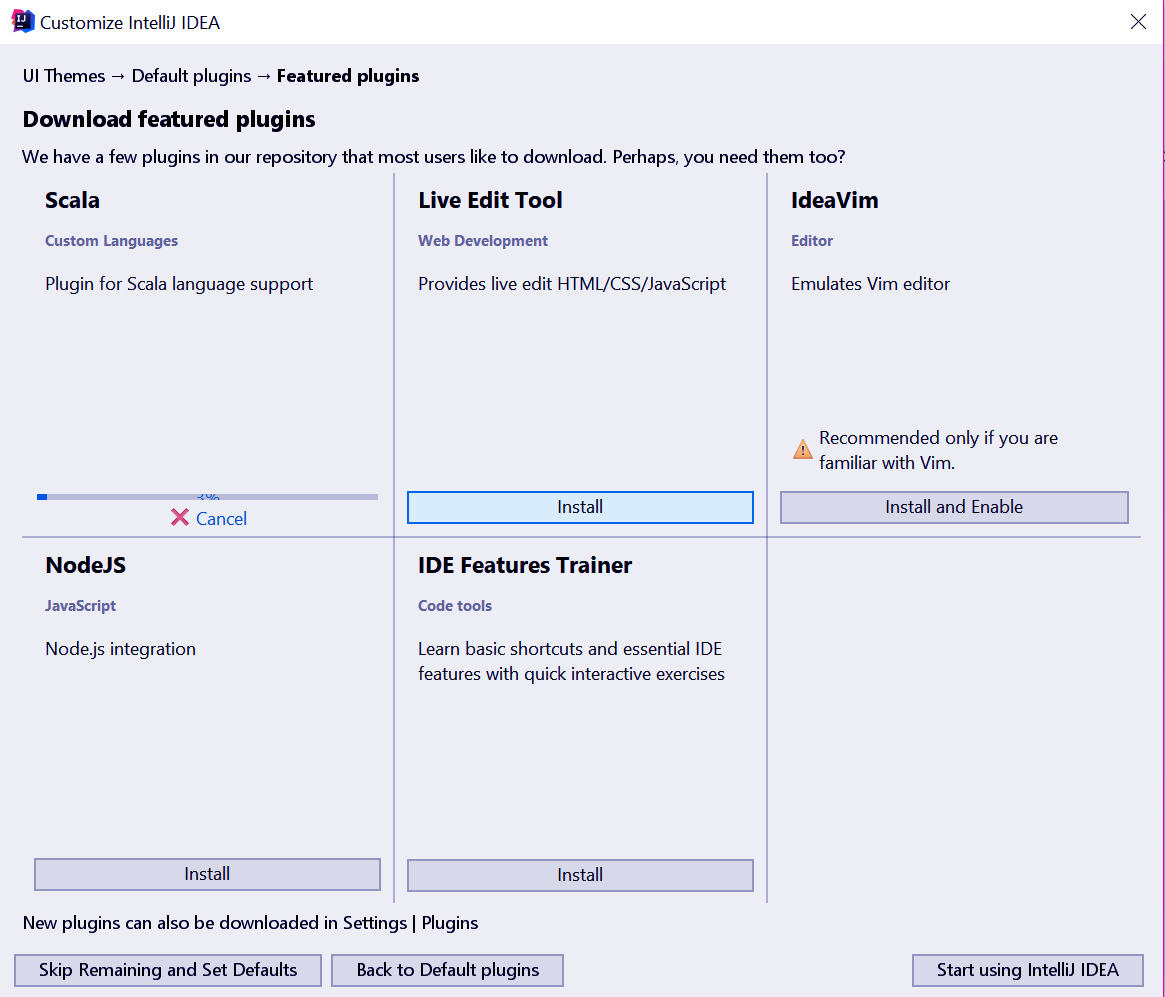
Image.24 Download Featured Plugins
Let’s download for Scala.
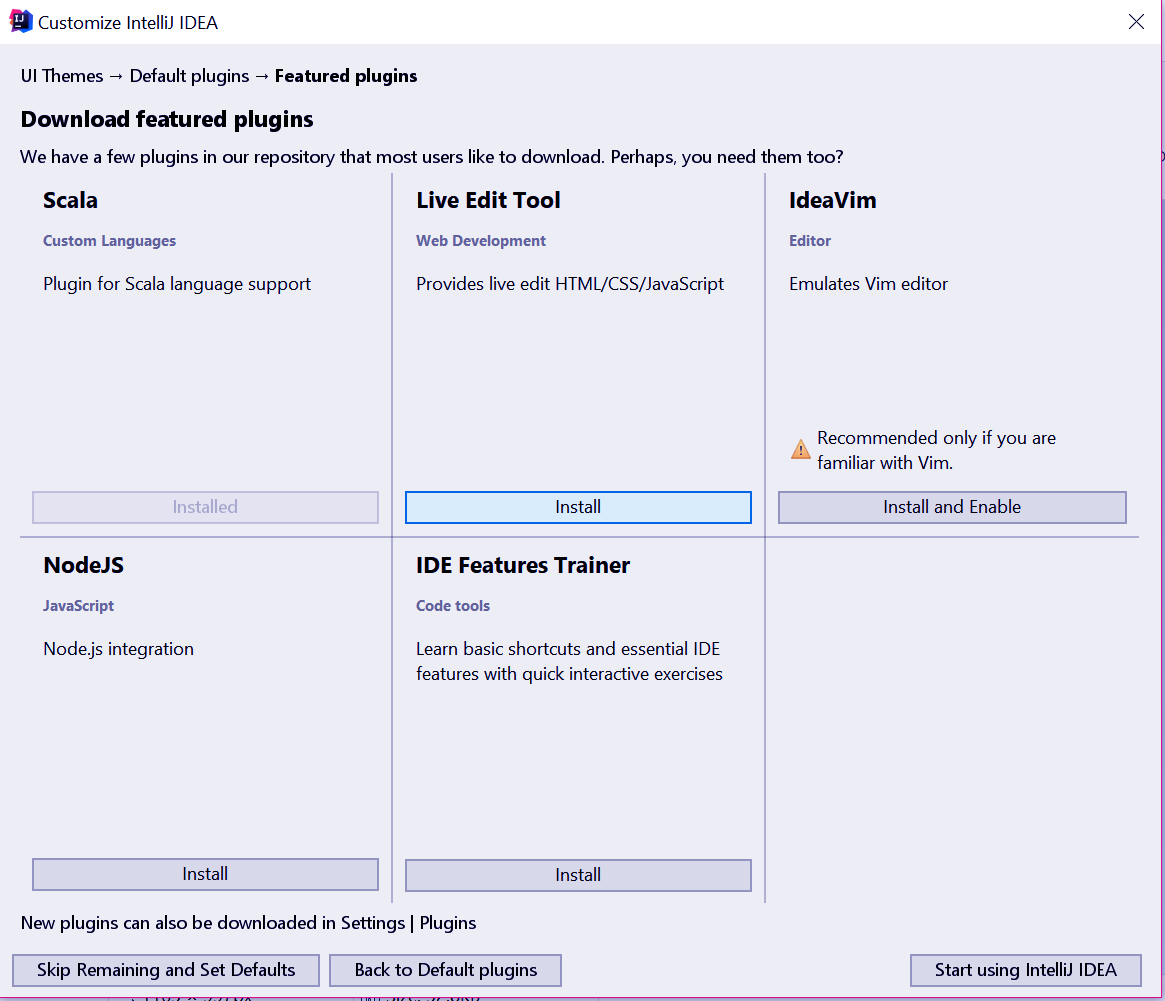
Image.25 Download Featured Plugins

Image.26 IntelliJ IDEA
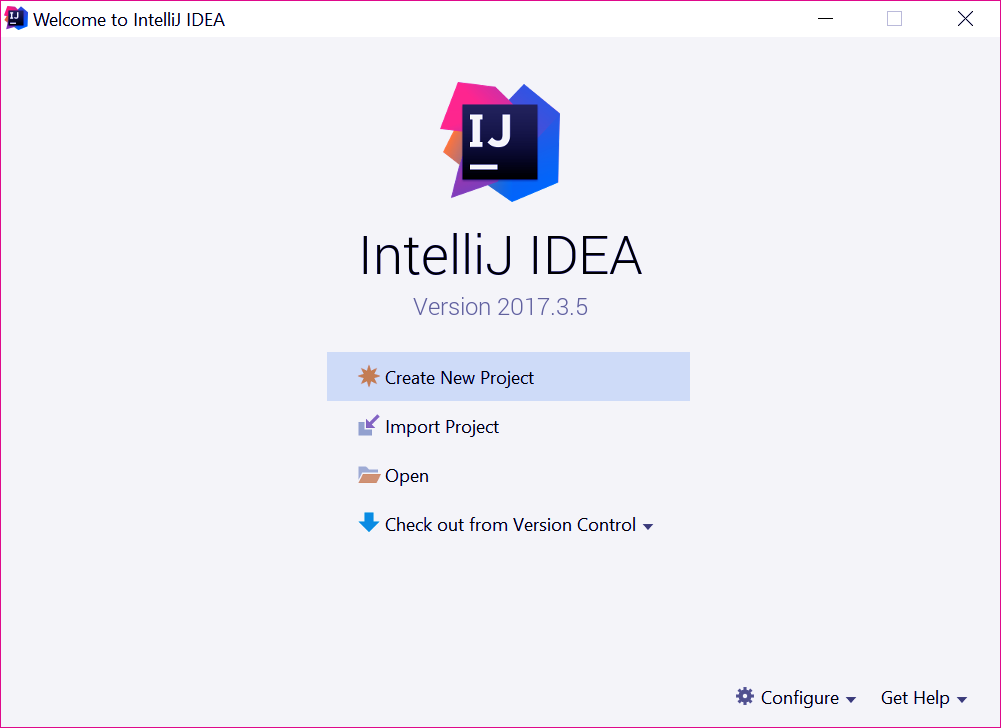
Image.27 IntelliJ IDEA – Install
It’s installed.
We’re all done! Open it.
Create a new project.
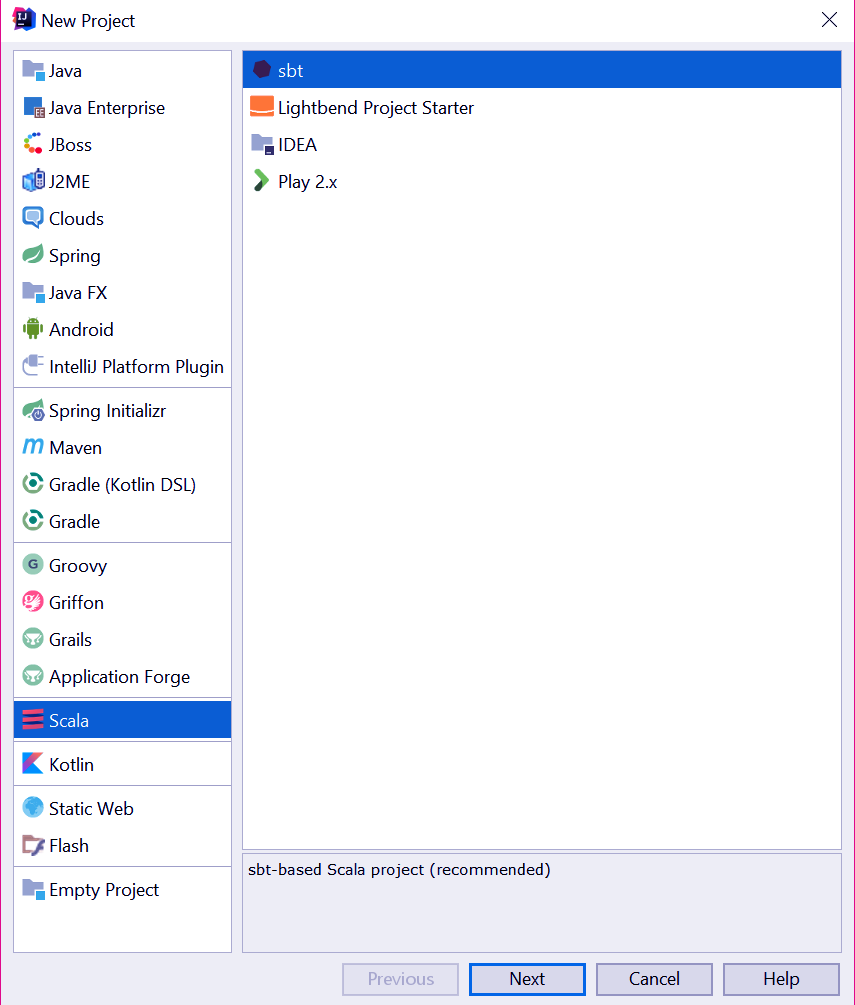
Image.28 IDEA New Project
Choose Scala.
After this, you can choose your own configurations for your project, including the JDK.
So, this was all about Scala Environment Setup Tutorial. Hope you like our explanation.
Conclusion
Hence, we studied all the steps to install Scala. Hope you had fun installing Scala on your machine. Still, have a query, feel free to ask in the comment box.
You give me 15 seconds I promise you best tutorials
Please share your happy experience on Google


