Swift Face Detection App – See Beyond the Surface
Job-ready Online Courses: Click, Learn, Succeed, Start Now!
In this project, we will learn how to create a Face Detection app using Swift in the Storyboard interface. Face Detection is a powerful technology that allows us to detect faces in real-time camera feeds and perform various tasks based on the detected faces. By the end of this project, you will have a functional Face Detection app that can detect faces and mark them with bounding boxes in real-time.
About Swift Face Detection App
The objective of this project is to create a Face Detection app that utilizes the Vision framework in Swift to detect faces in the camera feed and display bounding boxes around them.
Prerequisites for Face Detection App using Swift
To follow along with this project, you should have basic knowledge of Swift programming language and familiarity with Xcode. You will also need a Mac running macOS and Xcode installed on it.
Download Swift Face Detection App Project
Please download the source code of the Face Detection App Project from the following link: Swift Face Detection App Project Code.
Steps to Create a Face Detection App Using Swift
Following are the steps for developing the Swift Face Detection App Project:
Step 1: Create a new project in Xcode.
Step 2: Setting up the User Interface
Step 3: Setting up the Camera
Step 4: Implementing Face Detection
Step 5: Starting and Stopping the Camera Session
Step 6: Running Face Detection on Sample Buffers
Step 7: Requesting Camera Permission
Step 1: Create a new project in Xcode.
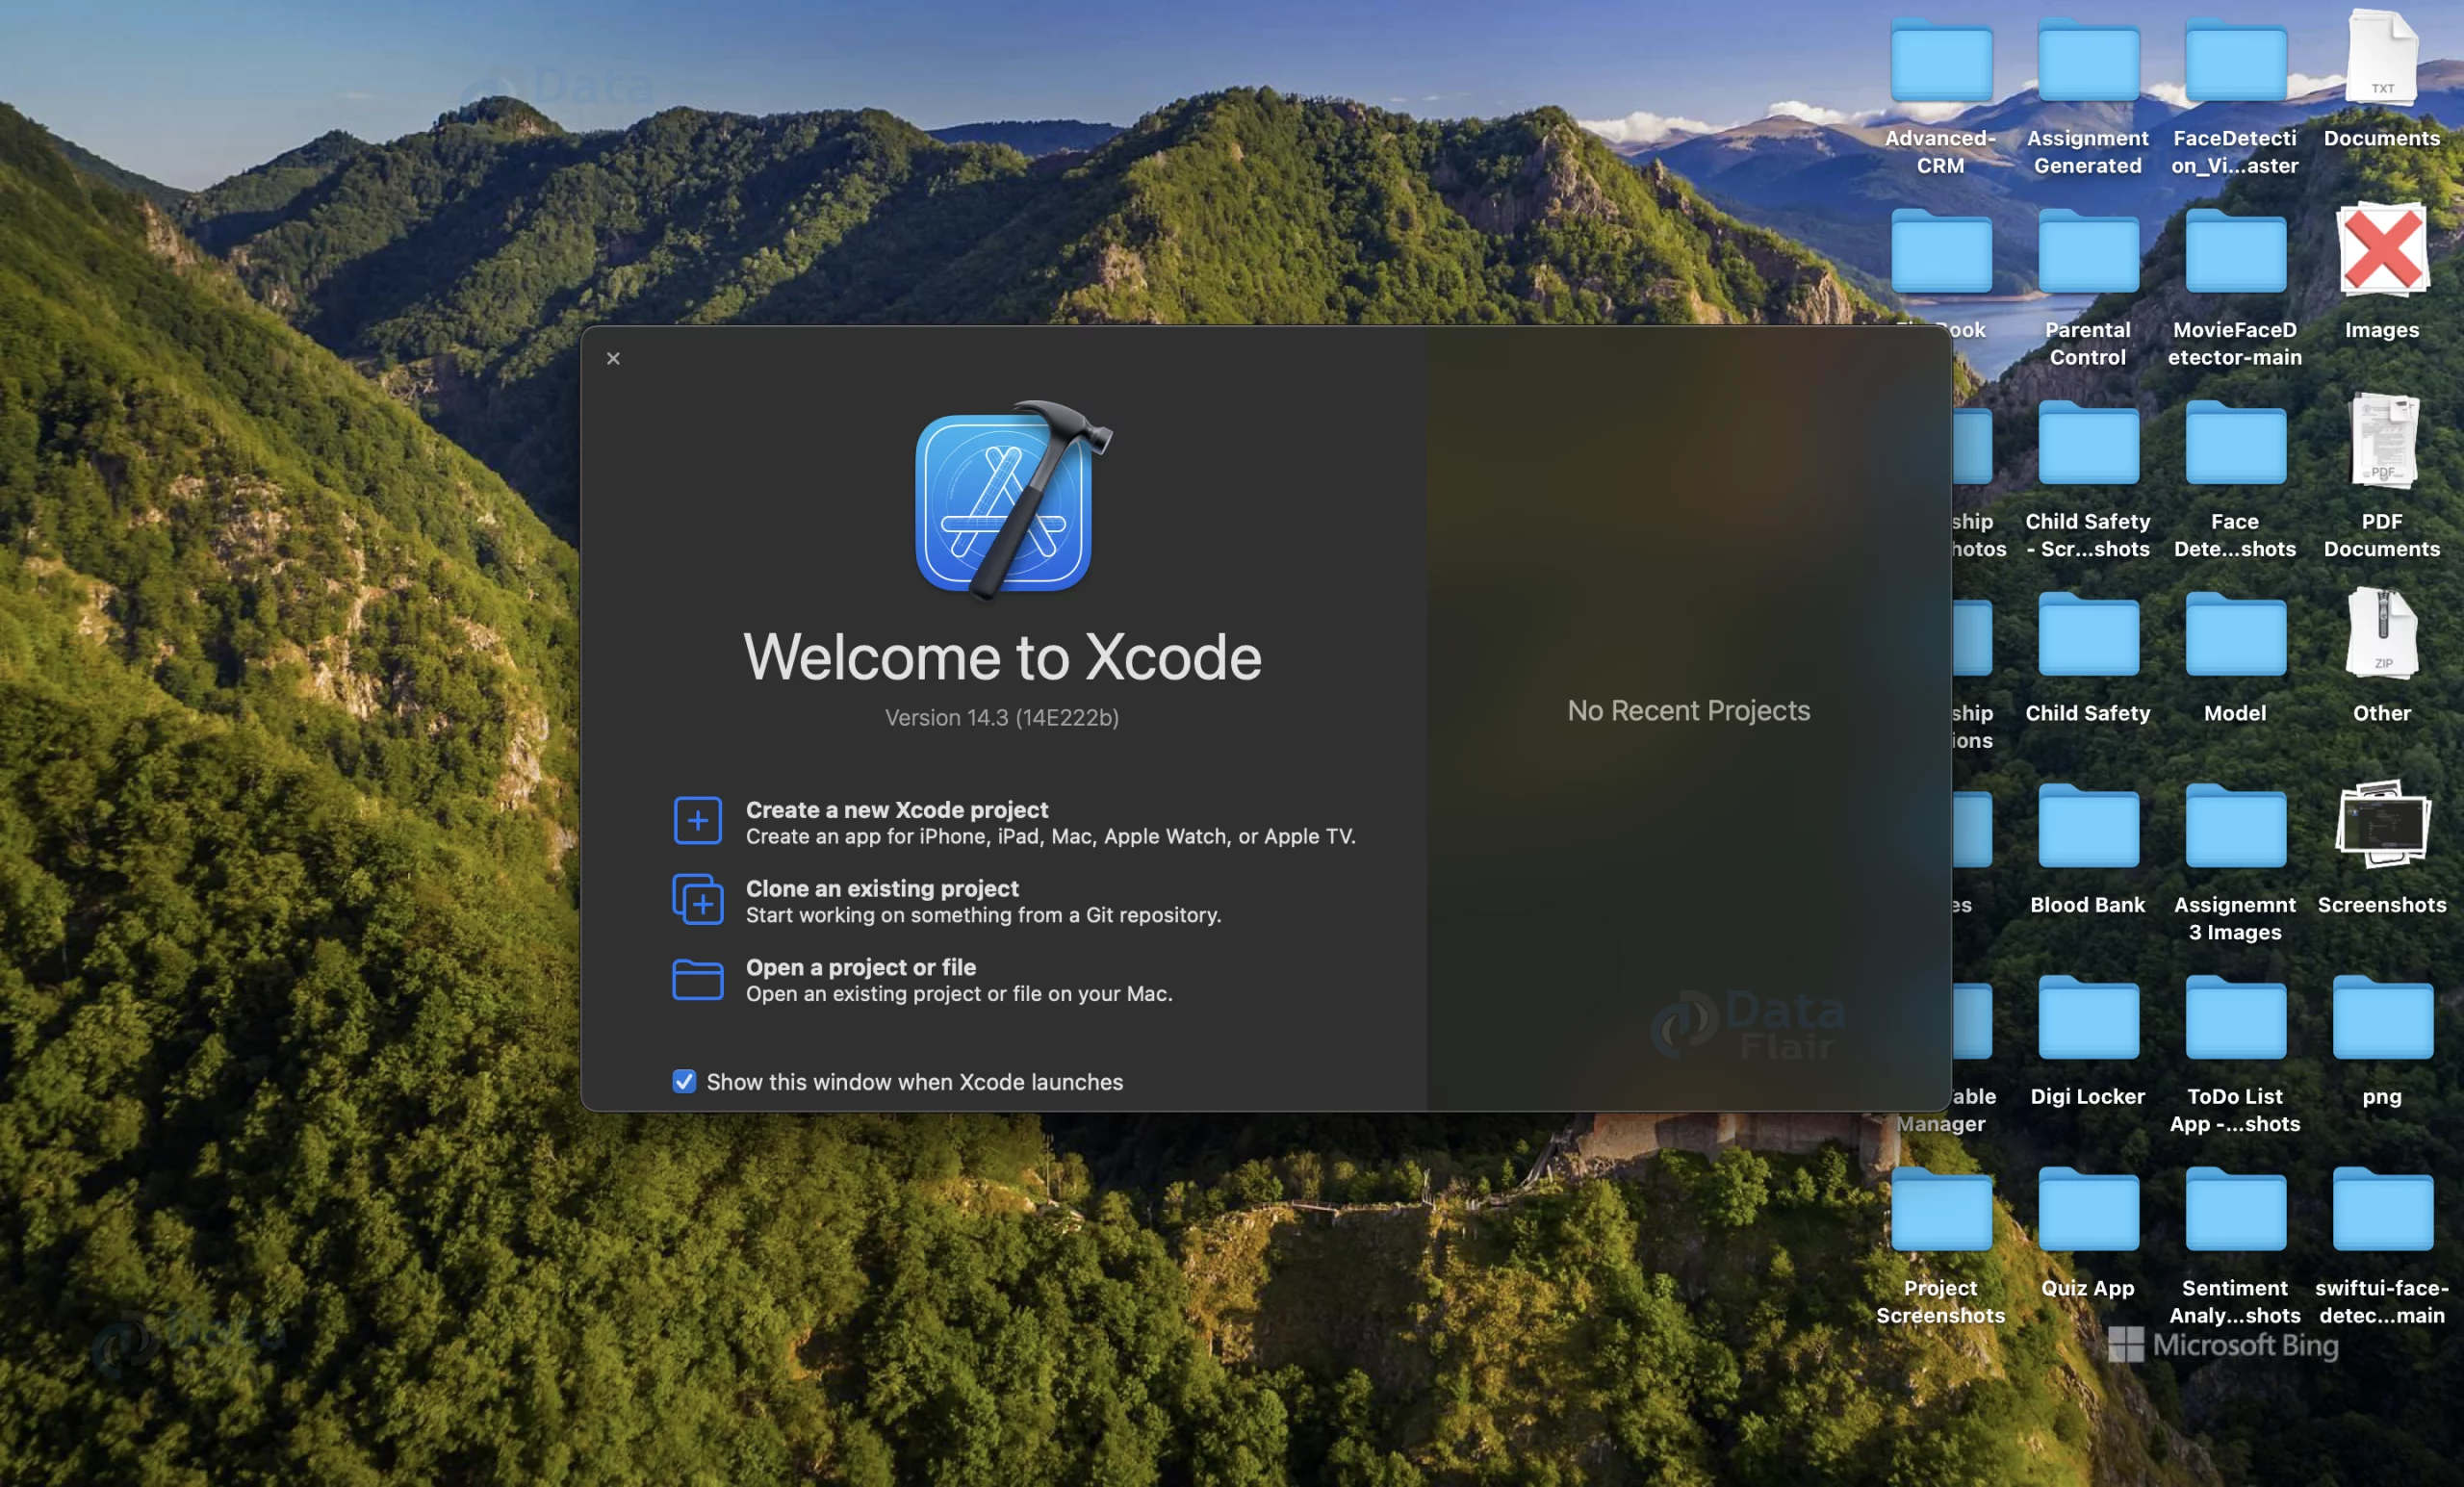
a. Open Xcode and Click on the “Create a new Xcode Project” option.
b. Now select the platform as “macOS” and application type as “App”. We are using Mac because the code is almost the same for iOS, and we require a physical device with a camera to run the app.

c. Now, Enter the name of the app and organization identifier, and select Storyboard interface for building the UI of the app. Also, select Swift as the language for creating the app.

d. Select the folder where you want to save the app and click on Create.

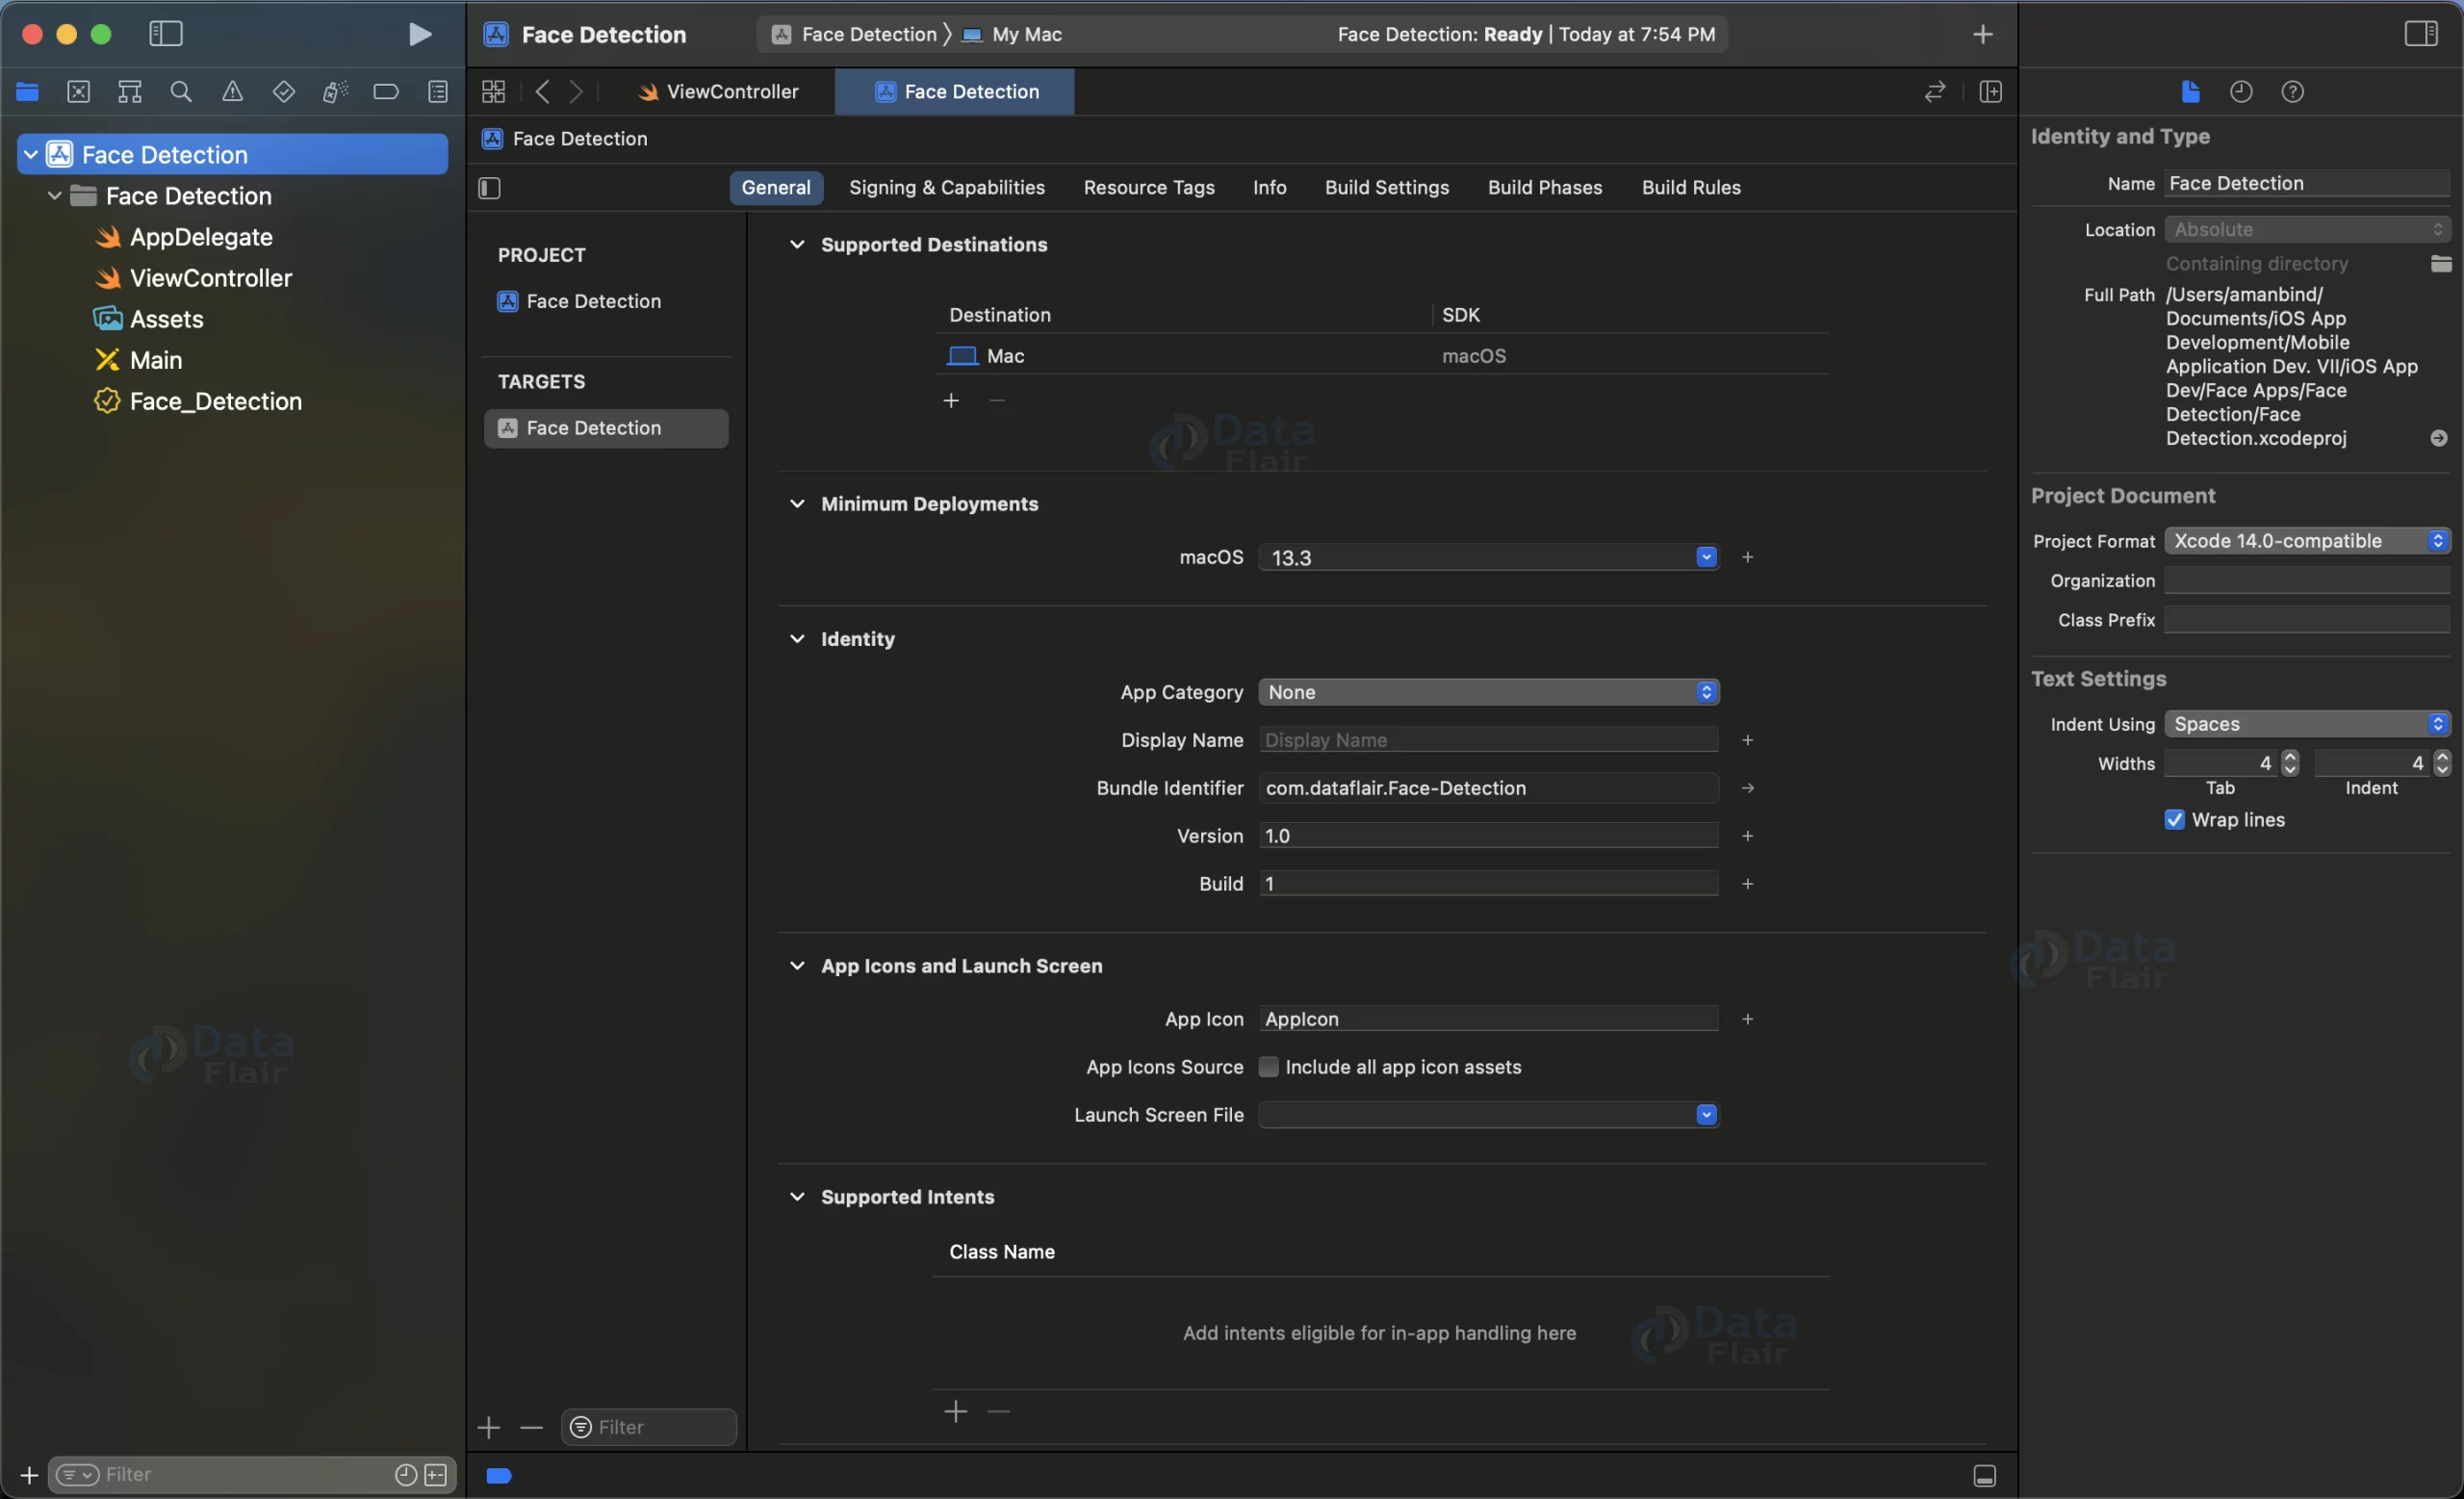
e. Now your project is ready for development, and you will see something like below.
Step 2: Setting up the User Interface
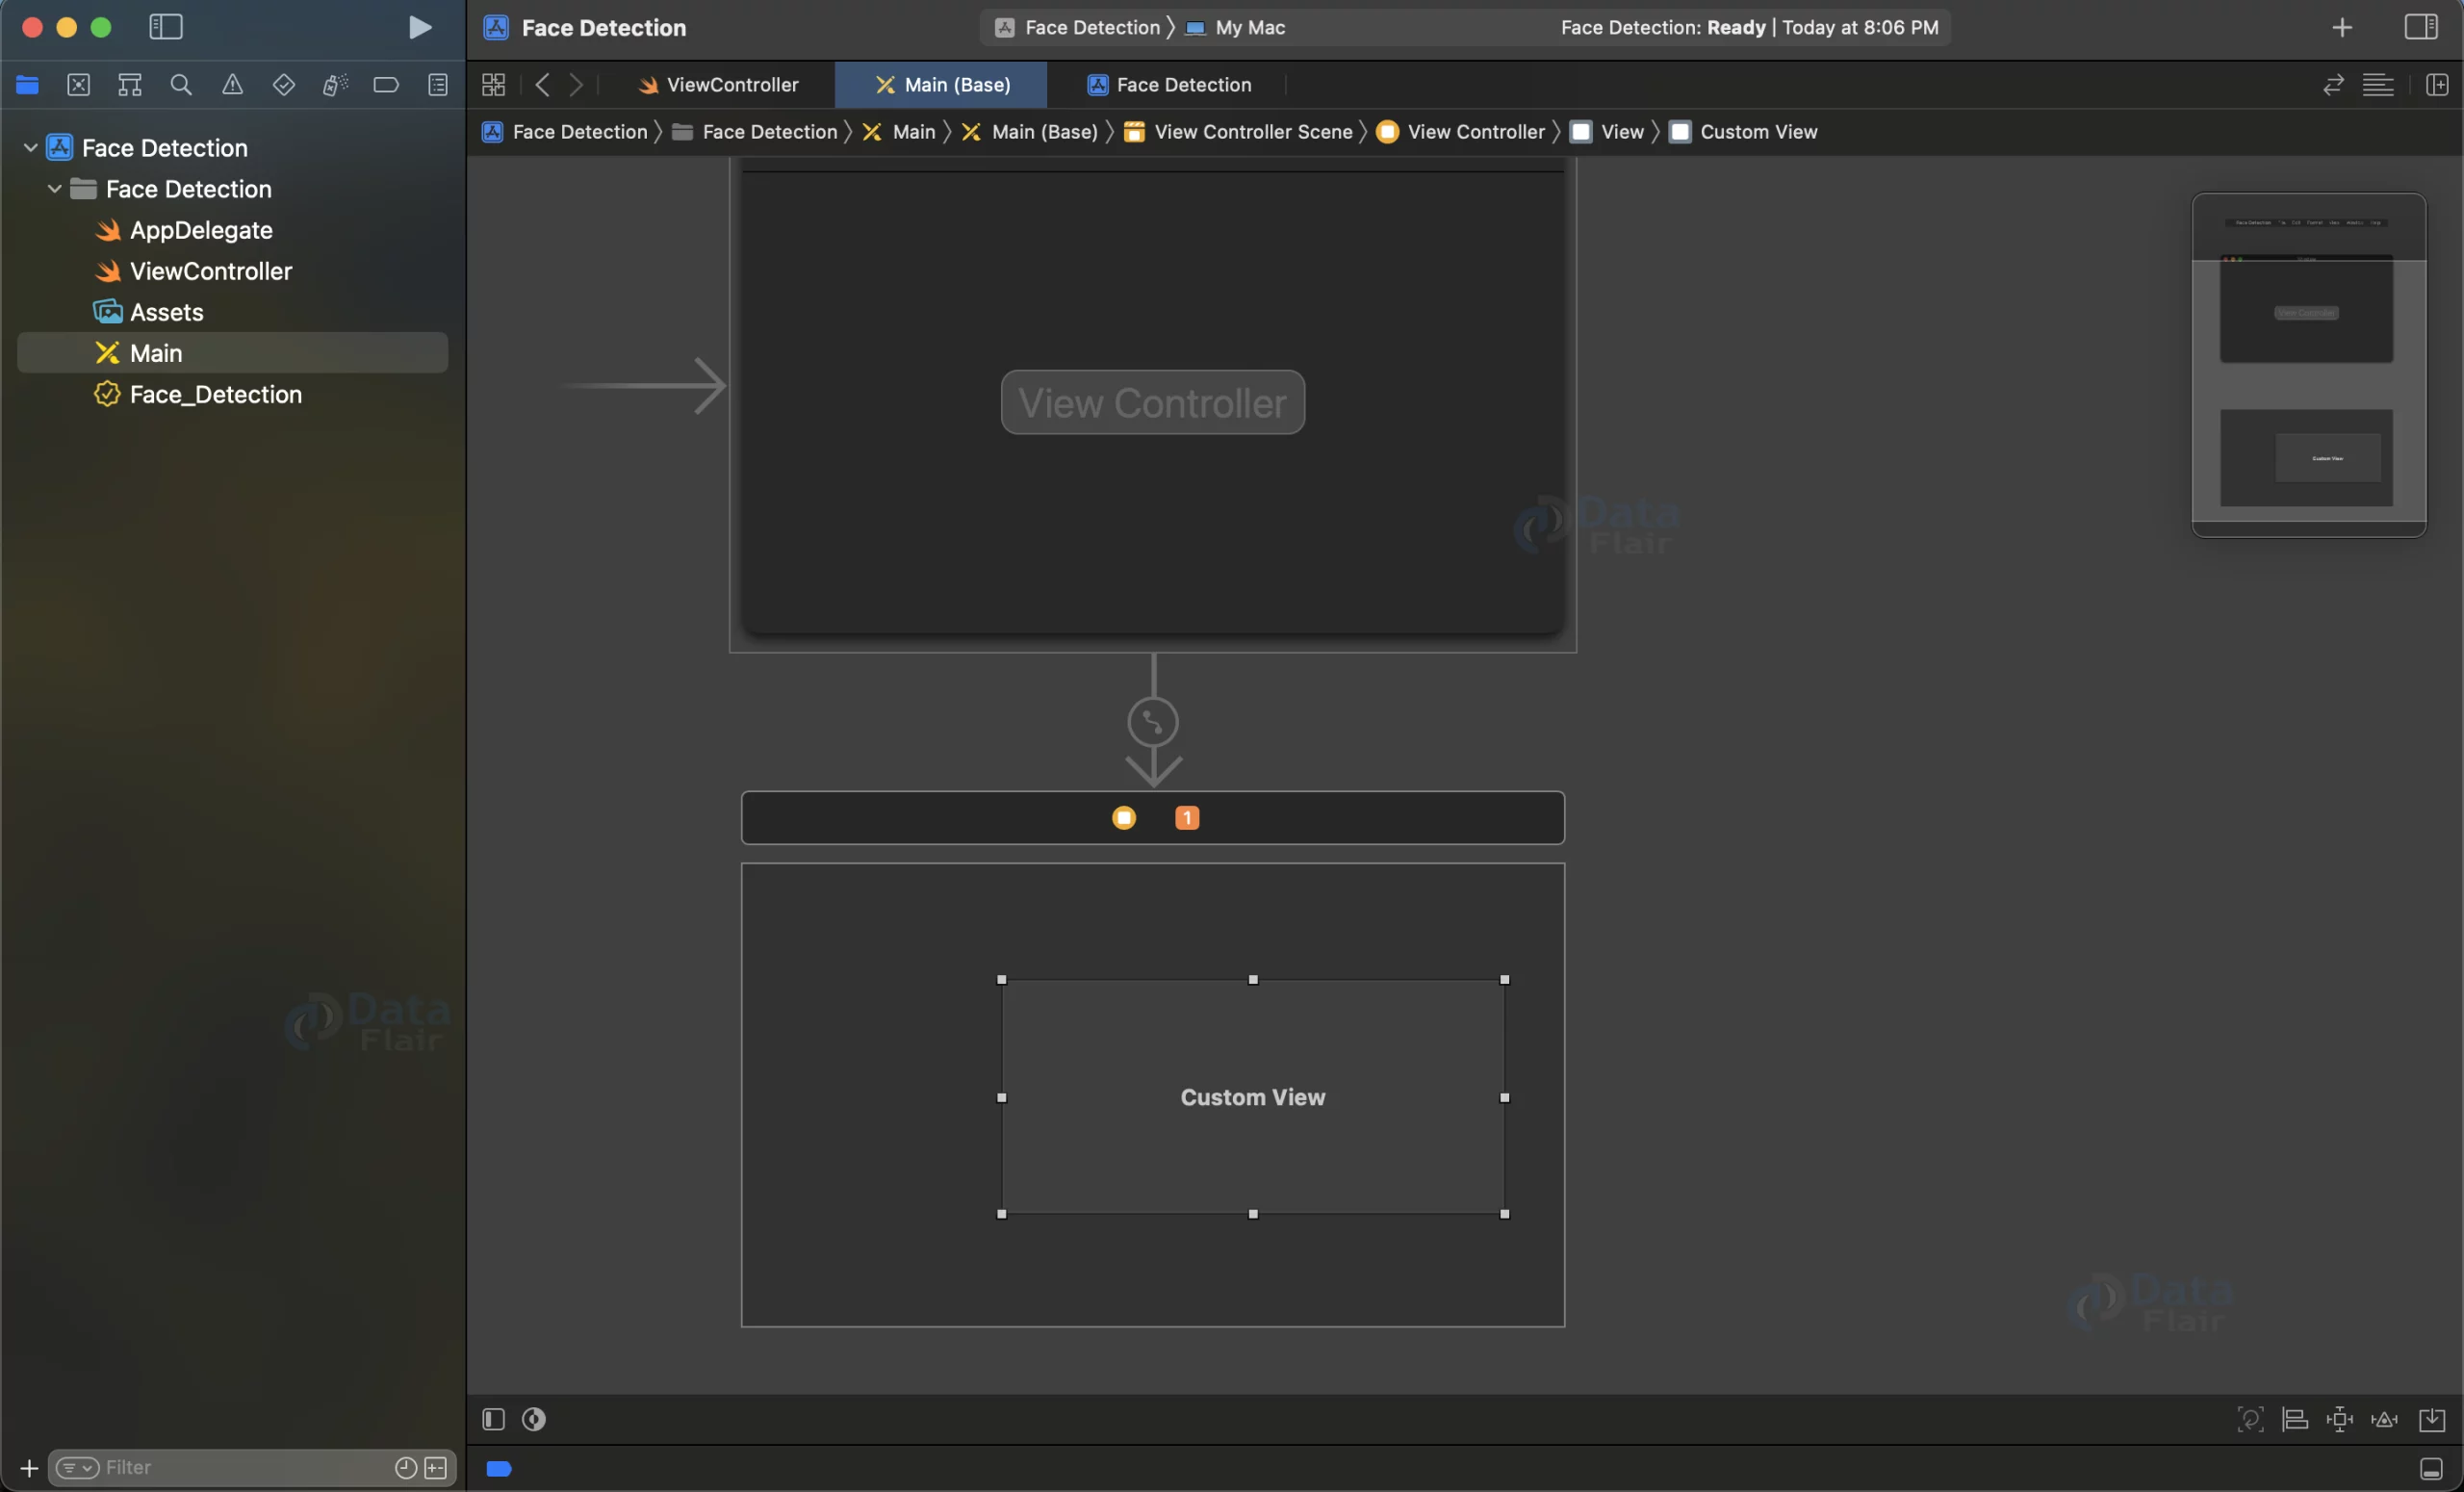
a. Open the Main.storyboard file and then open the library using the shortcut command + shift + L (⌘+⇧+L). Now search NSView and drag and drop it to the Main.storyboard UI view as shown below.

b. Create an IBOutlet for the View in the View Controller by right clicking on the View and dropping it on the ViewController. Then select the connection type to IBOutlet.

Step 3: Setting up the Camera
a. Import the necessary frameworks: Cocoa, Vision, and AVFoundation.
import Cocoa
import Vision
import AVFoundation
b. Add the AVCaptureVideoDataOutputSampleBufferDelegate protocol to the View Controller class declaration.
class ViewController: NSViewController, AVCaptureVideoDataOutputSampleBufferDelegate {
}
c. Implement the required methods for the AVCaptureVideoDataOutputSampleBufferDelegate protocol.
d. Create a function called setupCamera() to configure the camera capture session, input, output, and preview layer.
func setupCamera() {
       // Create a new video session
       videoSession = AVCaptureSession()

       // Set the session preset to high quality
       videoSession.sessionPreset = .high

       // Enable layer-backed drawing for the video view
       videoView.wantsLayer = true

       // Get the default camera for video and create an input from it
       guard let camera = AVCaptureDevice.default(.builtInWideAngleCamera, for: .video, position: .front),
           let input = try? AVCaptureDeviceInput(device: camera) else {
               print("Failed to access the camera.")
               return
       }

       // Add the input to the session if possible
       if videoSession.canAddInput(input) {
           videoSession.addInput(input)
       }

       // Create a new preview layer from the session and set its properties
       previewLayer = AVCaptureVideoPreviewLayer(session: videoSession)
       previewLayer.videoGravity = .resizeAspectFill
       previewLayer.frame = videoView.bounds

       // Add the preview layer as a sublayer of the video view's layer
       videoView.layer?.addSublayer(previewLayer)

       // Create a new video data output and set its sample buffer delegate and queue
       let videoOutput = AVCaptureVideoDataOutput()
       videoOutput.setSampleBufferDelegate(self, queue: DispatchQueue.global(qos: .userInteractive))

       // Add the output to the session if possible
       if videoSession.canAddOutput(videoOutput) {
           videoSession.addOutput(videoOutput)
       }
   }
e. Call the setupCamera() function in the viewDidLoad() method of the View Controller.
override func viewDidLoad() {
        super.viewDidLoad()

        // Set up the camera and face detection when the view loads
        setupCamera()
    }
Step 4: Implementing Face Detection
a. Create a function called setupFaceDetection() to set up the face detection request using the VNDetectFaceRectanglesRequest class.
b. Implement the completion handler for the face detection request to handle the detected face observations.
func setupFaceDetection() {
    // Create a new face detection request with a completion handler that handles the results
    let faceDetectionRequest = VNDetectFaceRectanglesRequest { request, error in
        guard let results = request.results as? [VNFaceObservation] else {
            return
        }

        DispatchQueue.main.async {
            self.handleFaceDetectionResults(results)
        }
    }

    // Store the face detection request for later use
    self.faceDetectionRequest = faceDetectionRequest
}
c. Create a function called handleFaceDetectionResults(_:) to process the face detection results and display bounding boxes around the detected faces.
func handleFaceDetectionResults(_ results: [VNFaceObservation]) {
       // Remove any existing face markers
       videoView.subviews.forEach { $0.removeFromSuperview() }

       // Loop through the face detection results
       for face in results {
           // Convert the face's bounding box from normalized coordinates to view coordinates
           let faceBounds = face.boundingBox
           let viewBounds = previewLayer.layerRectConverted(fromMetadataOutputRect: faceBounds)

           // Create a new box to mark the face and set its properties
           let faceMarker = NSBox(frame: viewBounds)
           faceMarker.boxType = .custom
           faceMarker.borderWidth = 2.0
           faceMarker.borderColor = NSColor.green
           faceMarker.cornerRadius = 5.0

           // Add the face marker as a subview of the video view
           videoView.addSubview(faceMarker)
       }
   }
d. Call the setupFaceDetection() function in the viewDidLoad() method of the View Controller.
override func viewDidLoad() {
    super.viewDidLoad()

    // Set up the camera and face detection when the view loads
    setupCamera()
    setupFaceDetection()
}`
Step 5: Starting and Stopping the Camera Session
a. Create functions startSession() and stopSession() to start and stop the camera session, respectively.
func startSession() {
    // Start the video session if it's not already running
    if !videoSession.isRunning {
        videoSession.startRunning()
    }
}

func stopSession() {
    // Stop the video session if it's running
    if videoSession.isRunning {
        videoSession.stopRunning()
    }
}
b. Call the startSession() and stopSession() functions in the viewDidAppear() and viewWillDisappear() methods of the View Controller, respectively.
override func viewDidAppear() {
     super.viewDidAppear()

     // Start the video session when the view appears
     startSession()
 }

 override func viewWillDisappear() {
     super.viewWillDisappear()

     // Stop the video session when the view disappears
     stopSession()
 }
Step 6: Running Face Detection on Sample Buffers
a. Implement the captureOutput(_:didOutput:from:) method of the A VCaptureVideoDataOutputSampleBufferDelegate protocol.
b. Extract the pixel buffer from the sample buffer.
c. Create a VNImageRequestHandler and perform the face detection request on the pixel buffer.
d. Handle any errors that occur during the face detection process.
func captureOutput(_ output: AVCaptureOutput, didOutput sampleBuffer: CMSampleBuffer, from connection: AVCaptureConnection) {
        // Get the pixel buffer from the sample buffer
        guard let pixelBuffer = CMSampleBufferGetImageBuffer(sampleBuffer) else {
            return
        }

        // Create a new image request handler from the pixel buffer and perform the face detection request
        let requestHandler = VNImageRequestHandler(cvPixelBuffer: pixelBuffer, options: [:])

        do {
            try requestHandler.perform([faceDetectionRequest])
        } catch {
            print("Face detection request failed: \(error)")
        }
    }
Now the full code will look like this.
import Cocoa
import Vision
import AVFoundation
class ViewController: NSViewController, AVCaptureVideoDataOutputSampleBufferDelegate {
    // Outlet for the view that displays the video
    @IBOutlet var videoView: NSView!

    // The preview layer displays the video from the camera
    var previewLayer: AVCaptureVideoPreviewLayer!

    // The video session manages the input and output of the camera
    var videoSession: AVCaptureSession!

    // The face detection request detects faces in the video frames
    var faceDetectionRequest: VNRequest!

    override func viewDidLoad() {
        super.viewDidLoad()

        // Set up the camera and face detection when the view loads
        setupCamera()
        setupFaceDetection()
    }

    override func viewDidAppear() {
        super.viewDidAppear()

        // Start the video session when the view appears
        startSession()
    }

    override func viewWillDisappear() {
        super.viewWillDisappear()

        // Stop the video session when the view disappears
        stopSession()
    }

    override func viewDidLayout() {
        super.viewDidLayout()

        // Update the preview layer's frame when the view's bounds change
        previewLayer.frame = videoView.bounds
    }

    func setupCamera() {
        // Create a new video session
        videoSession = AVCaptureSession()

        // Set the session preset to high quality
        videoSession.sessionPreset = .high

        // Enable layer-backed drawing for the video view
        videoView.wantsLayer = true

        // Get the default camera for video and create an input from it
        guard let camera = AVCaptureDevice.default(.builtInWideAngleCamera, for: .video, position: .front),
            let input = try? AVCaptureDeviceInput(device: camera) else {
                print("Failed to access the camera.")
                return
        }

        // Add the input to the session if possible
        if videoSession.canAddInput(input) {
            videoSession.addInput(input)
        }

        // Create a new preview layer from the session and set its properties
        previewLayer = AVCaptureVideoPreviewLayer(session: videoSession)
        previewLayer.videoGravity = .resizeAspectFill
        previewLayer.frame = videoView.bounds

        // Add the preview layer as a sublayer of the video view's layer
        videoView.layer?.addSublayer(previewLayer)

        // Create a new video data output and set its sample buffer delegate and queue
        let videoOutput = AVCaptureVideoDataOutput()
        videoOutput.setSampleBufferDelegate(self, queue: DispatchQueue.global(qos: .userInteractive))

        // Add the output to the session if possible
        if videoSession.canAddOutput(videoOutput) {
            videoSession.addOutput(videoOutput)
        }
    }

    func setupFaceDetection() {
        // Create a new face detection request with a completion handler that handles the results
        let faceDetectionRequest = VNDetectFaceRectanglesRequest { request, error in
            guard let results = request.results as? [VNFaceObservation] else {
                return
            }

            DispatchQueue.main.async {
                self.handleFaceDetectionResults(results)
            }
        }

        // Store the face detection request for later use
        self.faceDetectionRequest = faceDetectionRequest
    }

    func handleFaceDetectionResults(_ results: [VNFaceObservation]) {
        // Remove any existing face markers
        videoView.subviews.forEach { $0.removeFromSuperview() }

        // Loop through the face detection results
        for face in results {
            // Convert the face's bounding box from normalized coordinates to view coordinates
            let faceBounds = face.boundingBox
            let viewBounds = previewLayer.layerRectConverted(fromMetadataOutputRect: faceBounds)

            // Create a new box to mark the face and set its properties
            let faceMarker = NSBox(frame: viewBounds)
            faceMarker.boxType = .custom
            faceMarker.borderWidth = 2.0
            faceMarker.borderColor = NSColor.green
            faceMarker.cornerRadius = 5.0

            // Add the face marker as a subview of the video view
            videoView.addSubview(faceMarker)
        }
    }

    func startSession() {
        // Start the video session if it's not already running
        if !videoSession.isRunning {
            videoSession.startRunning()
        }
    }

    func stopSession() {
        // Stop the video session if it's running
        if videoSession.isRunning {
            videoSession.stopRunning()
        }
    }

    func captureOutput(_ output: AVCaptureOutput, didOutput sampleBuffer: CMSampleBuffer, from connection: AVCaptureConnection) {
        // Get the pixel buffer from the sample buffer
        guard let pixelBuffer = CMSampleBufferGetImageBuffer(sampleBuffer) else {
            return
        }

        // Create a new image request handler from the pixel buffer and perform the face detection request
        let requestHandler = VNImageRequestHandler(cvPixelBuffer: pixelBuffer, options: [:])

        do {
            try requestHandler.perform([faceDetectionRequest])
        } catch {
            print("Face detection request failed: \(error)")
        }
    }
}
Step 7: Requesting Camera Permission
a. Open the Info.plist file of your project.
b. Right-click on the list and select “Add Row” to add a new entry.
c. Set the Key to “Privacy – Camera Usage Description”.
d. In the Value column, add a brief description explaining why your app needs access to the camera. For example, “This app requires access to the camera to perform face detection.”

Swift Face Detection App Output:

Summary:
Congratulations! You have successfully created a Face Detection app using Swift and the Storyboard interface. In this project, you learned how to set up the camera capture session, configure face detection using the Vision framework, and display bounding boxes around the detected faces in real-time. You can now further enhance your app by adding additional features, such as face tracking or face recognition, based on your specific needs. Have fun exploring the world of computer vision and building amazing applications!
Did you like this article? If Yes, please give DataFlair 5 Stars on Google


