OpenCV Mouse Events
Machine Learning courses with 100+ Real-time projects Start Now!!
Unlock the power of interaction in your image processing endeavours with OpenCV’s captivating mouse events! In the digital realm, where pixels come to life, learn how to harness the click, drag, and magic of the mouse to transform static images into dynamic canvases.
Join us as we delve into the world of OpenCV’s mouse events, where every cursor movement unveils new possibilities.
Let’s Know About Mouse events in OpenCV
Need for Mouse Events:
Mouse events in OpenCV are essential for creating interactive applications that involve user interactions with images and videos. These events allow you to capture different actions performed by the user, such as clicking, moving, and releasing mouse buttons. By responding to these events, you can enable dynamic behaviours like drawing, selecting regions of interest, annotating images, and more. Mouse events enhance user engagement, making applications more intuitive and user-friendly.
List of Possible Mouse Events in OpenCV:
1. cv2.EVENT_MOUSEMOVE: Triggered when the mouse cursor moves over the image or window. Useful for tracking cursor movement and updating visual feedback.
2. cv2.EVENT_LBUTTONDOWN: This occurs when the left mouse button is pressed down. It is commonly used to start actions like drawing or selecting.
3. cv2.EVENT_LBUTTONUP: Triggered when the left mouse button, previously pressed down, is released. Used to finalize actions like completing a drawing.
4. cv2.EVENT_RBUTTONDOWN: This happens when the right mouse button is pressed down. Useful for context menus or alternate interactions.
5. cv2.EVENT_RBUTTONUP: This occurs when the right mouse button, previously pressed down, is released. Concludes actions tied to the right button.
6. cv2.EVENT_MBUTTONDOWN: Triggered when the middle mouse button is pressed down. Can initiate various interactions or commands.
7. cv2.EVENT_MBUTTONUP: This occurs when the middle mouse button, previously pressed down, is released. Concludes actions involving the middle button.
| Sr.No | Mouse event & its Description |
| 1 | cv.EVENT_MOUSEMOVE When the mouse pointer has moved over the window. |
| 2 | cv.EVENT_LBUTTONDOWN Indicates that the left mouse button is pressed. |
| 3 | cv.EVENT_RBUTTONDOWN Event of that, the right mouse button is pressed. |
| 4 | cv.EVENT_MBUTTONDOWN Indicates that the middle mouse button is pressed. |
| 5 | cv.EVENT_LBUTTONUP When the left mouse button is released. |
| 6 | cv.EVENT_RBUTTONUP When the right mouse button is released. |
| 7 | cv.EVENT_MBUTTONUP Indicates that the middle mouse button is released. |
| 8 | cv.EVENT_LBUTTONDBLCLK This event occurs when the left mouse button is double clicked. |
| 9 | cv.EVENT_RBUTTONDBLCLK This indicates that the right mouse button is double clicked. |
| 10 | cv.EVENT_MBUTTONDBLCLK This indicates that the middle mouse button is double clicked. |
| 11 | cv.EVENT_MOUSEWHEEL Positive for forward and negative for backward scrolling. |
These mouse events serve as building blocks for developing interactive image processing and computer vision applications. By responding to these events, you can create a wide range of user interactions, making your applications more engaging and dynamic.
We can Use the following code to check the faculties among OpenCV Mouse Events,
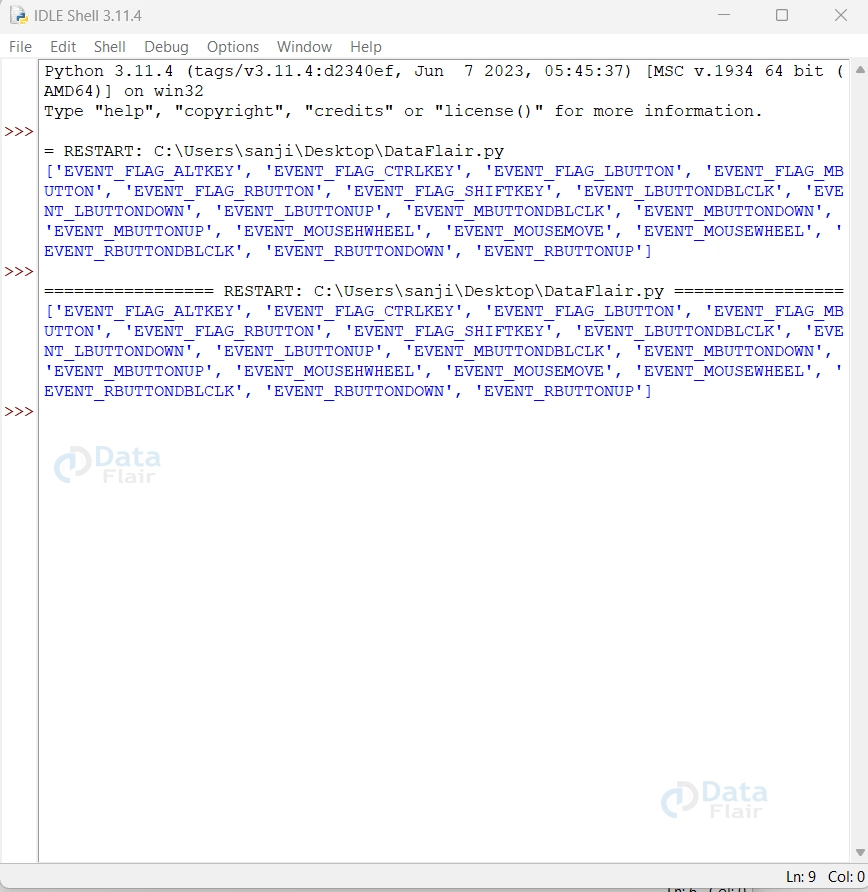
import cv2
# Storing the mouse events supported by OpenCV as a list
mouse_events = [i for i in dir(cv2) if 'EVENT' in i]
# Displaying all the mouse events available
print(mouse_events)
Output:
Mouse Magic Unleashed: Crafting Dynamic Interactions with OpenCV’s Callback Functions
In OpenCV, callback functions play a crucial role in responding to user interactions such as mouse events. These functions are designed to be called automatically by OpenCV whenever a specific mouse event occurs. Callback functions allow you to define custom logic that should be executed in response to different interactions, providing you with the flexibility to create interactive and dynamic applications.
Syntax of Callback Function for Mouse Events:
The syntax of a callback function for mouse events is as follows:
def callback_function(event, x, y, flags, param):
    # Your code here
Parameters of the Callback Function:
The callback function for mouse events receives the following parameters:
1. Event: An integer code representing the type of mouse event that occurred. The event codes correspond to different interactions, such as mouse movement, button presses, and button releases. Common event codes include cv2.EVENT_MOUSEMOVE, cv2.EVENT_LBUTTONDOWN, cv2.EVENT_LBUTTONUP, and so on.
2. x: The x-coordinate of the point where the mouse event occurred.
3. y: The y-coordinate of the point where the mouse event occurred.
4. Flags: Additional flags associated with the event. These flags provide additional context about the event, such as whether a specific keyboard key was pressed simultaneously with the mouse event.
5. param: An optional parameter that you can pass when setting up the mouse callback using cv2.setMouseCallback(). This parameter allows you to pass custom data to your callback function, enabling you to maintain the state or pass additional information as needed.
Inside the callback function, you can use the provided parameters to define specific behaviors based on the type of mouse event that occurred, the coordinates of the event, and any additional context provided by the flags.
By creating and configuring a callback function for mouse events, you can build interactive applications that respond to user interactions in real time, enhancing the user experience and enabling dynamic visual manipulations.
Introduction to Creating Circles Over a Black Blank Window:
Dive into a realm of creativity as we unveil the magic of creating circles on a canvas of infinite possibilities. In this section, we’ll guide you through the captivating process of using OpenCV’s cv2.setMouseCallback() to draw circles over a blank black window. Whether it’s unleashing your inner artist or testing concepts, this technique empowers you to effortlessly craft circles with the precision of your cursor.
Using cv2.setMouseCallback() to Create Circles:
OpenCV’s cv2.setMouseCallback() function enables you to respond to mouse events and seamlessly create circles on a blank window.
Here’s the syntax, parameter explanation, and code with a detailed explanation:
Syntax:
cv2.setMouseCallback(window_name, callback_function)
Parameters:
- Window_name: The name of the window where mouse events are tracked.
- Callback_function: The function that is called when a mouse event occurs.
Code with Explanation:
import cv2
import numpy as np  # Import the NumPy module

# Callback function for drawing circles
def draw_circle(event, x, y, flags, param):
    if event == cv2.EVENT_LBUTTONDOWN:
        cv2.circle(blank_image, (x, y), 20, (255, 255, 255), -1)

# Create a black blank window
window_size = (800, 600)
blank_image = np.zeros((window_size[1], window_size[0], 3), dtype=np.uint8)

cv2.namedWindow("Blank Window")
cv2.setMouseCallback("Blank Window", draw_circle)

while True:
    cv2.imshow("Blank Window", blank_image)
    key = cv2.waitKey(1) & 0xFF
    if key == ord("q"):
        break

cv2.destroyAllWindows()
Output:
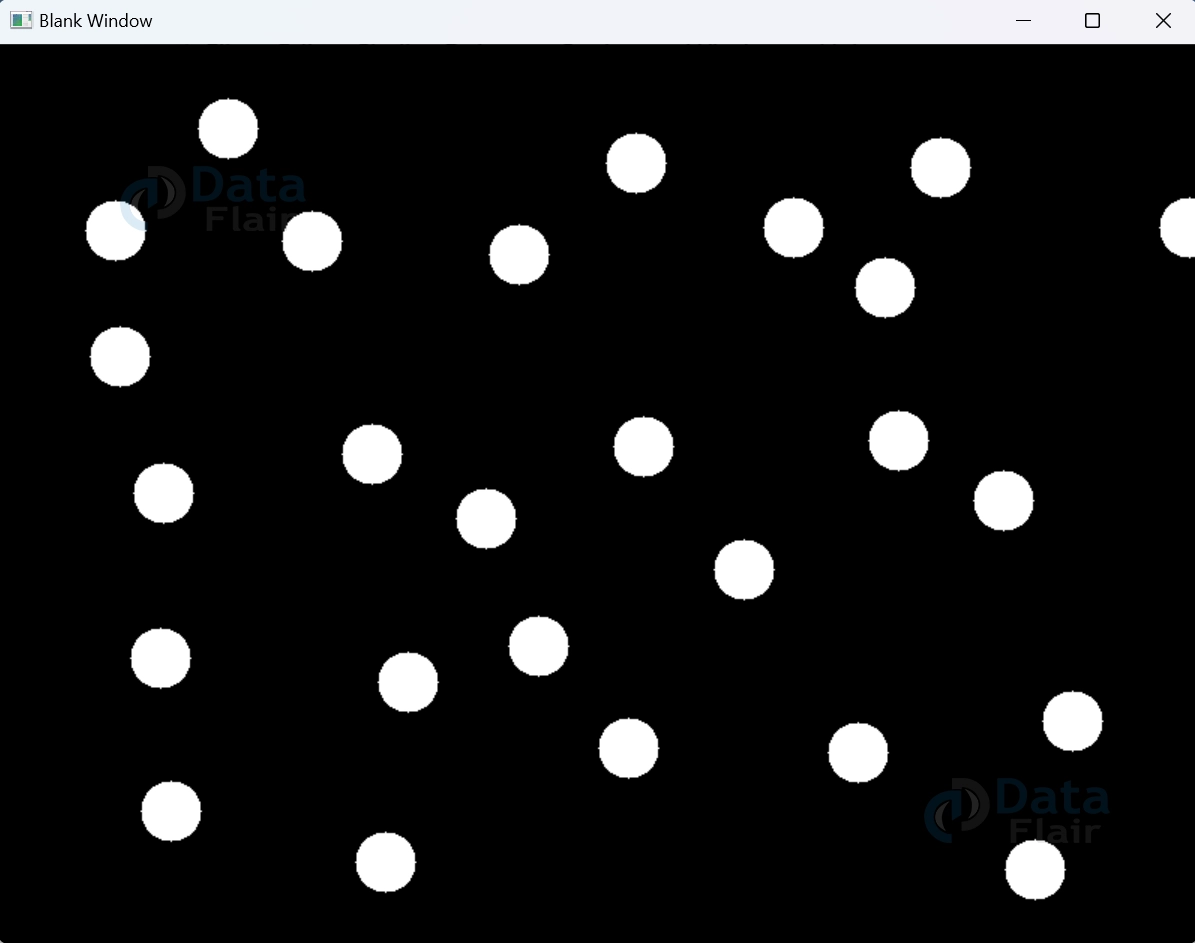
1. We import the required modules, including OpenCV (cv2) and NumPy (np).
2. The draw_circle function is defined as the callback function. It draws a white circle centred at the mouse click position when the left mouse button is pressed.
3. A blank black window is created using NumPy. Its size is defined by window_size.
4. The window is named “Blank Window” using cv2.namedWindow().
5. cv2.setMouseCallback() associates the callback function `draw_circle` with the “Blank Window”. This enables the window to respond to mouse events.
6. The main loop displays the blank window and listens for key presses. Pressing ‘q’ exits the loop and closes the window.
By harnessing the synergy of cv2.setMouseCallback(), you’ll immerse yourself in a world of interactive creativity, drawing circles that reflect your every click on a canvas of endless potential.
Introduction to Creating a Rectangle Over an Image Using Mouse Events:
Unlock the ability to define regions of interest with the elegance of your cursor. In this section, we embark on a journey through OpenCV’s captivating cv2.setMouseCallback() technique, revealing how effortlessly you can draw rectangles over images. Whether it’s pinpointing objects or framing important details, this approach empowers you to create interactive rectangles that add depth to your visual projects.
Using cv2.setMouseCallback() to Create Rectangles:
OpenCV’s cv2.setMouseCallback() function opens the door to dynamic rectangle creation on images.
Below, you’ll find the syntax, parameter explanation, and a code snippet with detailed explanation:
Syntax:
cv2.setMouseCallback(window_name, callback_function)
Parameters:
- Window_name: The name of the window where mouse events are tracked.
- Callback_function: The function that is called when a mouse event occurs.
Code with Explanation:
import cv2
import numpy as np

# Global variables to track rectangle drawing
rectangle_start = None
rectangle_end = None
drawing = False

# Callback function for drawing rectangles
def draw_rectangle(event, x, y, flags, param):
    global rectangle_start, rectangle_end, drawing

    if event == cv2.EVENT_LBUTTONDOWN:
        rectangle_start = (x, y)
        drawing = True
    elif event == cv2.EVENT_LBUTTONUP:
        rectangle_end = (x, y)
        drawing = False

# Create a black blank window
window_size = (800, 600)
blank_image = np.zeros((window_size[1], window_size[0], 3), dtype=np.uint8)

# Create a window and set callback
cv2.namedWindow("Blank Window")
cv2.setMouseCallback("Blank Window", draw_rectangle)

while True:
    display_image = blank_image.copy()

    if rectangle_start and not drawing:
        cv2.rectangle(display_image, rectangle_start, rectangle_end, (0, 255, 0), 2)

    cv2.imshow("Blank Window", display_image)
    key = cv2.waitKey(1) & 0xFF
    if key == ord("q"):
        break

cv2.destroyAllWindows()
Output:
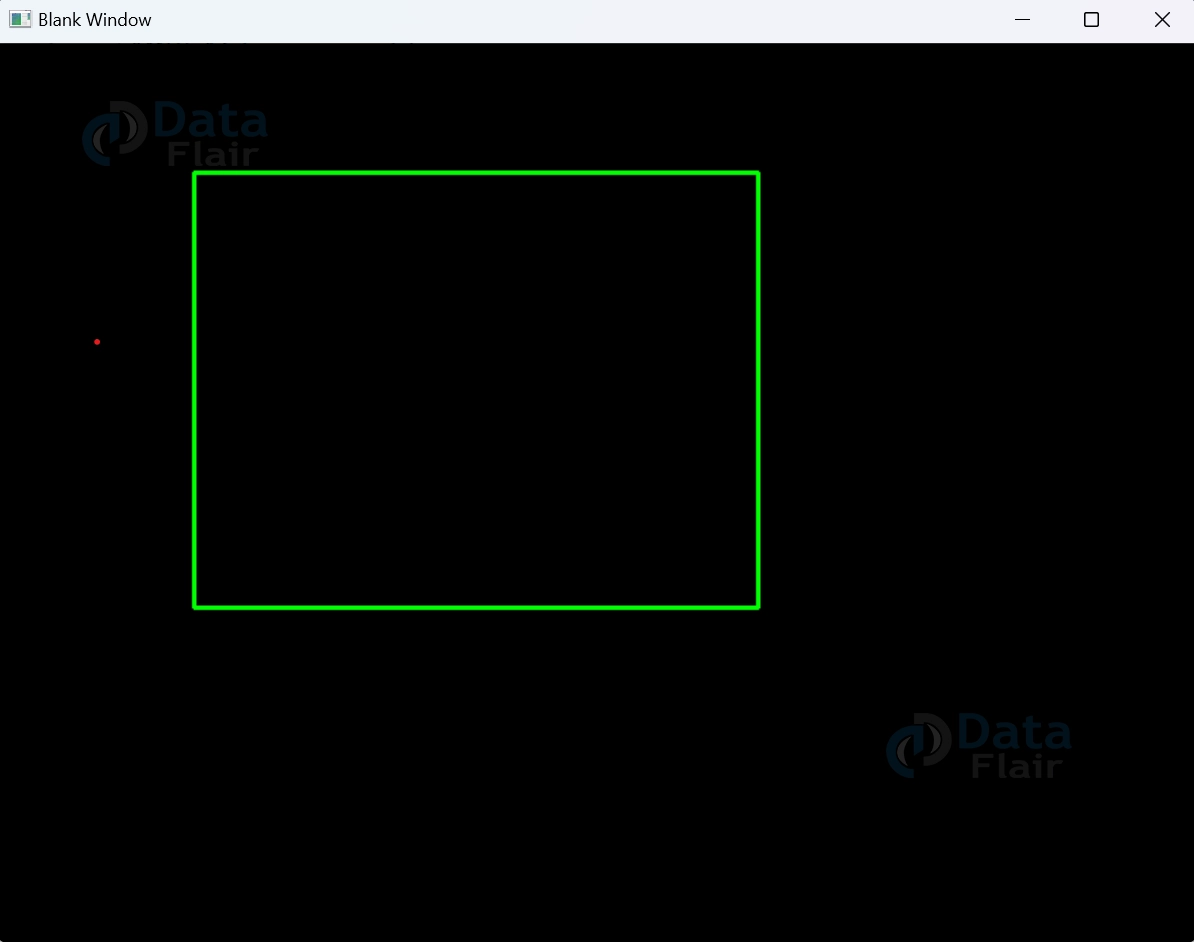
Explanation:
1. We import the necessary modules, including OpenCV (cv2) and NumPy (np).
2. rectangle_start and rectangle_end are global variables to track the points of the rectangle.
3. Drawing indicates if the user is currently drawing the rectangle.
4. The draw_rectangle function serves as the callback. It tracks mouse events to capture the starting and ending points of the rectangle.
5. When the left mouse button is pressed, rectangle_start is set, and drawing is initiated. When the button is released, rectangle_end is set, and drawing is halted.
6. The loaded image is displayed in a window named “Image”.
7. The rectangle, if currently being drawn, is displayed on display_image.
8. Pressing ‘q’ exits the loop and closes the window.
By grasping the concept of cv2.setMouseCallback(), you’ll gain the power to seamlessly draw rectangles over images, enhancing your visual projects with interactive precision and detail.
Using cv2.setMouseCallback() to Use the Mouse as a Paintbrush:
With OpenCV’s cv2.setMouseCallback() function, the potential for turning your cursor into a paintbrush is at your fingertips.
Below, you’ll find the syntax, parameter explanation, and a code snippet with detailed explanation:
Syntax:
cv2.setMouseCallback(window_name, callback_function)
Parameters:
- Window_name: The name of the window where mouse events are tracked.
- Callback_function: The function that is called when a mouse event occurs.
Code with Explanation:
import cv2
import numpy as np

# Global variables for drawing
drawing = False
color = (0, 0, 255)  # BGR color (red)

# Callback function for using the mouse as a paintbrush
def use_paintbrush(event, x, y, flags, param):
    global drawing, color

    if event == cv2.EVENT_LBUTTONDOWN:
        drawing = True
        cv2.circle(painting, (x, y), 10, color, -1)
    elif event == cv2.EVENT_LBUTTONUP:
        drawing = False
    elif event == cv2.EVENT_MOUSEMOVE and drawing:
        cv2.circle(painting, (x, y), 10, color, -1)

# Create a black blank window for painting
window_size = (800, 600)

painting = np.zeros((window_size[1], window_size[0], 3), dtype=np.uint8)


# Create a window and set the callback
cv2.namedWindow("Painting Canvas")

cv2.setMouseCallback("Painting Canvas", use_paintbrush)


while True:
    cv2.imshow("Painting Canvas", painting)
    key = cv2.waitKey(1) & 0xFF
    if key == ord("q"):
        break
    elif key == ord("b"):

        color = (255, 0, 0)  # Change color to blue
    elif key == ord("g"):

        color = (0, 255, 0)  # Change color to green
    elif key == ord("r"):

        color = (0, 0, 255)  # Change color to red

cv2.destroyAllWindows()
Output:

Explanation:
1. We import the necessary modules, including OpenCV (cv2) and NumPy (np).
2. Drawing indicates if you’re currently drawing with the “paintbrush.”
3. The color variable holds the current BGR color value (starting with red).
4. The `use_paintbrush` function serves as the callback. It captures mouse events to draw circles on the “painting” canvas.
5. When the left mouse button is pressed, a circle is drawn at the cursor’s position. The drawing continues as long as the button is held down.
6. Releasing the left mouse button stops drawing.
7. Moving the mouse while holding down the button results in continuous drawing.
8. The blank painting canvas is displayed in a window named “Painting Canvas.
9. Pressing ‘q’ exits the loop and closes the window.
10. Pressing ‘b’, ‘g’, or ‘r’ changes the paintbrush color to blue, green, or red respectively.
By harnessing the potential of `cv2.setMouseCallback()`, you’ll seamlessly transform your cursor into a digital paintbrush, allowing you to express your creativity through vibrant strokes on a canvas of boundless possibilities.
Introduction to Putting Text Over an Image:
Unlock a realm of annotation and communication as we explore the art of adding text overlays to images. In this section, we delve into the captivating process of leveraging OpenCV to effortlessly embed textual information onto visuals. Whether you’re providing context, labelling objects, or personalizing your creations, this technique empowers you to add a dynamic layer of information to your images.
Code for Putting Text Over an Image:
Using OpenCV, adding text over a picture is a simple operation. Here is some sample code that shows how to accomplish this:
import cv2
import numpy as np

# Create a black blank window
window_size = (800, 600)
blank_image = np.zeros((window_size[1], window_size[0], 3), dtype=np.uint8)

# Define text properties
text = "Data Flair"
font = cv2.FONT_HERSHEY_SIMPLEX
font_scale = 1.5
font_color = (255, 255, 255)  # BGR color (white)
thickness = 2

# Get text size
text_size = cv2.getTextSize(text, font, font_scale, thickness)[0]
text_width, text_height = text_size

# Calculate text position
x = (blank_image.shape[1] - text_width) // 2
y = blank_image.shape[0] // 2  # Center vertically

# Put text on the blank image
cv2.putText(blank_image, text, (x, y), font, font_scale, font_color, thickness)

cv2.imshow("Image with Text", blank_image)
cv2.waitKey(0)
cv2.destroyAllWindows()
Output:
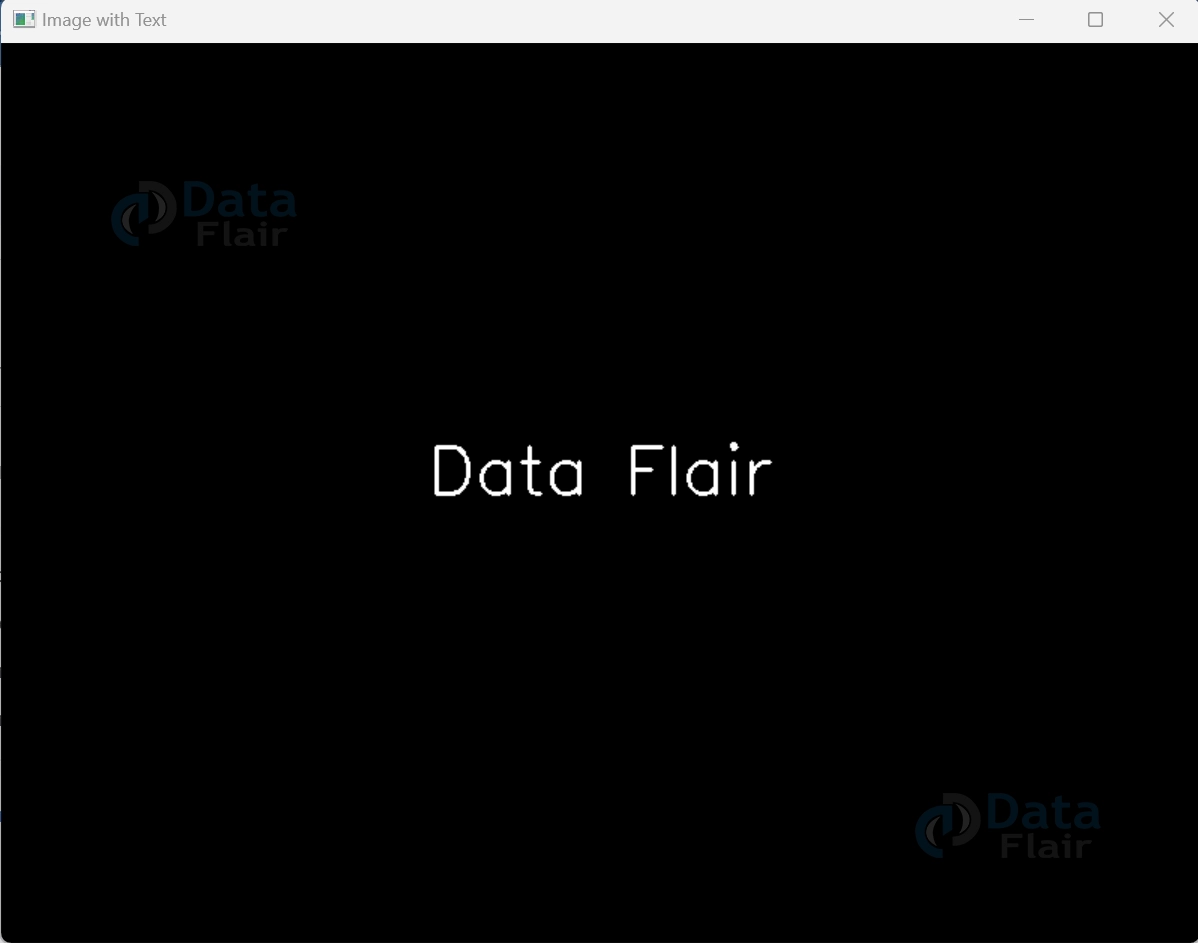
By harnessing the capabilities of OpenCV, you’ll seamlessly infuse your images with textual information, enhancing their communication potential and enabling personalized storytelling.
Summary
Exploring the realm of mouse events in OpenCV has unveiled a world of interactive possibilities for image manipulation and creativity. From creating circles and rectangles to turning the mouse into a digital paintbrush, the dynamic potential of cv2.setMouseCallback() has been revealed. By harnessing this capability, you can effortlessly add text overlays, annotate images, and bring interactivity to your projects.
OpenCV’s mouse events empower you to engage with images in ways that transcend static visuals, enabling you to create intuitive applications, artistic masterpieces, and educational tools. By understanding the syntax, parameters, and practical code examples provided in this article, you’ve gained a toolkit to embark on a journey of dynamic image interactions and enhanced user experiences.
With the power of mouse events in OpenCV at your fingertips, you’re poised to explore, innovate, and transform images into captivating stories that resonate with audiences and breathe life into your visual endeavours.
Did we exceed your expectations?
If Yes, share your valuable feedback on Google


