OpenCV Installation On Windows and Linux
Machine Learning courses with 100+ Real-time projects Start Now!!
Welcome to the exciting world of computer vision! If you’re eager to dive into OpenCV, one of the most popular libraries for image processing and computer vision, you’ll need to start by installing it on your system.
In this article, we’ll guide you through the installation process on both Windows and Linux, sharing our personal tips and tricks along the way. So, let’s get started!
The Available Packages for OpenCV
OpenCV provides different packages that cater to various needs and platforms. Here are some of the main packages offered by OpenCV:
1. opencv-python:
This is the primary package that includes the main components of OpenCV, such as core functionality, image and video I/O, basic image processing, and computer vision algorithms. It is widely used for general computer vision tasks.
2. opencv-contrib-python:
This package extends the functionality of OpenCV by including additional modules and contributed algorithms from the OpenCV community. It provides access to a wide range of advanced computer vision features, such as feature detection and description, object detection, 3D reconstruction, and more.
3. opencv-python-headless:
Similar to the “opencv-python” package, this package provides the core functionality of OpenCV. However, it does not include any graphical user interface (GUI) dependencies, making it suitable for headless systems or servers without display capabilities.
4. opencv-python-<version>-manylinux<version><ABI>:
These packages are specifically built for Linux systems, following the manylinux standards. The version and ABI numbers vary depending on the specific release. They are pre-compiled packages that simplify the installation process on Linux distributions, ensuring compatibility across different systems.
5. opencv-python-win<version>-<architecture>:
These packages are tailored for Windows systems, providing pre-compiled binaries for easy installation. The version and architecture numbers correspond to the specific release and the system architecture (32-bit or 64-bit), respectively.
How to install OpenCV on Windows?
Preparing your development environment is the first step toward exploring the exciting world of computer vision using OpenCV. In this comprehensive guide, we’ll walk you through the necessary steps to configure your environment for OpenCV on Windows. Follow along, and soon you’ll be ready to embark on your computer vision journey!
Prerequisites for Installing OpenCV on Windows:
1. Python: Install Python on your Windows system. OpenCV supports Python 3.x, so you can download the latest version of Python 3 from the official Python website and follow the installation instructions.
2. Pip: Ensure that pip (Python Package Installer) is installed along with Python. The latest Python versions usually come with pip by default. You can check its presence by running `pip –version` in the Command Prompt.
3. C++ Build Tools: To build OpenCV from source on Windows, you’ll need C++ build tools. If you plan to compile OpenCV yourself, you can install the Microsoft Visual C++ Build Tools. You can download and install them from (https://visualstudio.microsoft.com/visual-cpp-build-tools/).
4. NumPy: NumPy is a fundamental package for scientific computing in Python and is often required by OpenCV. Install it using pip:
pip install numpy
5. CMake: Download and install CMake (https://cmake.org/download/) to configure and generate the build files for OpenCV. Make sure to add CMake to your system PATH during installation so you can use it from the Command Prompt.
Implement The Following steps for a clean installation of OpenCV on Windows :
Step 1: Installing Python and pip
1. Begin by visiting the official Python website and downloading the latest version of Python suitable for your operating system.
2. Run the installer and follow the provided instructions to complete the installation process.
3. During the installation, ensure that the option “Add Python to PATH” is selected to make Python easily accessible from the command line.
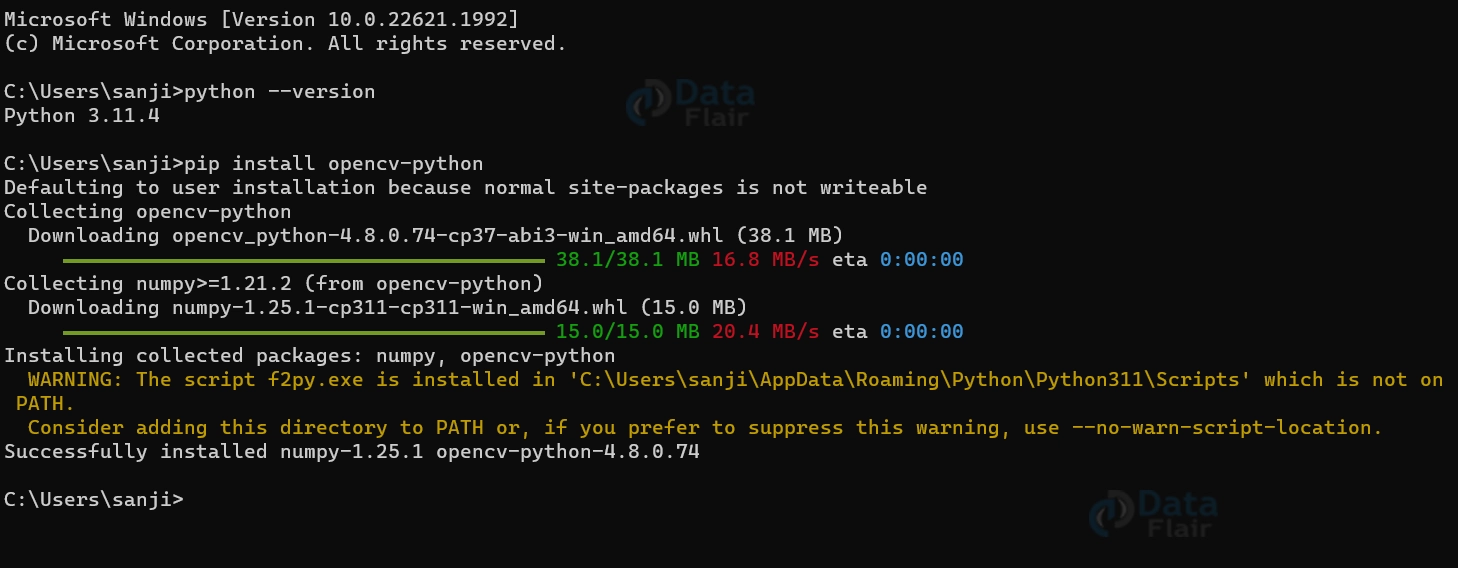
4. To verify the installation, open a new command prompt or terminal window and enter the commands “python –version” and “pip –version”. This should display the installed Python and pip versions.
python --version
Step 2: Installing OpenCV via pip:
1. Open a command prompt window.
2. Use the following command to install OpenCV using pip:
pip install opencv-python
3. Allow the installation to proceed, as pip will automatically download and install the appropriate version of OpenCV for your system.
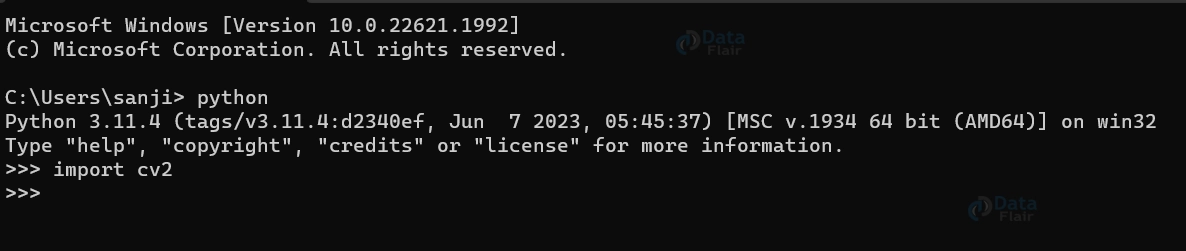
Step 3: Verifying the Installation:
1. In the command prompt or terminal window, enter the Python interpreter by typing “python”.
2. Confirm the successful installation by importing the OpenCV module
3. If there are no error messages, it indicates that the installation was successful
import cv2
Step 4: Optional – Installing Additional OpenCV Modules:
1. OpenCV provides various additional modules for specialized functionalities, such as image processing, computer vision algorithms, and machine learning.
2. To install additional modules, use the following pip command:
pip install opencv-contrib-python
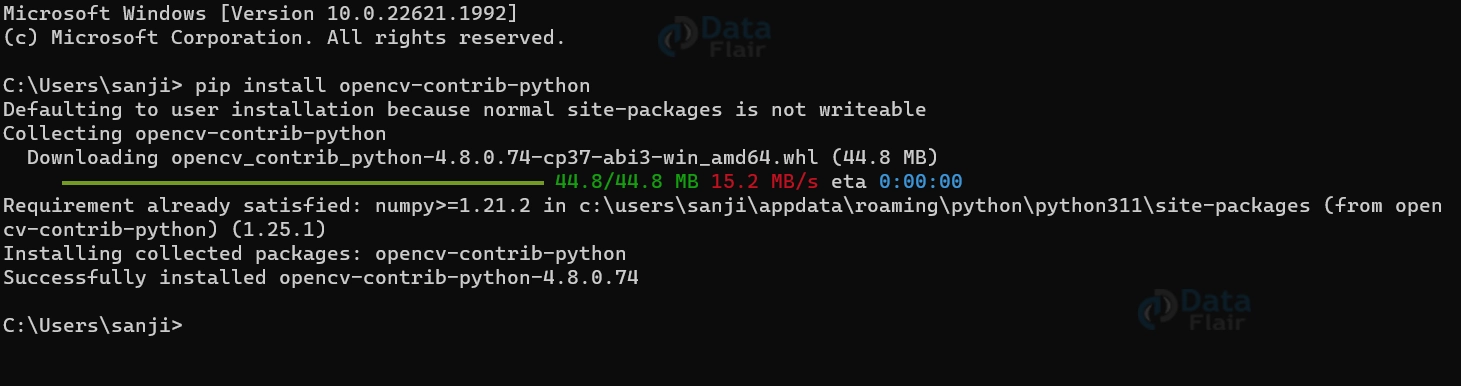
This command installs the complete package, including the additional modules. With Python, pip, and OpenCV installed, you are ready to dive into the vast realm of computer vision.
How to install OpenCV on Linux?
Installing OpenCV on Linux involves a few steps, and the process may vary slightly depending on the Linux distribution you are using. Here’s a general guide to installing OpenCV on Linux:
Prerequisites for Installing OpenCV on Linux:
1. Python: Most Linux distributions come with Python pre-installed. However, it’s essential to verify that Python is installed by running `python –version` in the terminal.
2. Pip: Ensure that pip is installed along with Python. You can check its presence by running `pip –version` in the terminal.
3. C++ Compiler and Build Essentials: Install the necessary build tools and compilers, such as GCC (GNU Compiler Collection), g++, and Make, which are required to compile OpenCV from source. On Debian-based distributions (e.g., Ubuntu), you can install them using the command:
sudo apt install build-essential
4. CMake: Install CMake, a cross-platform build tool, which is used to configure and generate the build files for OpenCV. On Debian-based distributions, you can install CMake using the command:
sudo apt install cmake
5. NumPy: NumPy is a fundamental package for scientific computing in Python and is often required by OpenCV. Install it using pip:
pip install numpy
6. GTK+: For graphical user interface support in OpenCV, you may need to install GTK+ development libraries and packages, depending on your distribution. On Debian-based distributions, you can install them using the command:
sudo apt install libgtk-3-dev
Implement The Following steps for a clean installation of OpenCV on a Linux Operating System :
Step 1: Update System Packages:
1. Open a terminal window.
2. Update the package lists of your package manager using the appropriate command for your distribution. For example:
– Ubuntu/Debian: `sudo apt update`
– Fedora: `sudo dnf update`
– Arch Linux: `sudo pacman -Syu`
Step 2: Install Required Dependencies:
1. Install the necessary dependencies by running the appropriate command for your distribution:
- Ubuntu/Debian: `sudo apt install build-essential cmake git libgtk2.0-dev pkg-config libavcodec-dev libavformat-dev libswscale-dev`
- Fedora: `sudo dnf install gcc-c++ cmake git gtk2-devel pkgconfig ffmpeg-devel`
- Arch Linux: `sudo pacman -S base-devel cmake git gtk2 pkg-config ffmpeg`
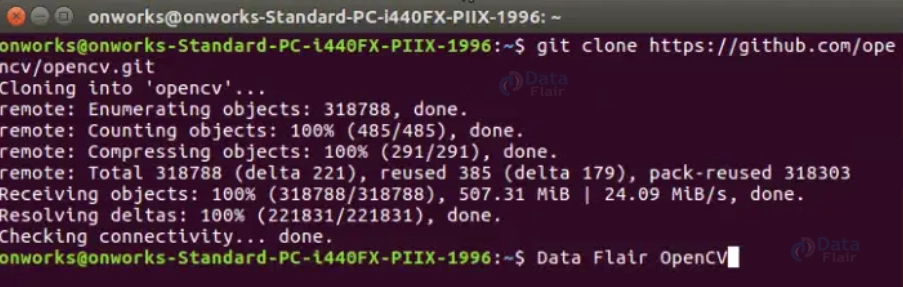
Step 3: Clone OpenCV Repository:
Use git to clone the OpenCV repository from GitHub by running the following command:
git clone https://github.com/opencv/opencv.git
Step 4: Build and Install OpenCV:
1. Create a build directory within the cloned OpenCV repository
cd opencv
mkdir build
cd build
2. Generate the build files using CMake. This step configures the build process and ensures that all dependencies are properly detected.
cmake ..
3. Build OpenCV by running the build command. This will compile the OpenCV source code.
make -j$(nproc)
4. Install OpenCV system-wide by executing the installation command with appropriate permissions. This will copy the necessary files to their respective locations.
sudo make install
Step 5: Configure Shared Libraries:
1. Update the shared library cache to ensure that OpenCV libraries are properly recognized.
2. Verify the installation by checking the OpenCV version using the appropriate command.
Summary
The process of installing OpenCV on both Windows and Linux involves several steps. On Windows, you download the OpenCV installer from the official website and run it to install OpenCV. On Linux, you update system packages, install required dependencies, clone the OpenCV repository, build and install OpenCV using CMake, and configure shared libraries.
By following our personal guidance and conversational instructions, you’ve taken a crucial step towards unlocking the immense potential of computer vision. Now, it’s time to bring your imagination to life and explore the countless possibilities that OpenCV offers.
If you are Happy with DataFlair, do not forget to make us happy with your positive feedback on Google


