OpenCV Eye Blink Detection Project
Machine Learning courses with 100+ Real-time projects Start Now!!
Eye blink detection using OpenCV is a way to detect when someone blinks in a video stream in real time. This technique is useful in many situations, such as detecting if a driver is getting tired, if a worker is getting fatigued, or for analyzing how people interact with computers.
Using OpenCV, we can locate the eyes in a video stream and measure the distance between certain landmarks on the eyes. By doing this, we can determine if someone blinks by analyzing the ratio between these distances. This technique allows us to detect blinks accurately and quickly, which can help us trigger an action based on the detection.
Background
Eye blink detection is an important application in computer vision, and OpenCV is a popular library for implementing it. The eye aspect ratio (EAR) is used to detect blinks by calculating the distance between eye landmarks. OpenCV can capture live video and apply facial and landmark detectors to calculate the EAR. If the EAR drops below a certain threshold for a certain number of frames, a blink is detected and a message can be displayed. This technique can be used for driver drowsiness detection, emotion recognition, and more.
Eye Aspect Ratio (EAR)
The Eye Aspect Ratio (EAR) is a mathematical formula used to measure the degree to which the eyes are open or closed. It works by comparing the length of the horizontal landmarks of the eyes with the length of the vertical landmarks. When a person blinks, the eyes are closed, and the distance between the horizontal landmarks and the vertical landmarks changes. The EAR value drops below a certain threshold, indicating that a blink has occurred. By monitoring the EAR value, we can detect when a person blinks, even if we cannot see their eyes directly.
Mathematical formula of EAR
The EAR formula can be written without the vertical line as:
EAR = ( ||p2 – p6|| + ||p3 – p5|| ) / ( 2 * ||p1 – p4|| )
where p1 to p6 represent the six landmark points of the eye, and || || denotes the Euclidean distance between two points.
Techniques
Eye blink detection using OpenCV involves analyzing video frames to detect changes in the eyes, indicating a blink. Techniques like EAR, motion detection, Haar Cascades, optical flow, and deep learning are used to detect blinks. These techniques have applications in fatigue detection, human-computer interaction, and security.
Prerequisites for Eye Blink Detection Using OpenCV
It is important to have a solid understanding of the Python programming language and the OpenCV library. Apart from this, you should have the following system requirements.
1. Python 3.7 and above
2. Any Python editor (VS code, Pycharm etc.)
Download OpenCV Eye Blink Detection Project
Please download the source code of OpenCV Eye Blink Detection Project: OpenCV Eye Blink Detection Project Code.
Installation
Open windows cmd as administrator
1. To install the opencv library run the command from the cmd.
pip install opencv-python
2. To install the dlib library run the command from the cmd.
pip install dlib
3. To install the imutils library run the command from the cmd.
pip install imutils
4. To install the scipy library run the command from the cmd.
pip install scipy
Let’s Implement It
To implement it follow the below step.
1. First of all we are importing all the necessary libraries that are required during implementation.
import cv2
import dlib
import imutils
from scipy.spatial import distance as dist
from imutils import face_utils
2. The variables blink_threshold, frame_success, and frame_count have been initialized. The blink_threshold is set to 0.5, the frame_success is set to 2, and the frame_count is set to 0.
blink_threshold = 0.5
frame_success = 2
frame_count = 0
3. This line of code initializes a video capture object named “cam” to capture video from the default camera (index 0) on your computer.
cam = cv2.VideoCapture(0)
4. The two lines of code retrieve the starting and ending indexes of the left and right eye landmarks using a dictionary called FACIAL_LANDMARKS_IDXS, which is located in the face_utils module of the dlib library.
(L_start, L_end) = face_utils.FACIAL_LANDMARKS_IDXS["left_eye"]
(R_start, R_end) = face_utils.FACIAL_LANDMARKS_IDXS['right_eye']
5. The line of code initializes the face detector from the dlib library, which can detect faces in images and video streams. The “get_frontal_face_detector()” function loads a pre-trained model that can identify faces that are facing forward in an image or video.
detector = dlib.get_frontal_face_detector()
6. This code loads a pre-trained model from the dlib library that predicts facial landmarks (such as eyes, nose, mouth) in an image or video frame. It’s accurate because it was trained on a large dataset of annotated facial images.
predict = dlib.shape_predictor('Model/shape_predictor_68_face_landmarks.dat')
7. This Python function calculates the Eye Aspect Ratio (EAR) of a given eye landmark set. It computes the distance between the vertical eye landmarks and the distance between the horizontal eye landmarks using the Euclidean distance formula. Then, it calculates the EAR by dividing the sum of vertical distances by the horizontal distance. The function returns the EAR value as output.
def EAR_calculate(eye) :
    a1 = dist.euclidean(eye[1] , eye[5])
    a2 = dist.euclidean(eye[2] , eye[4])
    m = dist.euclidean(eye[0],eye[3])
    EAR = (a1+a2) / m
    return EAR
8. This function draws lines and circles on an image to mark the eye landmarks, which can be useful for visualizing the detected landmarks in an image.
def eyeLandmark(img , eyes):
    for eye in eyes:
        x1,x2 = (eye[1],eye[5])
        x3,x4 = (eye[0],eye[3])
        cv2.line(img,x1,x2,(178,200,226),2)
        cv2.line(img, x3, x4, (178,200,226), 2)
        for i in range(6):
            cv2.circle(img, tuple(eye[i]), 3, (200, 223, 0), -1)
    return img
9. Start the while loop.
while True :
10. This if statement checks if the video has ended and resets the frame position to the beginning for playing the video in a loop.
if cam.get(cv2.CAP_PROP_POS_FRAMES) == cam.get(cv2.CAP_PROP_FRAME_COUNT) :
        cam.set(cv2.CAP_PROP_POS_FRAMES, 0)
11. This reads a frame from the video capture object cam. It returns two values: ‘ret’ which is a boolean indicating if the frame was successfully read or not, and ‘frame’, which is the actual image frame that was read from the video.
ret,frame = cam.read()
12. This line of code resizes the input frame using the “imutils” library’s “resize” function. The width of the frame is set to 512 pixels, and the height is automatically adjusted to maintain the aspect ratio.
frame = imutils.resize(frame,width=512)
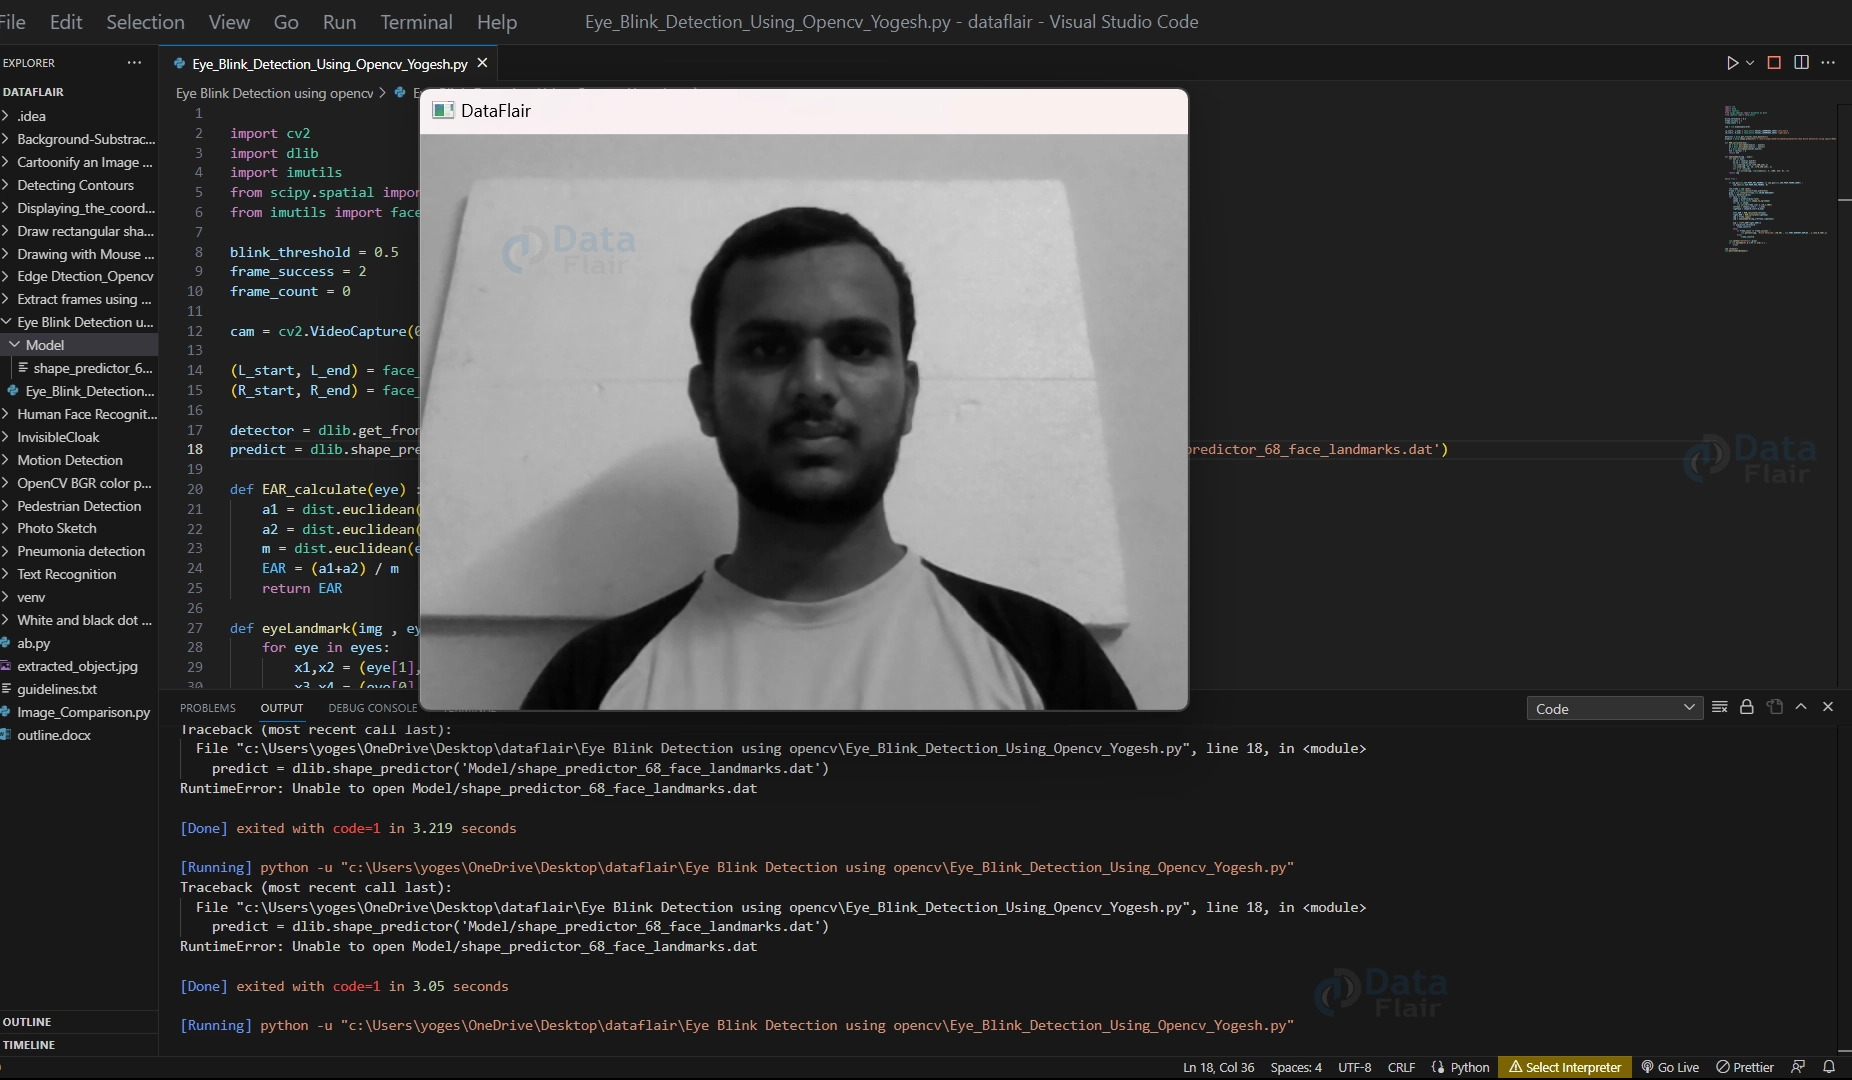
13. Changing color space BGR to GRAY using cv2.cvtColor() function..
gray = cv2.cvtColor(frame,cv2.COLOR_BGR2GRAY)
Output of this step
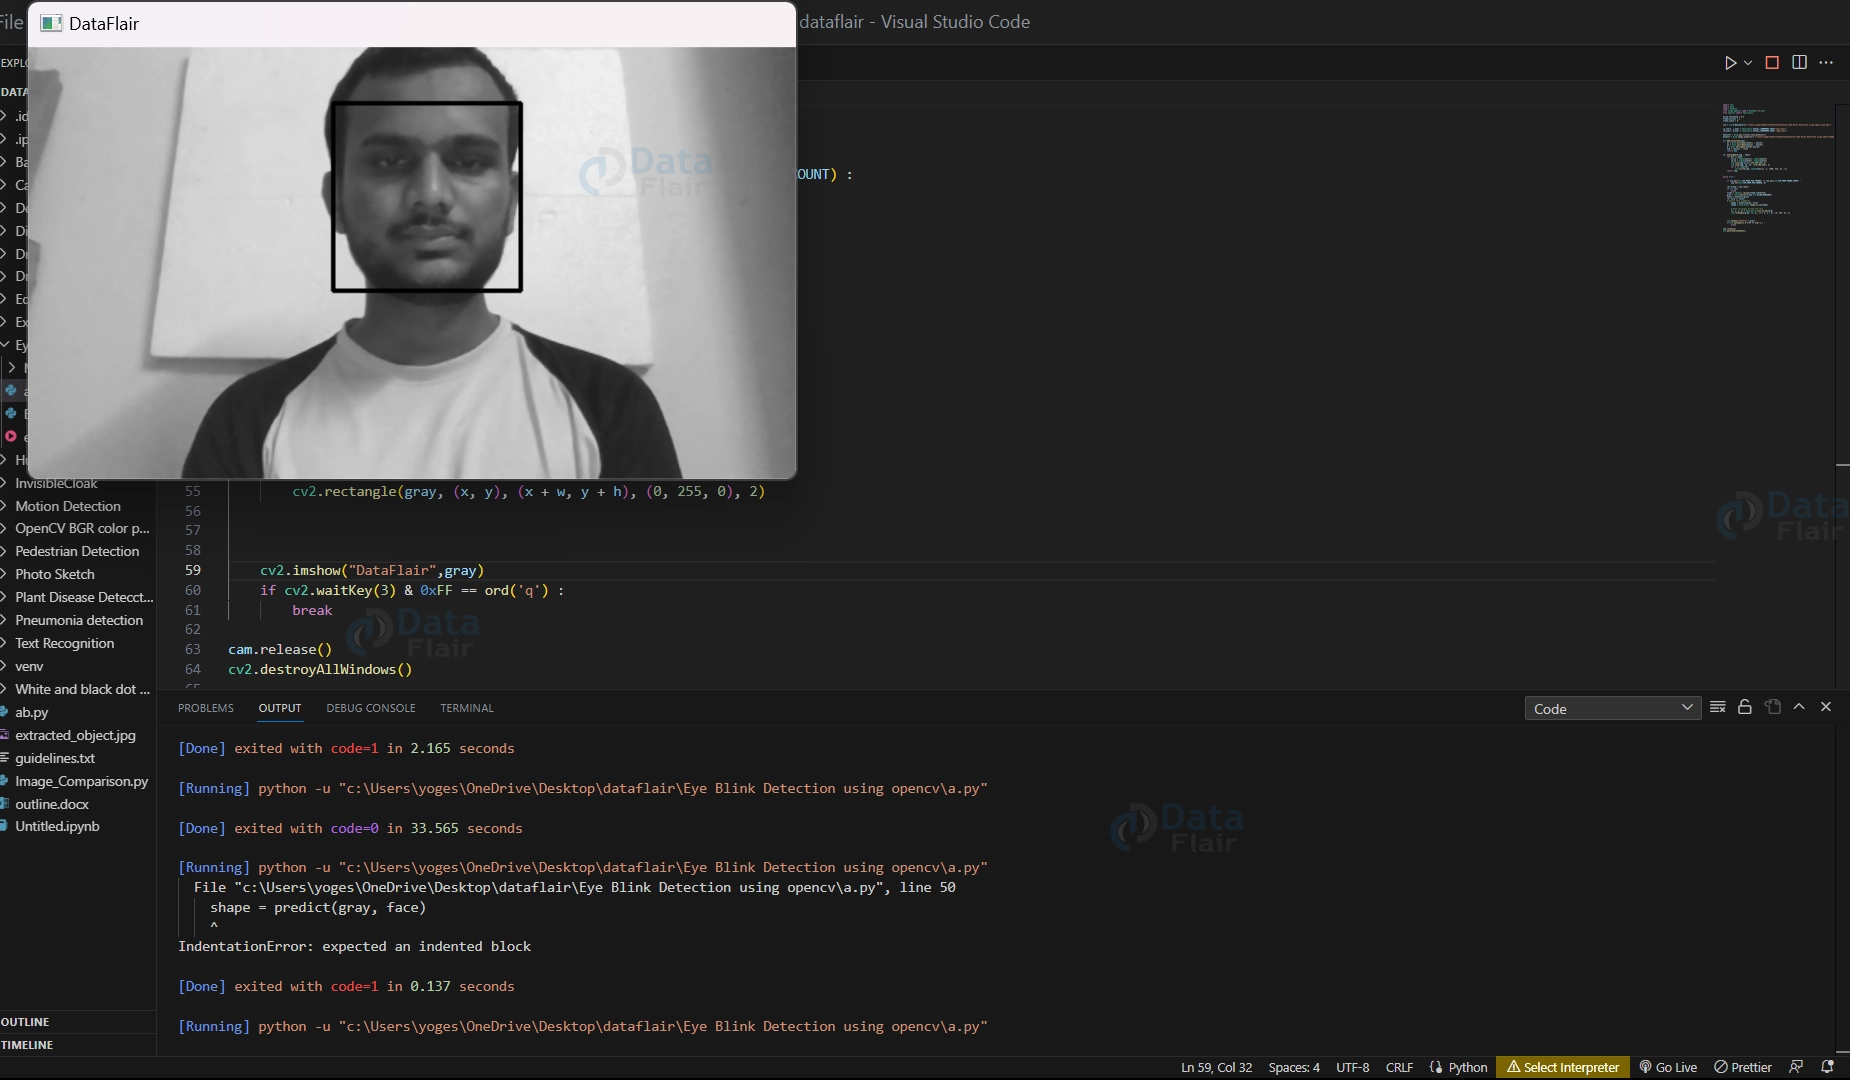
14. This line of code detects faces in a grayscale image using the previously initialized face detector object from the dlib library.
faces = detector(gray)
Output of this step
15. Start the for loop.
for face in faces :
16. These two lines of code use a pre-trained model to detect and locate the facial landmarks on a detected face region in a grayscale image.
shape = predict(gray,face)
shape = face_utils.shape_to_np(shape)
Output of this step

[Running] python -u “c:\Users\yoges\OneDrive\Desktop\dataflair\Eye Blink Detection using opencv\a.py”
Output of shape_predictor:
<_dlib_pybind11.full_object_detection object at 0x000001C7623BF5B0>
Output of shape_predictor:
<_dlib_pybind11.full_object_detection object at 0x000001C7623BF4B0>
Output of shape_predictor:
<_dlib_pybind11.full_object_detection object at 0x000001C753483C70>
Output of shape_predictor:
<_dlib_pybind11.full_object_detection object at 0x000001C7623BF330>
Output of shape_predictor:
<_dlib_pybind11.full_object_detection object at 0x000001C7534850F0>
Output of shape_predictor:
<_dlib_pybind11.full_object_detection object at 0x000001C7623BF4B0>
Output of shape_predictor:
<_dlib_pybind11.full_object_detection object at 0x000001C753483C70>
17. This for loop draws small circles around all detected facial landmarks on the original image to visualize them.
for lm in shape:
            cv2.circle(frame,(lm),3,(10,2,200))
18. These two lines of code separate the landmarks of the left and right eyes from the full set of facial landmarks detected by the shape predictor model.
lefteye = shape[L_start : L_end]
righteye = shape[R_start:R_end]
19. These two lines of code calculate the Eye Aspect Ratio (EAR) of the left eye and right eye by passing the landmark positions of each eye to a function. The EAR values for each eye are stored in separate variables. The EAR is a metric used to determine the degree of eye opening and can be used to detect fatigue or drowsiness.
left_EAR = EAR_calculate(lefteye)
right_EAR = EAR_calculate(righteye)
20. The first line creates a copy of the original image and the second line draws lines and circles on the copied image to mark the eye landmarks. The resulting image is used for visualization purposes.
img = frame.copy()
img = eyeLandmark(img,[lefteye,righteye])
21. This line of code calculates the average of the Eye Aspect Ratio (EAR) values for the left and right eyes by adding them and dividing the result by 2. The average EAR value is stored in a variable called “avg”. This value is useful for detecting eye blinks or measuring eye fatigue.
avg = (left_EAR+right_EAR)/2
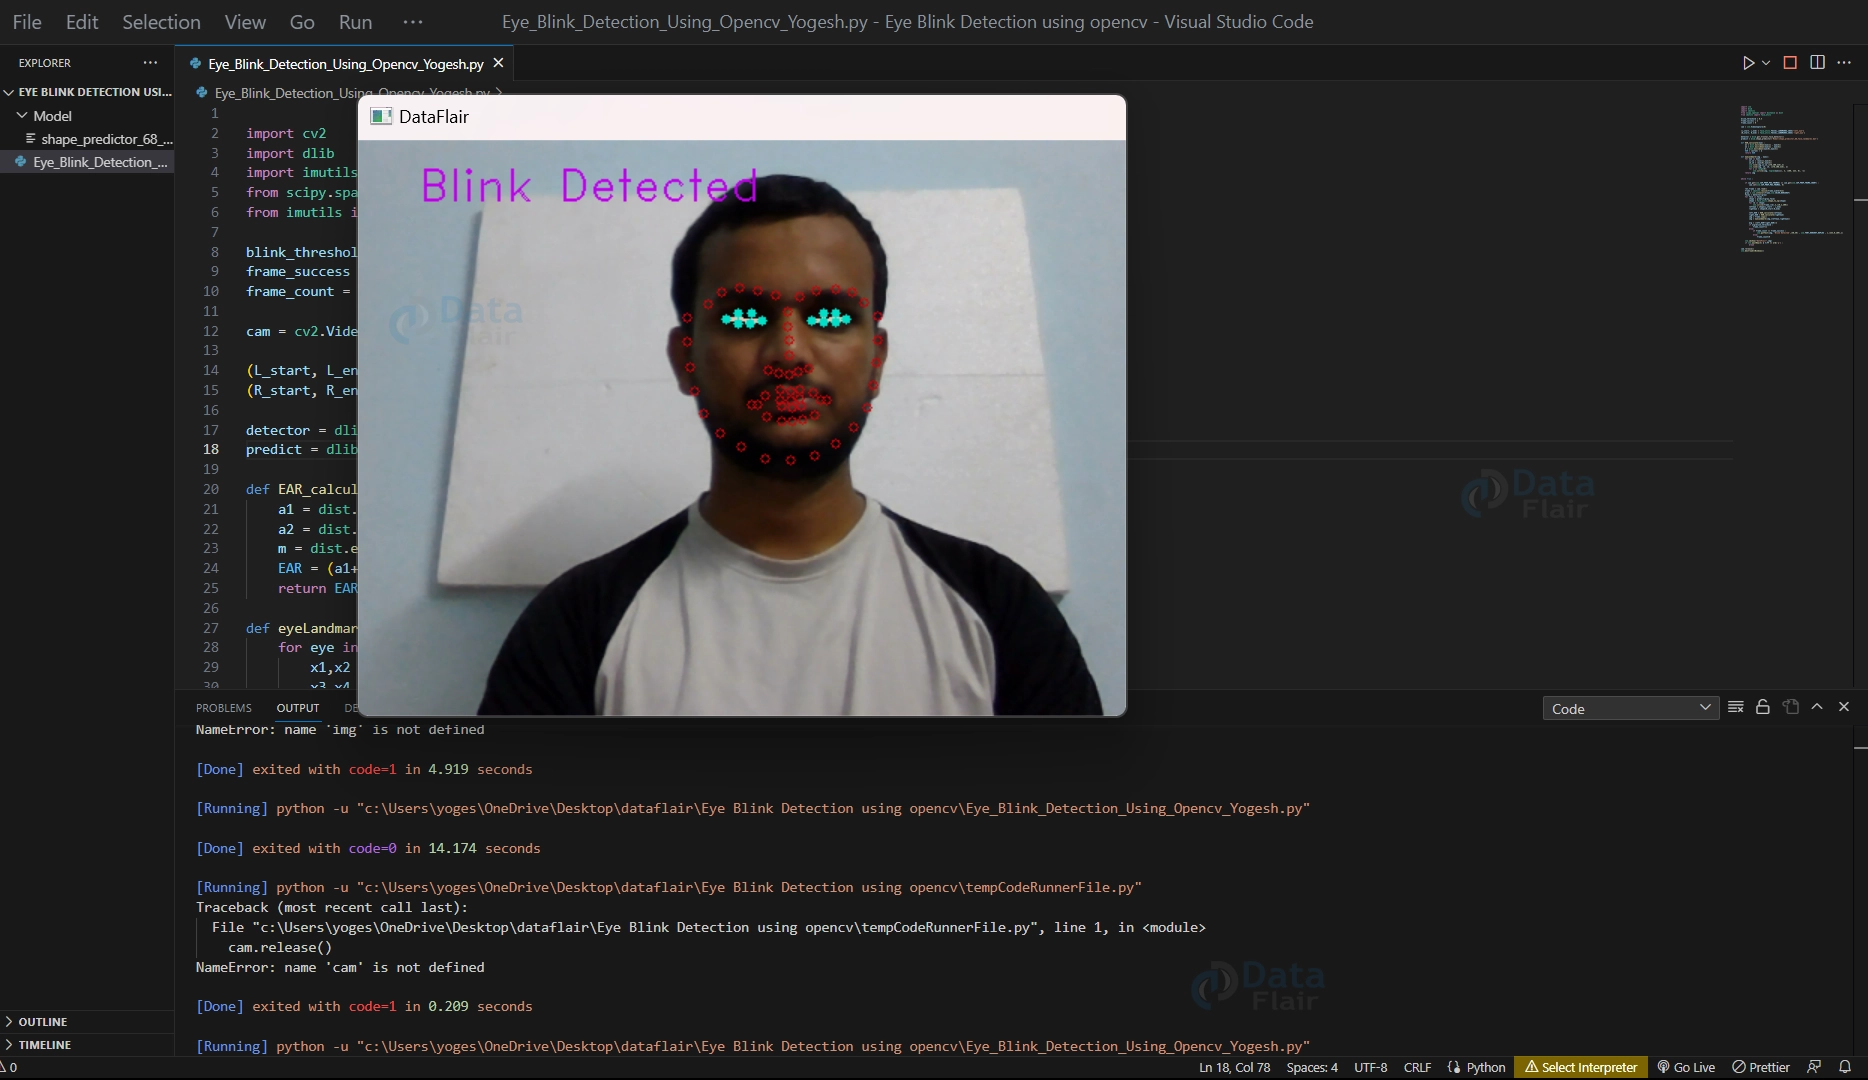
22. This code block checks if the person’s eyes are closed or nearly closed by comparing the average Eye Aspect Ratio (EAR) with a threshold value. If the EAR is below the threshold, a frame counter is incremented. If the EAR is above the threshold, the code checks if the frame counter has reached a certain value. If it has, it means that a blink has occurred, and the code adds the text “Blink Detected” to the image. Otherwise, the frame counter is reset. This code is used to detect eye blinks in a video stream.
if avg<blink_threshold :
            frame_count+=1
        else:
            if frame_count >= frame_success :
                cv2.putText(img, 'Blink Detected',(40,40) , cv2.FONT_HERSHEY_DUPLEX , 1,(233,0,189),1)
            else:
                frame_count=0
Note:- you have to include steps 16 to 22 under 15th for loop.
23. This code displays the image with marked eye landmarks and “Blink Detected” text if applicable. It waits for a key event and if the user presses ‘q’, it terminates the program. This block is used to show the real-time blink detection output to the user.
cv2.imshow("DataFlair",img)
    if cv2.waitKey(3) & 0xFF == ord('q') :
        break
Note:- you have to include step no 23 under the while loop.
24. These lines of code stop the video capture and close all windows opened by the program to free up any resources used and ensure that all windows are closed before the program terminates.
cam.release()
cv2.destroyAllWindows()
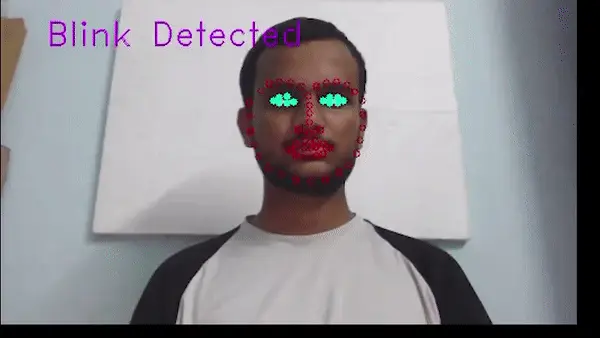
OpenCV Eye Blink Detection Output
Eye Blink Detection from Video
For this pass the path of the video file in the VideoCapture() function.
cam = cv2.VideoCapture('C:/Users/yoges/OneDrive/Desktop/dataflair/Eye Blink Detection using opencv/eye.mp4')
Output
Conclusion
Eye detection using OpenCV is a useful tool for real-time detection of eye blinks from a video stream. It utilizes facial landmark detection and EAR computation to detect eye blinks by setting a blink threshold and tracking consecutive frames where the eyes are closed.
This technique has potential applications in various fields, including drowsiness detection and fatigue monitoring. OpenCV and Python provide an accessible and powerful platform for anyone interested in real-time eye tracking and analysis.
If you are Happy with DataFlair, do not forget to make us happy with your positive feedback on Google


hi professor,
may I ask why the EAR is not divided as ‘EAR = (a1+a2) /2* m’, which looks same as the formula?
def EAR_calculate(eye) :
a1 = dist.euclidean(eye[1] , eye[5])
a2 = dist.euclidean(eye[2] , eye[4])
m = dist.euclidean(eye[0],eye[3])
EAR = (a1+a2) / m
return EAR