Node.js Installation in Easy Steps
Expert-led Online Courses: Elevate Your Skills, Get ready for Future - Enroll Now!
In this article, we will walk through the step-by-step process for node.js installation in our system. All the popular operating systems like windows, linux, mac etc supports node.js.
About node.js
We know that javascript can run on browsers but how can we run javascript outside the browser? Yes it is node.js that provides an environment to run javascript outside the browser. Node.js is basically a runtime environment for javascript using which we can write our backend logic using javascript language.
Steps for Installing Node.js on windows:
1. Go to the official website of node.js
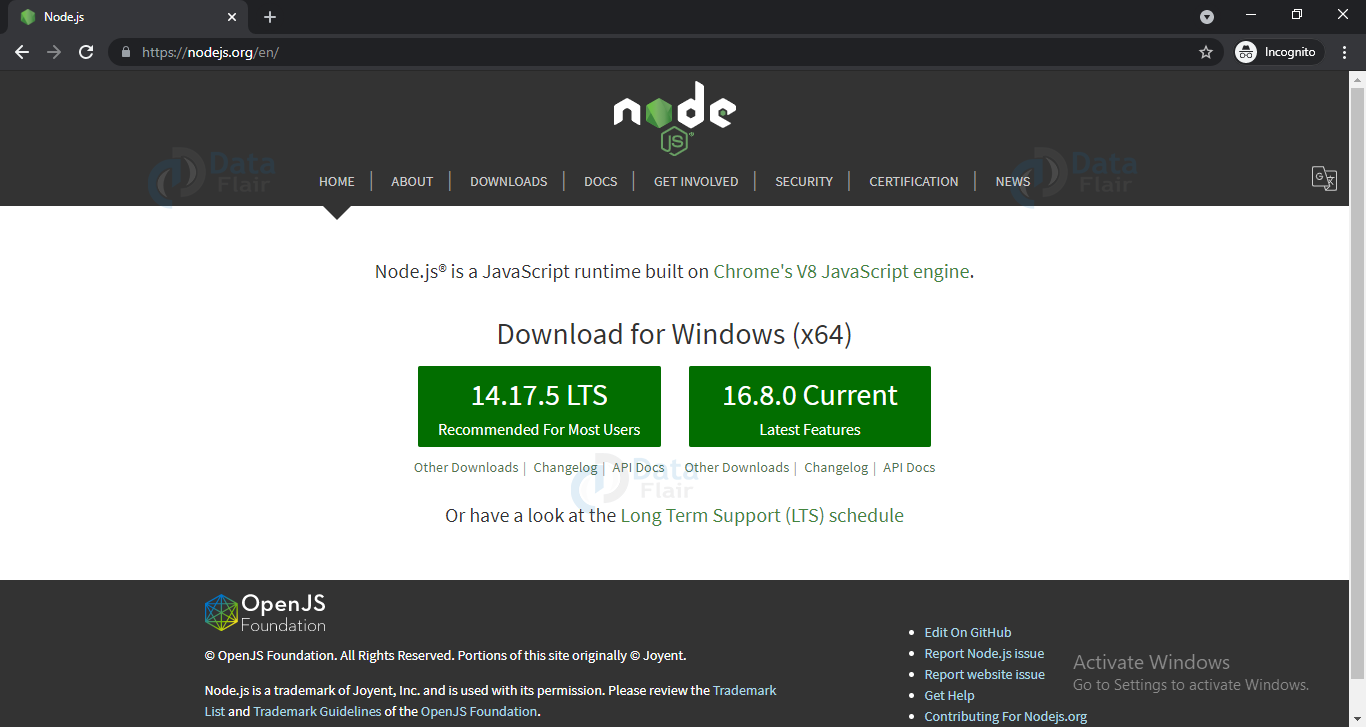
2. Click on the version of Node JS that you want to download. (for now, we will be downloading the latest version)
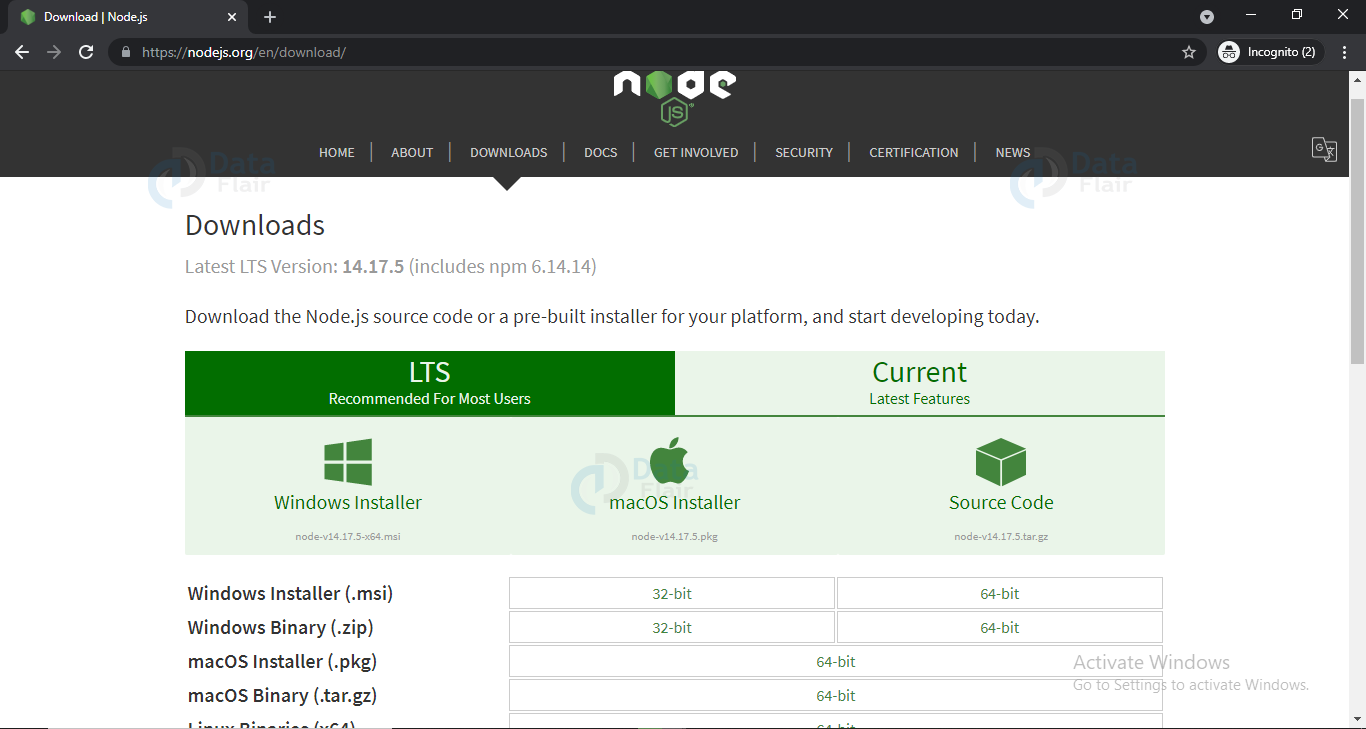
3. If you want to download an older version or if you want to download according to some hardware specification then click on “downloads”.
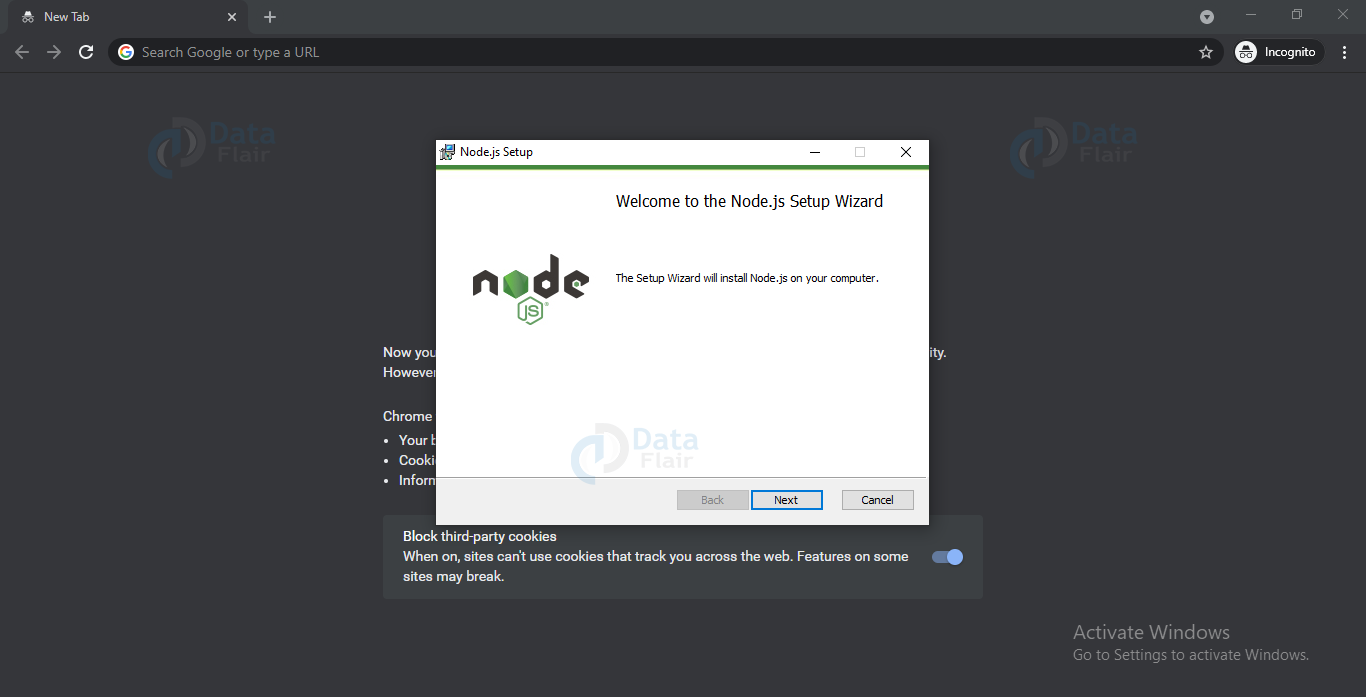
4. Once the download gets complete, double click on it to begin the installation process.
5. Click on the next button.
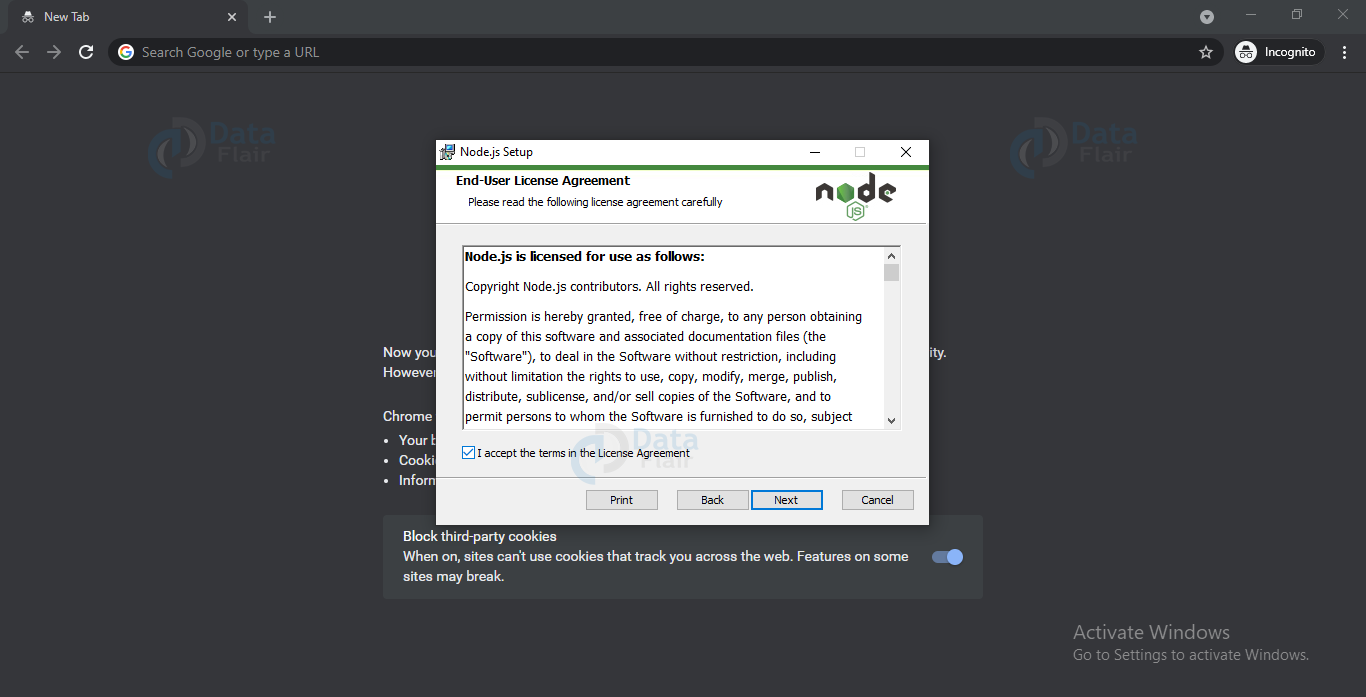
6. Click on the check box and then click the next button.
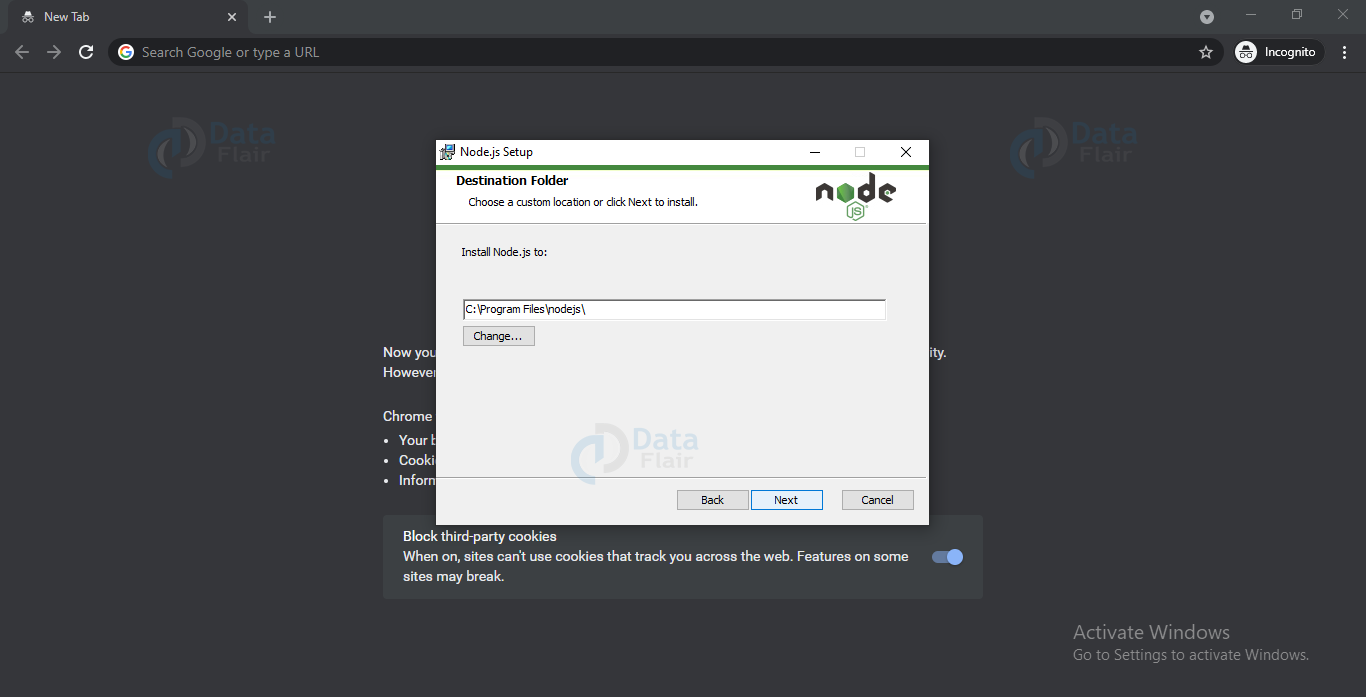
7. Choose your required storage location. We will be using the default location. Now press next.
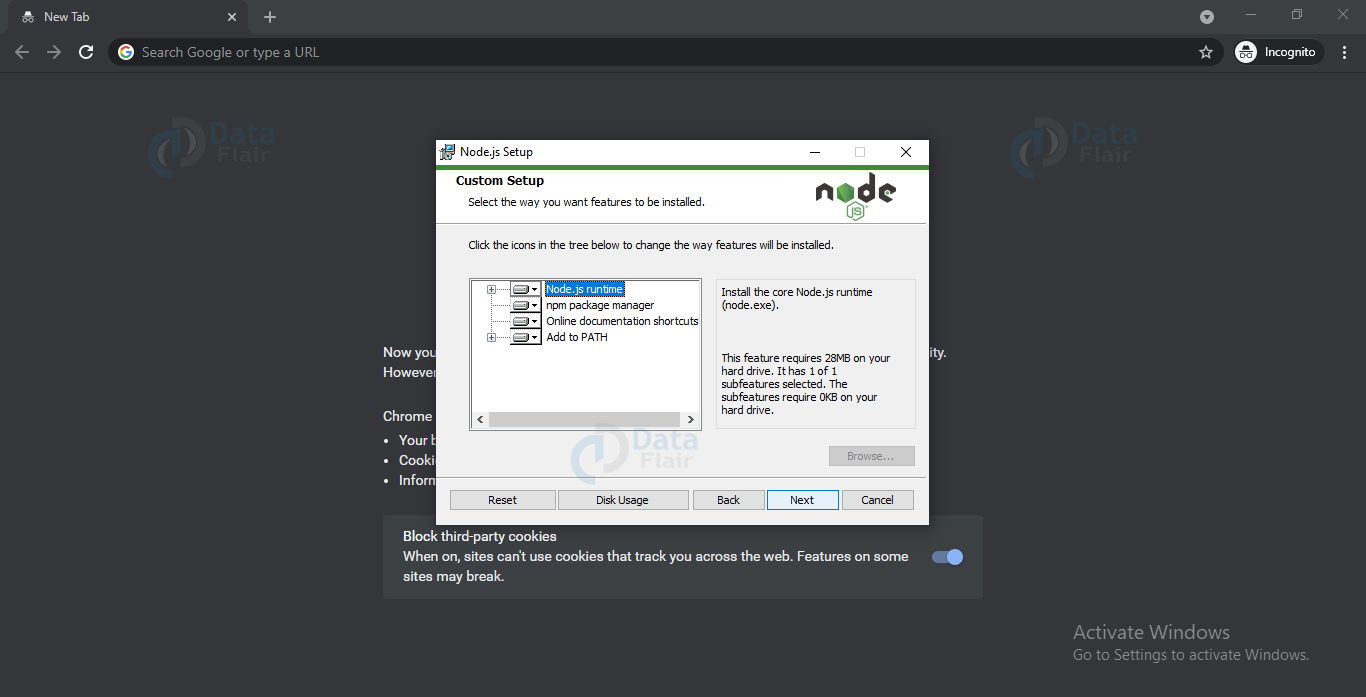
8. We are using the default setting so press next.
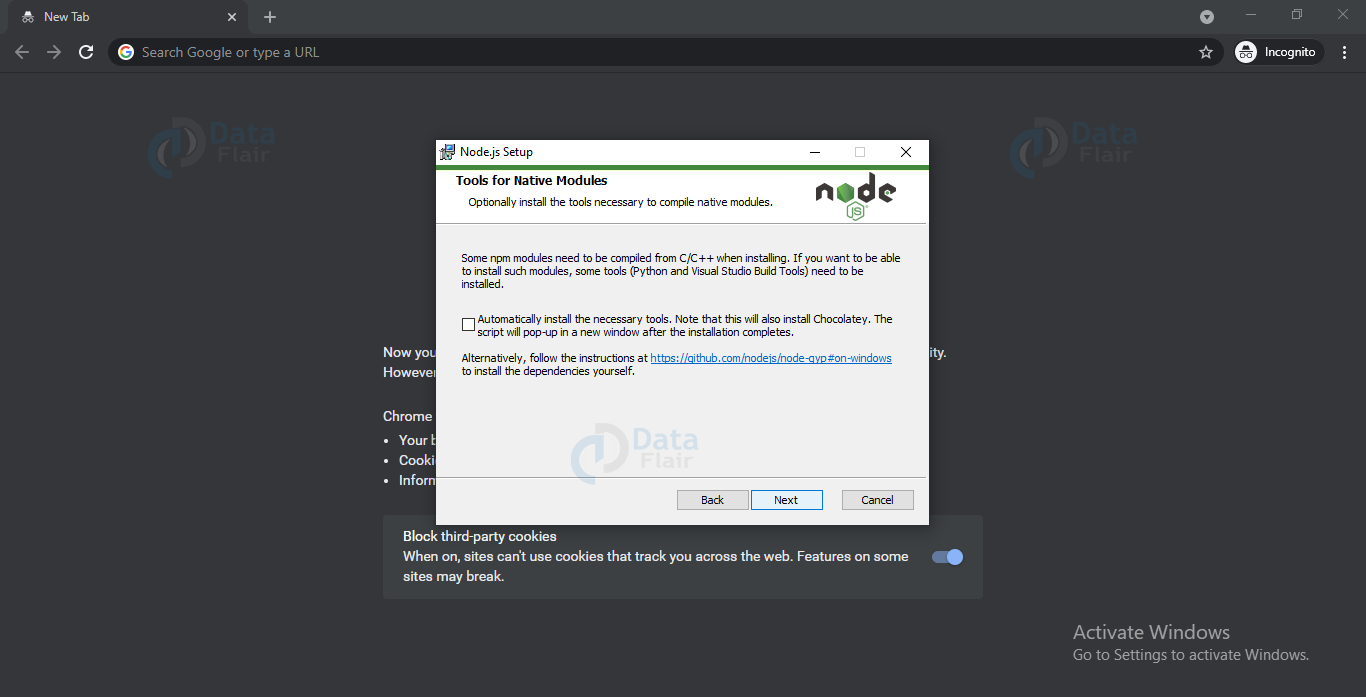
9. Click next.
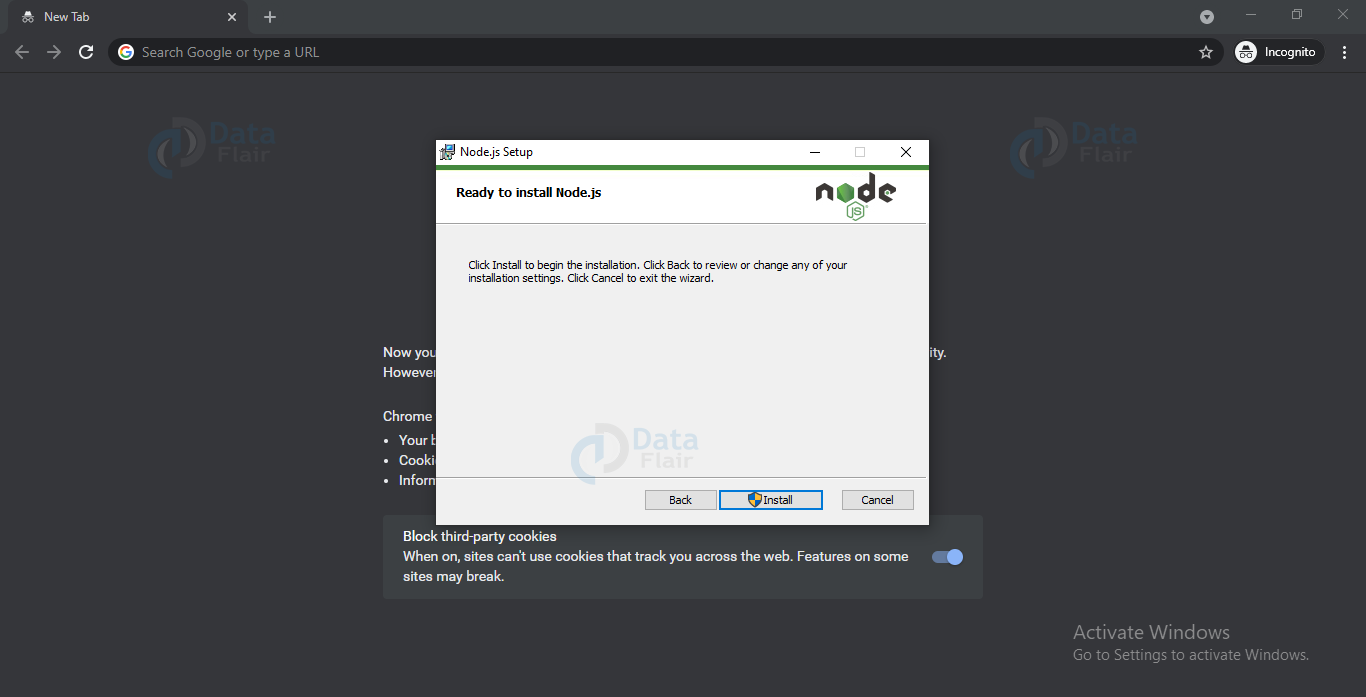
10. Click Install and wait for the installation to get completed.
Verify Node JS installed or Not?
Now let’s verify whether we correctly installed node.js or not. For this, open any terminal or command prompt and type node or node.exe
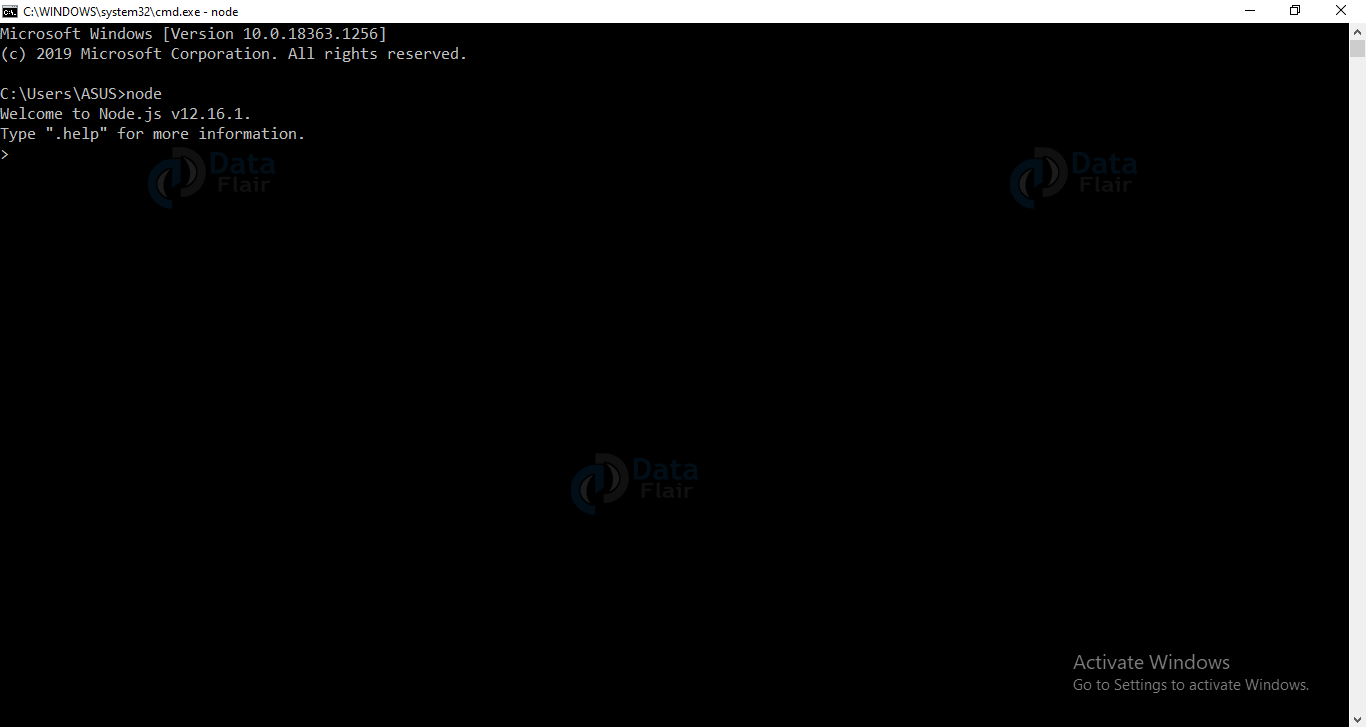
In the above image, you can see the node version and “>” prompt. This implies that node.js is installed correctly.
To quit the above prompt, press ctrl+c two times.
Which version of Node JS should you install?
When you go to the official website of node to download it, you see two versions, one the current version and another the long term supported(LTS) version. Downloading the LTS version over the current version is better as it is more stable but if you want to get the latest features, downloading the current version is a better choice.
Dependencies
We can install all kinds of dependencies using the node package manager.
Popular IDEs
Now that we have installed node.js, it’s time to install a TextEditor. We can use any TextEditor which supports javascript, but it’s better to use TextEditors like Vscode, sublime, etc.
To download vs code go to the visual studio official website and then click on download or download as per your operating system.
Once it gets downloaded, double-click on it to open and go with the default settings.
Summary
In this blog, we have thoroughly discussed the steps required to set up a node.js environment. I hope you were able to install node.js successfully.
Your 15 seconds will encourage us to work even harder
Please share your happy experience on Google


