MongoDB Environment Setup | Install MongoDB on Windows
FREE Online Courses: Your Passport to Excellence - Start Now
In previous MongoDB Tutorial, we discussed the advantages and limitations of MongoDB. In this MongoDB Environment setup Tutorial, we will see how to set up the environment for MongoDB on your Windows OS. Also, we will learn how to install MongoDB.
So, let’s the MongoDB Environment Setup/Install MongoDB.
Steps for MongoDB Environment Setup on Windows
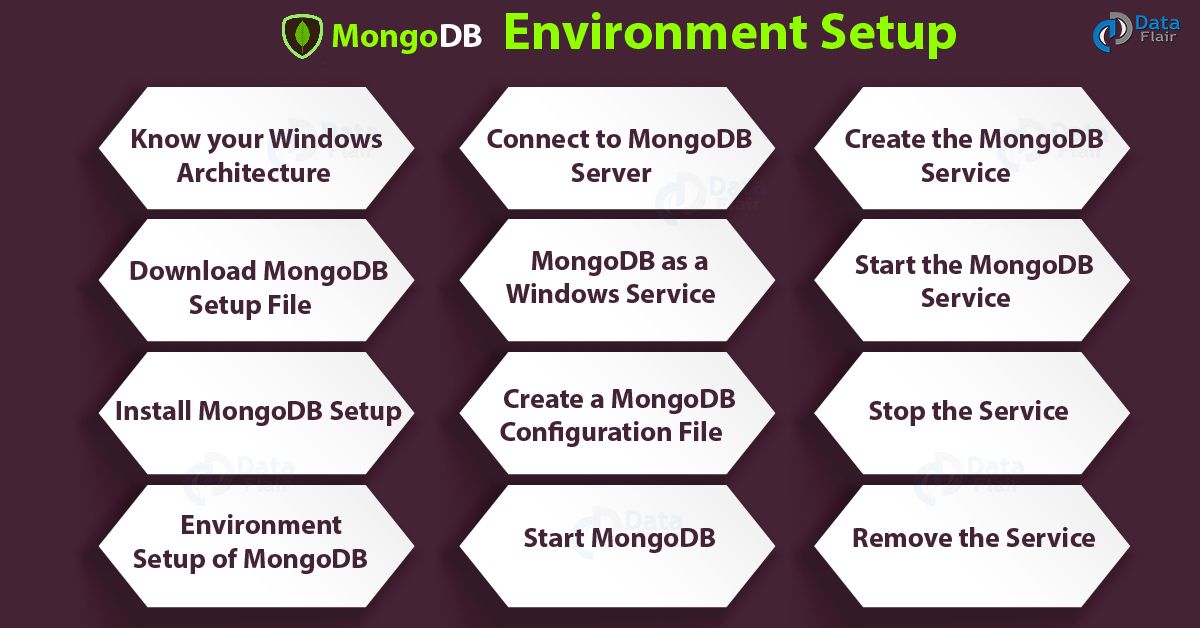
MongoDB Environment Setup is very easy for Windows OS. To do environment setup, you will have to follow few simple steps.
- Know your Windows architecture
- Download MongoDB setup file
- Install MongoDB setup
- Set up MongoDB Environment
- Connect to the MongoDB server
- MongoDB as a Windows service
- Create configuration file
- Run MongoDB Environment setup
a. Know your Windows Architecture
Before downloading MongoDB setup, you must know which Windows version you are using. To know about your system architecture, open the command prompt and execute some commands given below.
After executing these commands, you will know if your system is running on 32-bit or 64-bit architecture. Then you have to download the MongoDB setup accordingly.
b. Download MongoDB Setup File
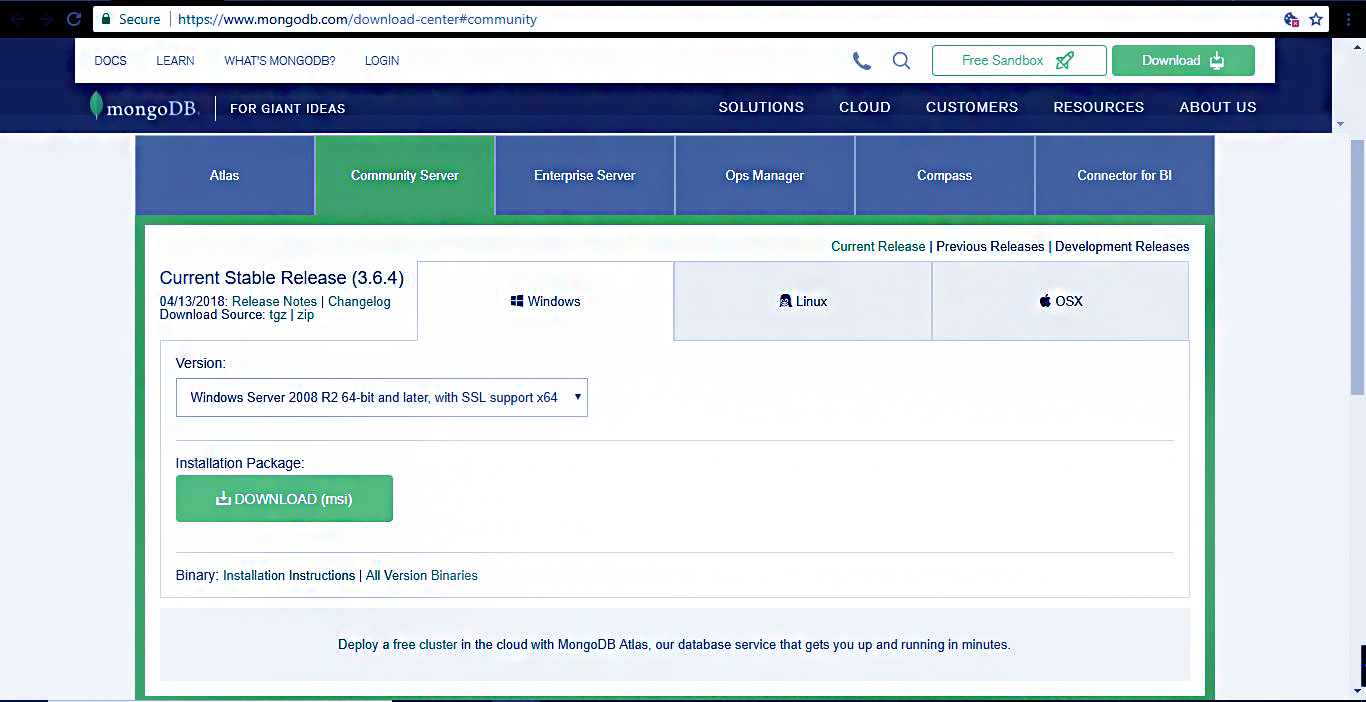
After knowing the architecture, you have to download the latest version of MongoDB from the official website.
You can follow this link to download from community server of MongoDB.
ttps://www.mongodb.org/downloads
Download the MSI file from this server.
c. Install MongoDB Setup
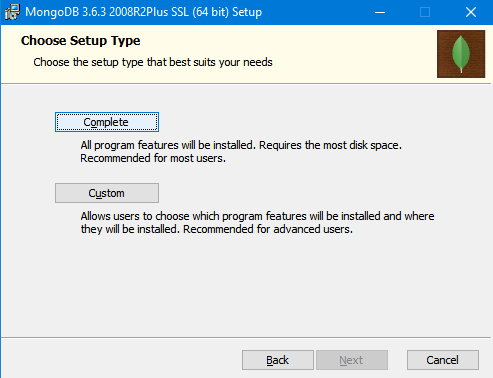
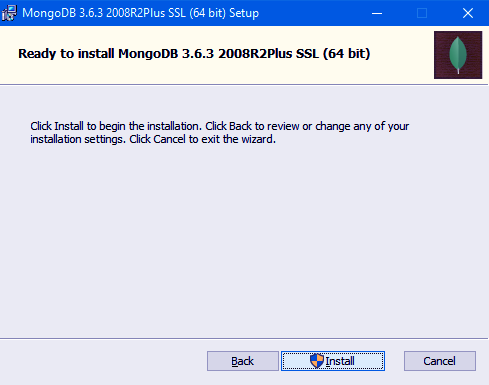
To install MongoDB setup, you need to run the file as administrator. After doing that you need to follow the setup guide that appears in the installation process.
You can choose a custom directory for the MongoDB data and log files. Otherwise, by default, it will install MongoDB to C:\Program Files\MongoDB\Server\3.6\.
MongoDB does not have any system dependency, so it is not problematic to choose any folder in the directory. You can choose any directory in the system.
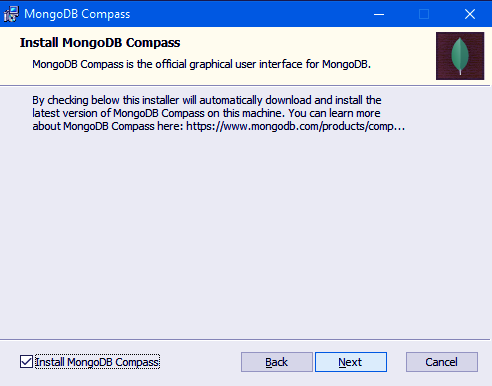
You will see the option to install MongoDB compass in addition to MongoDB serve and you can check the box if you want it to install MongoDB. If not, leave it blank.
d. MongoDB Environment Setup
All of MongoDB data is stored in a specified data directory. You need to create it manually in the MongoDB Folder on the C drive. For this, run the following command at the command prompt.
md \data\db
You can install MongoDB at any location of your choice.
e. Start MongoDB
To start MongoDB you need to execute this command. This will start the main MongoDB process. You will see at the bottom of the command prompt a message as “waiting for a connection”. This means that the process has started successfully.
“C:\Program Files\MongoDB\Server\3.6\bin\mongod.exe”
f. Connect to MongoDB Server
After executing the MongoDB.exe file, the process has begun. Now we need to connect it to the MongoDB server. We will connect it through Mongo.exe shell by opening another command prompt. Now you need to execute a command to connect with the shell.
“C:\Program Files\MongoDB\Server\3.6\bin\mongo.exe”
Now MongoDB is ready to use. You can terminate the running Process of MongoDB by pressing “ctrl+c”.
g. MongoDB as a Windows Service
Now you need to create some directories using command prompt & executing the following commands:
mkdir c:\data\db
mkdir c:\data\log
Also, you can directly create new folders on the c drive. First, create a folder and name it “data” then create two folders as “db” and “log” inside the data folder. All of your database and the log files will be stored in these two folders.
h. Create a MongoDB Configuration File
After creating directories, you need to create a configuration file. The file must specify both the systemLog.path and storage.dbPath. Otherwise, an error will be shown on the display and service will not be able to start.
systemLog:
destination: file
path: c:\data\log\mongod.log
storage:
dbPath: c:\data\db
i. Create the MongoDB Service
You need to execute this command for creating the MongoDB service
sc.exe create MongoDB binPath= “\”C:\Program Files\MongoDB\Server\3.6\bin\mongod.exe\” –service –config=\”C:\Program Files\MongoDB\Server\3.6\mongod.cfg\”” DisplayName= “MongoDB” start= “auto”
If the service is successfully created the following message will display
[SC] CreateService SUCCESS
j. Start the MongoDB Service
If you want to start the service, you have to write a single sentence in a command prompt.
net start MongoDB.
k. Stop the Service
Similarly, to stop the service you have to execute the following command.
net stop MongoDB
l. Remove the Service
You can delete the service whenever you want by executing this simple code.
net stop MongoDB
This will first stop the service then delete it from the system.
This was all about MongoDB Environmental Setup Tutorial. Hope you like our explanation of How to Install MongoDB on Windows 10.
Conclusion
Hence, we saw MongoDB Environment Setup. Also, we learn how to run it as a Windows service. It was all about downloading the setup and writing some code lines in the command prompt. Furthermore, if you have any query, feel free to ask in a comment section.
Did you like our efforts? If Yes, please give DataFlair 5 Stars on Google





What about Other than Window OS? I am using Ubuntu so is it working or not?