Kotlin Environment Setup – Install Kotlin in Easy Steps
Placement-ready Online Courses: Your Passport to Excellence - Start Now
Kotlin is a versatile programming language designed to run on the Java Virtual Machine (JVM). It boasts concise syntax, robust type checking, and seamless integration with Java codebases. In this article, we will provide you with a step-by-step guide on how to set up a Kotlin environment in Visual Studio Code (VS Code), a widely used and lightweight code editor.
Introduction
Setting up a Kotlin environment in VS Code is amazing, One can leverage the strengths of both Kotlin and the editor to enhance your development workflow. So, let’s go deep and dive into the process of configuring your Kotlin environment in VS Code.
Prerequisites to Install Kotlin
- Java Development Kit (JDK): Kotlin operates on the JVM, so it requires a JDK to function. You can download the JDK from the official Oracle website or use an OpenJDK distribution.
- Visual Studio Code (Vs Code): Download and install VS Code
Steps for Kotlin Installation
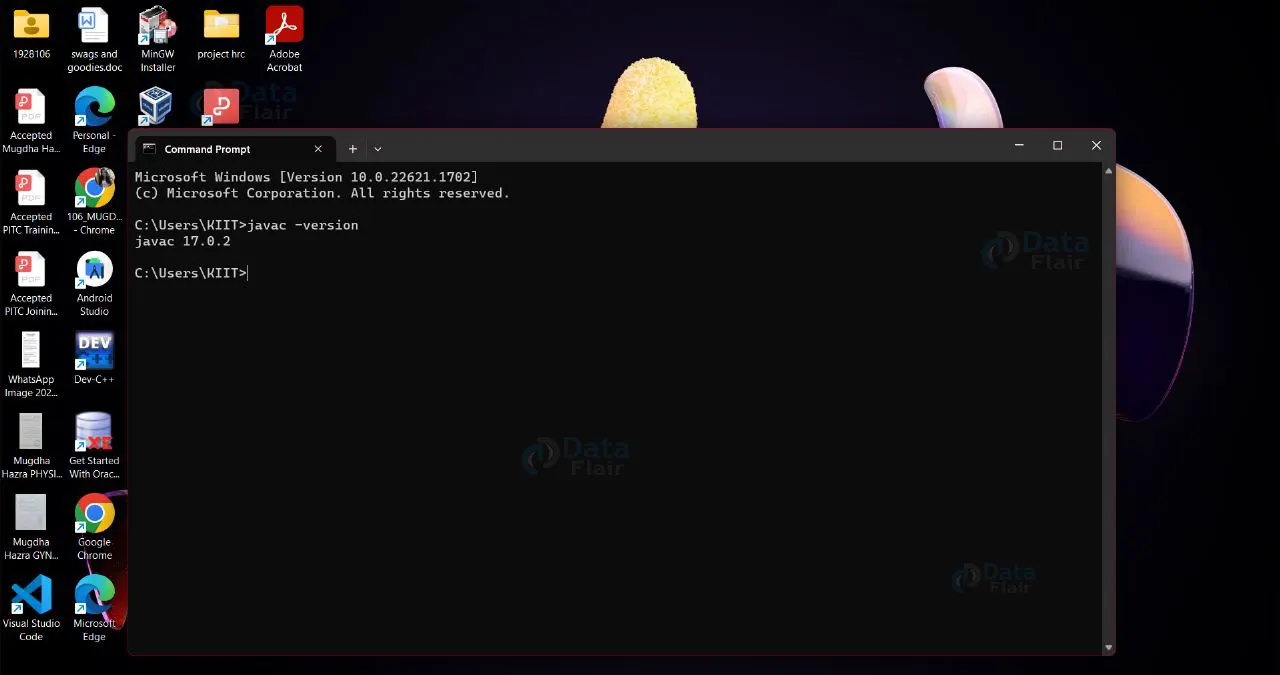
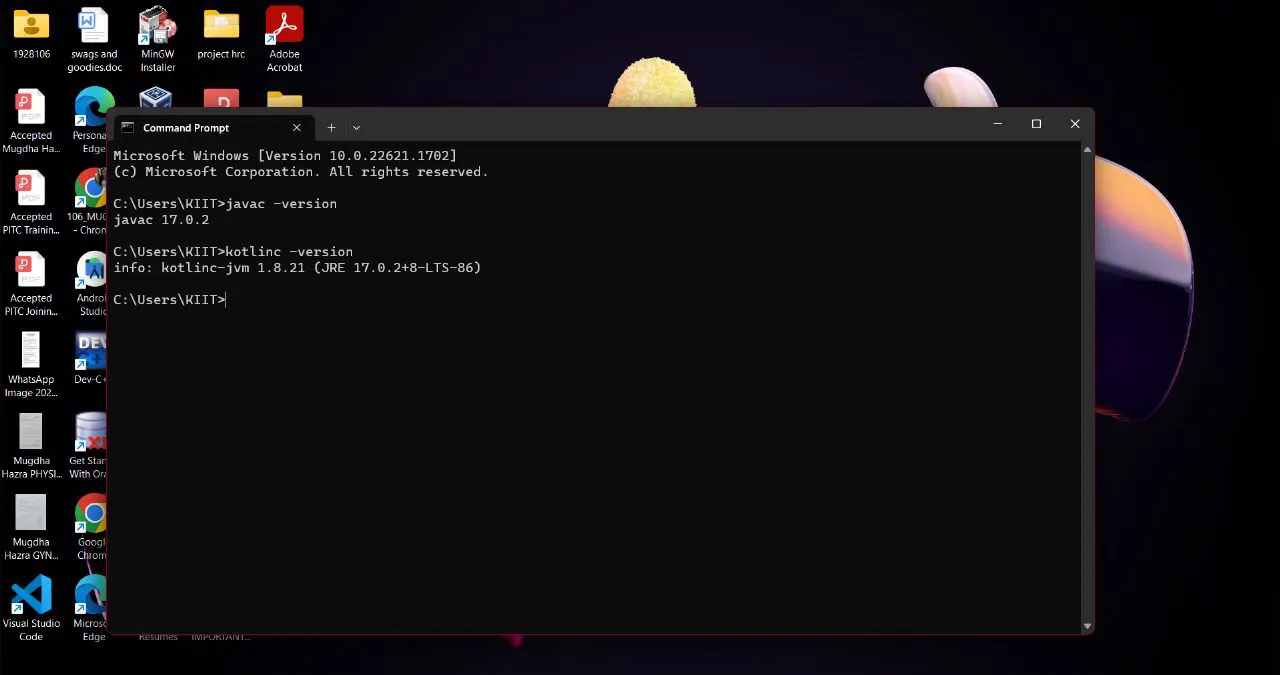
Step 1. Verify JDK Installation
Open the command prompt and enter “javac -version” to check if the Java Development Kit is installed correctly.
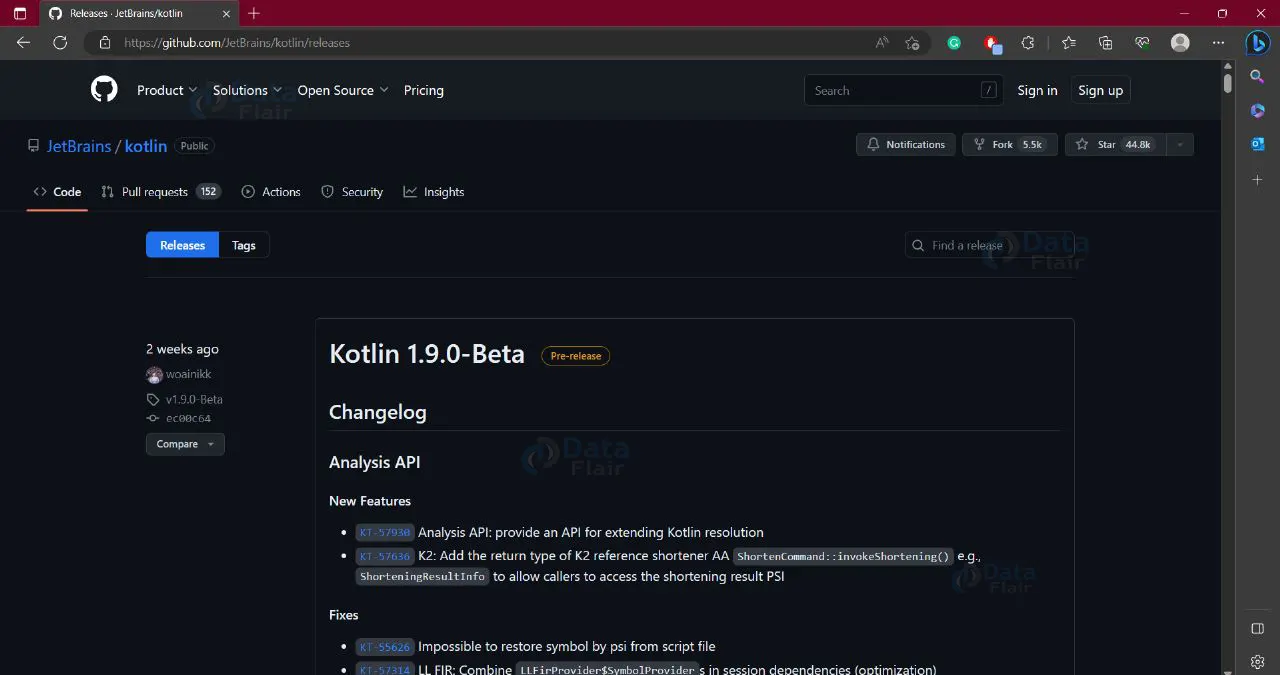
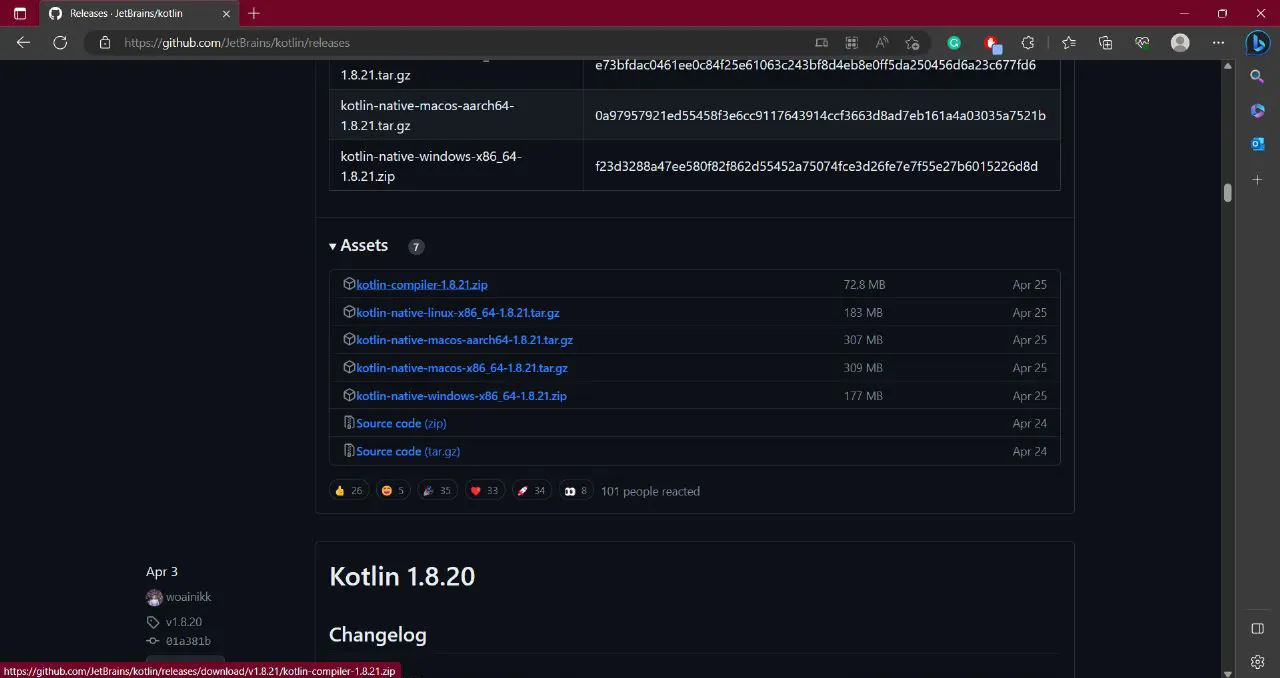
Step 2: Download the Kotlin Compiler
Download the Kotlin compiler according to your system configuration.
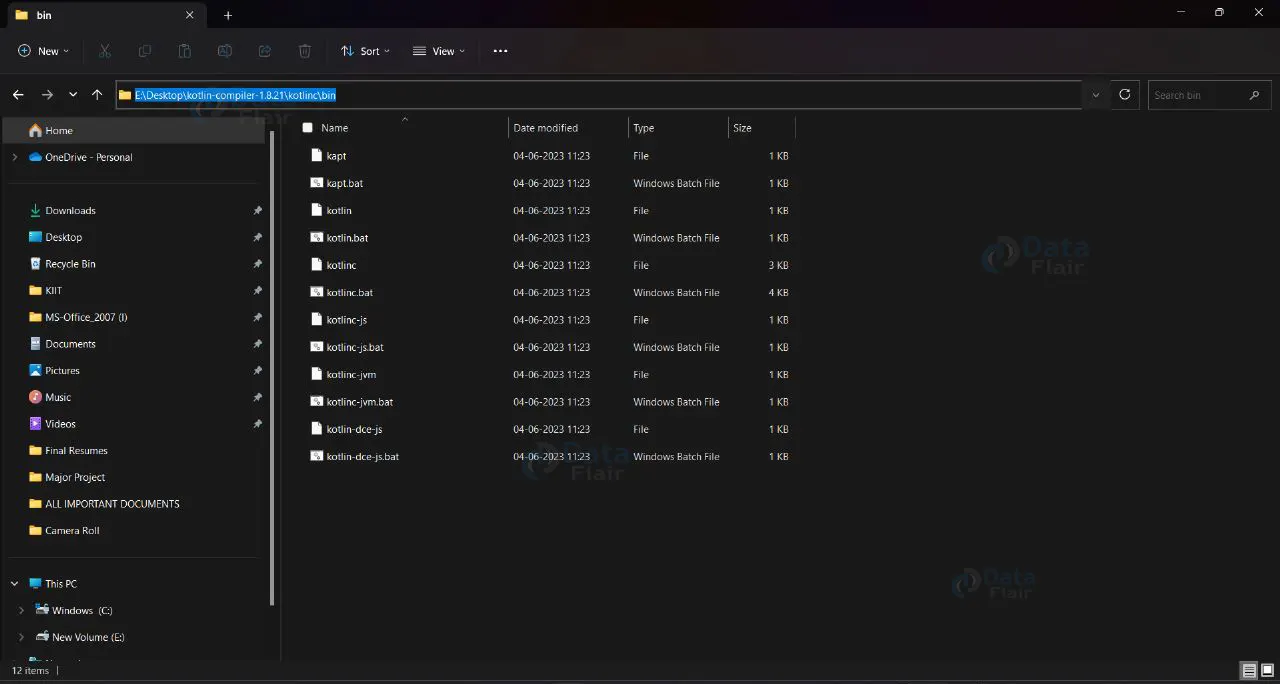
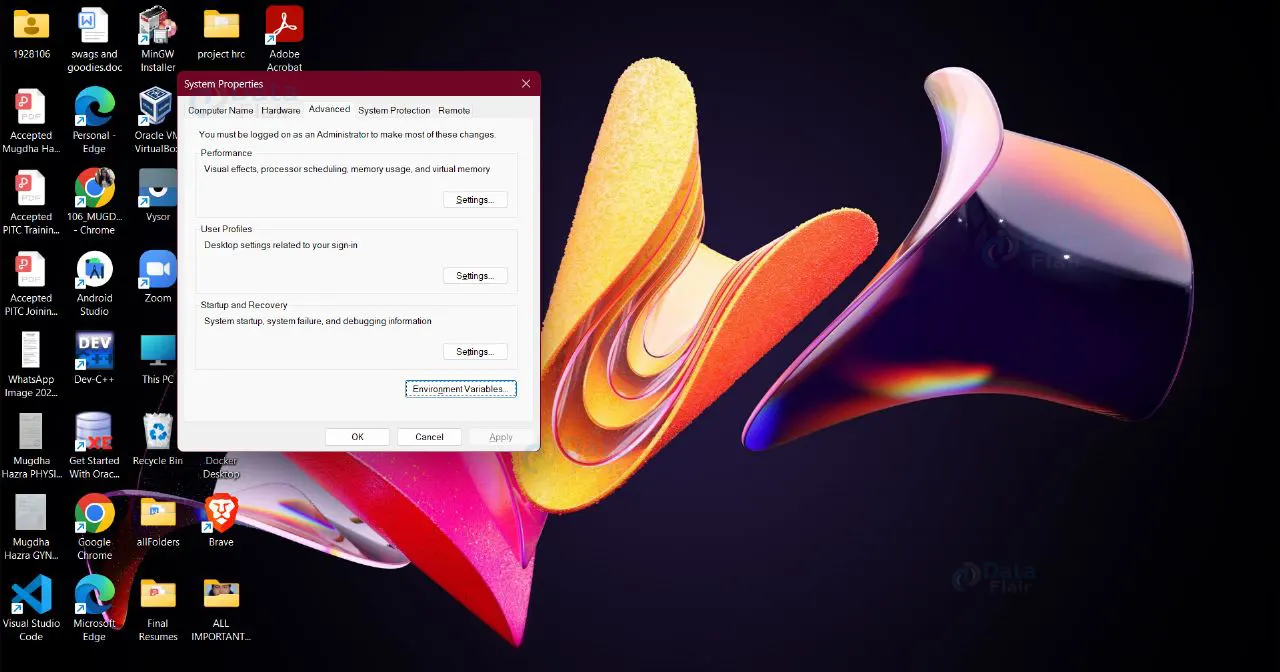
Step 3: Set Up the Environment Variable
Once the Kotlin compiler is downloaded, extract the zip file and copy the path of the “bin” folder to set up the environment variable.
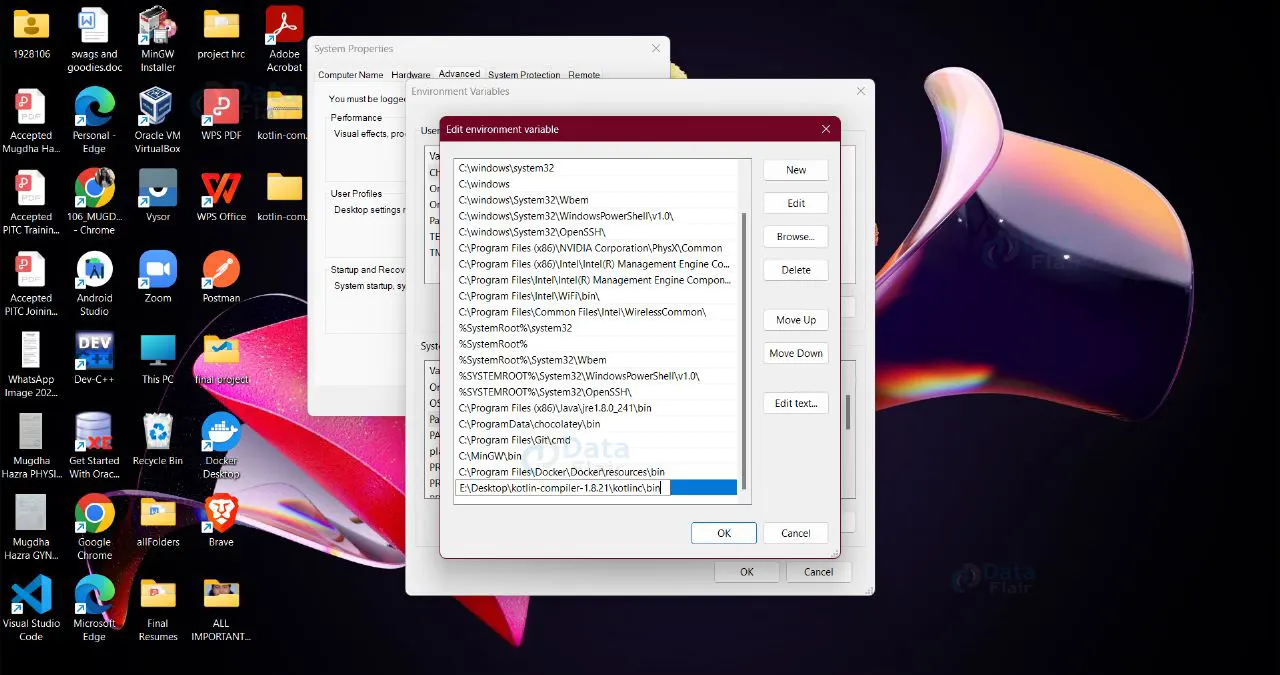
Step 4: Add Path to System Environment Variable
Add the copied path to the system environment variable by searching for “system environment variable” in the start search bar.

Step 5: Verify Kotlin Installation
Open the command prompt and enter “kotlinc -version” to check whether the installed correct Kotlin version is installed or not.
Step 6: Open Visual Studio Code
Launch VS Code by typing “. code” in the command prompt.

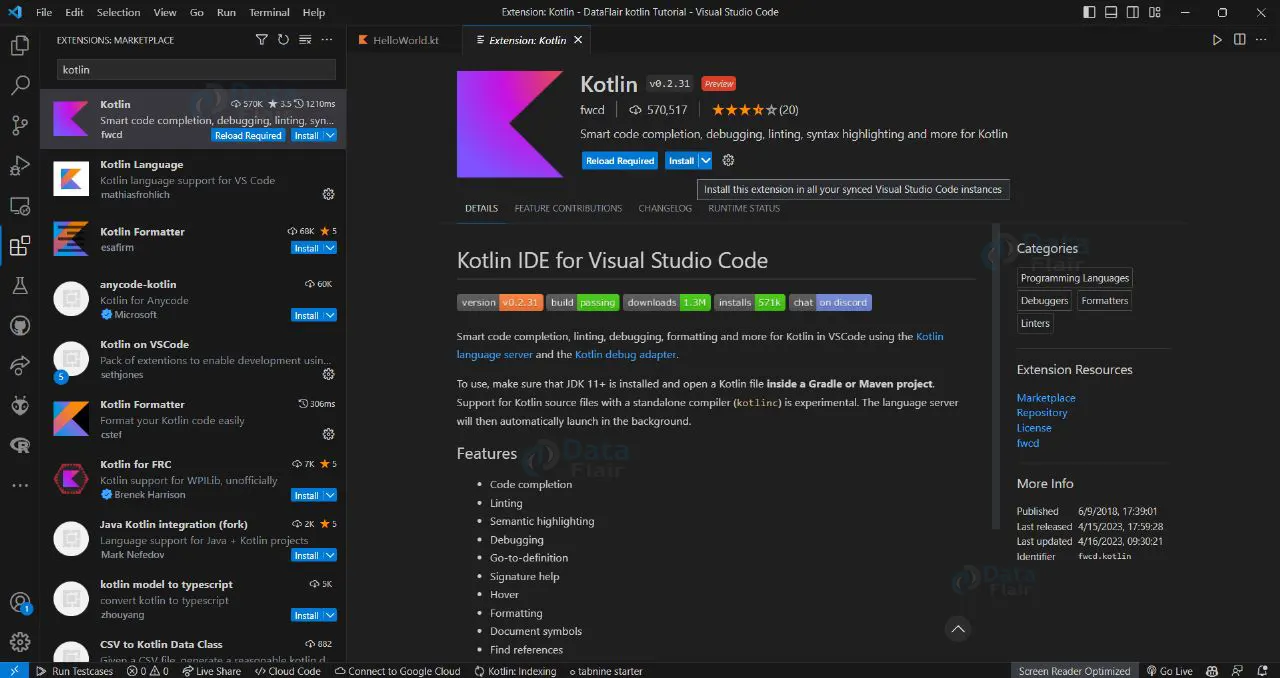
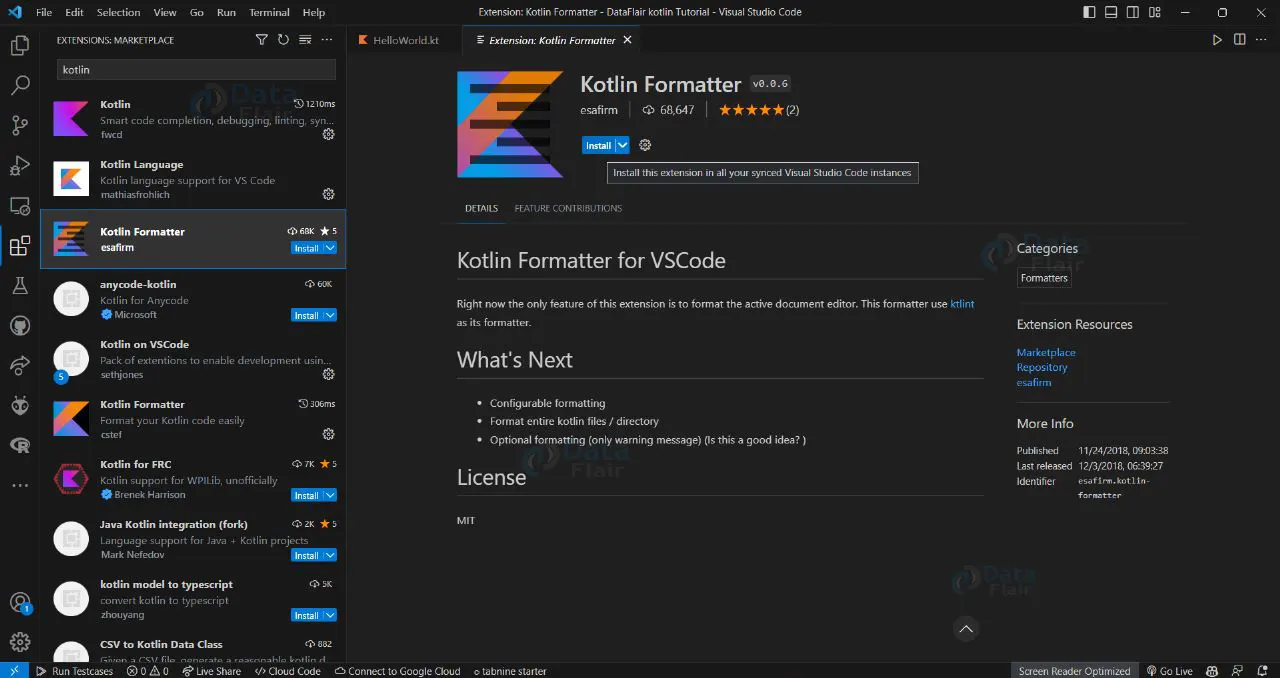
Step 7. Install Kotlin Extensions
Install the following plugins for Kotlin from the VS Code Extension Marketplace by pressing Ctrl + Shift + X.
The extensions are Kotlin, Kotlin Formatter, and Code Runner.

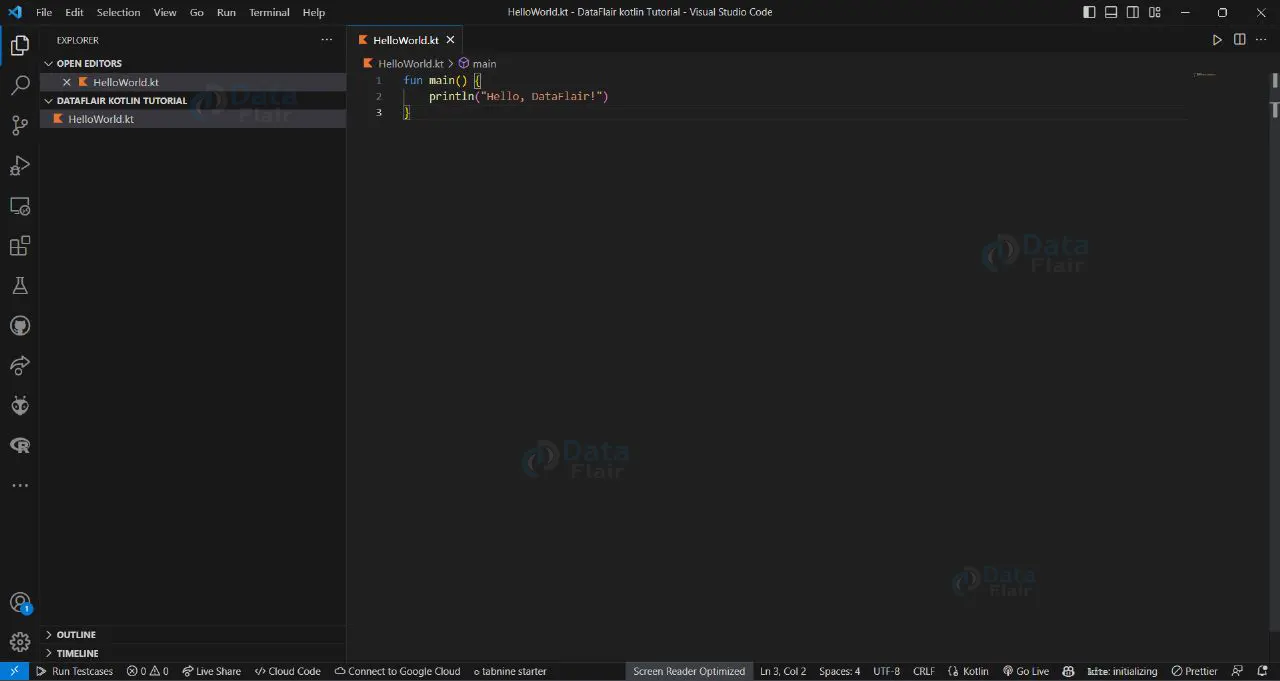
Step 8: Run Your Kotlin Code
Create a Kotlin file by giving it a name followed by the “.kt” extension and write Kotlin code in VS Code:
fun main() {
    println("Hello, DataFlair!")
}
Step 9: Save the code
Using Ctrl + S saves the code, and you can rename it.
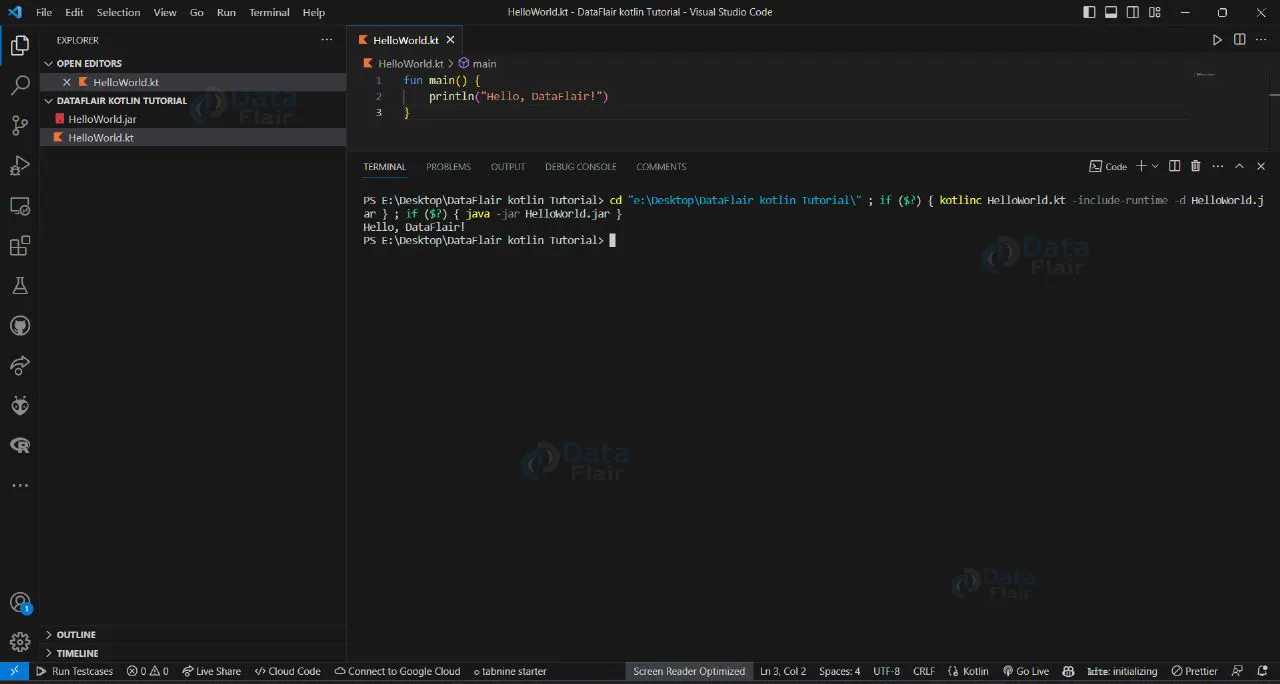
Step 10: Run Your Kotlin Code
Create a Kotlin file with the “.kt” extension in VS Code. Write your Kotlin code in this file. For example: run it using Ctrl + Alt + N to execute the code successfully.
Step 11: Debug Your Kotlin Application
To debug your Kotlin application, set breakpoints in your code by clicking in the left gutter area of the editor. Launch the debugger in VS Code, and it will stop at the breakpoints for you to inspect variables and step through your code.
That’s it! You now have a fully functional Kotlin environment set up in Visual Studio Code. You can start writing Kotlin code, building projects, and running them within the comfort of your code editor.
Summary
This was all about Kotlin installation in easy steps. With a robust Kotlin environment in VS Code, you’re all set to harness the power and expressiveness of the language to build exceptional applications.
Did we exceed your expectations?
If Yes, share your valuable feedback on Google


