JSP Hello World Example
FREE Online Courses: Click, Learn, Succeed, Start Now!
To run a JSP code, we will need a platform to write the code and a server to run the code. Let us discuss the complete implementation of JSP Hello World in detail.
JSP Hello World Tutorial
Prerequisites for this implementation are:
- Notepad++
- Java jdk 14.0.1
- Apache Tomcat 9.0.34
Detailed steps for the program are:
Creating the Project
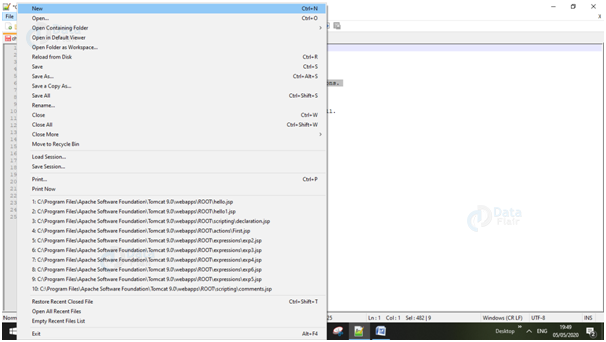
1. Open your notepad ++. Create a new file
2. We will write the code as follows:
-> We will start the code by writing the page directive for the JSP page. Here we have set the language as java, content type is set as html, standard page encoding. You can add other page directives as well. For e.g. setting session value as false.
<%@ page language=”java” contentType=”text/html; charset=ISO-8859-1″ pageEncoding=”ISO-8859-1″%>
-> After the directives, start with the HTML programming. Once you reach the body tag, we will have to begin with our JSP code.
<html>
<head>
-> In the head section, we have given the title of the page as Hello World.
<title>Hello World</title>
</head>
<body>
<h3>--DataFlair--</h3>
-> start the JSP code with <%__%> tags. Here we have only one statement so we have written it as an expression. We can also write it as an out.println () statement. Close all the open tags once you are done.
<%="Hello world"%>
</body>
</html>
Saving the Project
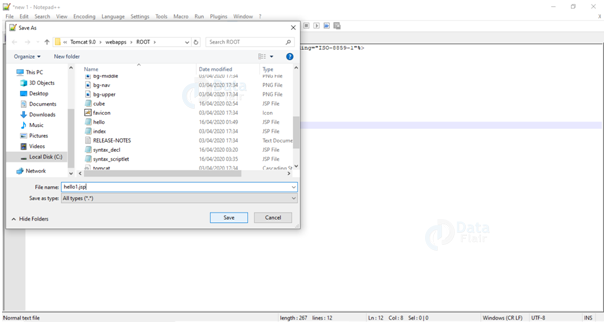
1. Save this notepad file with .jsp extension. Make sure that the path of the file is tomacat9.0 → webapps → root → your file with jsp extension.
2. After saving, your file will look like this in the notepad.
Starting the Server
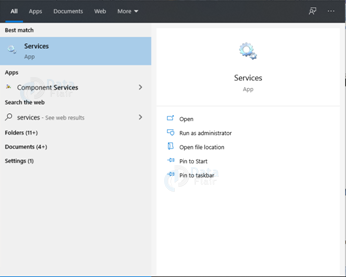
1. In order to run your project, you need to start the apache tomcat server as a local host at your pc. For this open services on your pc.
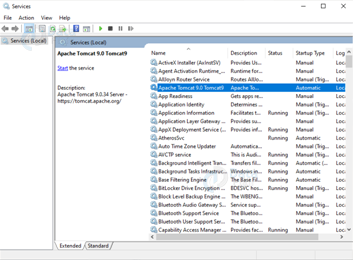
2. Now start the service as shown:
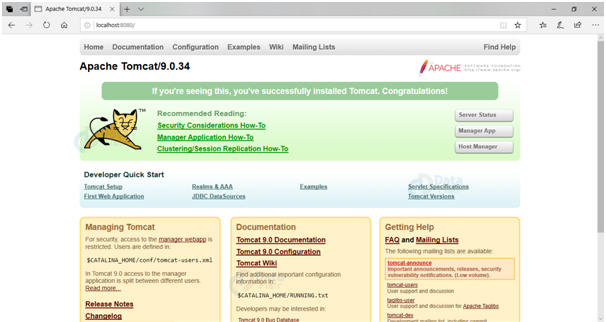
3. Once you start the service, open any of the browsers. If the service is running properly at your side, then you will see the following output once you configure the localhost. Type http://localhost:8080 in the URL section.
Deploying the Project
1. To deploy the project type the file name of your program in the URL as http://localhost:8080/hello1.jsp
2. Press enter. If your program is written correctly, then you will get the following output.
If you get the output, then you have successfully run your program of hello world.
Conclusion
In this article, we successfully implemented the program of hello world using apache tomcat and notepad++. The whole process is explained in detail i.e.
- Creating and coding the hello world program.
- Starting the server.
- Deploying the project.
All these steps have been discussed thoroughly.
Did you know we work 24x7 to provide you best tutorials
Please encourage us - write a review on Google

