JSP Action Tags – include, useBean, forward, param
Placement-ready Online Courses: Your Passport to Excellence - Start Now
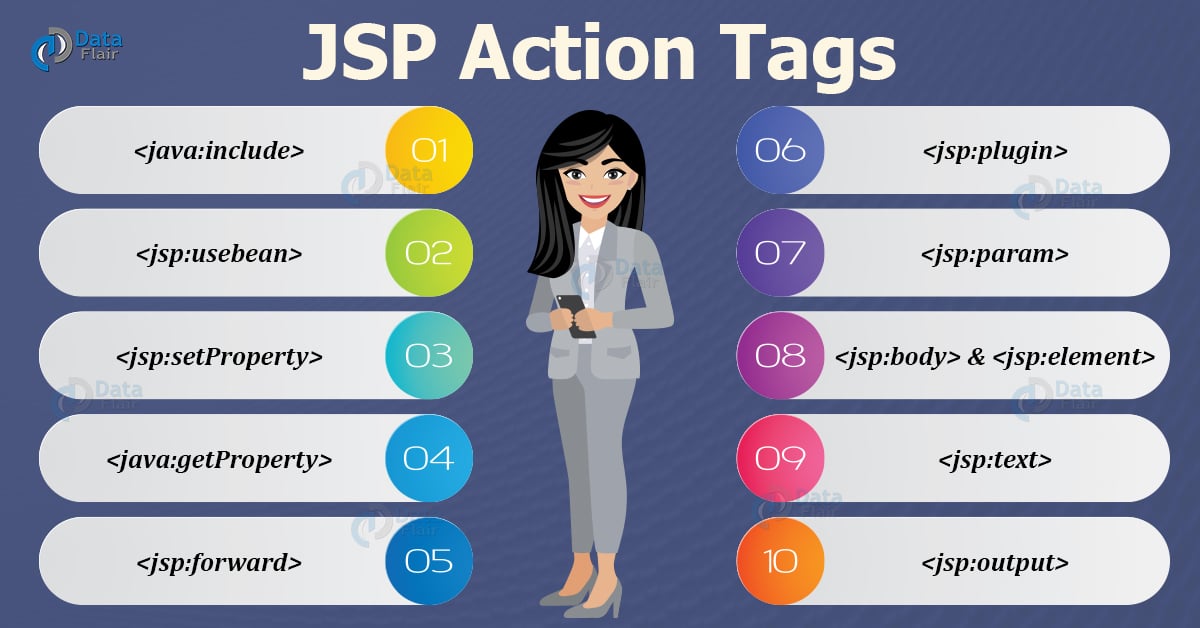
JSP Action contains eleven action tags to perform specific tasks. These tasks include dynamic insertion of a file, controlling behaviour of the servlet engine, forwarding a user to another page, controlling flow between pages etc. In this article, we will see each of these JSP ACtion tags with syntax and examples. So let us begin!!!
JSP Action tags
Let us see various types of Actions tags in JSP. They are:
- jsp:include
- jsp:useBean
- jsp:setProperty
- jsp:getProperty
- jsp:forward
- jsp:plugin
- jsp:param
- jsp:body and
- jsp:elementjsp:attribute
- jsp:text
- jsp:output
There are two important attributes that are common to all actions.
- id references the object uniquely created by actions,
- scope tells about the life of that object. Scope has 4 attributes namely page, application, session, and request.
1. <java:include>
This action is used to include the required resources like html,servlets and JSP.
| Include action | Include directive |
| It includes resources dynamically at request time | This includes resources at the time of translation |
| It works well for dynamic pages. | It works well for static pages. |
There are two attributes under include:
Page: its value is the url of the required resource.
Flush: it checks that the buffer of the resource is flushed before it is included.
Syntax:
<jsp:include page="page URL" flush="true/false">
Advantages of include actions are:
1. It is best for dynamic pages.
2. It promotes code reusability as we include pages
3. It saves time as we can use one page again and again.
4. It can be created with or without parameters.
Example:
main.jsp
<html>
<head>
 <title>JSP Actions</title>
</head>
<body>
<h3>--DataFlair--</h3>
<jsp:include page="date.jsp" flush="true" />
</body>
</html>

date.jsp
<html>
<head>
 <title>JSP Actions</title>
</head>
<body>
<p>
Today's date: <%= (new java.util.Date()).toLocaleString()%>
</p>
</body>
</html>
Explanation:
In this example we can see that main.jsp includes date.jsp that gives date and time whereas date.jsp contains the code to retrieve date.
Output:

2. <jsp:usebean>
This action is used when we want to instantiate bean (many objects encapsulated in one object) class in our JSP page. It has following attributes:
● id: id uniquely identifies bean in a specified scope.
● Scope
– Page: It is the default scope that states that we can bean within this JSP page.
– Request: This is broader than a page as bean can be used from any page that processes similar requests.
– Session: It has a wider range than above as bean can be used from any page in the same session.
– Application: It has the maximum range as bean can be used from any page present in the same application.
● Class: Creates object of bean class.
● Type: It gives the data type to the bean existing in the specified scope. It is useful with class and beanName.
● beanName: Uses the java.beans.Beans.instantiate() method and instantiates bean.
Syntax:
<jsp:useBean id= "bean"  scope= "page/(session/request/application)"
class= "package.class"  type= "package.class"
beanName="package.class >
</jsp:useBean>
Example:
square.java
Package demotest;
public class cube
{
  public int square(int n)
  		{return n*n*n;}
}

example.jsp
<html>
<title>usebean</title>
<body>
<jsp:useBean id="obj" class="demotest.square"/>
  <%
int m=obj.cube(3);
out.print("cube of 3 is "+m);
%>
</body></html>
Explanation:
In the java file square.java we prepare a basic class and in jsp file we invoke useBean. The object is thus instantiated using id as reference. We generate the cube of the given number.
**Output has been shown with get and set property.
3. <jsp:setProperty>
jsp:setProperty and getProperty are used with usebeans. It is used to modify the properties of beans. It executes when new objects create. This has four attributes:
- name: It is literally the name of the bean whose property we want to set. It has the same name as the object we instantiated using usebean.
- property: sets the property of the bean “*” means all the requests that match bean properties are included.
- value: gives specific value to the bean.
- Param: a name that will fetch the value .
Syntax:
<jsp:setProperty name=“bean” property= “*”|
property=“propertyName” value= “<%=expression>”|
property=“propertyName” param= “Parametername”
**Example along with get property.
4. <java:getProperty>
This action gets the value of property and gives it out on the output as string. To get the property of a bean, bean and its name must be defined. It gets the value of the property where the property is the name of the bean property that was set by setProperty as well. The attributes of getProperty are:
- name: It gets the name of the bean whose property we need to get as its value.
- property: It defines the name of the property required for the bean.
Syntax:
<jsp:setProperty name="bean" property="message" value="Myexample" />
<jsp:getProperty name="MyPage" property="message" />
Example:
TestBean.java
package demotest;
import java.io.Serializable;
public class TestBean implements Serializable
 {
private String message = "null";

      	public String getMessage() {
      	 return msg;
 }

      	public void setMessage(String message) {
      	this.message = message;
 }
}

GetSet.jsp
<%@ page language="java" contentType="text/html; charset=ISO-8859-1"
      	pageEncoding="ISO-8859-1"%>
<html>
<head>
<title>use bean, get set Property</title>
</head>
<body>
<jsp:useBean id="myBean" class="demotest.TestBean" />
<jsp:setProperty name="myBean" property="message" value="GetSetActions" />
<jsp:getProperty name="myBean" property="message" />
</body>
</html>
Explanation:
A TestBean class of package demotest that implements serializable class has been defined that gets and sets the message using getters and setters. In jsp code, we use useBean action that will instantiate the object myBean.
Then we set the property of the object and give it a value “GetSetAction”. Thereafter, using getProperty we fetch the value for myBean that was set as GetSetAction as our output.
Output:

5. <jsp:forward>
This action as the name suggests forwards the request to another page. This other page can be static as well as a JSP page.
Syntax:
<jsp:forward =“otherpage.jsp”>
Example:
Forward.jsp
<html>
<head>
<title>JSP Forward</title>
</head>
<body>
<a>I was the requested page but forwarded the request to other</a>
<jsp:forward page="other.jsp" />
</body>
</html>

Other.jsp
<html>
<title>JSP Forward 2</title>
<h3>DataFlair</h3>
</head>
<body>
<a>I am the other page where request is forwarded.</a>
</body>
</html>
Explanation: User calls main.jsp but gets forwarded to other.jsp
Output:

6. <jsp:plugin>
Plugin embeds tags or inserts java objects into a JSP page. It has three attributes:
- type: applet/bean
- code: It is the name of the class file.
- codebase: It is the directory of the name of the class file.
Syntax:
<jsp:plugin type="bean/applet" code="className" codebase="package.class">
**Example with param action.
7. <jsp:param>
It sends parameters to a bean or applet. Param acts as the child object of a plugin.
Syntax:
<jsp:params>
<jsp:param name=“__” value="__"/ >
</jsp:params>
Example:
First.jsp
<html>
<head>
<title>Plugin Param </title>
</head>
<body>
<jsp:plugin type="bean" code="colour.class" codebase="demotest.colour">
  <jsp:params>
 	<jsp:param name="id" value="5" />
     <jsp:param name="nameofcolour:" value="red" />
  </jsp:params>
</jsp:plugin>
</body>
</html>

Colour.java
 package demotest;
import java.io.Serializable;
public class Colour implements Serializable {

      	public String getName () {
               	return name;
      	}
      	public void setName (String name) {
               	this.name = name;
      	}
      	public int getId() {
               	return id;
      	}
      	public void setId (int id) {
               	this.id = id;
      	} //getters and setters
      	private String name = "null";
      	private int id = 0;

}
Explanation: In the First.jsp we are using plugin attributes type, code and codebase. In that we are having param child objects that get the name and value for the plugin. Whereas in Colour.java, we have used getters and setters to get and set the values of name and id.
Output:

8. <jsp:body>and <jsp:element>
In the body part of this action, we can define XML. Elements will be generated at runtime.
Syntax:
<jsp:body>.....
         </jsp:body>
<jsp:element name= “__”>
         </jsp:element>
**Example of element, attribute, body together.
9. <jsp:attribute></jsp:attribute>
Once we define XML, we can also define its attribute dynamically.
Syntax:
<jsp:attribute name= “__”>
        </jsp:attribute>
Example:
<html>
<head><title>ele attr body</title>
</head>
<body>
<jsp:element name="XMLelement">
<jsp:attribute name="XMLattribute">
</jsp:attribute>
<jsp:body> My example for element, attribute and body</jsp:body>
</jsp:element>
</body>
</html>
Explanation: This code contains the example of element, attribute, body of a dynamically generated HTML.
Output:

10. <jsp:text>
It can contain template data, text or EL expressions.
Syntax:
<jsp:test>_____</jsp:text>
Example:
<html>
<head>
<title>Template</title>
</head>
<body>
<jsp:text>Here goes the template text.</jsp:text>
</body>
</html>
Explanation: Under jsp:text action we can output the template text.
Output:

11. <jsp:output>
JSP output contains two attributes i.e doctype-root-element that will possess the root element of the generated XML and doctype-system that shows doctype that will be generated in output.
Syntax:
<jsp:output doctype-root-element="__" doctype-system="__">
Example:
<html>
<head>
<title>Output action tag</title>
</head>
<body>
<jsp:output doctype-root-element="XML" doctype system="http://www.myoutput.com/.dtd"/>
</body>
</html>
Explanation: This output is generated internally thus we can’t infer output.
Conclusion
In reference to this article, we discussed different JSP action tags. Action tags perform dynamic insertion of a file, controlling behaviour of the servlet engine, forwarding a user to another page, controlling flow between pages etc. We saw eleven action tags, their attributes and values along with their codes. They are written in XML format.
Did you like our efforts? If Yes, please give DataFlair 5 Stars on Google


