Blur in OpenCV
Machine Learning courses with 100+ Real-time projects Start Now!!
A Blur of Creativity in OpenCV:
Imagine the delicate brushstrokes of an artist, softening the edges and revealing the essence of a scene. In the realm of image processing, blurring serves as our digital artist’s brush, offering a myriad of techniques to transform raw pixels into captivating visuals.
Welcome to the world of image blurring in OpenCV, where we explore the science and artistry of smoothing, noise reduction, and edge enhancement. With a palette of blurring methods at our disposal, we are about to embark on a journey that unveils the charm of visual enchantment through the lens of technology.
Let’s Know what is blurring in openCV:
Blurring in OpenCV is a sophisticated technique that gently transforms the sharp edges and fine details of an image into a smoother and more cohesive representation. Just like a gentle breeze softens the contours of a landscape, blurring softens the transition between neighboring pixels, creating a harmonious and visually pleasing effect.
Whether you’re aiming to accentuate specific features, remove distractions, or prepare your images for further analysis, blurring in OpenCV provides a toolkit of artistic filters. Each technique offers its unique stroke to your canvas, from the smooth elegance of Gaussian blur to the comforting embrace of median blur.
Why do we need to blur? Let’s know its importance:
here are the distilled key points highlighting the importance of blurring in image processing:
- Noise Reduction: Blurring eliminates random noise and irregularities, resulting in cleaner images.
- Privacy Protection: It obscures sensitive information or identities in images while retaining context.
- Enhanced Focus: Blurring reduces distractions, focusing attention on main subjects.
- Preprocessing for Analysis: Simplifies textures, aiding edge detection and feature extraction.
- Artistic Effect: Softens lines, adds emotions, and creates artistic ambience.
- Efficient Averaging: Averages pixel values, aiding compression and computation speed.
- Background Suppression: Improves foreground-background separation accuracy.
These succinctly capture the diverse practical and creative uses of blurring in image processing.
Average Blur in OpenCV: Crafting Visual Elegance with Simplicity
When seeking to bestow images with a touch of enchanting softness, the “Average Blur” technique in OpenCV emerges as an elegant choice. This method, grounded in simplicity yet remarkably effective, delicately smooths out pixel irregularities while retaining the essence of the image. Let’s delve into the mechanics of cv2.blur() and uncover how this technique can gracefully transform your visuals.
Syntax and Parameters:
The syntax for applying Average Blur using cv2.blur() is as follows:
blurred_image = cv2.blur(input_image, ksize)
- Blurred_image: The output image after applying the average blur.
- Input_image: The image you wish to blur.
- Ksize: The size of the blurring kernel. It should be an odd-numbered tuple (e.g., (3, 3), (5, 5), etc.).
Code with Explanation:
Let’s illustrate the magic of Average Blur through a code example:
import cv2

# Read the image
image = cv2.imread(r"C:\Users\sanji\Desktop\DataFlair\blur in opencv\wildlife-baby-foxes.jpg")

# Apply Average Blur with a kernel size of (5, 5)
ksize = (5, 5)
blurred_image = cv2.blur(image, ksize)

# Display the original and blurred images side by side
concatenated_image = cv2.hconcat([image, blurred_image])
cv2.imshow('Original vs. Blurred', concatenated_image)

cv2.waitKey(0)
cv2.destroyAllWindows()
Original Image :

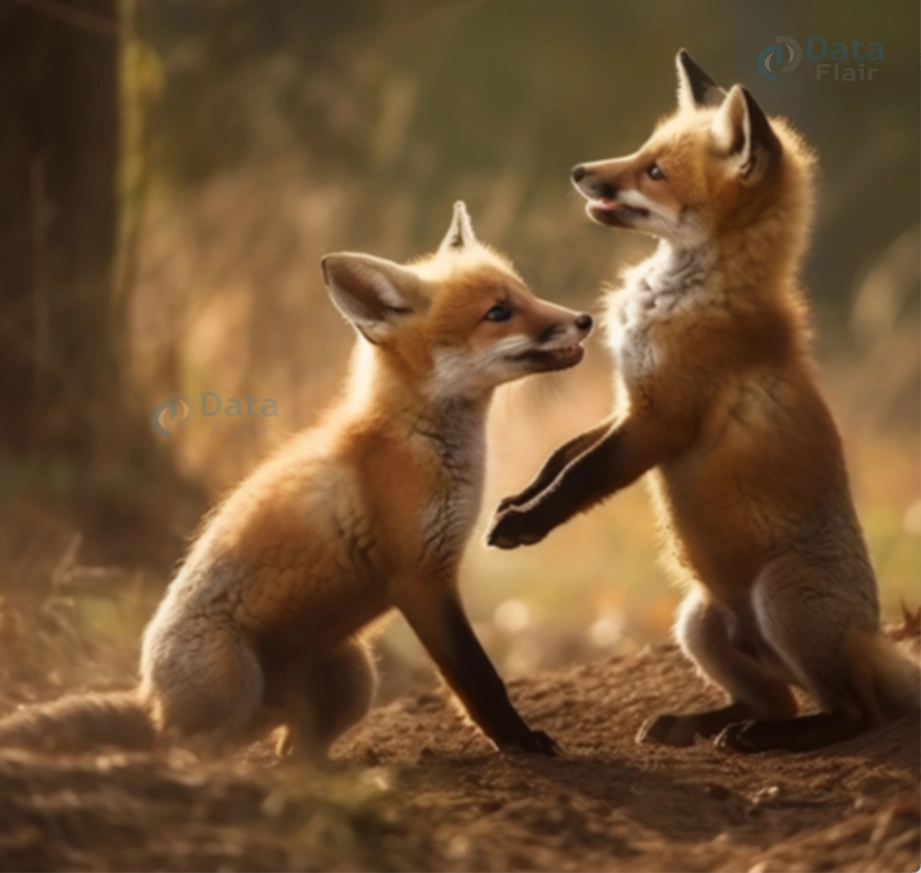
Blurred Image :
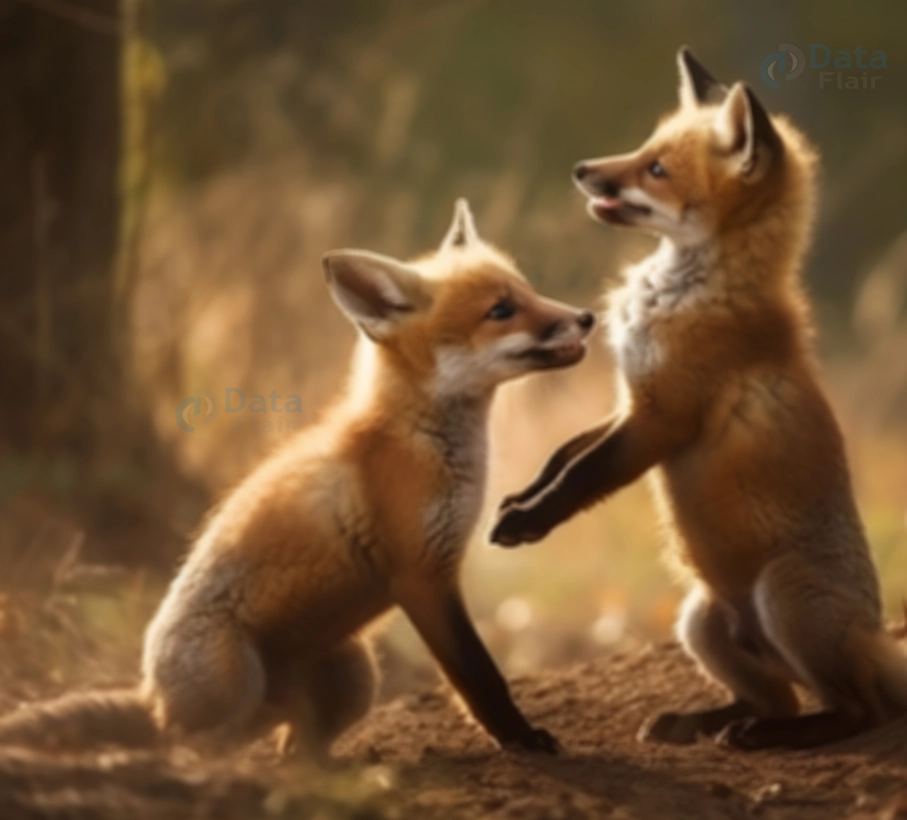
In this code, we start by reading an image and then apply Average Blur using a kernel size of `(5, 5)`. The larger the kernel size, the more pronounced the blurring effect. By displaying the original and blurred images side by side, you can observe how the Average Blur technique softly merges pixels, achieving a pleasing and smoother appearance.
This straightforward yet potent technique offers a quick and effective means to add a touch of elegance to your images, enhancing their visual appeal with a gentle stroke.
Gaussian Blur in OpenCV: Unveiling Elegance with a Touch of Mathematics
Imagine an artist’s brush softly sweeping across a canvas, blurring the edges and creating a gentle transition between colors. The “Gaussian Blur” technique in OpenCV mirrors this artistic finesse in the digital realm. This method, grounded in the principles of probability and mathematics, gracefully smooths out an image while retaining its underlying structure. Let’s embark on a journey to understand cv2.GaussianBlur() – a gateway to visual enchantment.
Syntax and Parameters:
The syntax for applying Gaussian Blur using `cv2.GaussianBlur()` is elegantly simple:
blurred_image = cv2.GaussianBlur(input_image, ksize, sigmaX)
- Blurred_image: The outcome of applying Gaussian Blur to the input image.
- input_image: The image you intend to blur.
- ksize: A tuple specifying the size of the Gaussian kernel. It should have odd dimensions, such as (3, 3), (5, 5), etc.
- sigmaX: The standard deviation in the X direction. It determines the amount of blurring. Larger values yield more significant blurring.
Code with Explanation:
Let’s demystify the allure of Gaussian Blur through a code example:
import cv2
# Read the image
image = cv2.imread(r"C:\Users\sanji\Desktop\DataFlair\blur in opencv\wildlife-baby-foxes.jpg")
# Define the kernel size and sigma for Gaussian Blur
ksize = (5, 5)
sigmaX = 0
# Apply Gaussian Blur
blurred_image = cv2.GaussianBlur(image, ksize, sigmaX)
# Display the original and blurred images side by side
side_by_side = cv2.hconcat([image, blurred_image])
cv2.imshow('Original vs. Gaussian Blur', side_by_side)
cv2.waitKey(0)
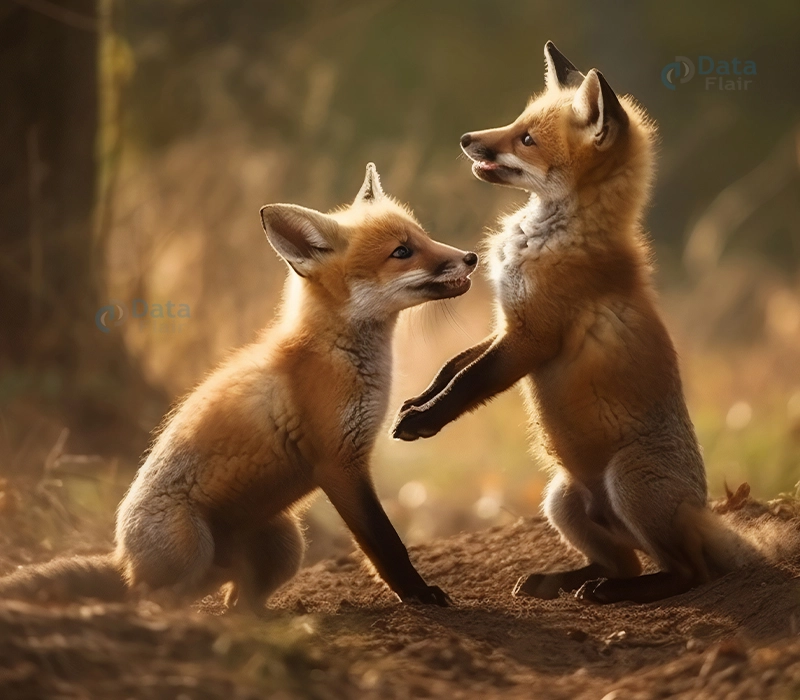
cv2.destroyAllWindows()Original image :

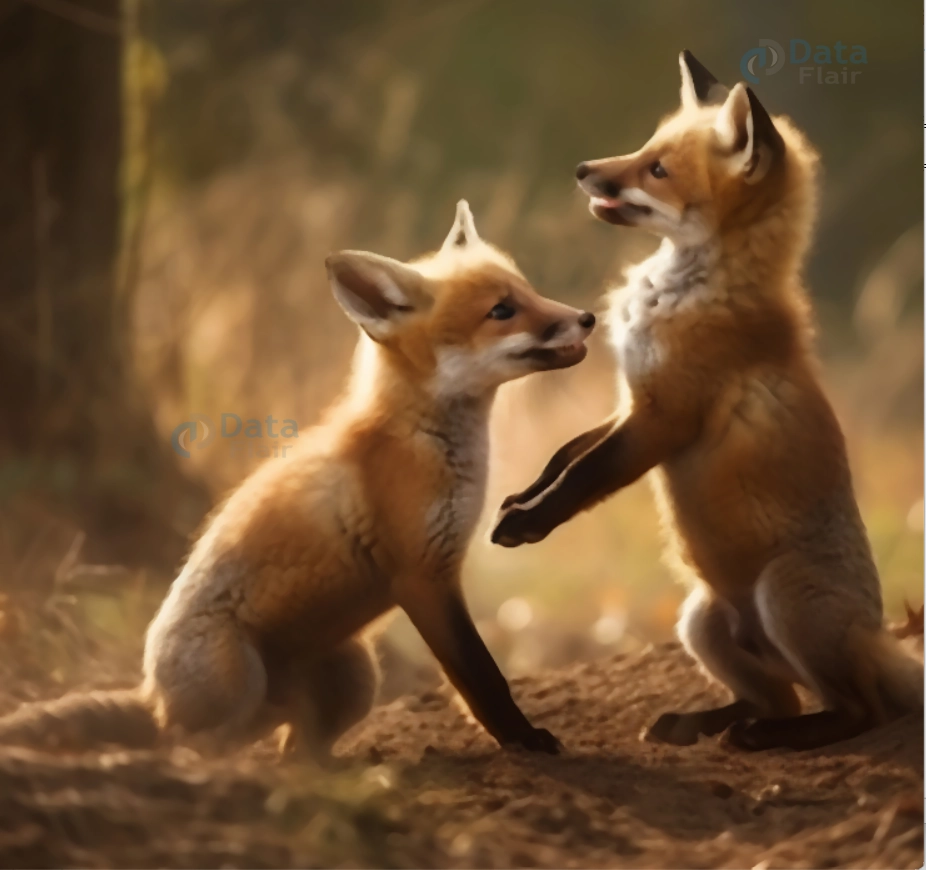
Gaussian Blur :
In this code, we read an image and then apply Gaussian Blur using a kernel size of `(5, 5)` and a `sigmaX` value of 0. The `cv2.hconcat()` function helps display the original and blurred images side by side.
The elegance of Gaussian Blur lies in its ability to gracefully smooth images while preserving their inherent features. By adjusting the `sigmaX` parameter, you can control the extent of blurring – a smaller value retains more details, while a larger value offers a dreamy softness.
As you explore Gaussian Blur, remember that beneath its mathematical underpinnings lies an artistic tool that can transform raw pixels into visual poetry.
Median Blur in OpenCV: Unveiling Timeless Beauty with Pixel Poetry
Imagine a symphony of colors and tones, where each pixel contributes its unique note to the visual composition. The “Median Blur” technique in OpenCV orchestrates this harmony, infusing your images with an ethereal touch. Unlike traditional blurring methods, Median Blur dances to a different tune, replacing each pixel’s value with the median of its surroundings. Let’s delve into the world of `cv2.medianBlur()` and experience the enchantment it brings to your visuals.
Syntax and Parameters:
The syntax for applying Median Blur using cv2.medianBlur() is delightfully straightforward:
blurred_image = cv2.medianBlur(input_image, ksize)
- blurred_image: The result of applying Median Blur to the input image.
- Input_image: The image you wish to blur.
- ksize: The size of the median filter kernel. It should be an odd integer, such as 3, 5, 7, etc.
Code with Explanation:
Let’s embark on a visual journey and discover the allure of Median Blur through a code example:
import cv2

# Read the image
image = cv2.imread(r"C:\Users\sanji\Desktop\DataFlair\blur in opencv\wildlife-baby-foxes.jpg")

# Define the kernel size for Median Blur
ksize = 5

# Apply Median Blur
blurred_image = cv2.medianBlur(image, ksize)

# Display the original and blurred images side by side
side_by_side = cv2.hconcat([image, blurred_image])
cv2.imshow('Original vs. Median Blur', side_by_side)

cv2.waitKey(0)
cv2.destroyAllWindows()
Original Image :
Median Blur :
In this code, we start by reading an image and then apply Median Blur with a kernel size of 5. The `cv2.hconcat()` function facilitates the display of the original and blurred images side by side.
What sets Median Blur apart is its ability to gracefully suppress noise while preserving edges and fine details. By replacing each pixel’s value with the median value of its neighborhood, this technique conjures a mesmerizing softness that is both captivating and harmonious.
As you immerse yourself in Median Blur, remember that you’re not merely manipulating pixels – you’re composing pixel poetry that transcends the ordinary, creating visuals that resonate with timeless beauty.
Advantages of Blur In OpenCV
Blurring is a common image processing technique used to reduce noise, enhance edges, and smooth out details in an image. In OpenCV, you can apply blurring using various types of blur filters, including Gaussian blur, median blur, and bilateral filter. You can also apply blurring specifically to certain points in an image using various methods.
Here are some advantages of using blurring on specific points in OpenCV:
1. Noise Reduction:
Blurring at specific points in an image can effectively reduce noise and artefacts present in those regions. This is particularly useful when noise is more pronounced in certain areas due to factors like lighting conditions or sensor limitations.
2. Privacy Protection:
Blurring specific points, such as faces or license plates, is a common technique used to protect individuals’ privacy in images or videos. This can be crucial when sharing or publishing visual content.
3. Focus on Main Subject:
Blurring non-essential or distracting elements in an image can help draw attention to the main subject. By reducing detail and contrast in the background, the subject becomes more prominent and visually appealing.
4. Edge Enhancement:
In some cases, blurring specific points can enhance edge detection algorithms. By slightly blurring the areas around the edges, you can reduce noise that might interfere with edge detection while maintaining the integrity of the edges themselves.
5. Data Anonymization:
Blurring sensitive information, such as addresses, names, or financial data, is crucial when sharing images for research or analysis purposes. This ensures that any personally identifiable information is not accessible.
6. Motion Blur Effect:
By selectively applying blurring to specific points, you can simulate motion blur effects in images. This is often used in artistic photography to create a sense of movement or dynamic action.
7. Highlighting Dynamic Regions:
Blurring can be used to highlight areas of motion or change within a video sequence. By applying blur to areas with movement, you can draw attention to the dynamic regions.
While blurring is a versatile image processing technique, it comes with certain limitations in OpenCV:
1. Loss of Detail:
Blurring reduces image sharpness by averaging pixel values in a neighborhood. This can lead to a loss of fine details and textures in the image, which might be undesirable in some applications.
2. Edge Smoothing:
Blurring tends to smooth out edges and transitions between objects. While this can help in noise reduction, it can also result in a loss of edge definition and structure.
3. Unwanted Smoothing:
Blurring can inadvertently affect areas of the image that you intend to keep sharp. If not applied carefully, important features might be blurred, leading to unintended results.
4. Trade-off Between Noise Reduction and Detail Preservation:
There’s often a trade-off between noise reduction and detail preservation. Strong blurring can reduce noise but may also degrade important image features.
5. Blur Kernel Size:
The size of the blur kernel used determines the extent of blurring. Selecting an inappropriate kernel size can either result in insufficient blurring (leaving noise intact) or excessive blurring (losing important features).
Summary
In the mesmerizing world of blurring techniques, OpenCV has unveiled a treasure trove of tools that transform ordinary images into extraordinary visions. With each blur, we’ve crafted a unique visual melody, softening edges, and turning noise into whispers. From the smooth caress of Average Blur to the artistic dance of Gaussian and the poetic rhythm of Median, we’ve harnessed the magic of blurring to its fullest.
As you wield OpenCV’s blurring techniques, remember that you’re not just enhancing pixels – you’re creating moments. With every stroke of blurring, you’re unveiling an aura of elegance that captivates the eye and soothes the soul. So go forth, blur with purpose, and let your images radiate the simplicity and sophistication that only OpenCV’s blurring can provide.
Your 15 seconds will encourage us to work even harder
Please share your happy experience on Google


