Android Kotlin Stopwatch App Project
Hello there, Android enthusiasts! Today, we will look at and learn how to develop an Android project that is a Stopwatch app in Android Studio. In this article, we’ll learn about the entire project’s development.
A stopwatch app is a digital tool that allows the user to measure elapsed time with high precision. This app features a simple user interface that includes buttons to start, pause, and reset the stopwatch. A stopwatch app is a digital tool that allows the user to measure elapsed time with high precision. This app features a simple user interface that includes buttons to start, pause, and reset the stopwatch.
About Android Kotlin Stopwatch App
This is a simple project for those just learning the fundamentals of developing Android applications. This Android app’s user interface contains one chronometer, which displays time along with three buttons for the user to start, pause and reset the stopwatch. Details about the User interface are as follows:
1. The user interface contains a chronometer, which helps to display the time elapsed to the user.
2. The first button is a ‘Start’ button for the user to start the stopwatch.
3. The second button is a ‘Pause’ button to pause the stopwatch in between.
4. The third button is ‘Reset’ button for the user to reset the stopwatch entirely.
Prerequisites for Stopwatch App Using Android Kotlin
To develop this Stopwatch Android application, the requirements and prerequisites are as follows:
1. Kotlin: You must become acquainted with Kotlin programming first. It is necessary because we’ll be writing the app’s code in the programming language Kotlin.
2. XML: XML is a further essential part of our Android application. It will be used to create the user interface for the application.
3. Android Studio: Android Studio is at the core of our application because it is how we will create it. An Android virtual device that can be used to test an application’s functionality is also available with Android Studio.
Download Android Kotlin Stopwatch app Project.
Please download the source code of Android Kotlin Stopwatch App Project: Android Kotlin Stopwatch App Project Code.
Steps to Develop a Stopwatch App in Android Studio
We’ll now start working on developing a Stopwatch application. Before actually implementing and executing the code, we will learn about its working. So, let’s look at the files and functions needed to run the code:
In order to make this Android Stopwatch application, you must follow a set of instructions. We are here to guide you through each step of creating an app.
1. To the location of your choice, extract all the files from the downloaded zip file.
2. Launch Android Studio.
3. Open by selecting File.
4. Locate and choose the extracted folder, then select OK.
The Stopwatch application’s source code has been successfully opened in Android Studio.
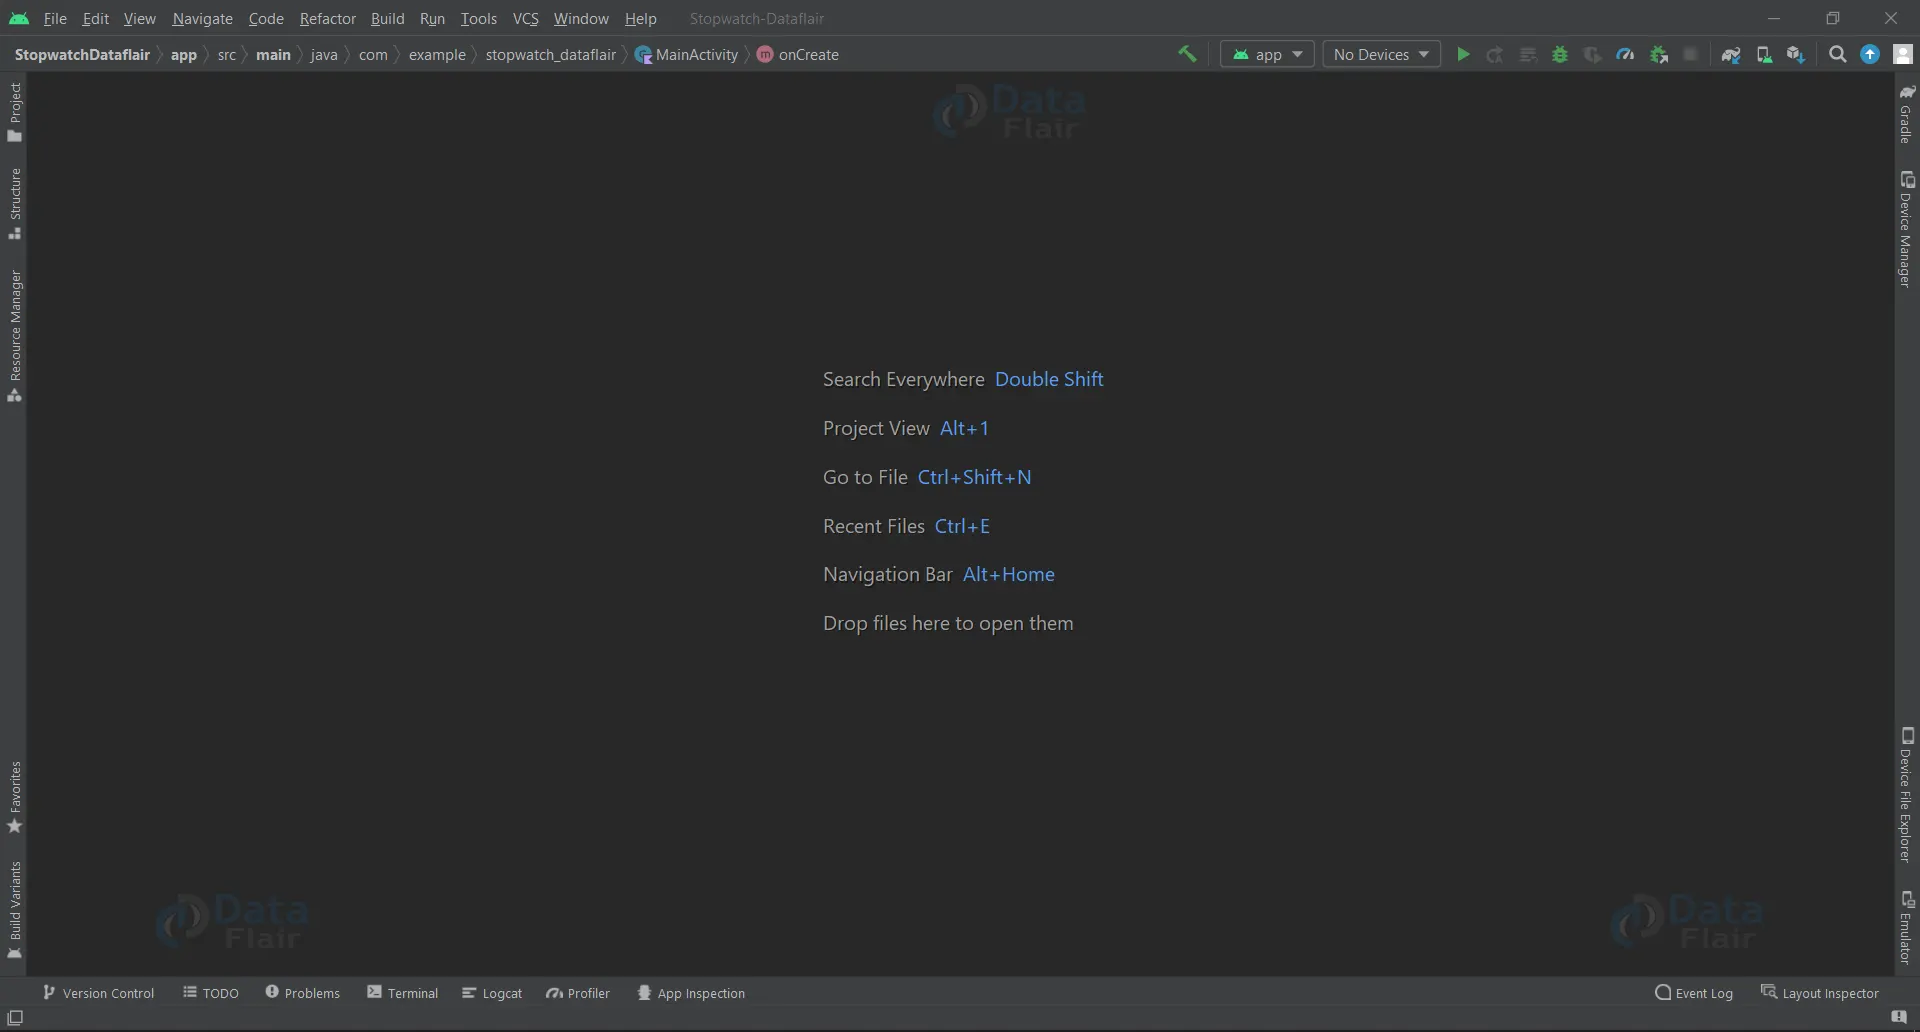
1. The “activity_main” is an XML file that is responsible for creating the user interface of the home screen that is displayed when the Stopwatch application is initialized
Code:
<?xml version="1.0" encoding="utf-8"?>
<androidx.constraintlayout.widget.ConstraintLayout xmlns:android="http://schemas.android.com/apk/res/android"
    xmlns:app="http://schemas.android.com/apk/res-auto"
    xmlns:tools="http://schemas.android.com/tools"
    android:layout_width="match_parent"
    android:layout_height="match_parent"
    tools:context=".MainActivity"
    android:layout_gravity="center">

    <Chronometer
        android:id="@+id/chronometer"
        android:layout_width="wrap_content"
        android:layout_height="wrap_content"
        android:textSize="48sp"
        app:layout_constraintBottom_toBottomOf="parent"
        app:layout_constraintEnd_toEndOf="parent"
        app:layout_constraintStart_toStartOf="parent"
        app:layout_constraintTop_toTopOf="parent"
        app:layout_constraintVertical_bias="0.365" />

    <Button
        android:id="@+id/btnStart"
        android:layout_width="wrap_content"
        android:layout_height="wrap_content"
        android:layout_marginStart="24dp"
        android:text="Start"
        app:layout_constraintStart_toStartOf="parent"
        app:layout_constraintTop_toTopOf="@+id/btnPause" />

    <Button
        android:id="@+id/btnPause"
        android:layout_width="wrap_content"
        android:layout_height="wrap_content"
        android:layout_marginTop="120dp"
        android:text="PAUSE"
        app:layout_constraintEnd_toStartOf="@+id/btnReset"
        app:layout_constraintHorizontal_bias="0.77"
        app:layout_constraintStart_toStartOf="parent"
        app:layout_constraintTop_toBottomOf="@+id/chronometer" />

    <Button
        android:id="@+id/btnReset"
        android:layout_width="wrap_content"
        android:layout_height="wrap_content"
        android:text="RESET"
        app:layout_constraintEnd_toEndOf="parent"
        app:layout_constraintHorizontal_bias="0.919"
        app:layout_constraintStart_toStartOf="parent"
        app:layout_constraintTop_toTopOf="@+id/btnPause" />
</androidx.constraintlayout.widget.ConstraintLayout>

2. ‘MainActivity’ is a kotlin file which is responsible for the functionality of the application, such as starting, pausing and resetting the chronometer when the respective buttons are clicked by the user.
Code:
class MainActivity : AppCompatActivity() {
    private lateinit var btnStart:Button
    private lateinit var btnPause:Button
    private lateinit var btnReset:Button
    private lateinit var chronometer: Chronometer
    var pauseAt:Long = 0
    override fun onCreate(savedInstanceState: Bundle?) {
        super.onCreate(savedInstanceState)
        setContentView(R.layout.activity_main)

        btnStart = findViewById(R.id.btnStart)
        btnPause = findViewById(R.id.btnPause)
        btnReset = findViewById(R.id.btnReset)
        chronometer = findViewById(R.id.chronometer)

        btnStart.setOnClickListener {
            chronometer.base = SystemClock.elapsedRealtime()-pauseAt
            chronometer.start()
        }
        btnPause.setOnClickListener {
            pauseAt = SystemClock.elapsedRealtime()-chronometer.base
            chronometer.stop()
        }
        btnReset.setOnClickListener {
            chronometer.base = SystemClock.elapsedRealtime()
        }
    }
}
Android Kotlin Stopwatch App Output:
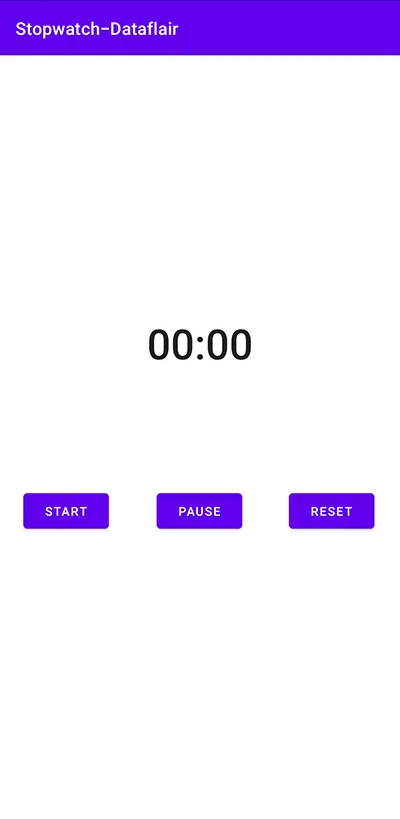
1. Home Screen:
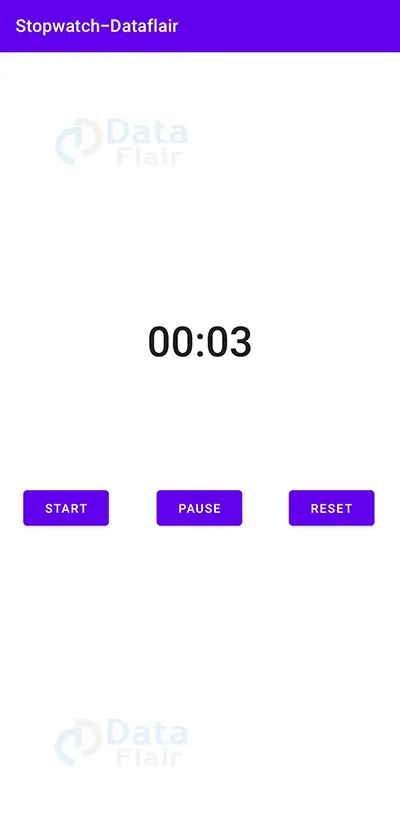
2. Start button is clicked:
3. Pause button is clicked:

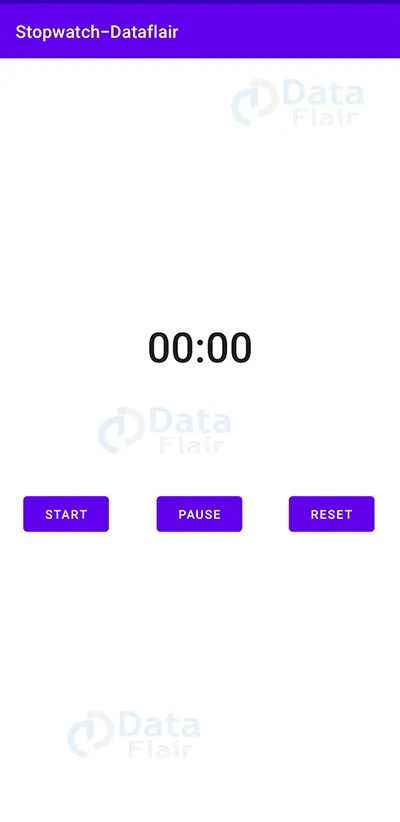
4. Reset button is clicked:
Summary
So, in this Android Kotlin Stopwatch App Project, we learned how to use Android Studio to develop an application that enables the user to start, pause and reset a stopwatch. This Android project is suitable for beginners as it will improve your ability to design a user interface as per the application’s need and add basic functionality to your application using buttons. We can add further options to it, like adding time in milliseconds ( along with seconds), etc. We hope you enjoyed it, and we are confident that you will like putting it into practice.
You give me 15 seconds I promise you best tutorials
Please share your happy experience on Google