PS Command in Linux
Interactive Online Courses: Elevate Skills & Succeed Enroll Now!
In this article, you will learn all there is to the ps command in Linux-based operating systems. We will go through what the ps command is, why it is used, and the names of the columns on output. We will also be going technical as we cover the syntax and options of the ps command. So sit down, grab a drink, buckle up and read right till the end!
What is Linux ps command?
Ps is an abbreviation for “Process Status”. It is a command-line-based utility in Linux-based operating systems that helps in viewing information regarding a selection of running processes on a system.
We all know by now that multitasking is one of the most distinguishing features of Linux distribution, Linux has the capability to handle multiple tasks simultaneously without interfering with one another. Just to get the basics straight, a process is the executing instance of any application or program in the operating system.
The ps command lists all the currently running processes along with some additional information like PID (Process Identity), TTY, user ID, command name, how much space it occupies in the CPU, and many other things based upon the options we use.
How does the ps command work in Linux?
If you have been following along with our Linux articles you will also know that all the information about processes is stored in the “proc” directory in the Linux file system.
When we invoke the ps command, it read the process information from the “/proc” directory. The proc directory is also called the virtual file system because it contains virtual files.
Syntax of Linux ps command
The syntax of the pc command is very simple:
ps <options>
Understanding the output of linux ps command
Since all the commands of ps are used with options, let us see what happens when we simply run the ps command with no options at all.
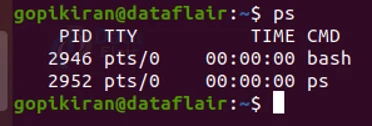
As you can see, in the above output there are 4 columns with different names, let us look at what they stand for before we talk about the option sued with the ps command.
1. PID
This column tells the Process identity of the running command.
2. TTY
This column tells the type of terminal the command is running on.
3. TIME
This column tells how much time of the CPU was taken by the command
4. CMD
This column tells the name of the command.
Options used with the ps command in Linux
In the syntax of the ps command, there is a field for entering options that take in a range of available options which specify how the ps command should work and how the output should be formatted. Let us take a look at some of the available options of the ps command:
1. -ax
This option lists all the currently running processes.
2. -ef
This option lists the currently running processes in full format.
3. -u <username>
This option lists the process for the user that you specified.
5. -C <command>
This option lists the process for the command you specified.
6. -p<PID>
This option lists the processes with the (PID) process identity you specified.
7. -ppid <PPID>
This option lists the processes with the PPID you specified.
8. Pstree
This option shows the process in the hierarchy.
9. -L
This option lists all the threads for a particular process.
10. –sort pmem
This option finds the memory leak if there is any.
11. -eo
This option shows the security information.
12. -U root -u root
This option shows the process running by the root.
Now that we have laid down the fundamentals, let us look at 20 beautiful practical commands of ps in the terminal.
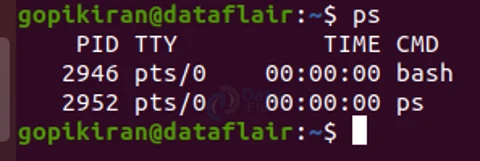
Listing all the processes in the current shell
If you want to display all the processes for the current shell, run the ps command with no options at all.
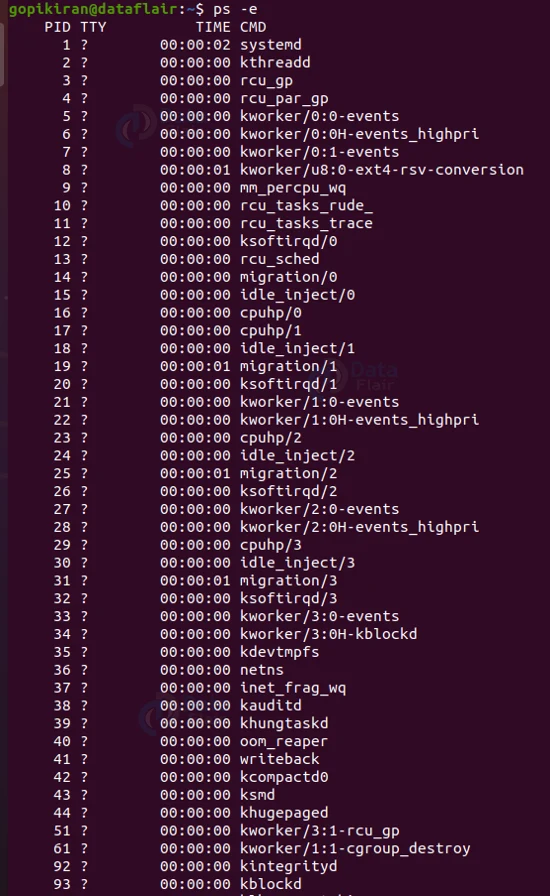
Printing all processes in different formats
If you want to display every single active process on a Linux system in the generic Unix/Linux format, you can either use the option “-e” or “-a” as shown:
ps -e” or “ps -a
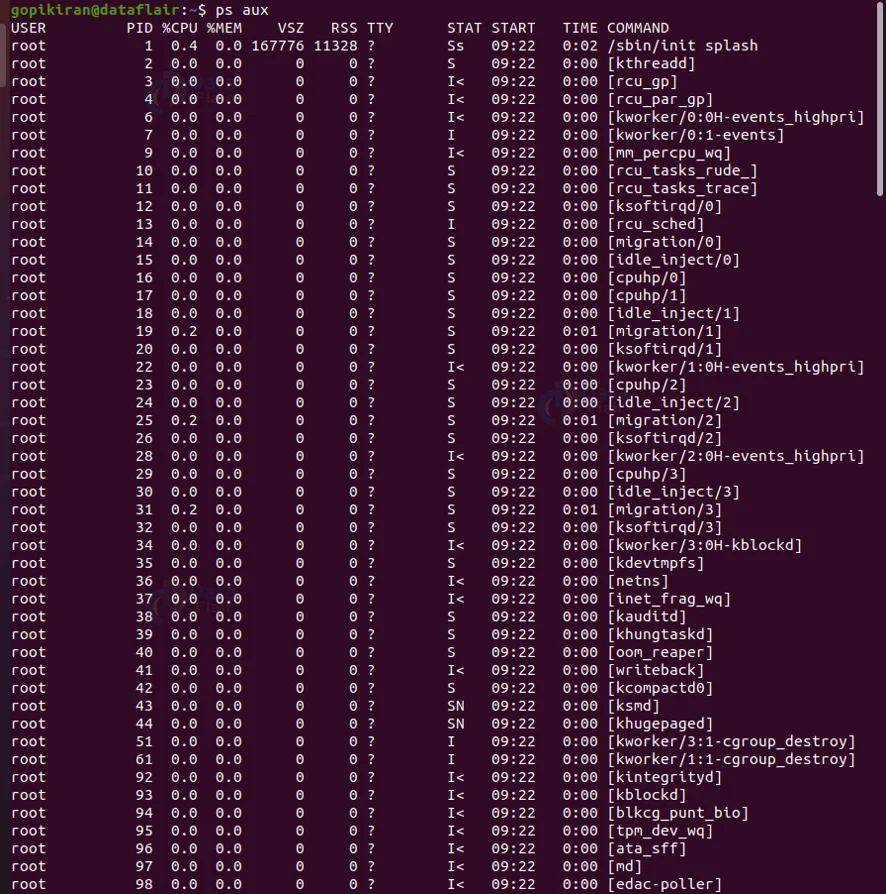
Printing in BSD format
If you want to list all the currently running processes in BDS format, you can either use “au” or “axu”
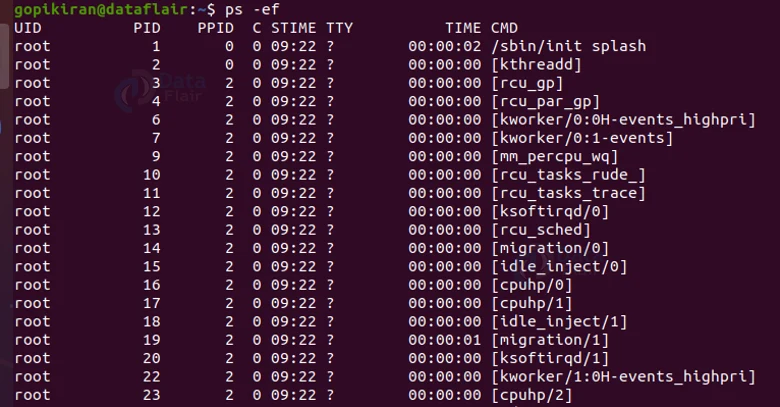
Printing in full format
If you want to print all the currently running processes in full format, combine the option “-f” with the option “-e” as shown:
ps -ef
Displaying user running processes in Linux
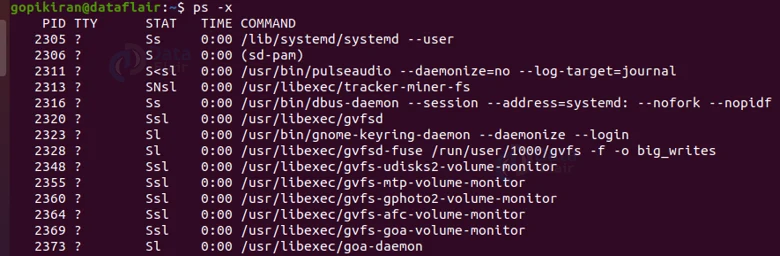
Displaying processes owned by you
To select all processes owned by you use the option “-x” as shown:
ps -x
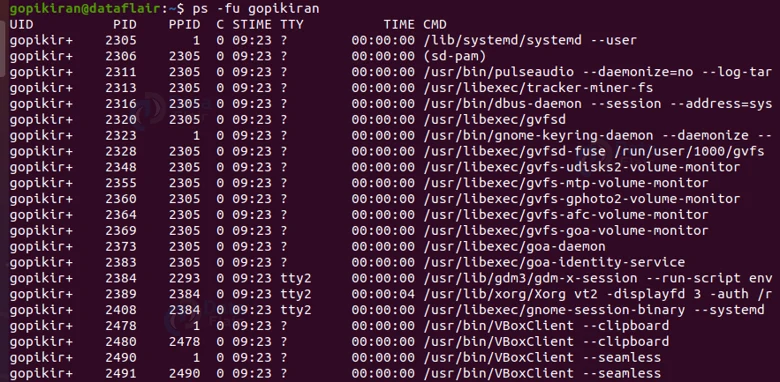
Displaying processes of a specific user
If you want to display a user’s processes by real user ID, use the option “-U” followed by the name of the user, as shown:
ps -u<username>
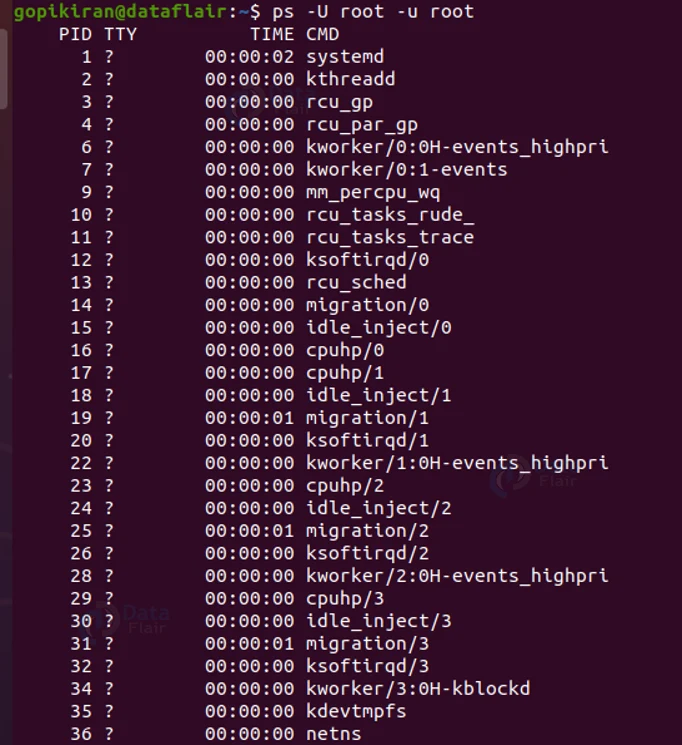
Printing all processes running as root
If you want to list every process running with root user privileges (real & effective ID) in user format, use the option “-U root -u root” as shown:
ps -U root -u root
Displaying group processes
To list all processes owned by a certain group (real group ID (RGID) or name), use the option “G” as shown:
ps -fG <group name>
Displaying processes by PID
To list processes by process identity use the option “-p” as shown:
ps -fp <PID>

Displaying processes by PPID
To list processes by parent process identity use the option “–ppid” as shown:
ps -f--ppid <PPID>
Displaying multiple processes by PID
If you want to display multiple processes by specifying their process identity, you can use the option “-p” followed by the process identities separated by a space, here is how:
ps -fp <PID> <PID> <PID>

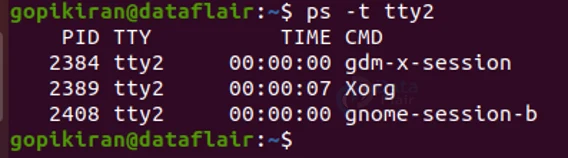
Displaying processes by TTY
To list processes by TTY, use the option “-t” followed by the TTY value, as shown:
ps -t <TTY>
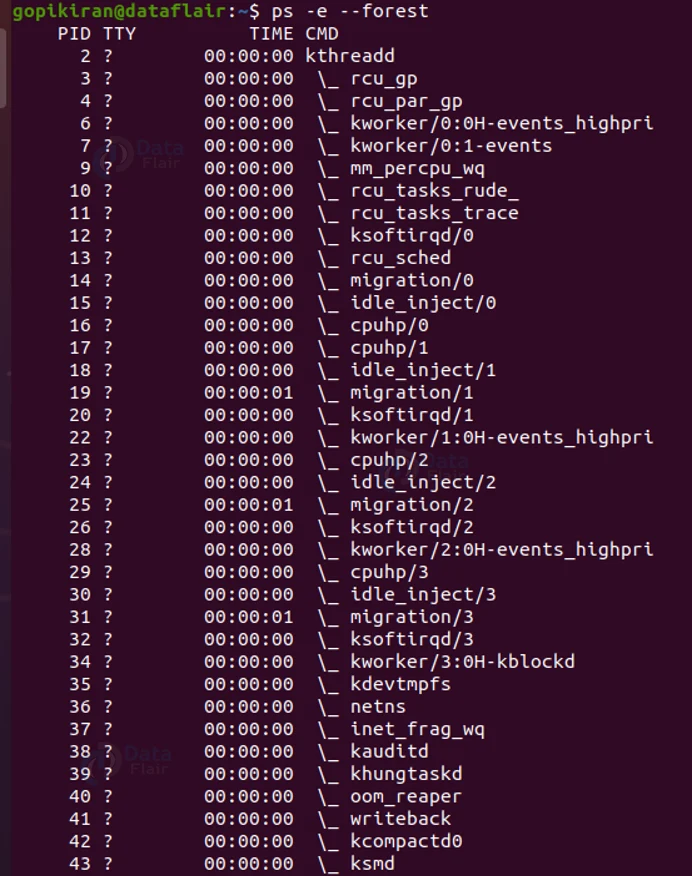
Printing process tree
To show the process tree of the process, use the option “–forest”.
Printing process threads
To print all the threads of a process, use the option “-l” followed by the name of the process as shown:
ps -fl -C <process name>

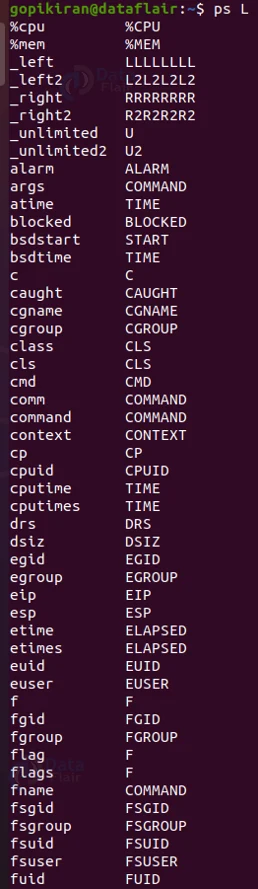
Listing all format specifiers
If you want to list all the format specifiers, use the option “L”
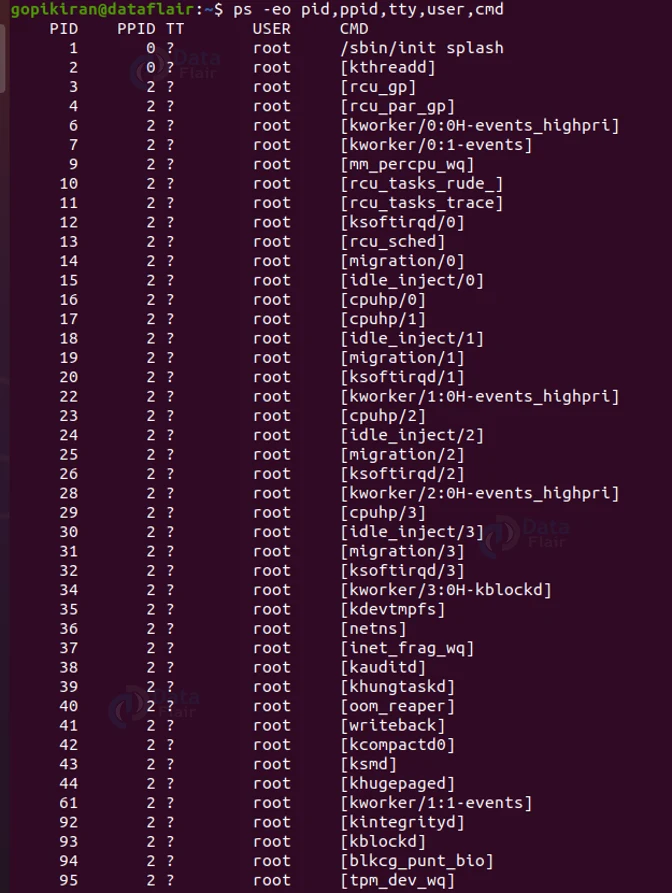
Printing only specific format specifiers
If you want to print the output in your own format, you can use the option “-eo” followed by the format specifier you want. For example, the command “ps -eo pid,ppid,user,tty, cmd” will print only the columns PID, PPID, USER, TTY, and CMD
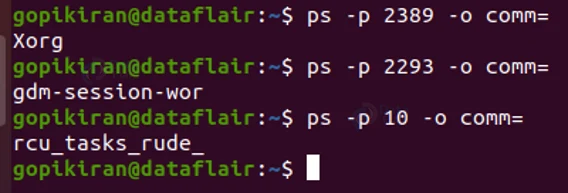
Finding a process name using its PID
If you want to display the name of a process using its PID, you can use the option “-P” followed by the PID and option “-o” as shown:
ps -p <PID> -o comm=
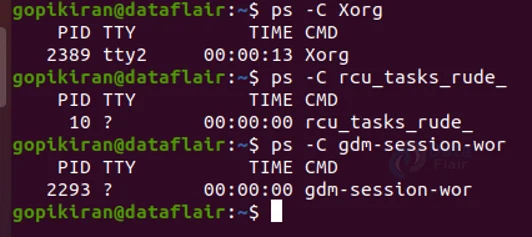
Displaying parent and child processes
If we select a process by its name, it will automatically display its parent and child processes. To do the same make use of the option “-C”.
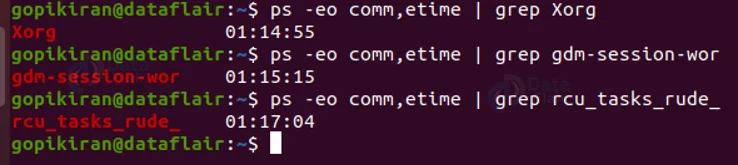
Checking the execution time of a process
To check the execution time of a specific command, specify the “etime” format specifier and use the grep command to filter out the process you want. Use the command:
ps -eo comm,etime | grep <process name>
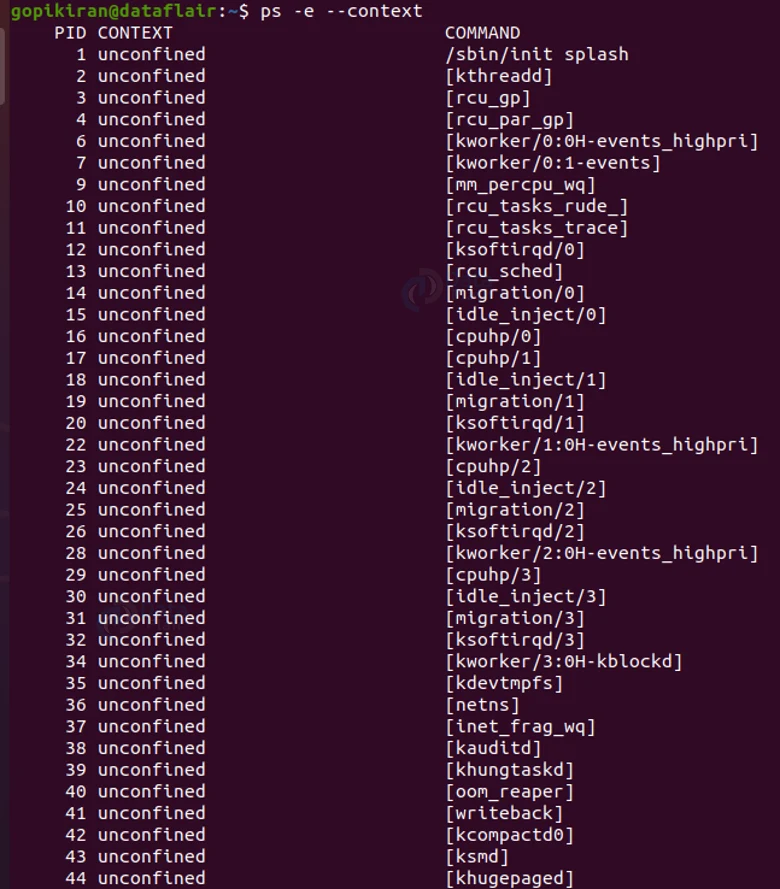
Printing security information
To show security context, use the option “–context” as shown:
ps -e --context
Understanding the output
In all of the outputs we got till now there are many fields that are being displayed on the screen. Let us take a closer look at each of the fields:
1. UID
This field displays the User Identifictaiuon number of the user who started this process.
2. PID
This field displays the process identification number of the process
3. PPID
This field displays the identification number of the parent process, the parent process initiates a process.
4. C
This field displays the amount of CPU that this process is currently using.
5. STIME
This field displays the time the process was started on the current system.
6. TTY
This field displays the terminal that was used to start the process.
7. TIME
This field displays the amount of CPU time this process has consumed since it began running.
8. CMD
This field displays the command that was used to start this process.
9. SZ
This field displays the size in physical pages of the core image of the process.
10. RSS
This field displays the resident set size, which is the total amount of non-swapped physical memory used by the process.
11. PSR
This field displays the processor that this process is currently assigned to.
Summary
As you have seen, the ps command is a simple command that helps in the task of printing various different pieces of information about processes. You have now learned what the ps command is, why it is used, and the names of the columns on output.
We have also gone technical by looking at the syntax, options, and 20 amazing practical examples of the ps command in the terminal.
Did you know we work 24x7 to provide you best tutorials
Please encourage us - write a review on Google


