How to Install Lubuntu on VMware Player – Lubuntu OS
Job-ready Online Courses: Knowledge Awaits – Click to Access!
In this tutorial, we will learn about the process to install lubuntu on VMware player. The steps are easy to perform and screenshots will guide you throughout the process. Just follow the instructions properly and you will not face any trouble while installing lubuntu on VMware.
What is Lubuntu?
Lubuntu is a lightweight OS of Linux distribution which is based on Ubuntu. It provides a fast and easy-to-use user interface. It uses a portable LXDE/LXQT desktop environment which makes it lightweight as compared to Ubuntu’s GNOME desktop. Since it is quite lightweight, it requires less hardware and also provides better efficiency as well.
Already have good hardware installed on your system? Check – Ubuntu Installation on VMware Player
Steps to Install Lubuntu on VMware Player
- First, download the VMWare Player using the below link:
- Then, download the lubuntu OS using the below link:
Now we are ready to install lubuntu on VMware player on our machine. For doing so, please perform the following steps in the given order:
Step 1: To start with the installation process, open the VMware Player that you have downloaded using the above link. When you open the VMware Player, it looks something like this.
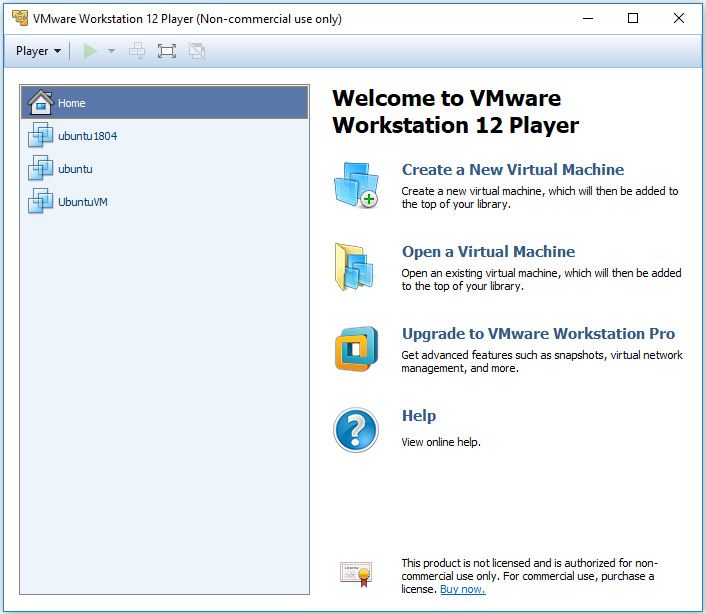
Click on the Create a New Virtual Machine option to begin the installation process.
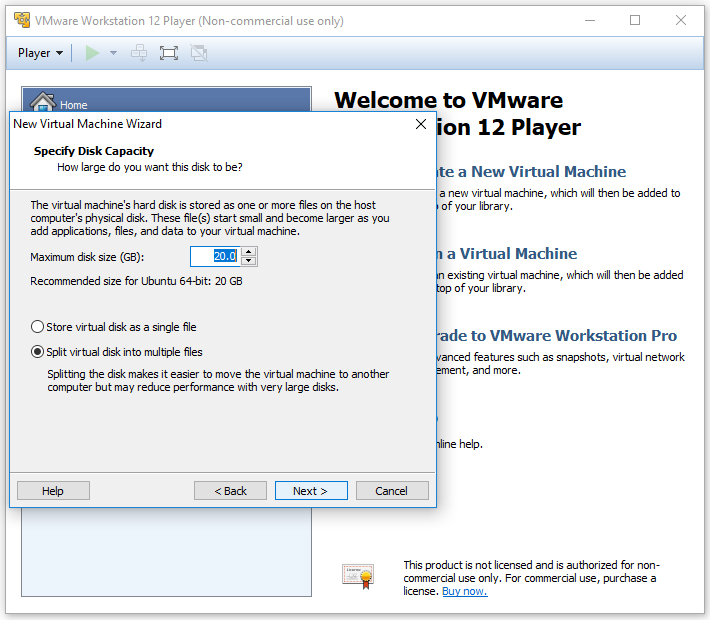
Step 2: Specify the Maximum Disk Size (20GB recommended) and select the Split virtual disk into multiple files option in the new window. Click the Next button then after.
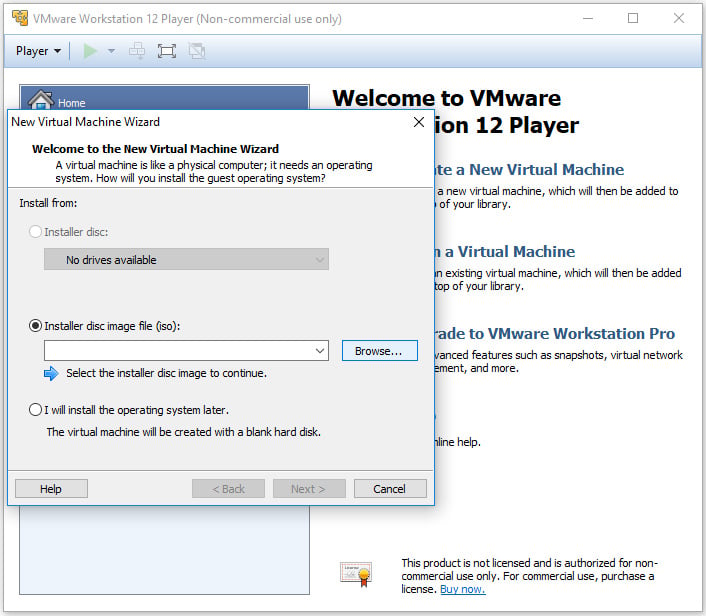
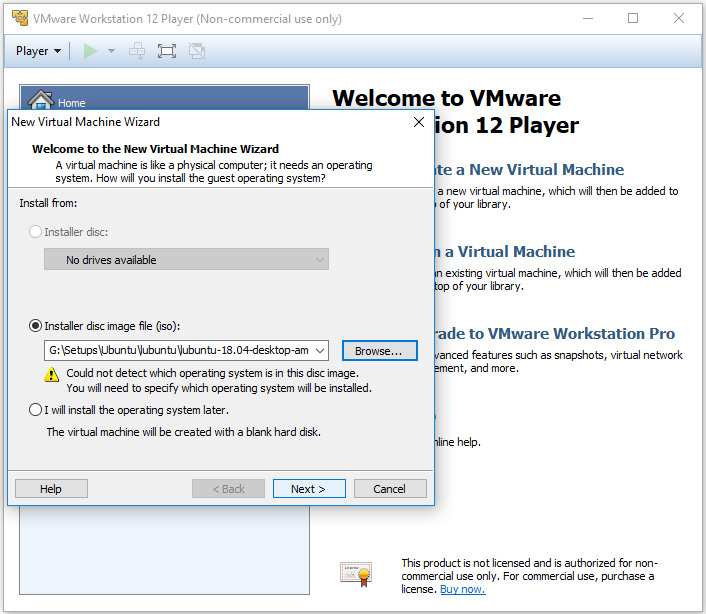
Step 3: Select the Installer disc image file (iso) option in the new window that appears on your screen.
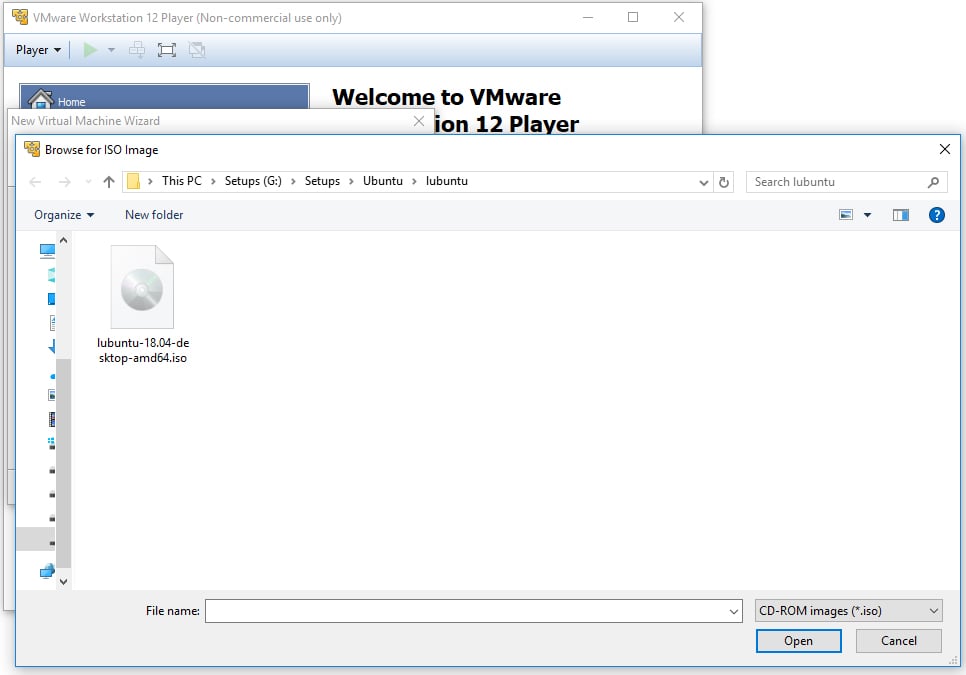
Step 4: Click on the Browse button to locate your ISO image.
Step 5: Once you are done with selecting the ISO image, click on the Next button.
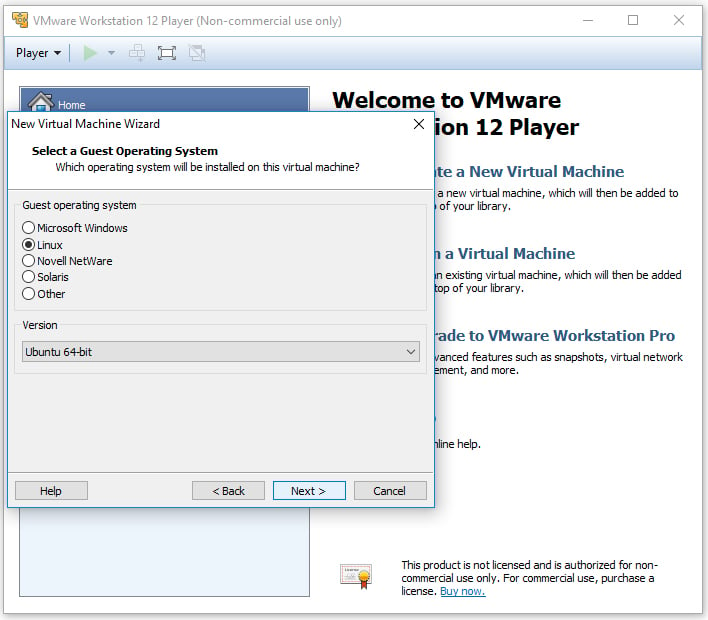
Step 6: Now, select the Guest Operating System that you want to install on the virtual machine. As of now, select the Linux option from the list and the version as ubuntu-64 bit. Click the Next button.
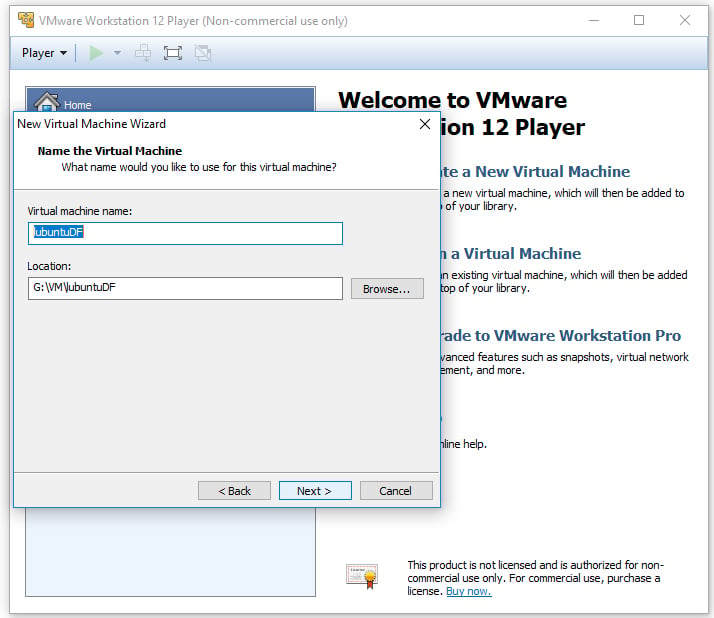
Step 7: Supply an appropriate name to the virtual machine as well as the location in which you want it to be saved. After doing so, click the Next button.

Step 8: Specify the Maximum Disk Size (20GB recommended) and select the Split virtual disk into multiple files option in the new window. Click the Next button then after.
Step 9: Once you click the Next button, a window appears which displays all the settings that you have chosen for the virtual machine.
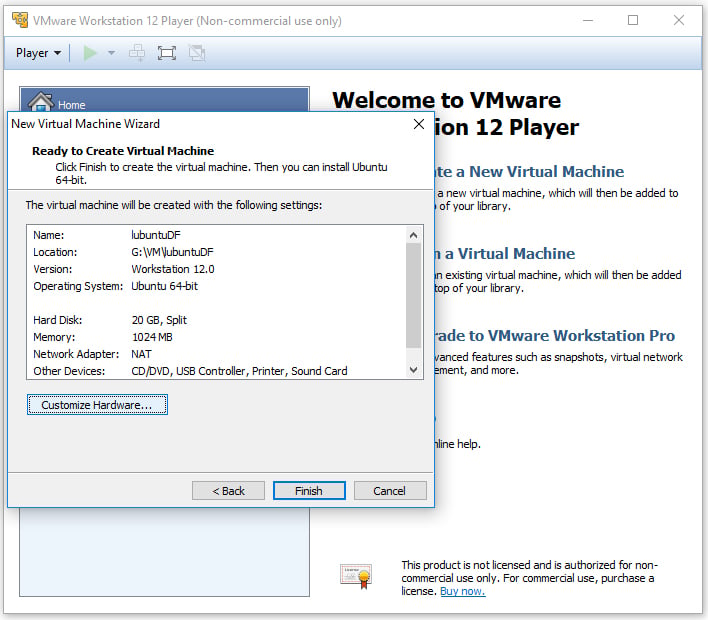
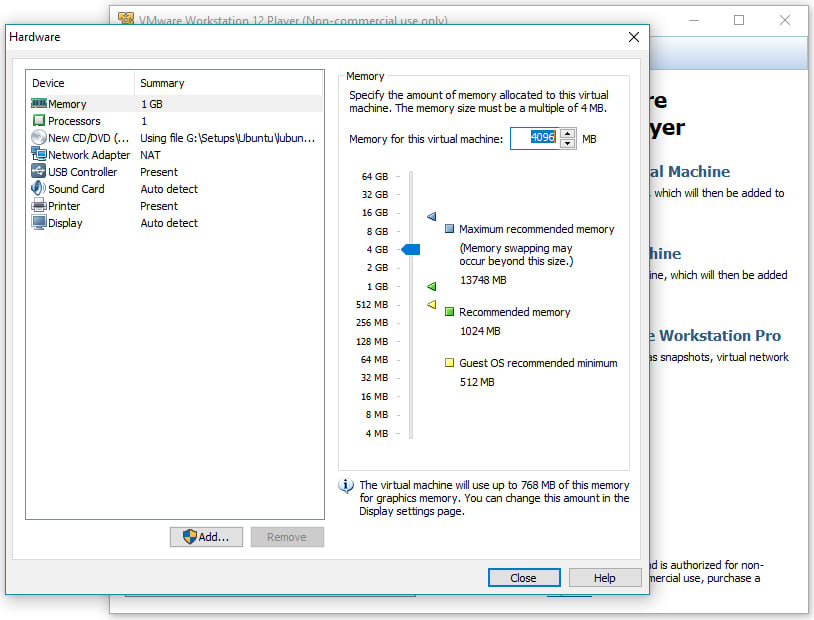
Step 10: Since you haven’t mentioned the RAM for the virtual machine, click on the Customize Hardware button to select the RAM for the VM.
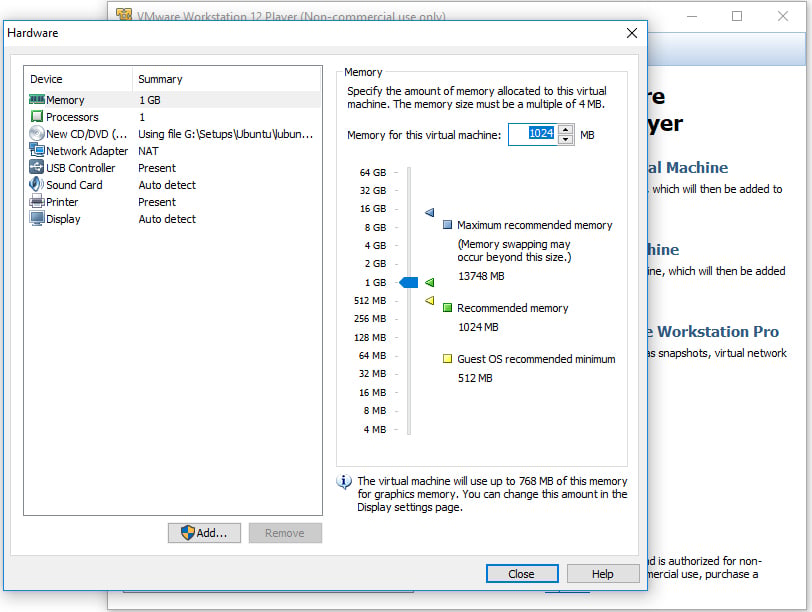
Step 11: Now, you need to specify the amount of RAM that should be assigned to the VM.
Note: It is highly recommended that the RAM assigned to the VM should be kept half of the actual RAM of your system to reduce the load on your system.
Any confusion in the process to install lubuntu till now? Comment below.
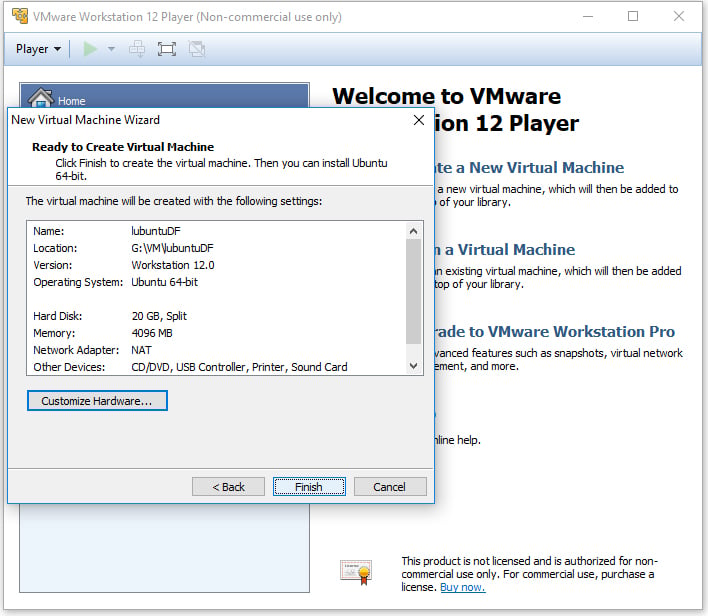
Step 12: After rechecking all the settings, click on the Finish button.
Your VM is now ready to be created.
Note: If you still want to change the settings of the VM, you can do that by clicking on the Customize Hardware button again.
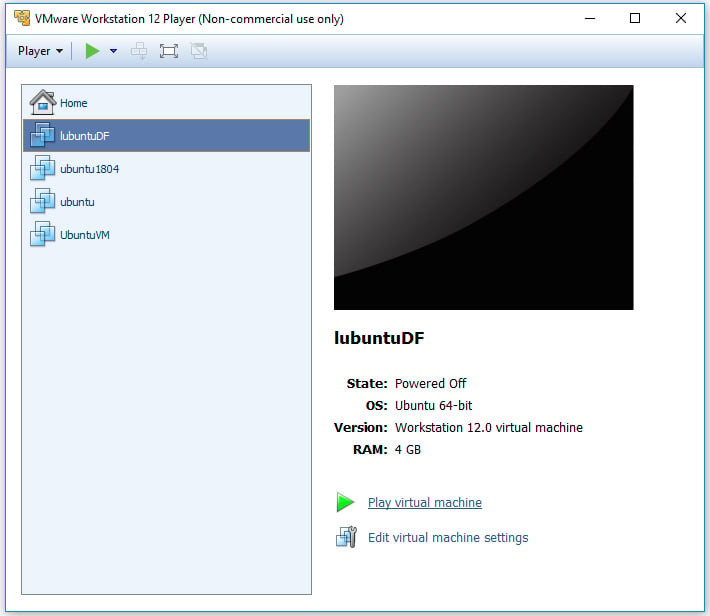
Step 13: After you click on the Finish button, your VM is now ready to be installed with your specified settings. The new window looks something like this.
Click on the Play virtual machine option to proceed further.
Note: From here onwards your only input is keyboard as your mouse won’t work after this.
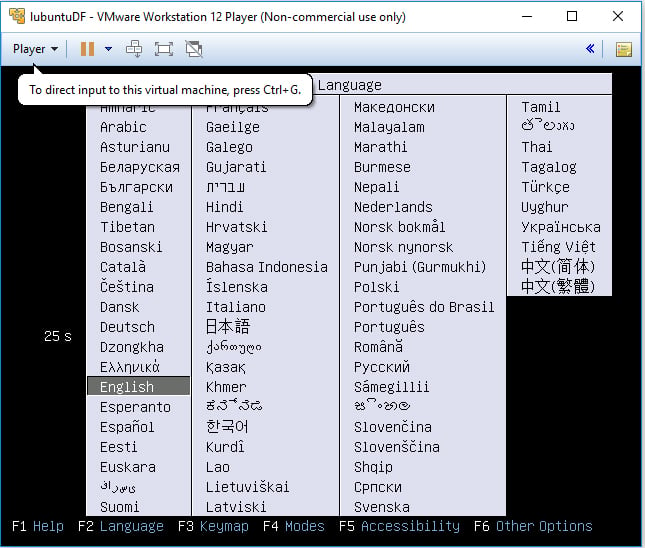
Step 14: Now with the help of your keyboard, select your language as English and then press Enter.
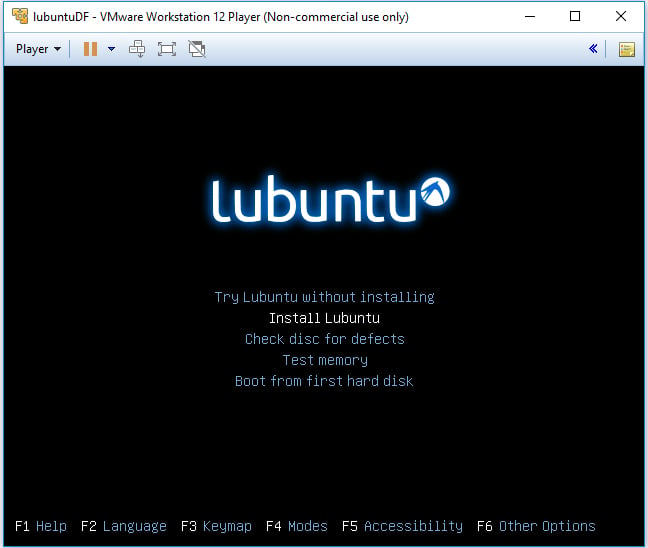
Step 15: Now select the Install lubuntu option on the new window that appears to start the installation of the lubuntu guest OS on your VM.
Wait for a few seconds for the installation process to get completed.

Step 16: Select English as the default language of the VM and then click on the Continue button.

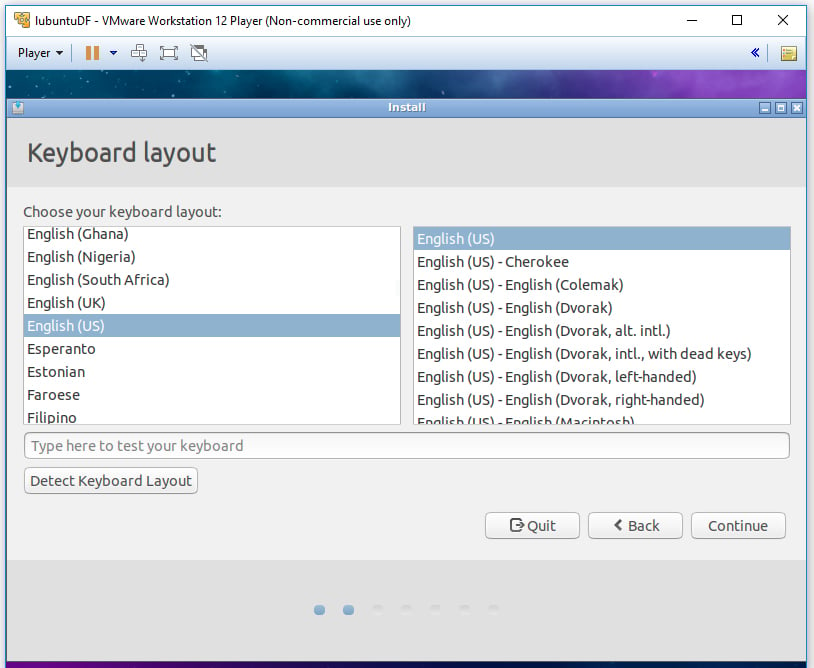
Step 17: Select an appropriate Keyboard layout and then click on the Continue button.
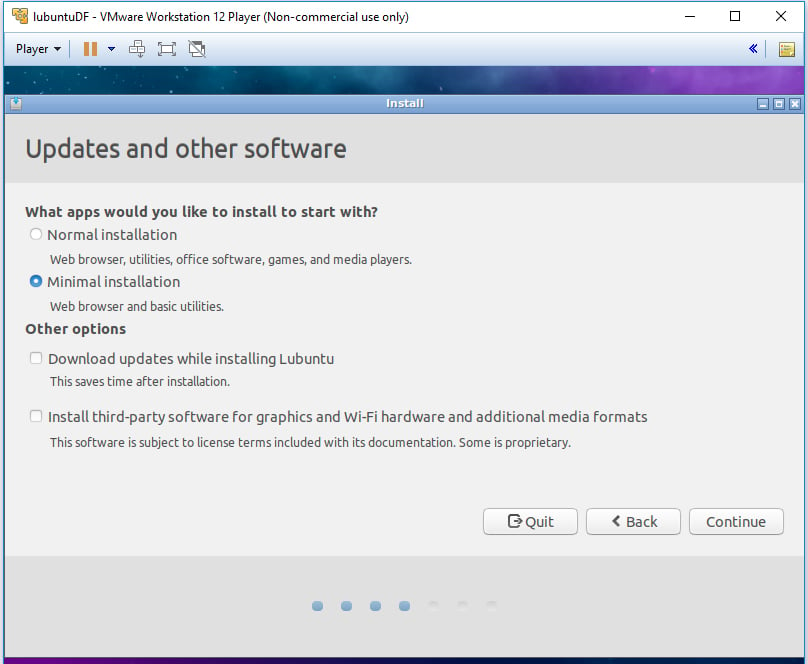
Step 18: On the Updates and another software window, select the Minimal installation option. This reduces the load on your system and enhances the performance of your VM.
Now click on the Continue button.
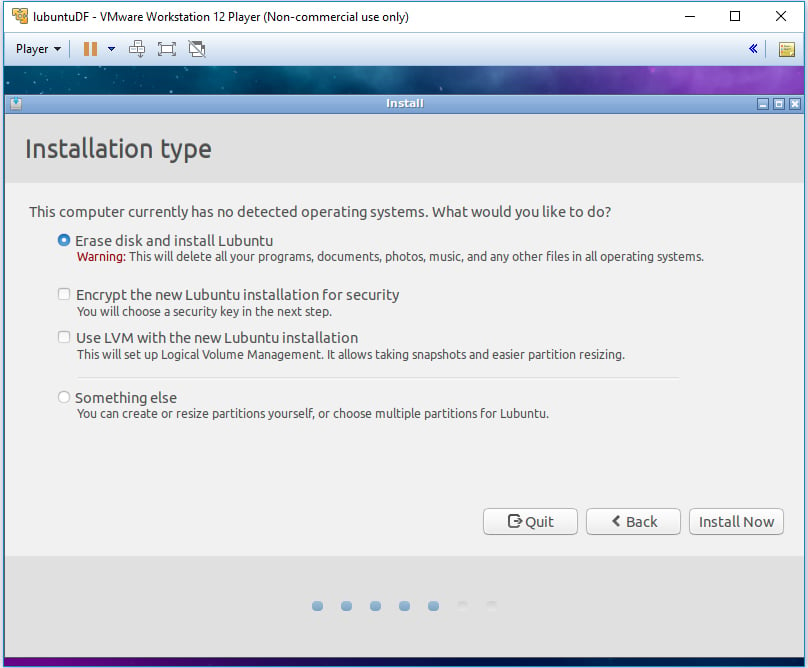
Step 19: Now you need to choose the Installation type from the new window. Select Erase disk and install lubuntu option from the list and then click on the Install Now button.
Note: Selecting this option won’t erase the hard disk of your system, in fact, it will erase the disk of your VM. So relax, your system is safe.
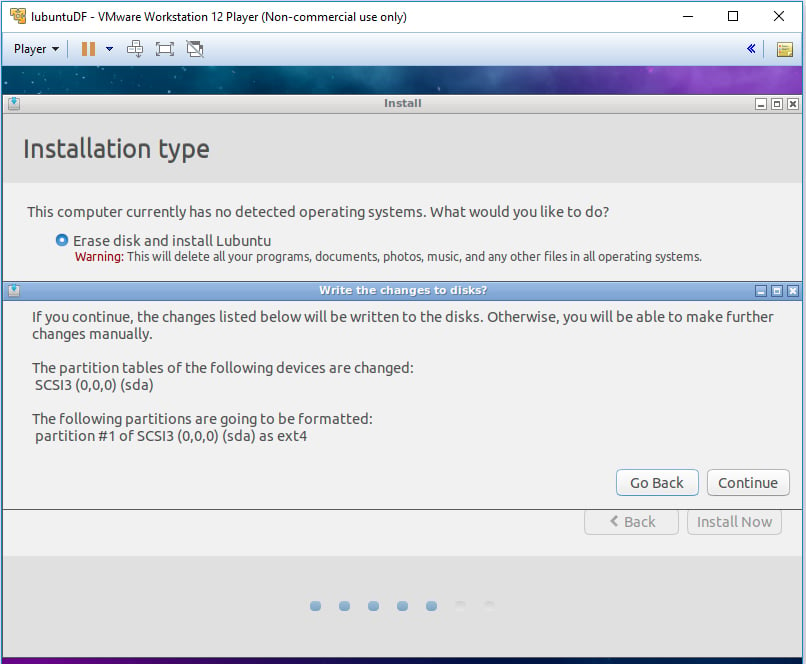
Step 20: Once you click on the Install Now option, there appears a new warning window stating the consequences of selecting that option. Click on the Continue button to proceed further with the installation.
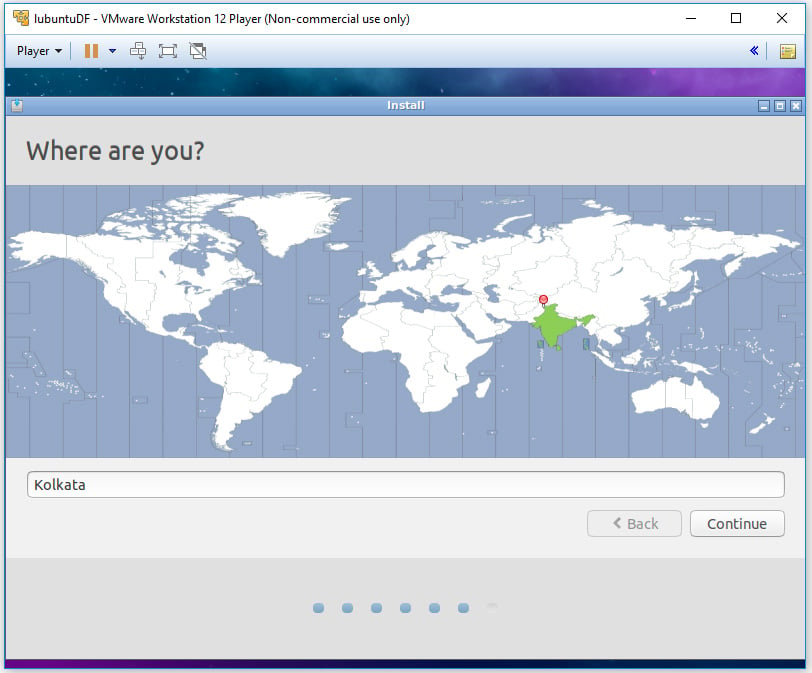
Step 21: Now in the next window, select your current location and then click on the Continue button.
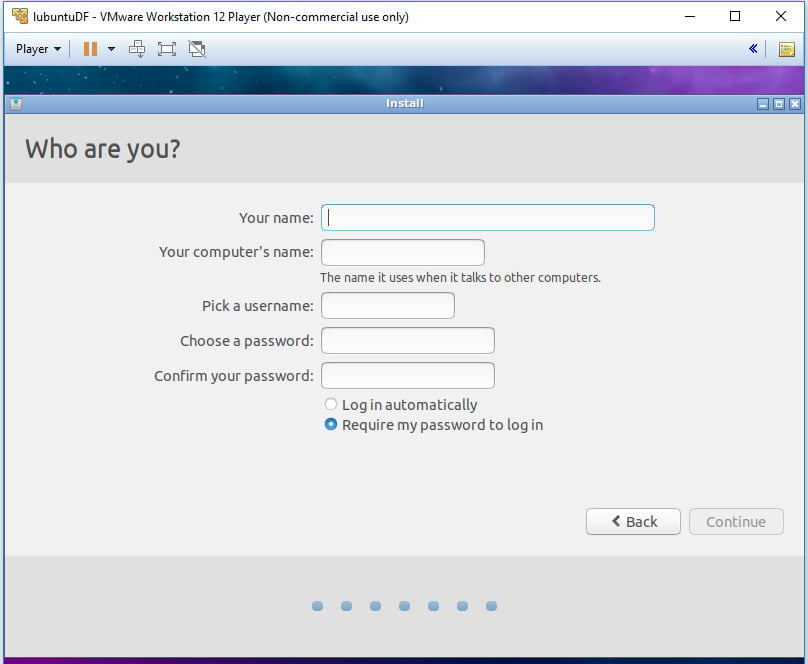
Step 22: Fill your appropriate details in the form that appears in the next window and then click Continue.
Note: Do remember your Username and Password for later use.
Form Details
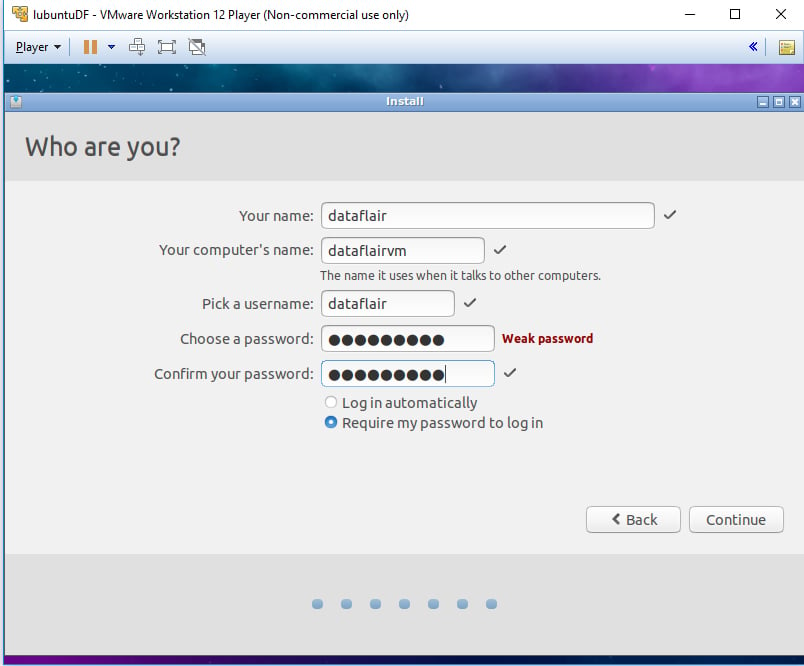
Completing Form Details
Step 23: Wait for a few minutes until the installation process gets completed.
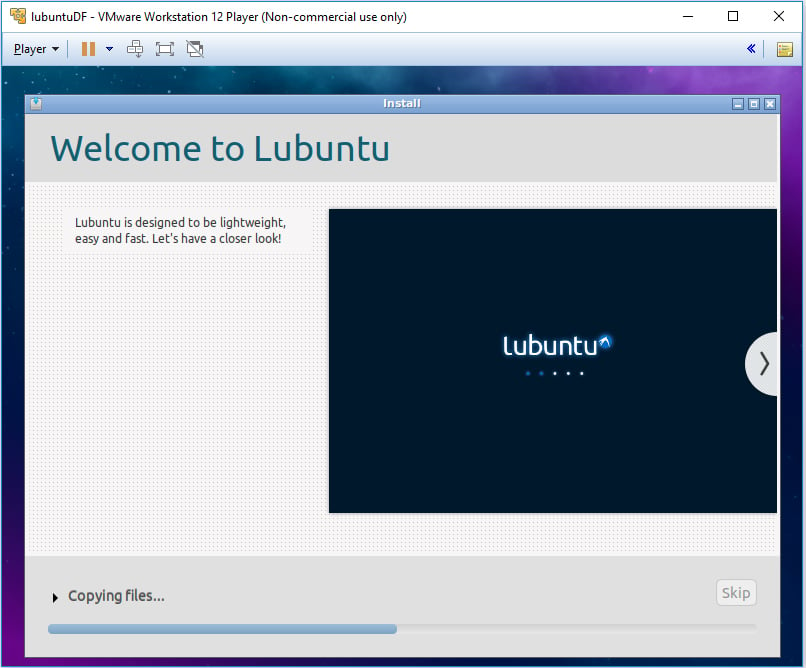
Lubuntu Installation Page
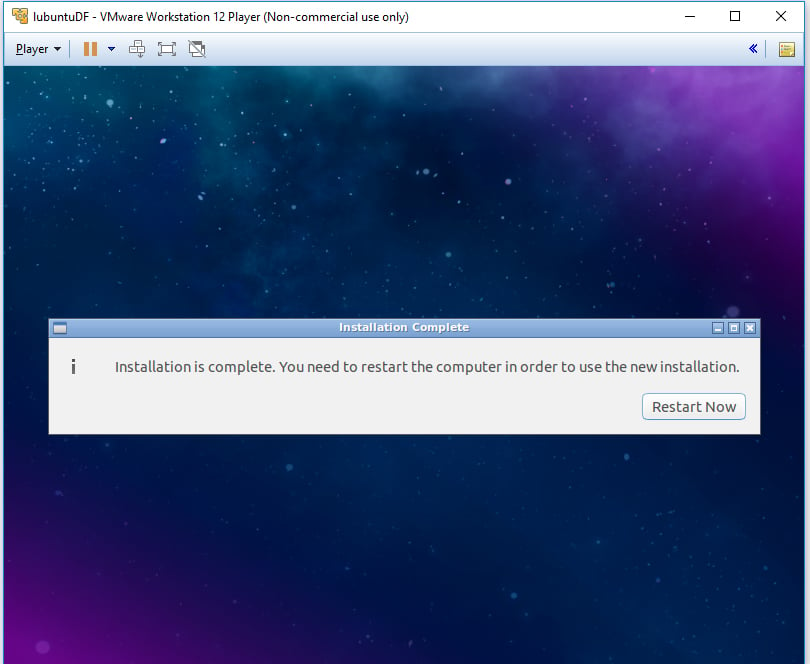
Lubuntu Installation Completed
Now to start your Virtual Machine with lubuntu OS, turn the power off and restart your system.
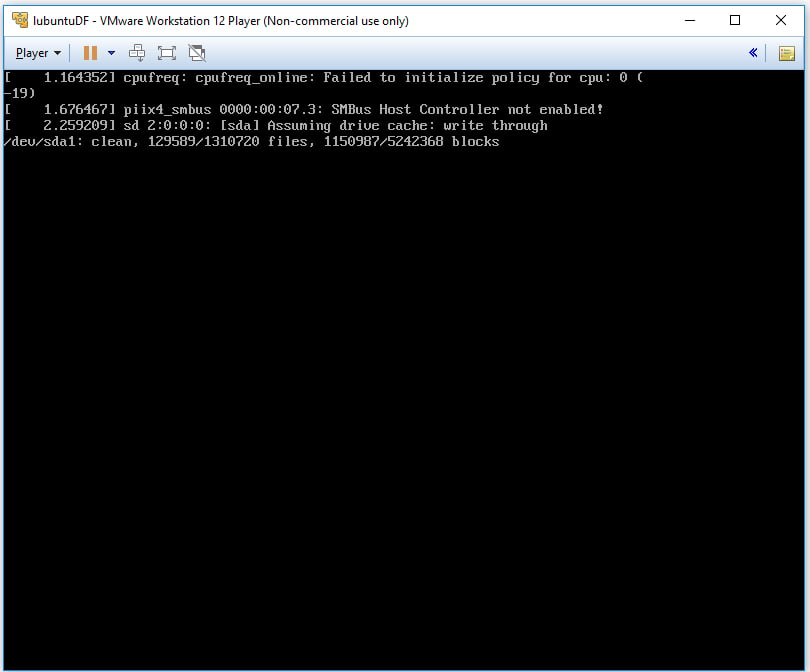
Terminal window after restart
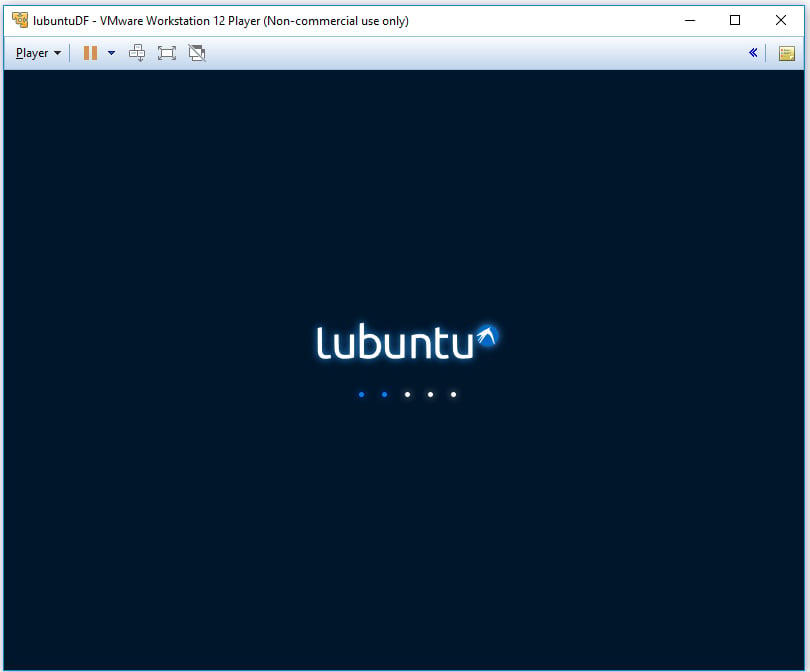
Load screen after restart
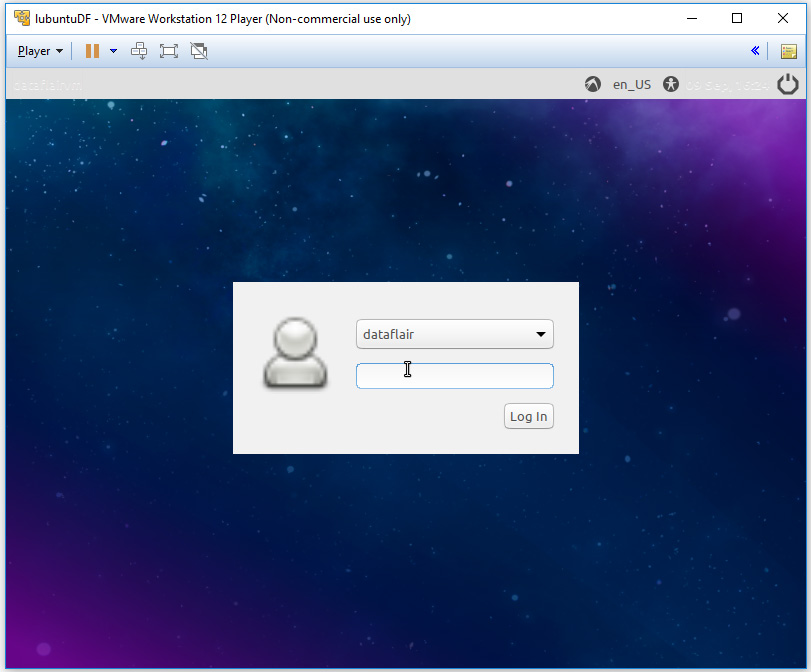
Log-in into the VM using the username and password that you mentioned in the detail form earlier. Click on Log In button.
Refer 3.22
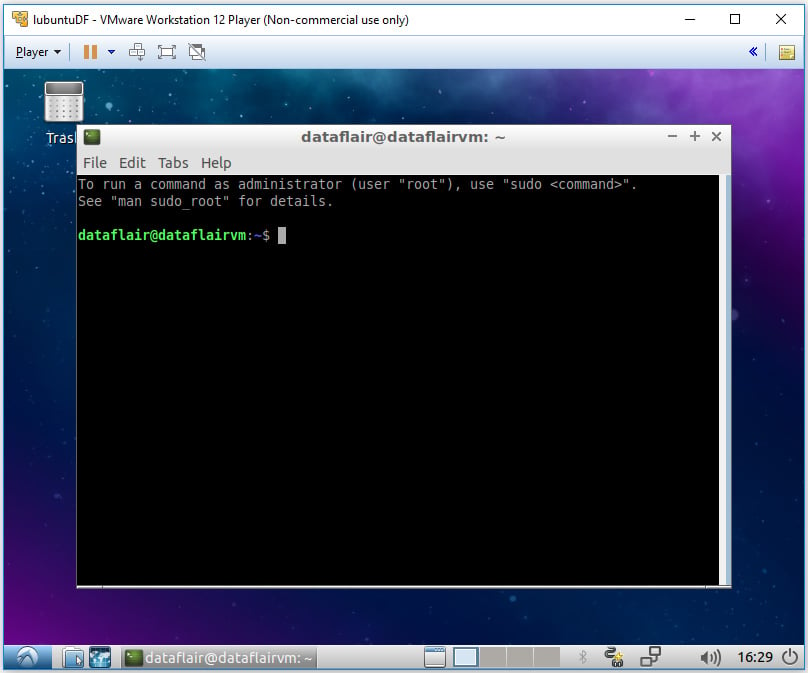
Now to move into the full-screen mode, open terminal in the lubuntu OS.
Opening Terminal
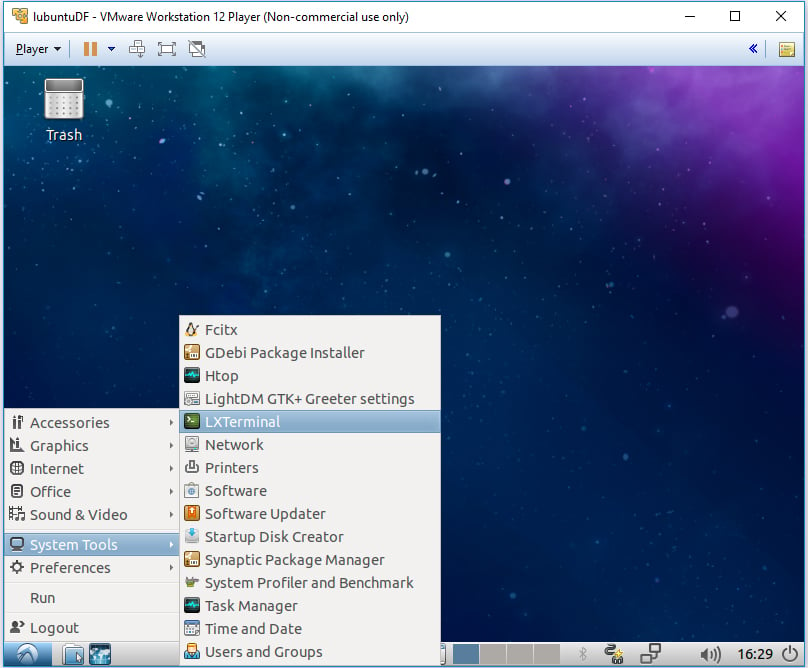
Selecting LXTerminal
Run the following commands in the terminal and then press Enter:
sudo apt-get remove --purge open-vm-tools

Enter the password for your user and then press Enter:
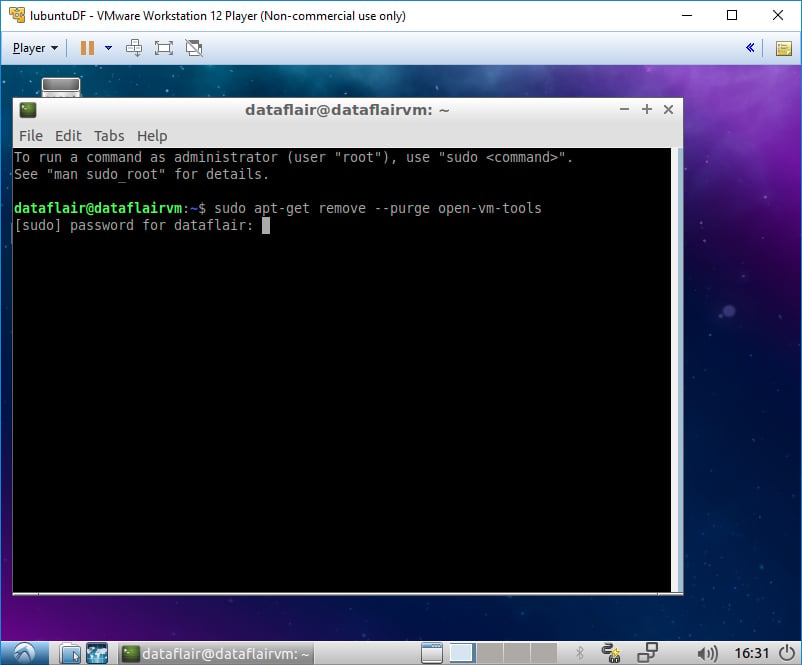
Entering password of user

Execution after entering password
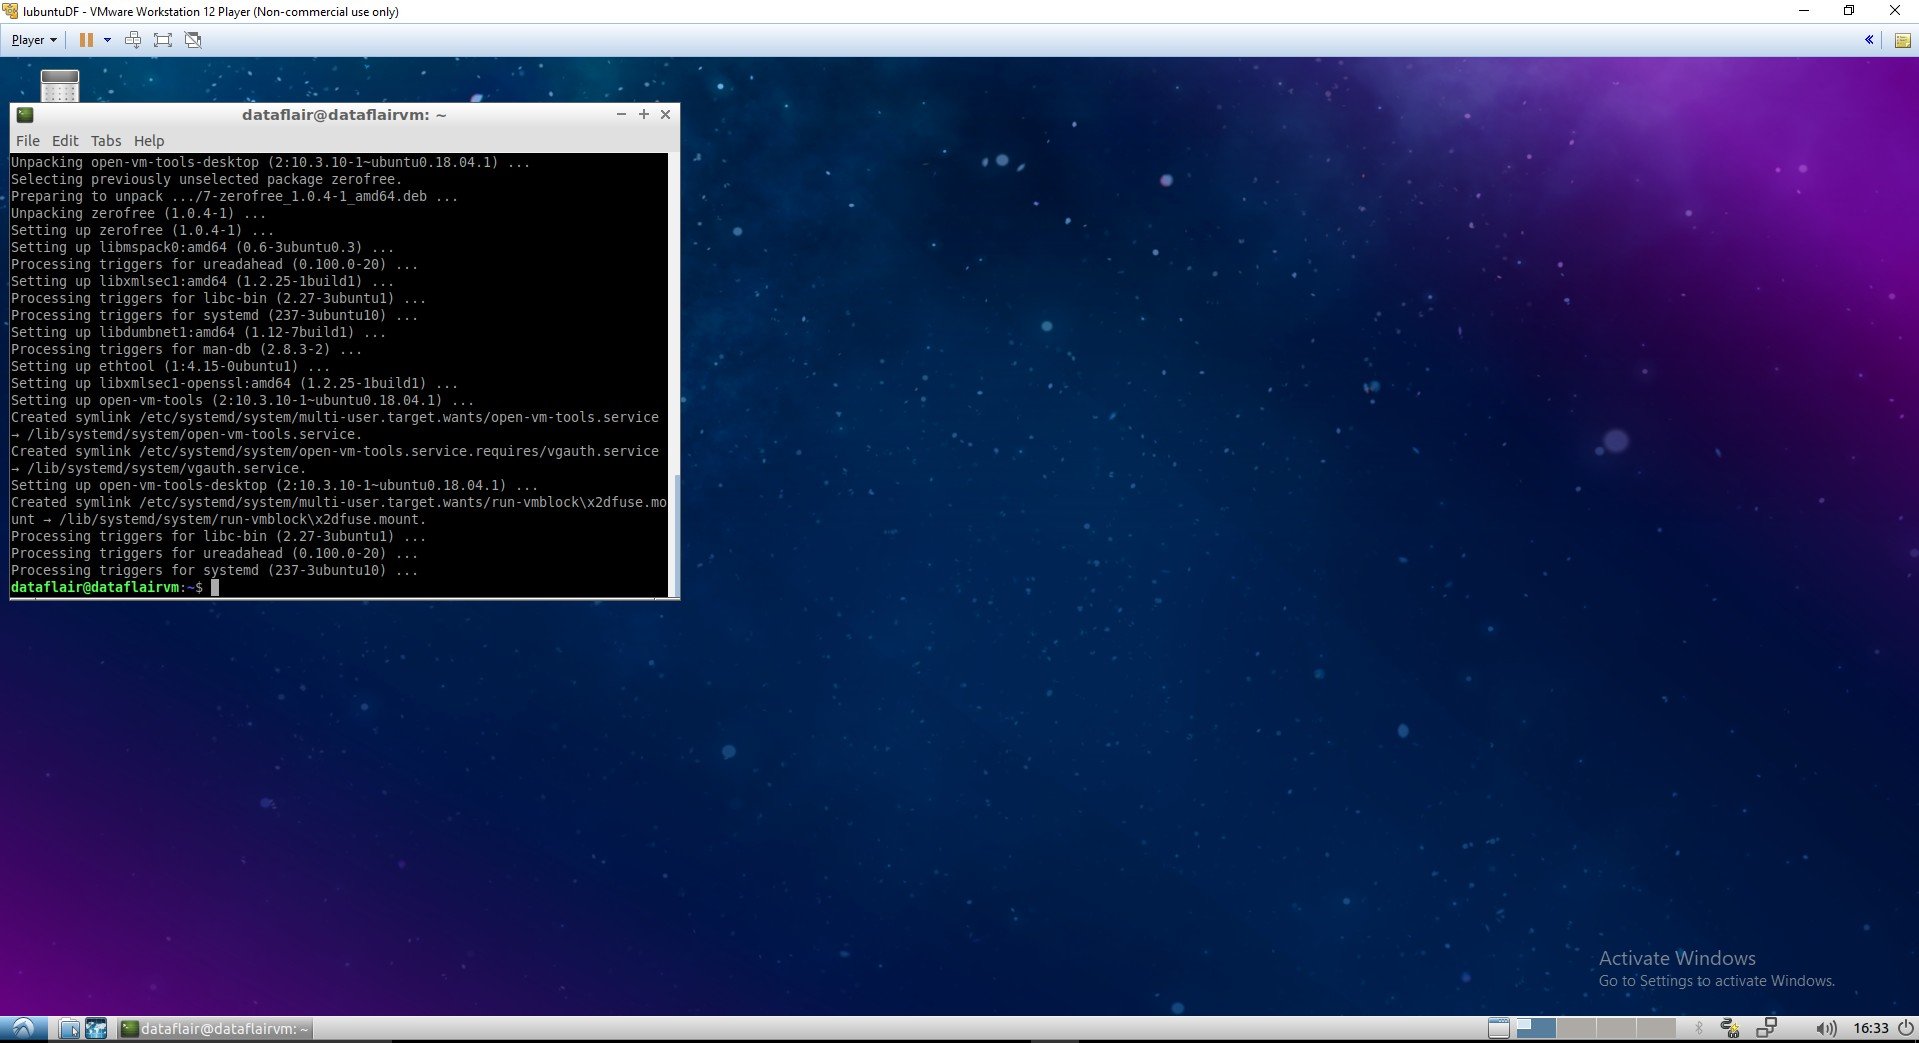
sudo apt-get install open-vm-tools-desktop
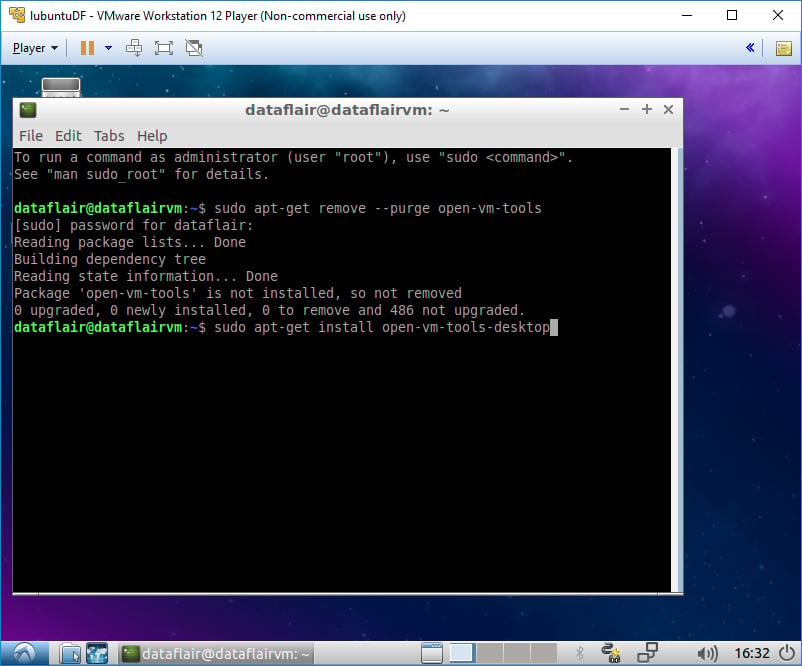
Run get install command
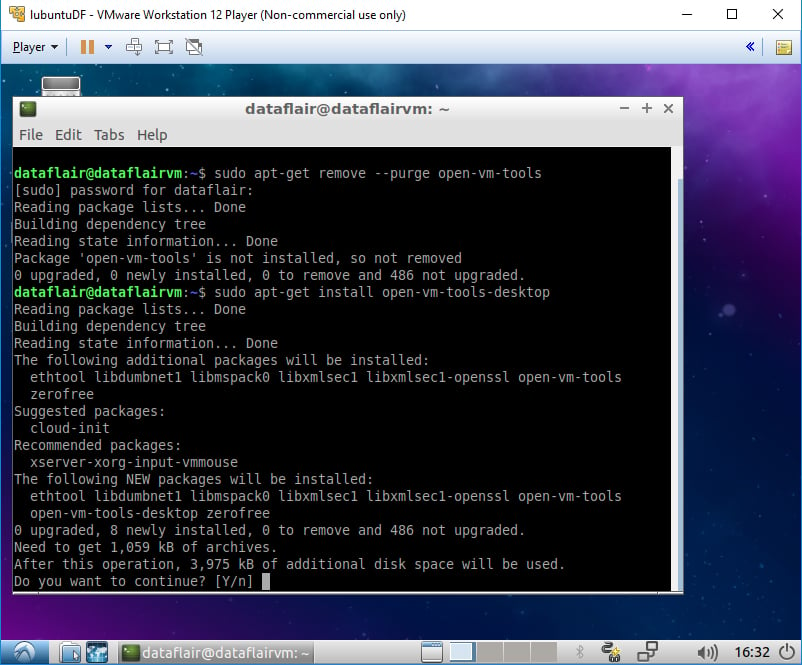
get install command running
Type ‘Y’ and then press Enter:
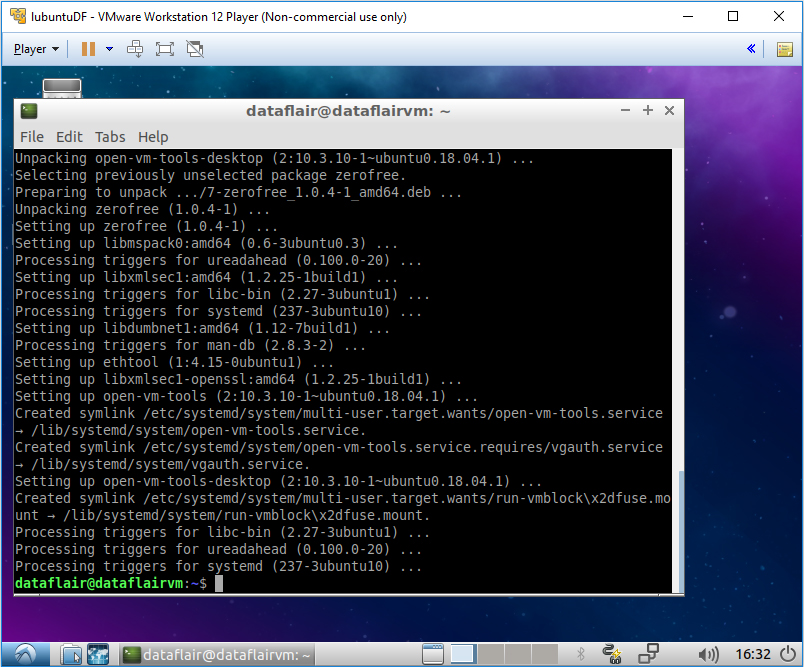
Your OS now shows up on the full screen:
CONGRATULATIONS!!
You have successfully installed lubuntu OS on VMware player for your machine. I hope you are clear with all the steps.
Next, you must learn to Install Ubuntu on VirtualBox
If you have any queries with the lubuntu installation process, enter in the comment section.
Your opinion matters
Please write your valuable feedback about DataFlair on Google


sudo apt-get install open-vm-tools-desktop..this command is not working in my system..it is showing unable to locate package open-vm-tools-desktop
First, run the below command:
sudo apt-get update
Then execute this command:
sudo apt-get install open-vm-tools-desktop
Thank you so much sir
very useful this blogs
even it 4 year old still working