LSOF Command in Linux
Job-ready Online Courses: Knowledge Awaits – Click to Access!
In this article, you will learn what LSOF is, and why the command is used in Linux. We will also be looking into the practical use of the LSOF command as we go through the syntax, options, and even a few examples of how to use it.
What is LSOF Command in Linux?
LSOF is a command-based Linux utility that is an acronym for List of Open Files. As the name suggests, its main function is to retrieve details about various types of files opened by different running processes.
The LSOF tool was supported and developed by Victor A Abell. He was a retired associate director of the Prude University computing center.
The LSOF command can not only list common or regular files but it can also perform tasks like listing things like a shared library, special file, a named pipe, regular pipe, a character special file, and many more.
Why use LSOF?
By now, we all know that in Linux-based operating systems, the kernel considers everything as a file, things like pipes, sockets, directories, services, and many more are taken as files by the kernel. One of the many reasons we use LSOF is when a disk cannot be unmounted as it says the files are being used, However, with the help of LSOF, we can easily identify the files which are in use.
With the help of LSOF, we can find the different processes like:
1. Retrieve information about opened files
2. Listing all files a process is locking
3. Lock up a file or directory
4. List a process listening on a port
5. Identify files that are in use
And many more tasks.
How to install LSOF
LSOF is already available on some Linux distributions, ut not available in most. Don’t worry, in typical Linux fashion, you can install LSOF with just 1 command.
Installing LSOF on Debian-based Linux distros
To download the LOSF tool in Debian-based Linux distributions like Ubuntu, kali, Deepin, PureOS, AntiX, ParrotOS, and many more, you can use the command shown below:
sudo apt install lsof
Installing LSOF on RHEL and Fedora-based Linux distros
To download the LSOF utility in Red hat based distros like Rocky Linux, Alma Linux, CentOS, Fedora, Oracle Linux, Clear OS, and many more, or on Fedora-based Linux distros (RHEL and fedora are almost the same, as Fedora is an upstream version of RedHat), you can do so by using the command shown below:
sudo yum install lsof
If at all you want to install using the “DNF” command in the same distros, you can do so by typing the command shown below in the terminal:
sudo dnf install lsof
Syntax of Linux LSOF command
Now that you know how to install the tool, let us see the syntax it is used in. The syntax of the LSOF tool is very simple:
lsof <option> <username>
Options with Linux LSOF command
The first field in the syntax is the options we need to enter to get th desired results about the files or to perform actions on the files. Let us first look into the options to provide a better understanding, before we look at some examples of how to use the LSOF command.
1. -? / -h
These two options display a shortened version of all the uses of the options in the LSOF command
2. -a
This option makes the list selection options to be ANDed
3. -A A
This option is available on systems configured for AFS. This option allows the LSO user to specify ‘A’ as an alternate name list file where the kernel of the addresses of the dynamic modules might be found.
4. -b
This option makes LSOF avoid kernel functions that block stat, readlink, and lstat.
5. -cc
This option selects the listing of files for processes executing the command that begins with the characters of c.
6. +c w
This option defines the maximum number of initial characters of the name supplied by the UNIX dialect.
7. -C
This option disables the ratio of the components of the paths names of the kernel name cache
8. d+<directory name>
This option tells LSOF to search for all the open instances of the directories name you specify and the files and directories it contains in the first level
9. -ds
This option selects the listing of files whose descriptors are present in all s comma-separated. Note that there should not be any spaces in the set.
10. -D+<directory name>
This option searches for all open instances of the directory name you specified and all files and directories it contains to its maximum depth.
11. -F f
This option specifies a list of characters you specified, that selects the fields to go out for treatment with another program, and the character that terminates each output field.
12. -g<c>
This option selects the listing of files for the processes whose number IDentification process group (group ID) is present in all “c” comma-separated. Note that there should not be any space.
13. -i<internet address>
This option selects the listing of files whose Internet address matches the address specified you specified.
14. -k<kernel name list file>
This option specifies a kernel name list file you specified, instead of /vmunix, /mach, etc.
15. -i
This option prevents the user ID conversion to log in.
16. -m m
This option specifies a kernel memory file, c instead of /dev /kmem or /dev/mem
17. -not
This option prevents the conversion of network numbers (decimal places) to hostnames for network files.
18. -NOT
This option selects the listing of NFS (network file system) files.
19. -o
This option displays the position (offset) in the file.
20. 0<number>
This option sets the number of decimal digits you specify to display after “0t” for a position in a file before it passes to the form “0x …”.
21. -O
This option avoids the strategy it uses to avoid being blocked by some kernel operations.
22. p<c>
This option selects the listing of files for the processes whose ID numbers are present in all comma-separated “c”.
23. -P
This option prevents the conversion of port numbers to port names for network files
24. -R
This option lists the ID numbers of parent processes in the PPID (Parent Process IDentification number) column.
25. -s
This option displays the file size.
26. -S<t>
This option specifies an optional timeout value for kernel functions like readlink, lstat, and stat – that might otherwise lead to a deadlock (a deadlock is where 2 or more processes are waiting for each other as they are competing for resources)
27. -T<t>
This option controls the information report TCP / TPI, also reported by netstat, following the network addresses.
28. -t
This option specifies that lsof should produce terse output with process identifiers only and no header.
29. -u<c>
This option selects the listing of files for users whose name or user ID is present in all comma-separated “c”.
30. -U
This option selects the listing of UNIX domain socket files.
31. -v
This option displays the version of the LSOF you are using, including information like revision number, construction date, the identity of the builder and construction location, the name of the compiler used, and a lot more.
32. -V
This option indicates the items it was asked to list and has not found.
33. -X
This option is dialect-specific.
If at all you feel that you need help or want to see all of these options at a glance, you can always type the command “lsof -?”

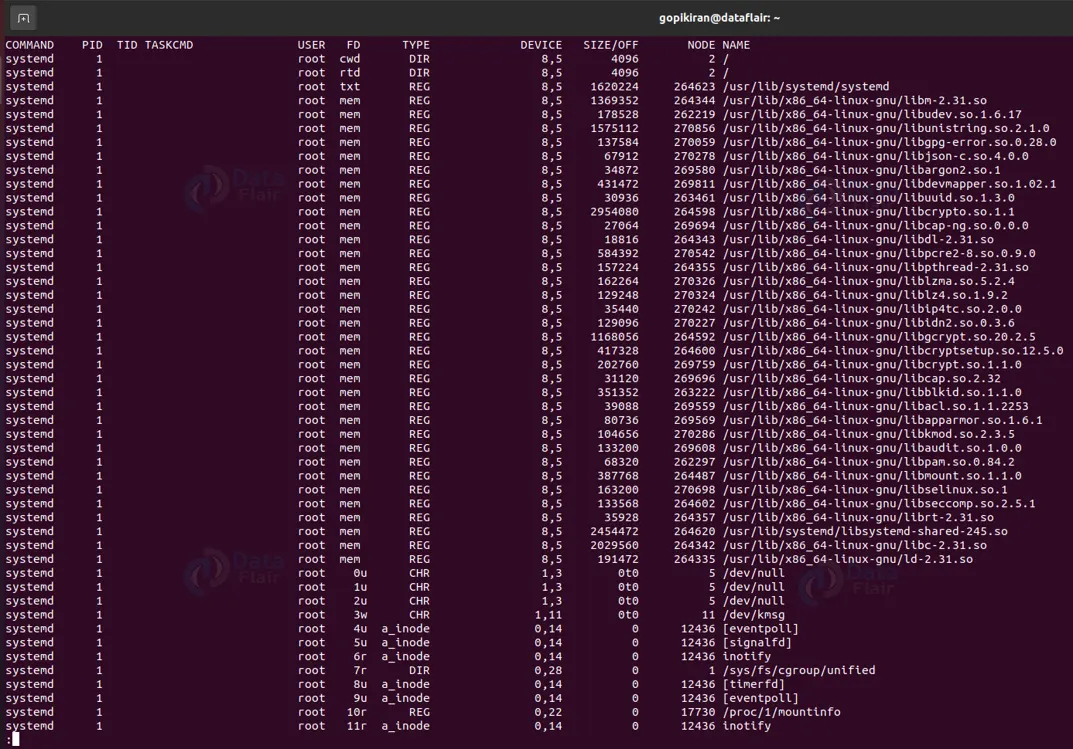
Output fields
Before we see the examples of how to use the LSOF command, it is important to understand the format in which the output is printed and understand what each of the output fields means.
The LSOF outputs field structure is as shown below
![]()
Most of the fields are self-explanatory except for the field “FD” and “TYPE”
“FD” stands for the File Descriptor number of the file and “TYPE” refers to the type of node associated with the file.
The “FD” field can contain the following values:
1. cwd – current working directory
2. Lnn – Library references
3. err – FD information error
4. jld – Jail director
5. ltx – shared library text
6. Mxx – hex memory-mapped type number
7. m86 – DOS merge map failed
8. mem – memory-mapped file
9. mmap – memory-mapped device
10. pd – parent directory
11. rtd – root directory
12. tr – kernel trace file
13. txt – program text
14. v86 – VP/ix mapped file
Similarly, the “TYPE” file can contain:
1. GDIR
2. GREG
3. VDIR
4. VREG
5. IPV4
6. IPv6
7. REG
8. DIR
9. a_inode
10. CHR
Examples of LSOF commands
Now that you know the syntax, the format in which the output is printed, the different options, and what they do, let us look at some examples of how to use the LSOF tool.
1. Listing all open files
To list all the running files that are currently open by active processes, type the command “sudo lsof | less”
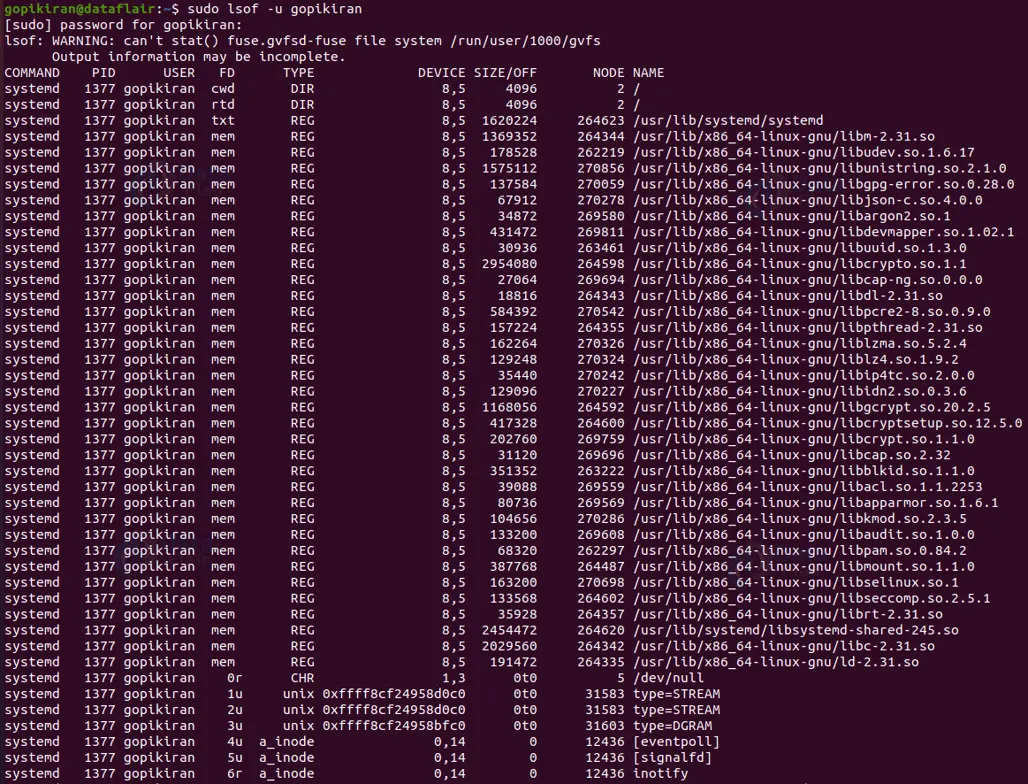
2. Listing user-specific opened files
If you want to list all the opened files of a specific user, you can do so by typing the command “sudo lsof -u <username>”
3. Listing by a filename
If you wish to list all the processes that have opened a specific file, you can do so by typing the command “sudo lsof <filename>”

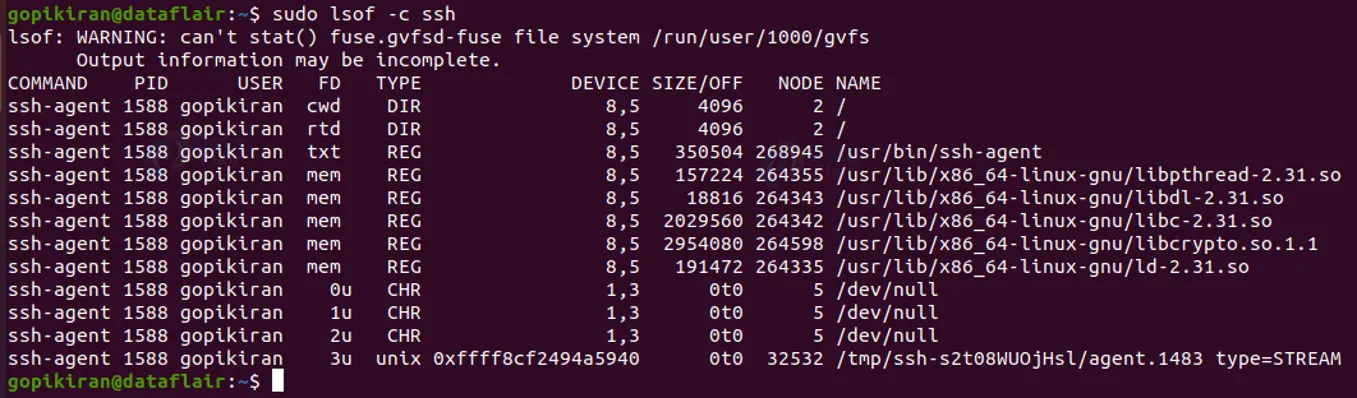
4. Listing open files by process
To list files opened by a particular process, use the command
“sudo lsof -c <process name>”
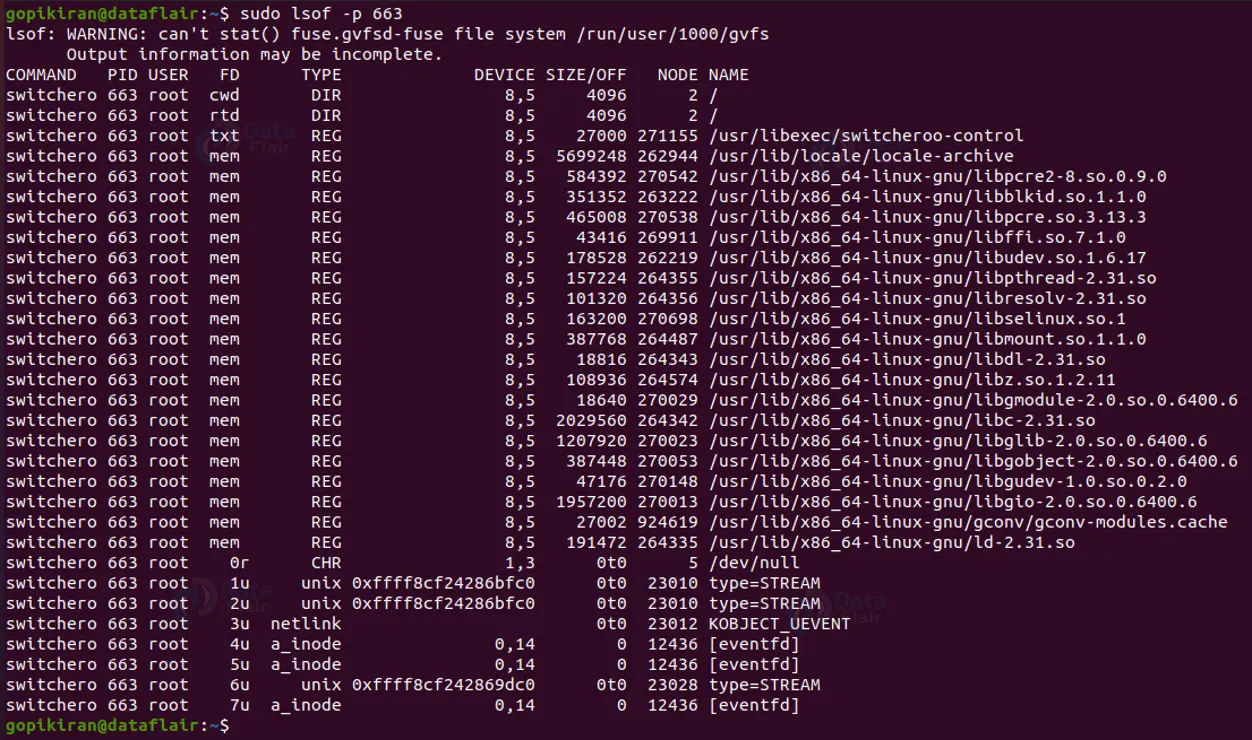
5. Searching by PID
You can also list files opened by a process by using the process ID, instead of the process name. To do so you have to use the fag “-p”, to specify the ID of the process. You can list the process by its PID by using the command
“Sudo lsof -p <process ID>”
6. Listing open files containing directory
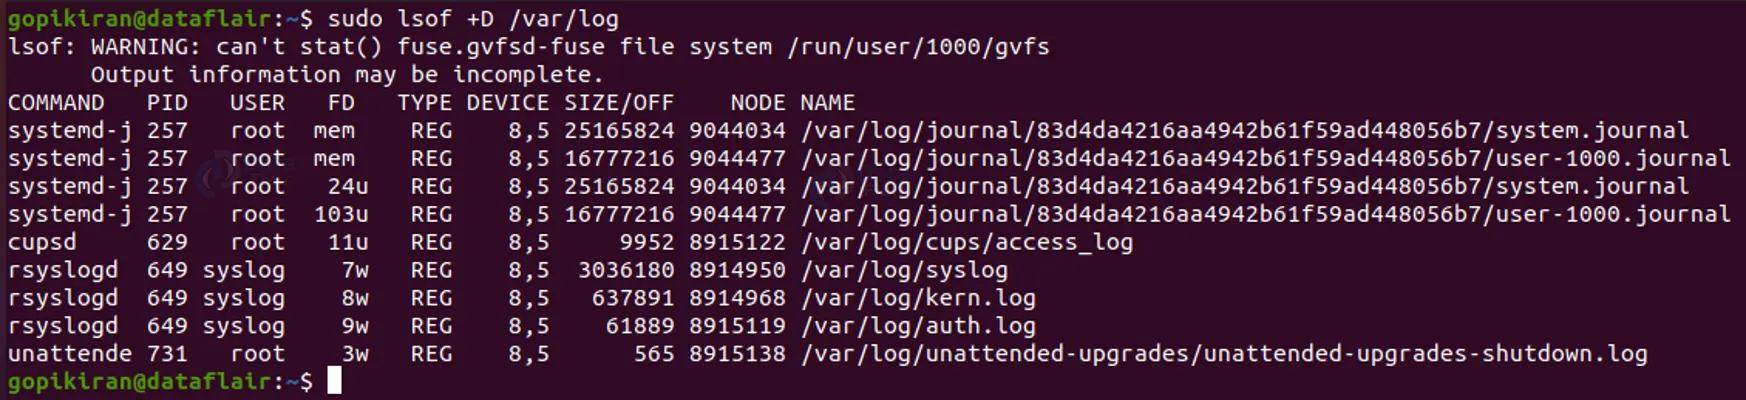
If you wish to list processes that opened files under a specific directory, use “+D” option followed by directory path.
7. Repeat mod of LSOF
The LSOF tool can also be run in repeat mode, where LSOF will generate and print output at regular intervals.
There are 2 repeat modes supported by LSOF, one with the option “-r” and the other with the option “+r”
The “-r” option makes LSOF repeat to execute until it receives an interrupt/kill signal from the user.
The “+r” option makes LSOF repeat mode end as soon as its output has no open files.
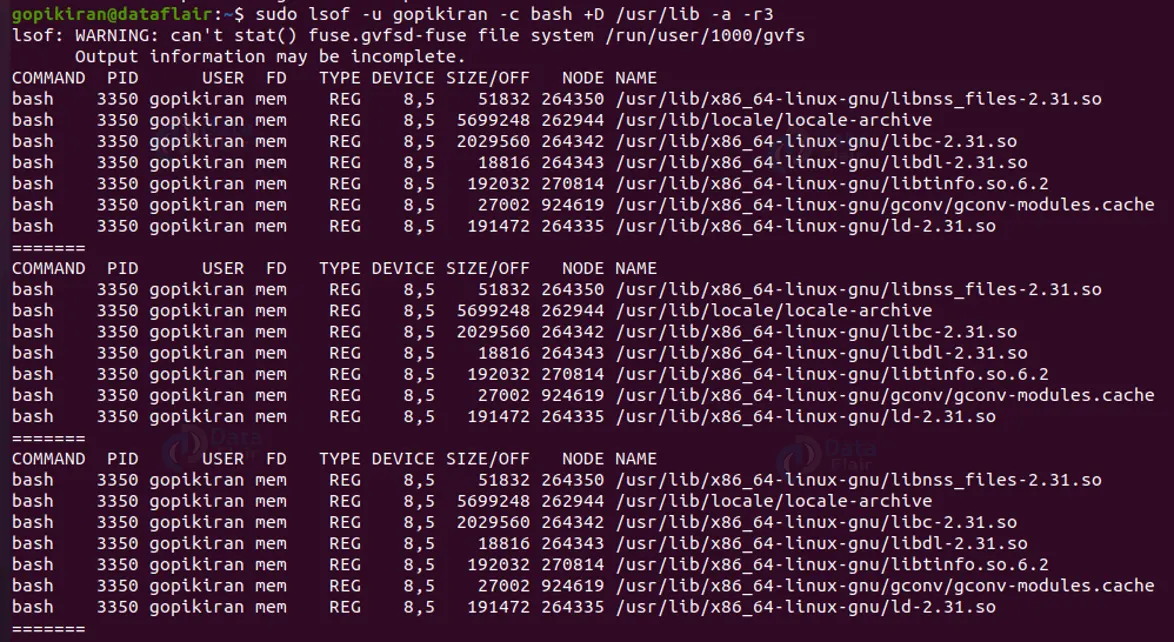
The command in the picture prints the files opened by a process in the user “gopi kiran”, with command “bash” and directory “/usr/lib” every 3 seconds.
8. Listing open files within the network protocol
If you wish to list any type of Linux files which includes network sockets etc. We can list details of open network connections using “-i” flag.
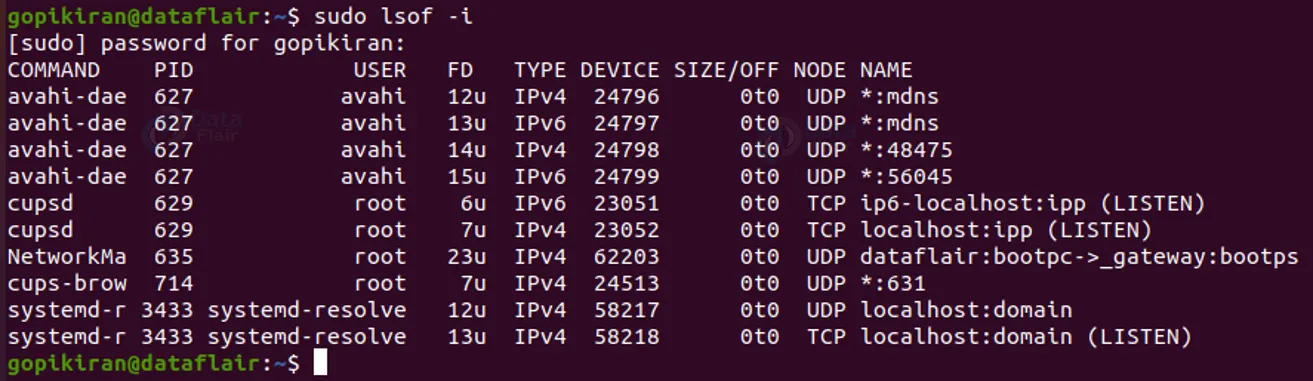
You can narrow down your search by specifying other fields using different flags.
9. Listing open files by port
We can filter the output of lsof with the “-i” flag by port number by using the command “sudo lsof -i :<port number>”
For example, if you want to list the open file in the port 22, you can do so by using the command “sudo -i :22”
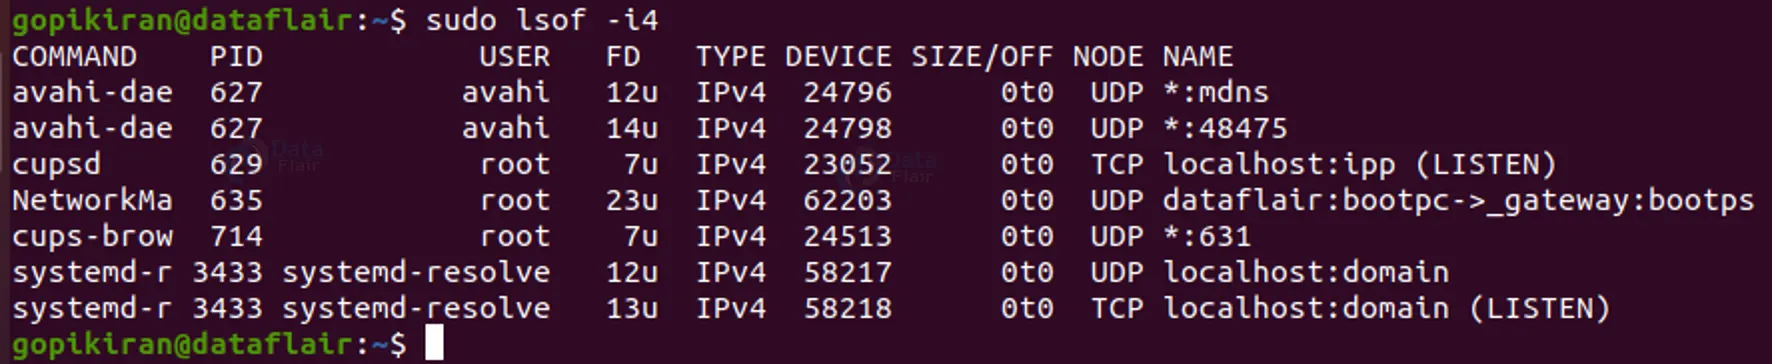
10. Listing files by IPv4 / IPv6 addresses
To filter network connections by limiting them to either IPV6 or IPv4, we use the following commands:
For IPv4: “sudo lsof -i4”
For IPv6: “sudo lsof -i6”

11. Listing open files on NFS
LSOF command can also list all NFS files currently open by a user.
![]()
12. Listing Locked deleted files
Sometimes, Linux deleted some files, but they are still being locked by one or more processes. These files don’t list on the normal file system, but they still take up disk space. This happens especially for large files deleted on purpose to clear disk space without releasing the process lock.
To find such processes, you can combine LSOF with GREP and use the following command: “sudo lsof <path> | grep deleted”
Summary
As you have seen, LSOF offers a large variety of options to narrow down and optimize your output. It is very helpful in day-to-day system and network administration tasks. You have learned what LSOF is, why it is used, the syntax of LSOF command in Linux, and some practical examples of how to use the LSOF tool.
Did you like this article? If Yes, please give DataFlair 5 Stars on Google


