How to Install Docker on Ubuntu?
Placement-ready Online Courses: Your Passport to Excellence - Start Now
In this article, we will primarily be focusing on the process of installing Docker, yet we will touch on a few topics like what docker is, docker commands, and a few more interesting topics. If you are really interested in learning and exploring Docker to its limits, you can read my other article on using Docker in Ubuntu.
What is Docker?
Let us start with the obvious question: what is Docker? Docker is a platform for building running and shipping applications in an inconsistent manner. If your application works on your development machine, it can run and function the same way on other machines.
For someone who has been developing software, they might have probably come across a situation where their application works on the machine theory developed but doesn’t work elsewhere. Why does this happen? Here are 3 reasons why it happens:
1. One or more files are missing
2. Mismatch of software version
3. Different configuration settings.
This is exactly where Docker comes to the rescue. With Docker, we can easily package up our application with everything it needs and run it anywhere on a machine with docker.
For example, if your application requires a specific version of Node and MongoDB, all of these will be included in your application package. Now you can take this package and run it on any machine that runs docker. So if it works on your development machine, it is guaranteed to run on any other machine.
Without Docker, as we work on different projects, our development machine gets cluttered with so many libraries and tools that are used by different applications. Then after a while, we don’t know if we can remove one or more of these tools because we are afraid that we will mess up some applications.
However, with Docker, we don’t have to worry about this. Each application runs with its dependencies inside an isolated environment, we can safely remove an application with all its dependencies to clean up our machine.
In a nutshell, Docker allows us to consistently build, run and ship our applications. IF you want to explore more features and for an in-depth overview of Docker, read my article on using Docker, for this article however, let us keep it to installing Docker in ubuntu
Why use docker?
The docker container virtualizes the operating system. Docker simply is lightweight and uses a fraction of the memory compared to booting an entire operating system.
1. Consistent environment
Docker gives developers the ability to create predictable environments which are isolated from other programs and applications. Docker includes software dependencies needed by the application.
2. Flexible
Docker is very flexible and can be run on any platform or operating systems like MAC, Windows, Linux, virtual machines, production machines, cloud, developer machines and so many more.
OS requirements to install docker on Ubuntu
Before installing docker you must first check if your system meets the following conditions. To install docker, you need the 64-bit version of any one of these Ubuntu versions:
1. Ubuntu Jammy 22.04 (LTS)
2. Ubuntu Impish 21.10
3. Ubuntu Focal 20.04 (LTS)
4. Ubuntu Bionic 18.04 (LTS)
How to uninstall older versions of docker?
Before you install the new version of docker on your PC, you must make sure that you don’t have any older versions of docker. If at all you do have any, uninstall them using the command shown below:
sudo apt-get remove docker docker-engine docker.io containerd runc
When you execute the command, the contents of the /var/lib/docker/, like images, containers, volumes, and networks, are preserved.
Now that we have everything set up, let us get to the matter at hand – installing docker.
Installing Docker on Ubuntu
The Docker installation package available in the official Ubuntu repository may not always be the latest and most up-to-date version. Therefore, let us install Docker from the official Docker repository, which always has the latest version.
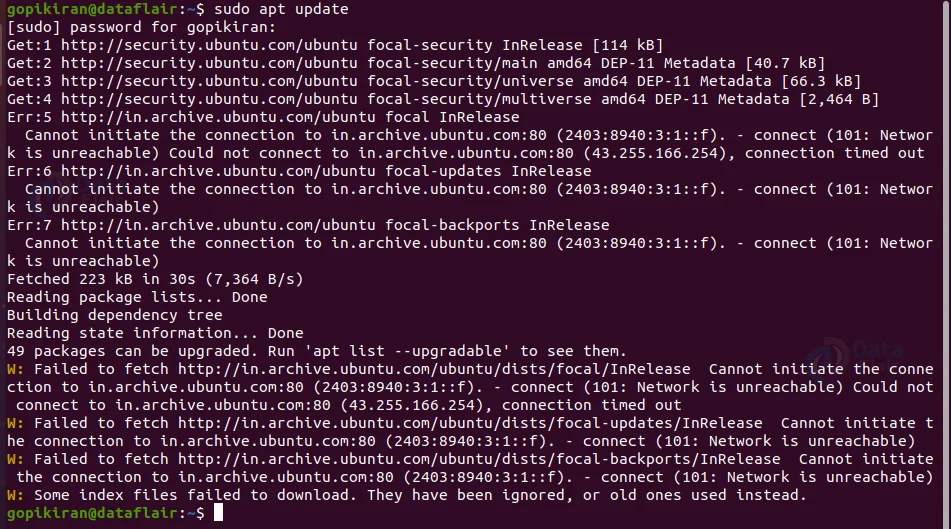
Before we install Docker, update your existing list of packages by using the command “sudo apt update”
#image#
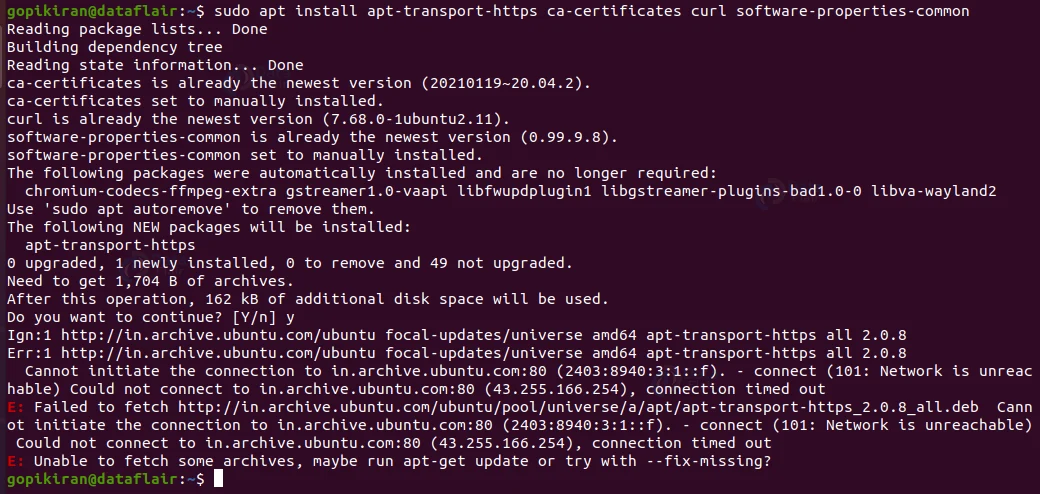
After successfully updating your packages, install a few prerequisite packages which let the “apt” command use the packages over HTTPS. Use the command shown below:
sudo apt install apt-transport-https ca-certificates curl software-properties-common
Add the GPG key for the official Docker repository to your system by using the command shown below:
curl -fsSL https://download.docker.com/linux/ubuntu/gpg | sudo apt-key add

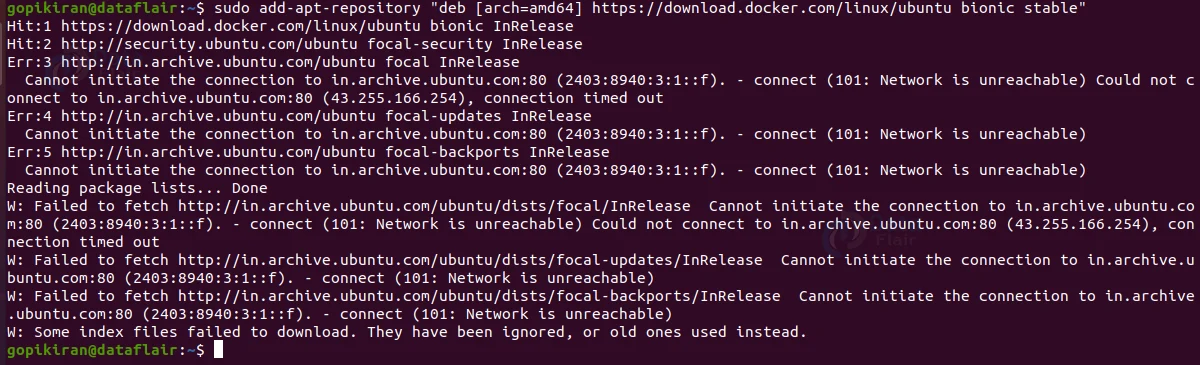
Now that we are all set, let us add the Docker repository to APT sources by using the command shown below:
sudo add-apt-repository "deb [arch=amd64] https://download.docker.com/linux/ubuntu bionic stable"
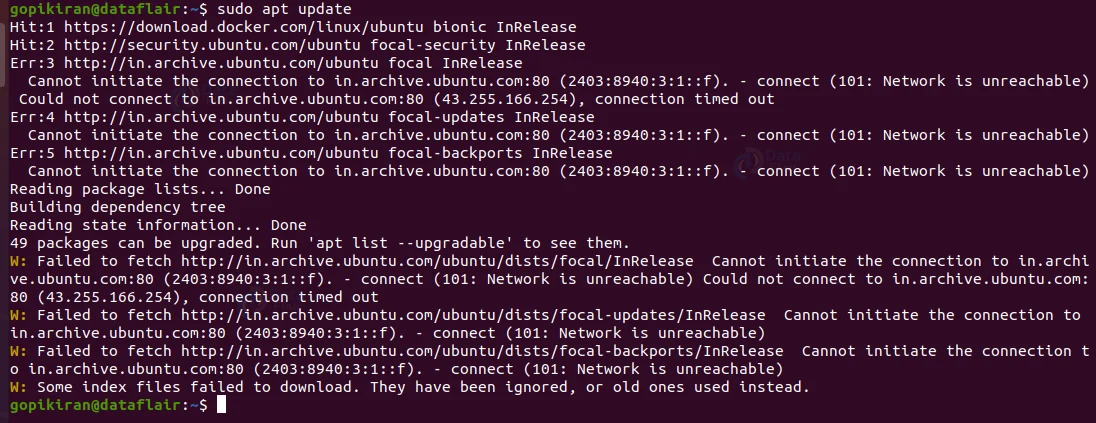
Once the installation was successful, update the package with the Docker packages from the newly added repository by using the command “sudo apt update”
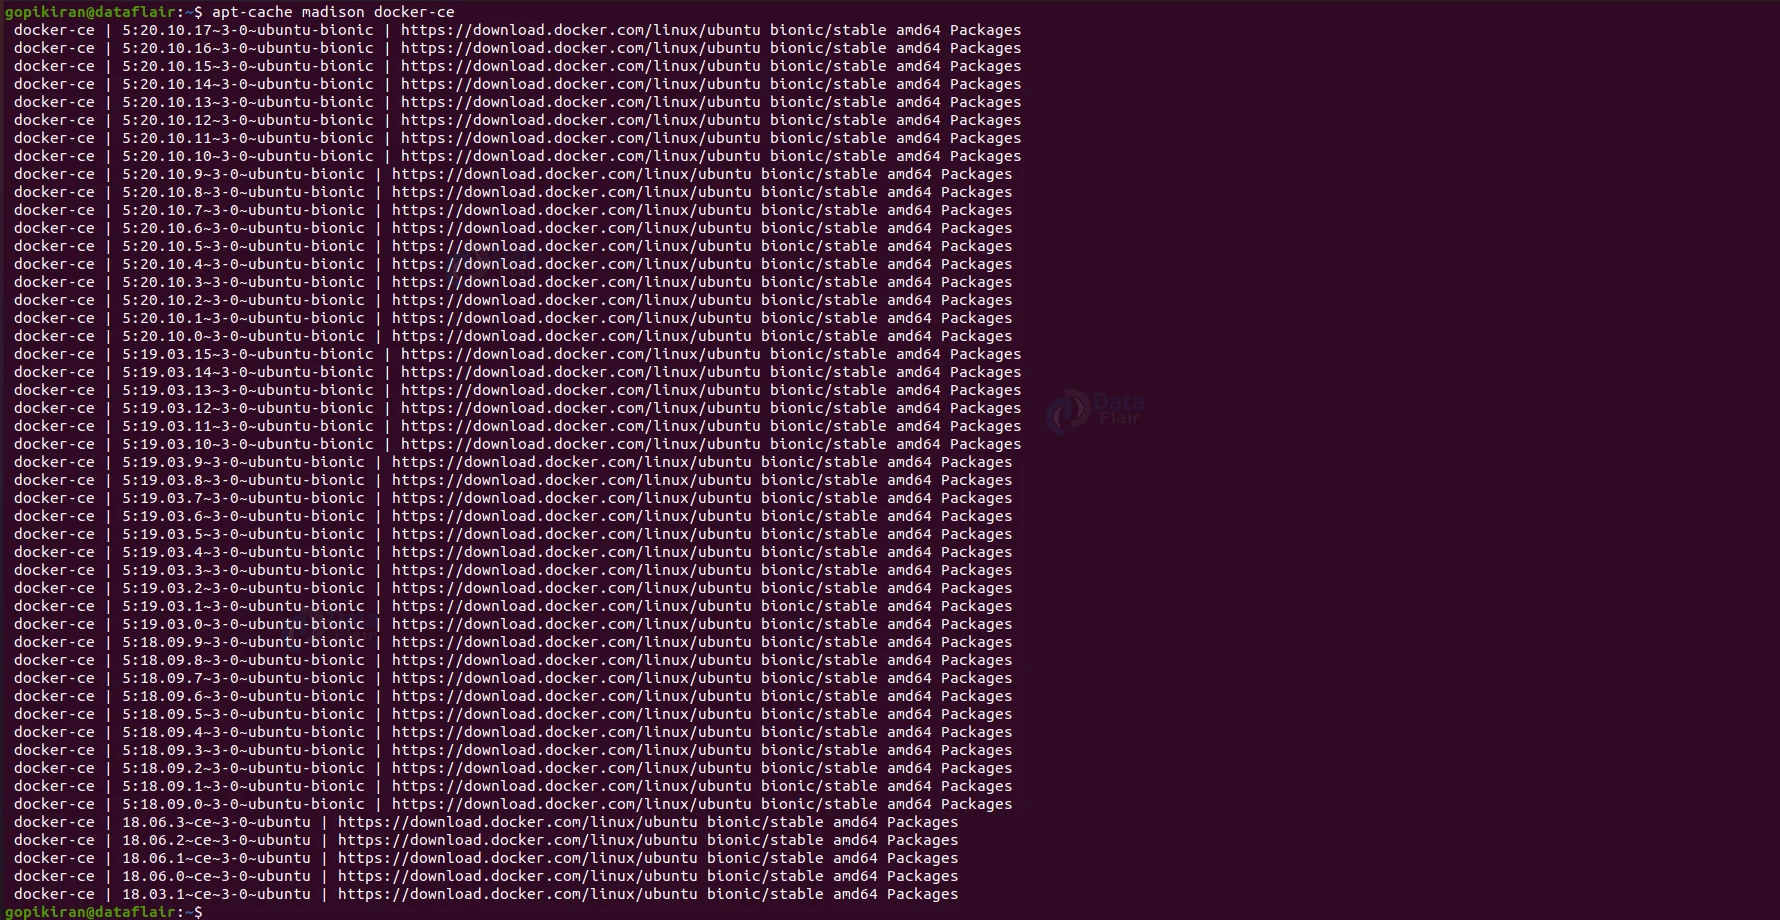
Now use the command “apt-cache policy docker-ce” to check the progress
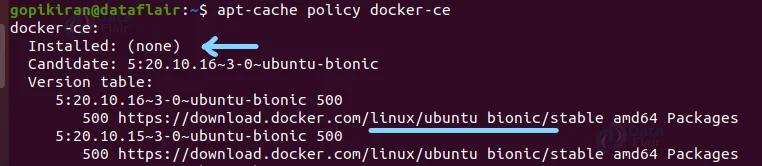
If you observe carefully, you will notice 2 things:
1. docker-ce is not installed
2. The candidate for installation is from the Docker repository for Ubuntu 18.04 (bionic).
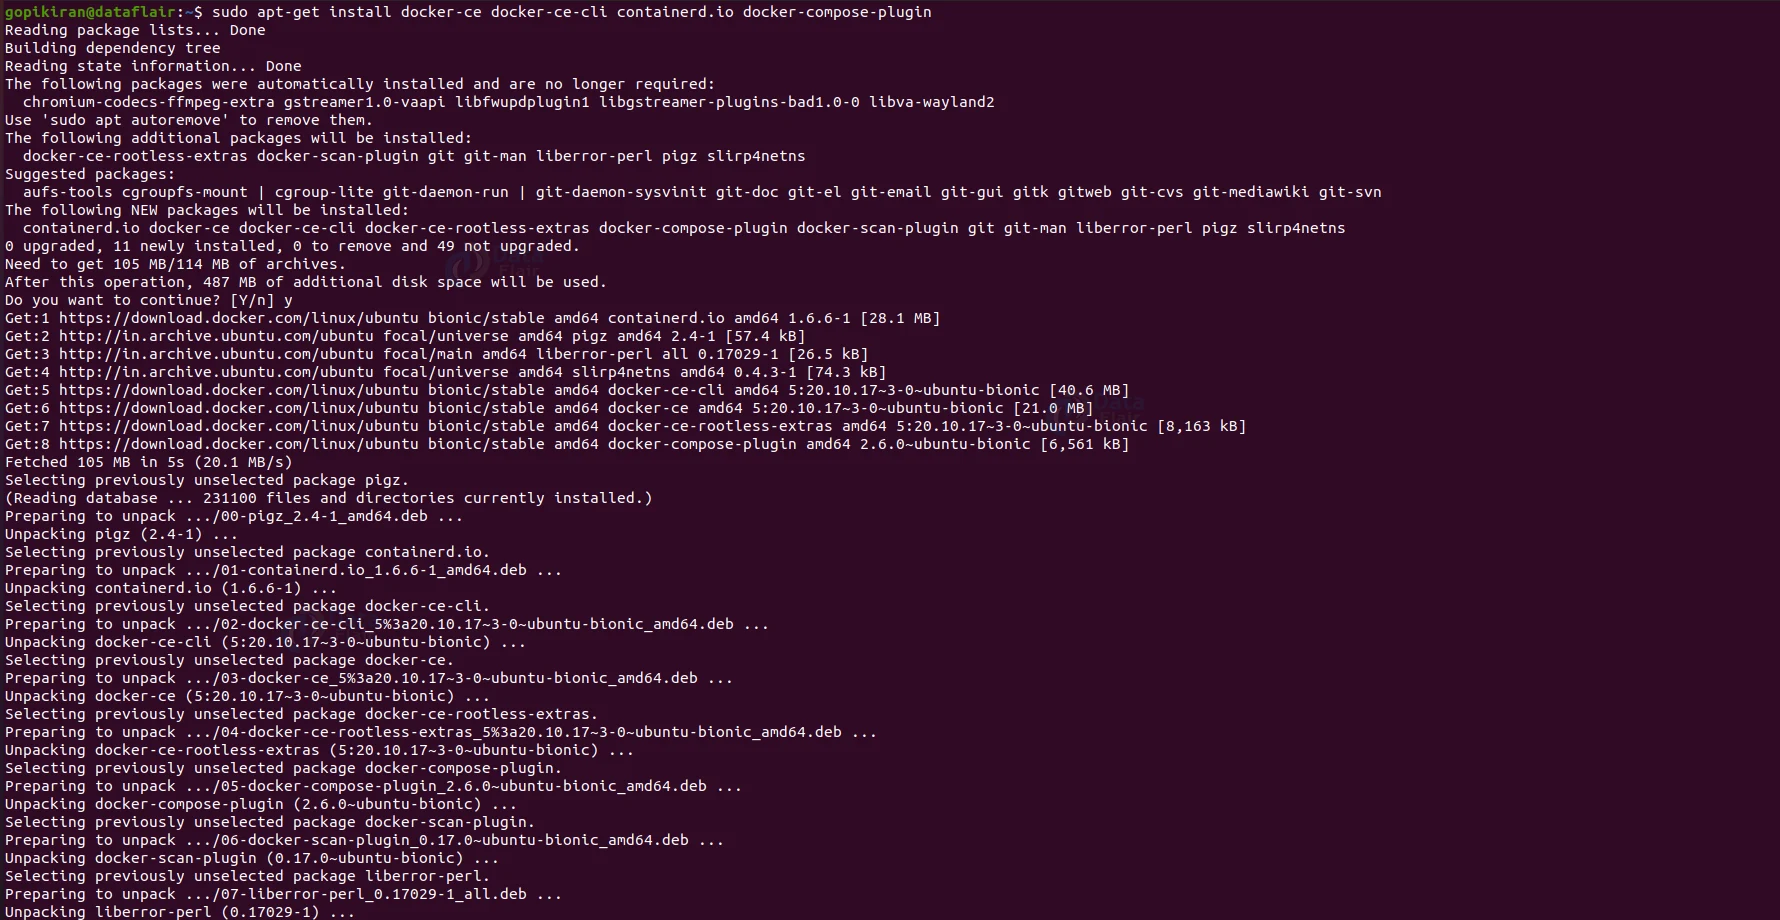
Now, for the moment we have all been waiting for – installing Docker! To do so, use the command “sudo apt install docker-ce”
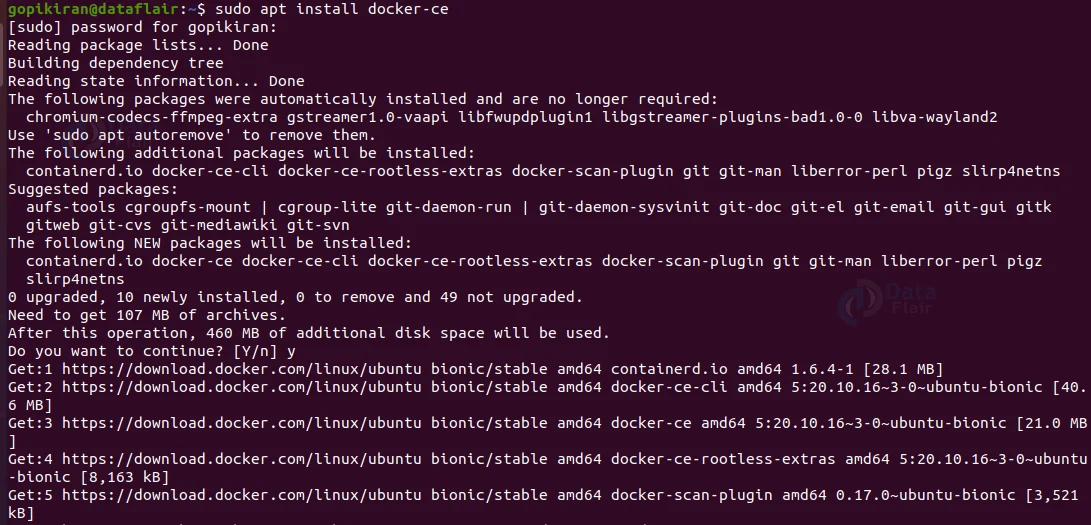
Docker is now installed, the daemon has started running and the process is enabled to start on boot you can check is it running or not by using the command shown below:
sudo systemctl status docker
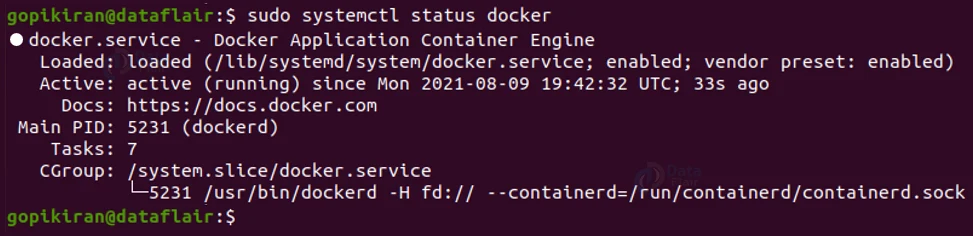
If you get the output shown above you are good to go!
Voila! We have just installed Docker! Before we call it a day, let us look at a few more installation methods of docker.
Installing Docker using the repository
Here is another method you can try to install docker on your system, but first, you need to set up the Docker repository, and only after that can you install and update Docker from the repository. So let us look at this procedure step by step.
1. Setting up the repository
Before we set up the repository, update your system to finish any pending installs of previous packages using the command “sudo apt-get update”
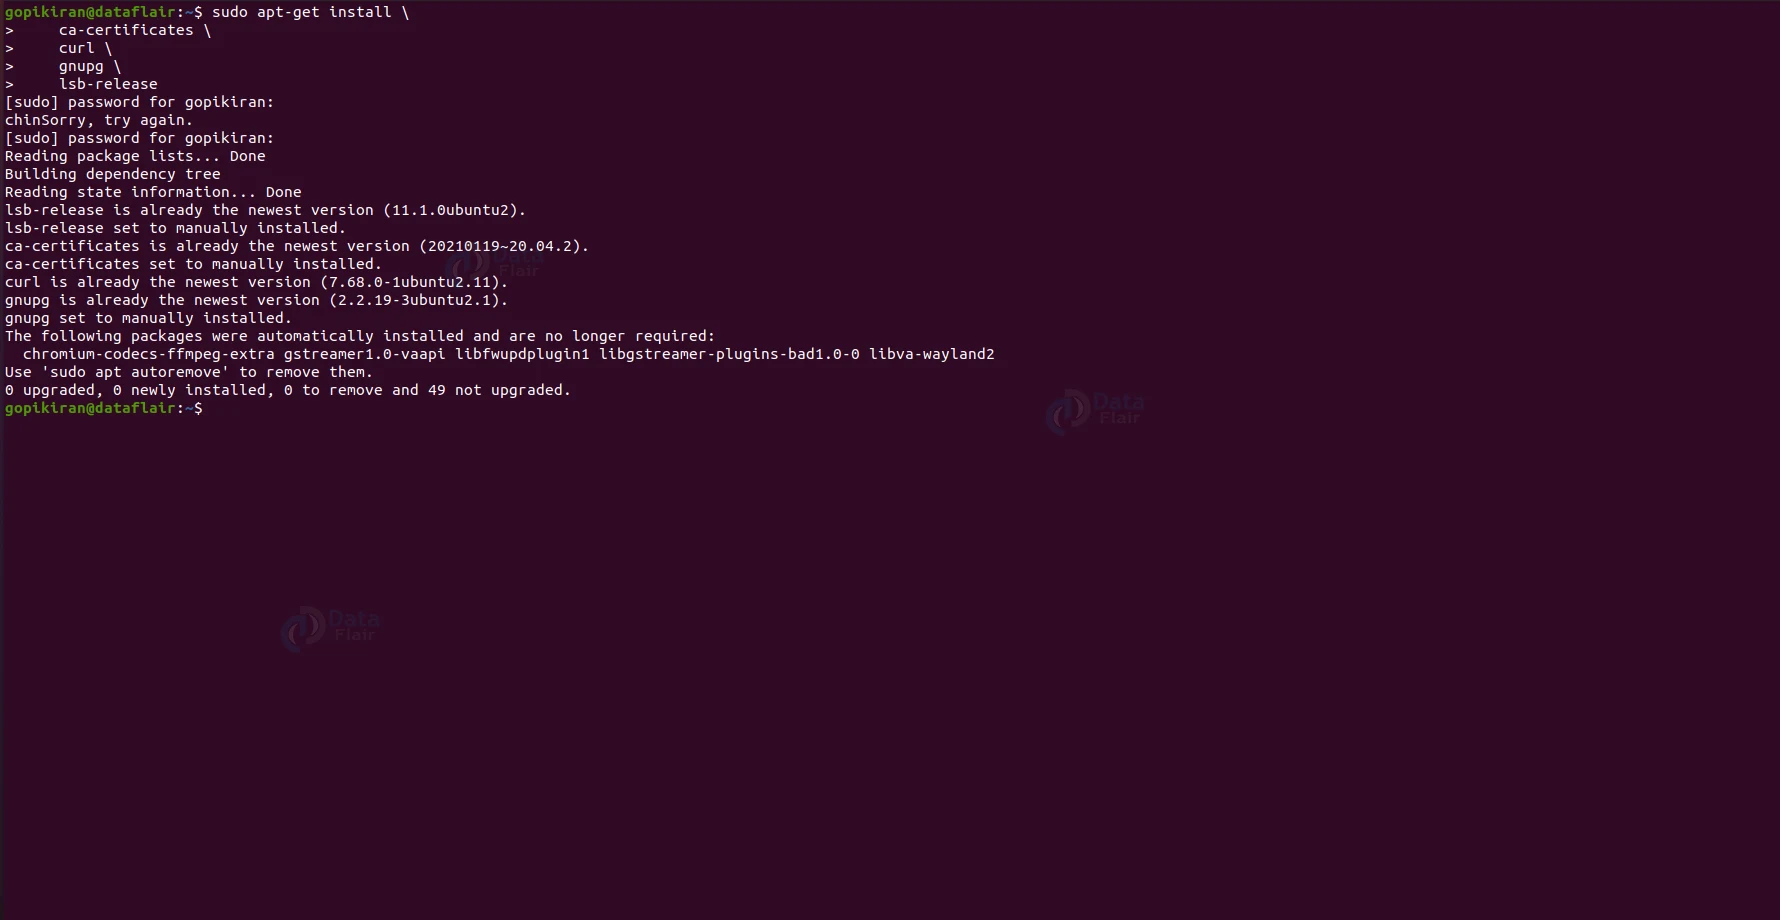
After successfully updating, install the packages to allow apt to use a repository over HTTPS by using the command shown below:
sudo apt-get install \
ca-certificates \
curl \
gnupg \
lsb-release
Add the docker official GPG key by using the set of command shown below:
sudo mkdir -p /etc/apt/keyrings
$ curl -fsSL https://download.docker.com/linux/ubuntu/gpg | sudo gpg --dearmor -o /etc/apt/keyrings/docker.gpg

Setup the repository of docker by using the command shown below:
echo \
"deb [arch=$(dpkg --print-architecture) signed-by=/etc/apt/keyrings/docker.gpg] https://download.docker.com/linux/ubuntu \
$(lsb_release -cs) stable" | sudo tee /etc/apt/sources.list.d/docker.list > /dev/null
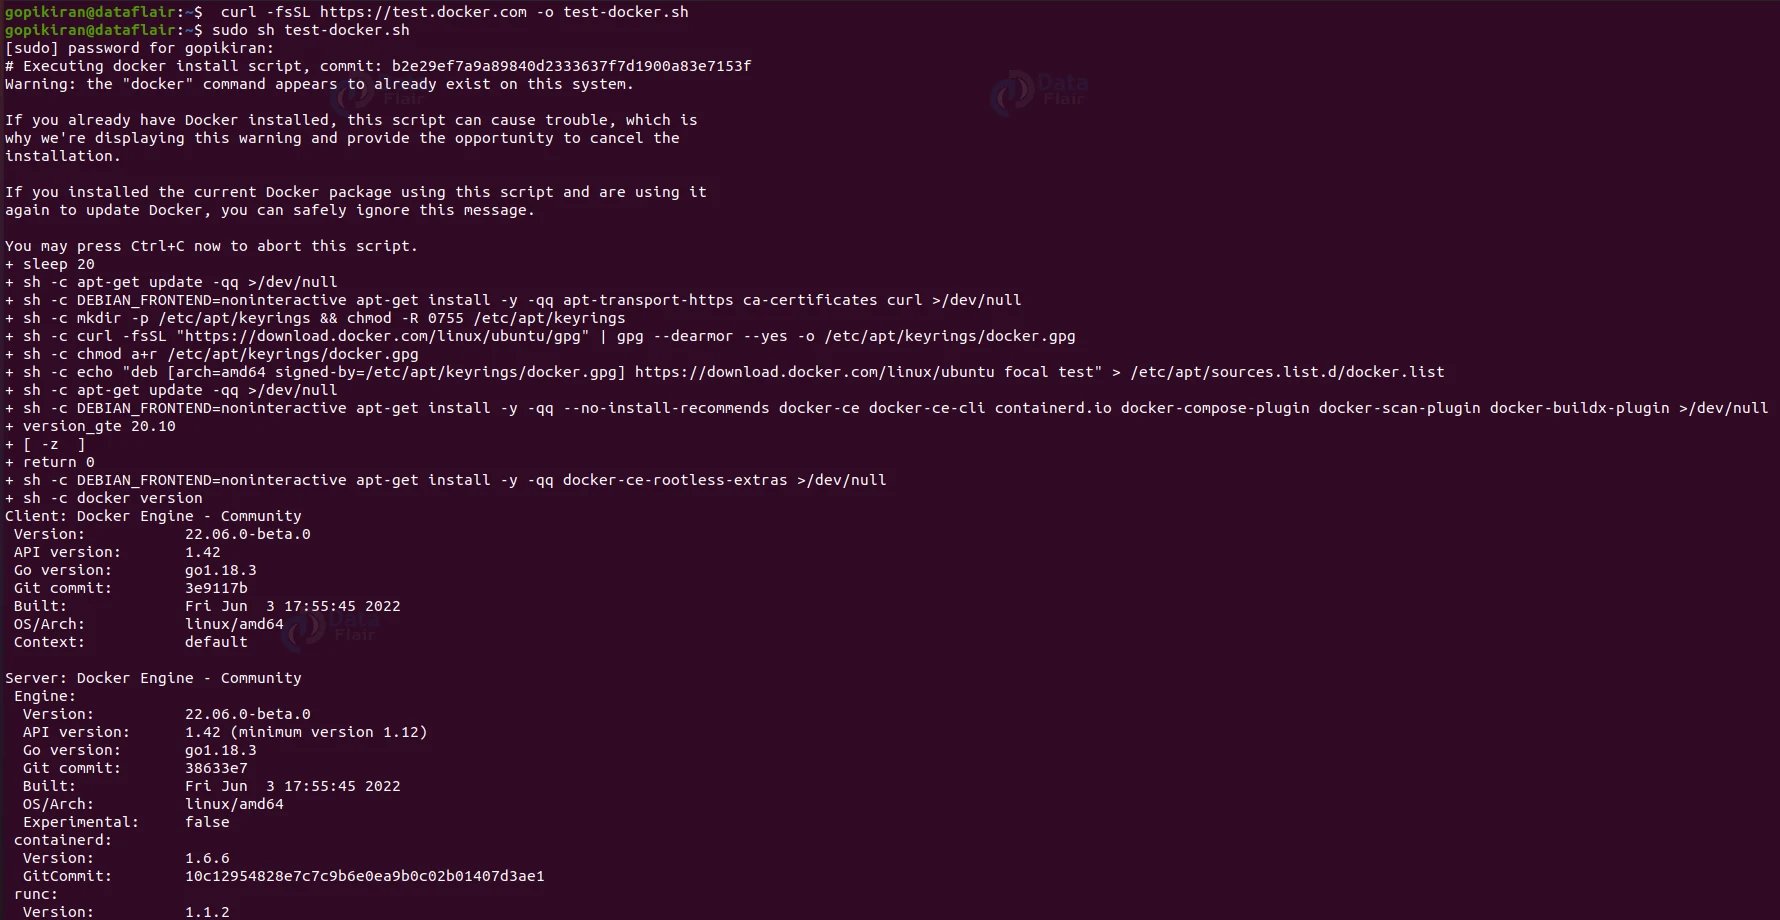
2. Installing the Docker engine

Lifecycle of a Docker container
Here is the journey of a Docker container creation to execution, no pun intended!
- In the beginning, the Docker container will be in the created state.
- Then, when we use the Docker run command, it goes into the running state.
- We use the Docker kill command to kill an existing container.
- We use the pause command to pause an already existing and running container.
- To put a Docker container to a running state, from a stopped state, we use the Docker run command.
Docker container commands
1. Docker run command
docker run -i -t ubuntu /bin/bash
The above command runs a docker command
2. Docker top command
docker top <containerID>
The above command shows you the top processes within a container.
3. Docker stop command
docker stop <containerID>
The above command stops an already-running Docker container
4. Docker remove command
docker rm <containerID>
The above command deletes an existing container.
5. Docker statistics command
docker stats <containerID>
The above command shows the statistics of a running Docker container.
6. Docker attach command
docker attach <containerID>
The above command attaches a running Docker container
7. Docker pause command
docker pause <containerID>
The above command pauses the process of a running container
8. Docker unpause command
docker unpause <containerID>
The above command unpauses the processes in a running container.
9. Docker kill command
docker kill <containerID>
This command kills the processes in a running Docker container.
Summary
You have now learned what docker is, why we use it, how to install it, the life cycle of a docker container, and a few docker commands.
You give me 15 seconds I promise you best tutorials
Please share your happy experience on Google


