History Command in Linux
Placement-ready Online Courses: Your Passport to Excellence - Start Now
In this article, we will learn everything about the history command in Linux. First, we will look at what the history command is, why it is used, and understand the output of the history command as we take a closer look at the fields in the output, the syntax of the history command, and the options used along with it.
At the end, we will also look at examples of the history command by pairing it with various options to understand its working. So pay attention, take notes, and read all the way to the end for the best benefits.
What is Linux history command?
History is a command-line-based utility in Linux-based operating systems that lets you view the commands you executed previously in the terminal. This is extremely helpful to look at a set of actions you executed previously.
Most of the commands in Linux read input from the terminal line at a time, but that is not the case with the history command. As a result, it is capable of keeping a record of those lines with associated data. In addition, it can also show the last 500 commands used by default.
The history library is stored in a history file, showing the older to most recent commands used. This command was not initially available in the bourne shell, but today it is even available with the Bash and Korn shells. In the bash shell, the history command shows the whole list of commands.
Syntax of the history command in Linux
The syntax of the history command may look slightly intimidating initially. Still, when we look at the different fields present in the syntax and understand what they are for, it will become a cakewalk. The syntax of the history command is:
history <options> <num>
Let us look at the fields in the syntax of the history command:
1. <options>
This field takes in several options that specify how the history command must function, format, and print the output. You can even specify multiple options in this field.
2. <num>
As we discussed earlier, the history command shows the last 500 commands used by default. Nonetheless, we can specify the number of commands we want to see, and the history command will show only that much.
Options used with Linux history command
Unlike most of the commands in Linux, the head command has only a few options associated with it. Let us take a brief look at each one of them:
1. -c
This option clears the history list by deleting all of the entries.
2. -d
This option deletes the history entry at the offset you specified.
3. –help
This option displays the help menu of the history command, as shown below.

4. -n
This option reads all the history lines not already read from the history file.
5. -r
This option reads the history file and appends the contents to the history list.
6. -w
This option writes the current history to the history file and appends them to the history list.
7. -a
This option appends history lines from this session to the history file.
8. -p
This option performs history expansion on each ARG and displays the result without storing it in the history list.
9. -s
This option appends the ARGs to the history list as a single entry.
Now that we have covered the basics and the theoretical part of the history command, let us understand how the history command and its options work by looking at some practical examples of it in the terminal of Ubuntu 20.04.
Displaying the previously executed commands in the terminal
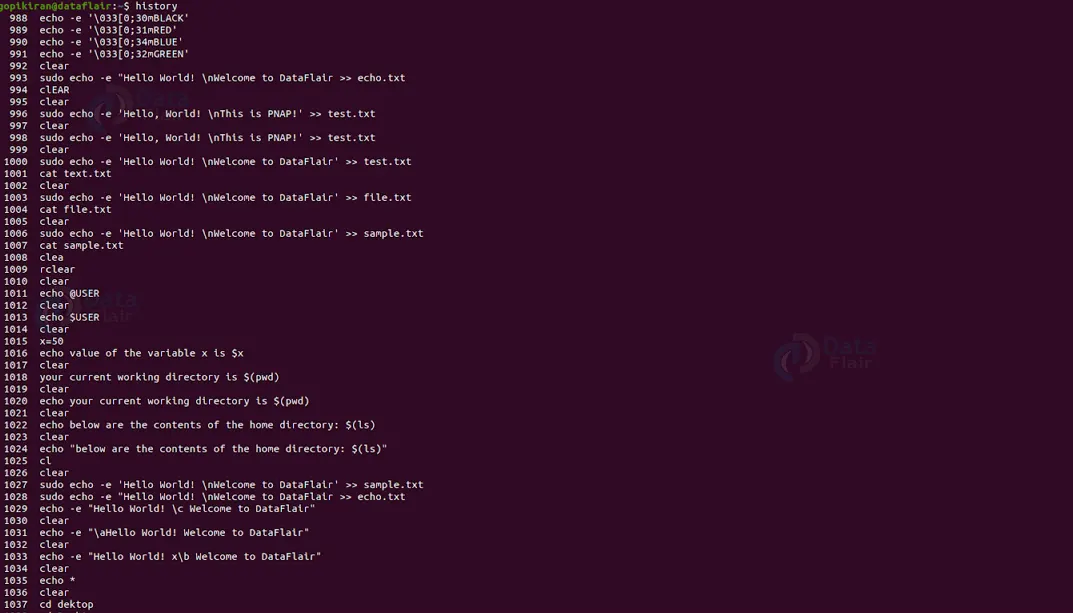
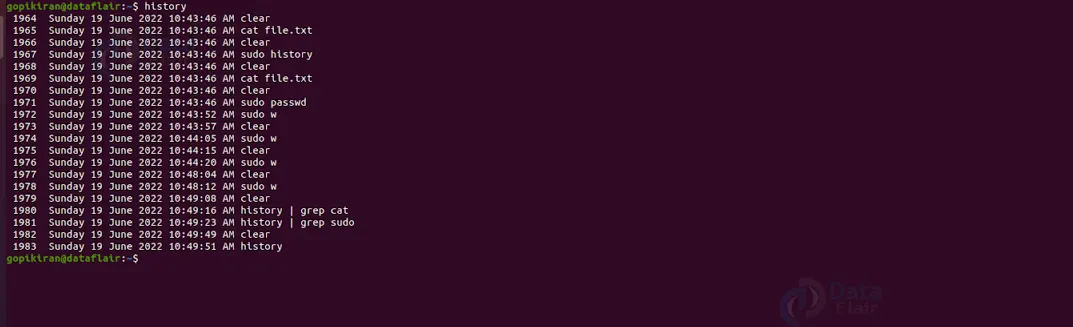
If you want to display the list of commands that you have executed previously in the terminal, use the history command without any options, as shown below:
Displaying the first n commands from the history file
In the output above, the history command prints many previously executed commands. However, we can specify the number of commands we want to see by executing the history command allowed by the number of commands you want to see as shown:
history <number>

Using date and timestamps
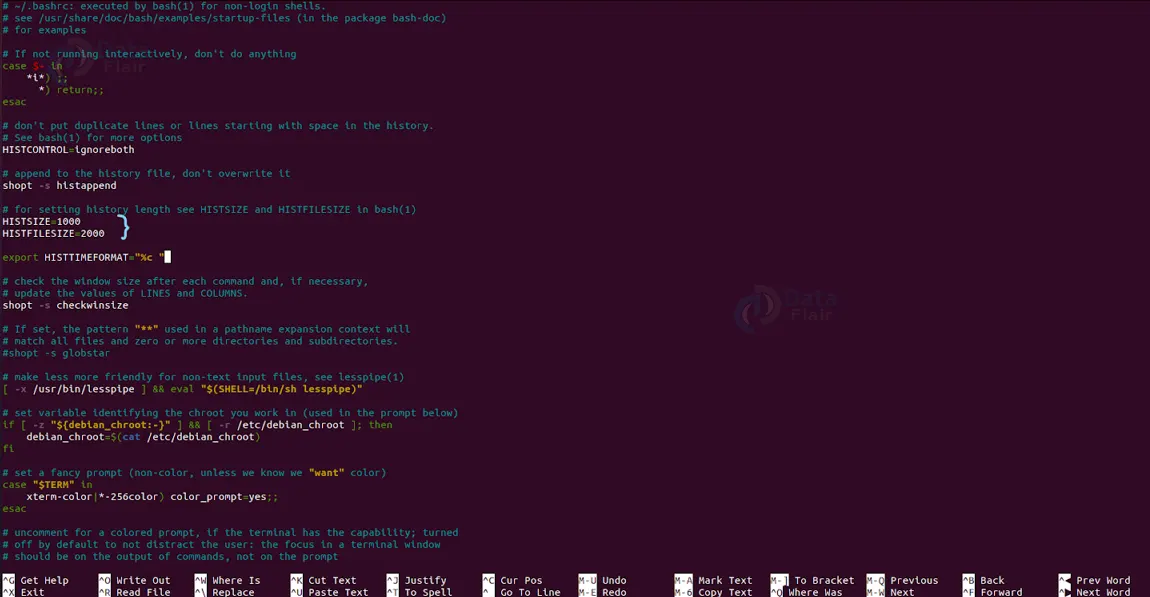
We can change and modify the output format of the history command by tinkering with the “.bashrc” file. To open the “.bashrc” file, we make use of the following command: “sudo nano .bashrc”. Add the line shown below in the file to change the output format to include date and timestamps:
export HISTTIMEFORMAT="%c "

Once you finish editing the file, press the key combination “Ctrl” + “x” and then y to save your changes. We can also use several arguments after HISTTIMEFORMAT to customize the level of detail in the timestamp. For example, we can specify the following arguments:
1. %d: Day
2. %m: Month
3. %y: Year
4. %H: Hour
5. %M: Minutes
6. %S: Seconds
7. %F: Full date (YYYY-MM-DD format)
8. %T: Time (HH:MM:SS format)
9. %c: Complete date and timestamp (Day-D-M-Y H:M:S format)
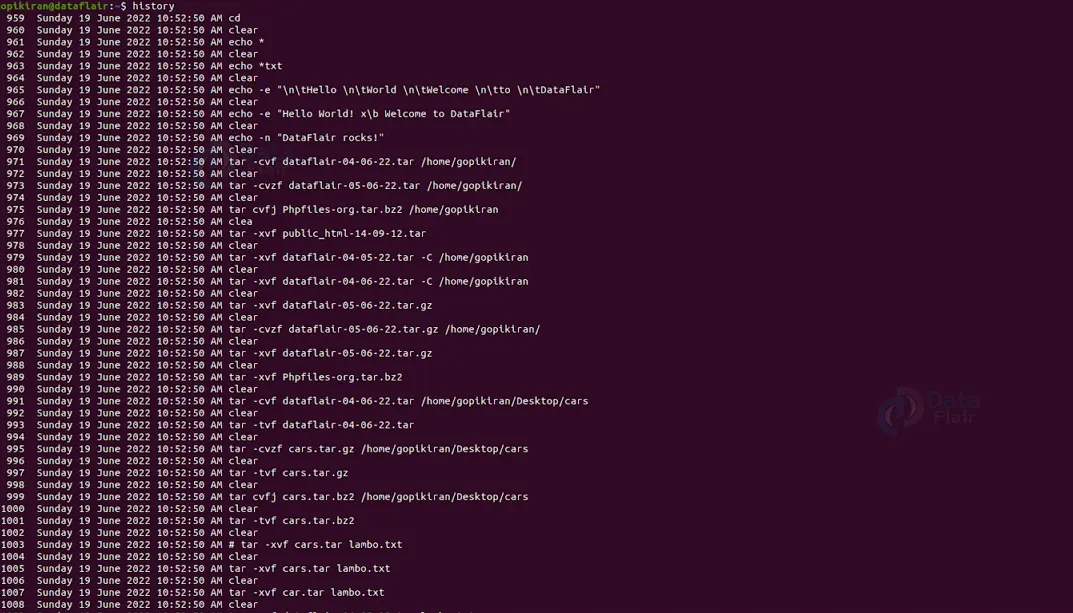
After changing the “.bashrc” file, we will get the output shown below when we execute the history command.
Viewing the size of the history buffers
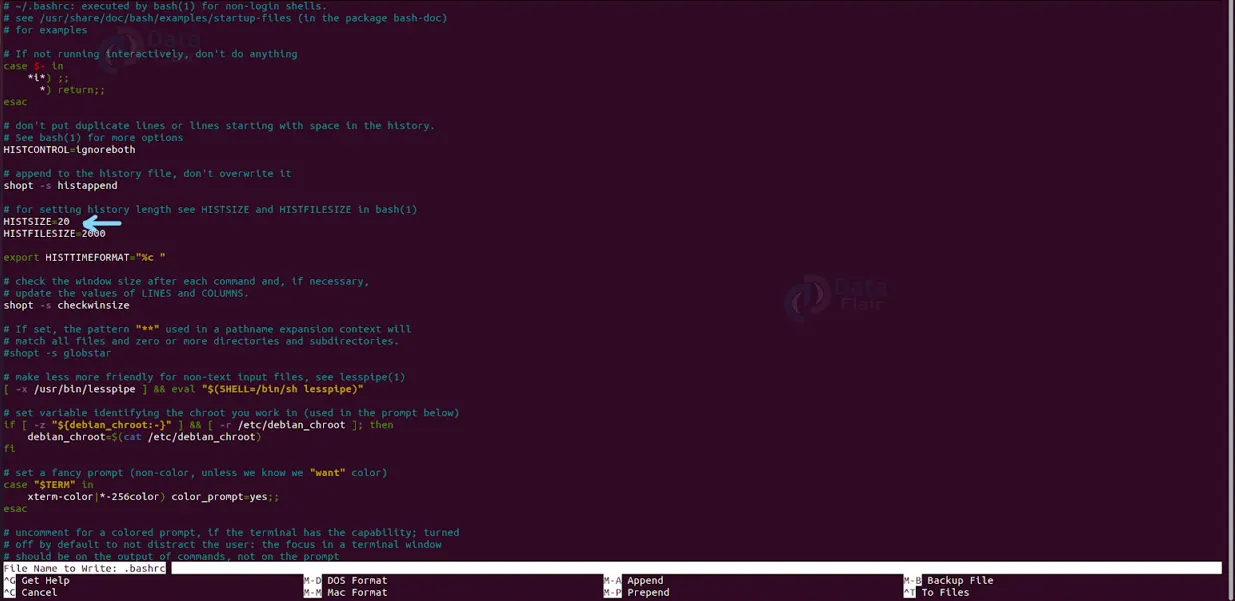
The “.bashrc” file contains two variables or attributes that control the size of the history buffers, they are:
- HISTSIZE: Displays the maximum number of entries for the history list.
- HISTFILESIZE: displays the maximum number of entries in the .bash_history file.
If we edit these values, we change the way how the Bash shell displays and saves the command history. For example, changing the HISTSIZE value to 20 shows a maximum of 20 latest entries.
After saving the changes in the file by pressing the key combination “Ctrl” + “x” and then “y, run the history command, and you will get the following output.
Repeating a command
If you want to repeat the previous command, you can type 2 exclamation marks on the terminal, as shown below:

To count from the end of the list, add a negative symbol after the exclamation mark and before the number, as shown below:

Searching a command by a string
If you want to search for a command that you have previously by its name, you specify its name preceding it with an exclamation mark as shown:

If you notice carefully, using this method runs the latest command with that string in it. However, if you don’t want to run it and only want to see the command, followed by a “:p” as shown:
!<name>:p

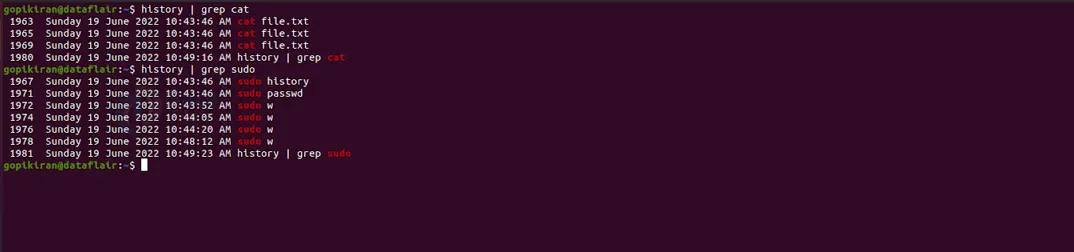
If you want a more robust method of searching your command history, pipe it with the grep command followed by the string you wish to search for, as shown:
history | grep <string>
Changing the executed command
Let us say that I have run the command “sudo ufw allow 20/tcp” to enable port 20, as shown below:

Now, if I want to activate port 21, and given that I am lazy, instead of typing the entire command again and changing 20 to 21, I will use the command “^20^22^”. Voila! I just executed a 5-string command by using just one string.

Prevent recording commands in the history
If you want to prevent the recording of commands in the history list, you can use the command shown below to disable the recording temporarily:
set +o history
If you want to re-enable the recording of commands in the history list, use the command shown below:
set -o history
Deleting history
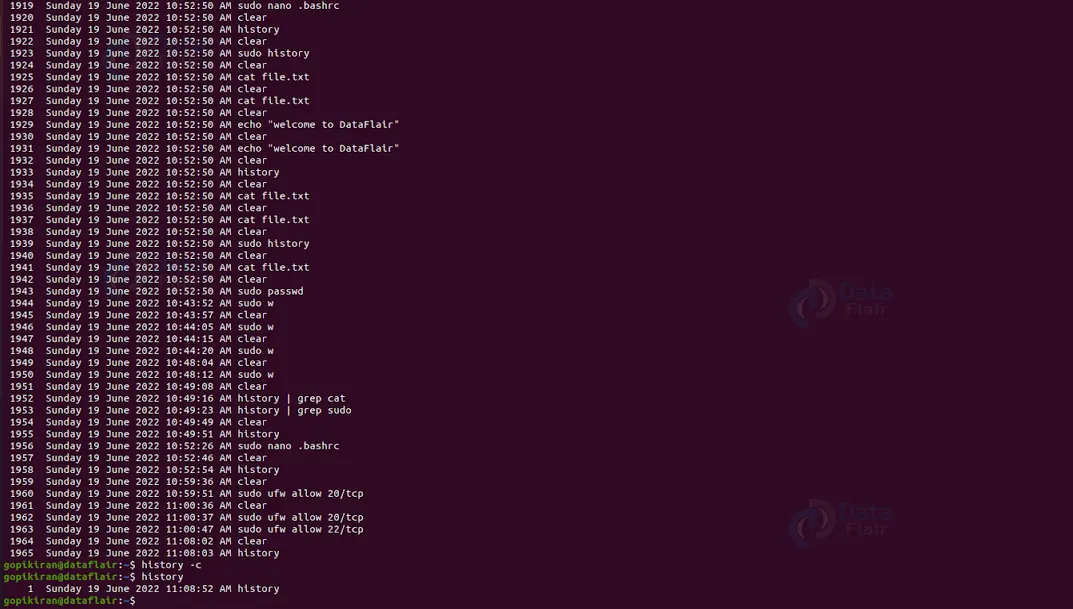
If you want to clear the entire history list, you can pair the history command with the option “-c” as shown:
history -c
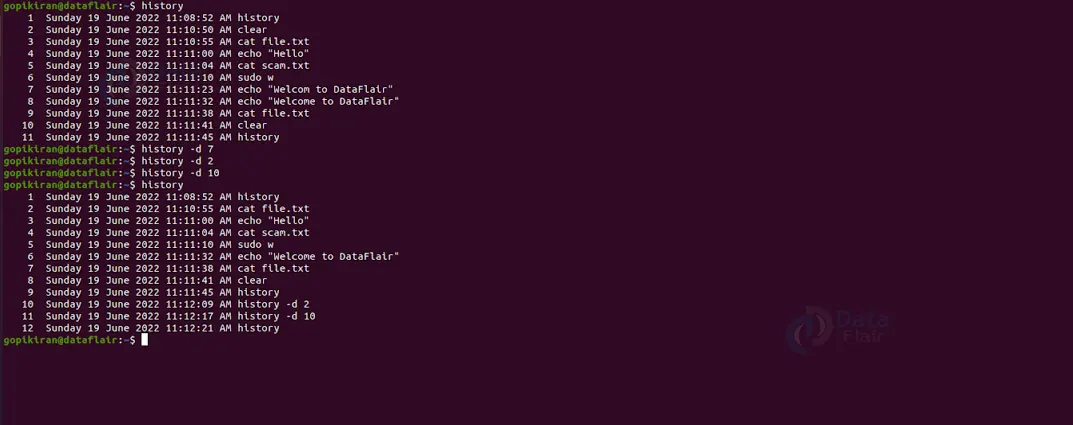
However, if you want to delete only a specific command, execute the history command by combining it with the option “-d” followed by the number as shown:
history -d <number>
Updating the history file
As we have seen before, the bash shell saves any updates we do to the command history list when you exit the current terminal session. Nevertheless, the history command also allows you to save changes. To do so, simply pair it with the option “-a” as shown:
history -a
Summary
As you have seen, the history command lets you view the commands you executed previously in the terminal. You have now understood what the history command is, why we use it, the syntax of the history command, and the options used along with it. We have also seen a lot of examples where we tinkered with the output of the history command, executed previous commands, searched previously executed commands, how to delta the history, and a lot more.
Did you like this article? If Yes, please give DataFlair 5 Stars on Google


