Head Command in Linux
We offer you a brighter future with industry-ready online courses - Start Now!!
In this article, we will learn everything about the head command in Linux. We will look at what the head command is, its uses, the syntax of the head command, and the options used along with it. In the end, we will look at some practical examples of the head command and its options to understand how they work. So pay attention, take notes and read the entire article for the best benefits.
What is Linux head command?
Head is a command-line-based utility in Linux-based operating systems that prints the first “n” number of lines or data of the given input. This input can either be a file or a data stream. The head command is the exact opposite of the tail command.
You can state the number of lines you want the head command to print, but if you don’t specify anything, the head command will automatically print the first ten lines of the input. The best part of the head command is that you can specify more than one input file. If you do so, data from each file is preceded by its name.
You can even pipe the head command to other shell commands like grep, sort, wc, and so many more to get more information. This is extremely helpful when you want to consider only the first “n” lines of the input. We can also pair the head command with a range of options, which we will look at how to use in later sections of this article.
Syntax of the head command in Linux
The syntax of the head command is very straightforward:
head <options> <file>
Let us look at the options present in the syntax of the head command:
1. <options>
This field takes in several options that state how the head command must function, format, and print the output. You can specify multiple options in this field.
2. <file>
This option takes in the name of the file we want to pass as the input to the head command. If you specify no filename, the head command will read the input from the standard input. As we discussed earlier, you can also enter multiple filenames in this field.
Options used with Linux head command
Unlike most of the commands in Linux, the head command has only a few options associated with it. Let us take a brief look at each one of them:
1. -c
This option prints the first specified number of bytes of each file. If you specify the number with a negative symbol (-), the head command will act like the tail command and print each file’s last specified number of bytes. You can also write this command as “–bytes.”
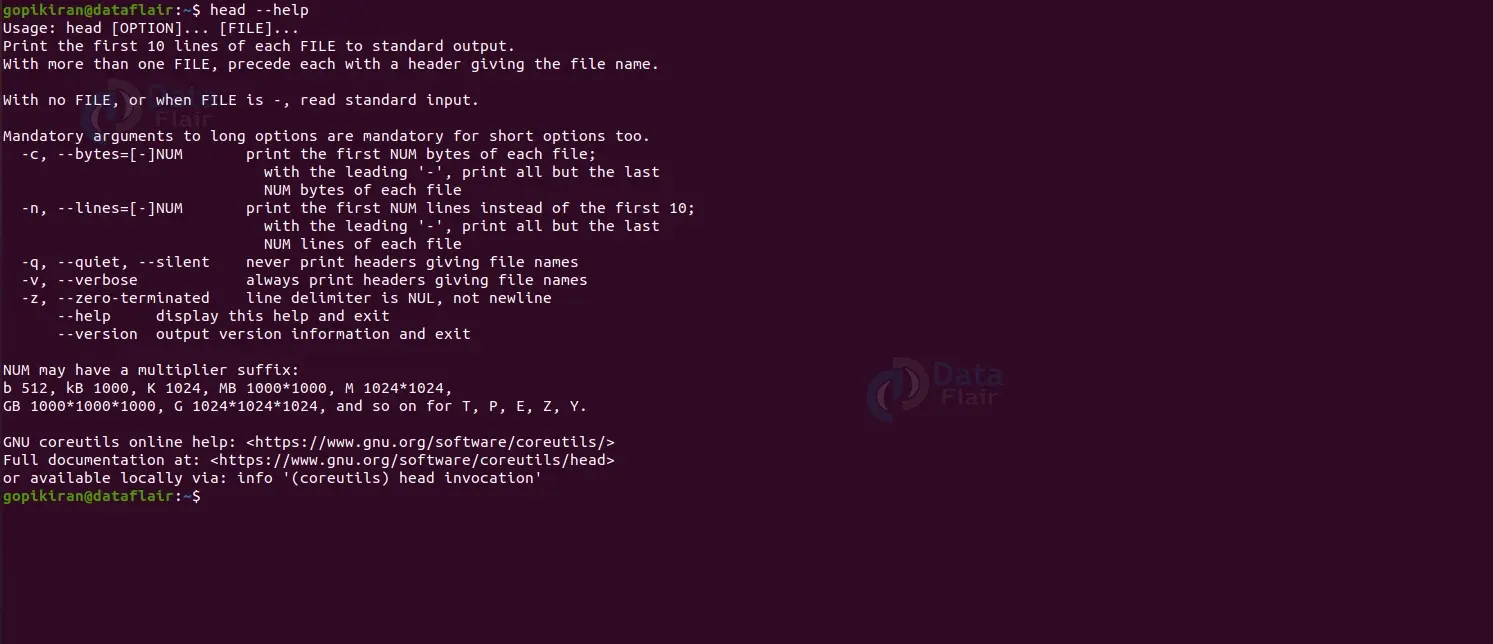
4. –help
This option prints the help menu of the head command, as shown below:
3. -n
This option prints the first specified number of lines instead of the first 10, which is the default setting. If you specify the number with a negative symbol (-), the head command will act like the tail command and print each file’s last specified number of lines. You can also write this command as “–lines.”
4. -q
This option never prints the headers identifying the file names. You can also write this command as “–quiet.”
5. –version
This option prints information regarding the version of the head command.
Now that we have covered the basics and the theoretical part of the head command, let us understand how it and its options work by looking at some practical examples in the terminal of Ubuntu 20.04.
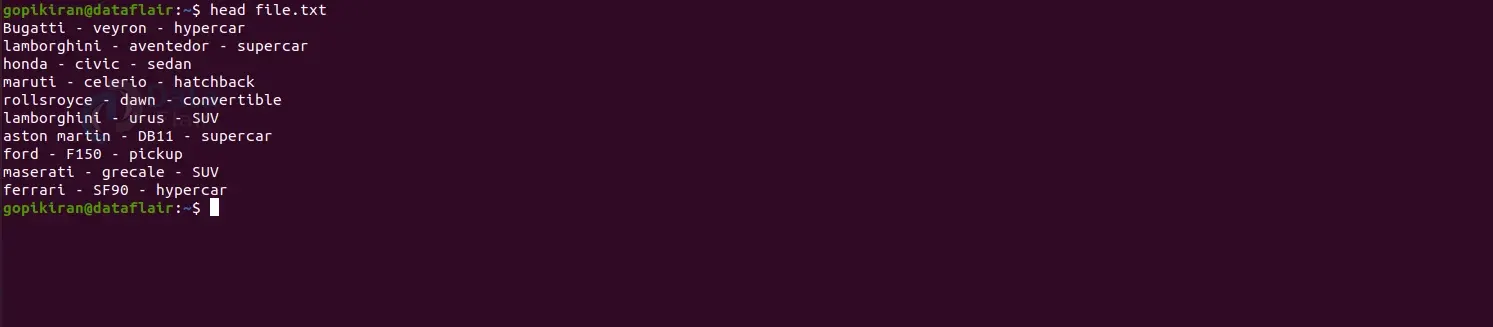
Before we head on to look at the examples, we need a sample text file to perform the head command on, hence let us consider the sample text file shown below:

Using the head command with no options
If we use the head command followed by the name of the file you want the head command to read the input from, it will print the first ten lines of the file as shown below:
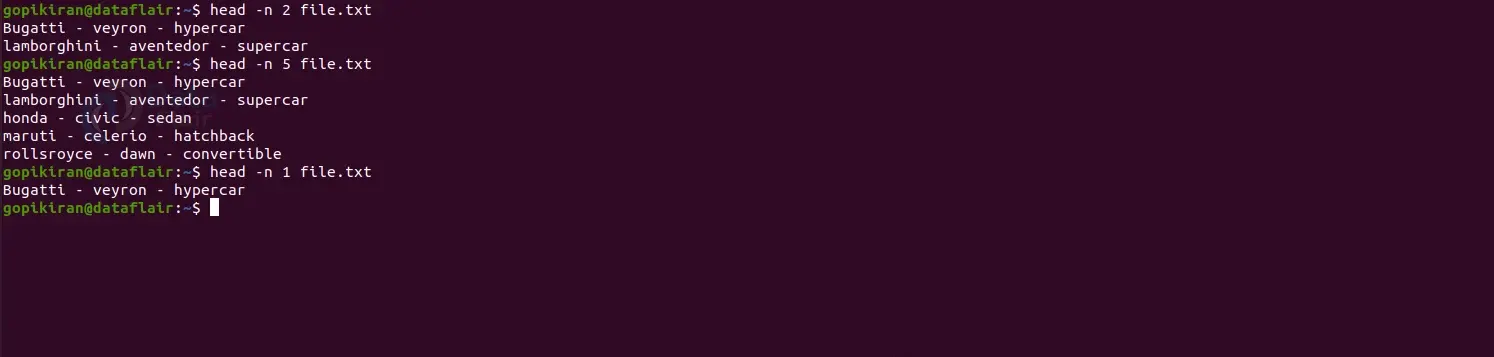
Displaying a specific number of lines
If you want to display a particular number of lines instead of the default 10, pair the head command with the option “-n” followed by the number of lines you want to see and the filename:
head -n <number> <filename>
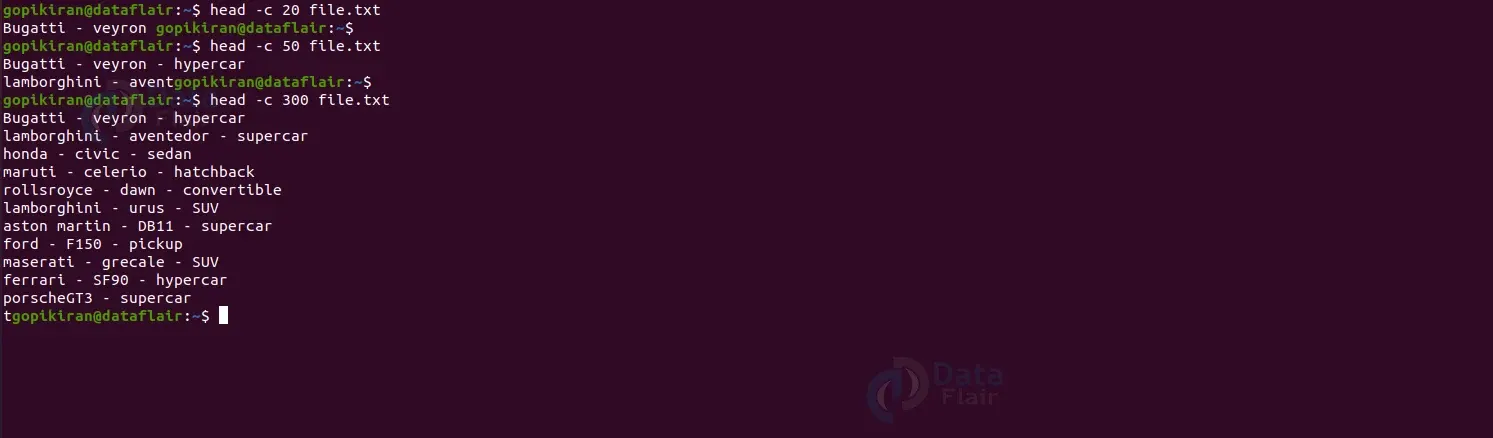
Displaying a specific number of bytes
To display a specific number of bytes, run the head command along with the option “-c” followed by the number of bytes you want to see and the filename:
head -c <number> <filename>
Displaying the filename in Linux
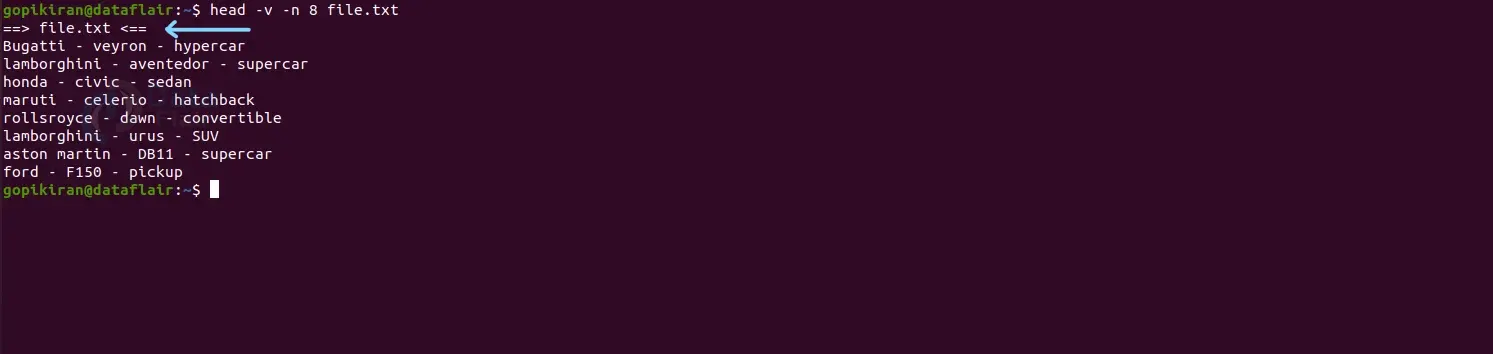
If you want to display the file’s name above the output of the head command for a better understanding, combine the head command with the option “-v”. This option provides verbose to output for a better understanding. Use the syntax shown:
head -v <filename>
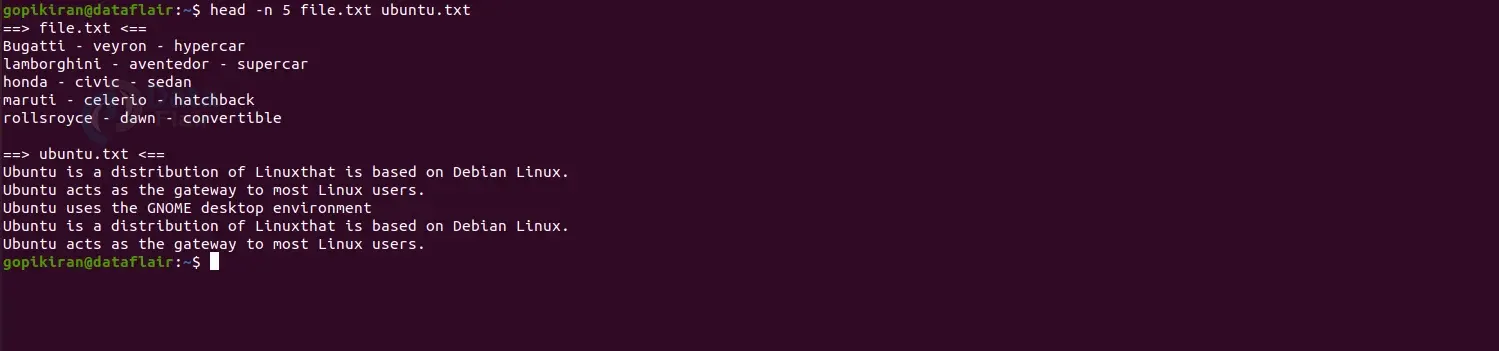
Displaying multiple files in Linux
If you want to use the head command on multiple files, specify the filenames one after the other and separate them by a space as shown in the syntax:
head <filename1> <filename2> <filename3>
Redirecting the output of Linux head command
If you want to store the output of the head command in a separate file, use the redirection operator and put the name of the file as shown below:
head <inputfile> > <outputfile>
Using the cat command, you can later check if the file has been created or updated successfully.

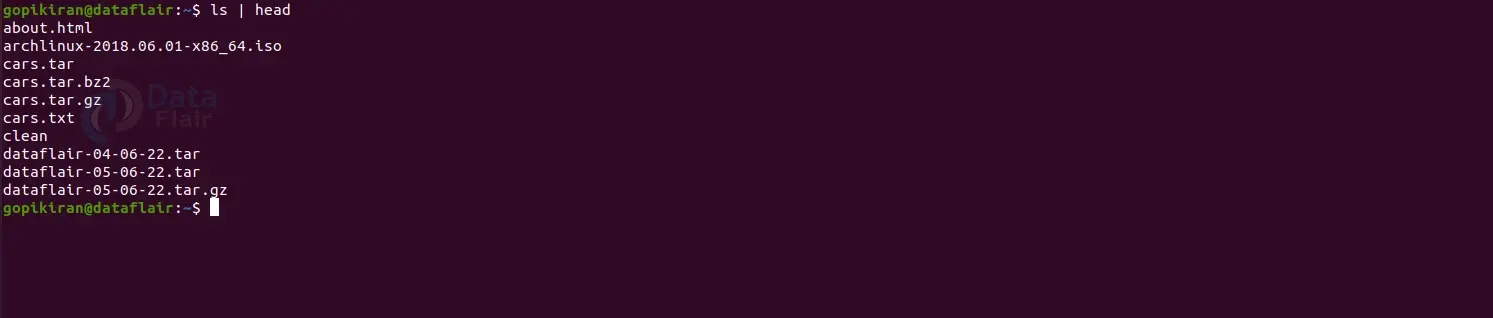
Using the head command with datastreams
We already saw earlier that we could also specify data streams as the input of the head command. However, to do so, we can’t specify them as we have been doing it with regular files. So instead, we pipe the head command with these data streams. Here are some examples:

Piping the head command with other shell commands
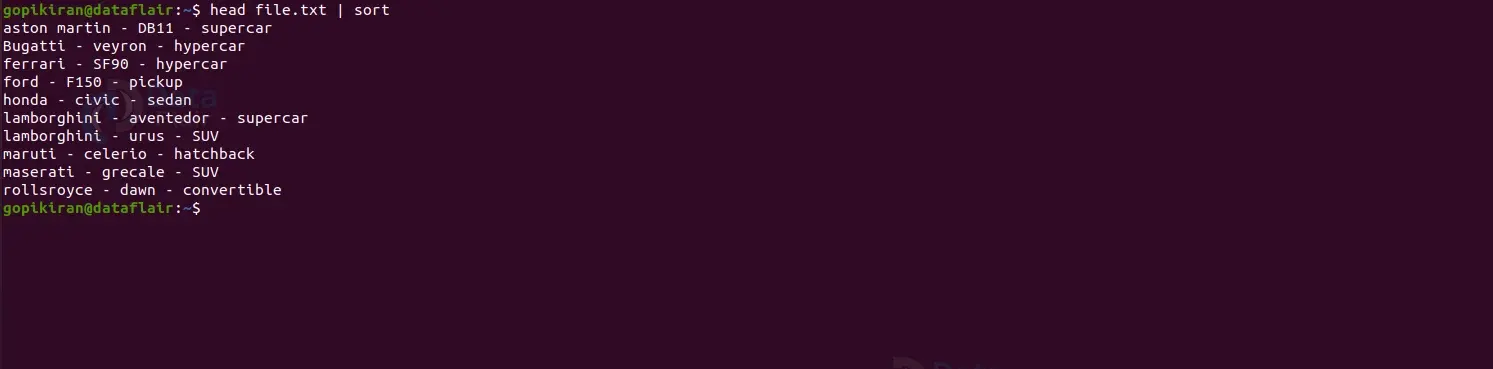
As we discussed earlier, we can pipe the head command with various other commands like wc, grep, sort, and more. Here are a couple of examples:
In the screenshot below, we have passed the head command input as the sort command’s input. Hence the output is sorted alphabetically.
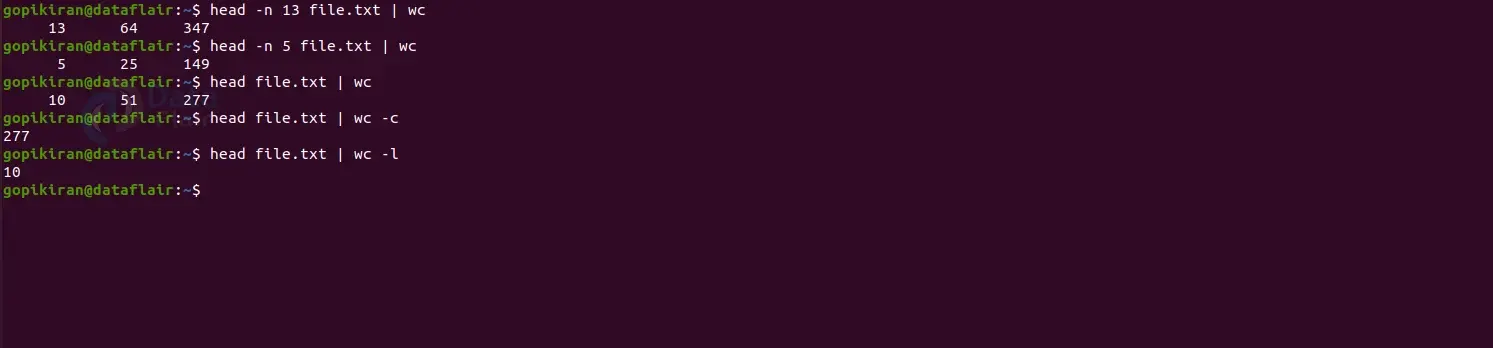
In the screenshot shown below, we have passed the output of the head command as the input of the wc (word count) command. Hence, the output is the count information, including the number of lines, words, and characters.
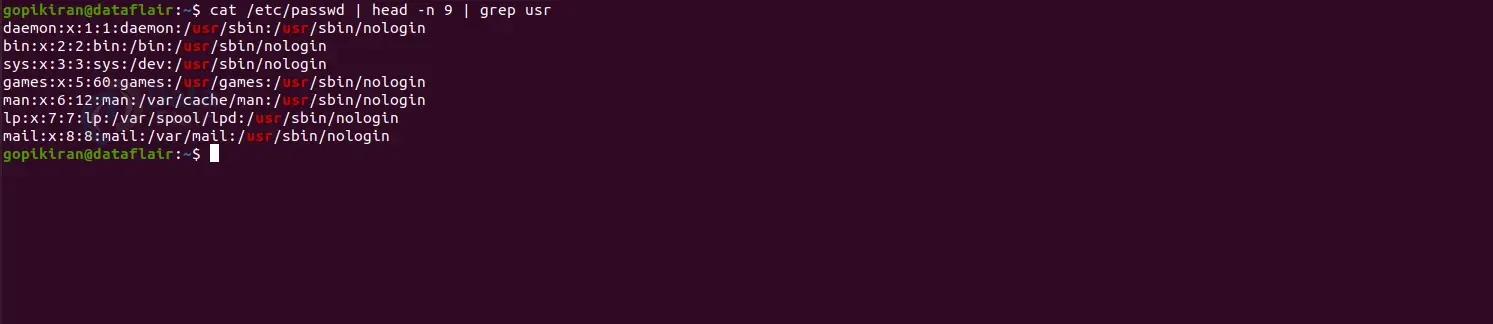
In the screenshot below, we have passed the head command output as the grep command’s input. Hence the output prints the lines with the word “usr” in them.
Summary
As you have seen, the head command is an extremely simple command that prints the first “n” number of lines or data of the given input. You have now understood what the head command is, why we use it, the syntax of the head command, and also the options used along with it. We have also seen a few practical examples of the head command in the Ubuntu terminal.
We work very hard to provide you quality material
Could you take 15 seconds and share your happy experience on Google


