Free Command in Linux
Job-ready Online Courses: Click for Success - Start Now!
In this article, we will look at the free command in Linux. We will look at the free command and why it is used, understand the free command’s output, and the syntax and various options used with the free command.
In the end, we will look at some practical examples of the free command by pairing it with various commands. So pay attention, grab a coffee or a snack, and read till the end.
What is Linux free command?
Free is a command-line-based utility in Linux-based operating systems that gives you a detailed report on the system’s memory usage. It displays the total amount of physical, swap, free, and used memory.
As a system user, there might have been at least one scenario where you might have asked the question, “how much free RAM do I have available on my system?”. The free command comes to help in exactly such scenarios.
The free command is a true boon for system administrators as it helps monitor system resources. By default, the free command shows the information and statistics in kilobytes. Nonetheless, we can change these units by pairing the free command with some specific options. Similarly, we can use a whole load of options to specify how the free command must work and format the output.
Syntax of Linux free command
The syntax of the free command is one of the easiest there is. Take a look for yourself:
free <options>
Options used with the free command
Unlike most of the commands in Linux, the free command has only a few options associated with it. Let us take a brief look at each one of them:
1. -b
This option prints the amount of memory in bytes. You can also write this option as “–bytes.”
2. -k
This option prints the amount of memory in kilobytes. This option is already selected by default. You can also write this option as “–kilo.”
3. -m
This option prints the amount of memory in megabytes. You can also write this option as “–mega.”
4. -g
This option prints the amount of memory in gigabytes. You can also write this option as “–Giga.”
5. -t
This option prints the amount of memory in terabytes. You can also write this option as “–tera.”
6. -c
This option prints the result of the number of count times you specified. You can also write this option as “–count.”
7. -s
This option continuously displays the result with a delay of the number of seconds you specified. In simple words, this option acts like an interval. You can also write this option as “–seconds.”
8. –si
this option uses the power of 1000 instead of using the power of 1024.
9. -t
This option prints a line at the end showing the total of each column. You can also write this option as “–total.”
10. -l
This option prints detailed low and high-memory statistics. You can also write this option as “–lohi.”
11. -o
This option prints the output in the old format, which disables the “buffer adjusted” line. You can also write this option as “–old.”
12. -h
This option prints the data in a human-readable format. You can also write this option as “–human”. This option automatically scales the units to the shortest 3-digit unit. For example, you can use the following units:
B – bytes
K – kilobytes
M – megabytes
G – gigabytes
T – terabytes
13. -V
This options prints information about the version of the free command as shown:

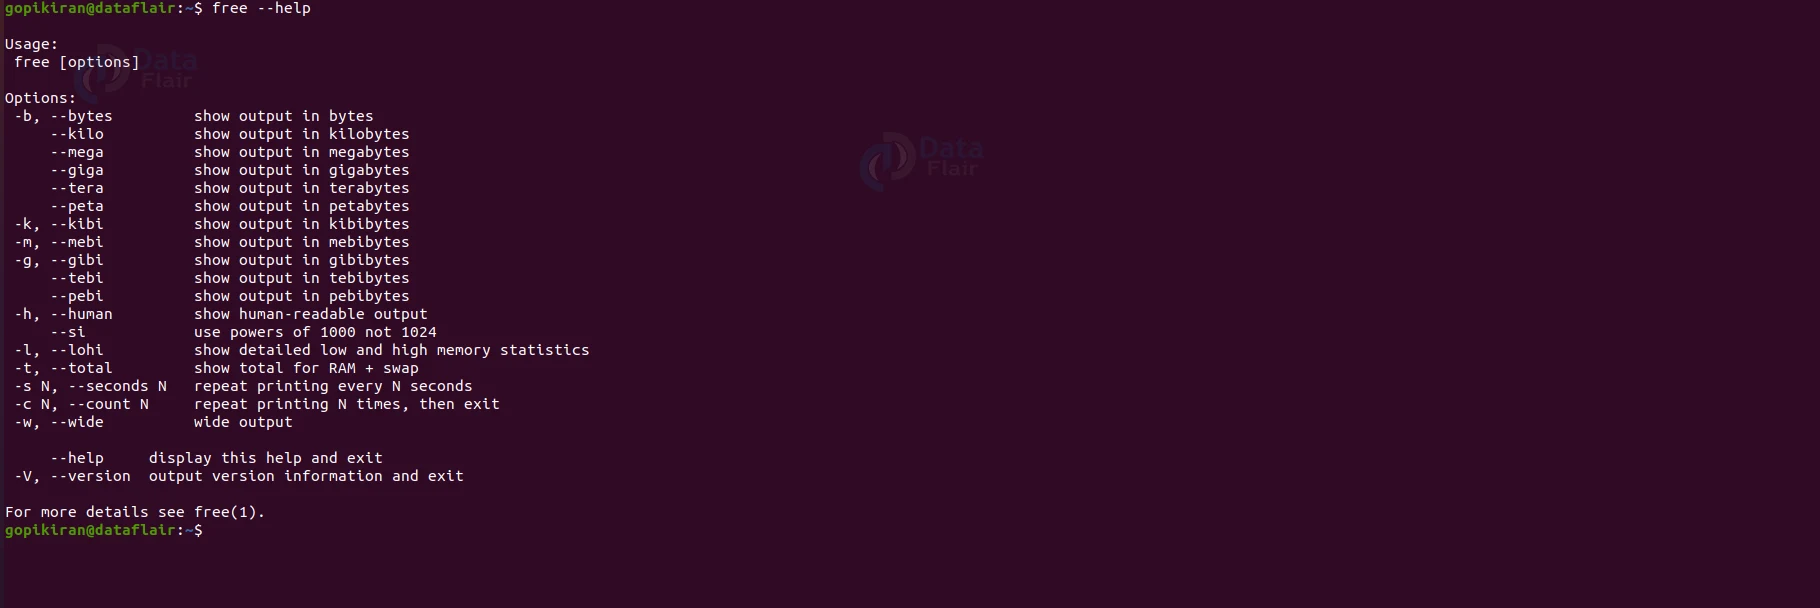
14. –help
this option prints out the help menu of the free command as shown below:
Understanding the output of the free command
If you run the free command with absolutely no options at all, you get the following output:

The output displayed by the free command in the screenshot shown contains a lot of valuable information. Let us understand the output by looking at the various columns present and what information they show.
1. Total
This field displays the total amount of RAM on the system.
2. used
This field displays the memory that is currently used by the processes.
3. Free
This field displays the memory that is free and unused.
4. Shared
This field displays the memory shared by multiple processes.
5. buff/cache
This field displays the memory used by the kernel for different purposes like buffers, page cache, slabs, and more.
6. Available
This field displays the amount of estimated memory that is available for starting new applications, excluding swap.
Now that we have laid down the basics and covered the theory part of the free command, let us look at some examples of the free command in the terminal of Ubuntu 20.04 to understand its working and options better.
Displaying output in human-readable format
If you want to display the free command output in human-readable format, use the option “-h” as shown: free -h.

Showing the memory usage continuously
If you want to repeatedly and immediately show the memory usage report, use the option “-s” followed by the interval you want between each report in seconds as shown: free -s <n>.
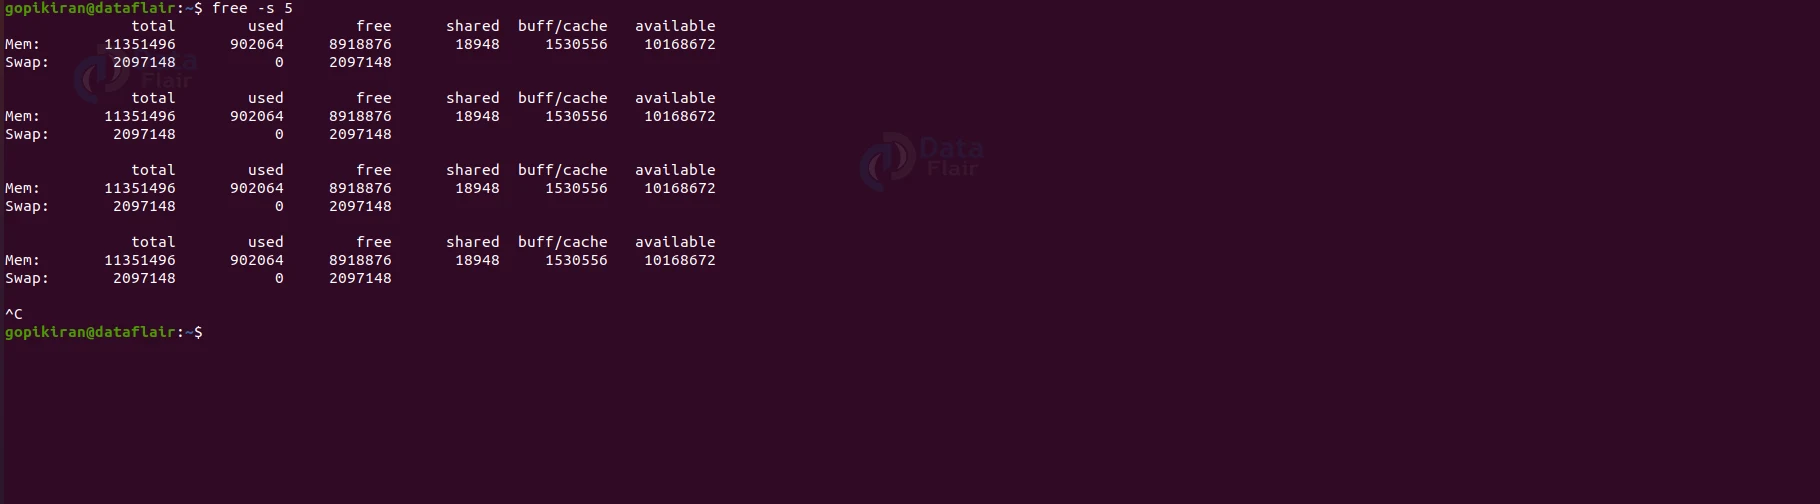
In the screenshot shown above, the command prints a report continuously with a delay of 5 seconds forever until I terminate it. To terminate the command from printing reports, use the key combination “Ctrl” + “c”
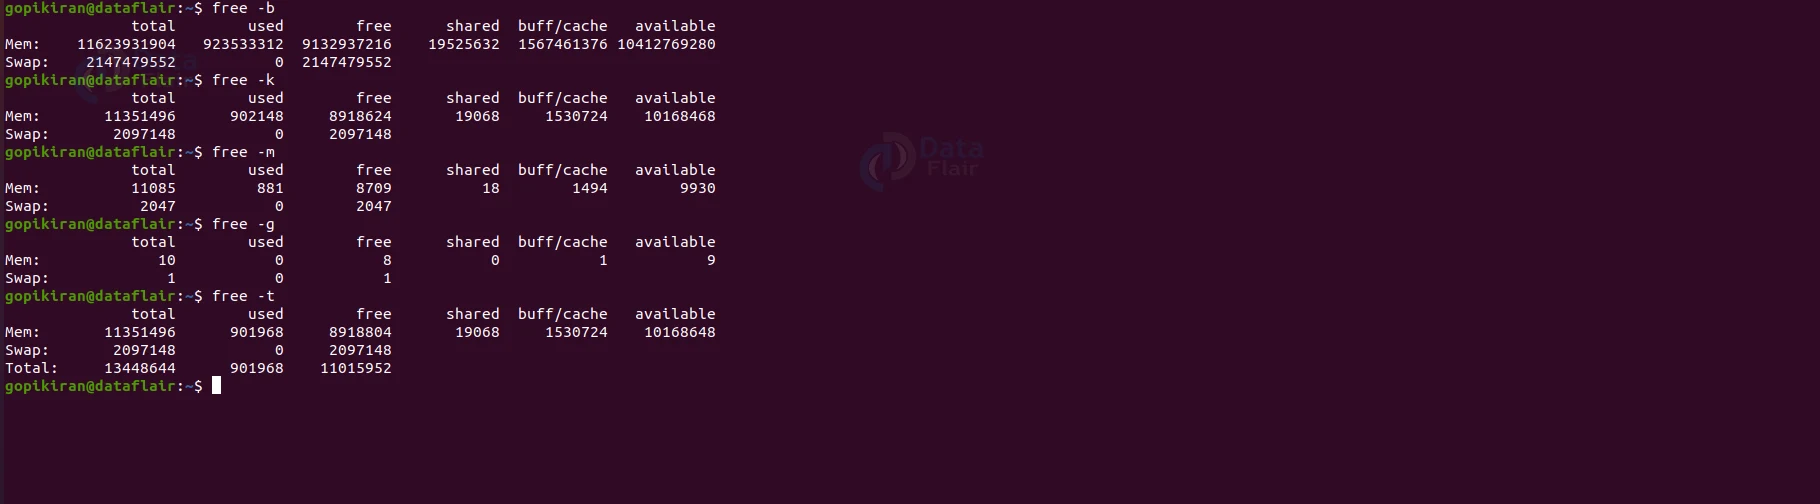
Specifying the units of the output
We have seen above that you can use various options like “-b”, “-k,” “-g”, and more to change the units of the output generated by the free command. The screenshot below illustrates all five options that change units.
Printing the output multiple times
If you want to print the report generated by the free command “n” number of times, make use of the option “-c” followed by the number of times you want the free command to print the output as shown: free -c <n>.

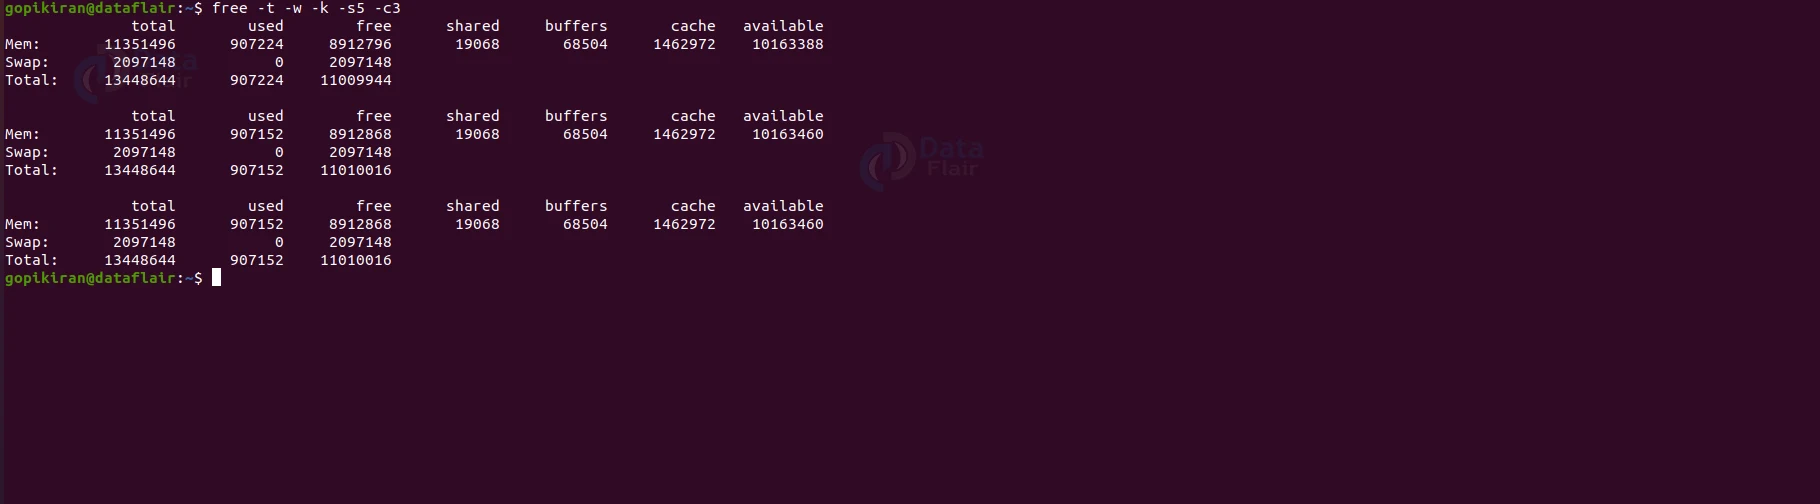
Separating the buffers and cache columns
We have seen that in the regular free command output, the buffers and cache columns are under one column named “buff/cache”. However, if you want to divide this column into two separate columns called “buffers” and “cache”, use the option -w as shown: free -w.

Displaying the total of every column
If you want to print a column at the very end of the report that displays the total for every column in the report of the free command, use the option “-t” as shown: free “-t.”

Combining options
The best part of options is combining them to produce a specific output.
Summary
As you saw, the free command is a simple system resource monitoring system that displays information about the memory in your system. You have now learned the free command, the syntax of the free command, why it is used and options used with the free command.
You have also learned how to read the free command output as we look at the report’s different columns. Apart from all this, we looked at some practical commands of the free command by combining them with various options.
Did you know we work 24x7 to provide you best tutorials
Please encourage us - write a review on Google


