DU Command in Linux
Expert-led Online Courses: Elevate Your Skills, Get ready for Future - Enroll Now!
By the end of this article, you will learn all there is to the du command in Linux-based operating systems. We will go through what du is, the syntax of the du command, the options used with it, and some practical commands of the du command in the terminal.
What is du Command in Linux?
Du is the abbreviation for “Disk Usage”. It is a command-line-based utility in Linux-based operating systems that helps in tracking files and directories that are consuming a lot of space on the hard disk.
Du can also display a list of all the files with their sizes in kilobytes. In layman’s language, the du command estimates the usage of file space. It prints the space used under a particular file or directory in the Linux filesystem.
Users without permissions cannot use the du command on a certain directory or file. In such cases, you either need to be the root user or have sudo privileges to gain access.
The very first appearance of the du command was in version 1 of AT&T UNIX. the du utility that comes along with the GNU Coreutils package was designed, developed, and written by Torbjorn Granlund, David MacKenzie, Paul Eggert, and Jim Meyering. The du command is also available on Windows and FreeDOS.
Syntax of Linux du command
The syntax of the du command is one of the simplest there is out there:
du <option> <path>
The syntax consists of 2 fields, one is the field where you enter options (which we will look into in the next section) and the other is the path, where usually you enter “/home/<username>” to check the whole disk space the user is using. You can also enter any other path to see the disk space used by that directory and corresponding subdirectories.
Options used with Linux du command
The du command is available with a couple of options. Just like almost every command in Linux, options help us specify the way the command must work and also how the output must be formatted. Let us look at the options used with the du command
1. -a
This option lists the sizes of all the files and directories. You can also write this option as “–all”
2. -h
This option shows the information in human-readable format. You can also write this option as “–human-readable”
3. -c
This option displays the grand total in the output. You can also write this option as “–total”
4. -L
This option dereferences all the symbolic links
5. –apparent-size
This option prints apparent sizes instead of disk usage.
6. -B
This option scales size by the specified amount before printing them. You can also write this option as “–block-size”
7. -b
This option is an alias for the commands “–apparent-size –block-size=1”. Therefore, instead of using 2 lengthy options, you can just use “-b”.
8. –files0-from=<file>
This option summarizes disk usage of the null-terminated filenames specified in the file you entered.
9. -H
This option is an alias of the option “–dereference-args”. Therefore this option is exactly the same as “-D”.
10. –si
This option is similar to the option “-h” but uses a power of 1000 and not 1024.
11. -l
This option counts the sizes many times if it is not hard-linked.
12. -0
This option ends each output line with 0byte instead of a new line. You can also write this option as “–null”
13. -P
This option does not follow any symbolic links. This option is already used by default. You can also write this option as “–no-dereference”
14. -S
This does not include the sizes of the subdirectories. You can also write this option as “–separate -dirs”
15. -s
This option displays only a total for each argument. You can also write this option as “–summarize”
16. -x
This option skips the directories on different file systems. You can also write this option as “–one-file-system”
17. -X
This option excludes files that match the pattern you specify in a file. You can also write this option as “–exclude-from”
18. –exclude
This option excludes files that match the pattern you specify.
19. -d
This option prints the total for a directory if and only if it is less than or equal to the level you specified. You can also write this option as “–max-depth”.
20. –time
This option shows the time of the last modification of any file in the directory or any of its subdirectories.
21. –time=word
This option shows the time as “word” instead of modification time: atime, access, use, ctime, or status.
22. –time-style=style
This option shows the time in the specified styles, you can choose from full-iso, long-iso, iso or +FORMAT
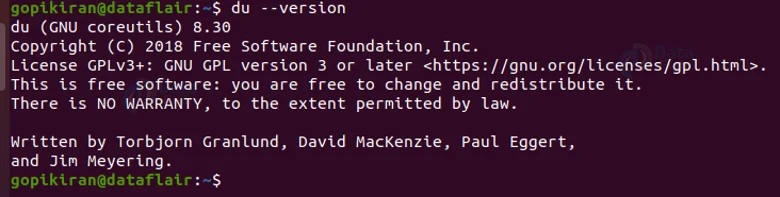
23. –version
This option displays the information about the version of du you are using.
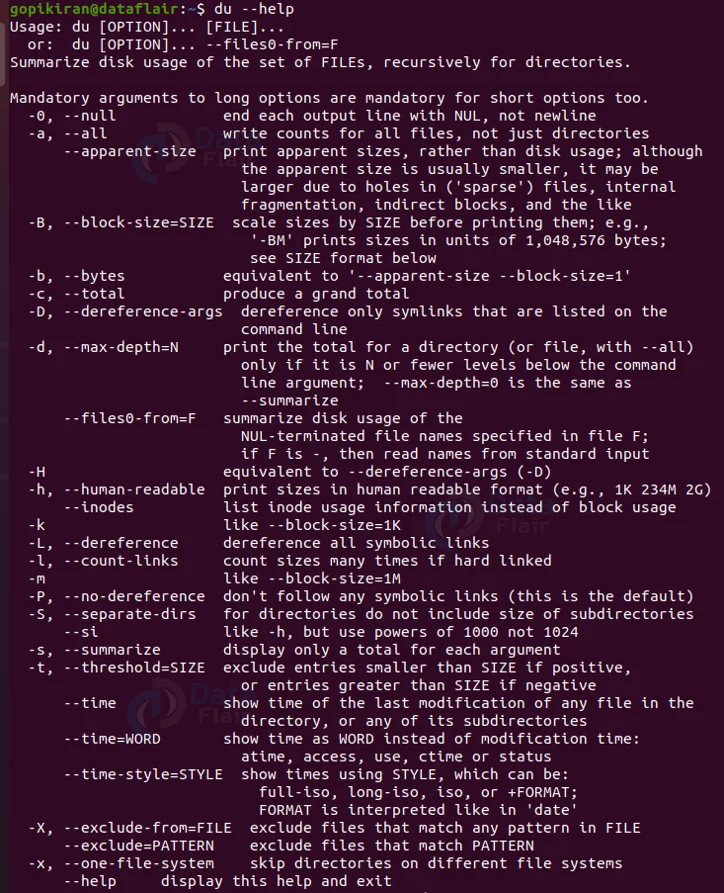
24. –help
This option displays the help menu as follows:
Now that we have laid down the fundamentals, let us look at some of the practical commands in the terminal
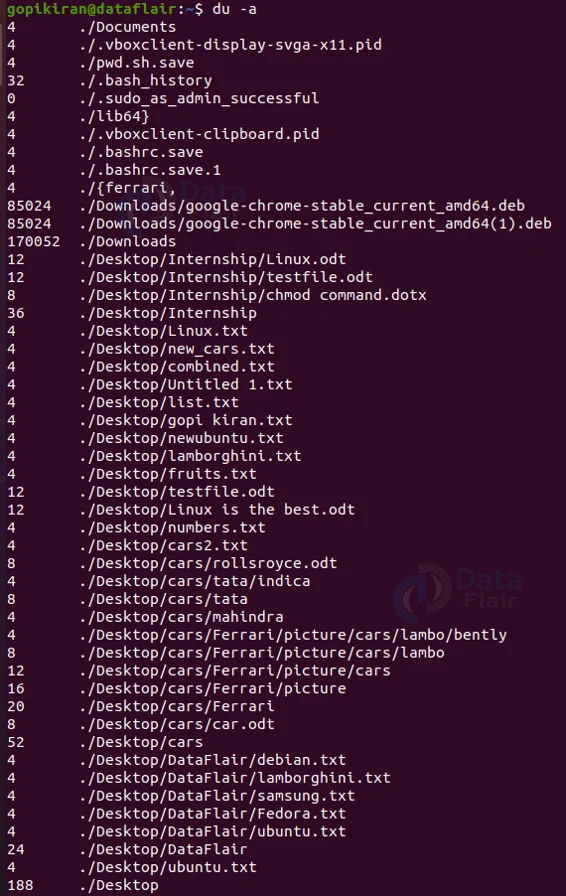
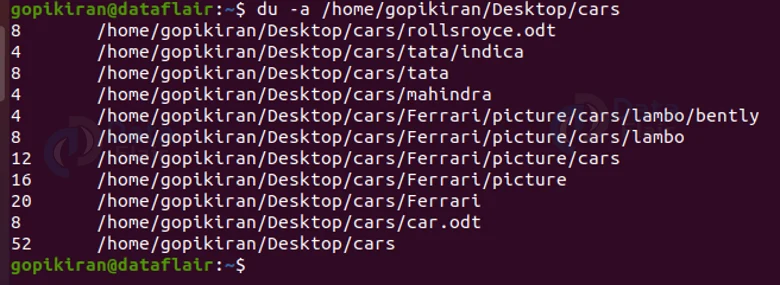
Printing size of everything in the computer
If you want to display the size of every single file and directory in your system, simply use the option “-a” with the du command.
Printing size of a specific directory
If you want to print only the size of specific files, maybe like a specific directory or files related to a specific user, you can specify the path you want du to check. For example, if I want all the file sizes related to the user “gopikiran” on my system, I use the command “ch /home/gopikiran”
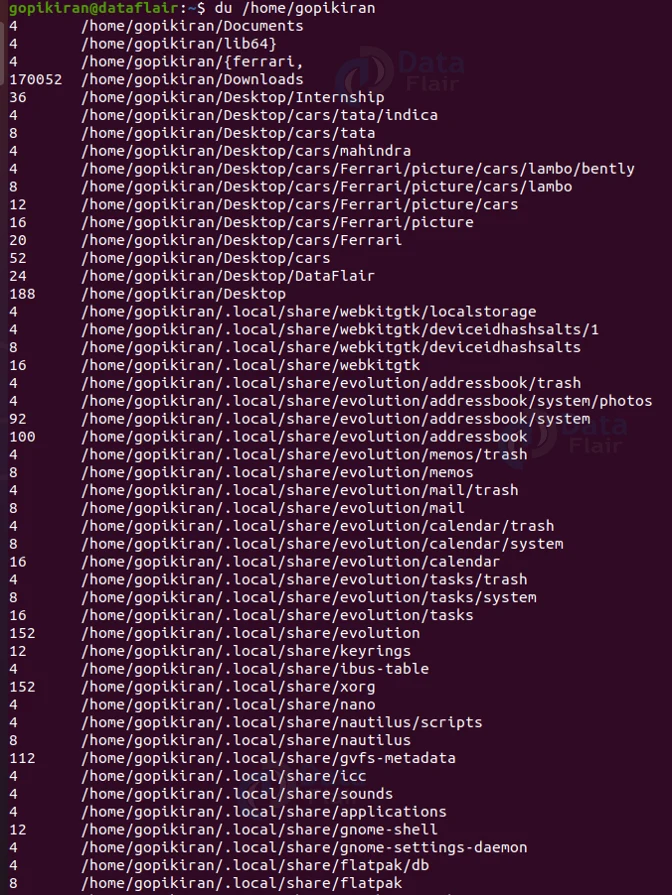
If I want only a specific directory that is deep inside the filesystem, I can specify that y giving the path of the directory, starting from the root (/) directory.
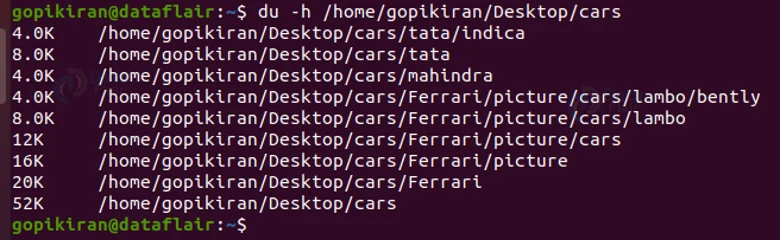
Printing sizes in human-readable format
In the above outputs, we have absolutely no idea in what format or what the sizes even mean. To show the sizes in human-readable format, we use the option “-h”, now the sizes will be printed in bytes, kilobytes (K), Megabytes (M), Gigabytes (G), and so on.
Finding the grand total size of a directory
To print out only the grand total size of a specific directory, use the option “-s” along with the du command as shown:
du -s <directory path

This command prints the size of the directory in quantity no human would understand, therefore to print it in human-readable format, make use of the option “-h” as follows:
du -sh <directory path>

Printing sizes in specific human-readable quantities
Printing the sizes of files and directories in human-readable format is nice and all, but do you know that we can force du to print sizes in a specific quantity? Yup, we can make du print the sizes in all one quantity: either Kilobytes or megabytes or Gigabytes and so on.
We can do so by using the option “-m” for megabytes, option “-k” for kilobytes, option “-g” for gigabytes, and so on.
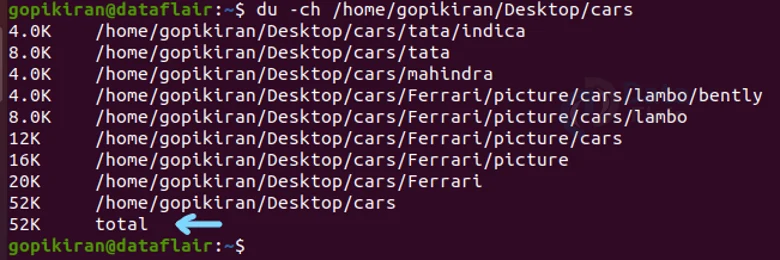
Printing grand total size in the last line
We have seen that the option “-s” prints only the grand total of a directory, but we can also print the grand total at the end after listing the sizes of all the files and subdirectories of the specified directory.
To get a human-readable output from the option “-c”, pair it with the option “-h” as shown:
du -ch <directory path>
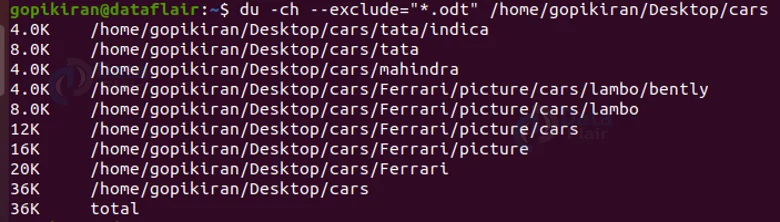
Excluding files
To exclude specific files, that is to not print the sizes of specific files, we can use the option “–exclude”. For example, the command “du -ah –exclude “*.txt” <directory path>” will print the size of all the files and subdirectories in the specified directory in human-readable format excluding all the ‘.txt’ files in it.
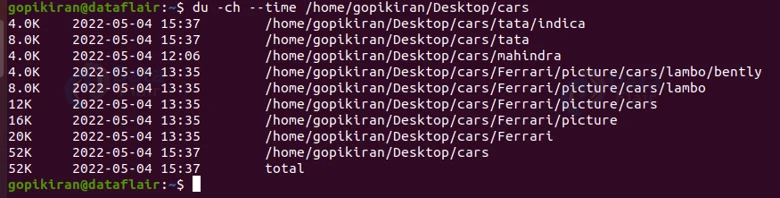
Displaying modified time
To display the modification time of the files and subdirectories use the option “–time”. For example, the command “du -ah –time <path>” will print the size of all the files in the specified directories in human-readable
format and also displays the time of modification.
Excluding a specific set of files
To exclude a specific set of files we can use the option “-X” or “–exclude” followed by the pattern or set of files you want to ignore.
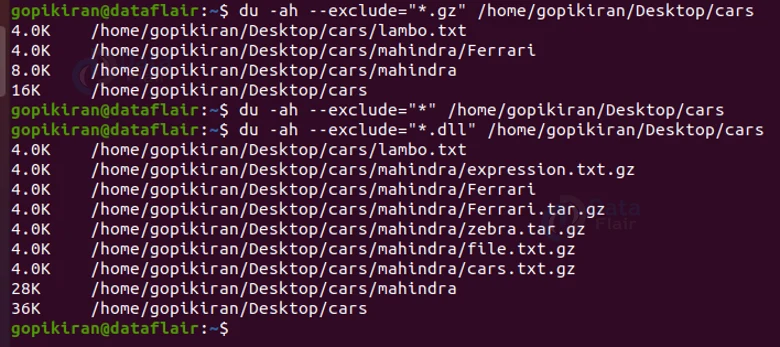
In the first command in the screenshot above, I wanted to ignore all the compressed files (.gz) files in the specified directory. In the second command, I only used “*”, therefore it ignore all the files and hence printed nothing.
Summary
As you have seen, linux du command is a really simple command to use but when combined with its many options, it is actually a very powerful tool that helps in giving various information about the sizes of files and directories.
You have now learned what du is, its syntax, options, and many practical commands that help in tasks like printing grand total of size, human-readable format, printing the sizes of all the files and directories. Excluding files, printing modified time and so many more.
We work very hard to provide you quality material
Could you take 15 seconds and share your happy experience on Google


