dmidecode command in Linux with Examples
Expert-led Courses: Transform Your Career – Enroll Now
In this article, we will learn everything about the dmidecode command in Linux-based operating systems. We will look at what the dmidecode command is, why it is used, how to install it, the syntax of the dmidecode command, and the options used along with it.
In the end, we will also look at some fantastic practical examples of the dmidecode command by pairing it with various options to understand its working. So pay attention, take notes, and read all the way to the end for the best benefits.
What is linux dmidecode command?
Dmidecodes stands for Desktop Management Interface table decoder. Dmidecode is a command line-based utility in Linux-based operating systems that record data from the DMI table and produce it in a human-readable format.
Sounds intimidating right? Well, that is how all computer science field definitions are. To be honest, it is just a way of complicating simple things. The dmidecode command in simple terms is a tool that retrieves systems’ hardware-related information in a human-readable format. See cakewalk!
When I say the systems’ hardware, I mean everything from A-Z, these include Processor, RAM(DIMMs), BIOS detail, Memory, Serial numbers, product name, DMI strings, baseboard information, IDs, chassis information and so many more!
Syntax of the dmidecode command in linux
The syntax of the dmidecode is nowhere close to the intimidation level of its definition because it is far more easy, so easy that you can close your eyes and type it! Jokes aside the syntax of the dmidecode command is:
dmidecode<options>
Options used with linux dmidecode command
Unlike most commands in Linux, the dmidecode command comes with very few options that specify how the dmidecode command must function, format, and print the output. Let us take a detailed look at each of these options.
1. -d
This option reads memory from the file specified. If you don’t specify any file, the default will be taken as “/dev/mem”. You can also write this option as “–dev-mem”
2. -q
This option enables quiet mode, meaning that there will be less output displayed on the screen. This option also suppresses error messages. You can also write this option as “–quiet”
3. -s
This option displays only the values of the specified DMI string. You can also write this option as “–string”
4. -t
This option displays only the entries of the specified type. You can also write this option as “–type”
5. -u
This option does not decode the entries. You can also write this option as “–dump”
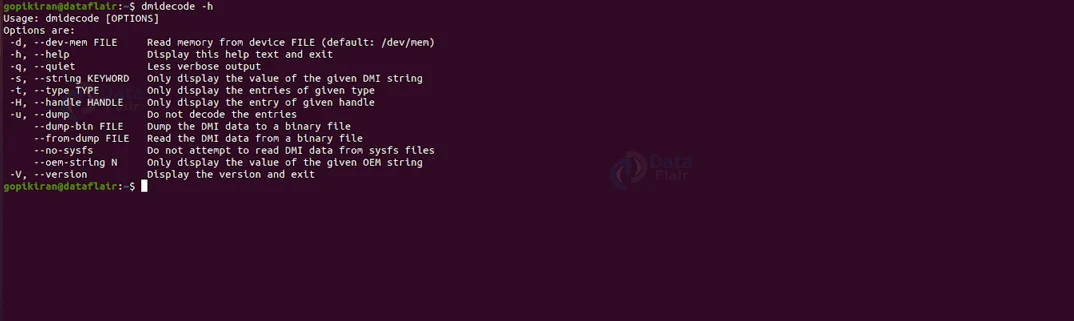
6. -h
This option prints the help menu of the dmidecode command as shown:
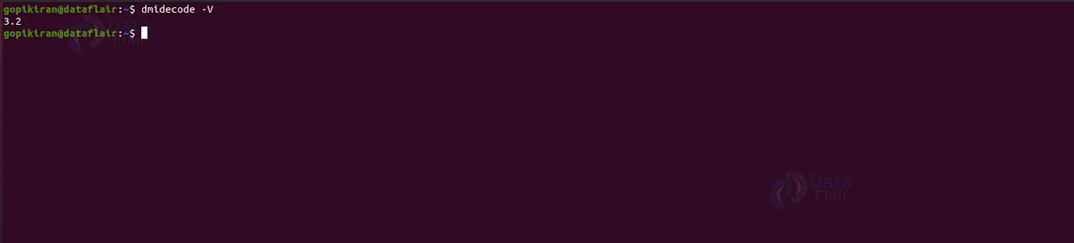
7. -V
This option displays the information regarding the version of the dmidecode command you are using on your PC as shown:
Understanding output of linux dmidecode command
Before we look at some practical examples of the dmidecode command, let us understand the output of the dmedicode command. The dmidecode command contains 5 fields of information.
1. Handle:
The handle is a unique identifier that allows records to reference each other.
2. Decoded values:
The decoded values contain the information depending on the type of record
3. Type:
The type provides information about computer elements such as system, baseboard, chassis, processor, and so much more.
4. Size:
As the name suggests, It shows the size of each record. Each record contains a 4-byte header
5. Bios information:
This field displays information that includes the details of the vendor, version, release date, ROM size, etc.
Now, since we have covered the theory and fundamentals regarding the demidecode command, let us look at some fantastic examples of the dmidecode command in the terminal of ubuntu 20.04.
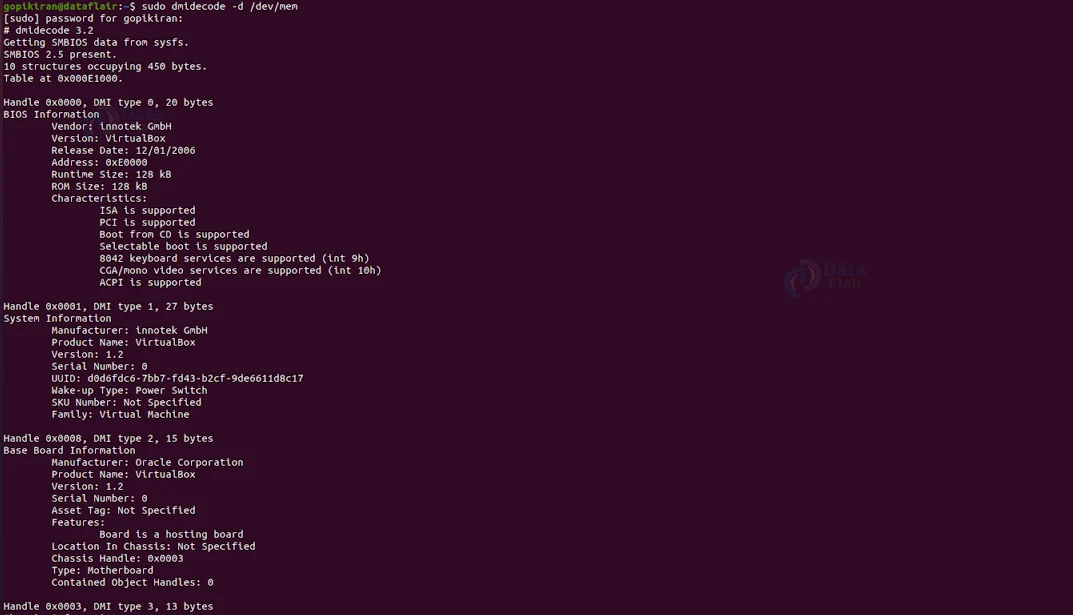
Reading memory from device file in linux
If you want to read memory from the device file (/dev/mem), run the dmidecode along with the option “-d” as shown:
sudo dmidecode -d <file path>
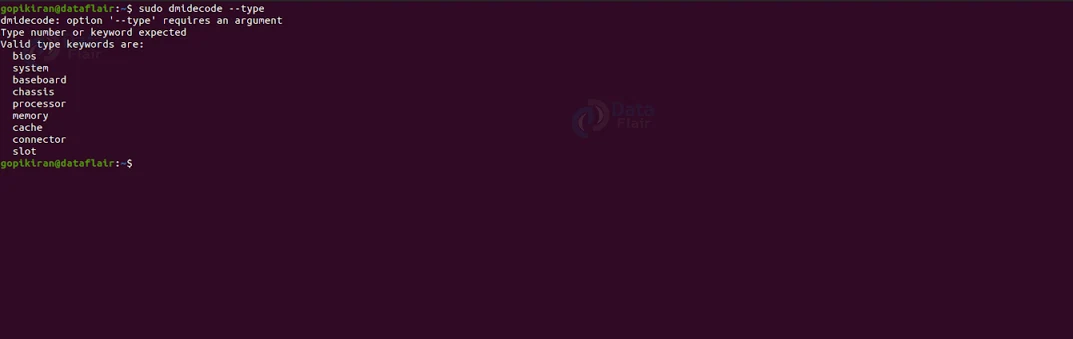
Listing the available TYPE
As we discussed above, the “TYPE” field can be either a DMI type number, a comma-separated list of type numbers, or a keyword. If you want to know what types are supported, you can simply execute the below command:
dmidecode --type
Displaying the information using type ID
If you wish to get more information on a specific component, you can get hold of its type ID and execute the dmidecode by pairing it with the option “-t” followed by the type ID as shown in the syntax below:
sudo dmidecode -t <type ID>
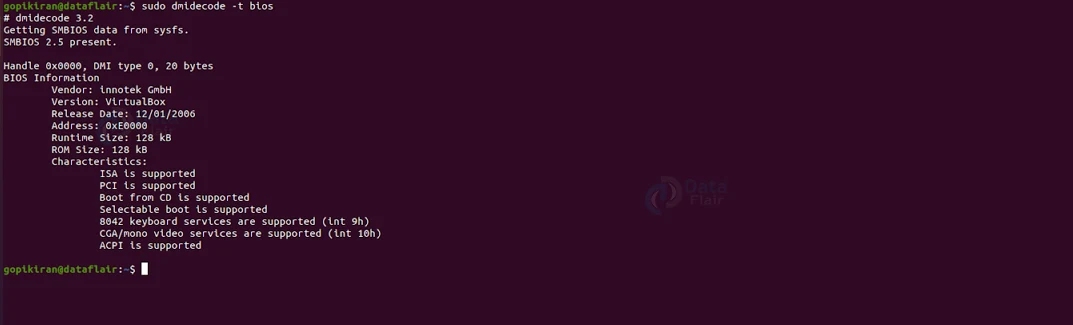
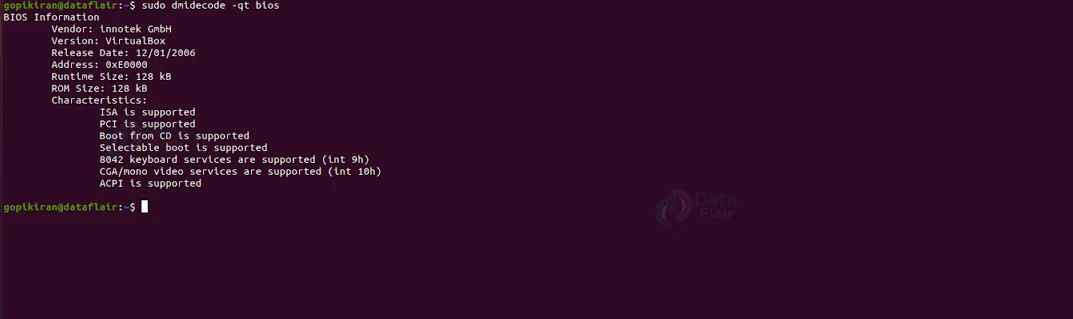
Displaying the information about BIOS
If you want information about the BIOS of your system, run the dmidecode command by combining it with the option “–type” followed by the word “BIOS” as shown in the syntax below:
sudo dmidecode --type bios
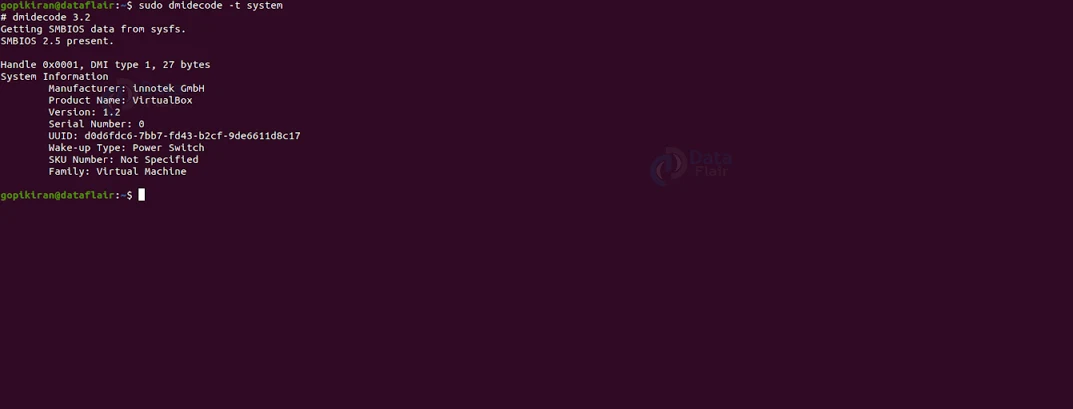
Printing system information
If you want information about your system, run the dmidecode command by combining it with the option “–type” followed by the word “system” as shown in the syntax below:
sudo dmidecode --type system
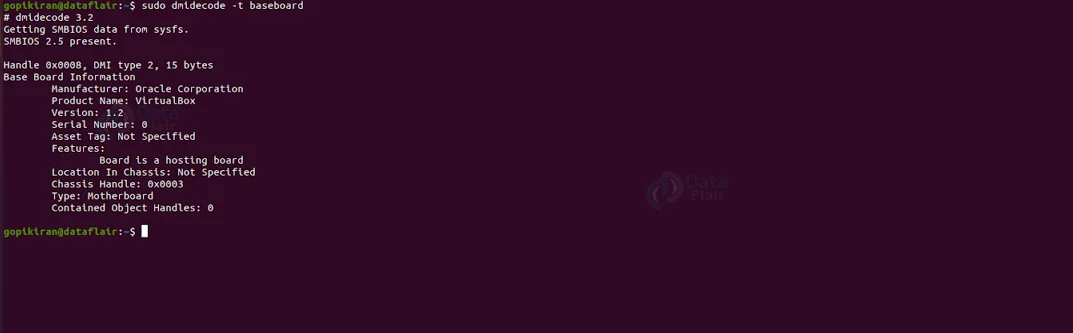
Printing baseboard information
If you want information about your baseboard, run the dmidecode command by combining it with the option “–type” followed by the word “baseboard” as shown in the syntax below:
sudo dmidecode --type system
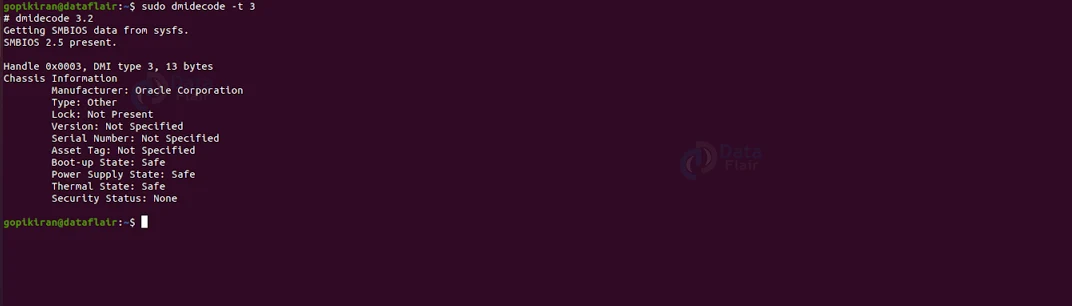
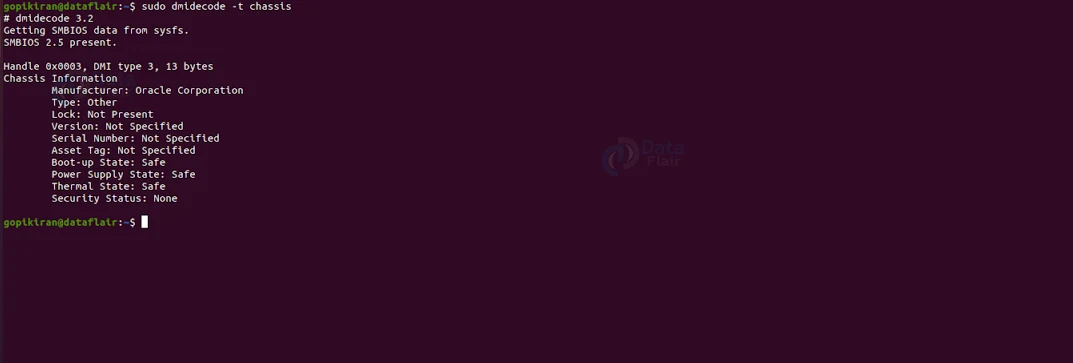
Printing chassis information
If you want information about your chassis, run the dmidecode command by combining it with the option “–type” followed by the word “chassis” as shown in the syntax below:
sudo dmidecode --type chassis
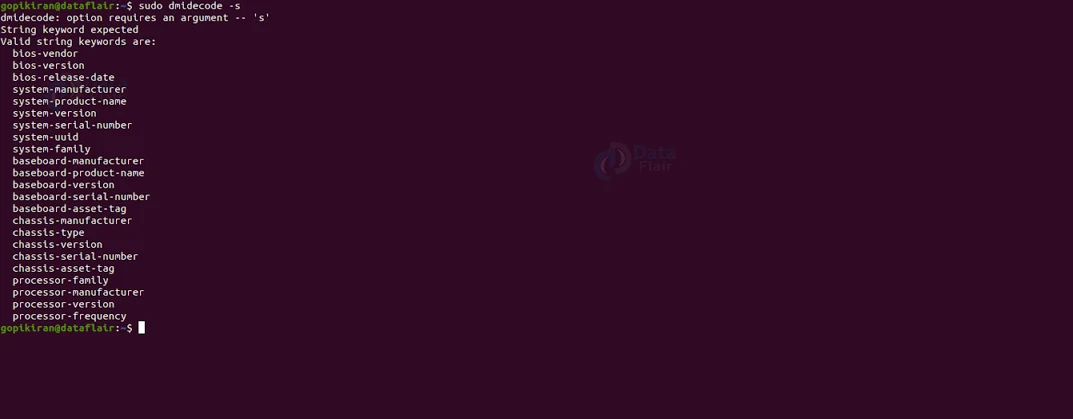
Displaying information using DMI keywords
If you want to print information using DMI string keywords, use the option “-s” followed by the keyword as shown:
sudo dmidecode -s <KEYWORD>

However, if you don’t specify any DMI string keyword, the command simply prints the list of valid keywords and exits with an error message.
Getting the BIOS version
To get the version of the BIOS in your system, use following command
dmidecode --string bios-version

Getting the BIOS release date
If you want to get the release date of the BIOS in your system, use the following command:
dmidecode --string bios-release-date

Getting system product name of the Linux hardware
To get the product name on which the Linux server is installed, use the following command:
dmidecode --string system-product-name

Getting the serial number of the Linux hardware
To get the serial number of the hardware on which the Linux server is installed, use the following command:
dmidecode --string system-serial-number

Getting the process information of the Linux hardware
If you want to get the details of the processor available on your Linux server use the following command:
dmidecode --string processor-version
Getting the process frequency of the Linux hardware
If you want to get the processor frequency of the processor used in your Linux server use the following command:
dmidecode --string processor-frequency
Hiding information in the output
Yup! We can even hide some information in the output of the dmidecode by enabling quiet mode. To enable it, all we have to do is run the dmidecode command along with the option “-q”.
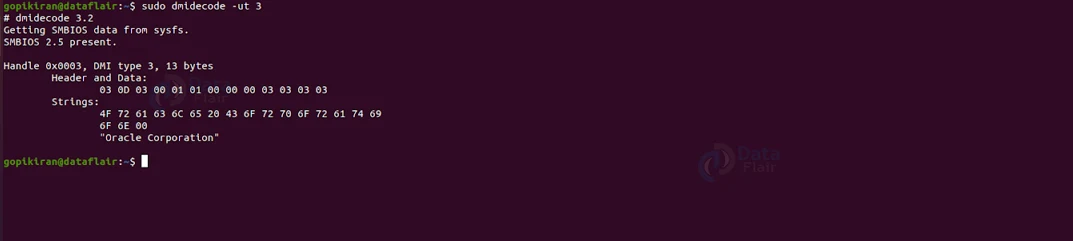
Dumping information as hexadecimal
If display the string values in both hexadecimal and ASCII, execute the dmidecode command along with the option “-u”
Dumping the DMI data to a file
To dump DMI data into a file in a binary form, use the following command:
sudo dmidecode --dump-bin <filename>
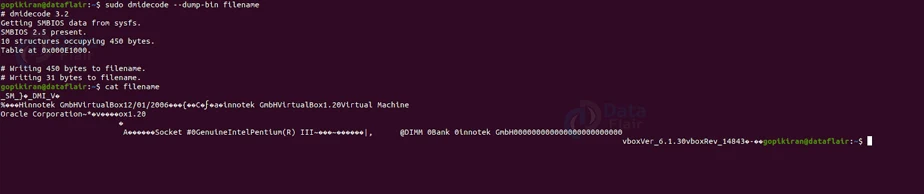
Reading data from a binary file
To read data from a binary file previously generated with the option “–dump-bin”, use the following command:
sudo dmidecode --from-dump <filename>
#image#
Summary
As you have seen, the dmidecode command is a slightly intimidating yet simple tool that gives you complete information of your system’s hardware. You have now understood what the dmidecode command is, why it is used, the syntax of the demidecode command, and the various options used with it including many practical examples.
Did you like our efforts? If Yes, please give DataFlair 5 Stars on Google


