DMESG Command in Linux
Interactive Online Courses: Elevate Skills & Succeed Enroll Now!
In this article, you will learn about the dmesg tool. We will go through what dmesg is, why it is used, the different options used with dmesg, and also look at some practical examples using the Linux dmesg command.
What is dmesg?
Dmesg is the acronym for diagnostic message. Dmesg is a command-line-based utility in Linux that displays kernel-related messages retrieved from the kernel ring buffer.
During the booting process of a system, a number of messages are displayed on the screen where we can see hardware devices detected by a kernel. These messages are very important for diagnosing purposes in case of a device failure
When we connect or disconnect hardware devices on the system, and using dmesg we can detect or disconnect information on the fly. In fact, when we execute the dmesg command in the terminal, all the messages received from the kernel ring buffer are displayed on the screen.
Dmesg prints the message buffer of the kernel. This output message is produced by the device drivers. It is used to control the kernel ring buffer.
The diagnostic process for a failed device mostly begins by inspecting the dmesg output from the kernel identification message to the point where the boot process concludes.
How does the kernel ring buffer work?
Before we begin, let us set aside a very common question: are bootup and startup the same? NOPE! They are 2 very distinct phases of the sequence of events that take place when a computer is powered on. Let us look into each process a little deeper.
1. Bootup
The bootup process takes the initialization of the system to the point where the kernel gets loaded into the memory and connects to the initial ram
2. Startup
The startup process picks up where the boot-up finishes. It completes the process of initialization of the operating system. The initial steps include logging into daemons, such as syslogd. To avoid losing error messages from this phase of initialization the kernel contains a ring buffer that it uses a message store.
The ring buffer is a space in the device’s memory reserved for messages. It is mostly of fixed size and simple in design.
Dmesg while booting
When booting, a computer loads its kernel into memory. During this process, the device drivers present in the kernel are set up to drive the hardware connected.
These drivers along with other elements within the kernel may produce messages reporting both the presence of modules and the values of any parameters adopted. The dmesg command allows the review of such messages in a controlled manner.
Dmesg after booting
Even after full boot-up of the system, the kernel may sometimes produce further diagnostic messages, for example when the input/output devices encounter errors or the USB devices are hot-plugged. Dmesg helps us to review these messages at a later time
Syntax of Linux dmesg command
Before we look into the option or practical examples of dmesg, let us look into the syntax, the dmesg command is used.
The basic dmesg command syntax is:
dmesg <option>
Options used with Linux dmesg command
The syntax consists of a field where we can enter various options to get desired outputs. Let us take a look at the option used with dmesg.
1. -C
This option clears the ring buffer. We write it as “–clear”
2. -c
This option prints the ring buffer contents and then clears the ring buffer
3. -f
This option restricts the output to the specified command separated facility
4. -H
This option enables human-readable output in a neat format.
5. -L
This option adds color to the output
6. -l
This command restricts the output to the specified comma-separated list level.
7. –noescape
This option disables the feature of automatically escaping unprintable and potentially unsafe characters
8. -S
This option instructs dmesg to use the Syslog kernel interface to read kernel messages.
9. -s <size>
This option uses the specified buffer size to query the kernel ring buffer. If no buffer size is specified, it takes the default value, which is 16392.
10. -T
This option prints human-readable timestamps.
11. -t
This option instructs dmesg not to print kernel timestamps
12. –time-format <format>
This option prints the timestamps using the format you specified. The formats this option accepts are ctime, reltime, delta, and iso.
13. -w
This option keeps dmesg running and waiting for new messages.
14. -x
This option decodes the facility and level numbers to human-readable prefixes.
15. -h
This option displays the help file with all the available options
If you get stuck anytime anywhere using the dmesg command, you can always time “dmesg -h” or “dmesg –help” or even ask for the manual by typing “man dmesg” in the terminal
Now that you know the syntax of dmesg and the options used along with the syntax, let us see some practical examples of the dmesg tool.
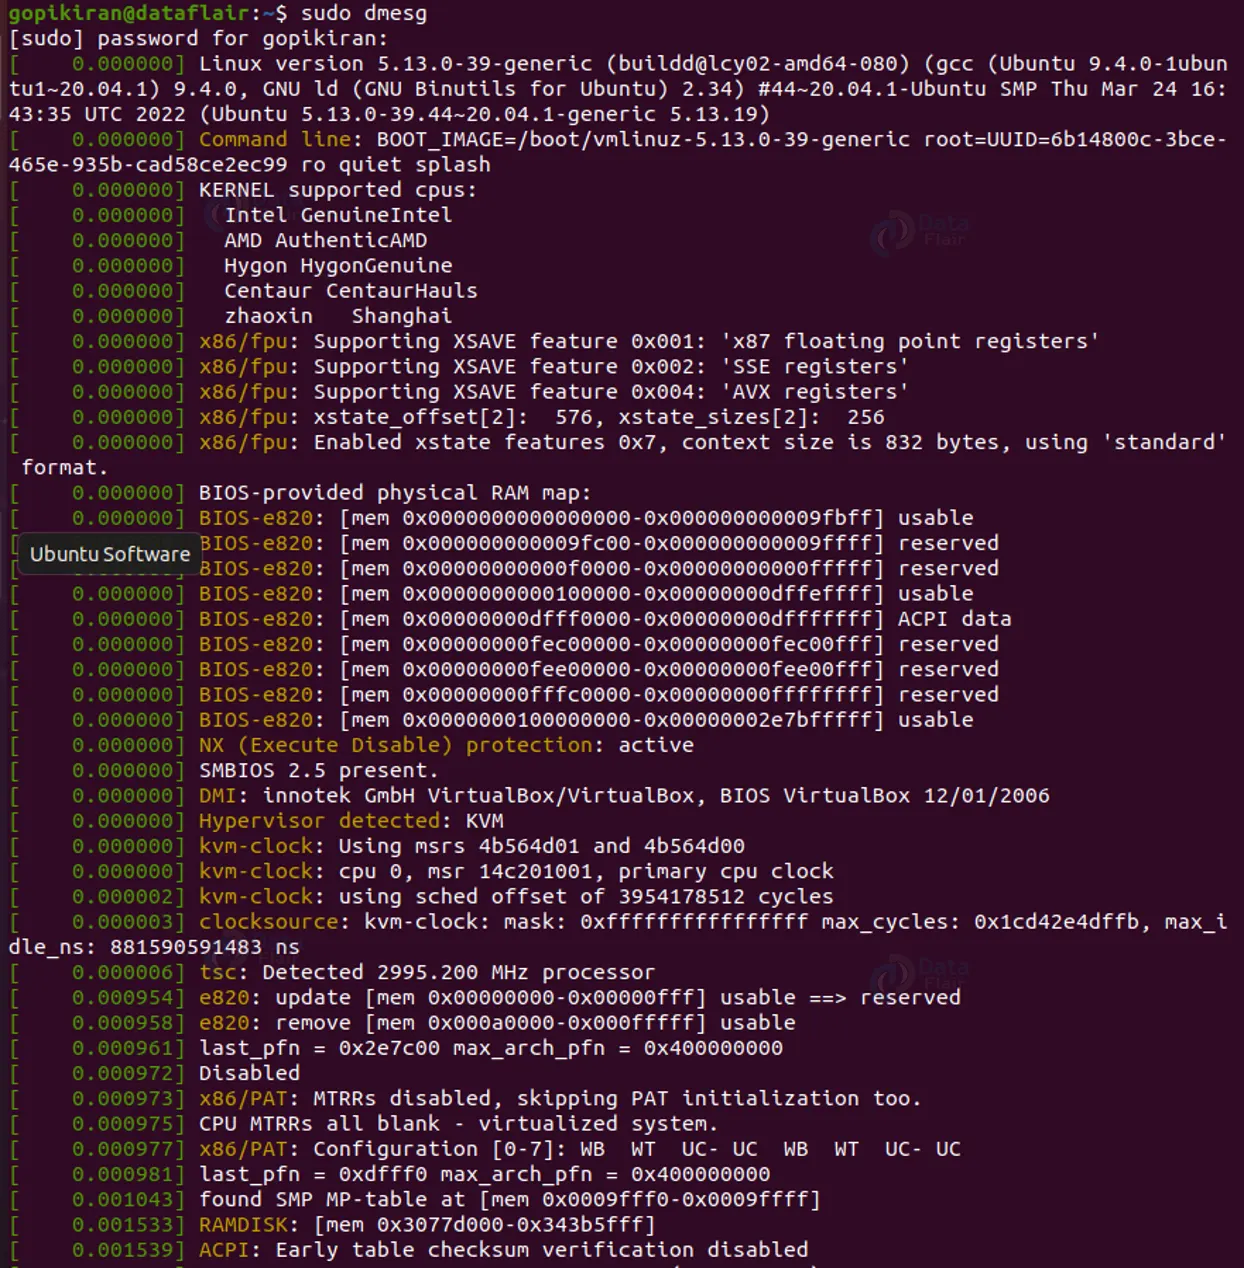
Displaying all messages from the ring buffer
To display all the messages from the kernel ring buffer, simply run a standard dmesg command with no options at all
Displaying fewer messages from the ring buffer
The regular dmesg output screen is very very long. For easier navigation and better readability, you can use “| less” like this:
sudo dmesg | less
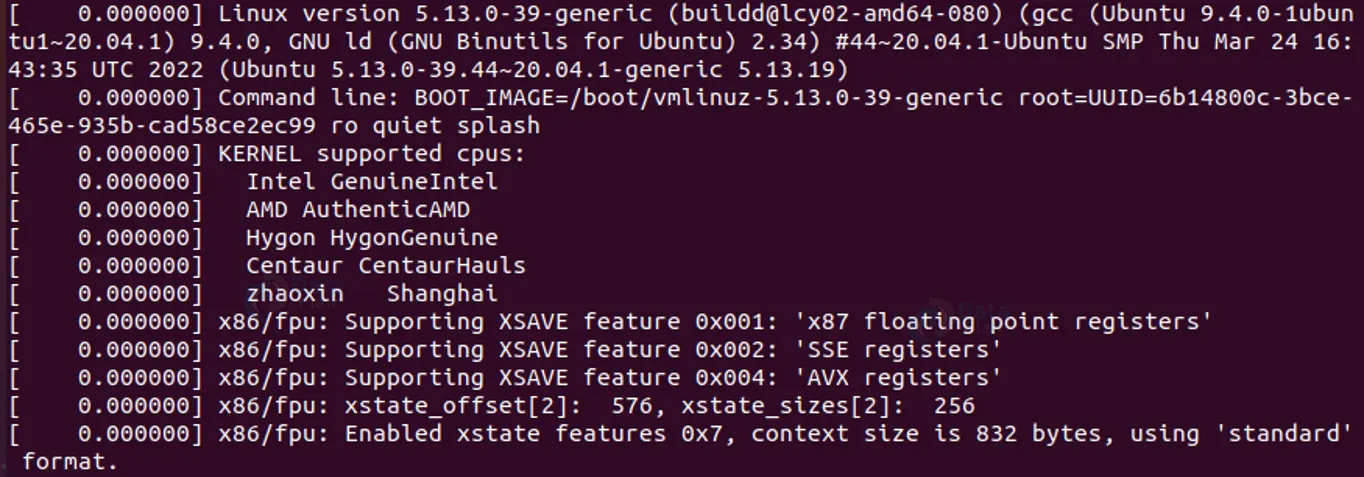
It is not noticeable in the picture, try it out for yourself to understand how long the screen is.
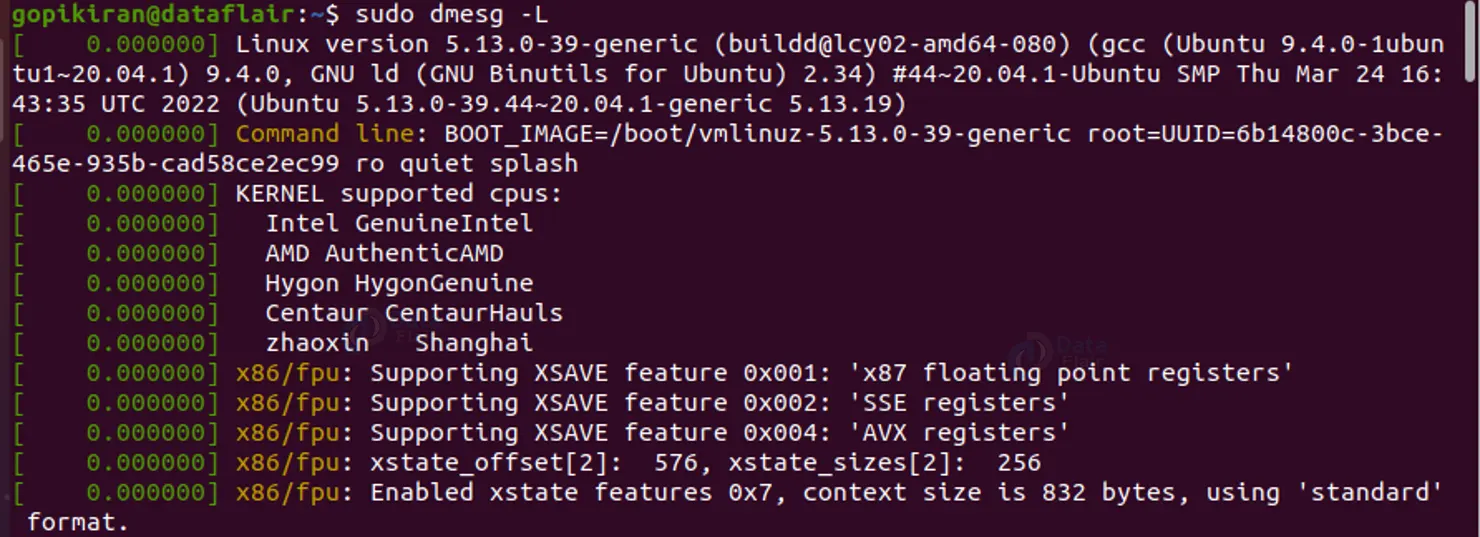
Displaying colored messages
By default the output when you run the simple “sudo dmesg” command is already colored, if at all it is not colored, you can use the command
“sudo dmesg”
You can turn the color off by using the option –color = never, as this will print everything in white.
Displaying messages as they arrive
To get real-time information from the kernel ring buffer use the option
“– follow”. This option instructs the command to wait for new messages related to the hardware after system startup
The new messages from the kernel will show up at the bottom of the screen (at the end and not the top). If you want to exit from the process, press “ctrl” + “c”
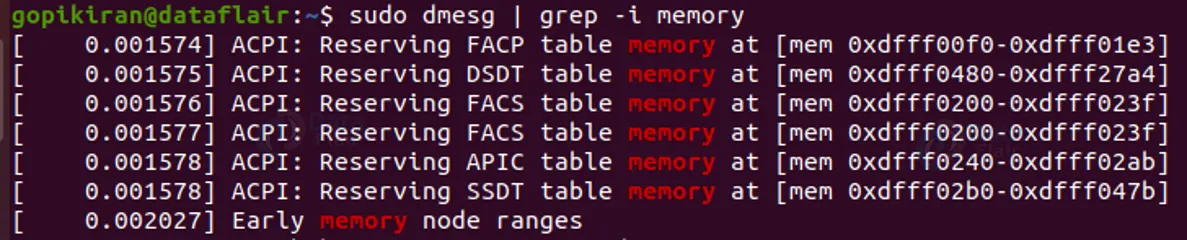
Searching for a specific term in the messages
As we saw, the output of the dmesg is very long. If you want to search for a specific term, you can use the help of the grep command, you can put both commands using a pipe symbol like this: sudo dmesg | grep -i <word>
The pipe symbol takes the output of the dmesg command and sends it as the input to the grep command. We used the option ”-i” to make the grep command case insensitive.

Enabling timestamps in dmesg logs
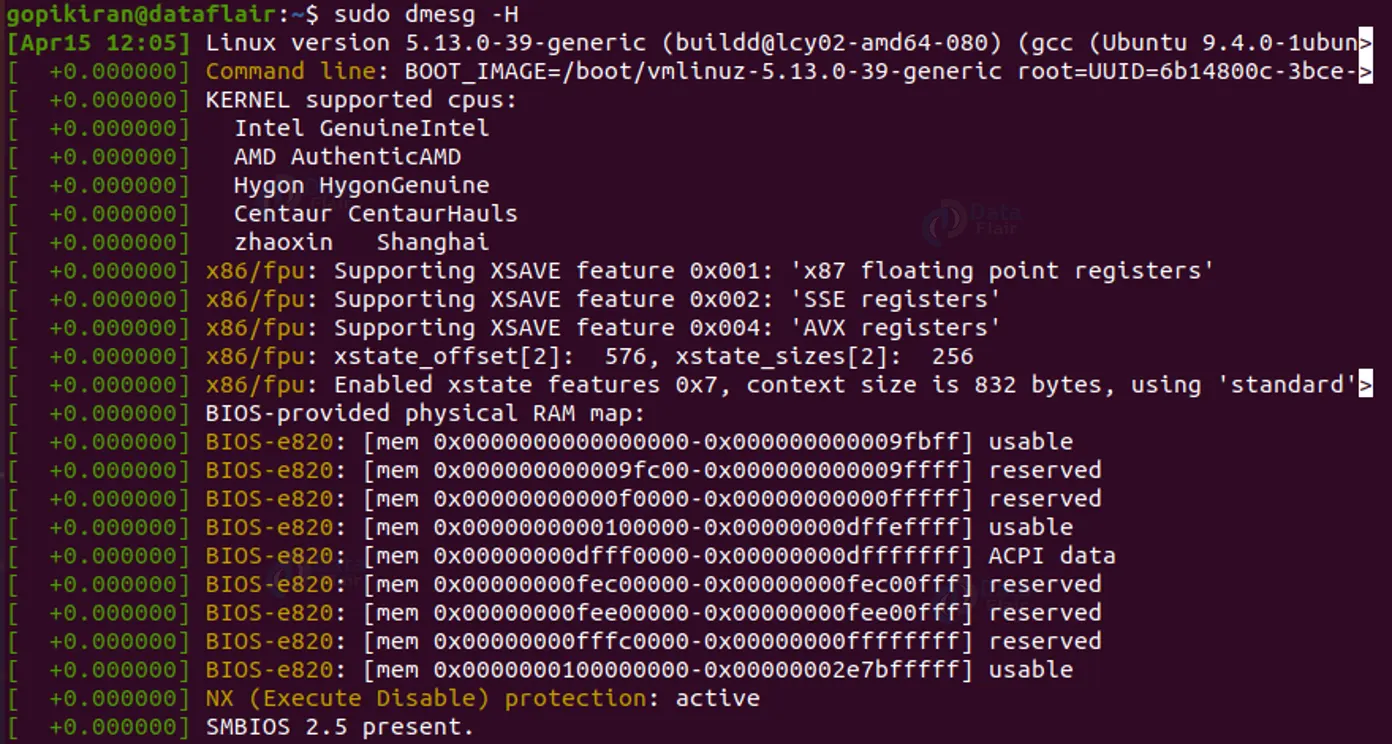
You can enable timestamps in the dmesg output by adding the option “-H”. This option produces human-readable output.
Enabling Human readable timestamps
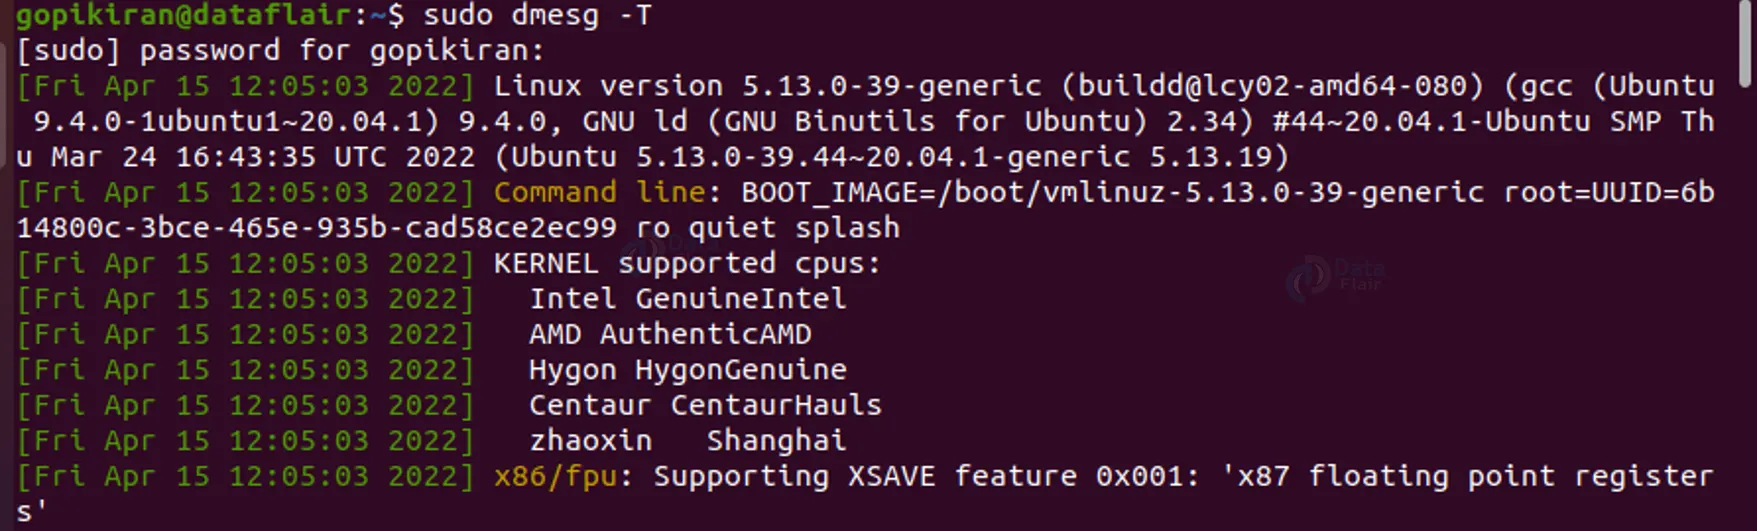
To enable human-readable timestamps use the option “-T”, if you look at the timestamps in the above picture, they make absolutely no sense. The timestamps in the above picture show the difference in time from when the boot-up happened
To get precise, yet understandable timestamps in the format of the day, month, date time, and year, we use the option “-P” instead of “-H”
Choosing timestamp format
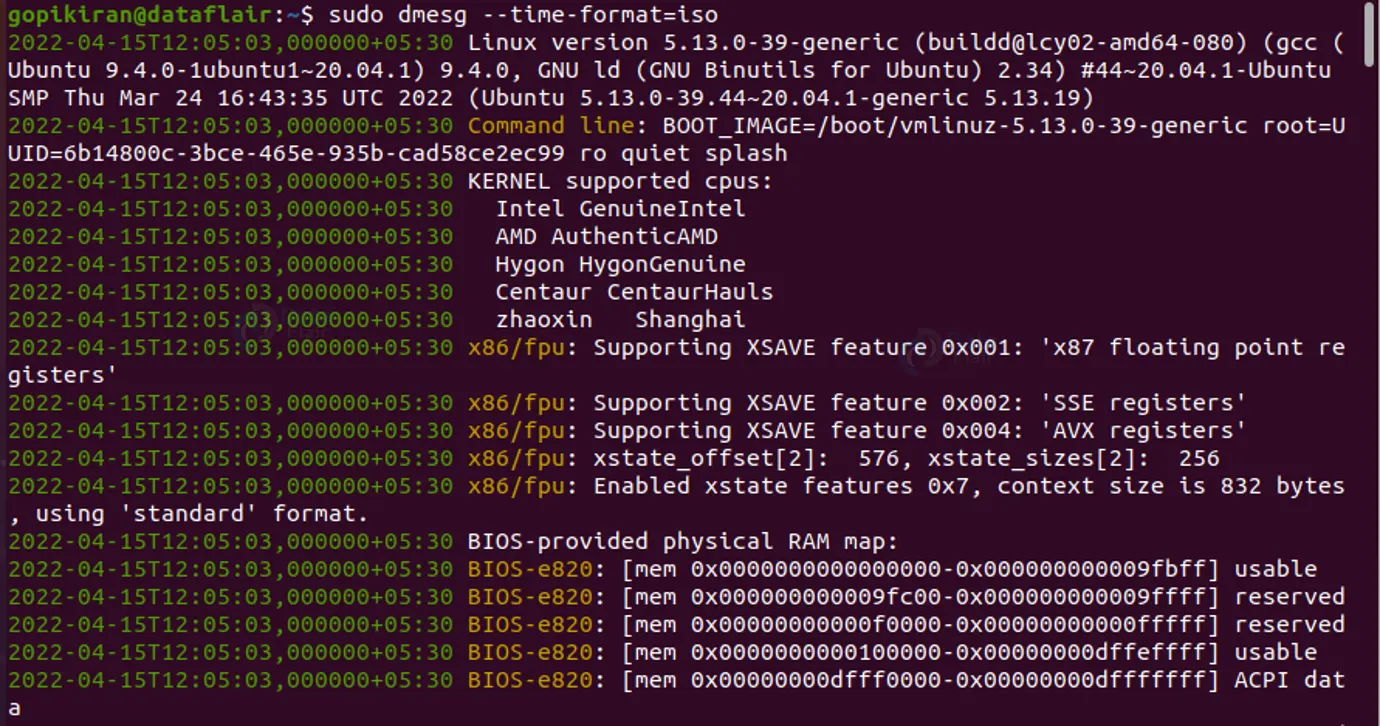
You can also set the time in a specific format using the option “–time-format=<format>” The formats this option accepts are ctime, reltime, delta, and iso.
For example, if I write the command “sudo dmesg –time-format=iso”
The timestamp is now in the format:
YYYY-MM-DD<T>HH:MM:SS<microsecond><timezone offset from UTC>
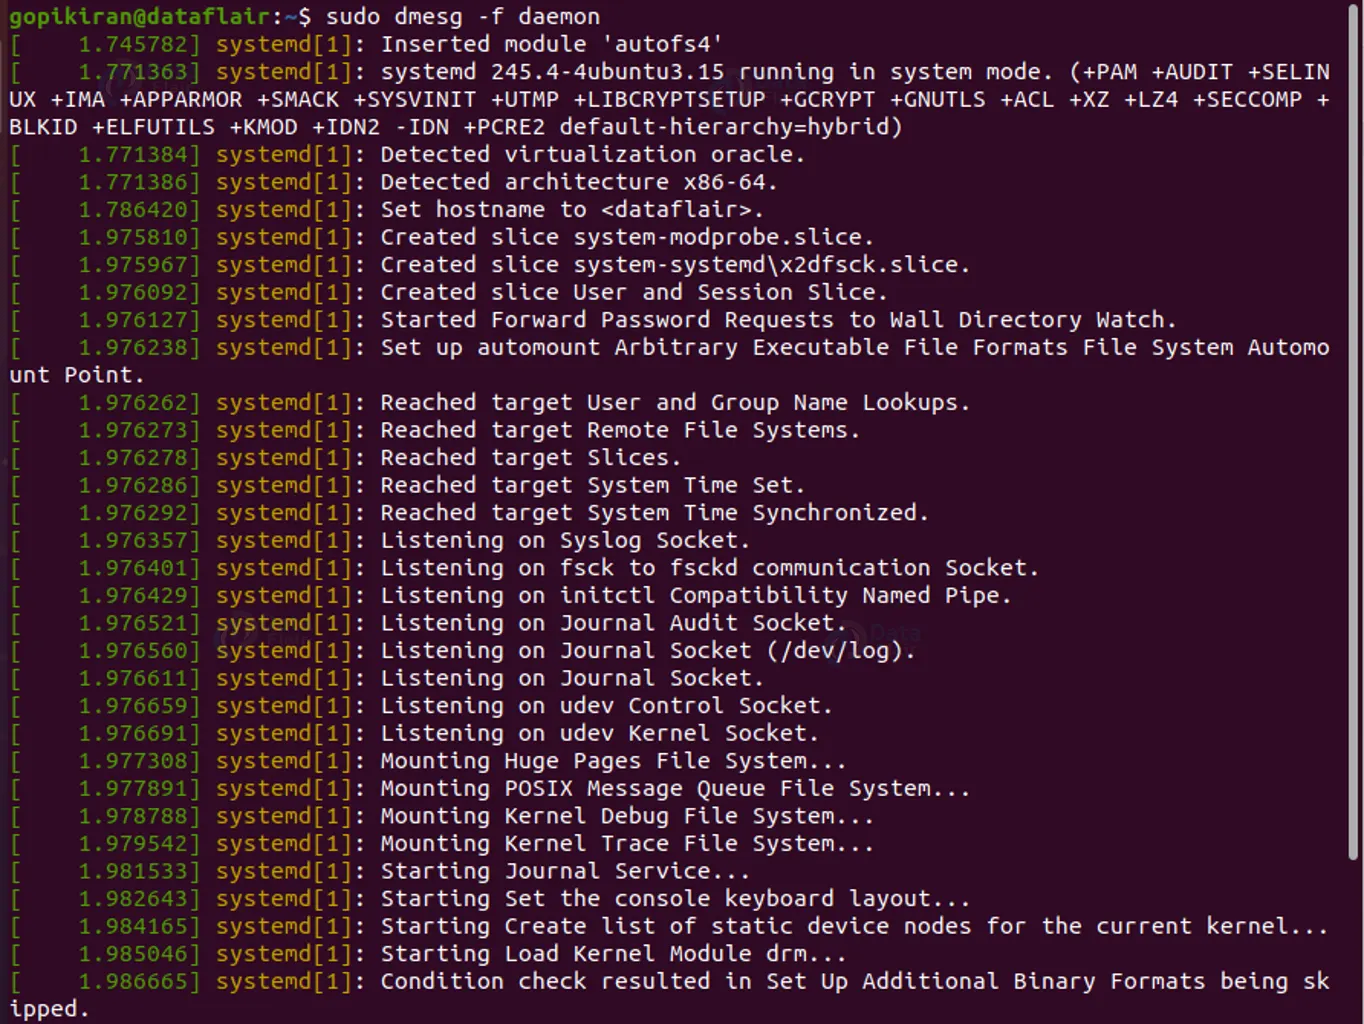
Filtering dmesg log by a specific facility
You can filter the dmesg output to a specific category using the -f option. The system groups messages in the kernel ring buffer into the following facilities (categories):
- Kern – Kernel messages.
- User – User-level messages.
- Mail – Mail system messages.
- Daemon – Messages about system daemons.
- Auth – Authorization messages.
- Syslog – Internal Syslog messages.
- Lpr – Line printer subsystem messages.
- News – Network news subsystem messages.

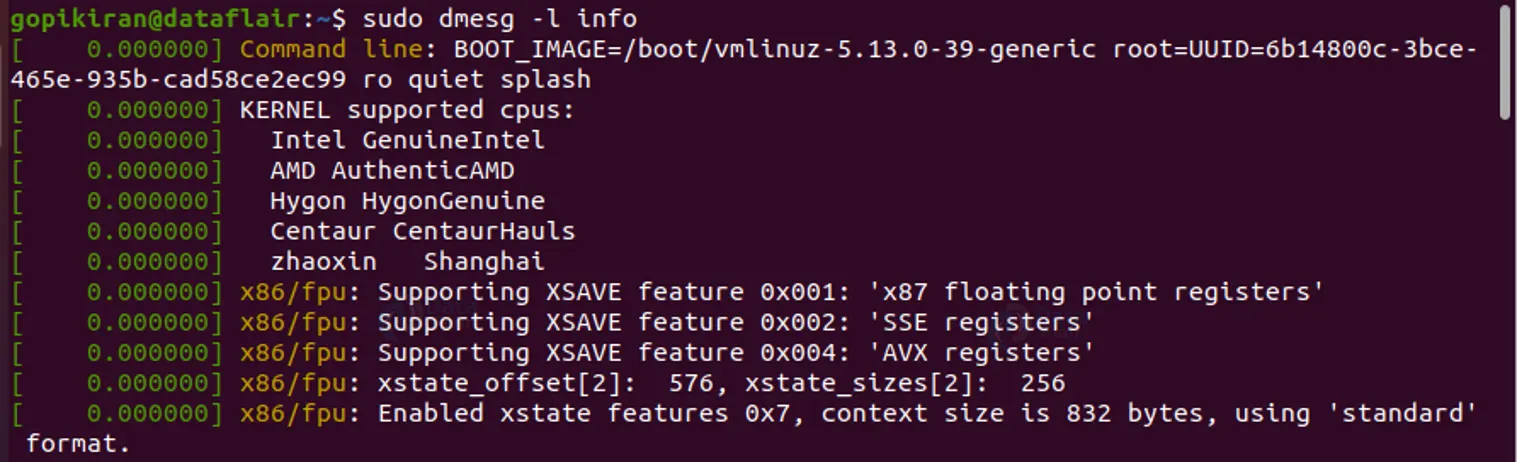
Filtering log levels
You can filter the dmesg log to display only the messages that match a certain level using the “-l” option, followed by the level name. The available levels are:
- Emerg – Emergency messages.
- Alert – Alerts requiring immediate action.
- Crit – Critical conditions.
- Err – Error messages.
- Warn – Warning messages.
- Notice – Normal but significant conditions.
- Info – Informational messages.
- Debug – Debugging-level messages.
You can also Combine multiple levels in a comma-separated list.
Checking for a CD drive
To check if the remote machine is equipped with a CD drive, you inspect the buffer message log. You can do the same by typing the command:
“ sudo dmesg | grep -iE ‘cdrom|dvd|cd/rw|cd-rom’ ”
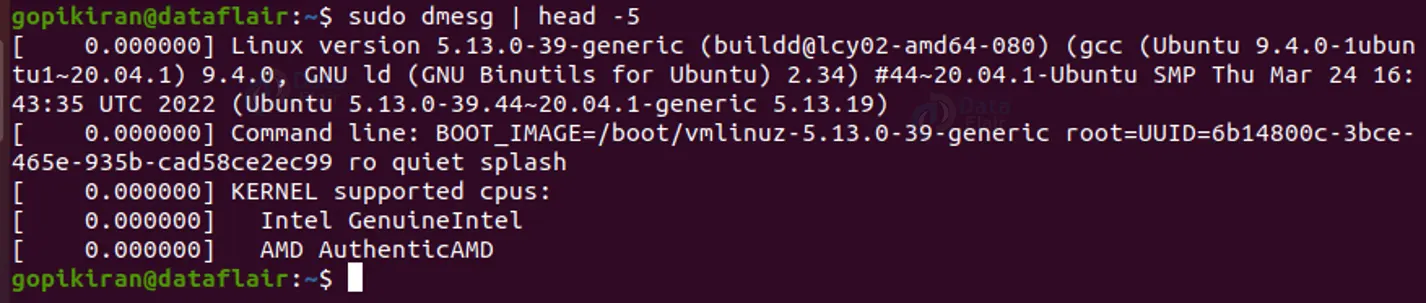
Displaying the first “n” messages
We have already seen that the message log is very very long. To get only the first n number of messages from the dmesg log we use “head”. For exmple the command “sudo dmesg | head -5” will give the first 5 messages.
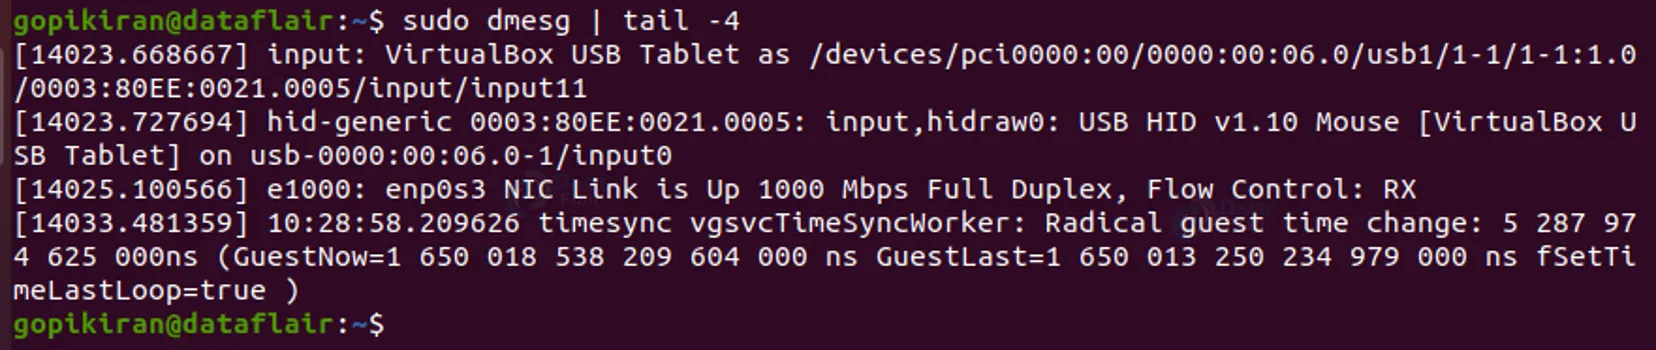
Displaying the last “n” messages
Similarly, we can use “tail” to retrieve the last “n” messages
Combining facility and level
The “-x” option shows the facility and level as human-readable prefixes to each line.

Monitoring dmesg in real time
This feature is only available in some distros of Linux. To monitor the messages in the kernel in real time, we can use the watch command as follows: watch “dmesg”
You can also pipe this command with many other commands like grep, head, tail or sort. Here is an example:
watch “dmesg | tail -10”
The above command will print the last 10 messages in real-time.
Read and clear messages
To read and clear messages in the dmesg log use the option “-c”. This option lets you clear the dmesg log after printing it.

The first time you run the command “sudo dmesg -c”, the entire message log will be printed on the screen and also deleted simultaneously. You can the sam by running a dmesg command and it will just be a blank screen as every message has been deleted.
Summary
As you have seen, the dmesg is a really simple yet powerful command in Linux that lets you check the messages which the kernel sends to the ring buffer about the problems when the input/output devices encounter errors or the USB devices are hot-plugged
Your opinion matters
Please write your valuable feedback about DataFlair on Google


