Manage Ambari Groups and Users – Step-by-Step Guide
Job-ready Online Courses: Click for Success - Start Now!
Today, in this Ambari Tutorial, we will see managing Ambari Groups and Users. Moreover, we will discuss local and LDAP users and groups.
It is possible to create and manage users and groups available to Ambari, as an Ambari administrator. Also, possible to import user as well as group information into Ambari from external LDAP systems.
So, in this article, we will learn about the specific tasks we need to perform while managing Ambari Groups and Users.
So, let’s start Ambari Groups and Users Tutorial.
Managing Ambari Groups and Users
Here is the list of tasks we perform while managing Ambari Groups as well as Users:
- Local and LDAP User and Group Types
- Ambari Administrator Privileges
- Create a Local User
- Set User Status
- Set the Ambari Admin Flag
- Change the Password for a Local User
- Delete a Local User
- Create a Local Group
- Managing Group Membership
- Delete a Local Group
- Enable User Home Directory Creation
Local and LDAP User and Group Types
There are two types of users and groups supported by Ambari. They are local and LDAP. On defining both:
a. Local users
Local users observe their basic account information stored in the Ambari database and also authenticate against it.
b. LDAP users
Whereas, LDAP users have basic account information which is stored in the Ambari database. Also, it attains basic information which is stored in the Ambari database that also contains group membership information.
Further, these Ambari Groups are imported as well as synchronized from an external LDAP system. We must configure Ambari to authenticate against an external LDAP system before we can use LDAP users and groups with Ambari.
However, a new Ambari user or group is granted no privileges if it is created locally or by synchronizing against LDAP.
Ambari Administrator Privileges
It is possible to create new users, delete users, change user passwords, and also to edit user settings. Moreover, for local and LDAP users, we can control certain privileges.
Here is the list of the privileges which are available or not available to the Ambari administrator for local as well as LDAP Ambari users.
Administrator Privileges:
1. Ambari Administrator Privilege: Change password
- Local User: Available
- LDAP User: Not Available
2. Ambari Administrator Privilege: Set Ambari Admin flag
- Local User: Available
- LDAP User: Available
3. Ambari Administrator Privilege: Change group membership
- Local User: Available
- LDAP User: Not Available
4. Ambari Administrator Privilege: Delete user
- Local User: Available
- LDAP User: Not Available
5. Ambari Administrator Privilege: Set active or inactive status
- Local User: Available
- LDAP User: Available
Create a Local User
In order to create a local user, there are following steps:
- At first browse to Users.
- Then click on Create Local User.
- Further, enter a unique username.
Make sure all usernames are converted to lowercase.
- Now, enter a password, and also confirm it.
- Then click Save.
Set User Status
As par its name it indicates user status. That means it shows whether the user is active or inactive. Active says allowed to log in or Inactive says denied the ability to log in.
While preserving the user account information related to permissions, we can effectively disable user account access to Ambari just by setting the status flag as active or inactive.
Steps to Set User Status are:
- First, browse to Users.
- Then, to modify, click the name of the user.
- Further, Click the Status control in order to toggle between Active or Inactive.
- Finally, choose OK.
In this way, the change is saved immediately.
Set the Ambari Admin Flag
By setting the Ambari Admin flag, we can grant one or more users Ambari administrator privileges. Make sure only an Ambari administrator can set or remove the Ambari Admin flag.
From our own account, we can prevent ourselves from accidentally removing the flag with the help of Ambari.
Steps to the Ambari Admin Flag:
- First, browse to Users.
- Then, to modify, click the name of the user.
- Further, click the Ambari Admin control.
- Ultimately, to remove the Ambari Admin flag, click Yes to set or No.
Change the Password for a Local User
We can only change local user passwords, not LDAP user passwords. So, the steps are:
- First, browse to Users.
- Then click Change password.
- Further, to confirm that we have required privileges, enter the administrator password.
- Then confirm that password after entering a password.
- Further click Save.
Delete a Local User
At the time we delete a local user it removes the user account from the system along with the privileges. Also, set the user status to Inactive, to disable user login.
Basically, to delete a Local User, steps are:
- First, browse to Users.
- Then, click Delete User.
- Further, do Confirm.
Although, make sure we can reuse the name of a local user which has been deleted.
Create a Local Group
To create a Local Group, steps are:
- First, Browse to Groups.
- Then just click Create Local Group.
- Further, enter a unique group name.
- Then click on Save.
Managing Ambari Groups Membership
We can easily manage the membership of local groups in two ways;
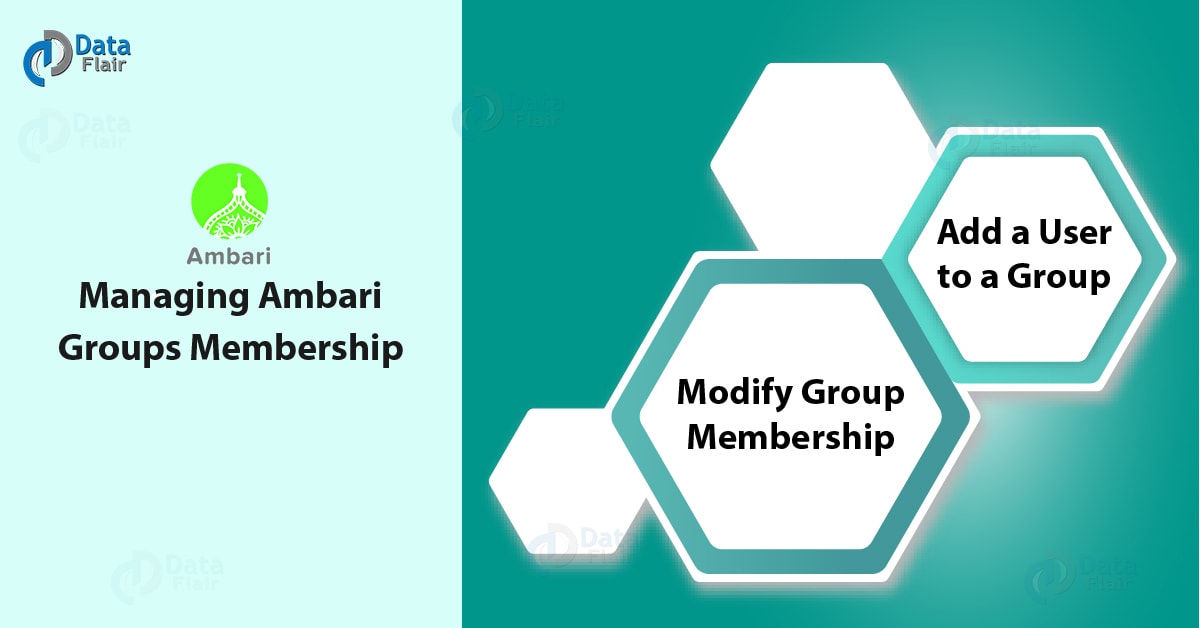
Managing Ambari Groups Membership
- Add a User to a Group
- Modify Group Membership
a. Add a User to a Group
In order to add the user to a Group:
- At first, browse to Groups.
- Then click a name in the Group Name list.
- Further, click on the Local Members control to edit the member list.
- Type the first character in an existing username, in the empty space.
- Click one, from the list of available usernames.
- And, to save the displayed member, click the check mark.
b. Modify Group Membership
Now, to modify Group Membership:
- First, browse to Groups.
- To modify, click the name of the group.
- Then click on the Local Members control.
- Now, to modify the current membership, click in the Local Members text area.
- Further, to remove that user, click the x next to the name of a user.
- Click the check mark, to save our changes.
Else, click x, to discard our changes.
Delete a Local Group
Make sure, while we delete a local group, it also removes associated group membership information along with the privileges.
Now, steps to delete a Local Group are:
- First, browse to the group.
- Then, click Delete Group.
- Also, Confirm.
Enable User Home Directory Creation
To initialize user accounts, a common requirement is to run Hadoop components is the existence of a unique, /user/<username> HDFS home directory. For each user we create, we can enable automated creation of a /user/<username> HDFS home directory.
Follow further steps on Ambari Server host, to enable automated user home directory creation:
- By using a command line editor (vi, in this example), edit the ambari-properties file.
vi /etc/ambari-server/conf/ambari.properties
- Further, add the following property:
ambari.post.user.creation.hook.enabled=true.
- Then add the script path to the ambari properties file:
ambari.post.user.creation.hook=/var/lib/ambari-server/resources/scripts/post-user-creation-hook.sh
- Further, restart the Ambari server.
ambari-server restart
Although, Ambari executes the script whenever a user is created and also it logs a message each time the script is invoked, after enabling of the post-user creation script is done.
Moreover, an ERROR is logged, if the script has a non-zero exit code, Else an INFO-level message which includes the script path and parameters is logged.
So, this was all in Ambari Groups and Users. Hope you like our explanation.
Conclusion: Ambari Groups
Hence, we have seen the complete step-by-step guide to manage Ambari Groups and Users. Moreover, in this, we discussed local and LDAP users. Still,if you have any doubt regarding Ambari Groups and users, ask in the comment tab. Hope it helps!
Your opinion matters
Please write your valuable feedback about DataFlair on Google


