What is Selenium IDE?
Placement-ready Courses: Enroll Now, Thank us Later!
Selenium is an open-source software testing framework used to automate web browsers. Selenium IDE (Integrated Development Environment) is a Firefox browser extension that helps testers record, edit and debug Selenium test cases. It is a great tool for beginners new to Selenium, allowing them to create and execute test cases without any programming knowledge.
In this tutorial, we will walk through the basic features of Selenium IDE and show you how to use it to create and execute test cases.
Selenium IDE Installation
Selenium IDE can be installed as a Firefox add-on. Follow the below steps to install Selenium IDE:
1. Open Firefox browser.
2. Go to https://addons.mozilla.org/en-US/firefox/addon/selenium-ide/
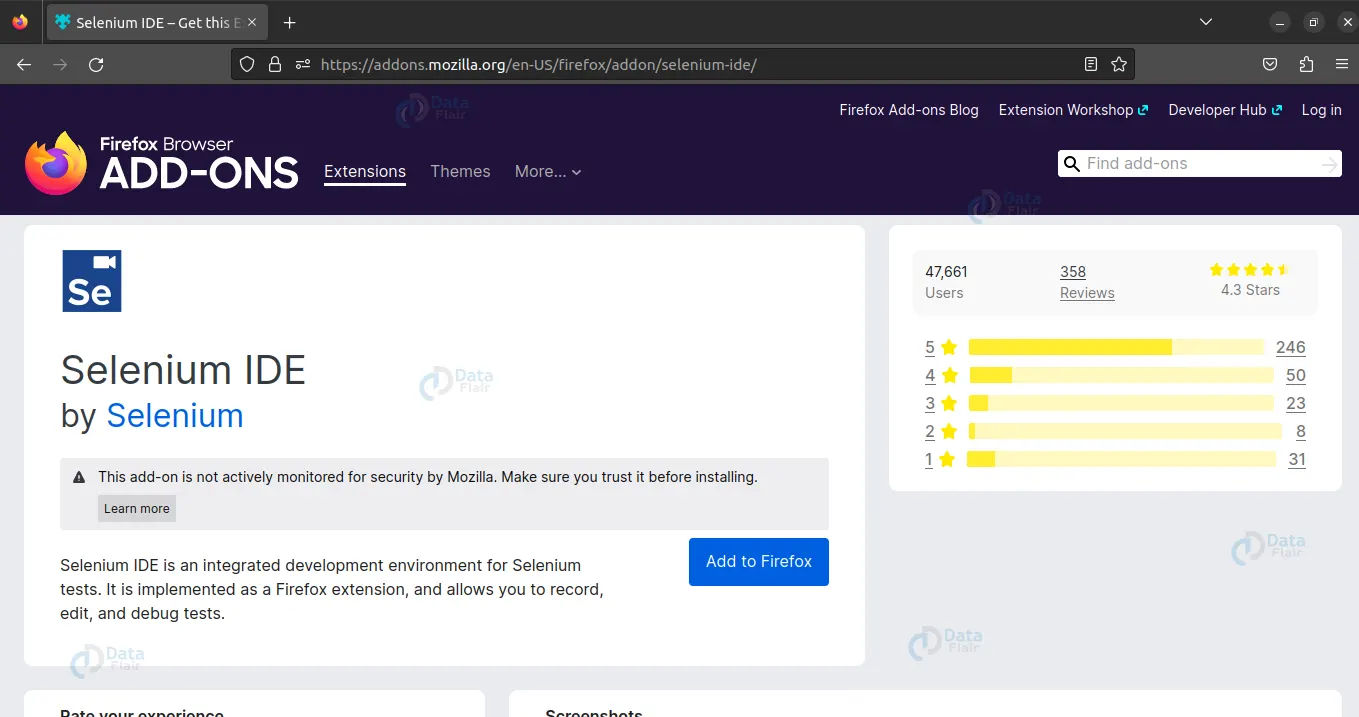
3. Click on the “Add to Firefox” button.
4. A pop-up window will appear. Click on the “Add” button.
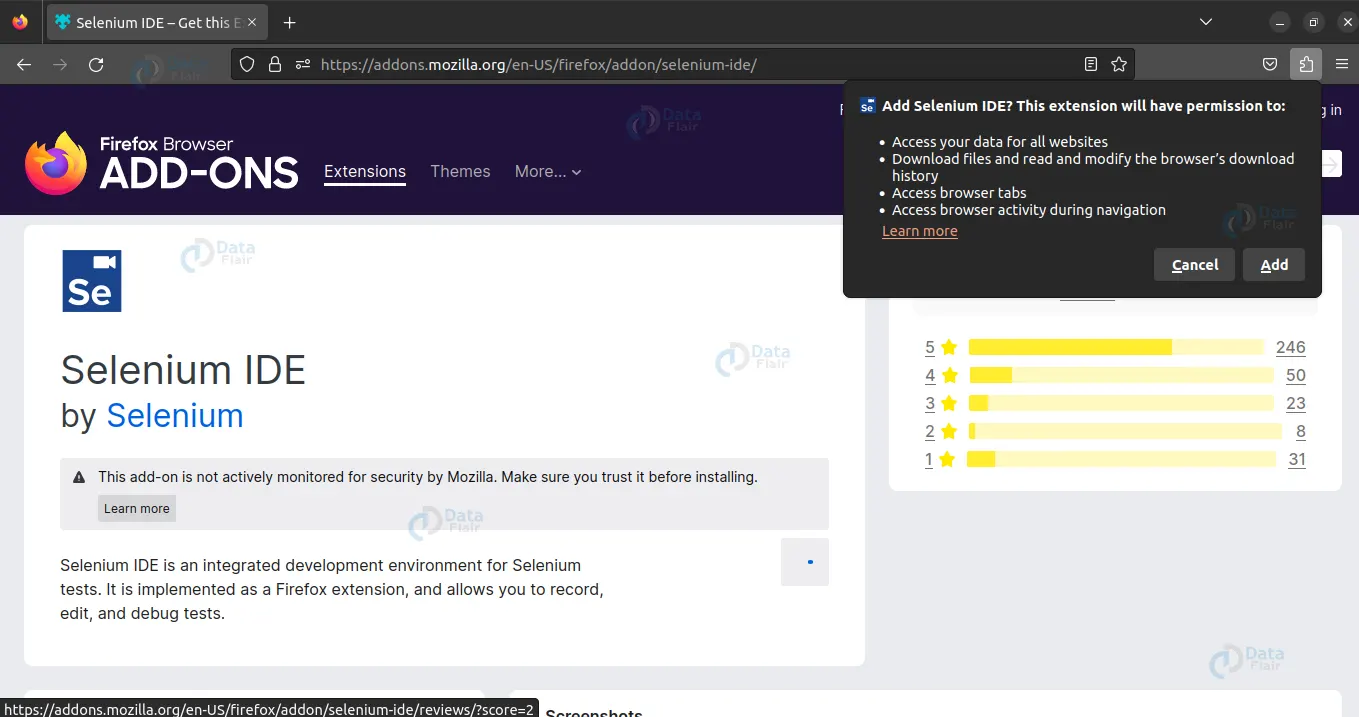
5. After installation, you can find Selenium IDE under the “Tools” menu in Firefox.
Selenium IDE Record and Playback Feature
The most basic feature of Selenium IDE is the record and playback functionality. Selenium IDE records the user’s interactions with a web application and generates test scripts in the form of Selenese commands. These commands can be edited and enhanced with addresses such as conditional statements, loops, and function calls.
To start recording a test case, follow the below steps:
1. Open Selenium IDE by clicking on the “Tools” menu in Firefox.
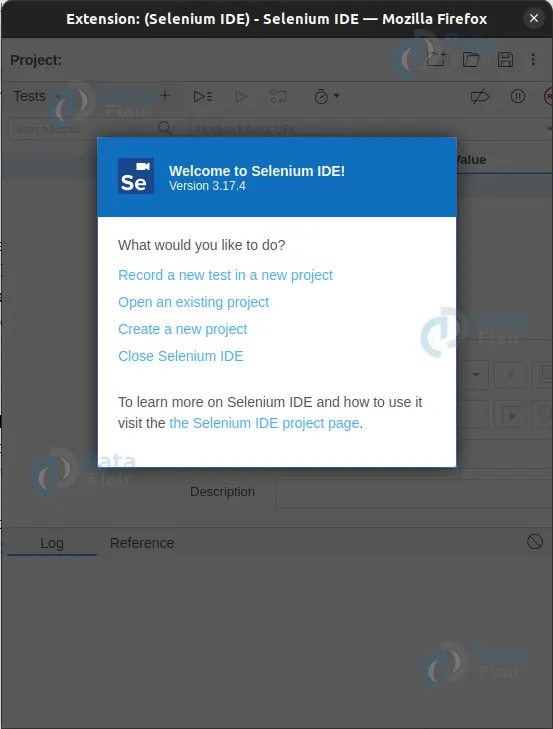
2. Click on the “Record a new test case” button.
3. In the pop-up window, enter the name of the test case and click on the “Start Recording” button.
Once the recording starts, Selenium IDE will record all user interactions with the web application. To stop the recording, click on the “Stop Recording” button in the Selenium IDE toolbar.
Playback is the process of executing the recorded test case. To playback a test case, follow the below steps:
1. Open the test case in Selenium IDE.
2. Click on the “Run current test” button in the Selenium IDE toolbar.

3. Selenium IDE will execute the test case and show the results in the “Log” tab.
Command Types supported by Selenium IDE
Selenium IDE supports a wide range of commands. These can be used to interact with web elements, handle alerts and pop-ups, and perform various other actions. Some of the commonly used Selenese commands are:
1. open – Opens a URL in the browser window.
2. click – Clicks on a web element.
3. type – Types a value into a text field.
4. select – Selects an option from a drop-down list.
5. assert – Verifies that a condition is true.
6. verify – Verifies that a condition is true, but does not stop the test if the condition is false.
These commands can be easily added to a test case by using the Selenium IDE command toolbar.
Selenium IDE Locators
Locators are used to identifying web elements on a web page. Selenium IDE supports many locators, including ID, Name, Class Name, CSS Selector, and XPath.
To add a locator to a command, follow the below steps:
1. Click on the command in the Selenium IDE test case.
2. Click on the “Target” field in the command editor.
3. Select the locator type from the drop-down menu.
4. Enter the value of the locator in the “Value” field.
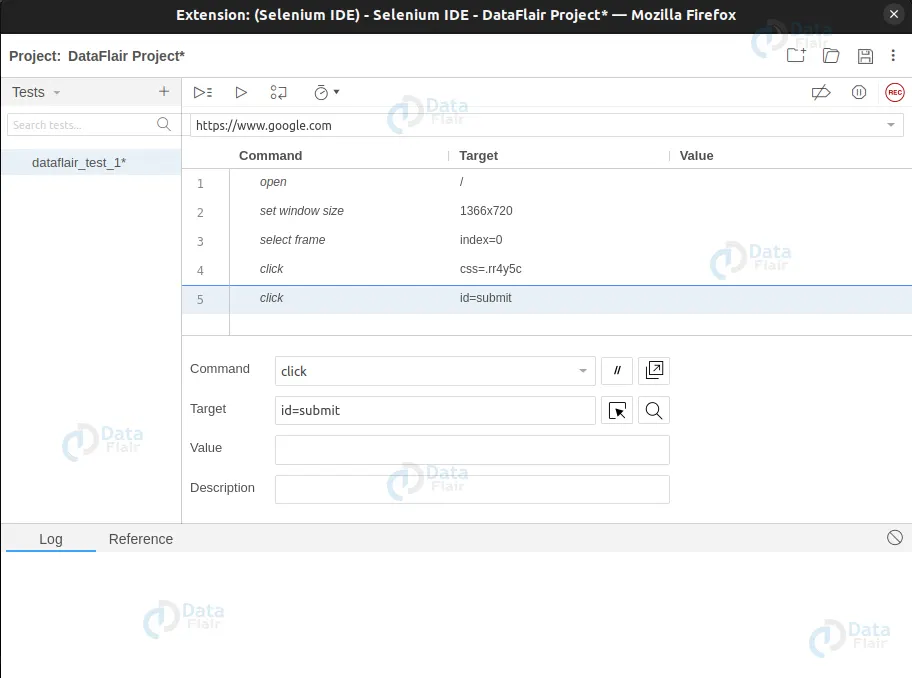
For example, to click on a button with ID “submit”, you can use the following command:
Command: click
Target: id=submit
Assertions using Selenium IDE
Assertions are used to verify that a certain condition is true. Selenium IDE supports a wide range of assertions, including assertTitle, assertText, assertElementPresent, and assertElementNotPresent.
To add an assertion to a test case, follow the below steps:
1. Click on the command in the Selenium IDE test case.
2. Click on the “Command” field in the command editor.
3. Select the assertion type from the drop-down menu.
4. Enter the value of the assertion in the “Target” field.
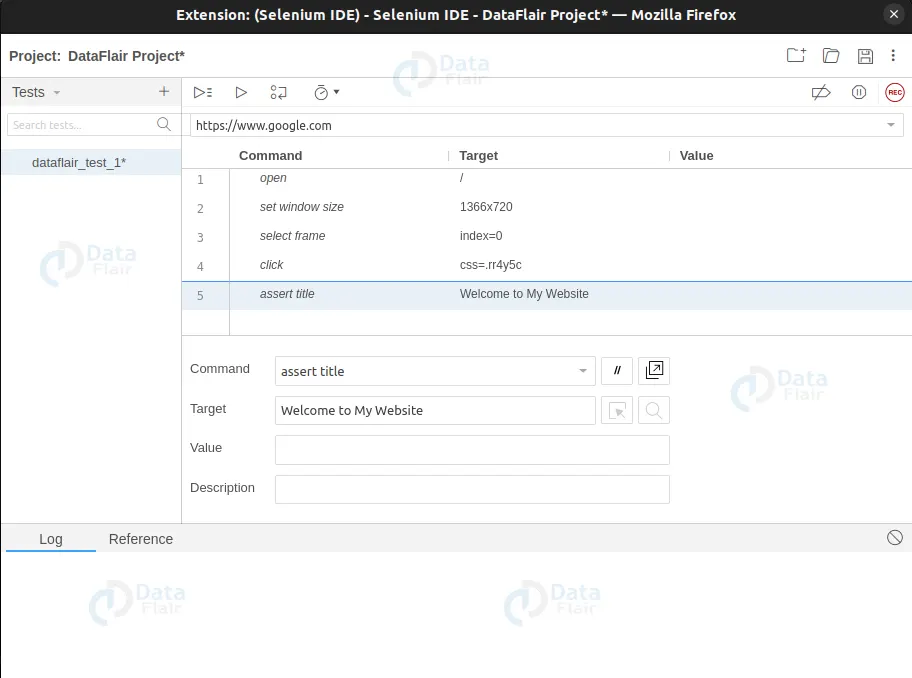
For example, to verify that the title of a web page is “Welcome to My Website”, you can use the following command:
Command: assertTitle
Target: Welcome to My Website\
Variables and Loops
Variables and loops are essential elements of any programming language. Selenium IDE supports using variables and loops in test cases, making it easier to create and maintain complex test cases.
To define a variable in a test case, follow the below steps:
1. Click on the “Store” command in the Selenium IDE toolbar.
2. Enter the name of the variable in the “Target” field.
3. Enter the value of the variable in the “Value” field.
For example, to store the value “John” in a variable called “username”, you can use the following command:
Command: store
Target: John
Value: username
Enclose the variable name in ${} to use a variable in a command.
For example, to type the value of the “username” variable into a text field, you can use the following command:
Command: type
Target: id=username
Value: ${username}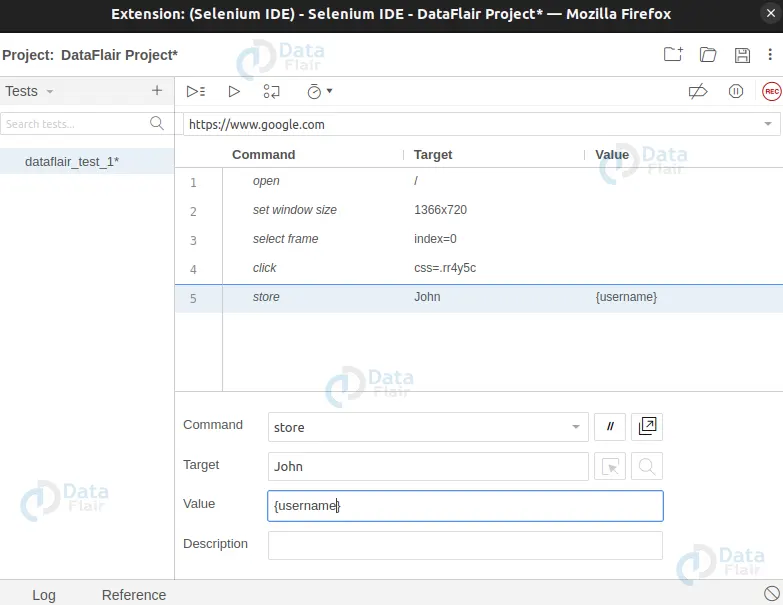
Selenium IDE also supports the use of loops in test cases. The “while” and “for” loops can be used to repeat a set of commands a specific number of times.
For example, to repeat a set of commands 5 times, you can use the following loop:
Command: while
Target: ${index} < 5
Value:
Command 1
Command 2
Command 3
Command: endWhile
In this example, statements can skip over certain commands within a loop, while “break” statements can exit a loop early.
Exporting Test Cases
Once a test case has been created in Selenium IDE, it can be exported to various programming languages, including Java, C#, Python, and Ruby. This allows testers to integrate their Selenium IDE test cases with their existing automation frameworks and execute them on multiple browsers and platforms.
To export a test case, follow the below steps:
1. Click on the “File” menu in Selenium IDE.
2. Select the “Export Test Case As” option.
3. From the list, choose the preferred programming language.
4. Save the file to a desired location on your machine.
Advantages of Selenium IDE:
1. Easy to use: Selenium IDE has a simple and intuitive interface that allows testers to quickly create automated test scripts without the need for extensive programming knowledge.
2. Quick test creation: With Selenium IDE, testers can record and playback test scripts, which can be created much faster than manually coding the same tests.
3. Cross-browser testing: Selenium IDE can test web applications across multiple browsers, which helps ensure that the application behaves consistently across different platforms.
4. Open-source and free: Selenium IDE is an open-source tool and available for free, which makes it accessible to a wide range of users.
Disadvantages of Selenium IDE:
1. Limited functionality: Selenium IDE has limited functionality compared to other Selenium tools, and it can only perform basic tasks such as recording and playback.
2. No support for complex testing scenarios: Selenium IDE is not suitable for testing complex web applications that require sophisticated testing scenarios, advanced debugging, or complex data-driven testing.
3. No support for programming languages: Selenium IDE does not support programming languages and has limited support for advanced features like conditional statements, loops, and error handling.
4. Not suitable for large test suites: Selenium IDE is not scalable and is not suitable for managing and executing large test suites that require a high degree of automation.
In summary, Selenium IDE is a useful tool for creating simple test cases and for testers who are new to automation testing. However, it has some limitations and is not suitable for complex testing scenarios or large test suites.
Conclusion
Selenium IDE is a powerful tool for creating and executing automated test cases. It provides an easy-to-use interface for recording and editing test cases, and supports a wide range of Selenese commands, locators, and assertions. With the ability to export test cases to various programming languages, Selenium IDE can be easily integrated with existing automation frameworks. It makes it an essential tool for any software testing team.
You give me 15 seconds I promise you best tutorials
Please share your happy experience on Google


