Selenium IDE Installation – Steps to Install Selenium IDE
Job-ready Online Courses: Knowledge Awaits – Click to Access!
Welcome to DataFlair Selenium Tutorial series. In this article, we are going to learn step by step process of Selenium IDE installation.
Selenium IDE Installation
Selenium IDE is an add-on in Firefox that is being developed to allow testers and developers to record their test scripts. As they follow the workflow that needs to test, and at a later point of time, they play it to save their time of regression testing.
- Selenium IDE provides Record and Play Option.
- Selenium provides conversion of a recorded script into Ruby, Python, C#, or Java.
- It provides feature like Assertion and Verification of element on a page
- Selenium IDE is also provided with the help of JavaScript, so it is able to handle Browser automation by injecting scripts in it.
Steps to Install Selenium IDE
So, here are the steps to Install Selenium Web Driver:
Step 1: Java Installation
- Download Java Software Development Kit (JDK)
- The advantage of the JDK is that it comes together with the JRE (Java RunTime Environment), thus saving your effort to install the JRE separately.
- After the installation is being done, open command prompt and type Java, you will get a list of details about it.
Step 2: Eclipse IDE Installation
- Download and install Eclipse IDE. Take care when choosing between the Windows 32 and 64-bit versions. An exe file would be downloaded with the name as “eclipse-inst-win64”.
- After the installation process is being done, click on the launch. This would launch Eclipse IDE.
Step 3: Selenium Java Client Driver Installation
- Download and install Selenium Java Client Driver. Choose the client driver for Java. This will download the zipped file by the name as “selenium-2.25.0.zip”.
Configure Eclipse IDE with WebDriver
- Open the Eclipse IDE. Create a new project, thus navigating to File > New > Java Project. You can name it whatever you desire. Then click on the Finish button.
- Now you need to Right-click on a created project in Package Explorer and then select New, then go to Package and name the package as “pack” or the name of your choice.
- Then create a new Java Class in the pack by selecting New > Class by right-clicking on it. You can even name it according to your requirement.
- Now right-click on your project and then click on Properties. After it, click on Java Build Path. Click on the Libraries tab and then “Add External JARs.” After it, then select all files inside the lib folder and also outside the lib folder. After it has been added, then simply click on the “Apply and Close” button.
- In the end, click, OK, and all the Selenium libraries would be imported into the project.
Steps to Install Selenium IDE
Selenium IDE does not require any other additional setup except simply installing the extension on your browser. The steps are as below:
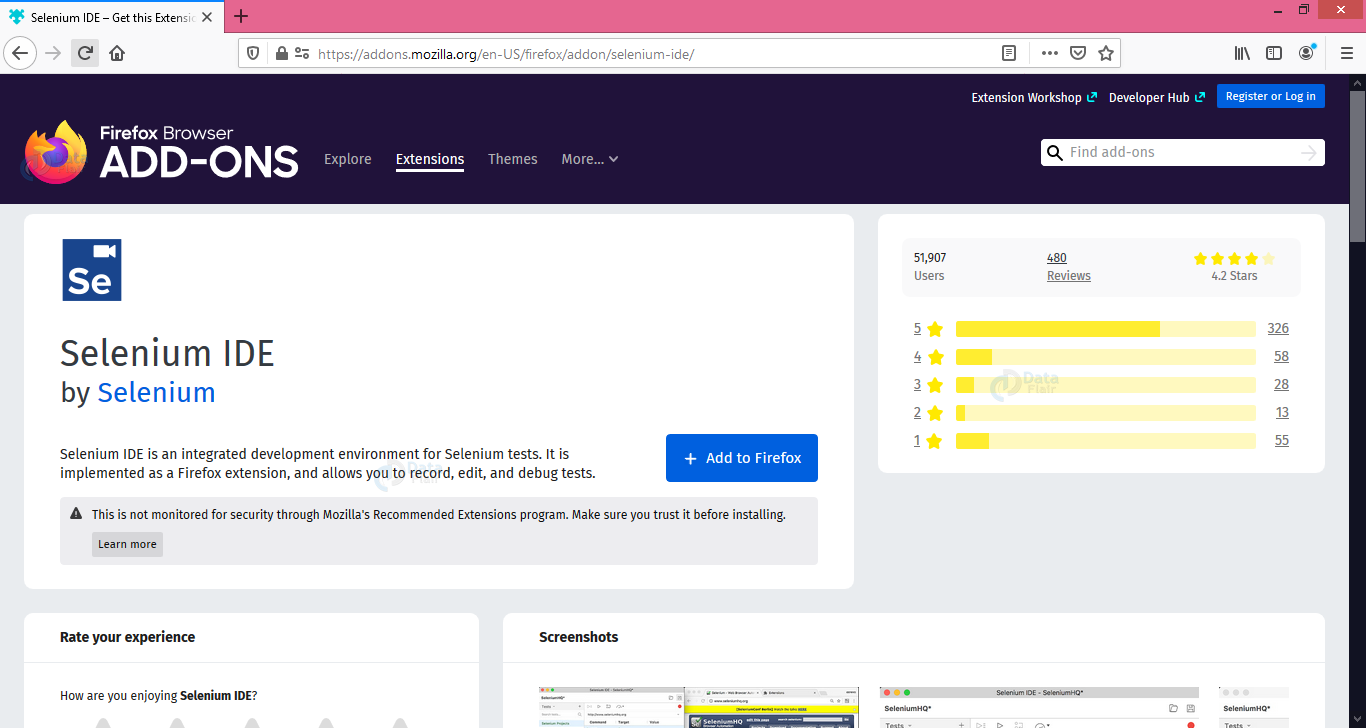
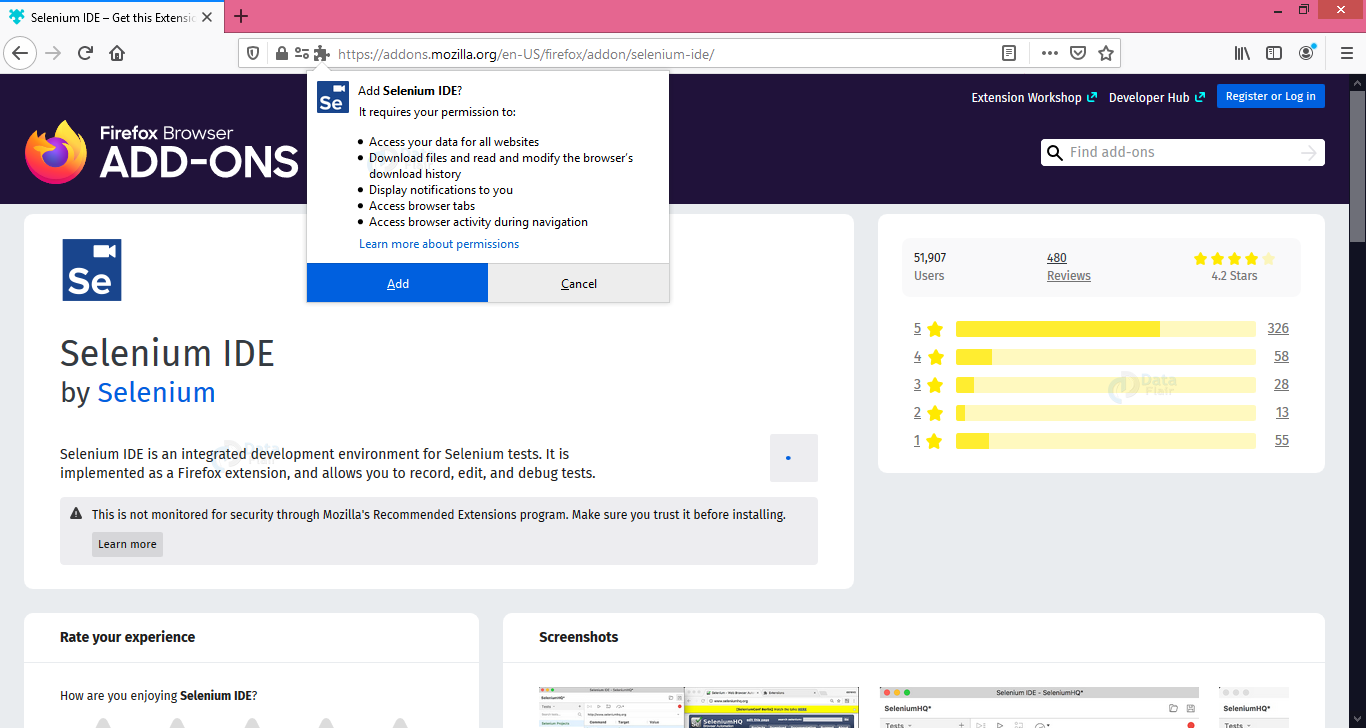
- Open the Firefox Browser and redirect to https://addons.mozilla.org/en-US/firefox/addon/selenium-ide/. A window will open up. Click ‘Add to Firefox.’
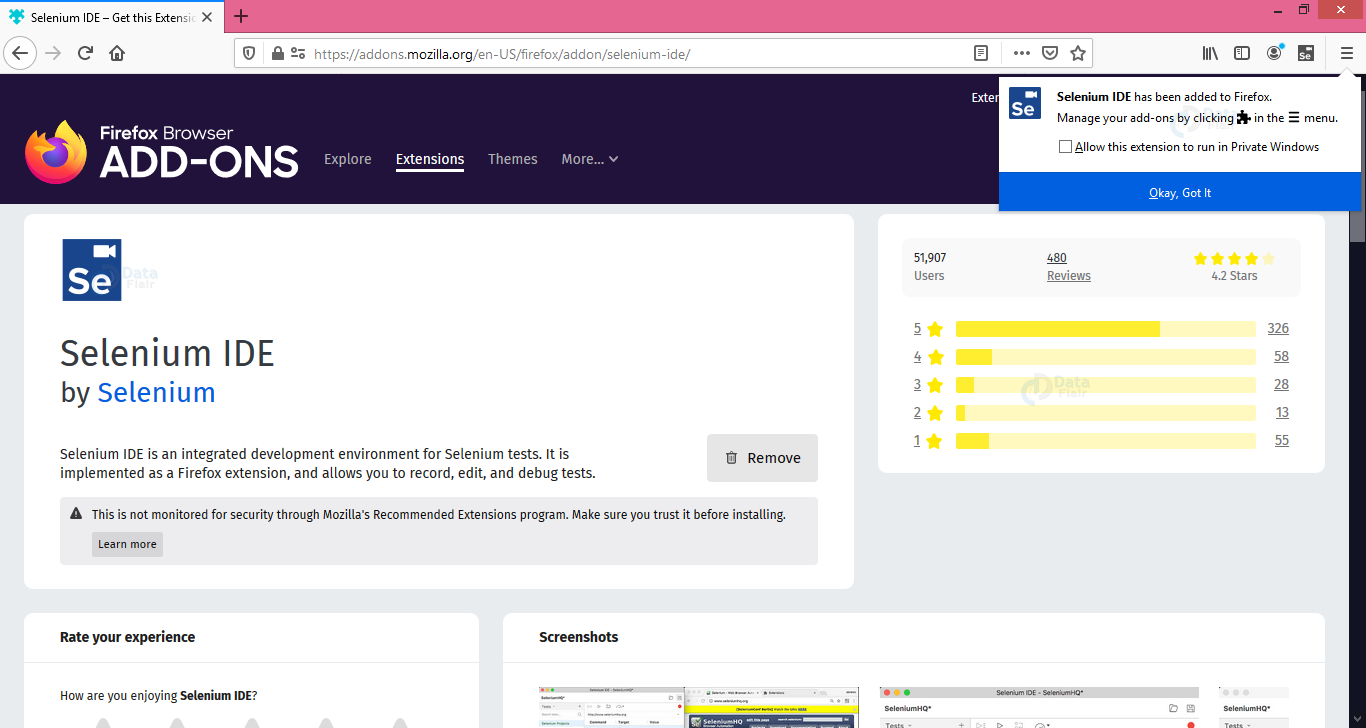
- Wait for the download to complete. After that, click “Add.”
- Click OK once the installation completes.
- Then you will see a Selenium IDE icon on the desktop; just double click on it to open.
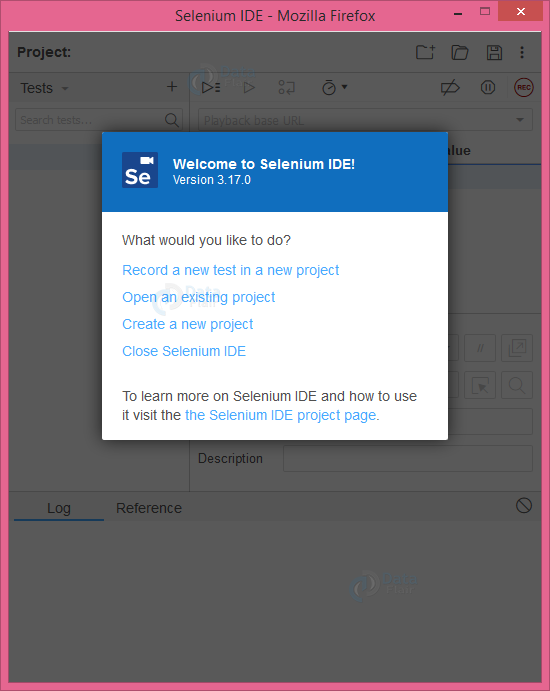
That is it, now you can start working on the Selenium IDE.
Selenium IDE Plugins
Selenium Ide can support some of the additional add-ons of Firefox created by some other users. By default, IDE comes bundled with the four plugins:
1. Selenium IDE: C# Formatters
2. Selenium IDE: Java Formatters
3. Selenium IDE: Python Formatters
4. Selenium IDE: Ruby Formatters
User Extension
All these four plugins are useful to the Selenium IDE to convert the Selenese into the different formats. Selenium IDE can support the user extensions to provide advanced capabilities.
User extensions are in the form of JavaScript (Js) files. You install them by specifying their absolute path in either of these two fields in the Options dialog box.
- Selenium Core extensions (user-extensions.js)
- Selenium IDE extensions
Wrapping It Up
So we have seen selenium IDE installation. Testing an application in selenium IDE is effective and efficient as IDE can also be used to automate the test scripts on the Selenium Grid. IDE runner also supports the execution of parallel testing.
Default and custom configuration files makes it easy to perform the automated browser testing on the Grid. So, that users would no longer need to make changes in the configuration parameters along with the IDE runner command.
Did you like this article? If Yes, please give DataFlair 5 Stars on Google


