How to Create Test Cases in Selenium?
Job-ready Online Courses: Dive into Knowledge. Learn More!
Selenium IDE is a popular tool for automating web testing. It provides a user-friendly interface that allows testers to record and playback test cases. However, there are times when recording test cases is not feasible, such as when the web application is dynamic or requires complex input data. In such cases, creating test cases manually is the best option. In this article, we will discuss how to create test cases manually using Selenium IDE.
How to Create Test Cases in Selenium?
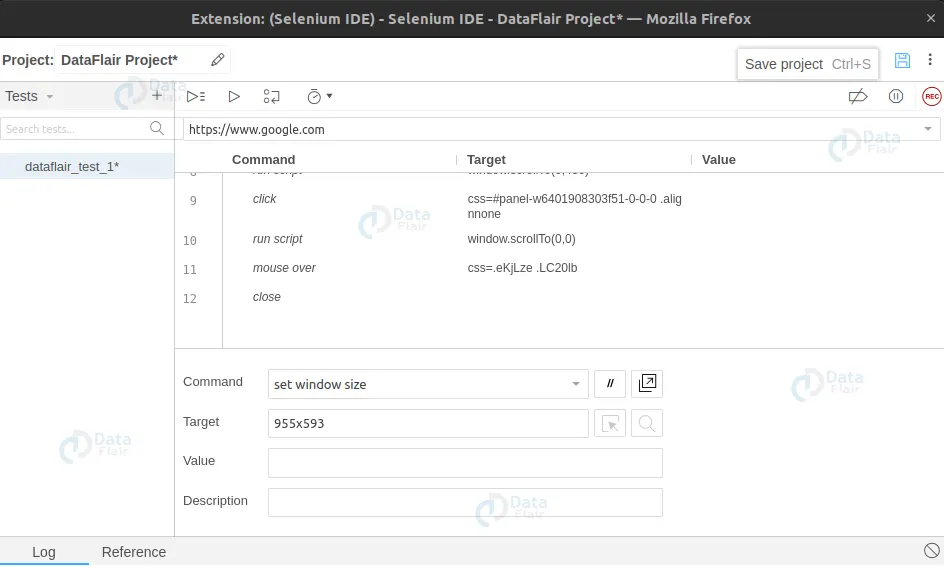
To create a new test case manually in Selenium IDE, follow these steps:
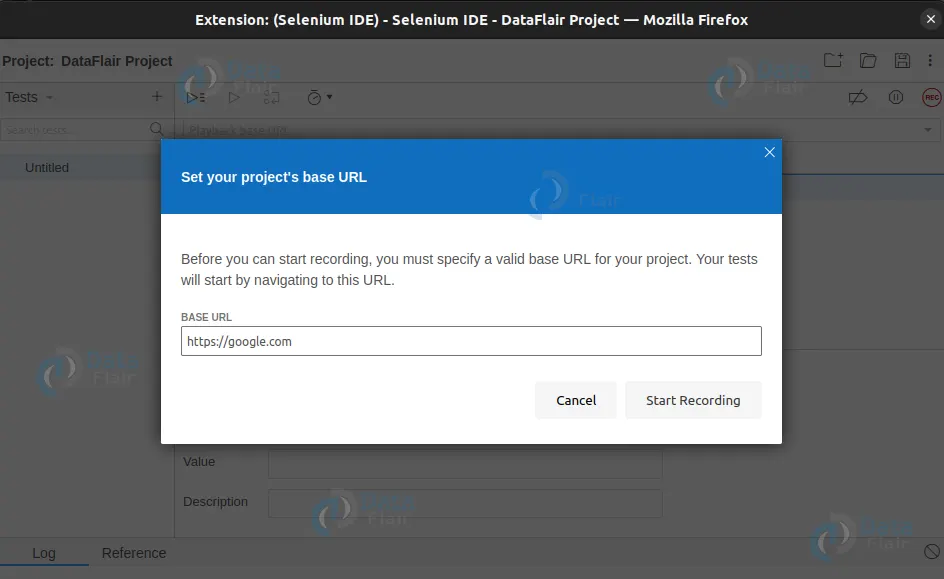
1. Open Selenium IDE.
2. Click on the “New Test Case” button to create a new test case.
3. Enter a name for the test case in the “Test Case Name” field.
4. Click on the “Record” button to start recording the test case.
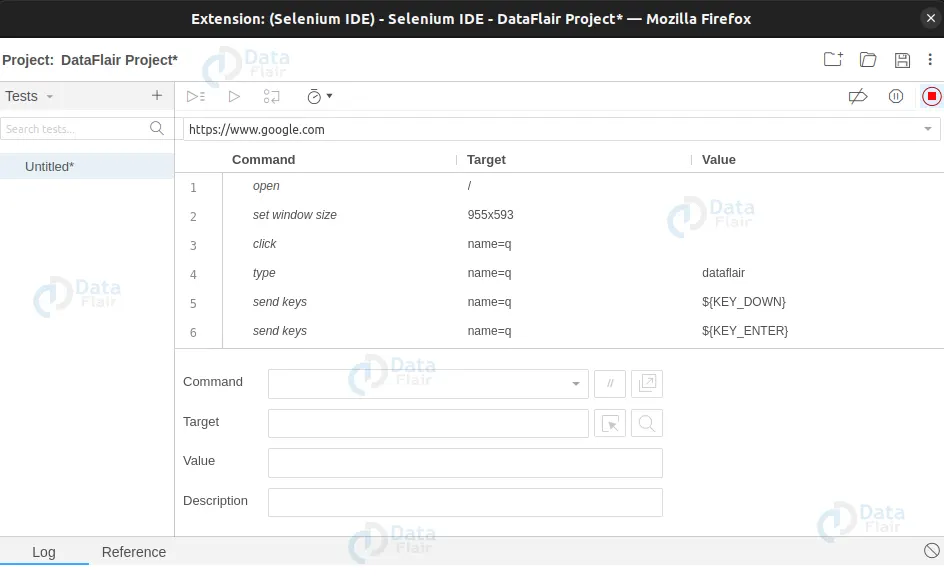
5. Navigate to the web page that you want to test.
6. Perform the actions that you want to include in the test case, such as clicking on buttons, entering text, or selecting options from drop-down menus.
7. Click on the “Stop” button to stop recording.
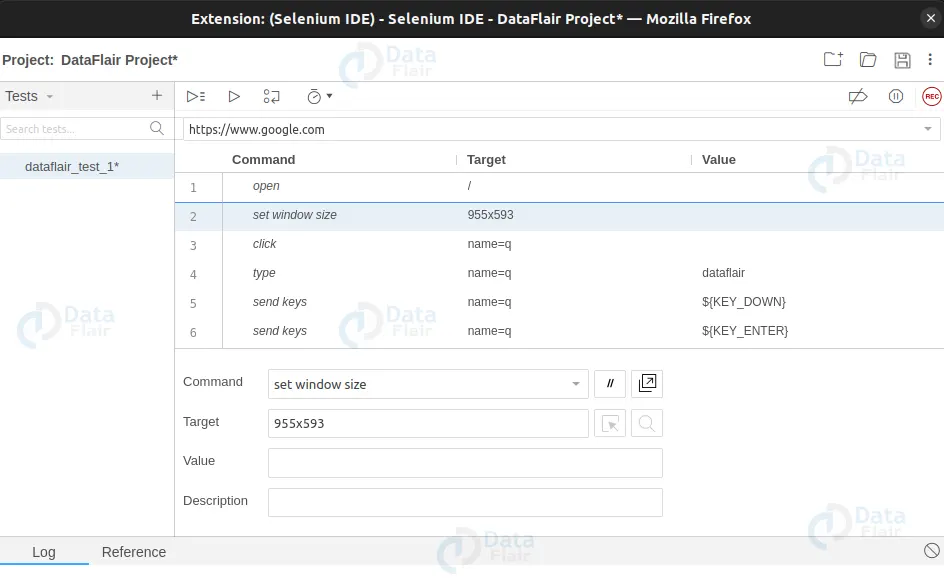
8. Review the test case and make any necessary edits.
9. Save the test case.
Editing a Test Case in Selenium
To edit a test case in Selenium IDE, follow these steps:
1. Open Selenium IDE.
2. Click on the test case that you want to edit in the “Test Case” pane.
3. Click on the “Edit” button to open the test case editor.
4. Make any necessary edits to the test case.
5. Click on the “Save” button to save the changes.
Adding Commands to a Test Case
To add commands to a test case in Selenium IDE, follow these steps:
1. Open Selenium IDE.
2. Click on the test case that you want to edit in the “Test Case” pane.
3. Click on the “Edit” button to open the test case editor.
4. Click on the “+” button to add a new command.
5. Select the command that you want to add from the drop-down menu.
6. Enter any necessary parameters for the command.
7. Click on the “Save” button to save the command.
Repeat these steps for each command that you want to add to the test case.
Executing a Test Case in Selenium
To execute a test case in Selenium IDE, follow these steps:
1. Open Selenium IDE.
2. Click on the test case that you want to execute in the “Test Case” pane.
3. Click on the “Run” button to execute the test case.
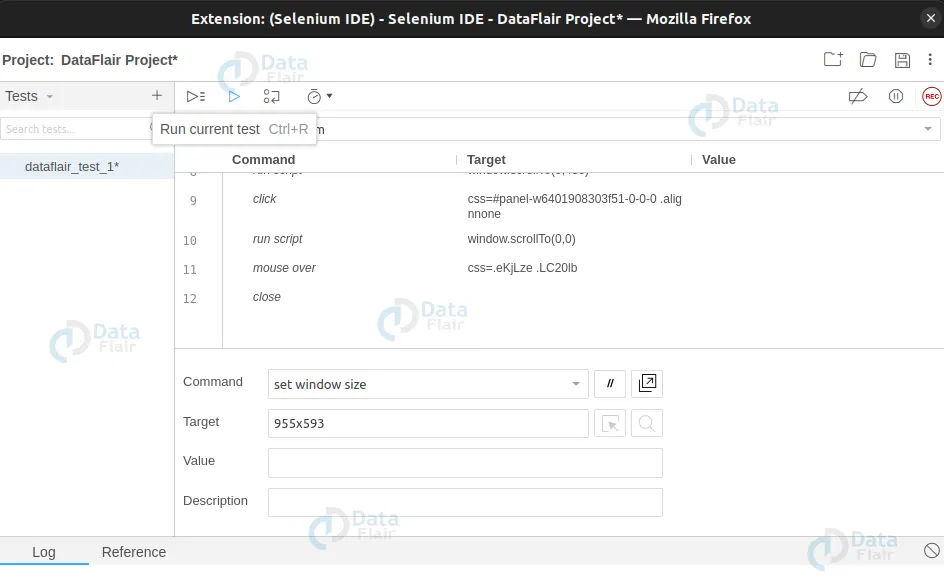
4. Watch the test case as it runs, and check for any errors or failures.
5. Review the test results and make any necessary changes to the test case.
Saving and Exporting Test Cases in Selenium
To save and export test cases in Selenium IDE, follow these steps:
1. Open Selenium IDE.
2. Click on the test case that you want to save or export in the “Test Case” pane.
3. Click on the “File” menu.
4. Select “Save Test Case As” to save the test case to a file.
5. Select “Export” to export the test case in a format such as HTML, Java, or Ruby.
Conclusion
Creating test cases manually in Selenium IDE can be a time-consuming process, but it is necessary when recording test cases is not feasible. By following the steps outlined in this article, you can create and edit test cases, add commands, execute test cases, and save and export test cases in Selenium IDE.
Remember to use descriptive names and comments, and to organize your test cases into test suites for easier management. With these best practices in mind, you can create effective and reliable test cases in Selenium IDE.
You give me 15 seconds I promise you best tutorials
Please share your happy experience on Google


