Lists in MS Word
Job-ready Online Courses: Dive into Knowledge. Learn More!
Word allows users to create and work with lists to format, arrange, and emphasize text. You can choose to form Bullet lists or Numbered lists, and even choose to represent bullets as symbols or choose from different numbering styles.
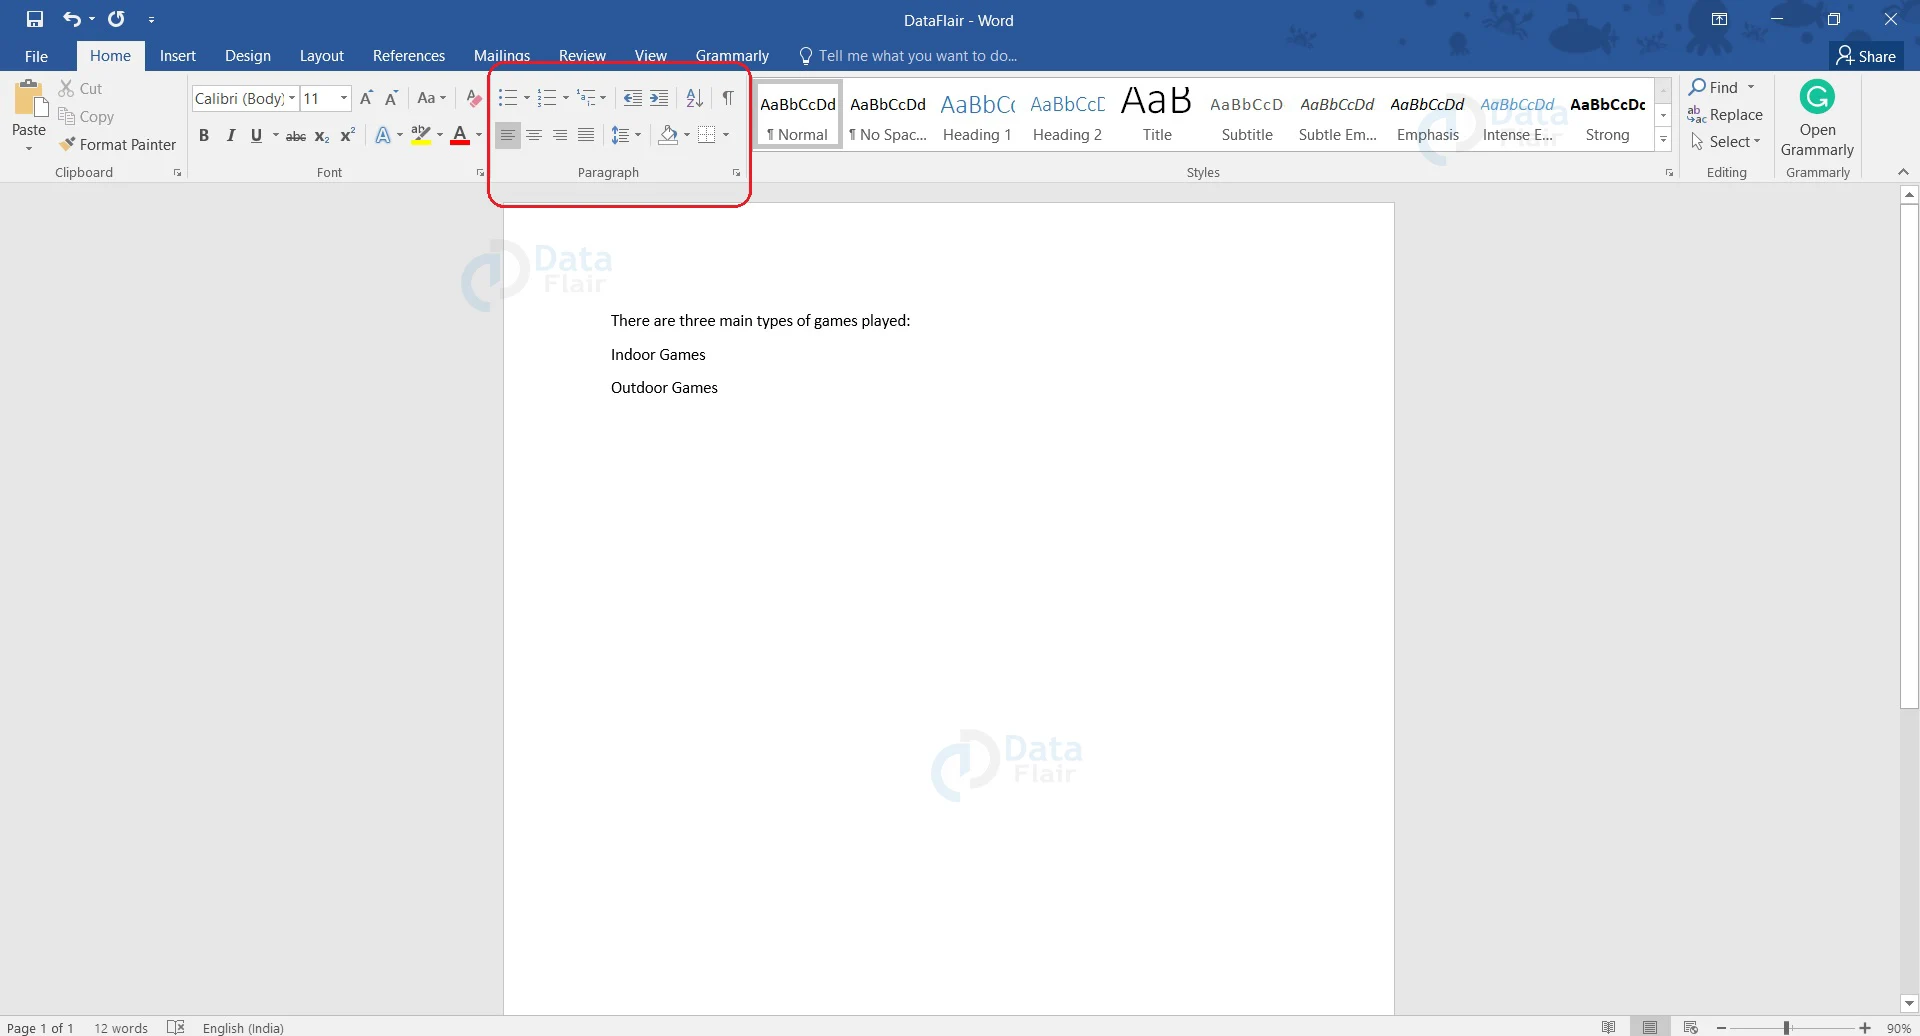
Let us see how we can create a list in Word, and change the bullet style. All tools and options for working on lists in Word are present under the Paragraph group under the Home tab.
How to Create Lists in Word?
Word offers numbered and bullet lists to the users. You can also insert multi-level lists in word, which is a list within a list. Word indents the lower-level lists to make readability and understanding easier.
Follow the steps given below to create a list in Word.
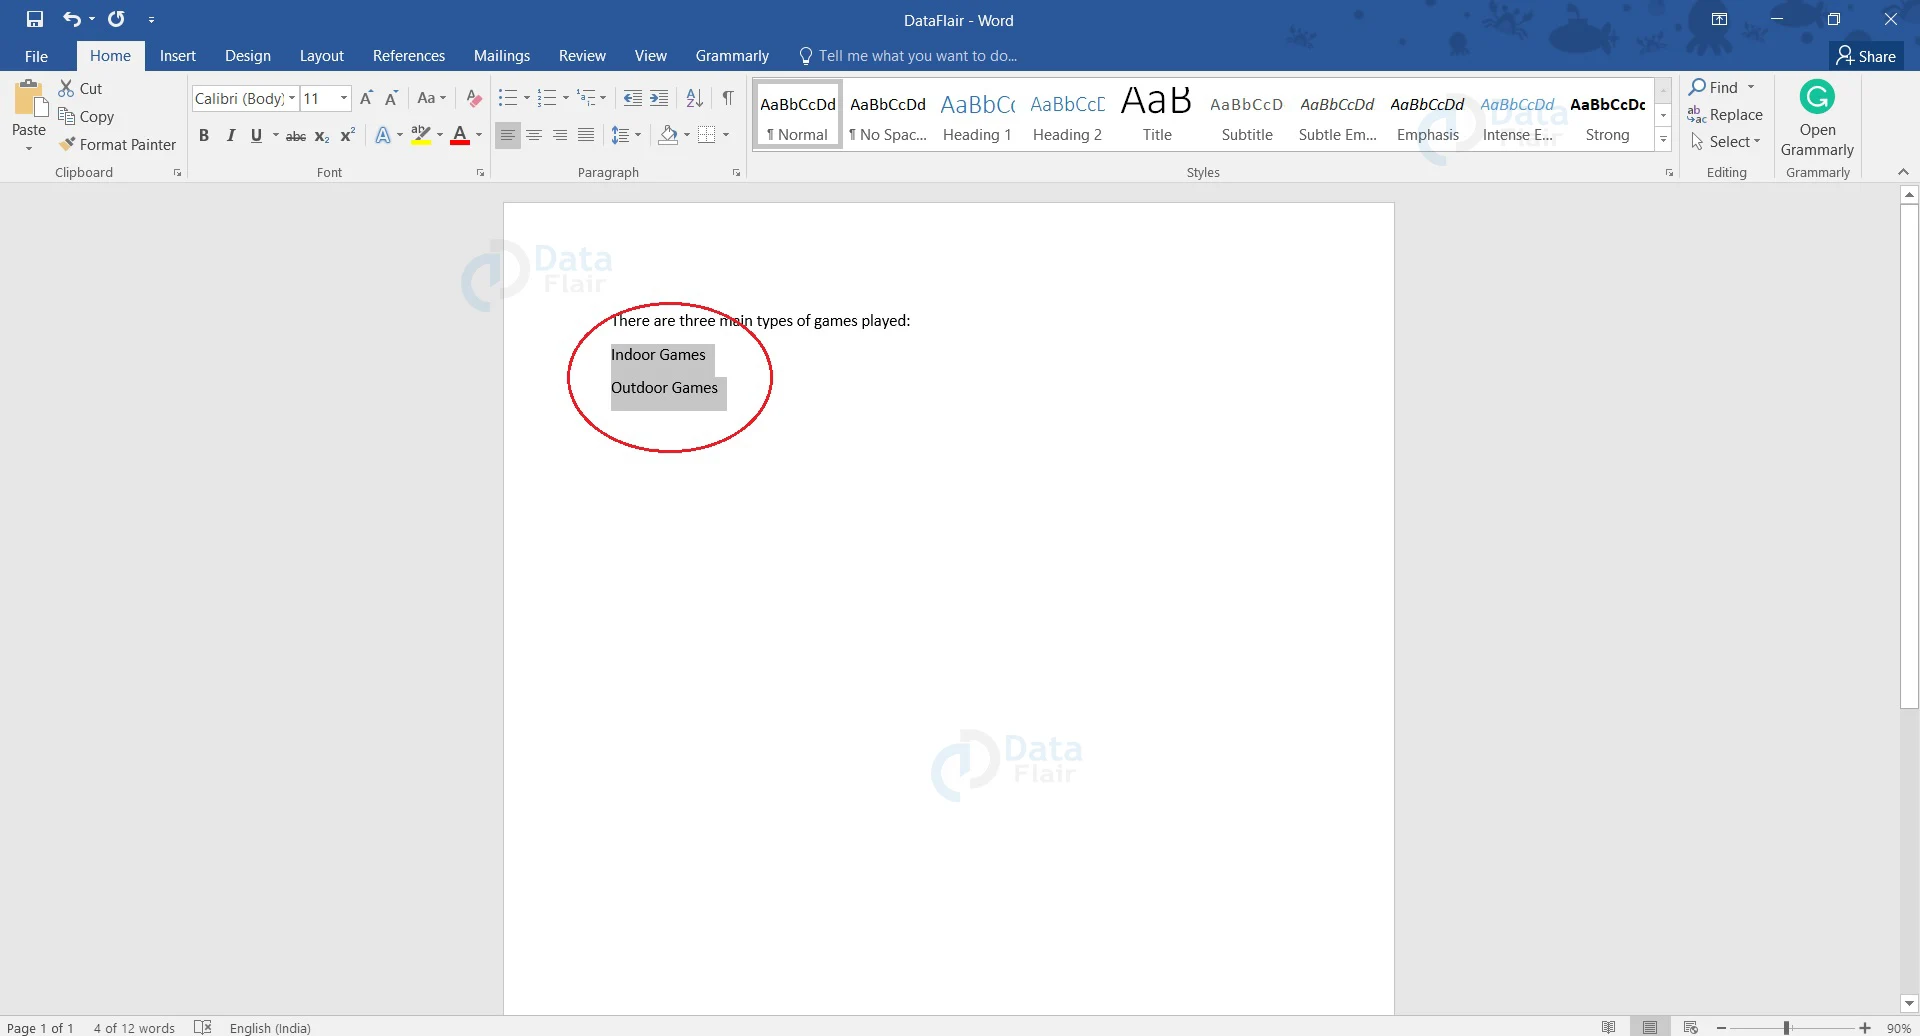
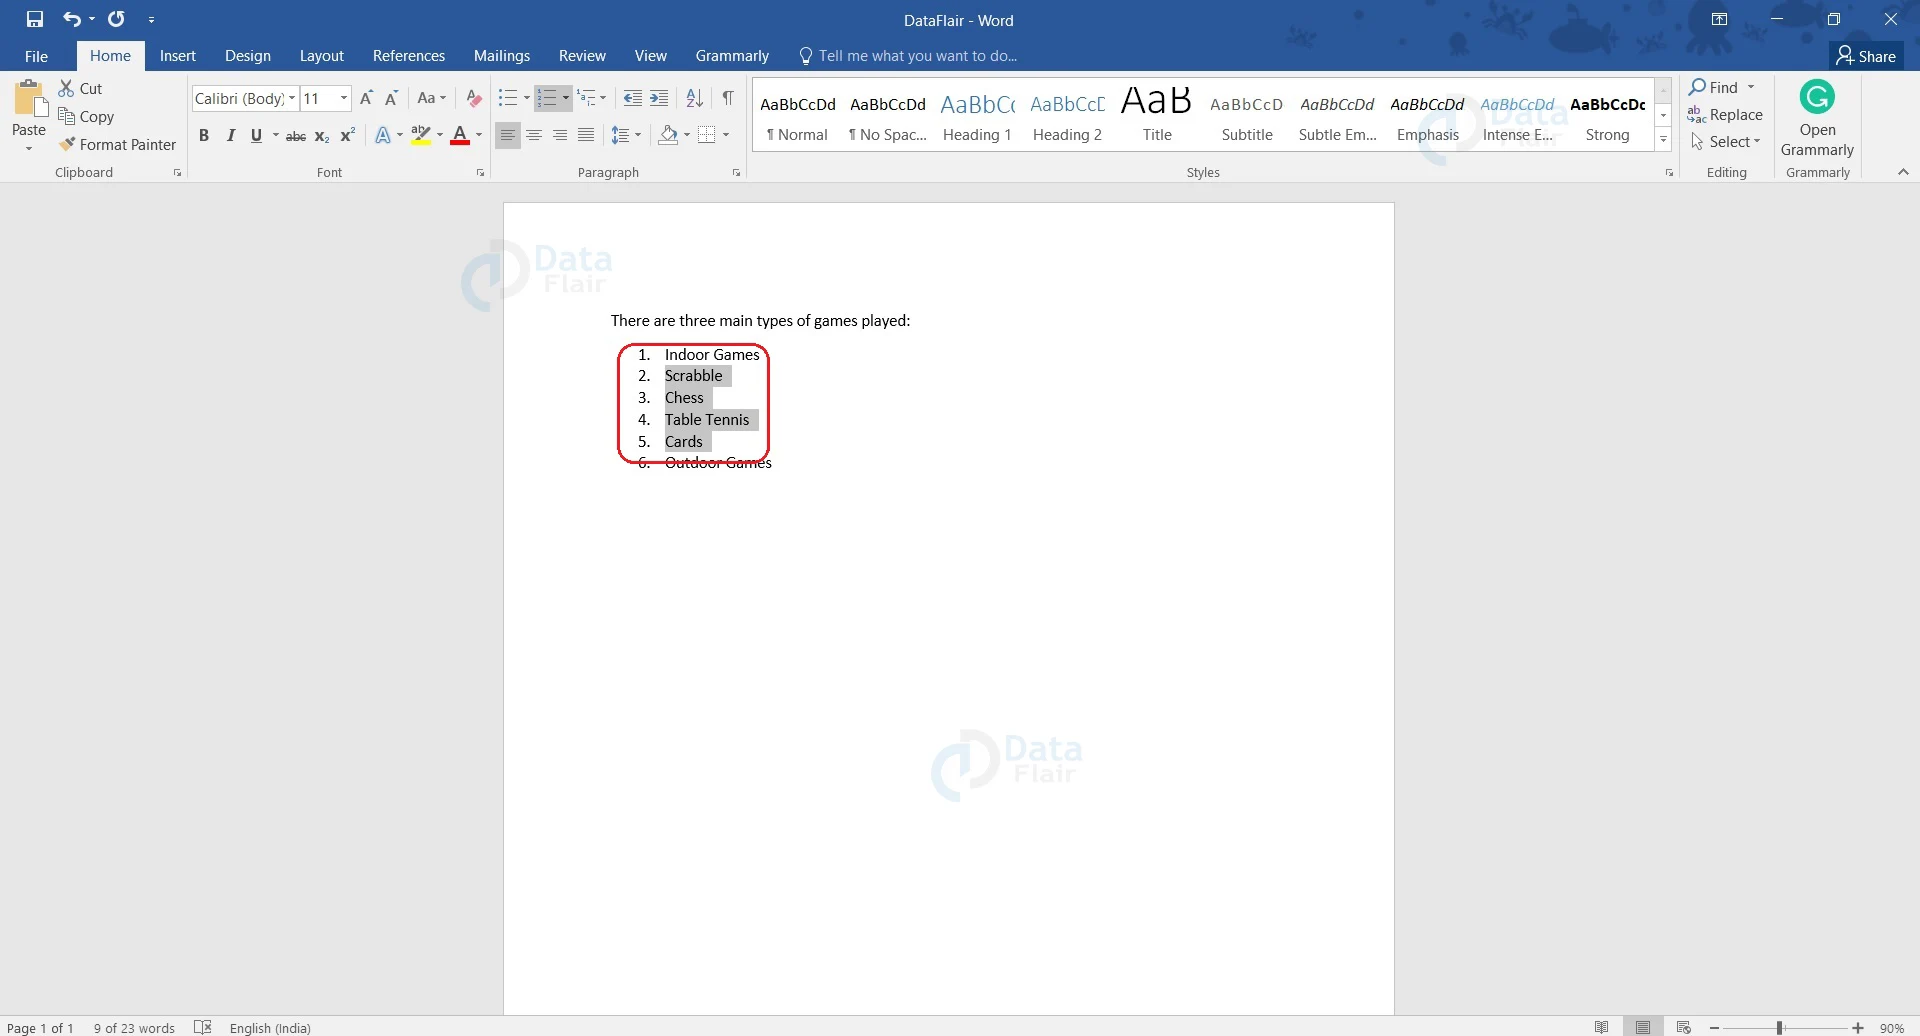
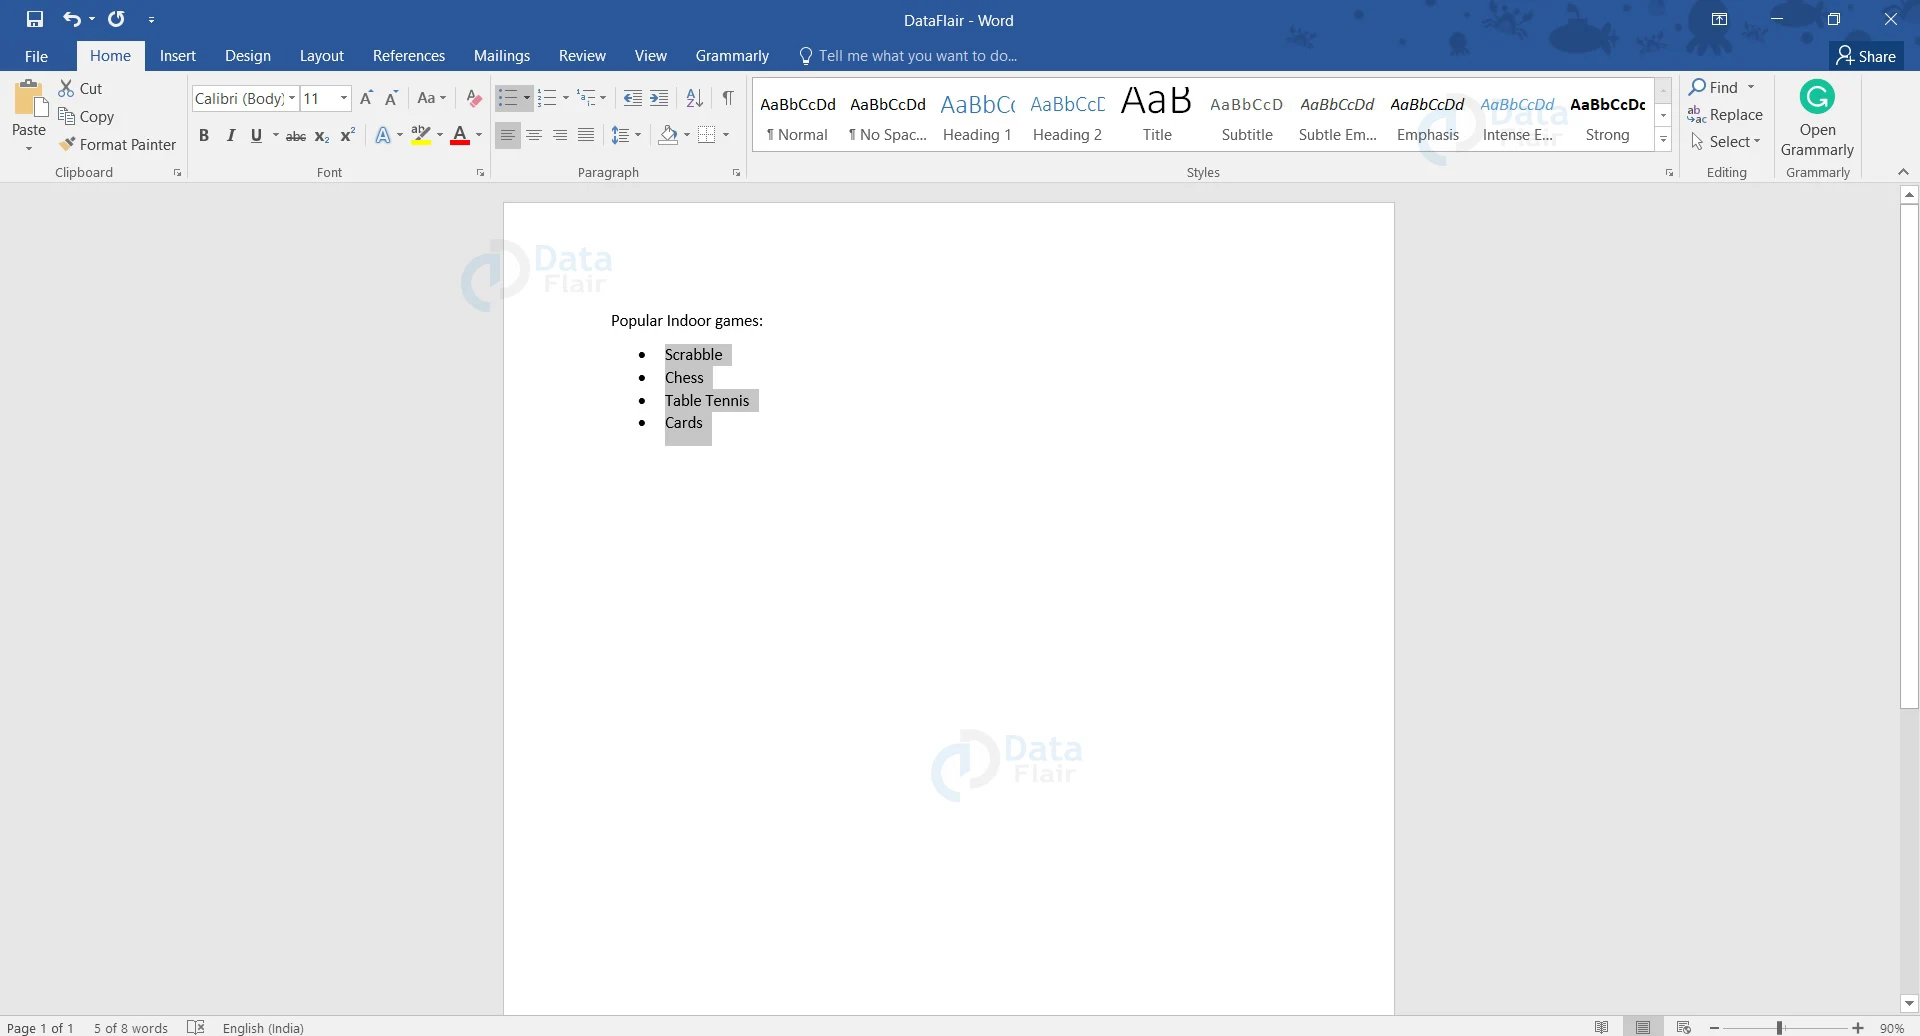
1. Select the text that you wish to format as a list.
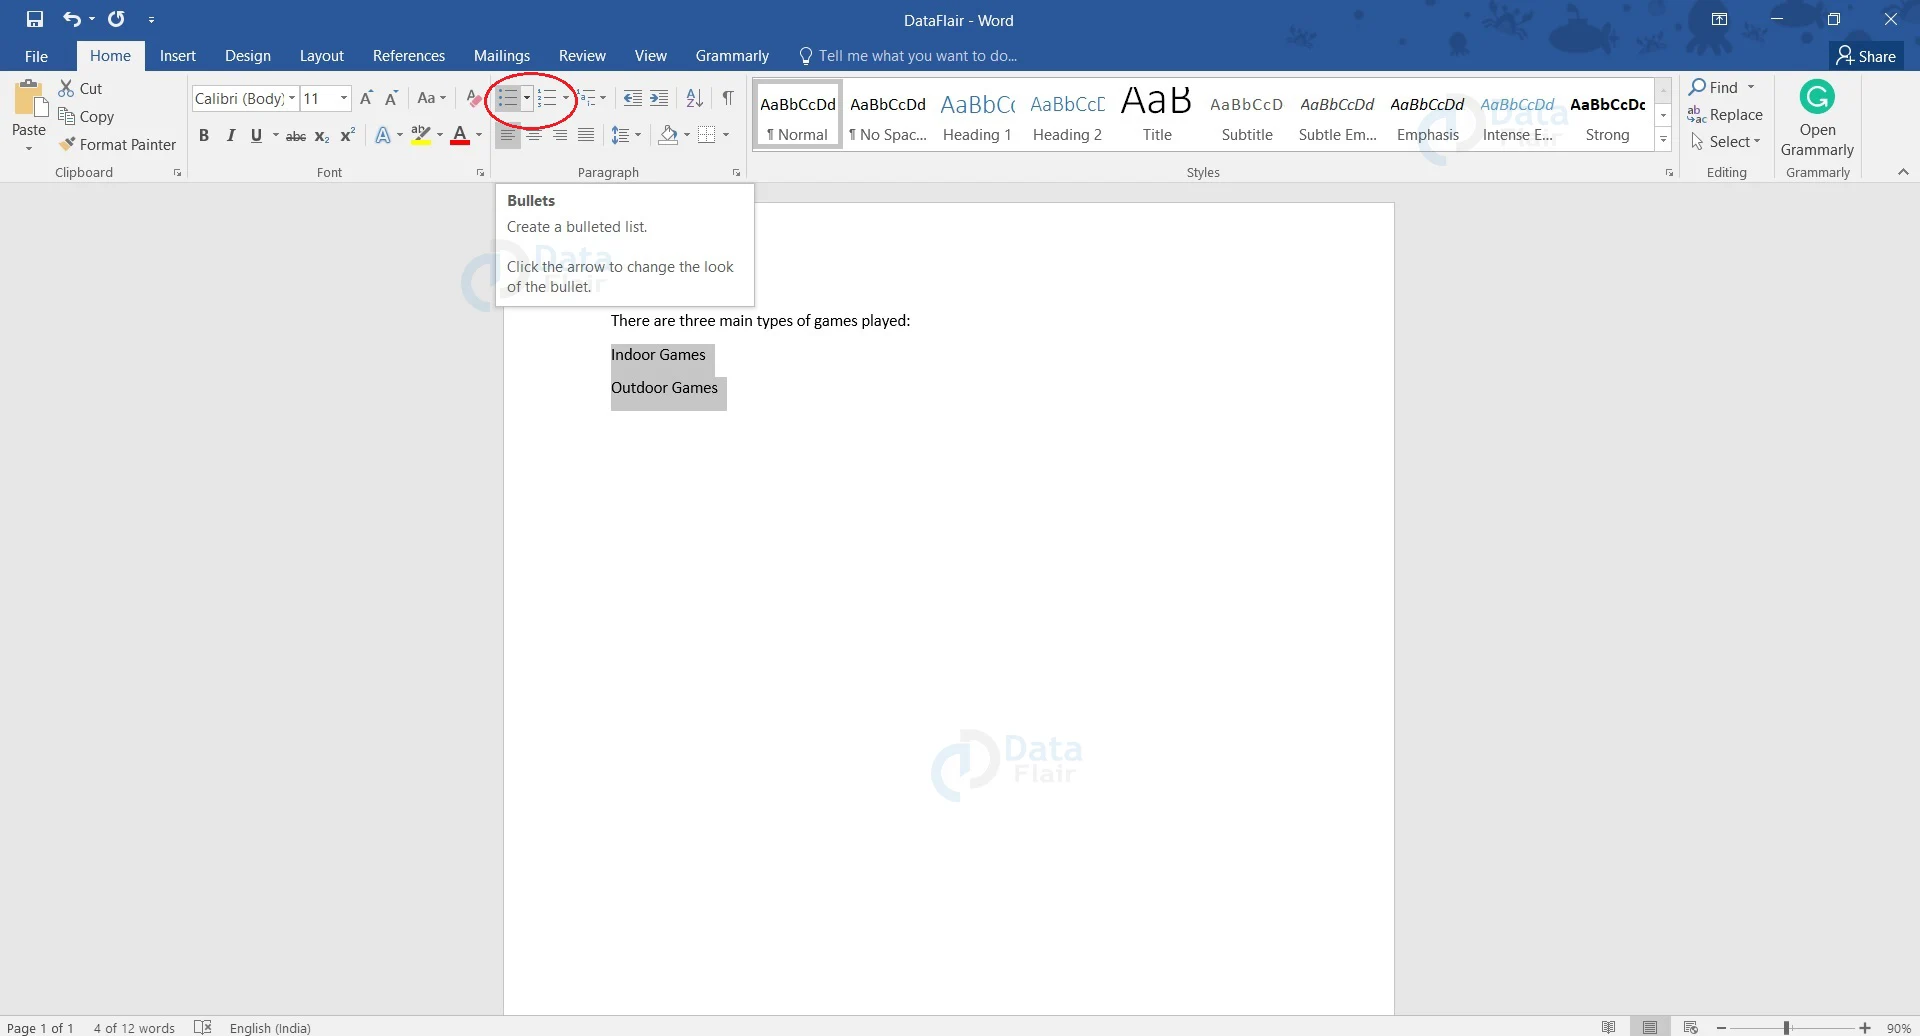
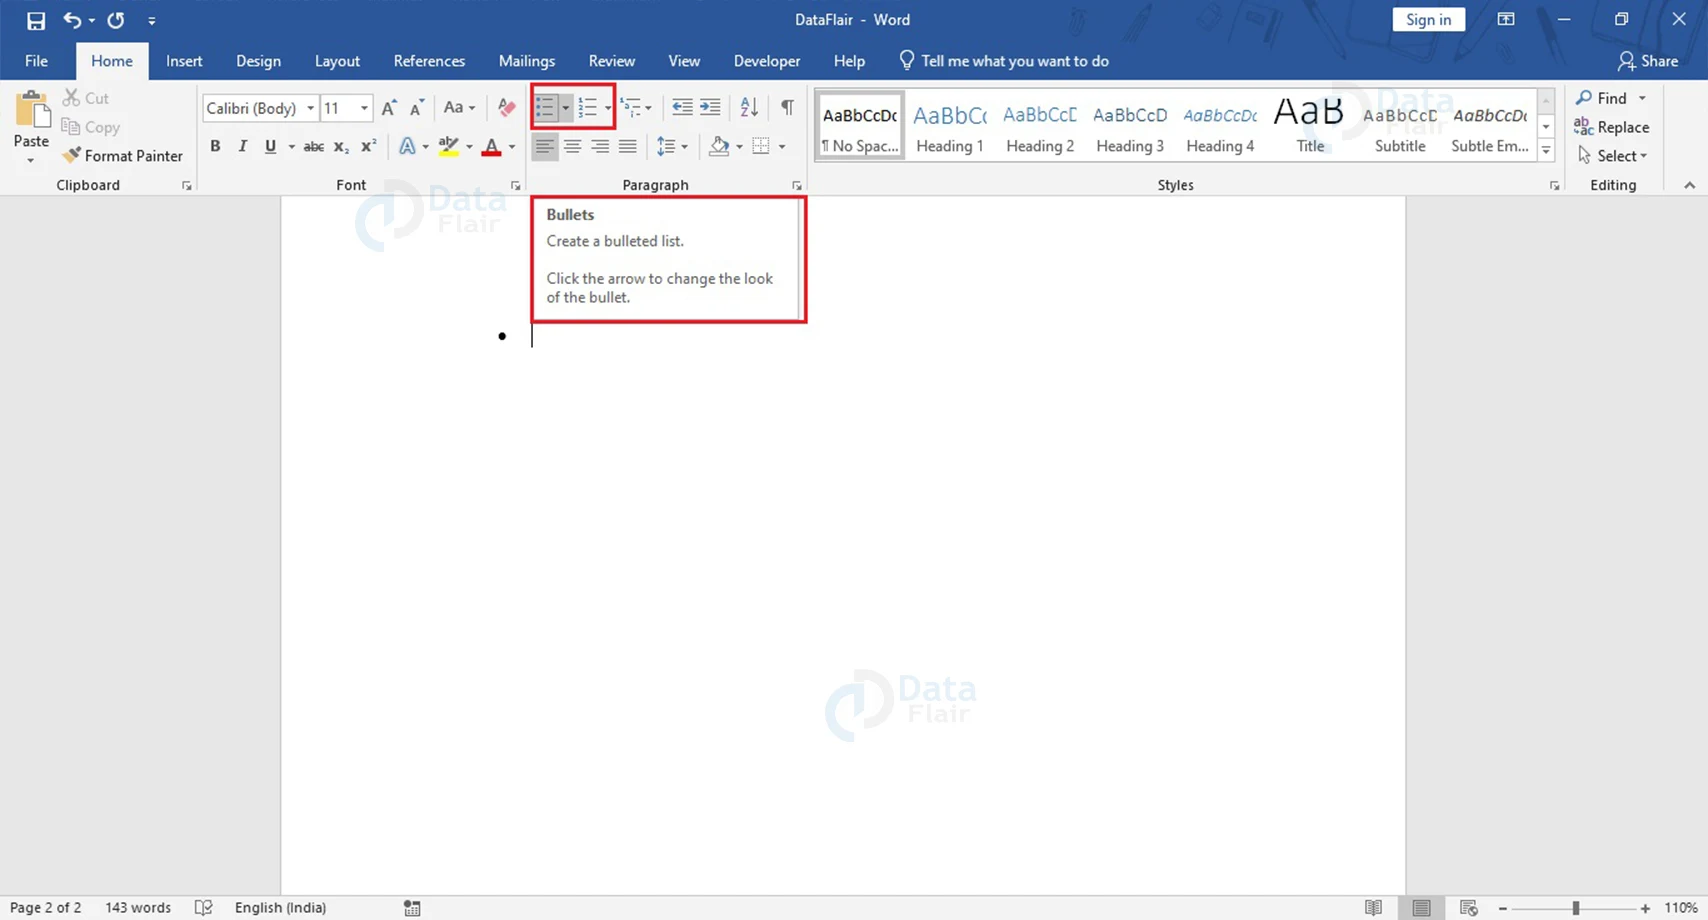
2. On the Home tab, click the Bullets or Numbering button to create a bullet list or numbered list respectively.
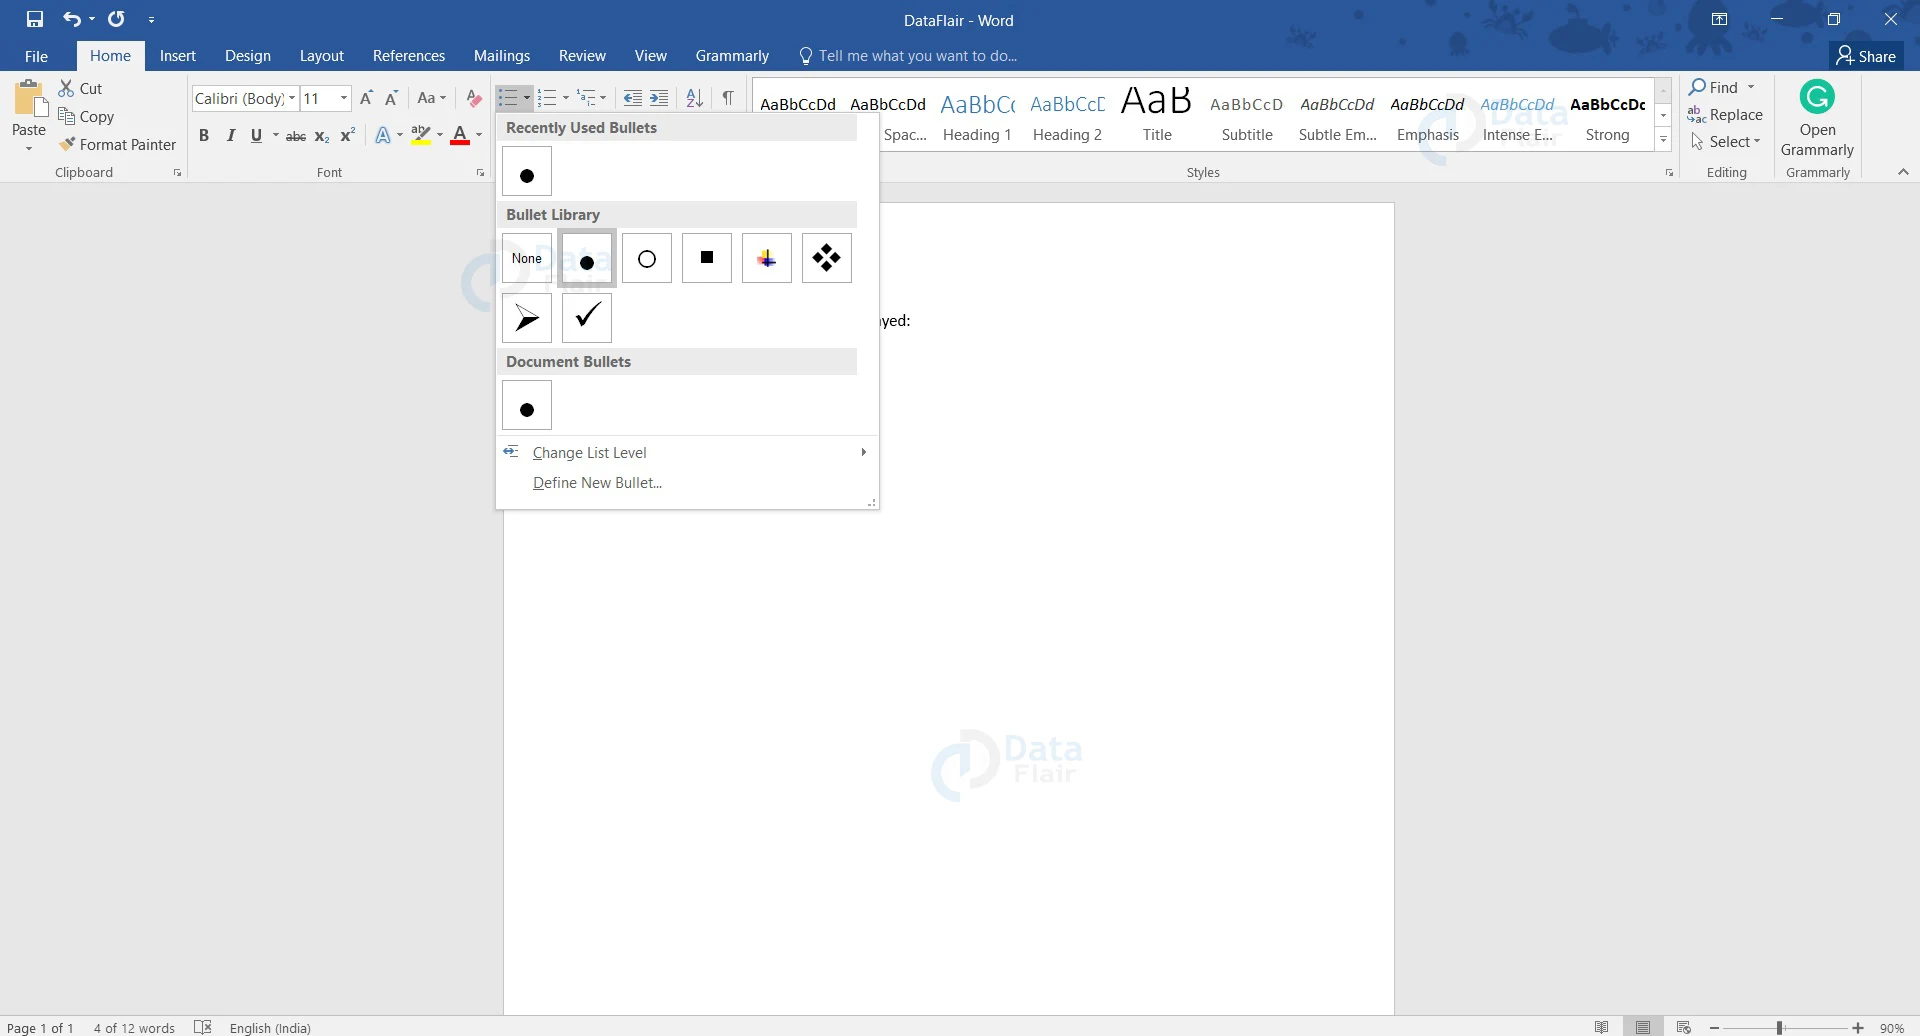
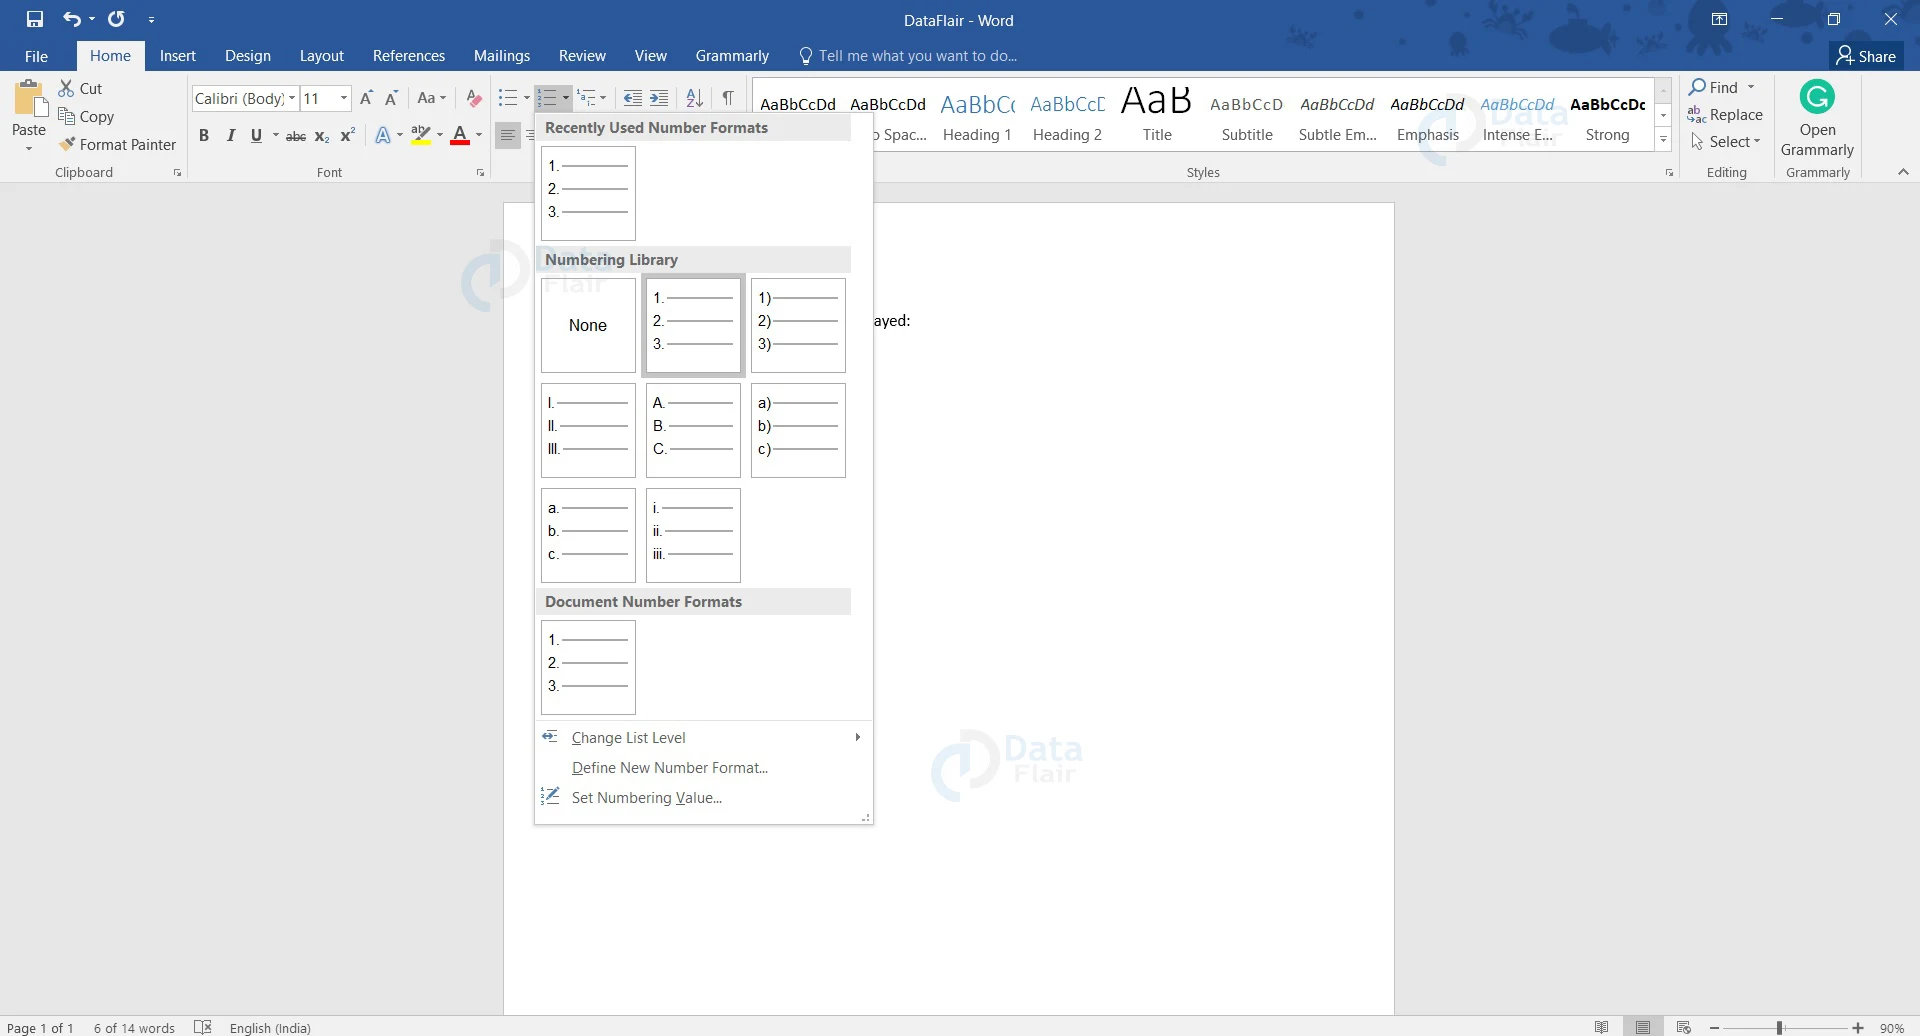
3. If you want a different symbol or numbering system, open the dropdown menu by clicking on the downward arrow to the right of either of the buttons. Select the bullet or numbering style that you want to appear.
You will see that your list has been created.
Working with Multilevel Lists
To create a multilevel list, you can follow the steps below.
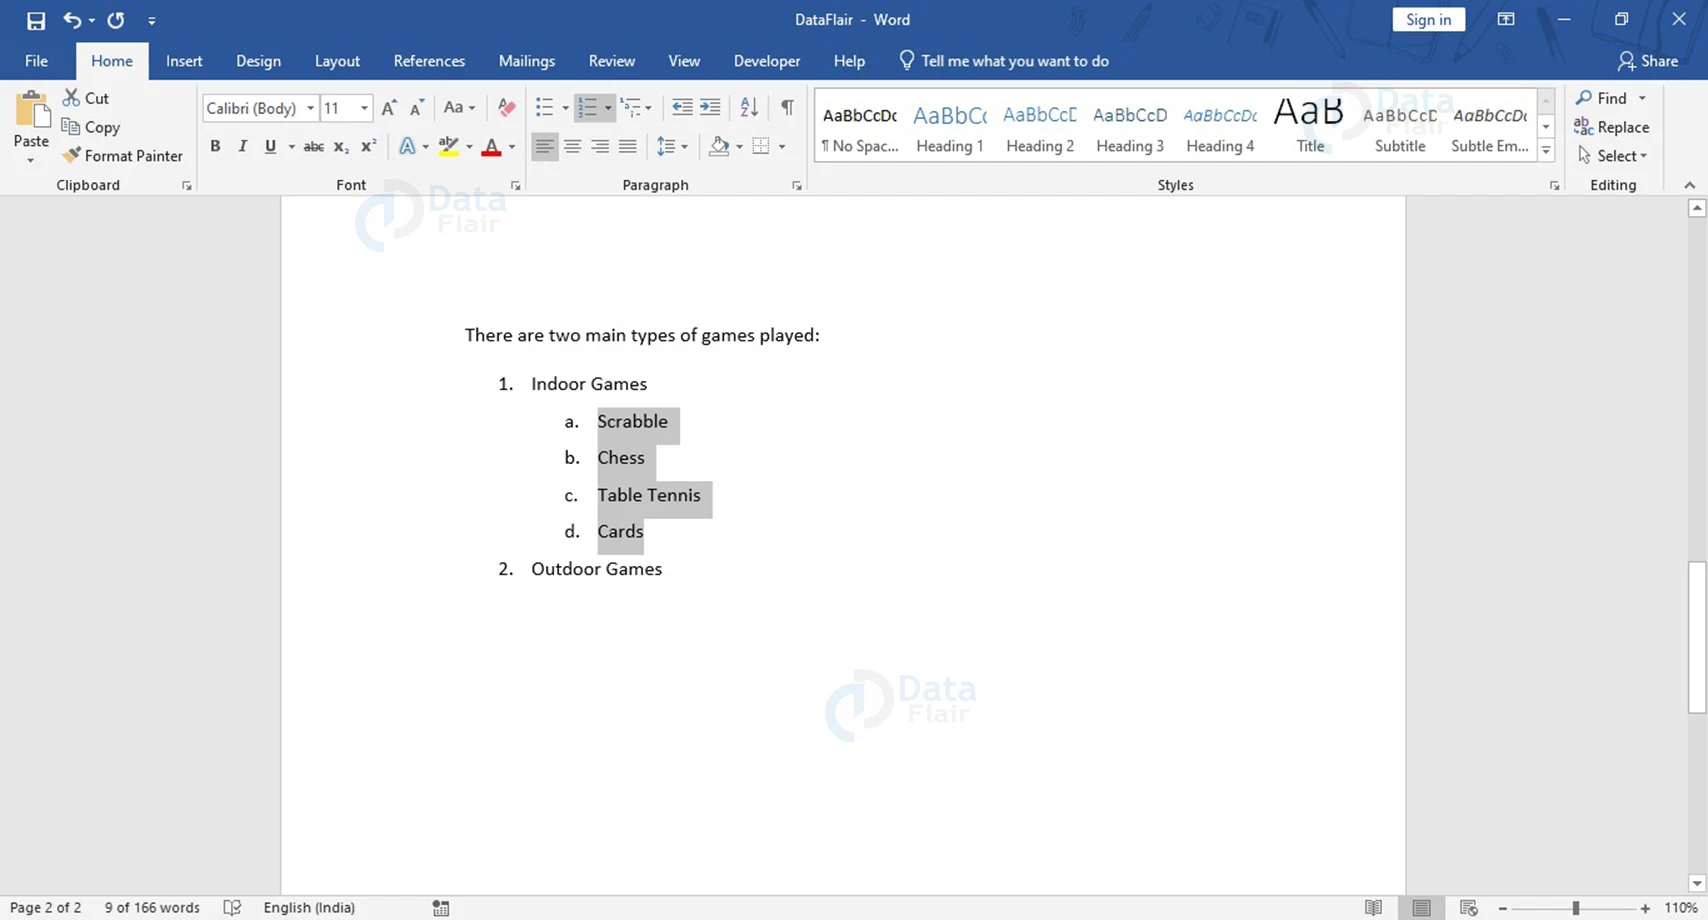
1. For an already existing list, choose the text that you want to format into a lower-level list.
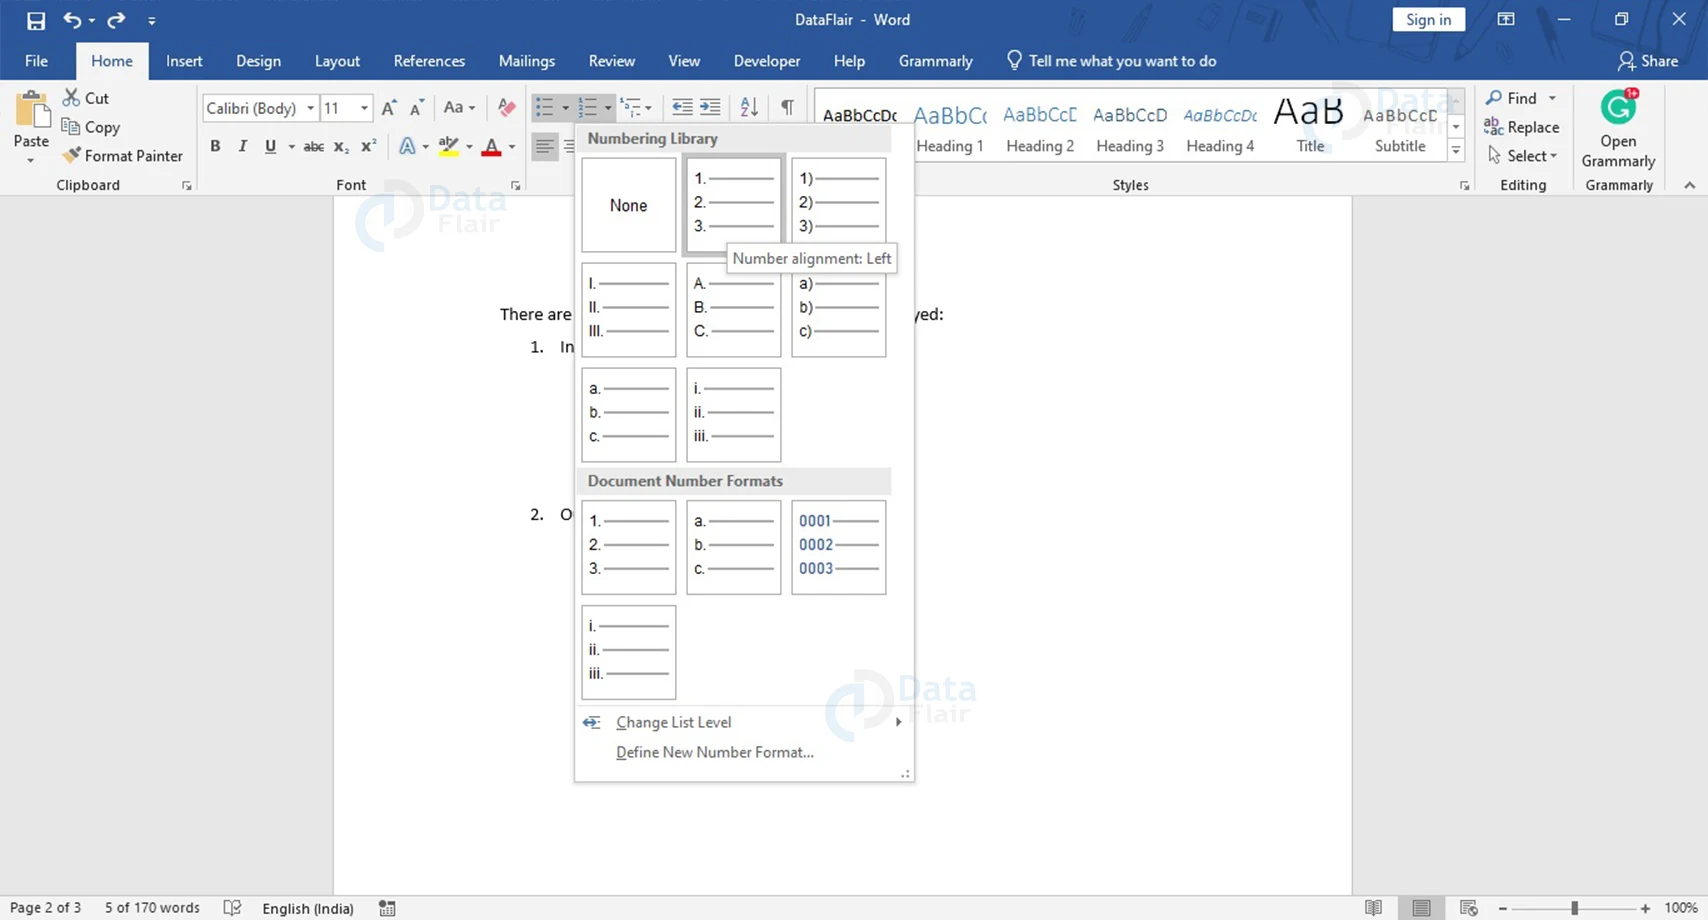
2. On the Home tab, click the Multilevel List button. A dropdown menu appears, from which select Change List Level. Choose the appropriate level to change the level.

3. If you want a different bullet or number style, open the dropdown menu by clicking on the downward arrow to the right of the Bullets or Numbering buttons. Select the bullet or numbering style of your choice, and it will appear.

You can also demote the level of your list item by placing your cursor at the beginning of your element and using the Tab key. You may also demote the level of multiple lines by selecting multiple lines and pressing the Tab key. Place your cursor at the beginning of a lower level list and use the backspace key to go back a level or to promote it.
Defining a new Multilevel List in Word
To define a new multilevel list, follow the steps mentioned below.
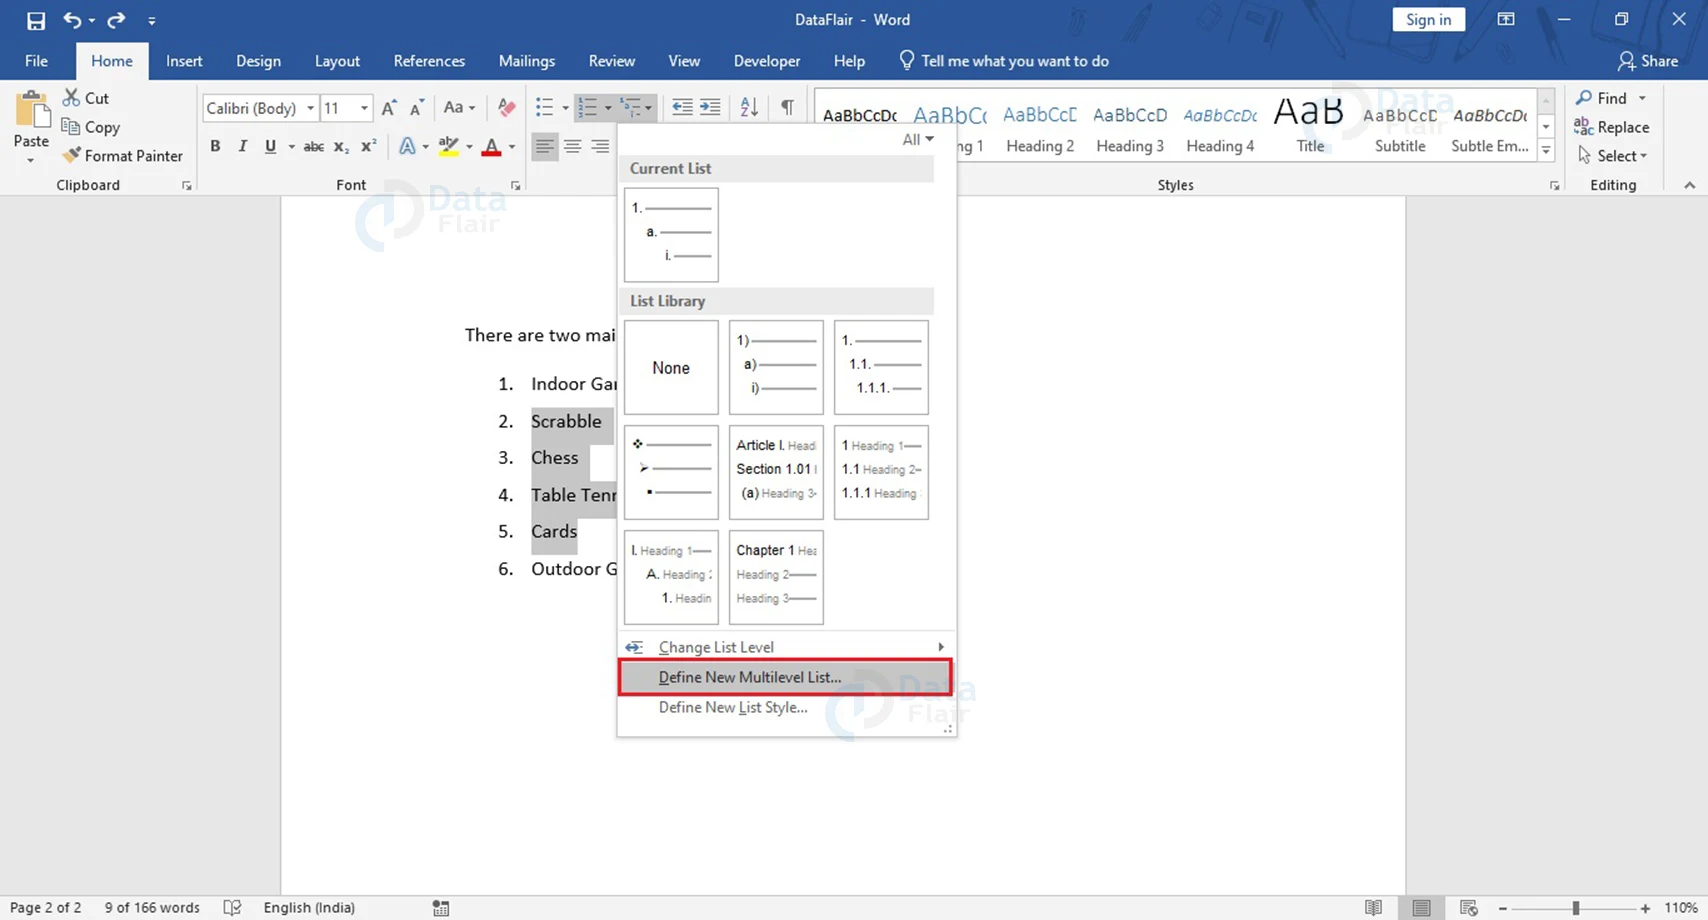
1. Click on the arrow beside the Multilevel List button to open the associated dropdown menu and choose the Define New Multilevel List… option.
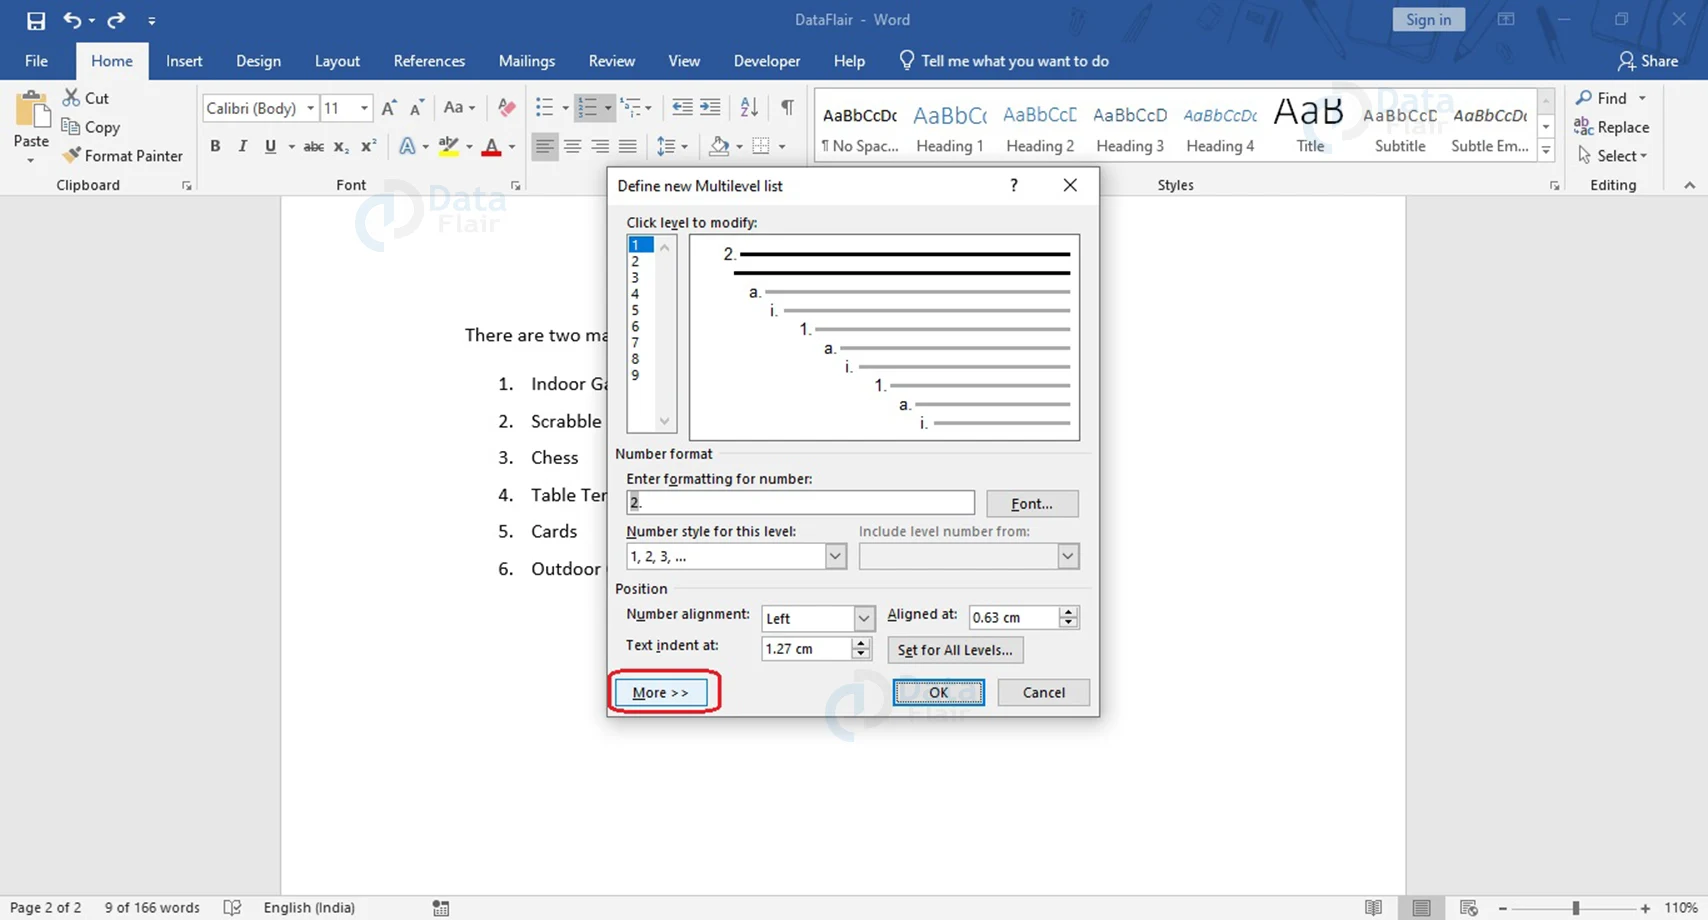
2. From the Define New Multilevel List dialog box, choose the More>> button.
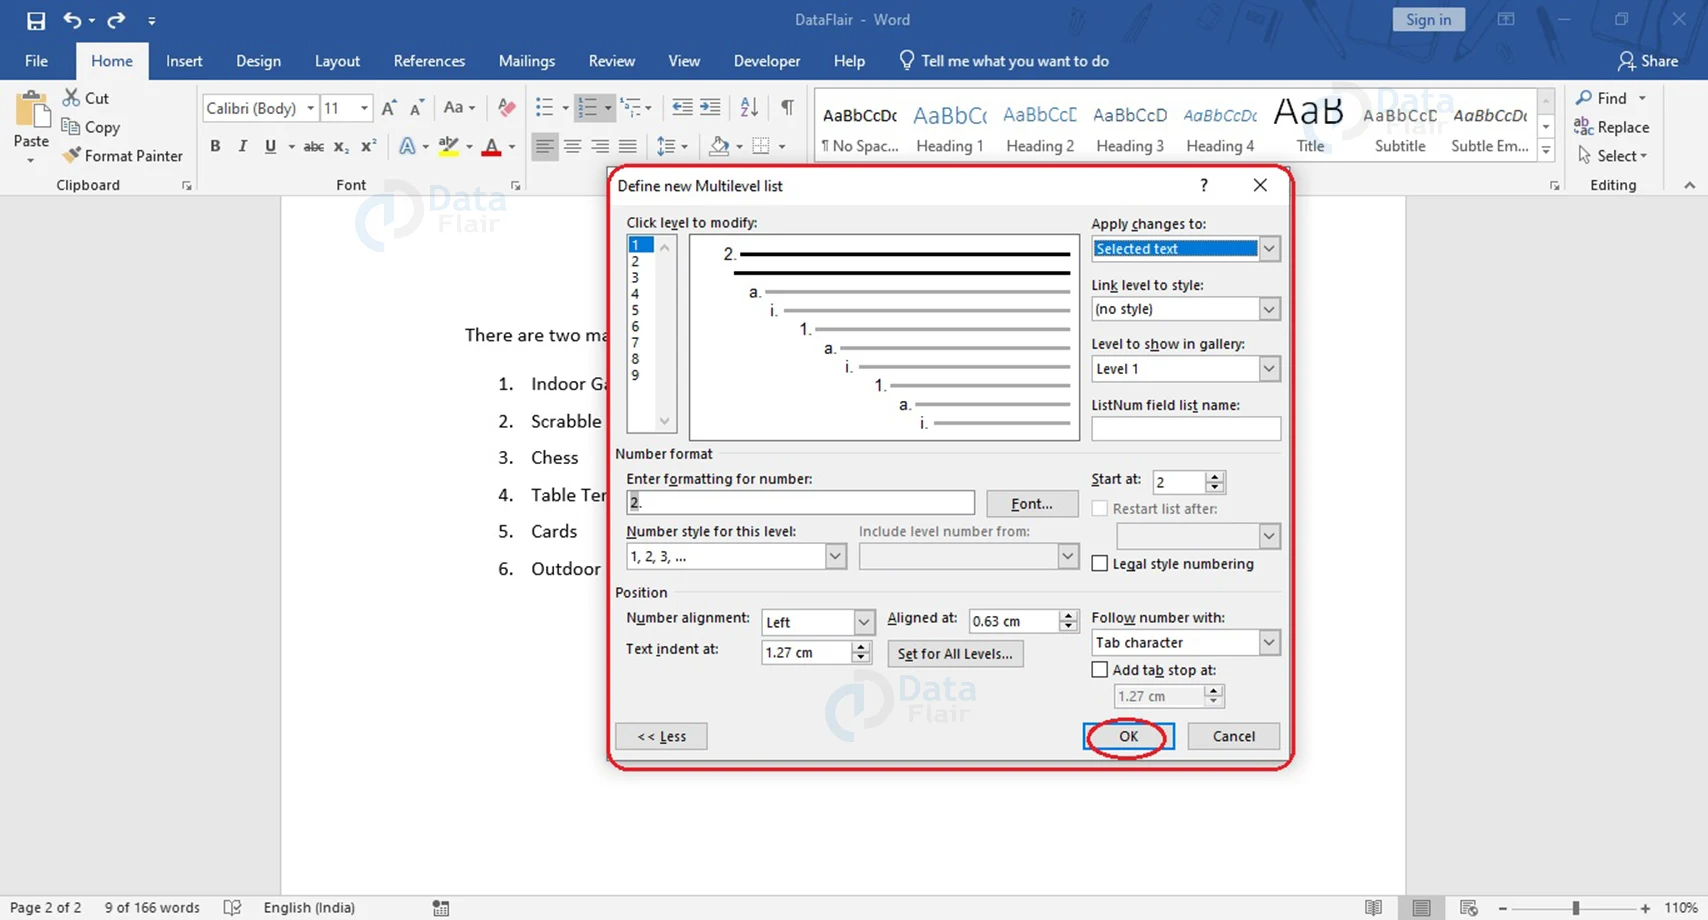
3. More options and choices appear. Change the default settings to suit your needs and requirements and click OK to define your new multilevel list.
Create a List as you Type
Sometimes, while listing down the ingredients in a recipe, or the list of items to be bought from the supermarket, you might want to create a bullet or number list as you type. In Word, you can create a list as you type your document, and the steps for the same are discussed below.
1. Place your cursor from where you wish to start your list.
2. Click on the Bullets or Numbering button to start a bullet list or numbered list respectively.
3. The list starts. Type in the first element and press the Enter key to insert the next element of the list.
4. Press Enter key twice to end the list.
How to use Symbols as Bullets in Lists?
Here are the steps to insert a checkbox for printed documents.
1. Choose the list, where you wish to use symbols as bullets.
2. On the Home tab, open the drop-down menu by clicking the downward arrow to the right of the Bullet List button.
3. Choose the Define New Bullet… option.
4. The Define New Bullet window appears. Click the Symbol button.

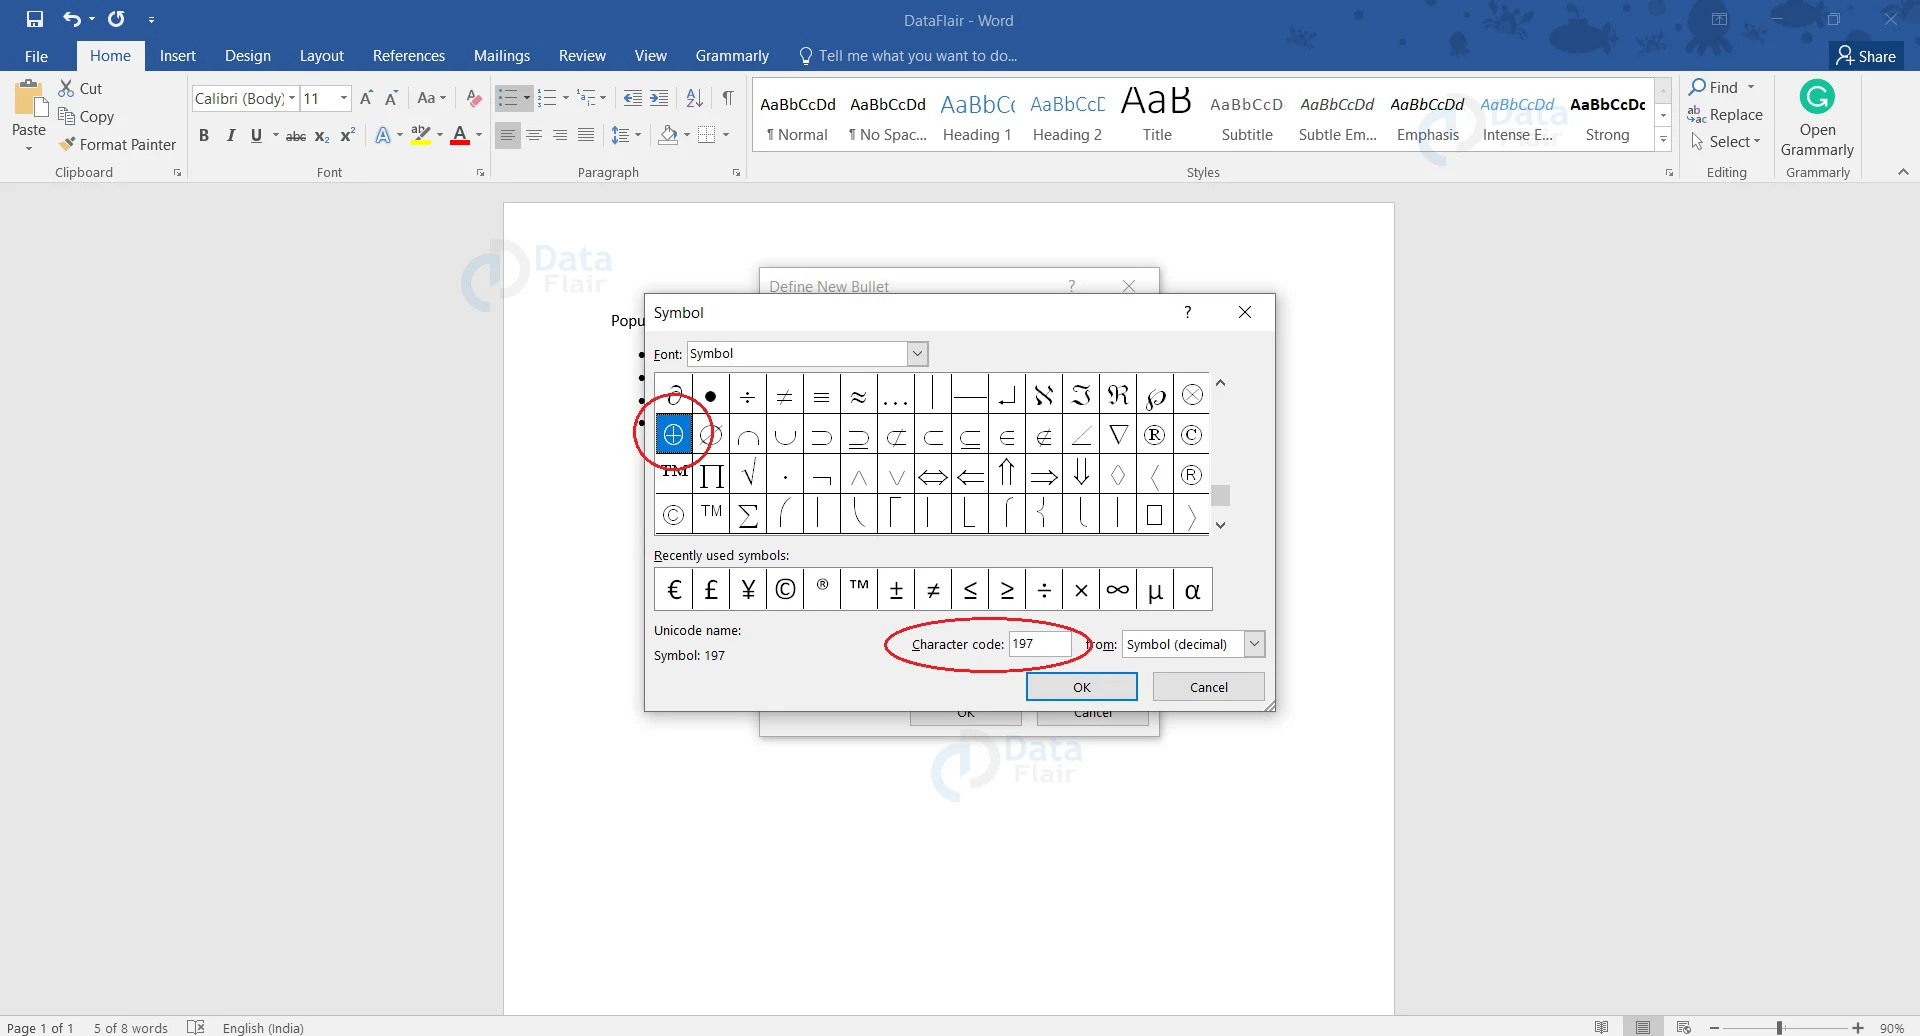
5. From the Symbol window, open the Font dropdown menu and choose the appropriate option. Windings and Symbols are common choices because they offer a large variety of useful symbols for you to choose from.
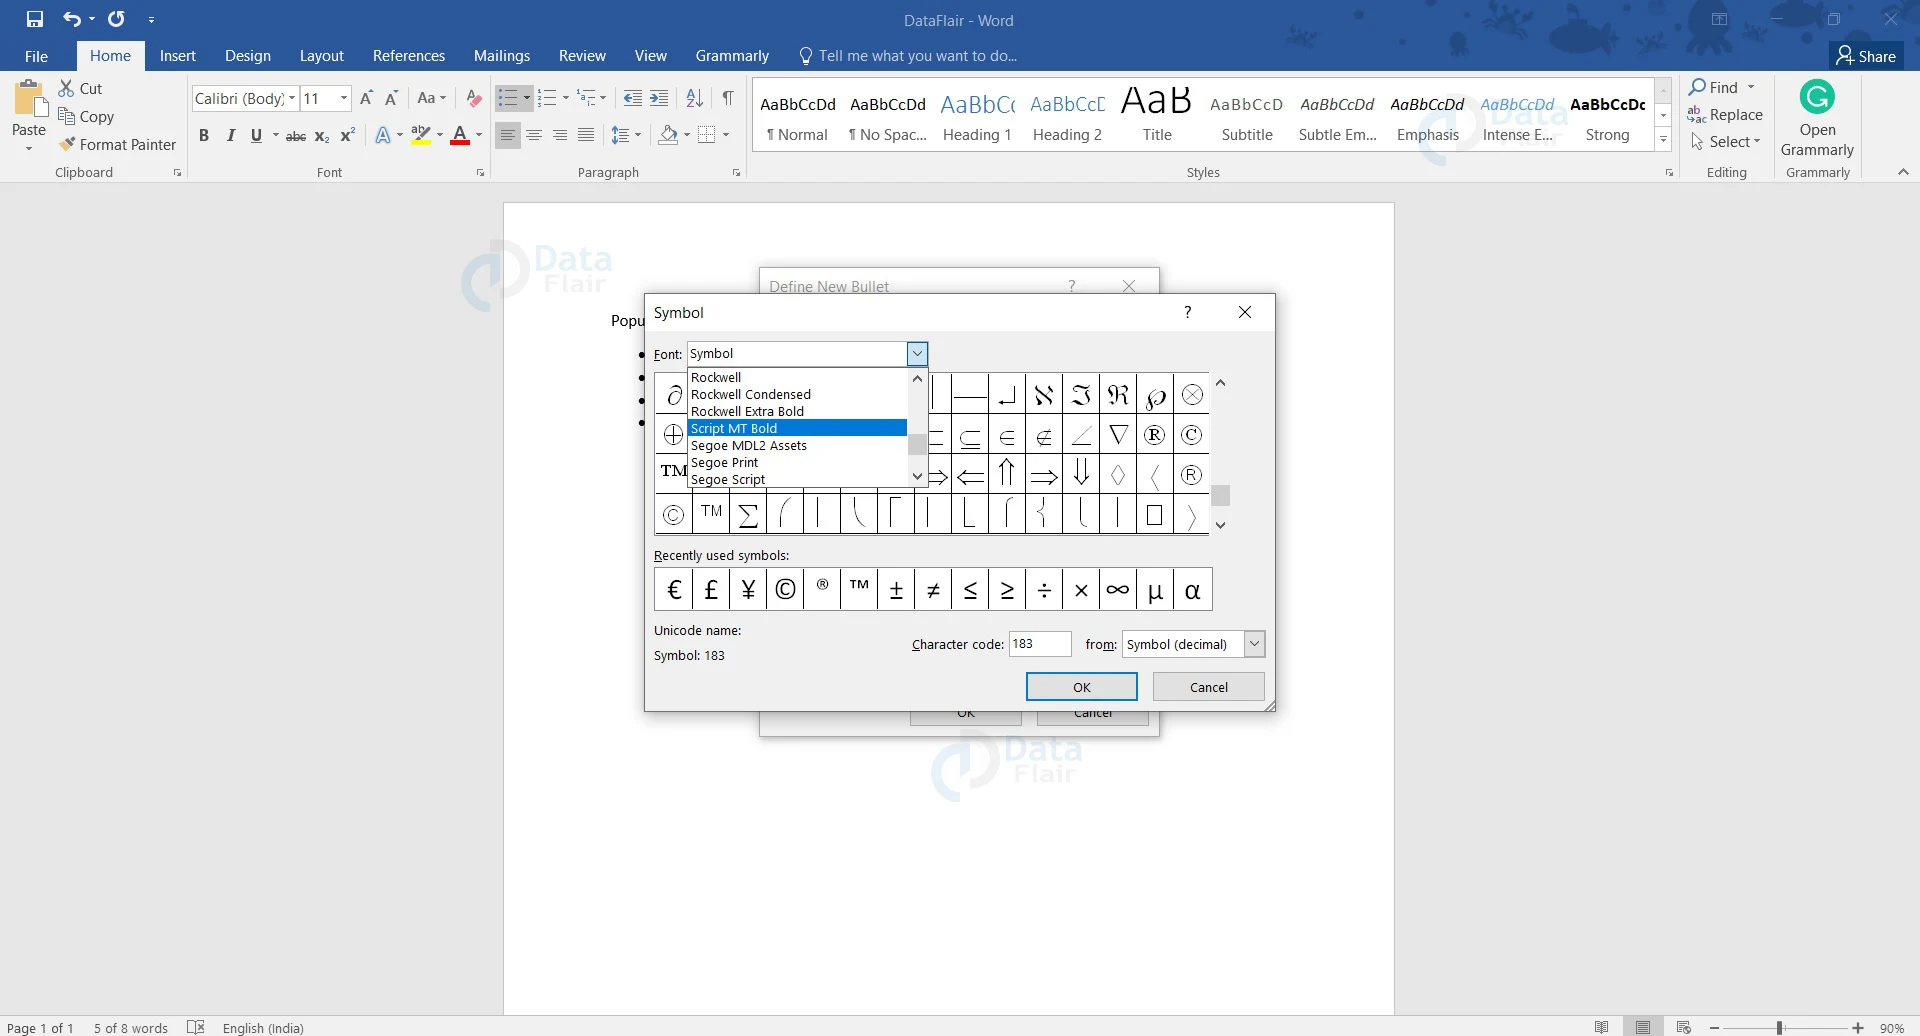
Here, the Symbol font is selected.
6. Several symbols appear for you to choose from. From them, choose the symbol you wish to use as bullets. As an alternative, if you already want a particular symbol and know its character code, you can type it in the Character code:
7. Click OK to close the Symbol window. Again click OK to close the Define New Bullet window.
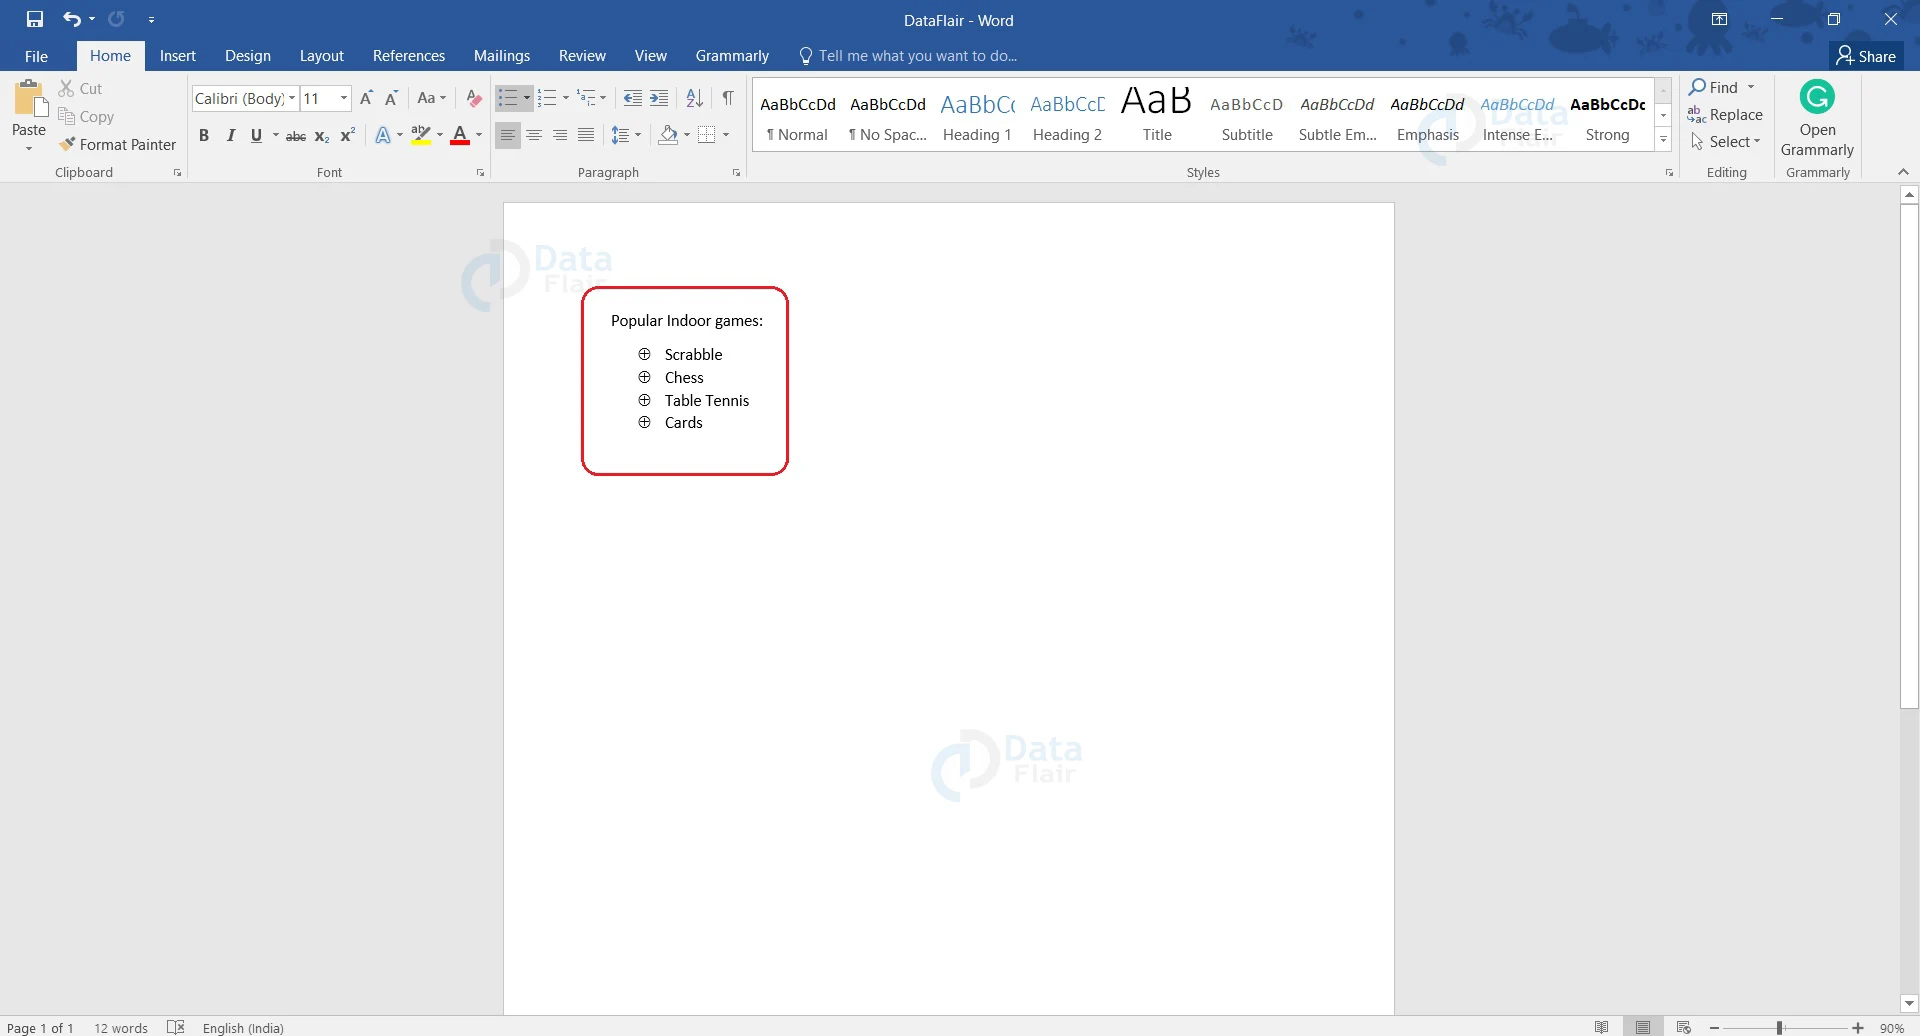
If you go back to your document, you will notice that the bullets have been replaced by the symbol of your choice. If you wish to use the same symbol again in the same document, you can find it under Recently Used Bullets from the dropdown menu of Bullet List. You may change its size by changing the font size.
To remove lists in Word, simply select the bullet list and click on the Bullets button. You will find that the list has been removed. If you were using a numbered list, you would have to select the list and click on the Numbering button instead.
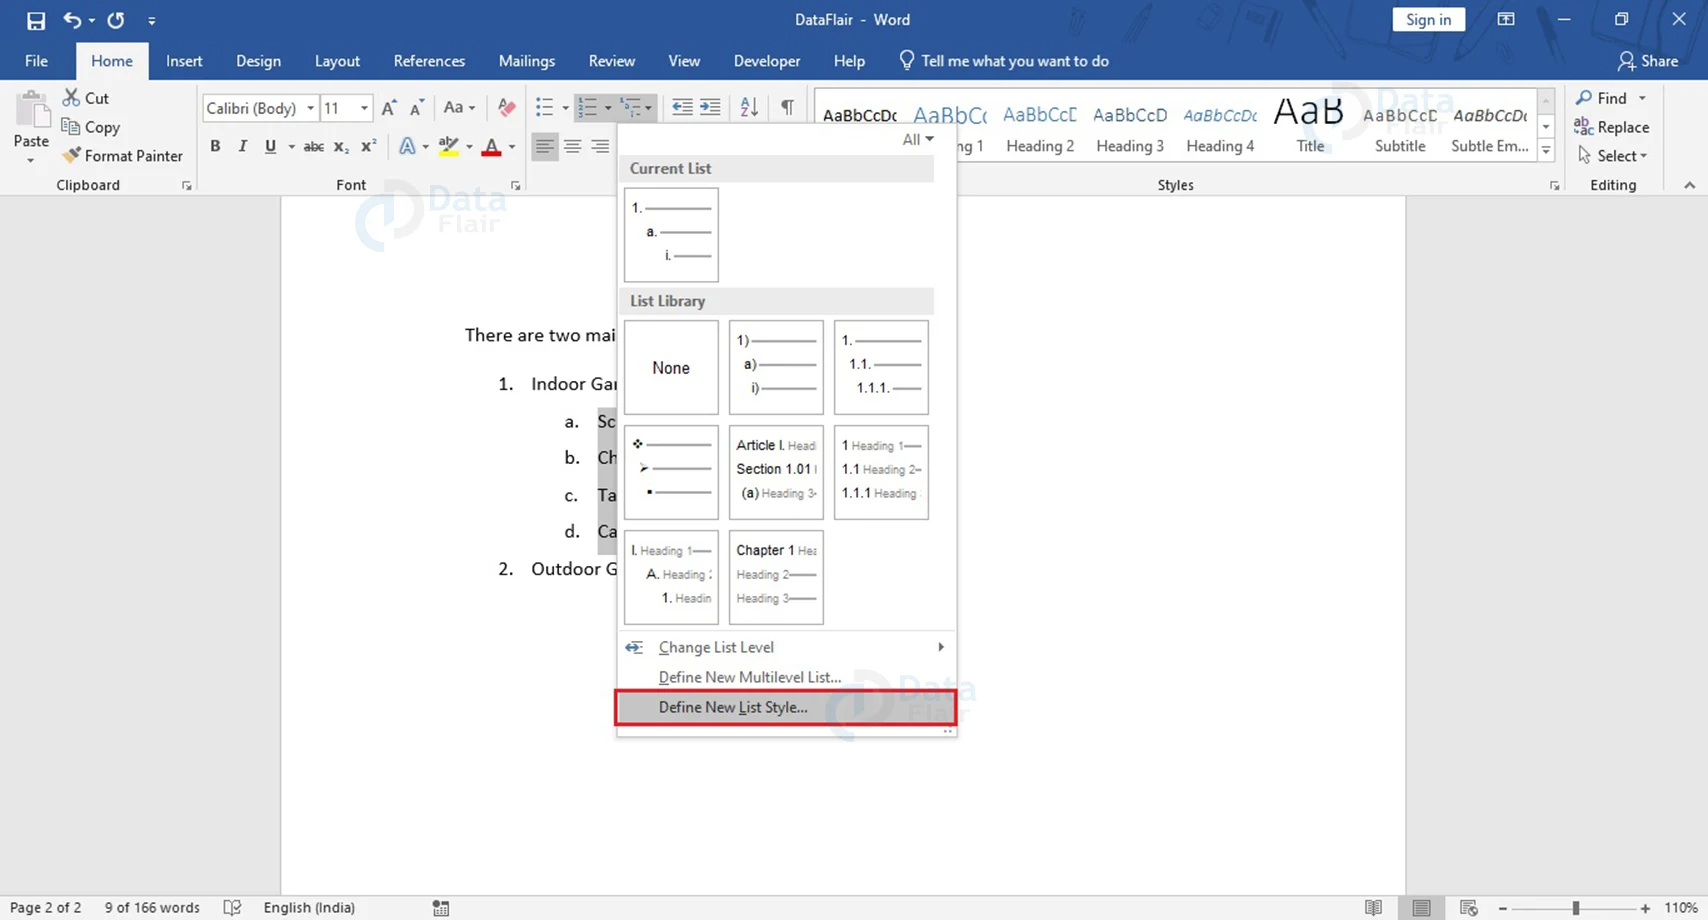
Defining a New List Style in Word
To define a new list style in Word, follow the steps mentioned below.
1. Open the dropdown associated with the Multilevel List button and select the Define New List Style… button.
2. The Define New List Style dialog box appears. Here give a name to the style that you are defining. Fill the Formatting section as per your requirements. You can change the font style, size and color from the Formatting section.
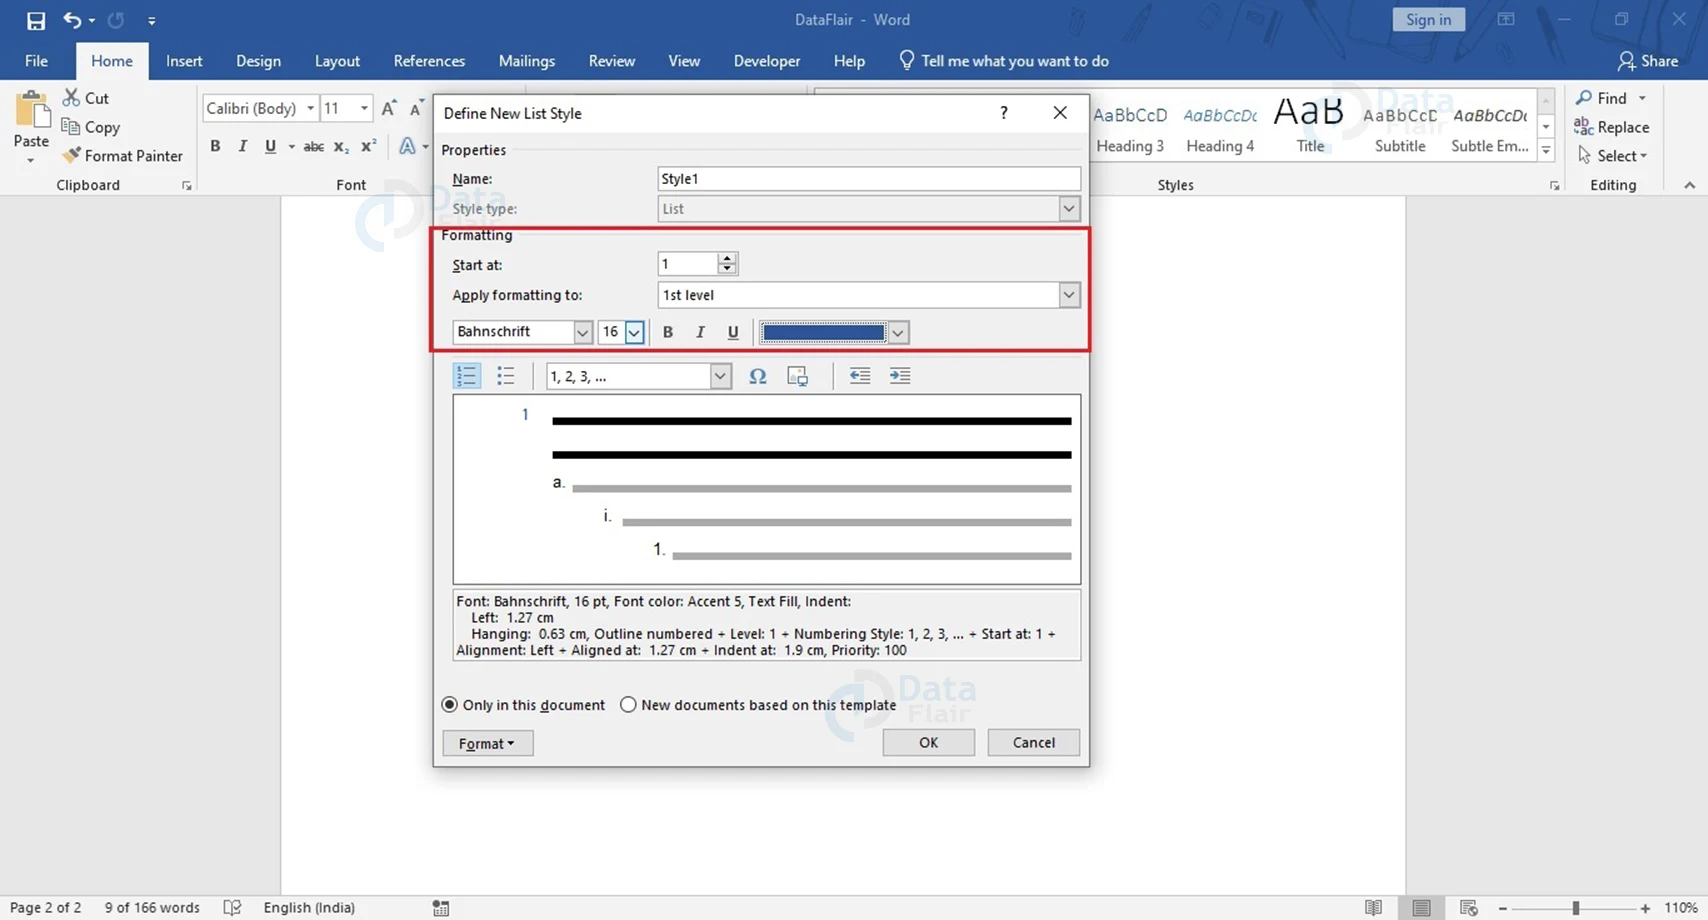
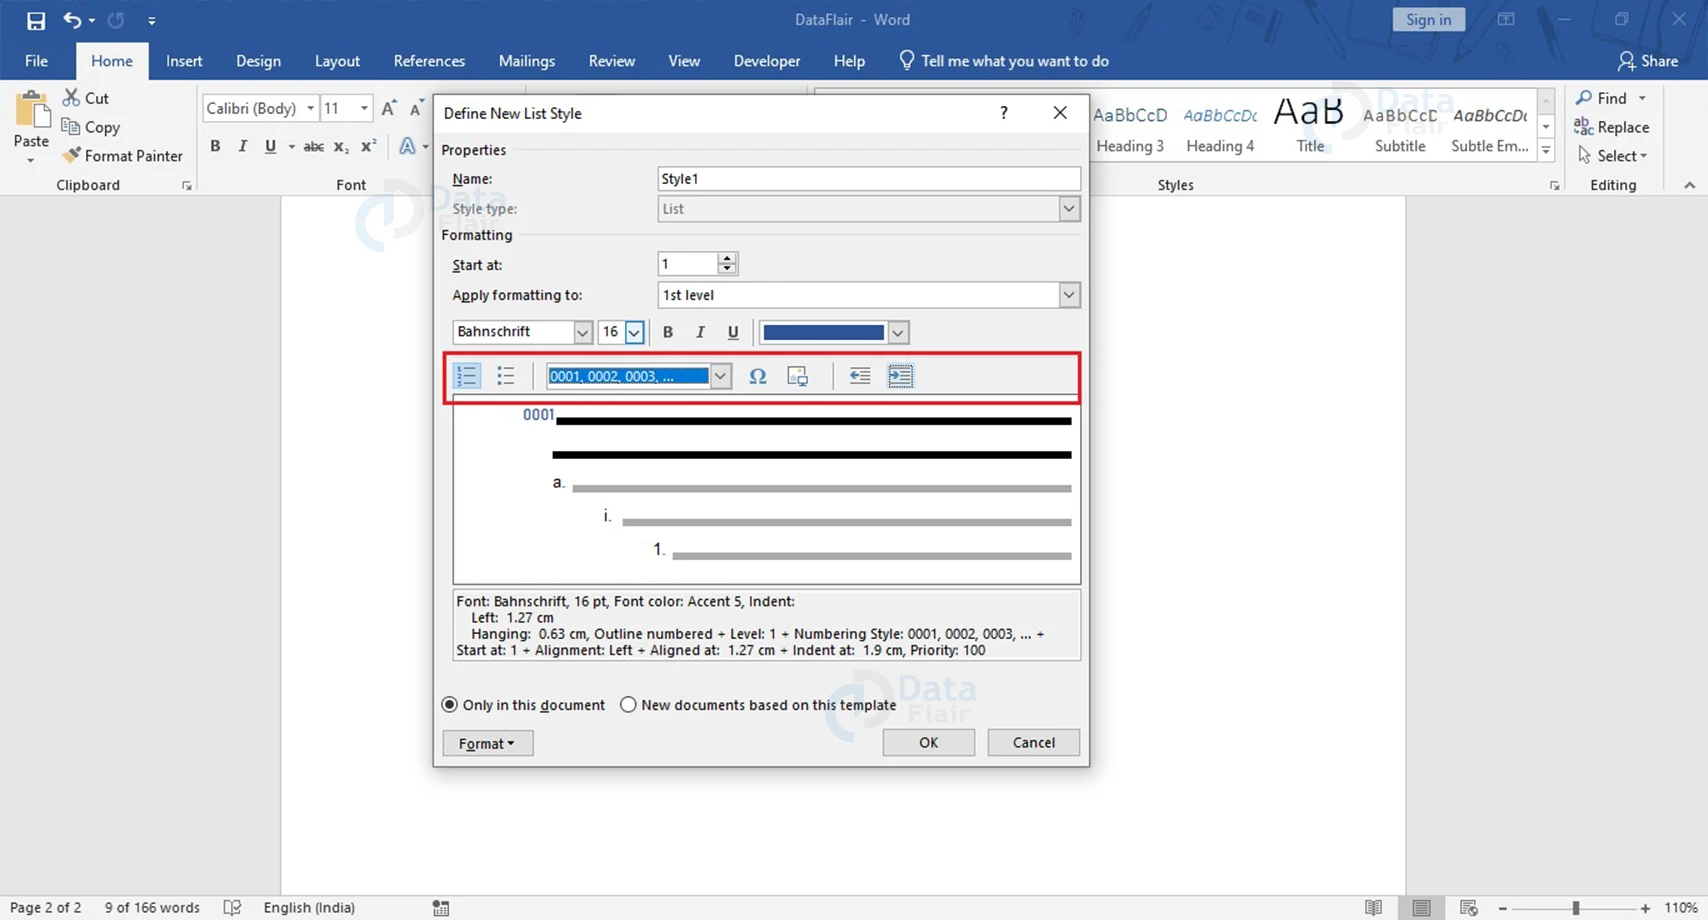
3. You can also change the list type (Numbered or Bullets) as well as list style (number style and bullet style) and indentation from the area above the preview window.
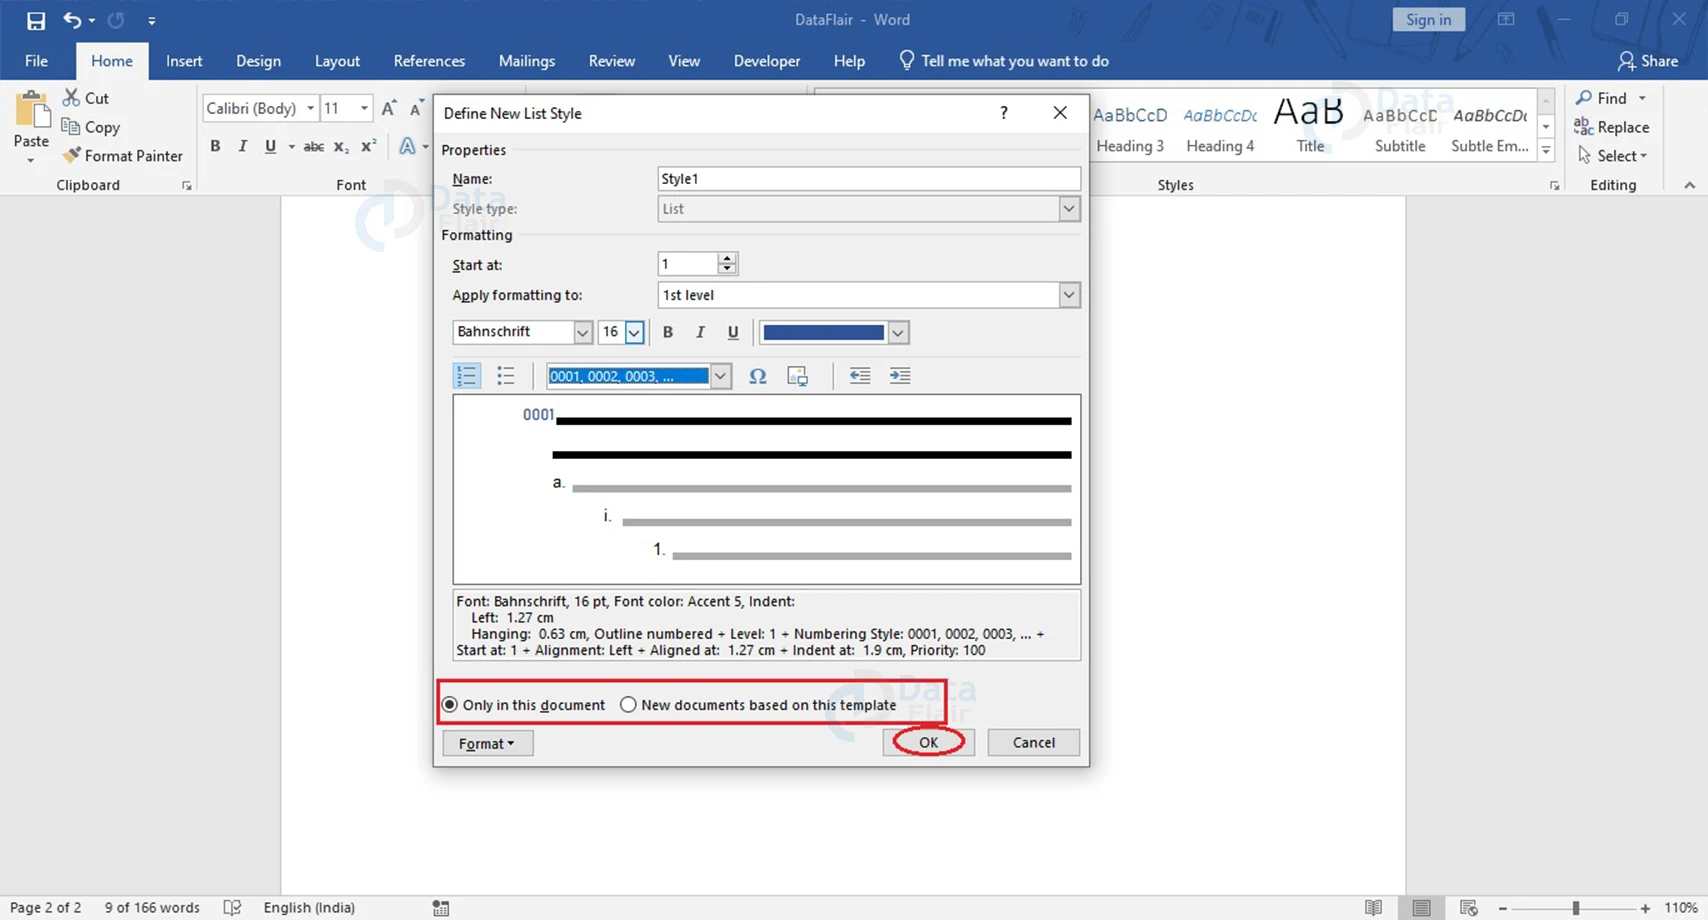
You can choose to apply this style to this document only or save this style as a template for other documents too. Make the decision and choose the appropriate radio button and click on the OK button.
Now, if you check the dropdown along the Multilevel List button, you will find this new style has been added under List Styles.
Conclusion
You have learned how to work on lists in Word. You can now create bullet and number lists easily and take notes properly. Lists in Word are very useful in many daily documentation tasks. It is an important feature and became very popular with users once it was introduced in Word.
Did you like this article? If Yes, please give DataFlair 5 Stars on Google


