TypeScript Installation and Environment Setup
Job-ready Online Courses: Dive into Knowledge. Learn More!
A well-liked programming language for creating complicated, large-scale applications is TypeScript. It supersets JavaScript and is an object-oriented, strongly typed language. Several capabilities offered in TypeScript are unavailable in JavaScript, including static typing, interfaces, classes, etc. You can follow the instructions in this article to set up a TypeScript development environment.
Steps to install TypeScript
1. Install Node.js
The first step in setting up a TypeScript development environment is to install Node.js. Node.js is a JavaScript runtime that allows us to execute JavaScript code outside the browser. It is a crucial component of many modern web applications and is required for TypeScript development.
You need to download Node.js to install it. After downloading the installer, complete the installation by adhering to the instructions.
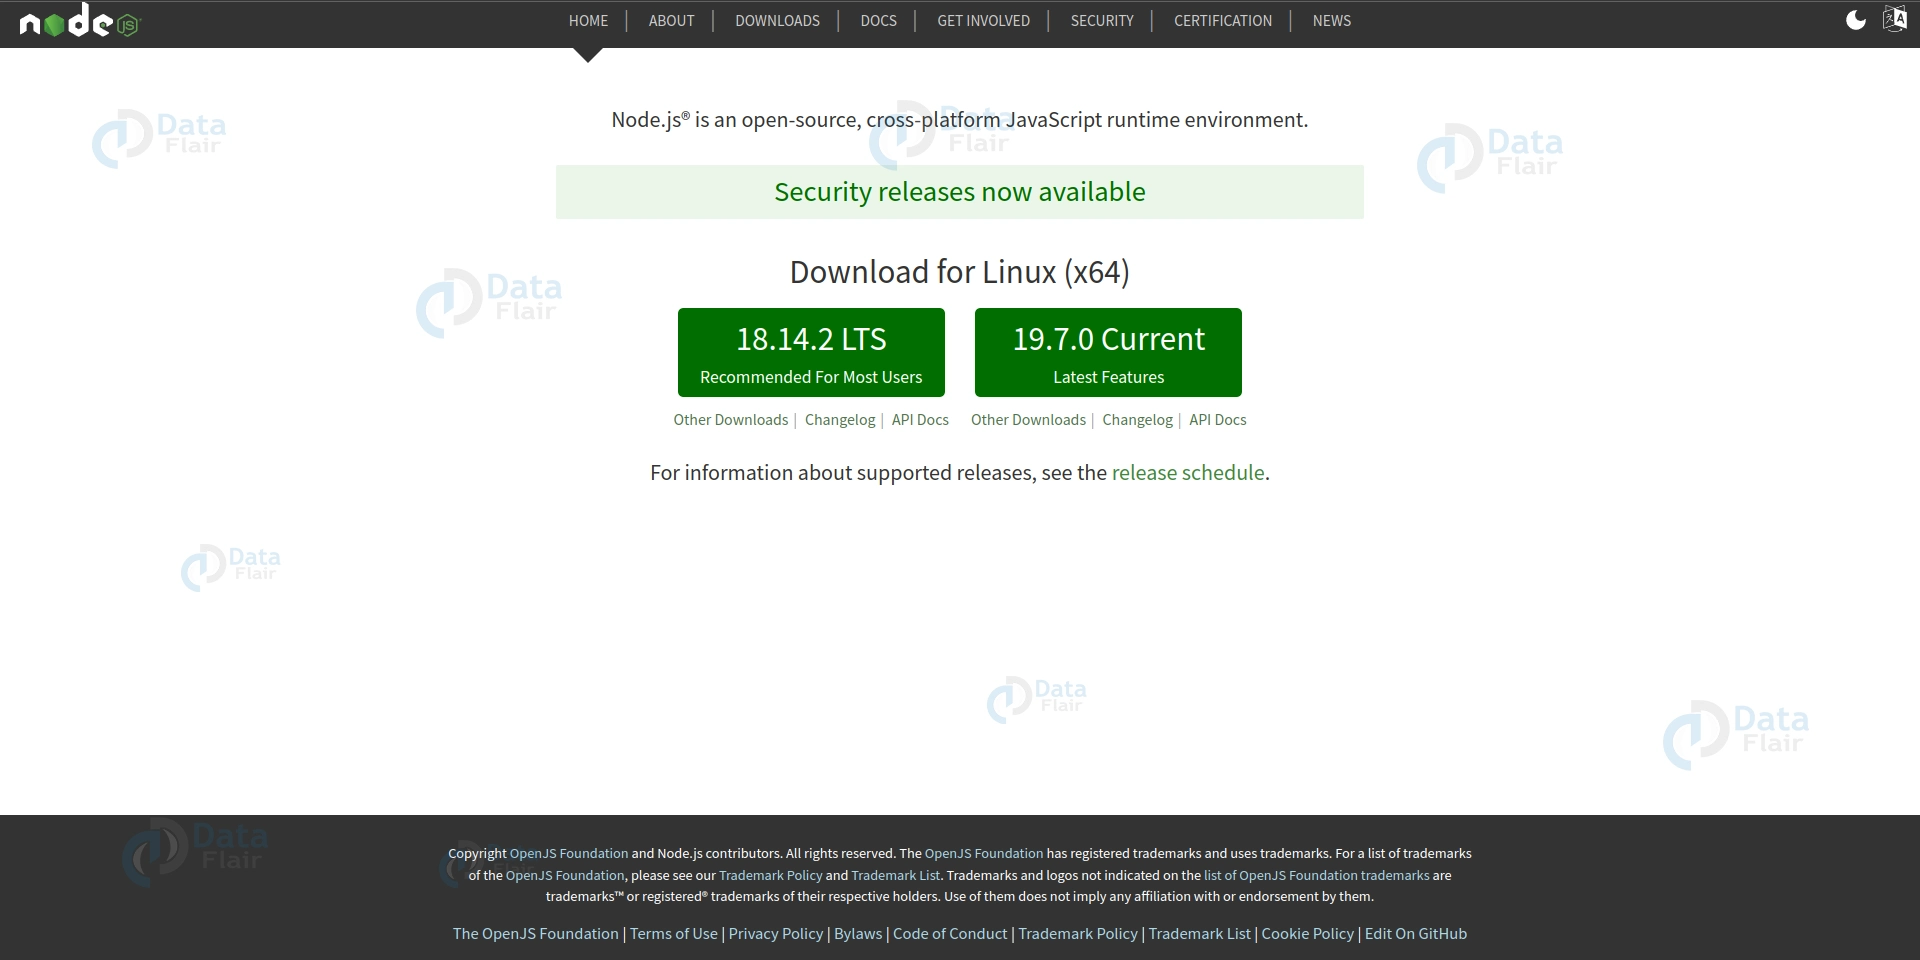
- For Linux – Install using terminal by the command ‘sudo apt install nodejs’
- For Windows – Install the exe file by clicking it and running the executable file.
- For Mac – Download Node.js for macOS by clicking the “Macintosh Installer” option and run the downloaded Node.js .pkg Installer
2. Install TypeScript
Once you have installed Node.js, the next step is to install TypeScript. TypeScript can be installed using the Node Package Manager (npm). To install TypeScript, open a terminal or command prompt and run the following command:
‘npm install -g typescript’
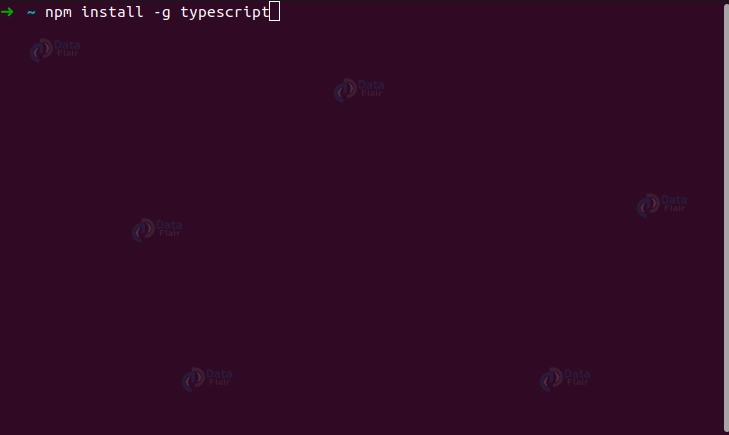
With this command, TypeScript will be installed system-wide. The package is installed globally for use from any directory when the -g flag is used by npm.
For Mac

Install using “Macintosh Installer” and run the downloaded “.pkg” file to install NodeJS.
Installing TypeScript using Visual Studio Code
Visual Studio is a popular integrated development environment (IDE) that supports multiple programming languages, including TypeScript. To install TypeScript using the Visual Studio extension, follow the steps below:
Step 1: Install Visual Studio
You can download Visual Studio from the official Visual Studio website if you still need to install it on your system. Make sure to download and install the version that supports TypeScript.
Step 2: Install TypeScript Extension
Once you have installed Visual Studio, you can install the TypeScript extension from the Visual Studio Marketplace. To do this, follow the steps below:
1. Open Visual Studio and click on the “Extensions” menu item from the top menu bar.
2. Click on “Manage Extensions.”
3. In the “Extensions and Updates” dialog box, click “Online” from the left side menu.
4. Search for “TypeScript” in the search box and press enter.
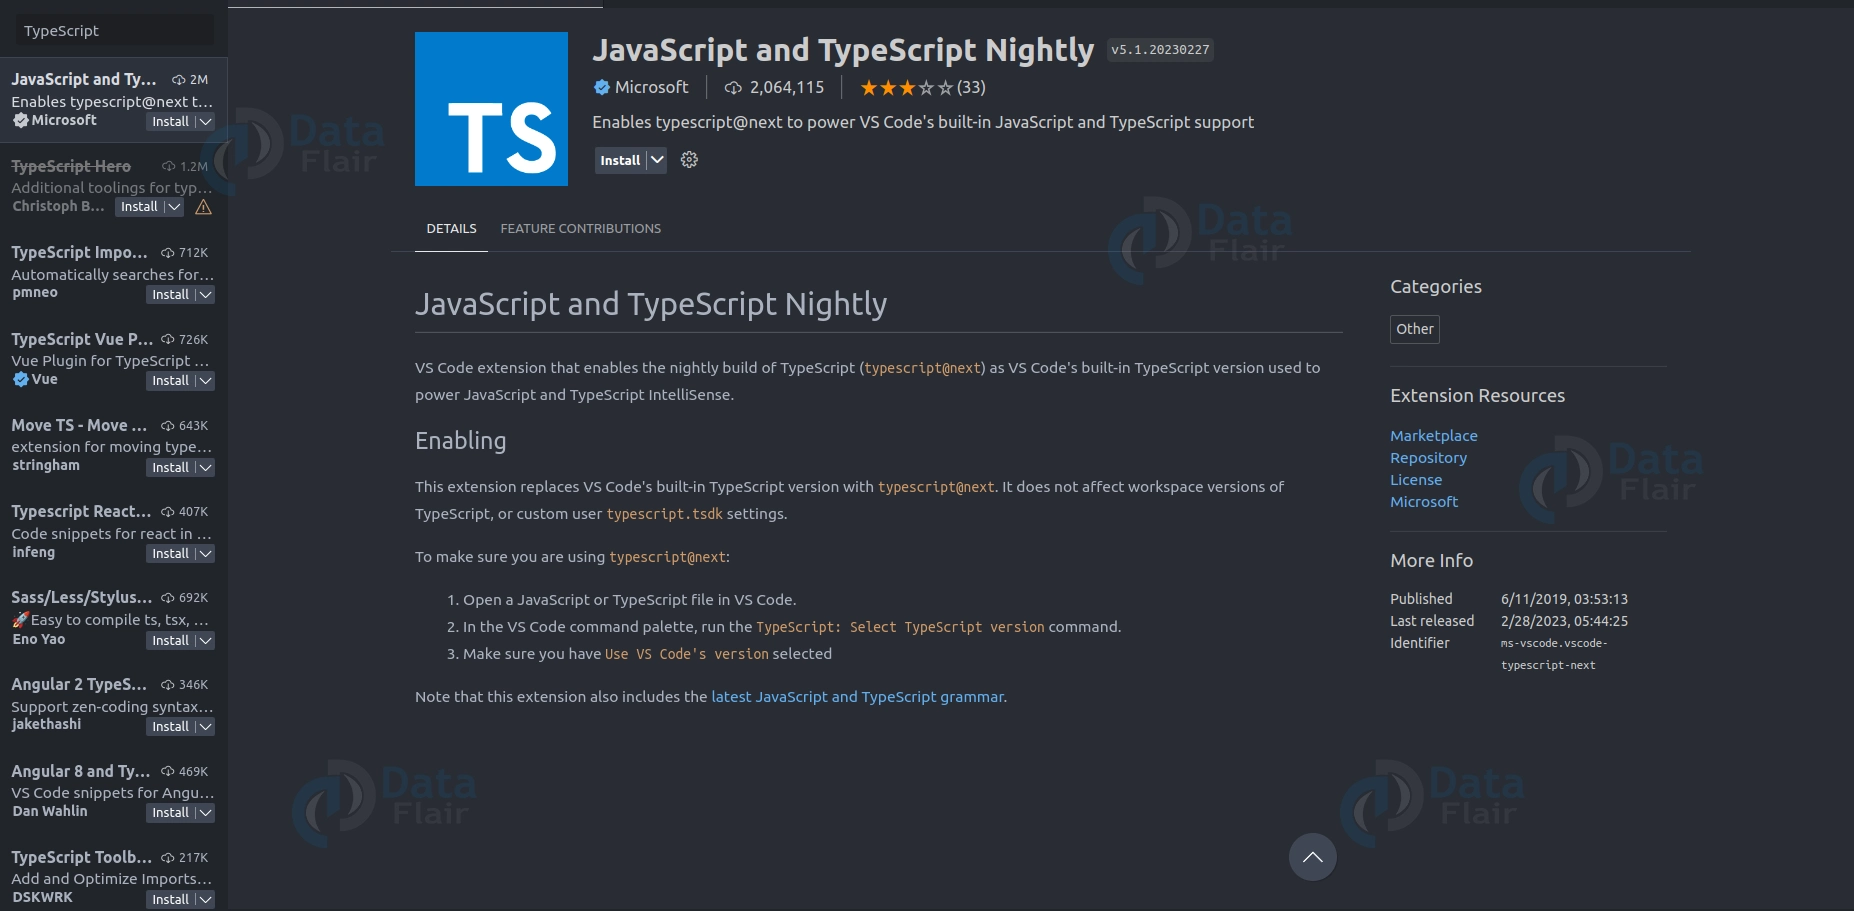
5. From the search results, select the TypeScript extension and click on the “Download” button.
6. Once the download is complete, click on the “Install” button.
7. Follow the prompts to complete the installation process.

Step 3: Create a TypeScript project
After installing the TypeScript extension, you can create a new TypeScript project. To do this, follow the steps below:
a. Create a new folder called ‘DataFlair Project’
b. Create a new file called ‘app.ts’
c. Write the following code.
console.log('Hello, World');
d. Run the app using the play button on top right corner.
e. You will get the following output.

3. Creating a TypeScript Project
We must build a new directory and start it as a Node.js project before creating a new TypeScript project.
To accomplish this, launch a terminal or command prompt and go to the directory where the project will be created. Run the subsequent commands after that:
‘mkdir DataFlair-project’
‘cd DataFlair-project’
‘npm init -y’

The first command creates a new directory called DataFlair-project. The second command navigates into the new directory. The third command initializes the directory as a Node.js project and creates a package.json file.
The -y flag tells npm to use the default settings and not ask questions.
4. Configuring TypeScript
We need to configure TypeScript for our project now that a new project has been created and TypeScript has been installed. To accomplish this, a tsconfig.json file must be created in the root of our project directory. The TypeScript configuration options are located in this file.
To create the tsconfig.json file, run the following command:
‘tsc --init’
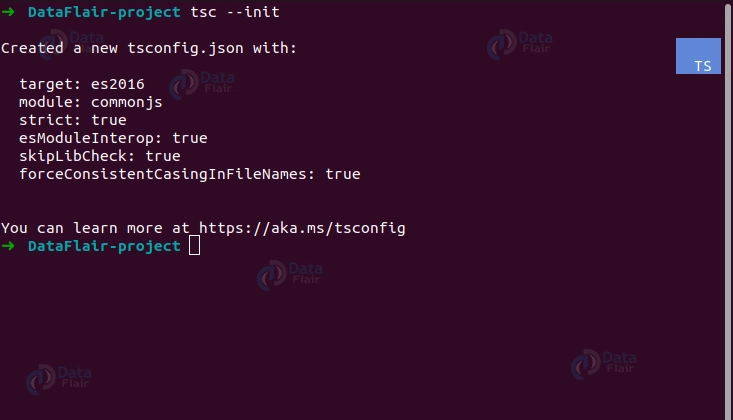
This command will create a new tsconfig.json file in the root of our project directory. The tsconfig.json file contains many configuration options, but we only need to change a few.
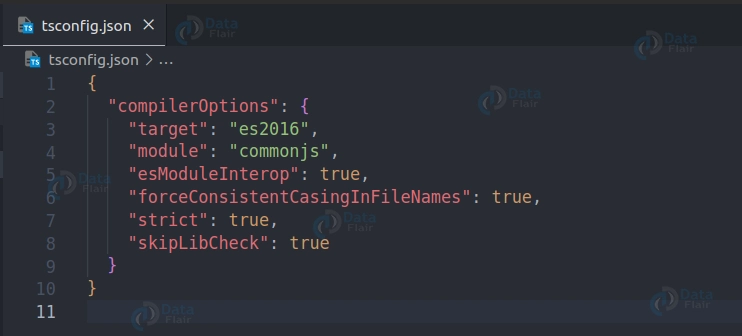
The first option we need to change is the target option. This option specifies the ECMAScript version that TypeScript will compile our code to. We will set this option to ES2018 to target the latest version of ECMAScript.
The second option we need to change is the outDir option. This option specifies the directory where the compiled TypeScript files will be placed. We will set this option to dist to create a new directory called dist in the root of our project directory.
Here is what our tsconfig.json file should look like:
5. Writing TypeScript Code
Now that we have set up our TypeScript development environment, we can start writing TypeScript code. To create a new TypeScript file, create a new file with a .ts extension in the root of our project directory. For example, create a new file called index.ts.
In our index.ts file, we can write TypeScript code just like JavaScript code. However, we can take advantage of the additional features that TypeScript provides, such as static typing, interfaces, and classes.
For example, let’s create a simple function that adds two numbers together and returns the result. We will define the types for the function parameters and return values using TypeScript’s static typing:
function DataFlair_addNumbers(num1: number, num2: number): number {
 return num1 + num2;
}


console.log(DataFlair_addNumbers(5, 10));
In this example, we have defined a function called DataFlair_addNumbers that takes two parameters of the type number and returns a value of the type number. We have also used TypeScript’s static typing to ensure that the function is only called with the correct types of parameters.
6. Compiling TypeScript Code
Once we have written our TypeScript code, we must compile it to JavaScript to be executed in a web browser or a Node.js environment. To compile our TypeScript code, we can use the tsc command.
To compile our TypeScript code, open a terminal or command prompt and navigate to the root of our project directory. Then, run the following command:
‘tsc’
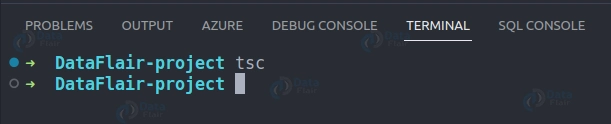
This command will compile all the TypeScript files in our project directory and place the compiled JavaScript files in the dist directory, as specified in our tsconfig.json file.
7. Running TypeScript Code
Now that we have compiled our TypeScript code into JavaScript, we can run it in a web browser or a Node.js environment. To run our code in a web browser, we must create an HTML file referencing our compiled JavaScript file.
In the root of our project directory, create a new file called index.html, and add the following code:
<!DOCTYPE html>
<html lang="en">
 <head>
   <title>DataFlair TypeScript Example</title>
 </head>
 <body>
   <script src="./index.ts"></script>
 </body>
</html>
This HTML file references our compiled JavaScript file located in the dist directory.
We may use the node command to run our code in a Node.js environment. Open a terminal or command prompt, go to the root of our project directory, and run our index.js file from there. Run the subsequent command after that:
‘node index.js’
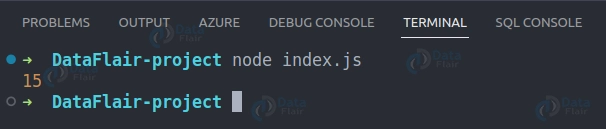
This command will execute our index.js file in a Node.js environment.
Installing ts-node
ts-node is a TypeScript execution engine that allows you to run TypeScript code directly without compiling it first. It is a popular tool among TypeScript developers, making it easy to write and test TypeScript code quickly without the extra compilation step.
Here are the steps to install ts-node:
1. Install Node.js:
ts-node requires Node.js to be installed on your computer. You can download and install the latest version of Node.js from the official website: https://nodejs.org/en/download/.
2. Install ts-node:
Once you have Node.js installed, you can install ts-node by running the following command in your terminal or command prompt:
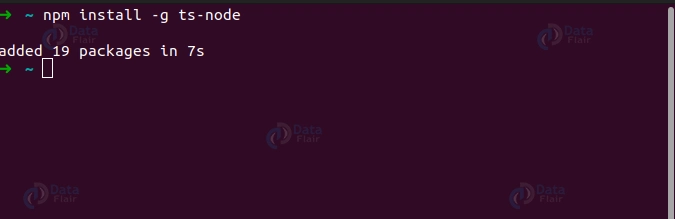
This will install ts-node globally on your computer.
3. Verify installation:
To verify that ts-node is installed correctly, you can run the following command in your terminal or command prompt:
This should output the version number of ts-node that you have installed.
Once you have ts-node installed, you can use it to run TypeScript code directly from the command line. For example, if you have a file named app.ts that contains some TypeScript code, you can run it using ts-node like this:
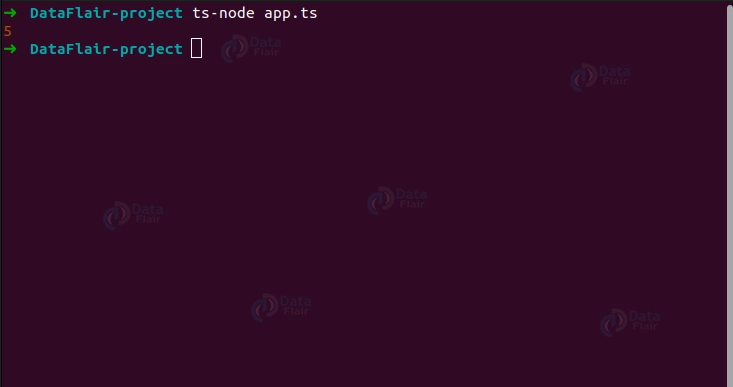
This will execute the TypeScript code in app.ts without compiling it first.
Note that ts-node is intended for development and testing and is not recommended for use in production environments. Compiling your TypeScript code to JavaScript before deploying it to production is best.
Conclusion
In this article, we have walked you through the steps to set up a TypeScript development environment. We have installed Node.js, installed TypeScript using npm, created a new TypeScript project, configured TypeScript for our project, written TypeScript code, compiled our TypeScript code to JavaScript, and run our code in a web browser and a Node.js environment.
TypeScript is a powerful programming language that offers many features unavailable in JavaScript. Setting up a TypeScript development environment allows you to easily take advantage of these features and build large-scale, complex applications.
Did we exceed your expectations?
If Yes, share your valuable feedback on Google


