Create Site-to-Site VPN Connection in Azure Portal
Top AWS Course for AWS Certified Cloud Practitioner (CLF-C01) Start Now!!
Placement-ready Courses: Enroll Now, Thank us Later!
In this article, we will discuss Site-to-Site VPN Connection in Azure. Also, this article will be mainly practical based. So without wasting time let it begin.
What is a Site-to-Site VPN Connection?
Over an IPsec/IKE (IKEv1 or IKEv2) VPN tunnel, a Site-to-Site VPN gateway connection connects your on-premises network to an Azure virtual network. This type of connection necessitates the use of an on-premises VPN device with an externally facing public IP address.
Now let us begin with the demonstration.
How to create a Virtual Network in Azure?
Below are the steps to create virtual network in Azure:
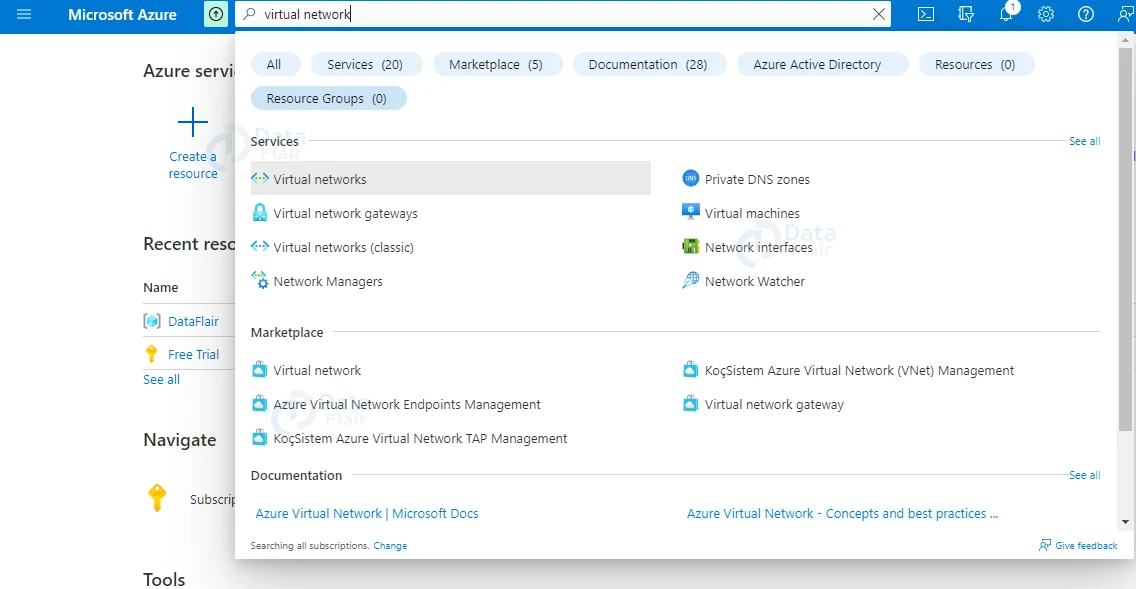
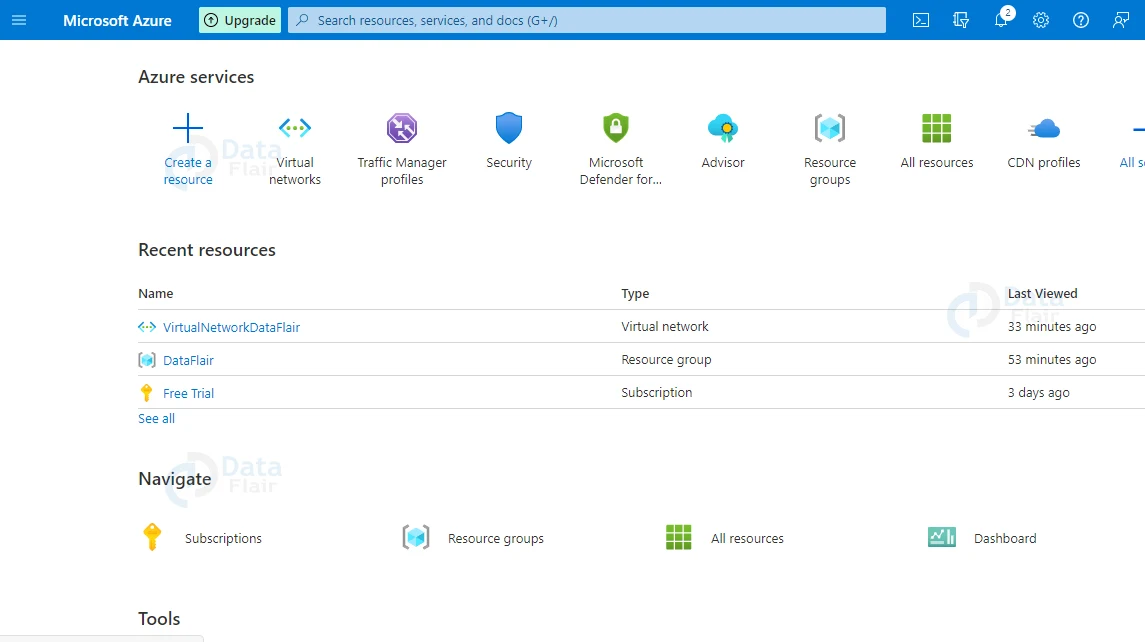
1: To do so, type Virtual Network into the search box and hit the enter key. On the screen, the Virtual Network will appear.
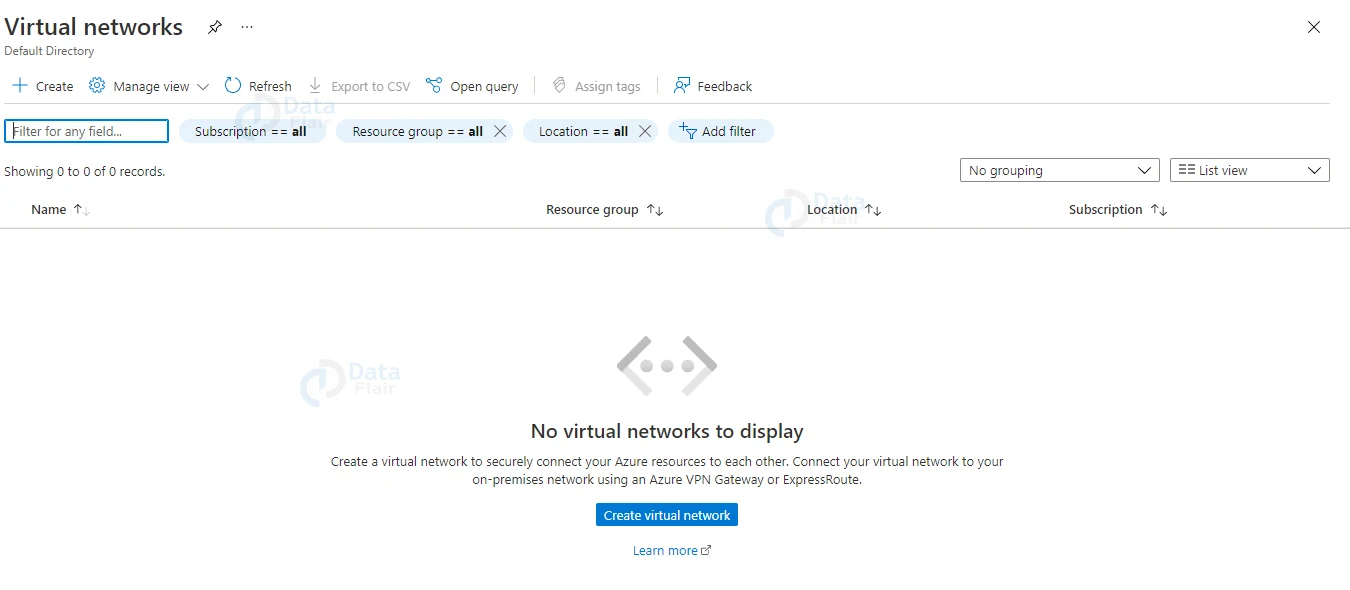
2: When you click on the Virtual Network, a window similar to the one below will appear, and you must click the Create button to proceed.
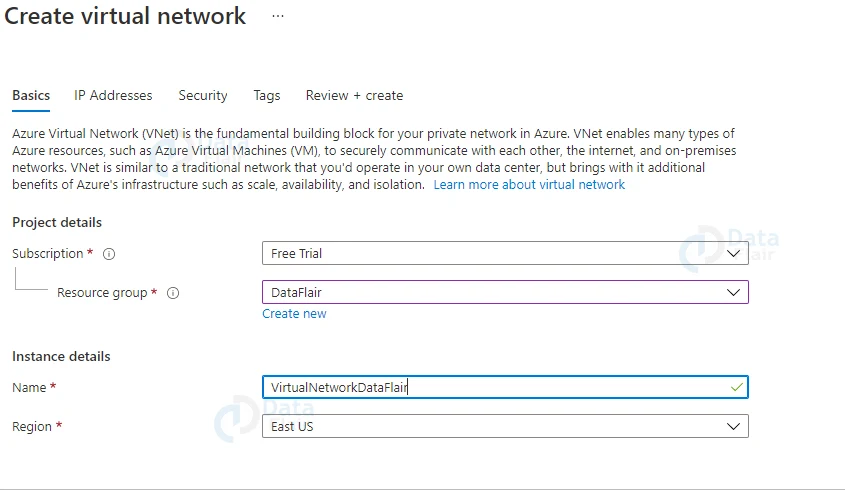
3: The Create Virtual Network screen appears after you click the Create button. A similar screen will be displayed. You must fill in the information requested on the screen, such as the Subscription on which the virtual network will be created. You have the option of selecting an existing Resource Group or creating a new one. Also choose the region and give your Virtual Network a suitable name.
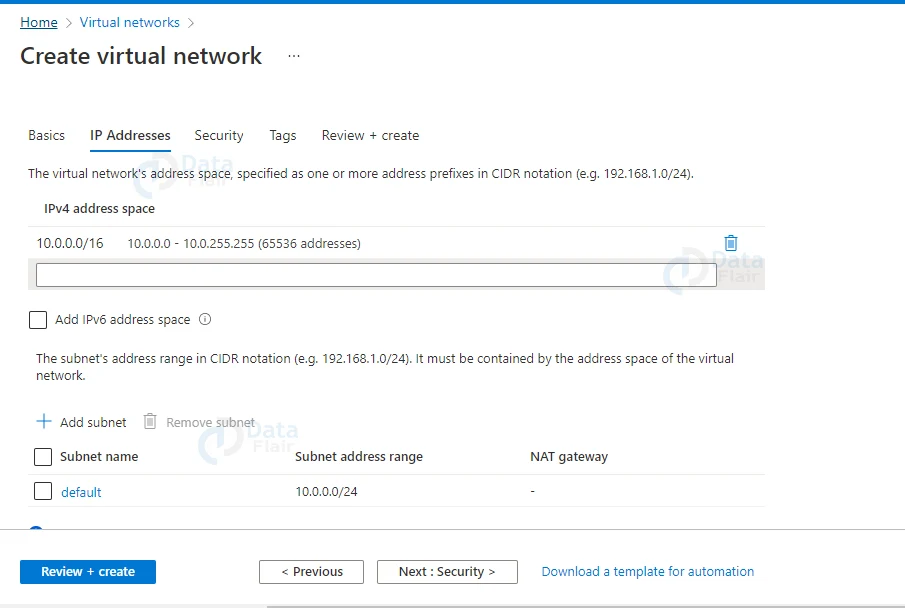
4: The “IPv4 address space” is now filled with a default value in the IP Address tab. You have the option to change this address.
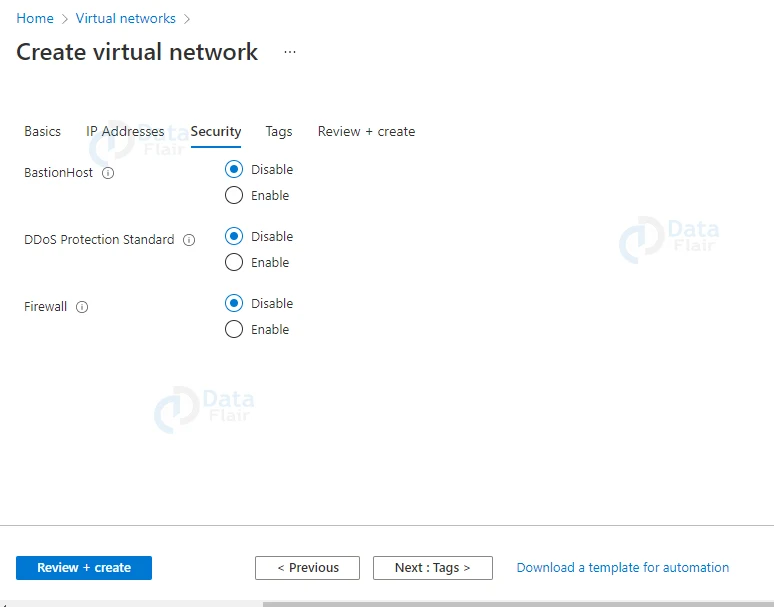
5: Keep everything default in the “Security” tab and click on Review + Create.
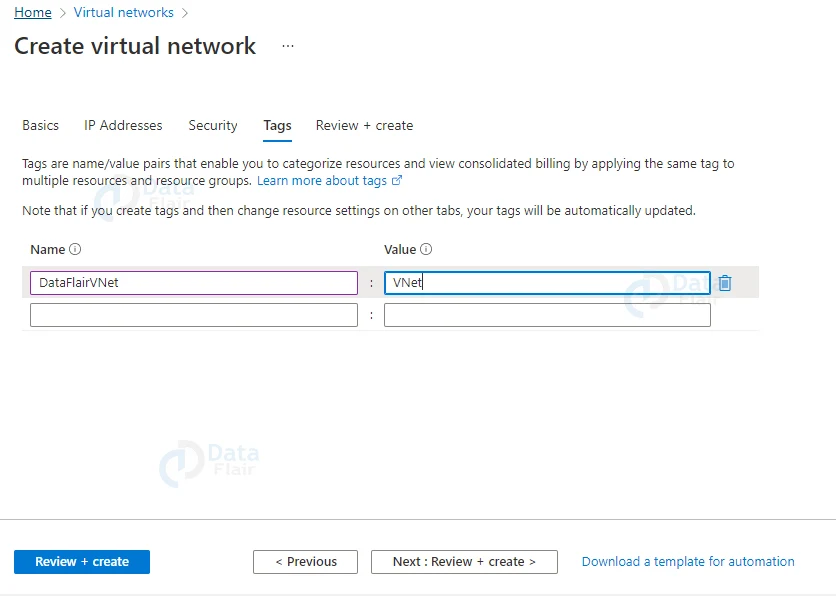
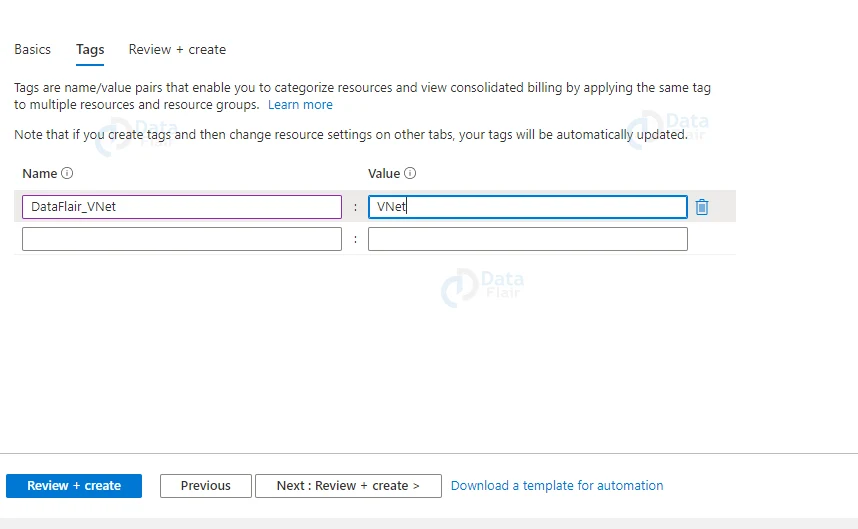
6: Similarly in the tags field provide a name and a value.
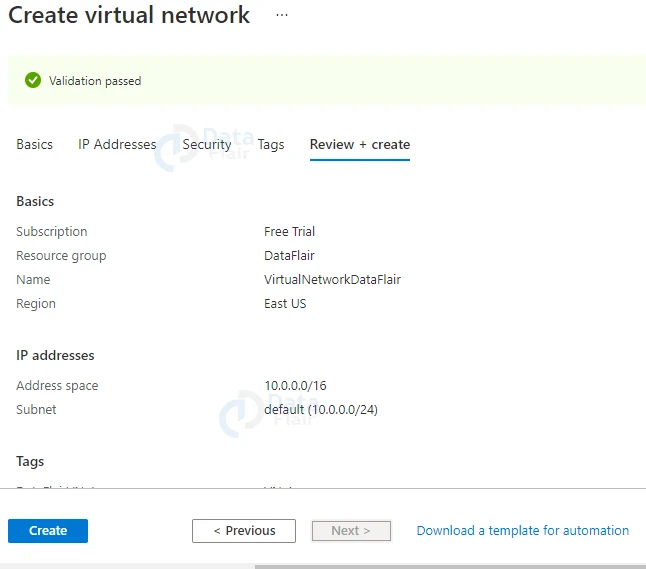
7: After you’ve double-checked your settings, click the Create button to start building your Virtual Network.
Creating Virtual Network Gateway
Follow the below steps to create a virtual network gateway in Azure:
1: In order to create a Virtual Network Gateway, you must first go to the resource group where the Virtual Network was created. Here you will find the + Add button, which you should click.

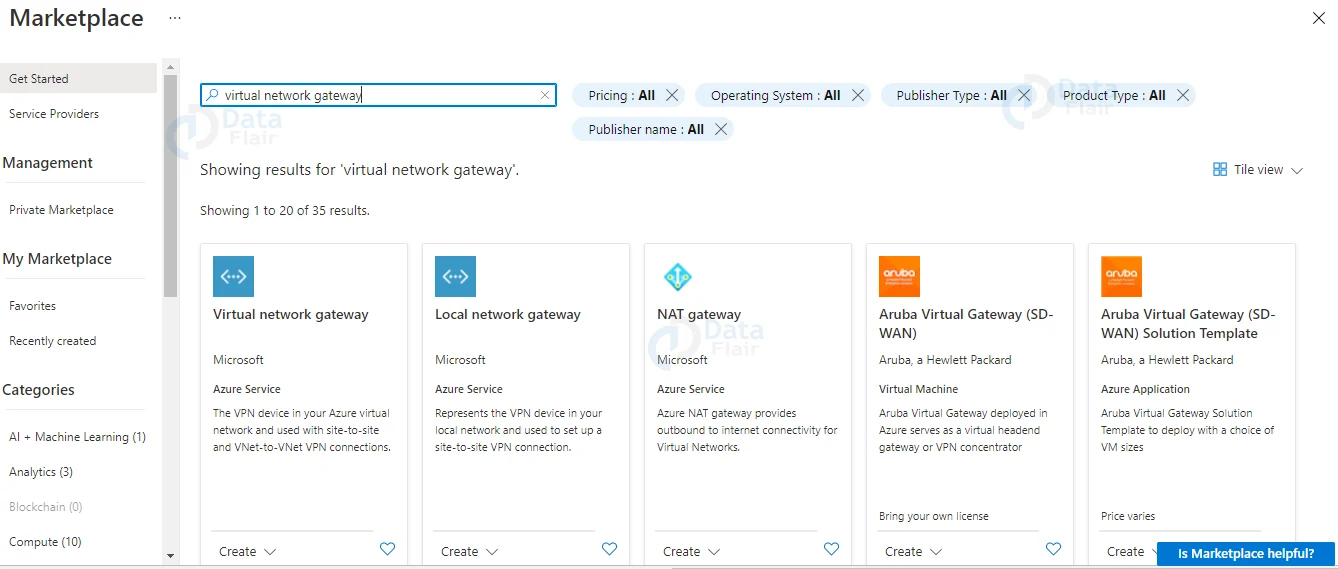
2: After clicking the +Add button, you’ll be taken to a screen like the one below, where you must type “Virtual network gateway” and press the enter key. Once you see Virtual Network Gateway click on it.
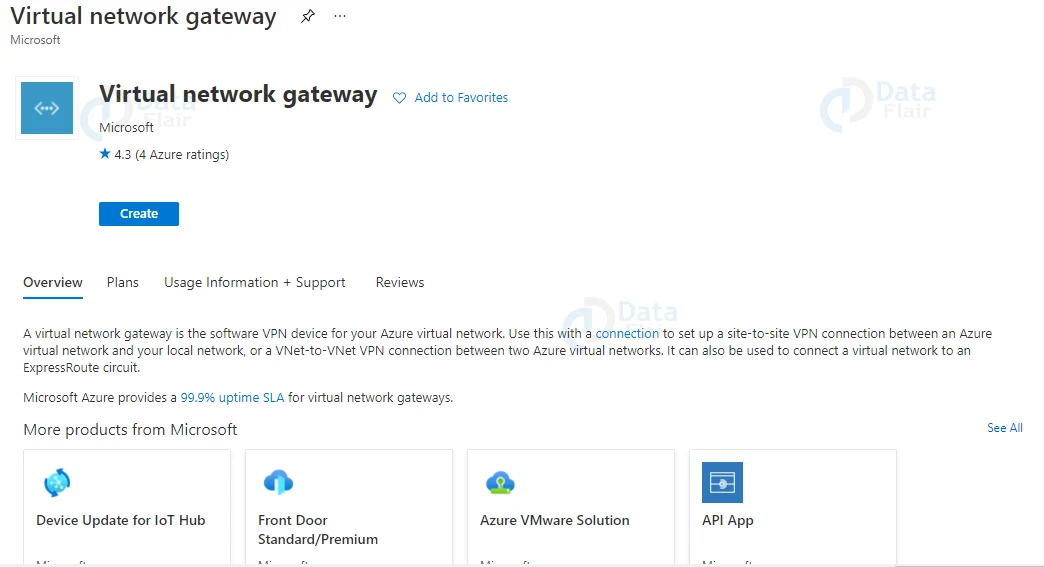
3: Now click on the create button.
4: By selecting the Create button, you will be taken to a form where you can fill in the details of the virtual network gateway’s configuration.
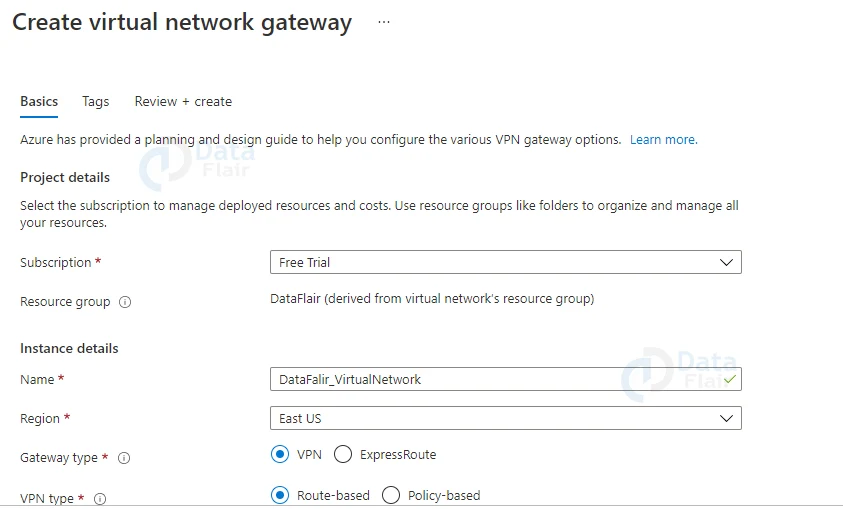
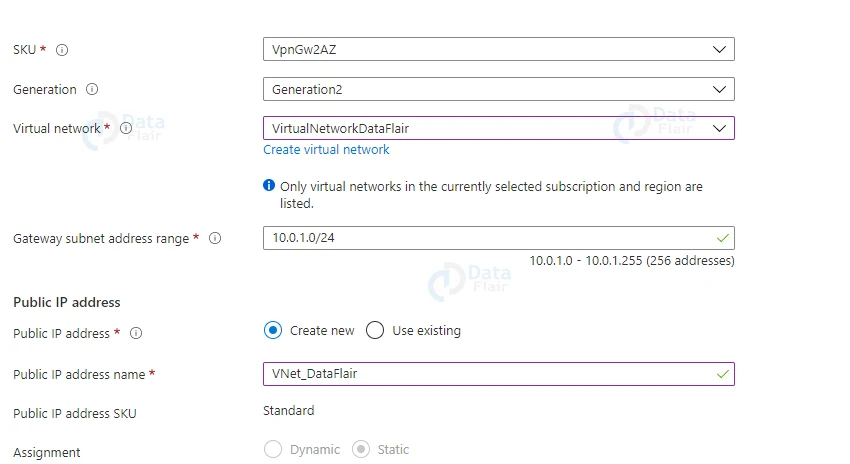
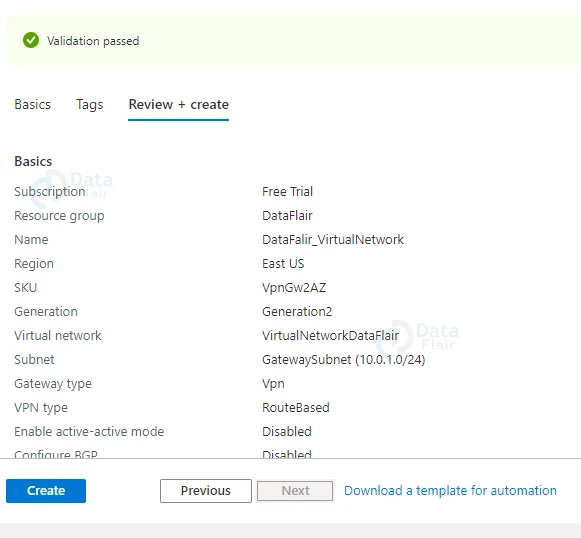
Provide a suitable name, select the same region as when you created the virtual network, select Gateway type as VPN, VPN type as Route Based, SKU as gateway SKU, Generation as Generation1, and select the Virtual network you recently created above. Keep the gateway subnet address range as it is now. Select Create new, give the Public IP address name an appropriate name, and leave the rest of the fields blank.
5: Provide appropriate tags and click on the Review + Create button.
6: Once all the validations are passed hit on the create button.
Creating a local network gateway
Follow the below steps to create a local network gateway in Azure:
1: For the routing purpose, a local network gateway plays a role-specific object that represents your on-premises location (the site). Return to your resource group where you created other resources and click the + Add button to create a local network gateway.
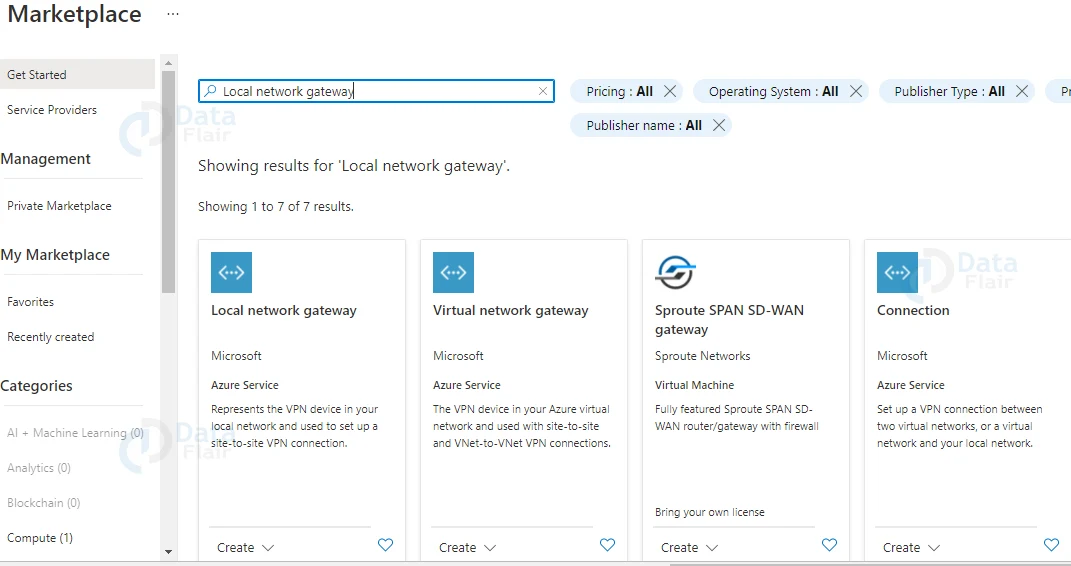
2: Now select the Local Network Gateway and hit on the create button.
3: When you click the create button, you’ll be taken to a screen where you’ll have to fill in the details for the local network gateway’s configuration.
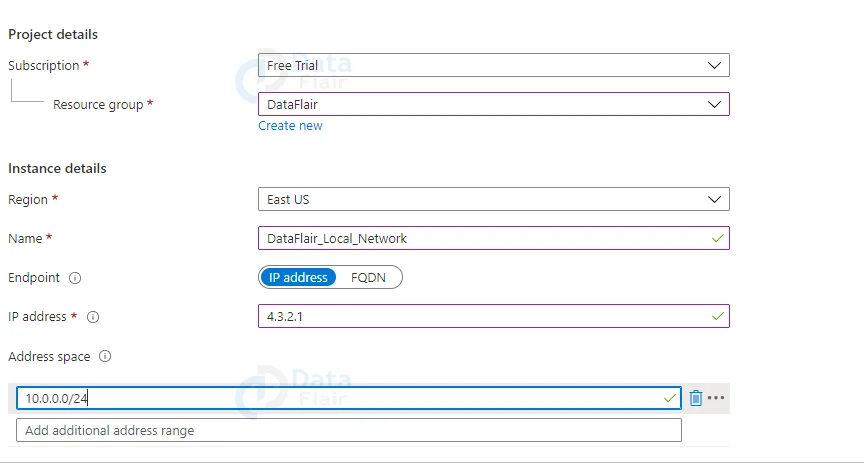
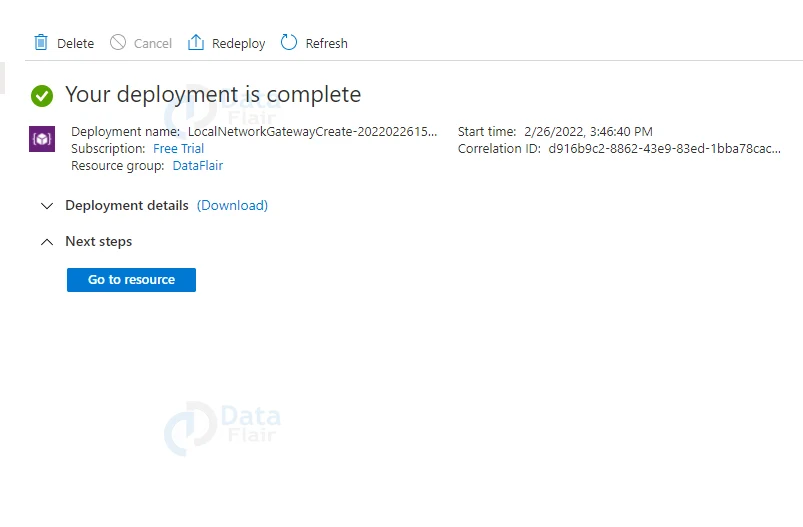
4: Once the validation is passed hit on the create button.

Configuring VPN device
To configure your VPN device, you must first read the documentation that came with it. The configuration script for popular devices can be downloaded here.
Creating a VPN connection
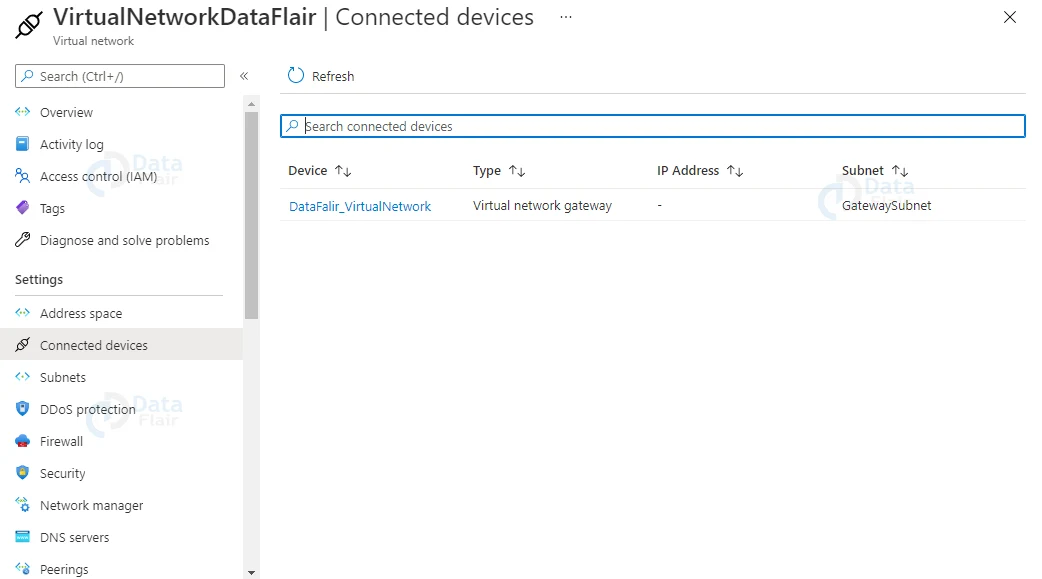
To establish a VPN connection, we must first connect to your virtual network. You can search for your Virtual Network’s name here, or go to the resource group where you used when creating the Virtual Network.
When you get there, the screen will look like the one below. Here, you must select Connected devices, as shown in the image below. In the right panel, you can see the virtual network gateway you created. Select the virtual network gateway by clicking on it.
A screen similar to the one below will appear when you click on the virtual network gateway. When you click on Connections, a screen with a + Add button will appear.
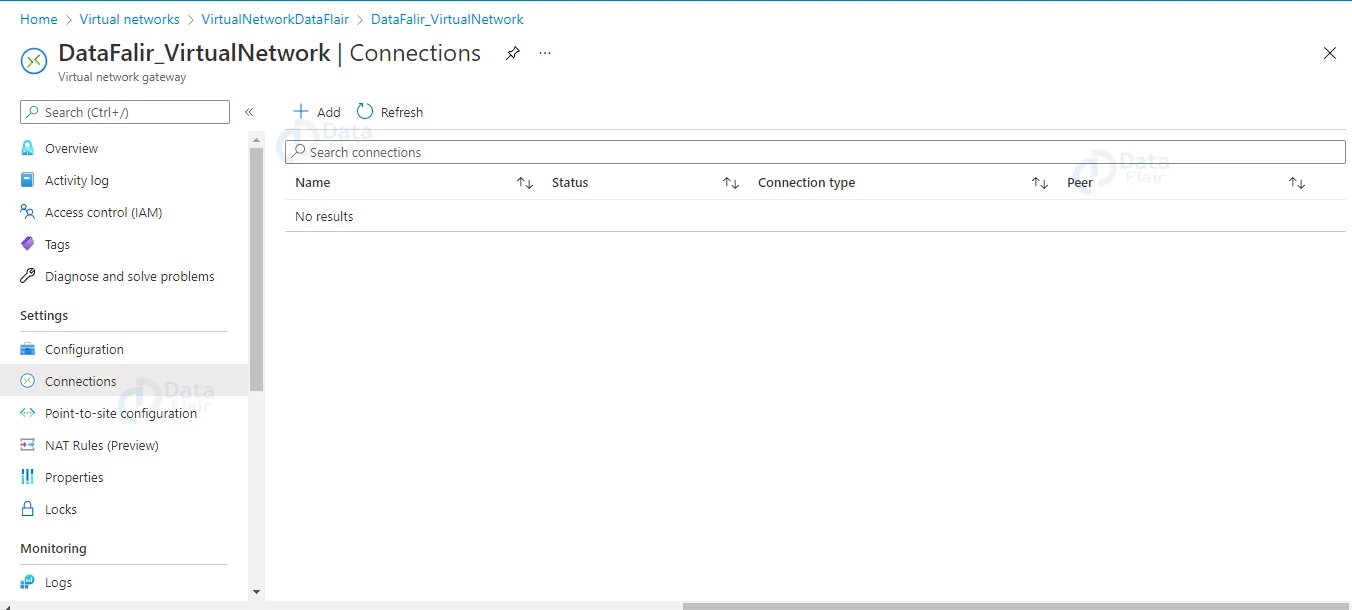
After clicking on the Add button you will be redirected towards the following page. Fill in the following details and leave the remaining information. Then hit the OK button.
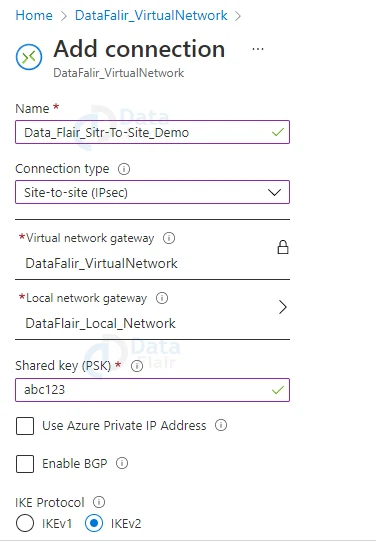
In this form, fill in an appropriate name for the “Name” field, choose Site-to-Site(IPSec) as the connection type, and leave the Virtual network gateway field blank. This is a constant value that will not change as we build the connection from here.
The gateway selects the local network gateway that we created previously for this demo for the local network, so I’ll choose Site1. The value for the Shared key must be the same as the value for your local on-premises VPN device.
Leave the Use Azure Private IP Address box unchecked. Leave the Enable BGP box unchecked. For the IKE Protocol field, choose IKEv2. Subscription, Resource Group, and Location are all set to their default values.
Verifying the VPN connection
Now that the connection has been established using the steps outlined above, it’s time to verify the connection. Go to Virtual network gateway to get started. You’ll notice a “Connections” option on the left-hand side.
When you click this, you’ll be able to see the connection you made earlier. Select the connection’s name and then the Essentials tab.

Resetting a VPN gateway
If you lose cross-premises VPN connectivity on one or more Site-to-Site VPN tunnels, resetting an Azure VPN gateway can help.
Your on-premises VPN devices are all operational in this scenario, but they are unable to establish IPsec tunnels with the Azure VPN gateways. See Reset a VPN Gateway for instructions.
Conclusion
This was all about site-to-site VPN connection in Azure. Site-to-site communication is faster than point-to-point communication. It facilitates data transmission. To gain access to the network, all you need is a shared key.
You don’t need to install certificates on each machine you want to connect to the virtual machine, unlike point-to-site connectivity. In fact, each machine uses the same shared key.
You give me 15 seconds I promise you best tutorials
Please share your happy experience on Google


