PPT – Create a PDF File, Video file, Image file
FREE Online Courses: Click, Learn, Succeed, Start Now!
You might have seen a PowerPoint Presentation being presented in the form of a video. Sometimes you can export a presentation into a GIF file using the built-in converter available with Microsoft PowerPoint. You can also convert a presentation into a PDF file. This particular feature is convenient especially when the presentation is to be handed out as notes to the audience. In this article, we will explore how to export a powerpoint presentation as a PDF file, as a video file and also as an image file.
Exporting Powerpoint as pdf file:
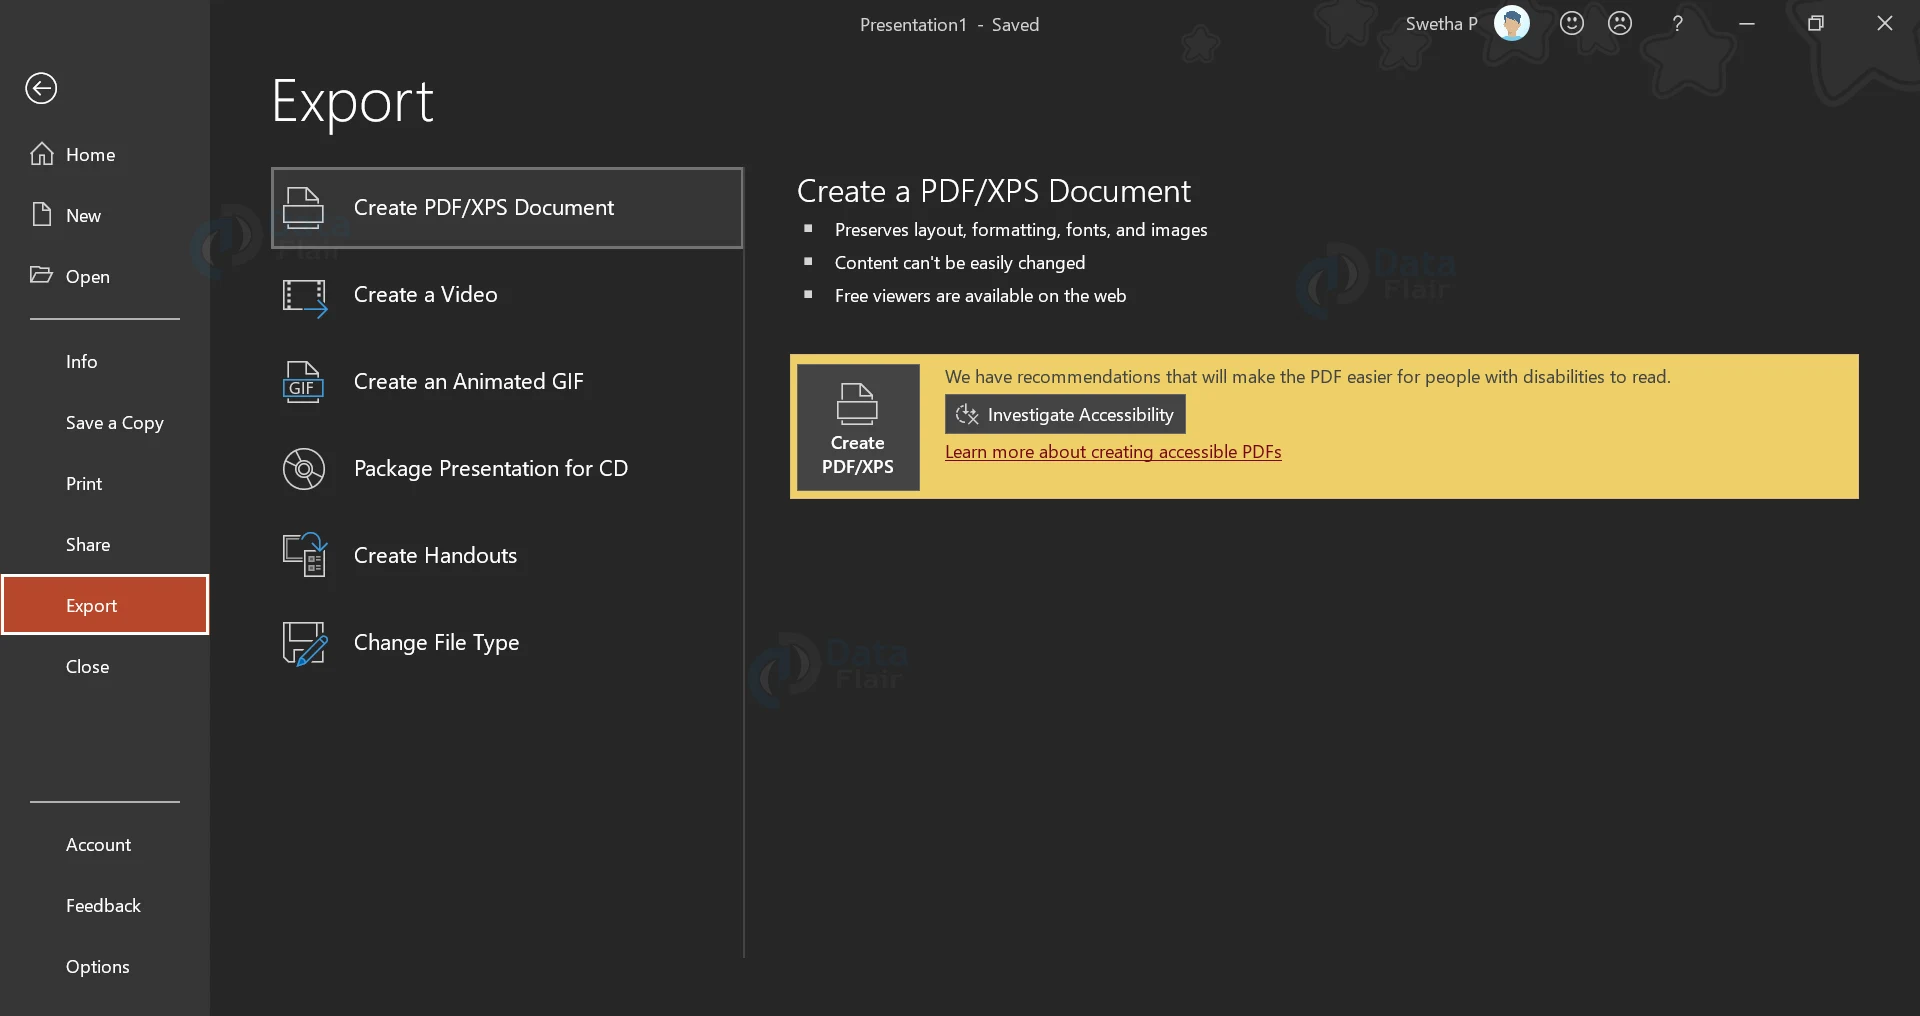
1. In the File menu, click on the export button. By default, the selected option is to create a PDF out of the slides.
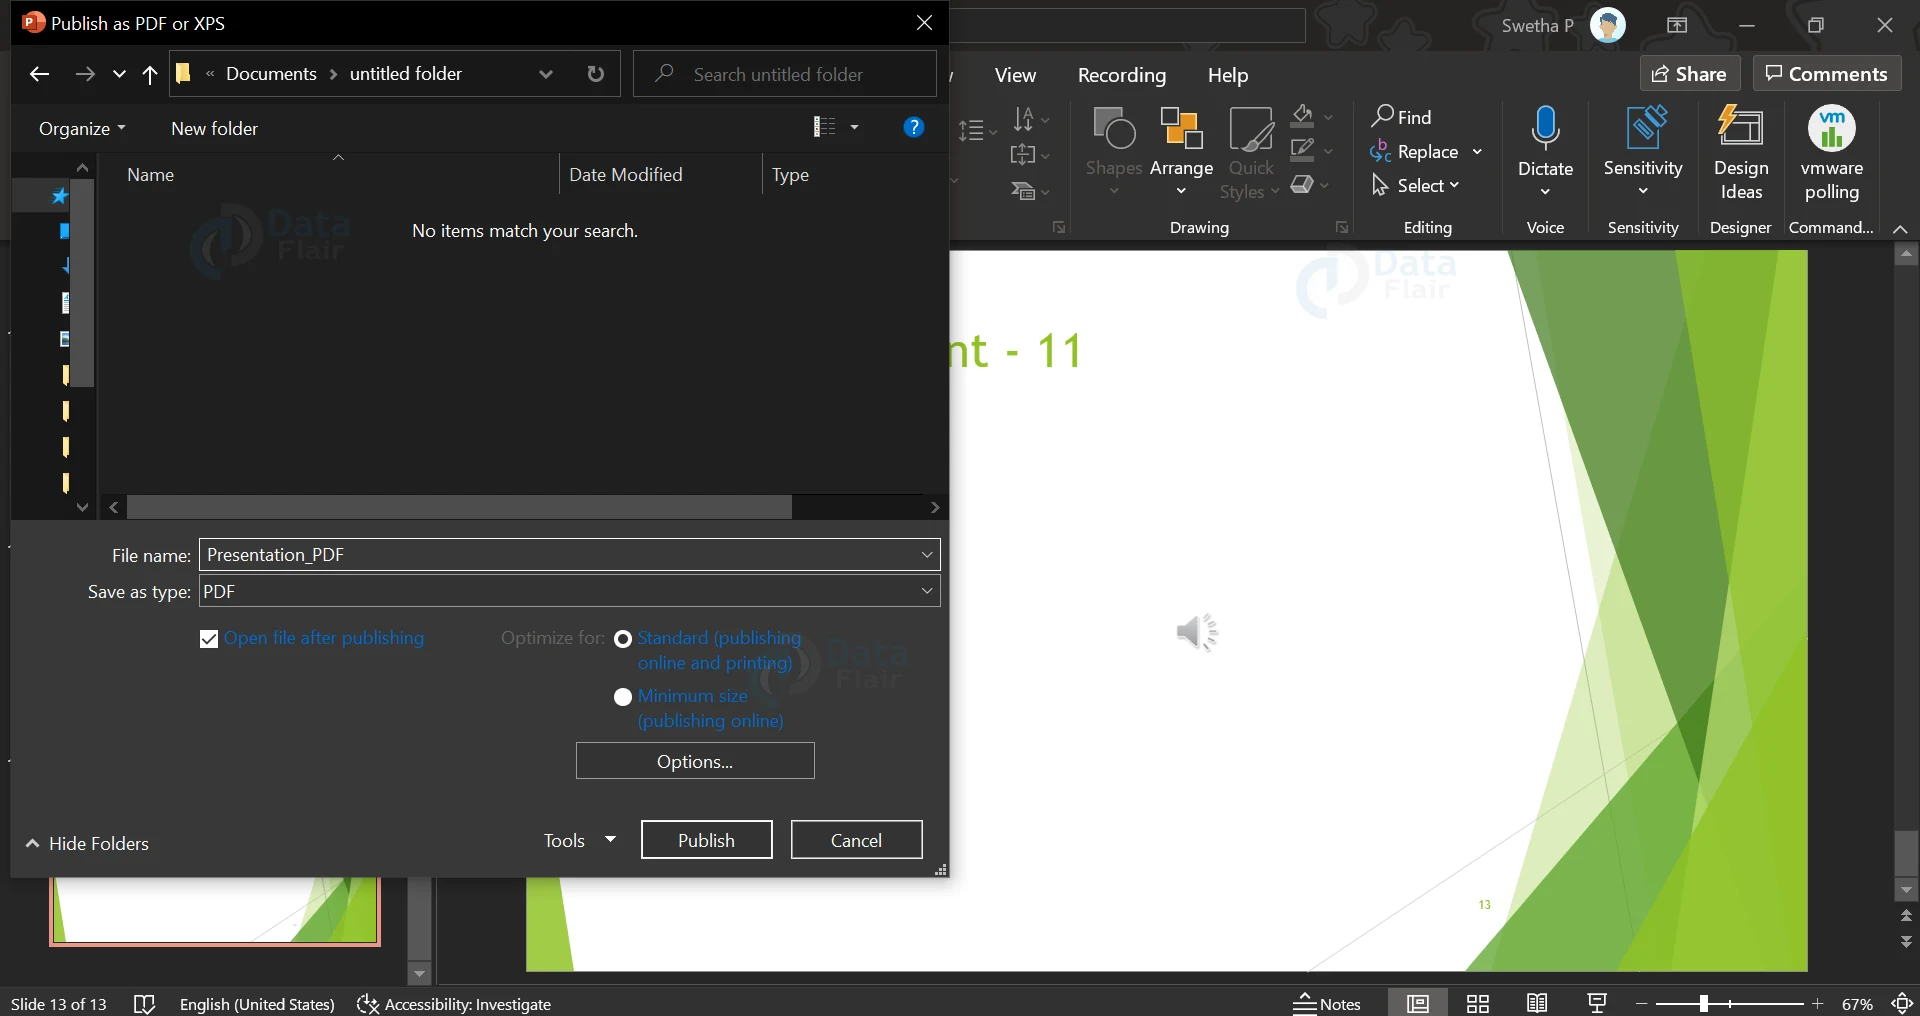
2. If you click on the create PDF pattern a dialog box will appear, in which you can type in the name of your PDF file and also choose a location to save the PDF file.
3. Here is a picture, for your reference, of a Powerpoint presentation, converted into a PDF file.
Exporting PowerPoint Presentation as Video File:
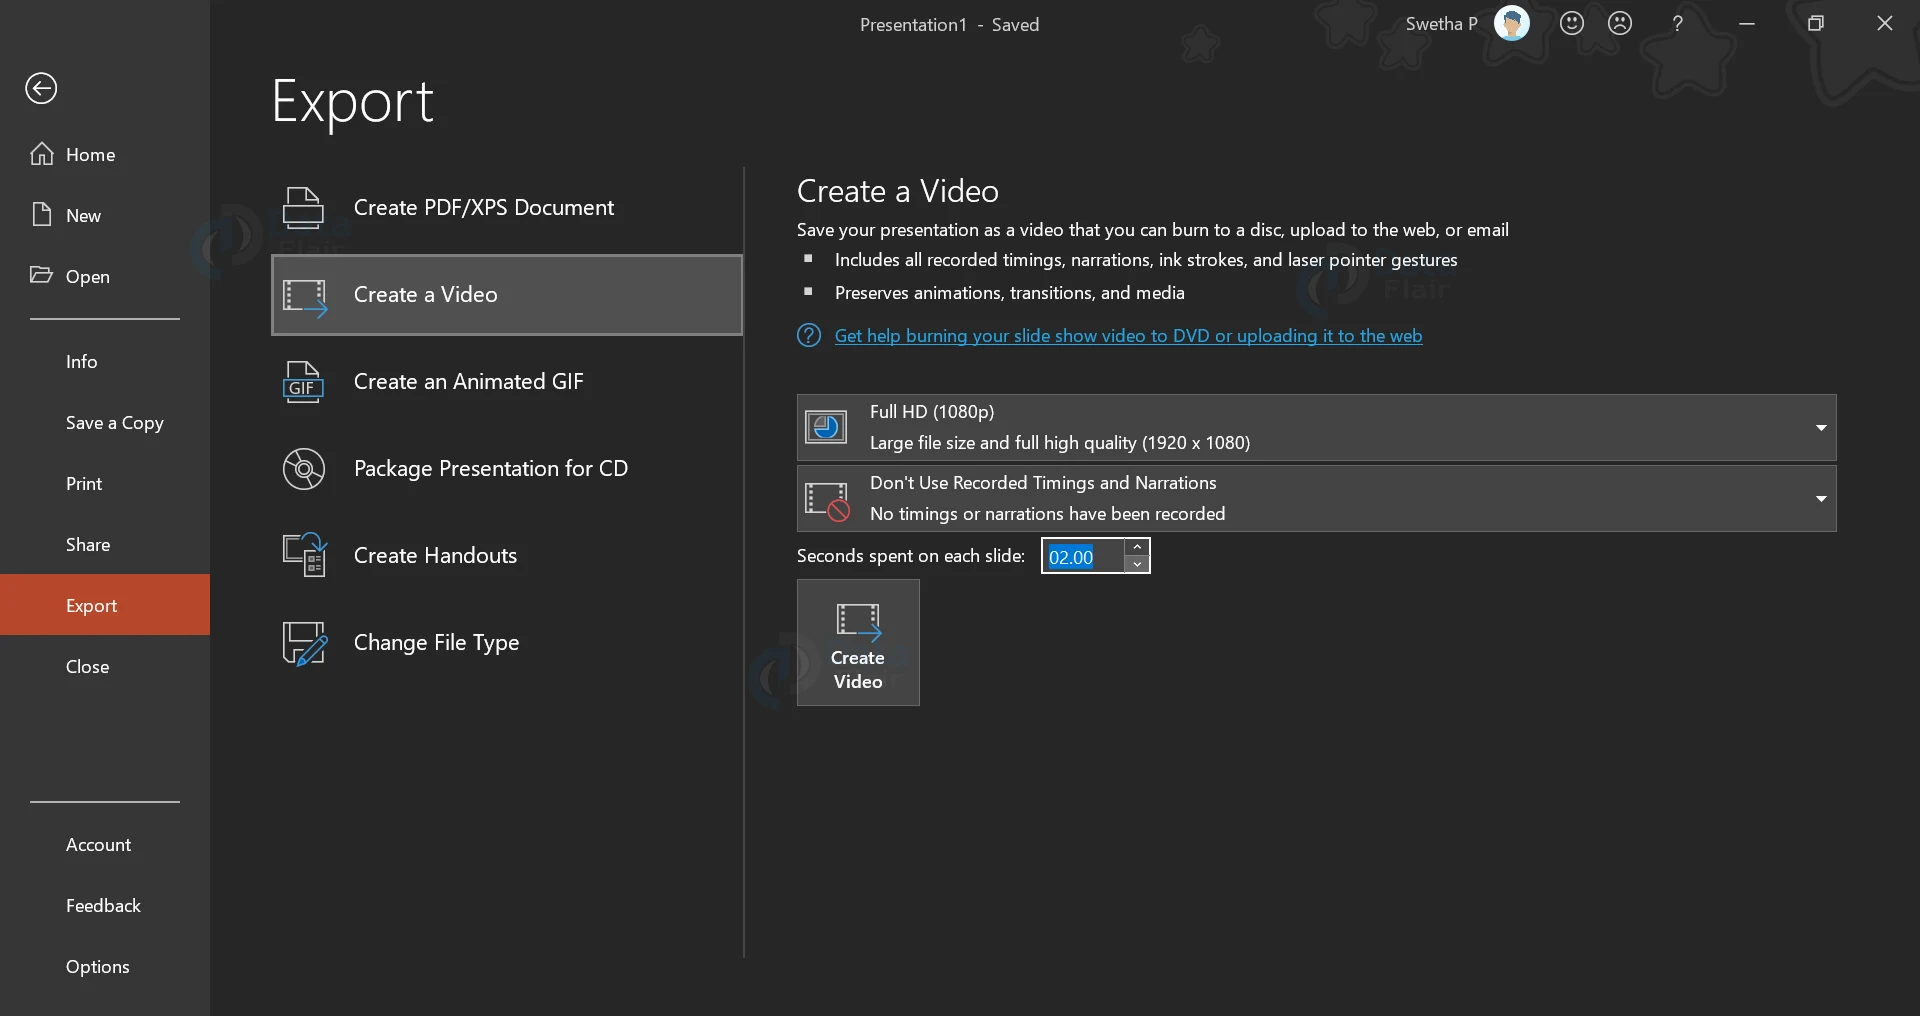
1. Similar to converting slides into PDF, you will have to open the File menu and click on the Create a Video option.
2. You can choose the quality of the video and also whether or not to add the narration and recorded timings as per the PowerPoint presentation.
3. Next, you will have to set the number of seconds each slide should appear in the video.
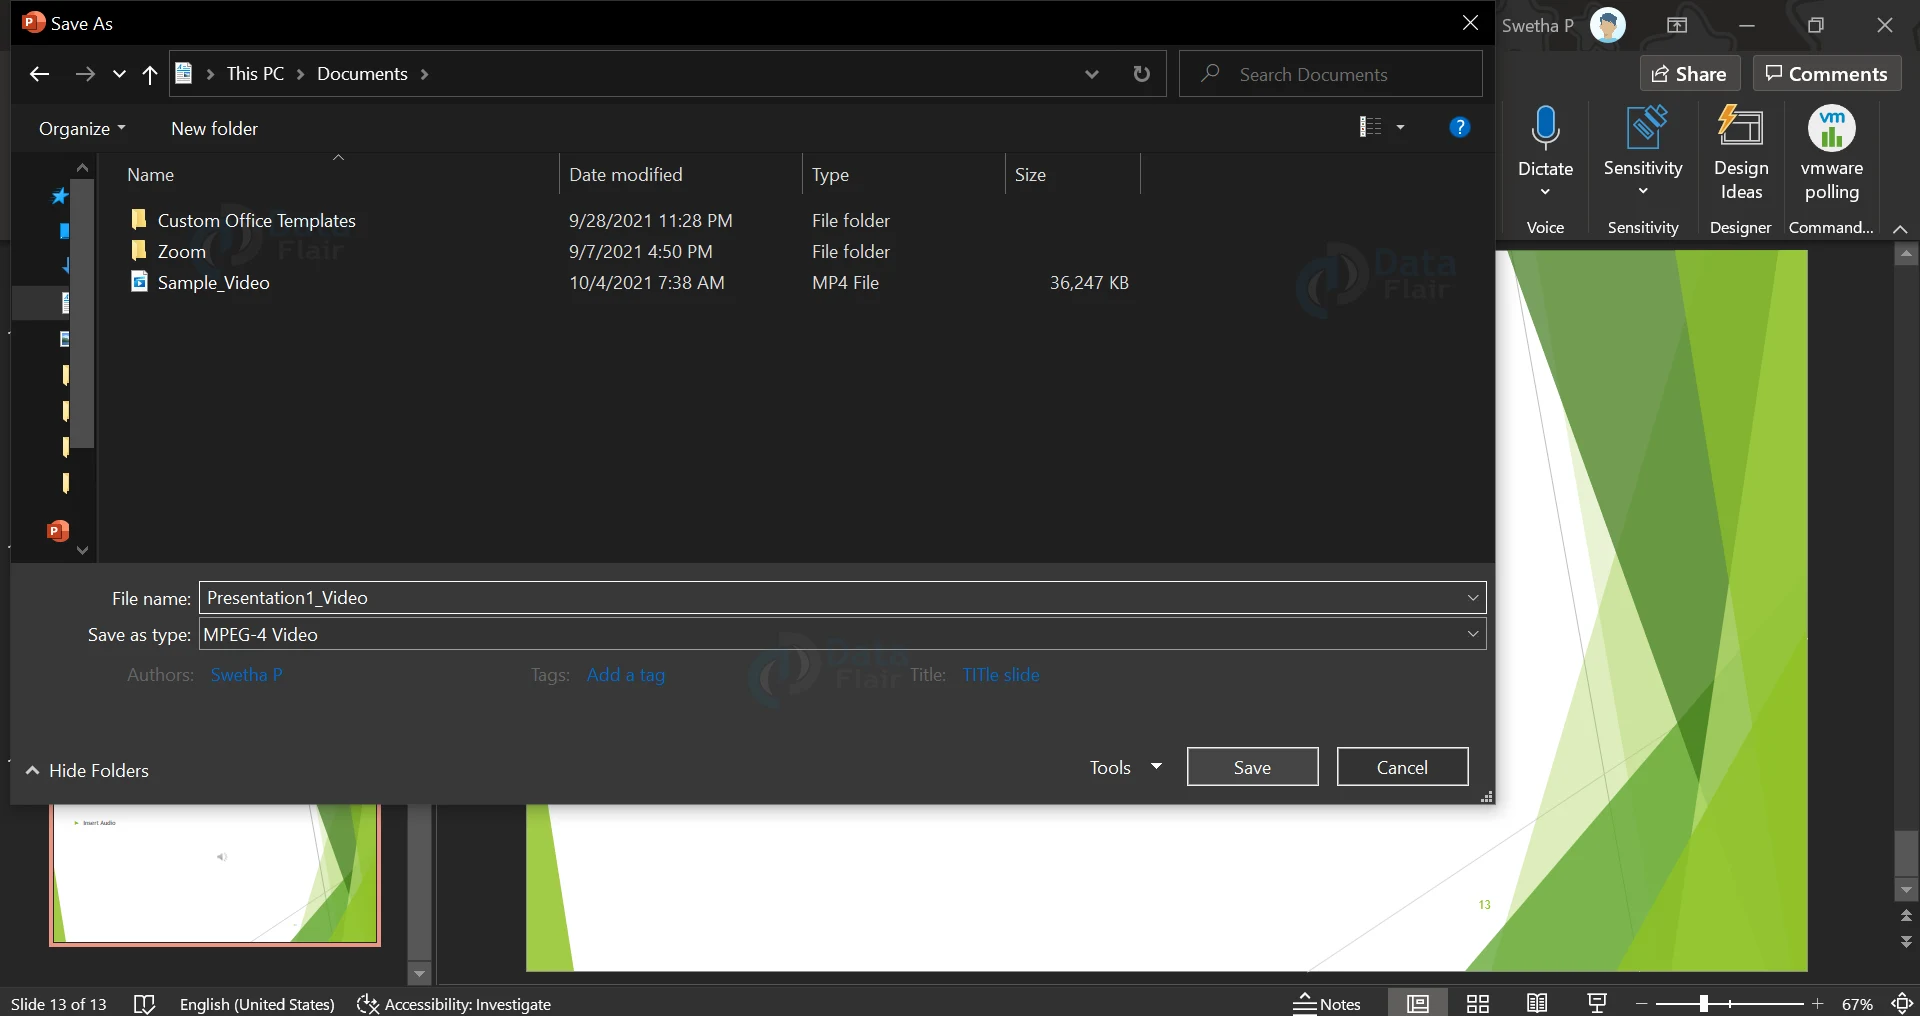
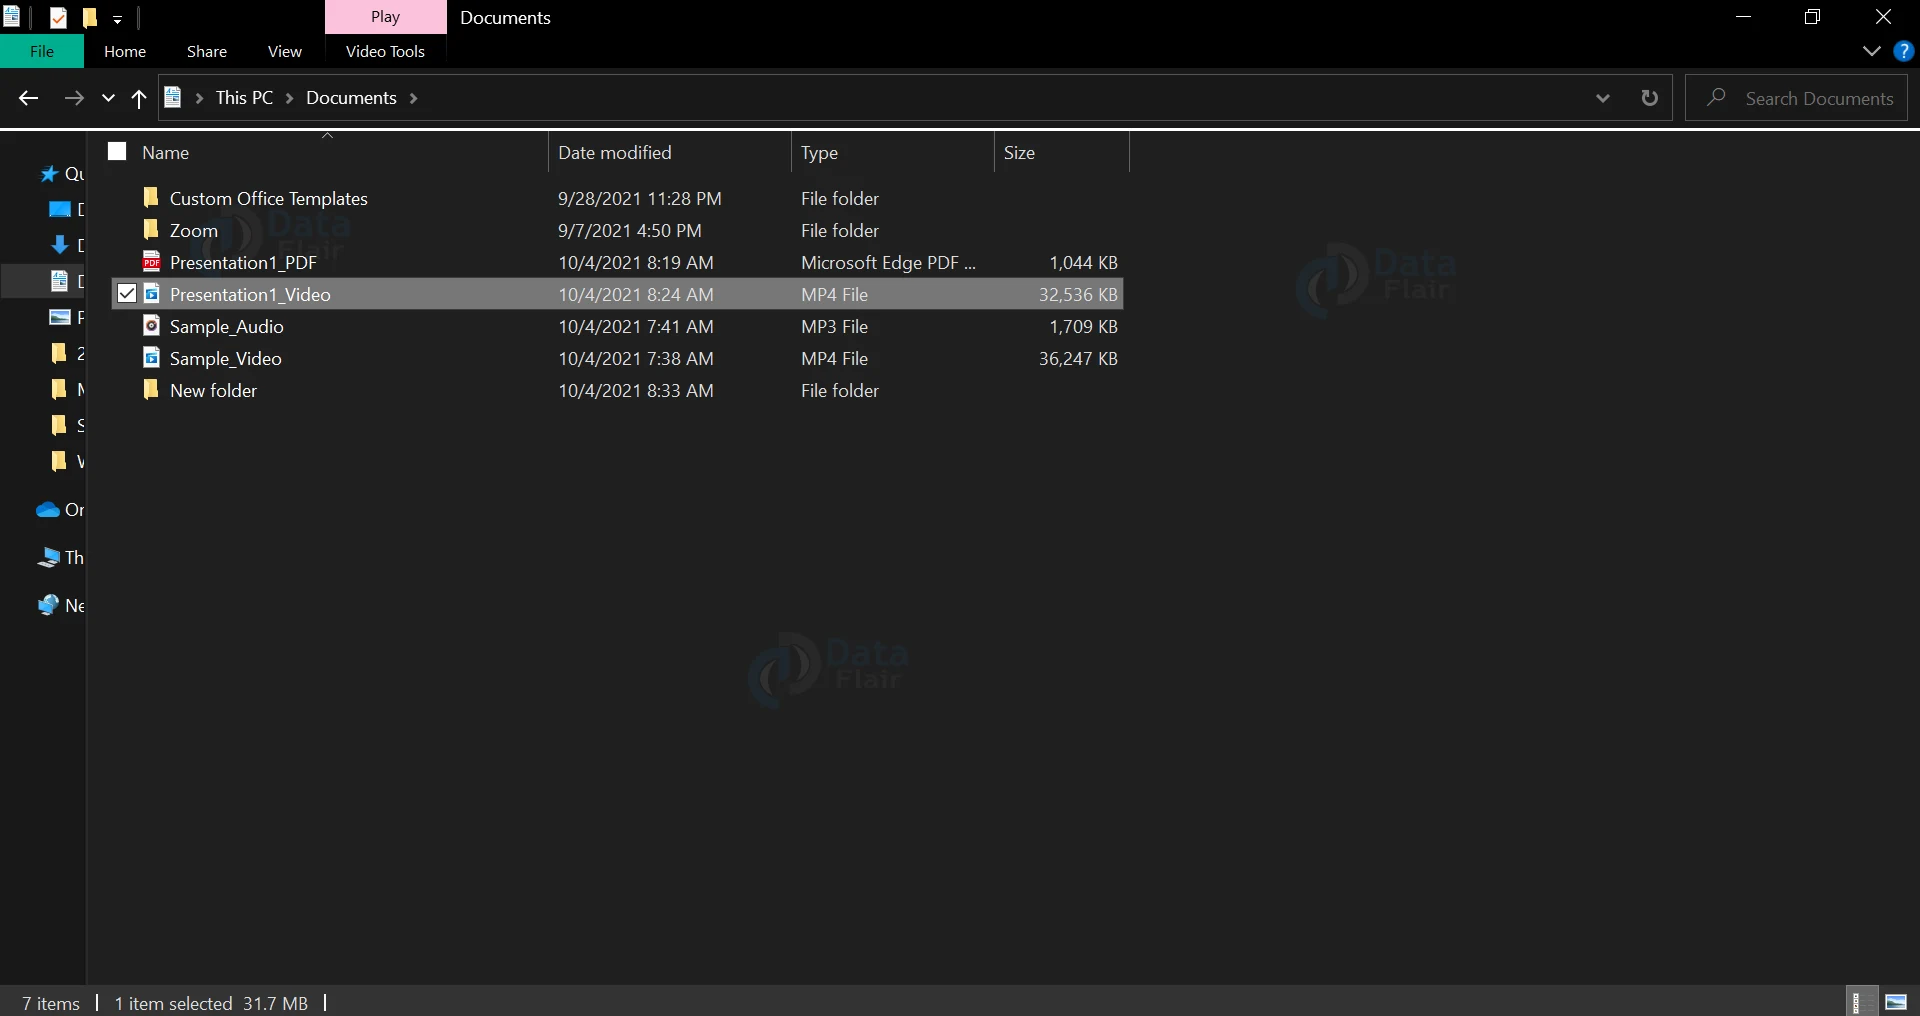
4. In the dialog box that pops up enter the name of the video and also choose a location where you want to save the video.
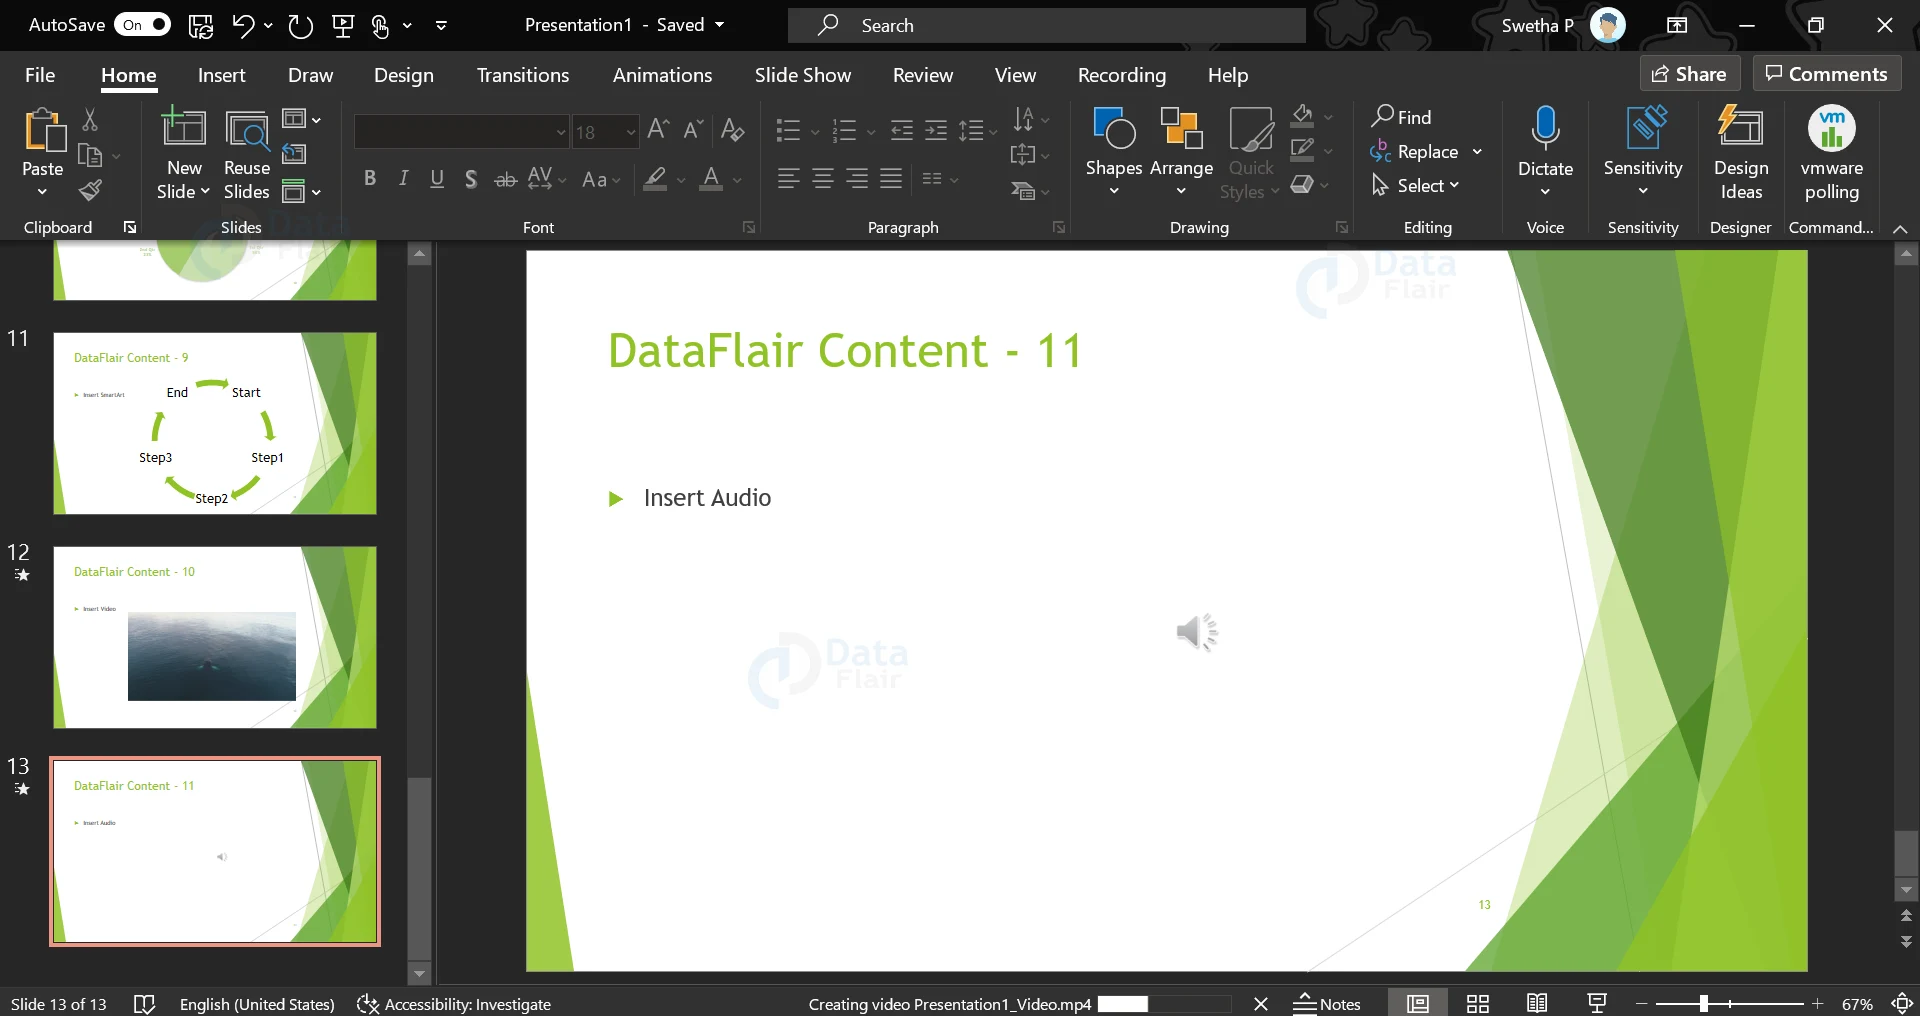
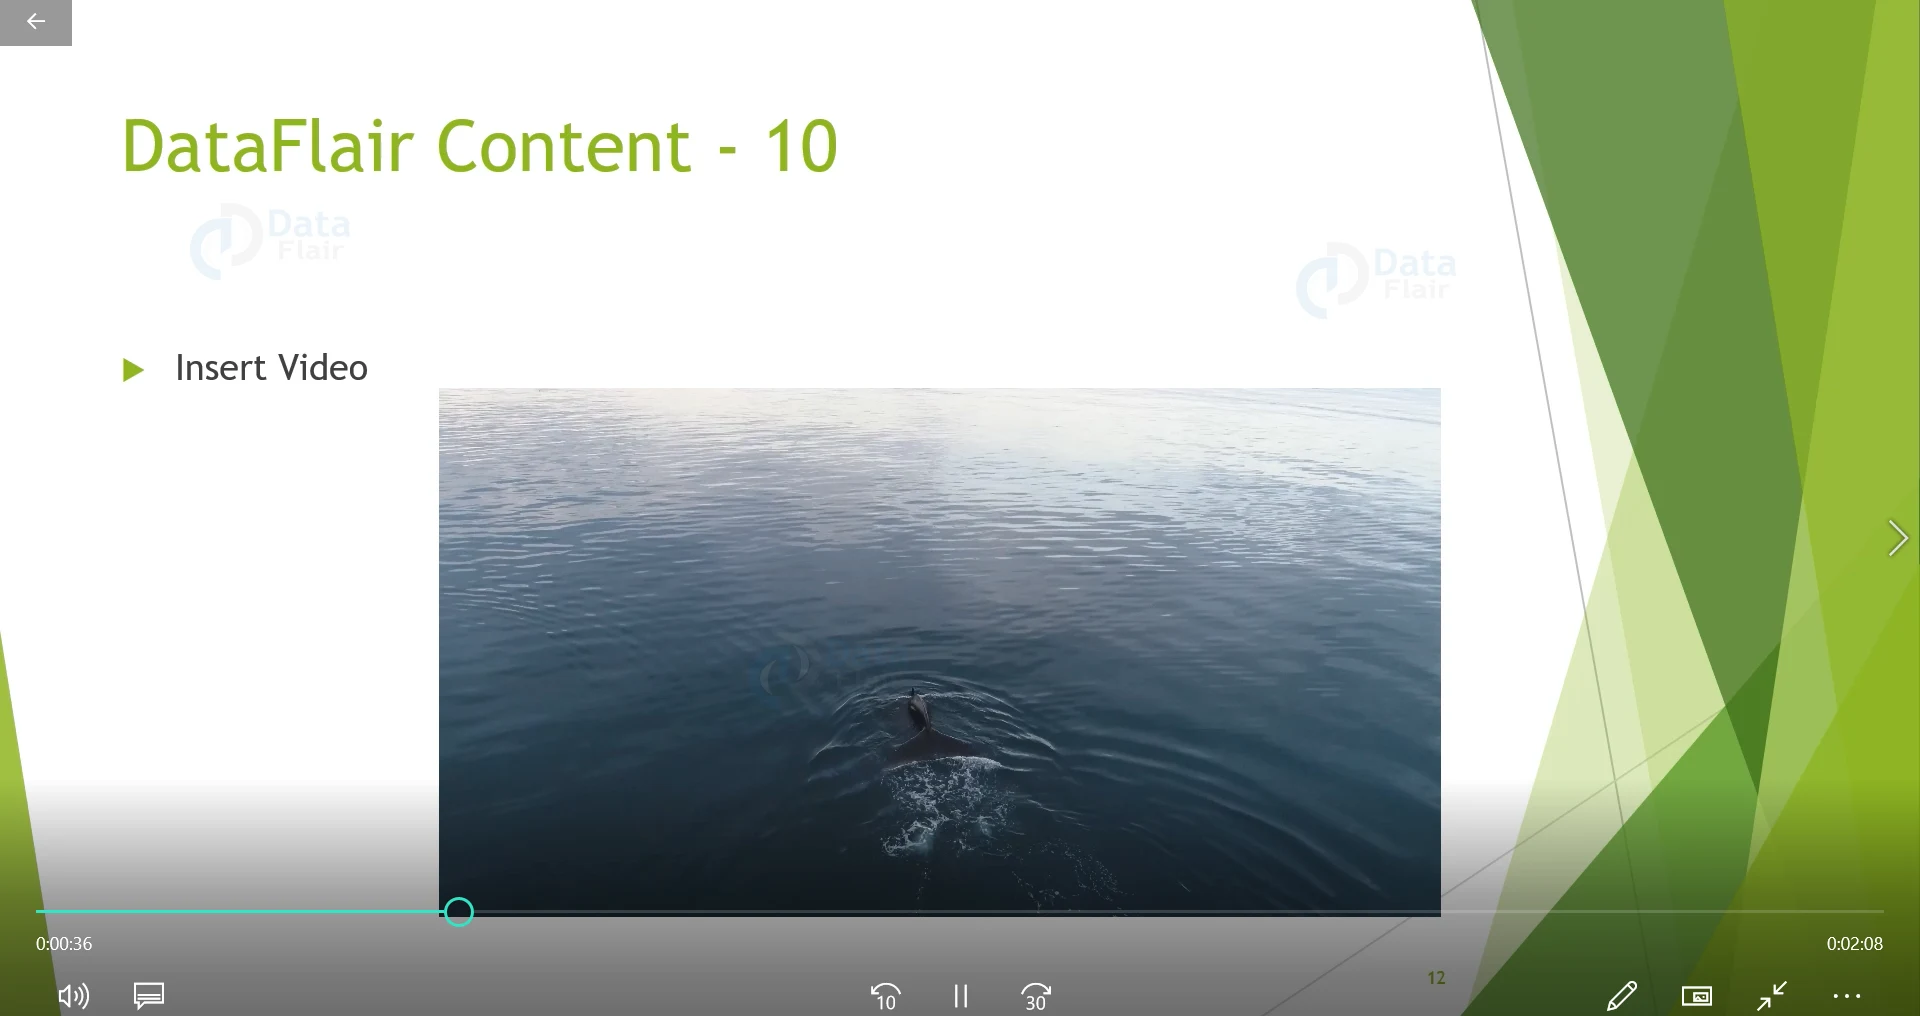
5. Be aware that the video of the presentation will also contain the entire length of any video embedded in the presentation. The same applies to audio files as well.
Export as Image files:
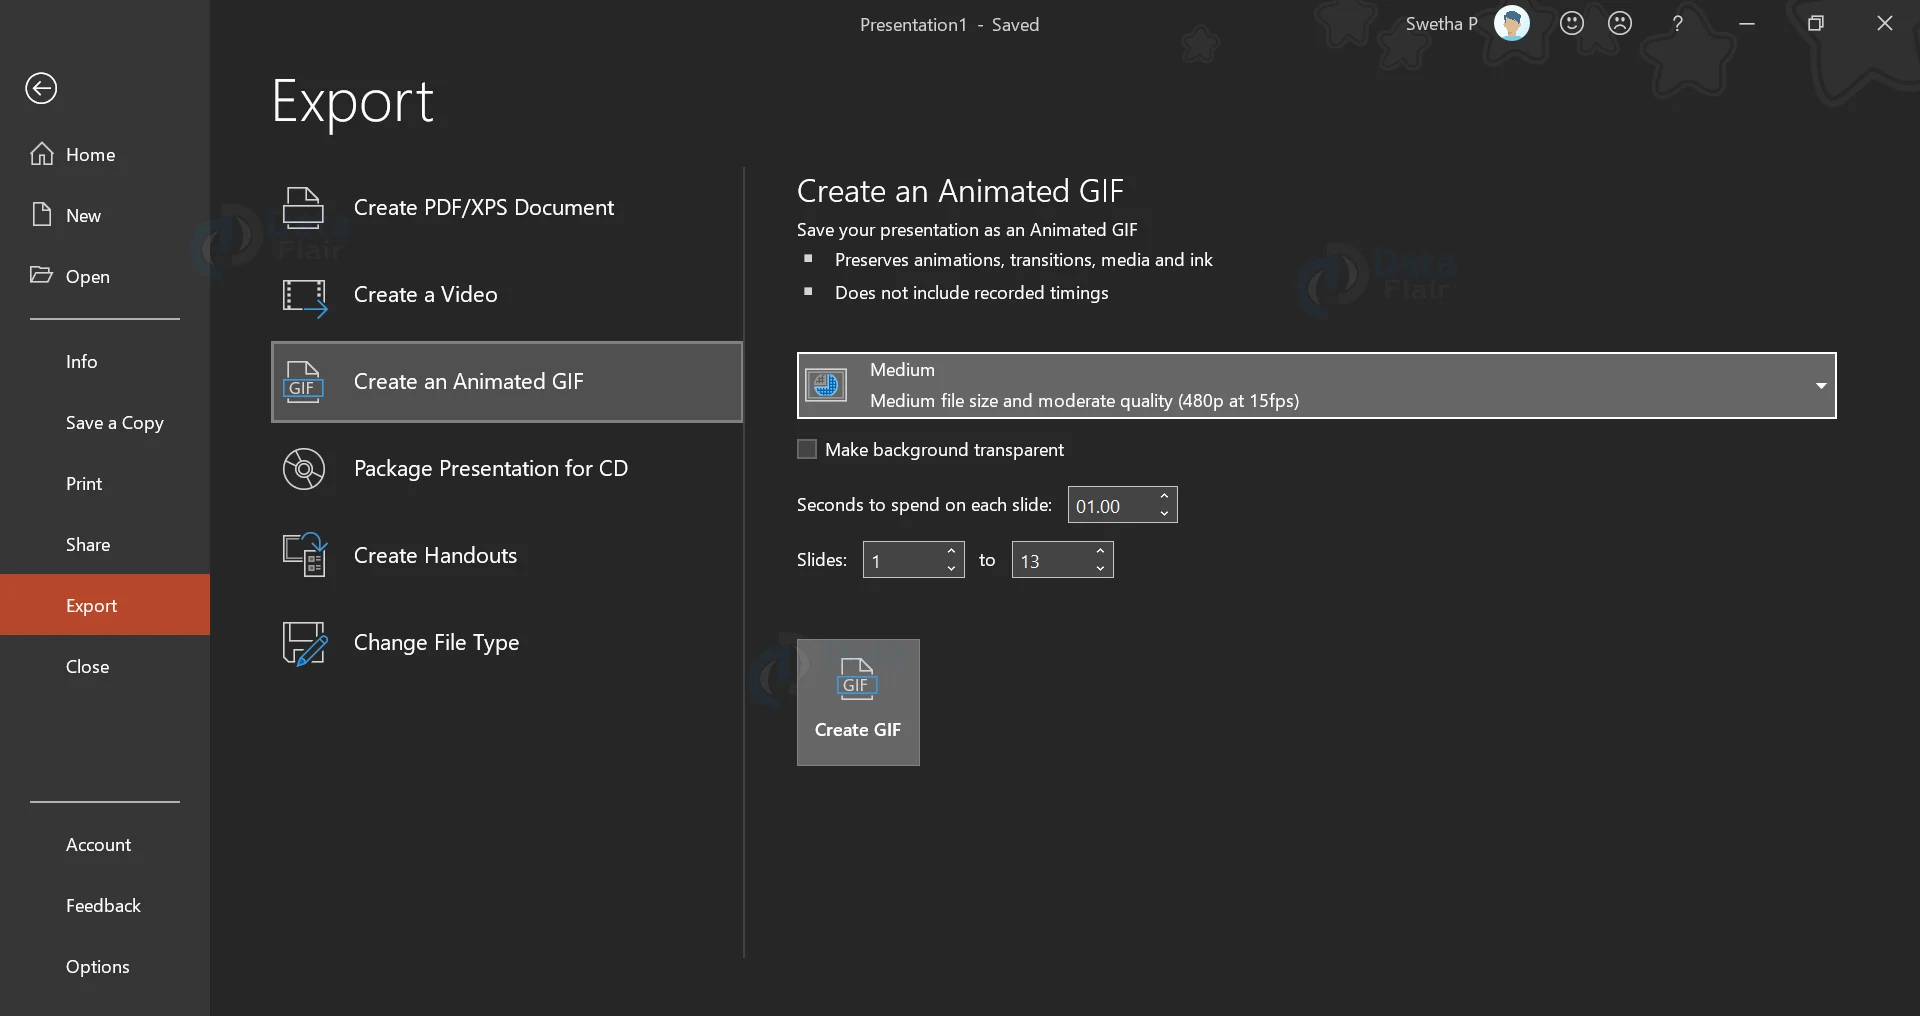
1. Similar to the above features, in order to export a PowerPoint Presentation as an image, click on the Export option in the File menu.
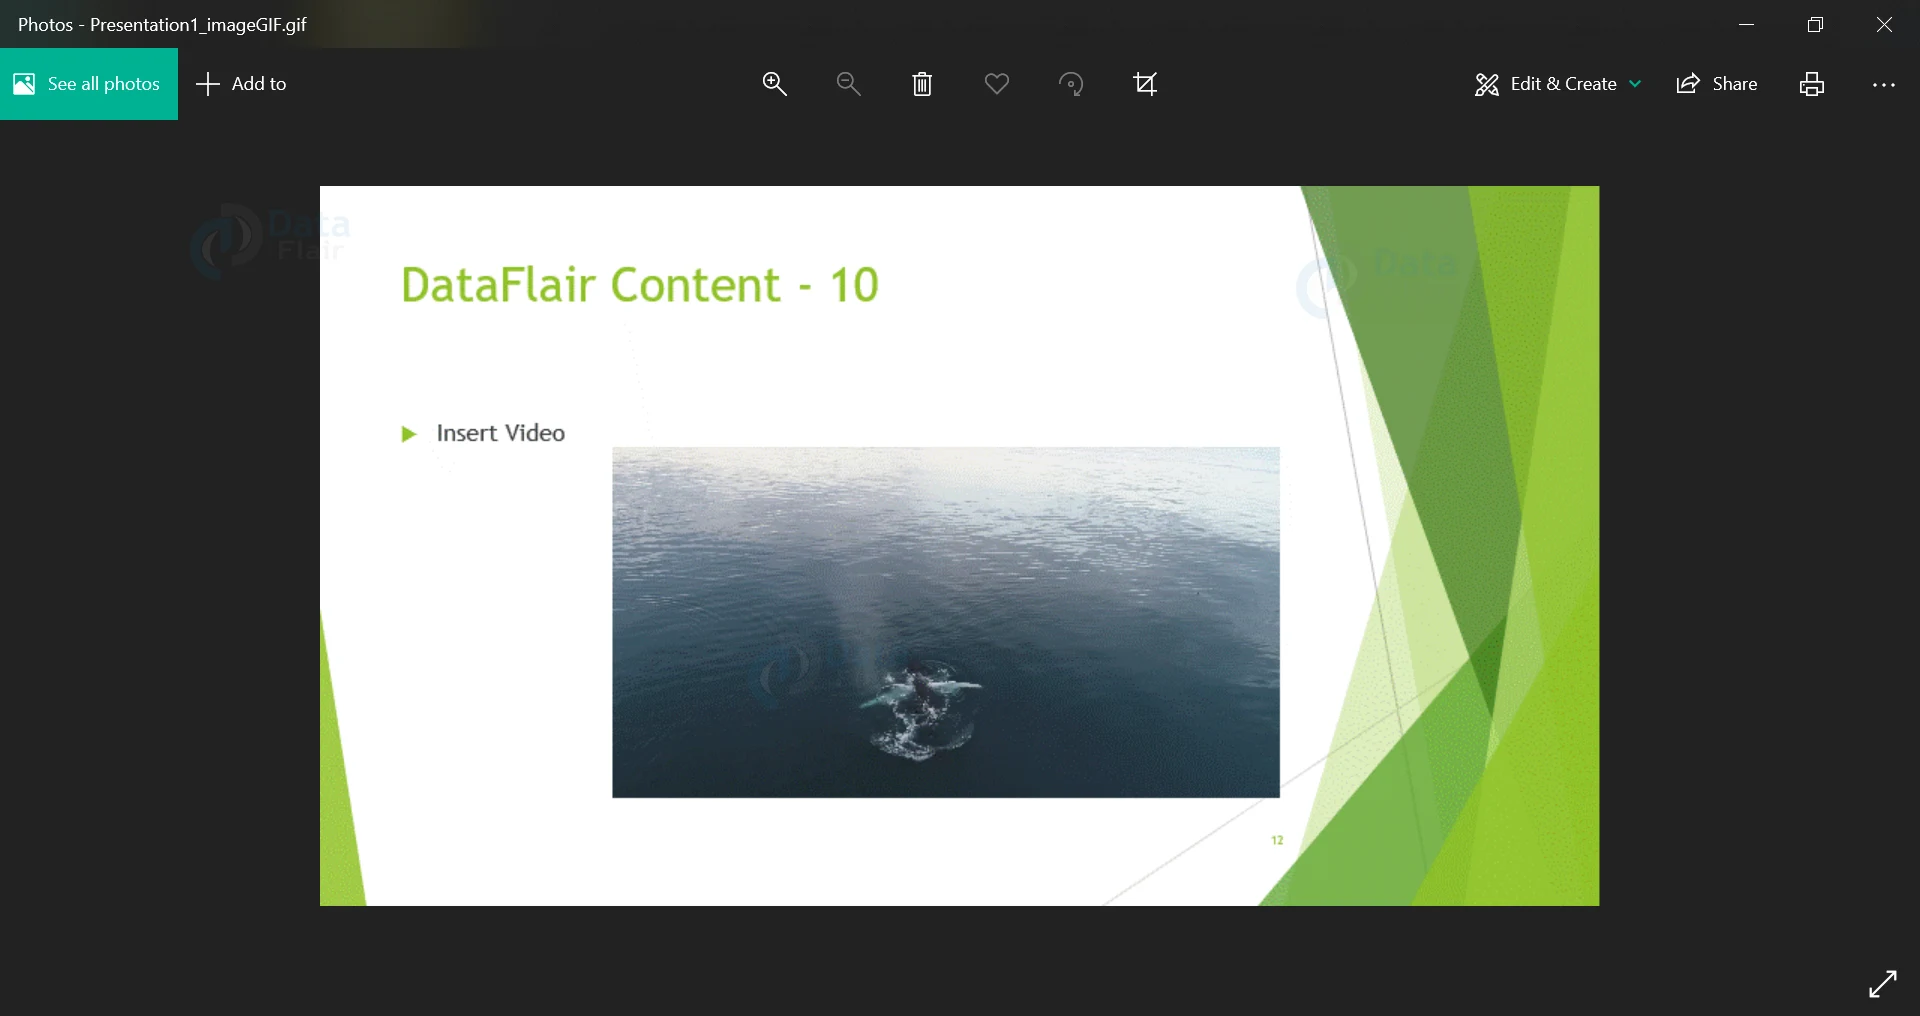
2. Click on Create Animated GIF. Then, select the quality of the image that you want. You can also make the background transparent using the checkbox. Then select the number of seconds each slide should appear and you can also select a range of the slides that need to appear in the GIF file.
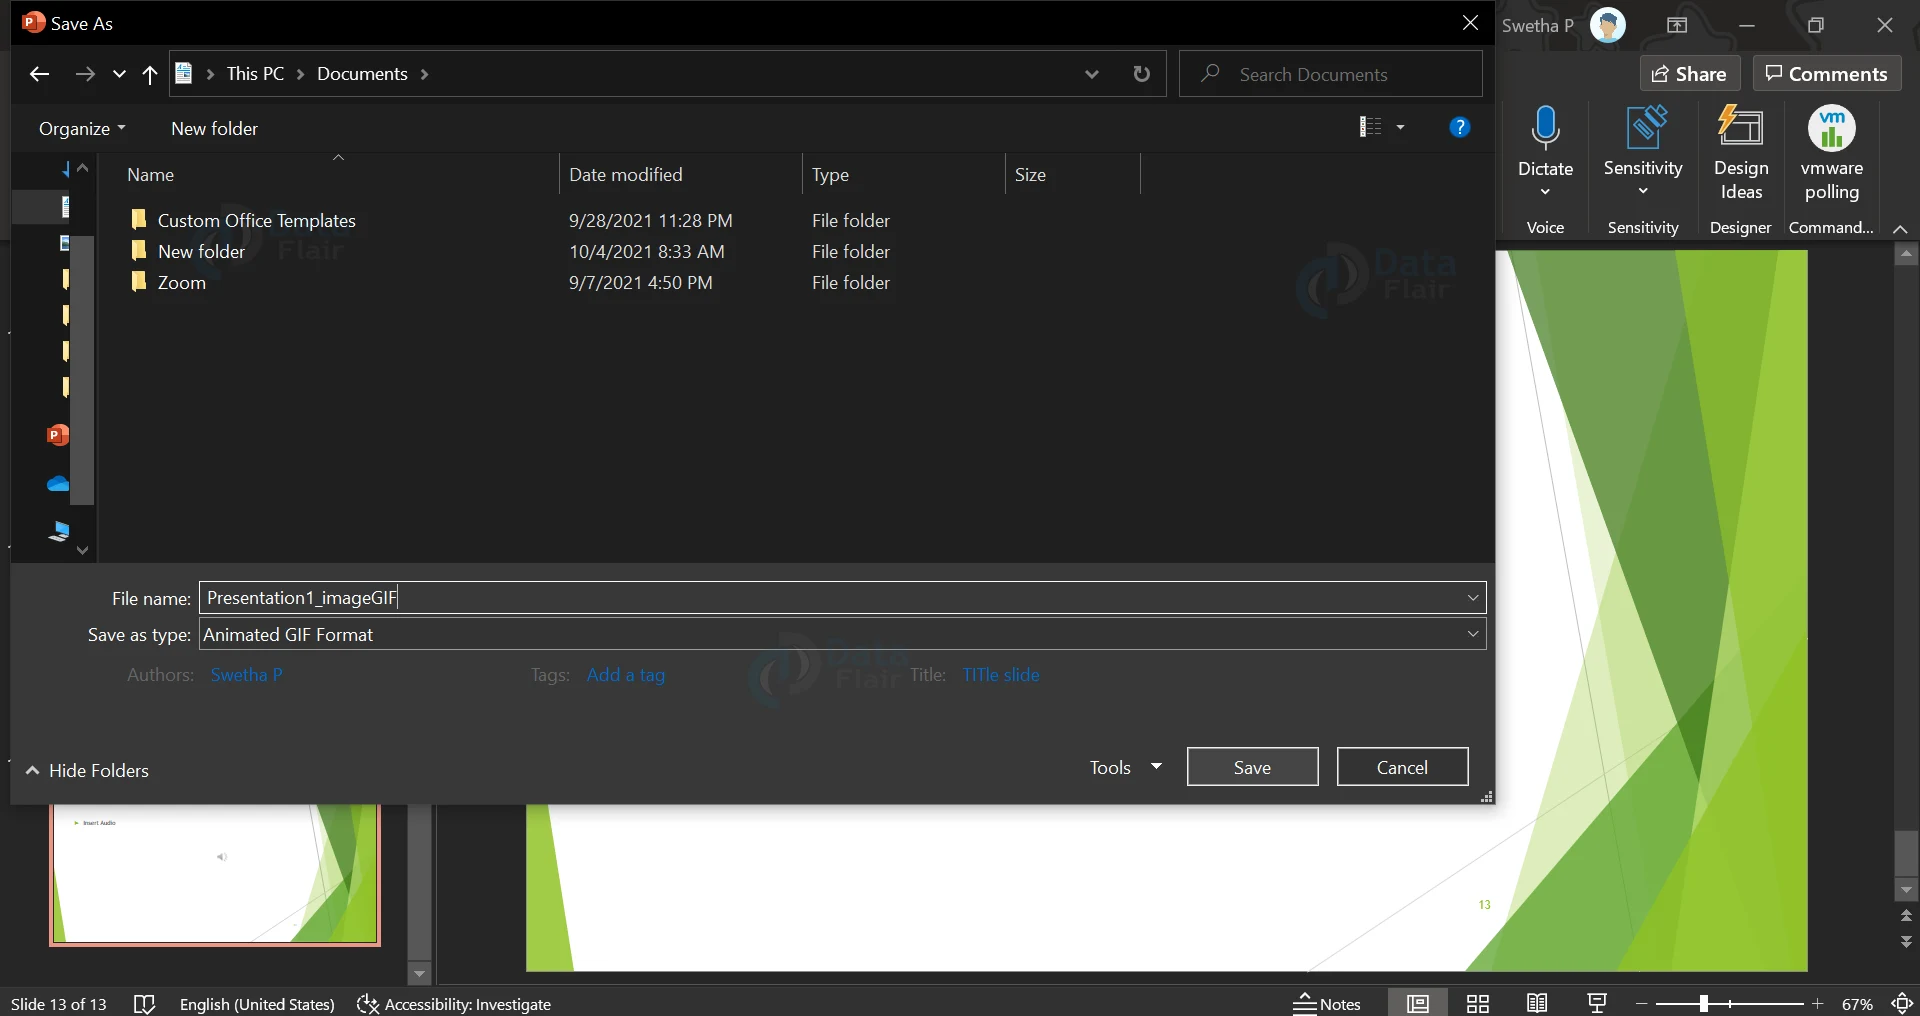
3. In the dialog box that appears when you click on Create GIF, give the file name along with choosing the location where you want to save the GIF file.
4. Be aware that the entire length of any video embedded in the PowerPoint presentation will be played completely in the GIF file. The same applies for audio files but there will be no sound in the GIF file.
Summary:
Creating and exporting a PPT is just as important as knowing how to edit and customise the PPT. Hopefully, this article has shed some light on the steps you need to follow to export a PowerPoint presentation in various formats.
Did you like our efforts? If Yes, please give DataFlair 5 Stars on Google
