How to Insert and Format WordArt in Word?
Expert-led Online Courses: Elevate Your Skills, Get ready for Future - Enroll Now!
Working on a project and you need a colorful and playful touch? Work with WordArt to make your documents dramatic and present them in a quirky and likable way. Learn more about the WordArt feature and its uses below. Use this feature wisely and be better than the rest.
How to Insert WordArt in Word?
It is very easy to Insert WordArt into your Word document. It is similar to inserting a textbox in your document, so let us look into the steps to insert WordArt into Word.
1. Place your cursor at the point where you wish to insert your WordArt.
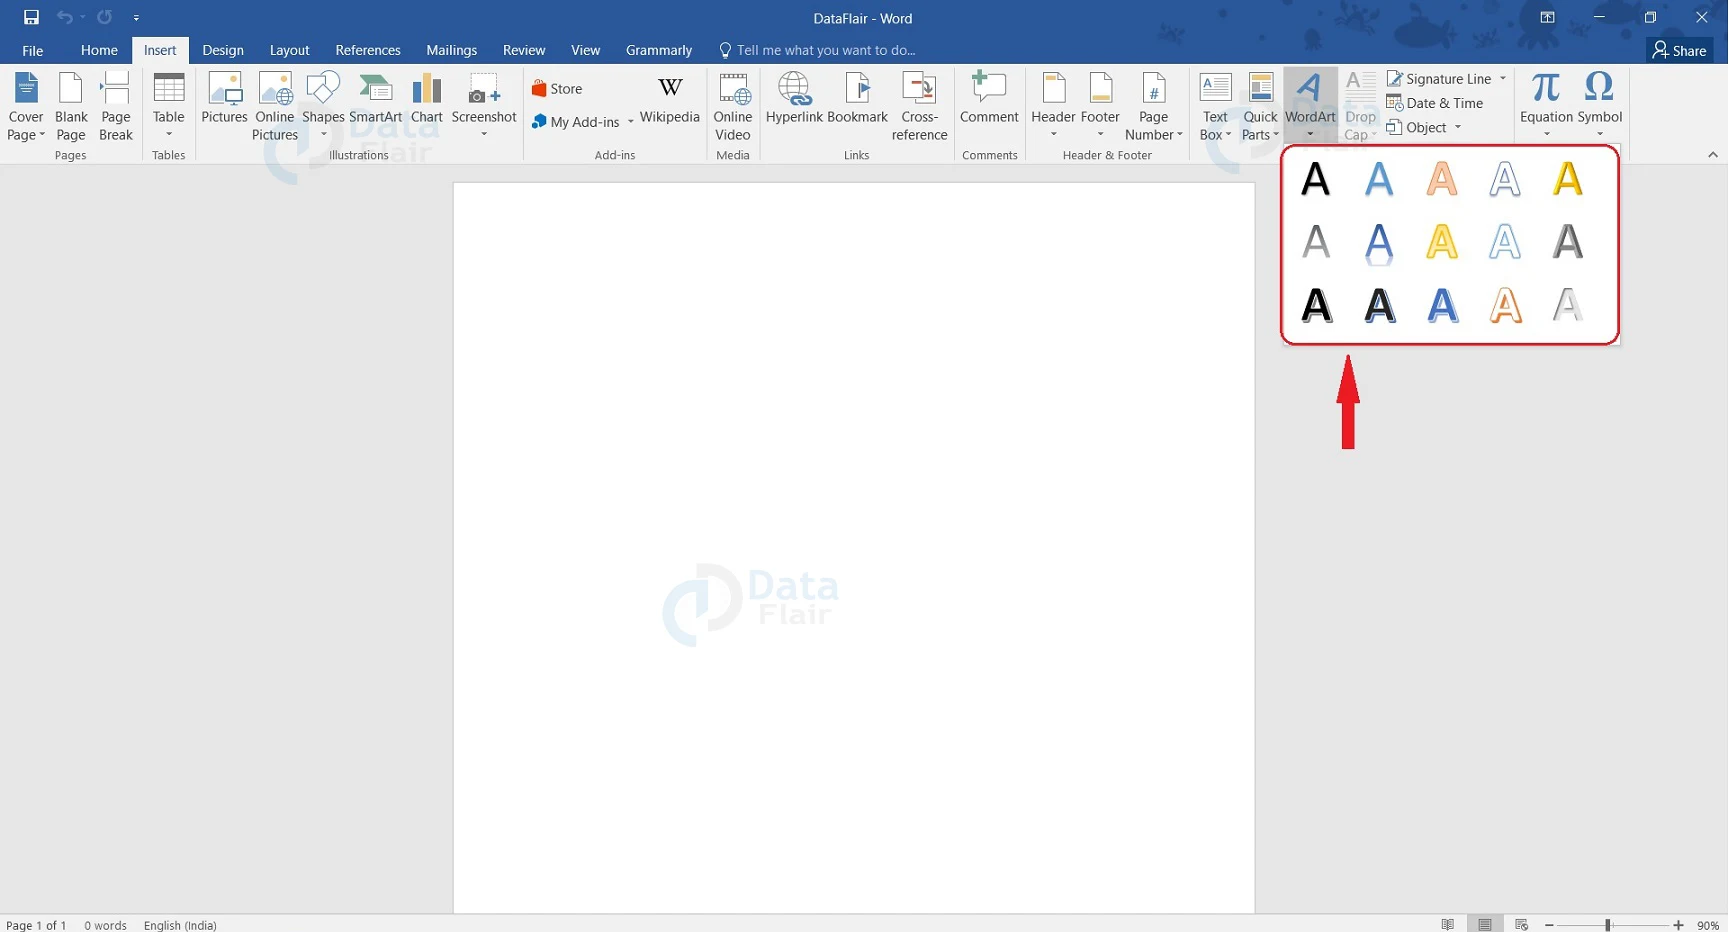
2. Go to the Insert tab, and in the Text group, click on the WordArt icon.

3. A list of styles will appear. Choose the style you wish to insert and click on it.
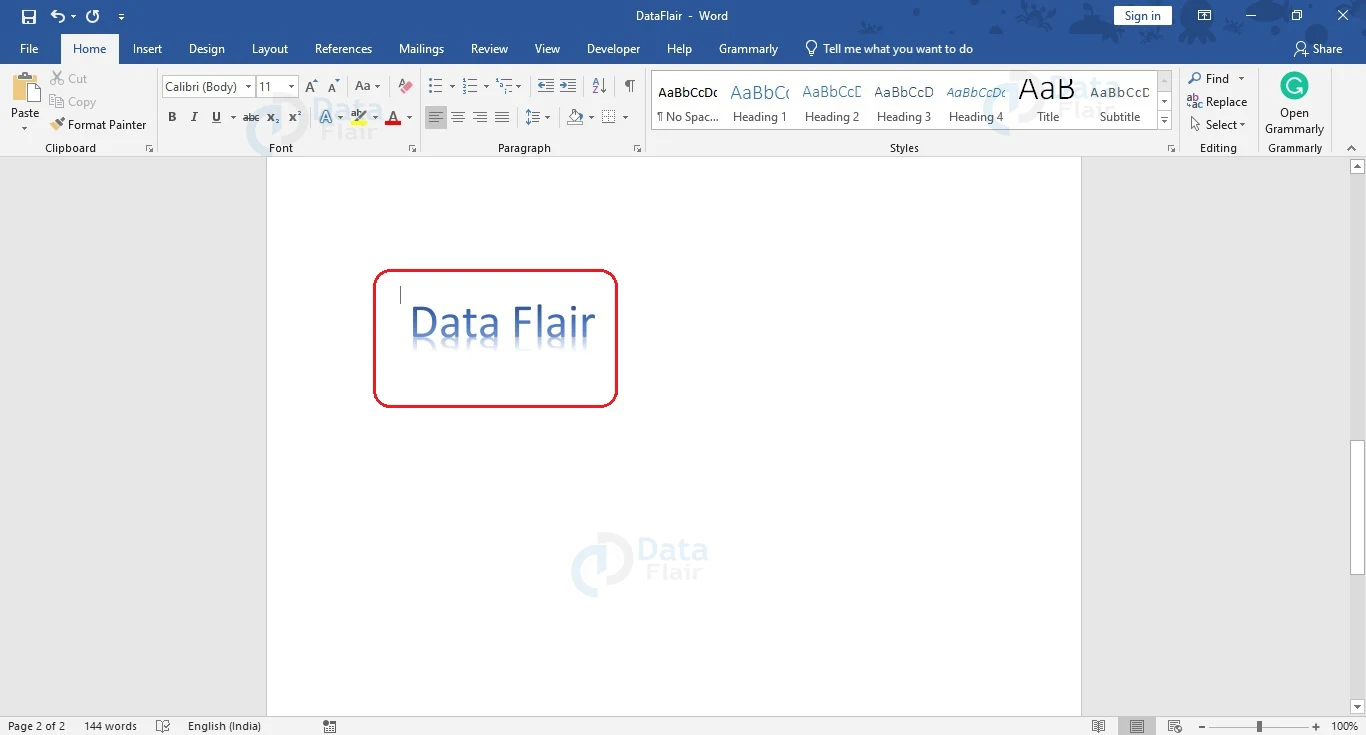
4. The WordArt placeholder box appears with ‘Your text here’ written. Type to replace the text.
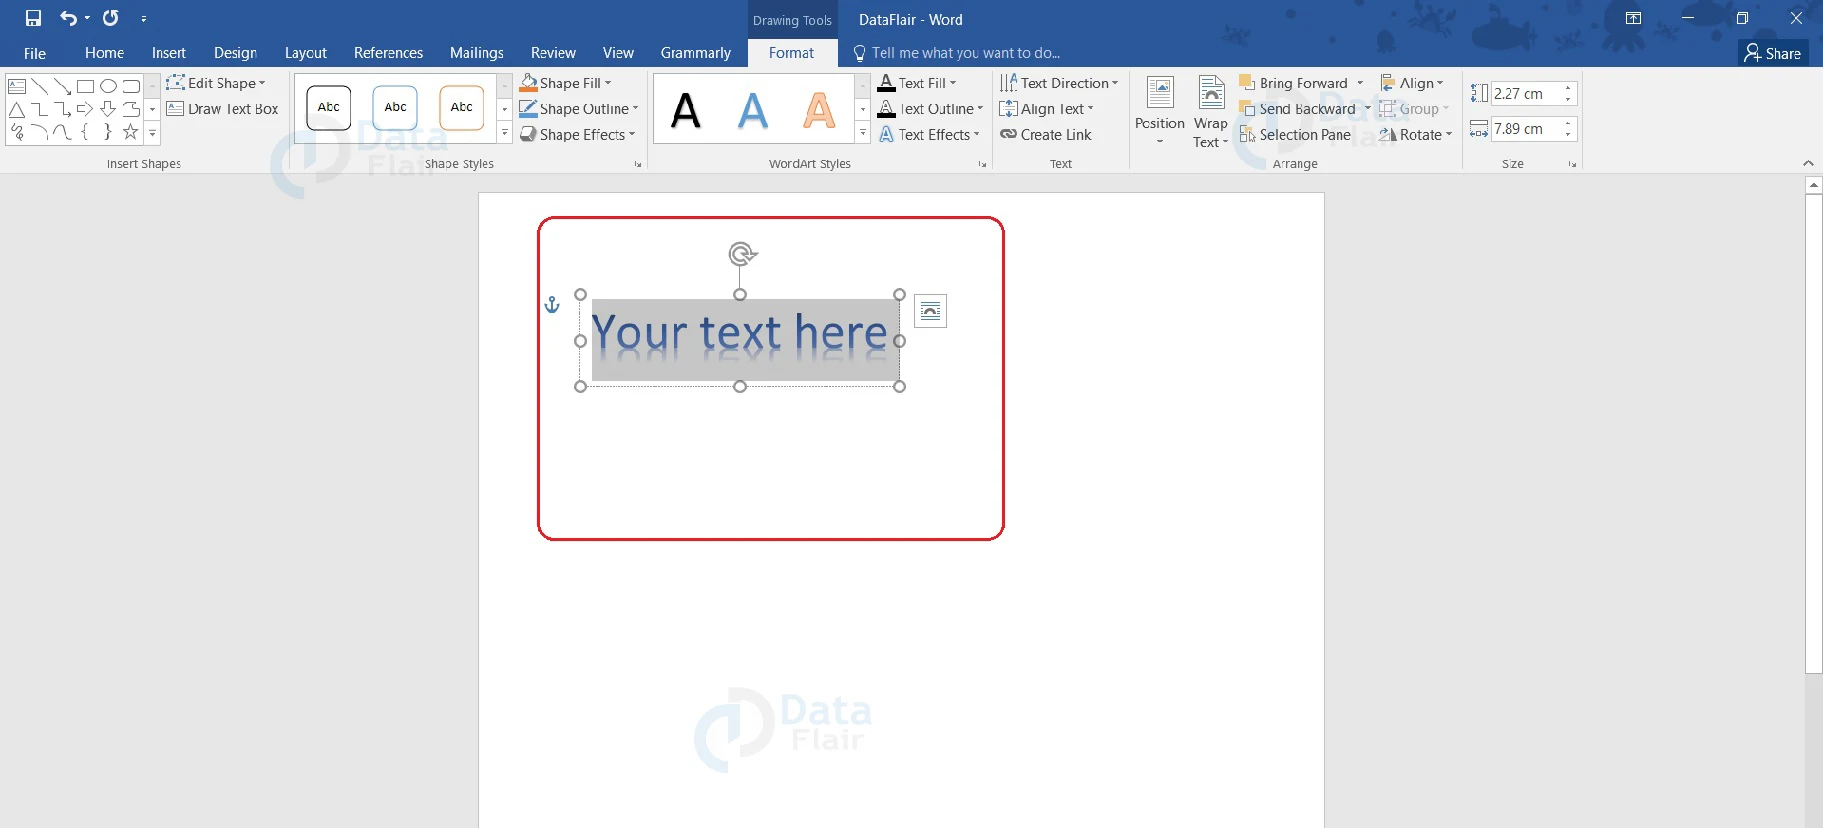
5. After entering your text, click on another position in the Word document.
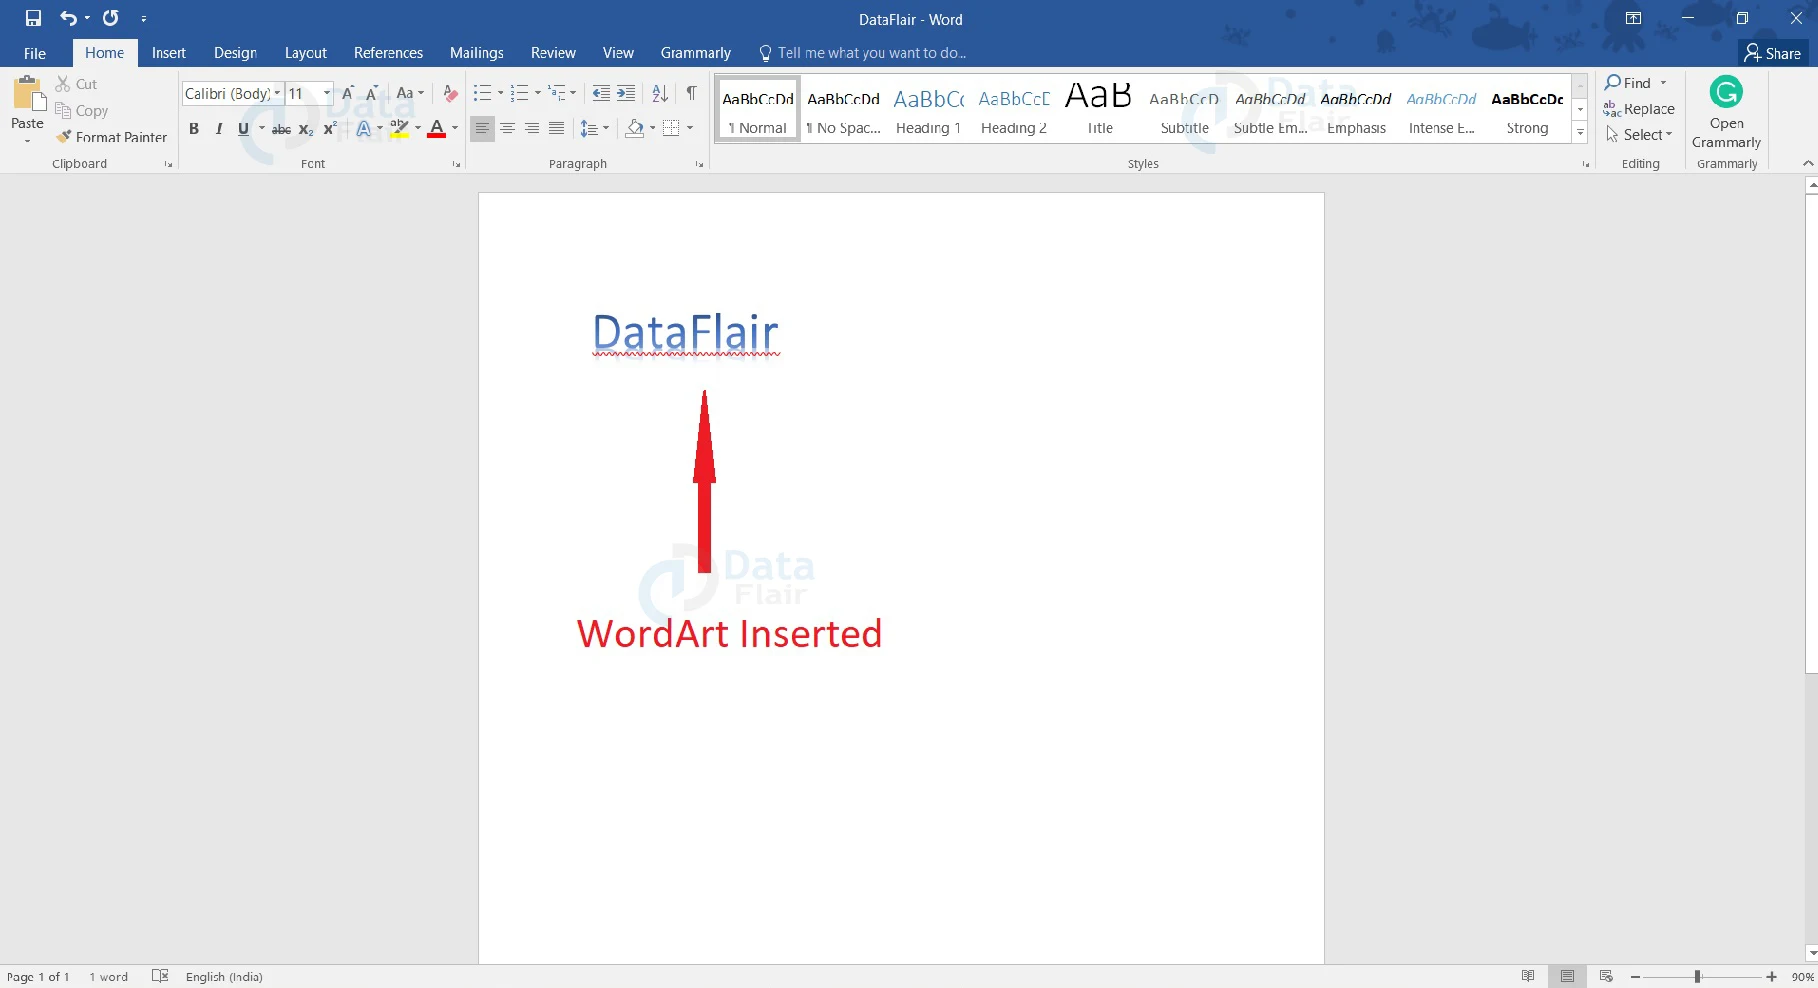
You now have text in your chosen WordArt style in your document. You can change the text size, style, and font among many others.
Also, you can change the position of your WordArt by dragging it to the desirable position. When you hover your cursor over the boundary of the WordArt, it changes to a four-headed arrow. Simply click on the right mouse button and drag it to the desirable position in your document. This can help you move your WordArt.
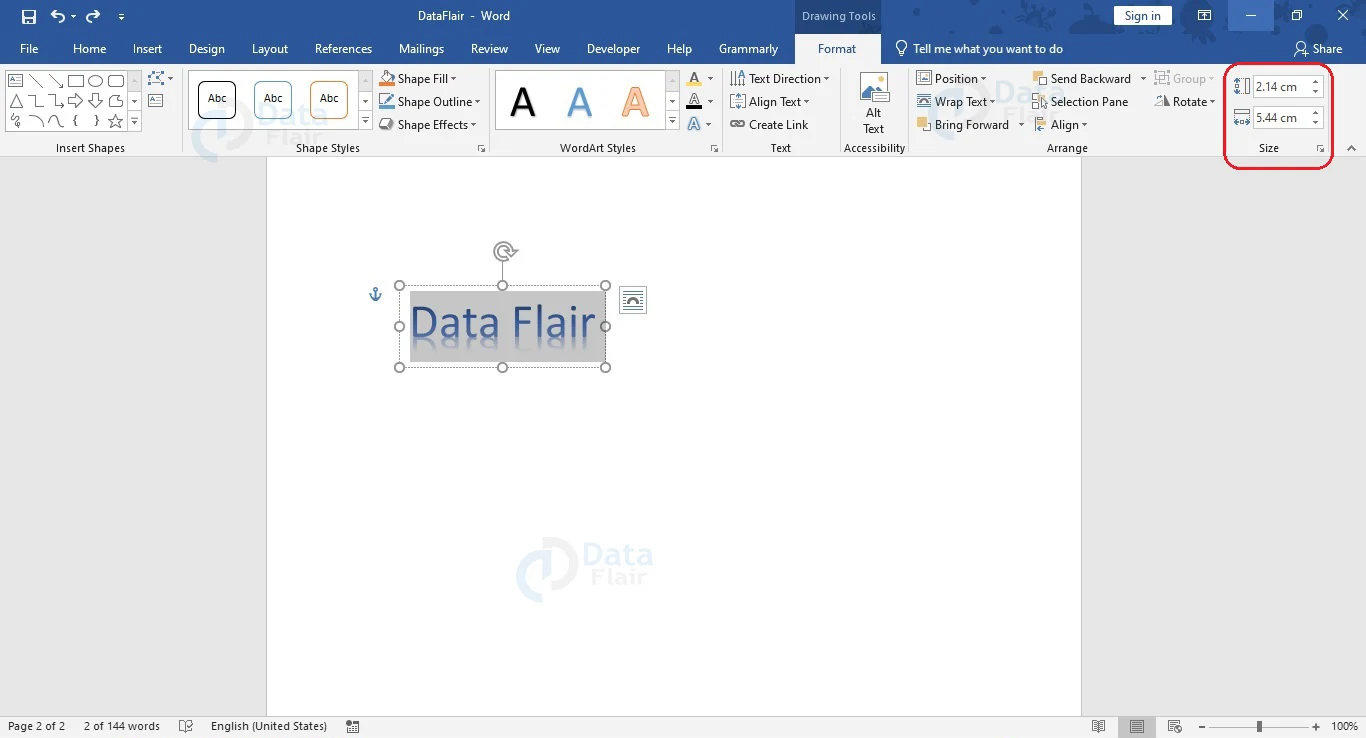
You can also change the length and width of the WordArt placeholder to accommodate your text. The placeholder or WordArt size can be changed by dragging along the corners of the placeholder.
Alternatively, you may also enter the desired values in the Section group under the Format tab of Drawing Tools.
How to Format WordArt?
After inserting WordArt in your document, you might wish to change its style. It is possible and can be done by following the steps mentioned below.
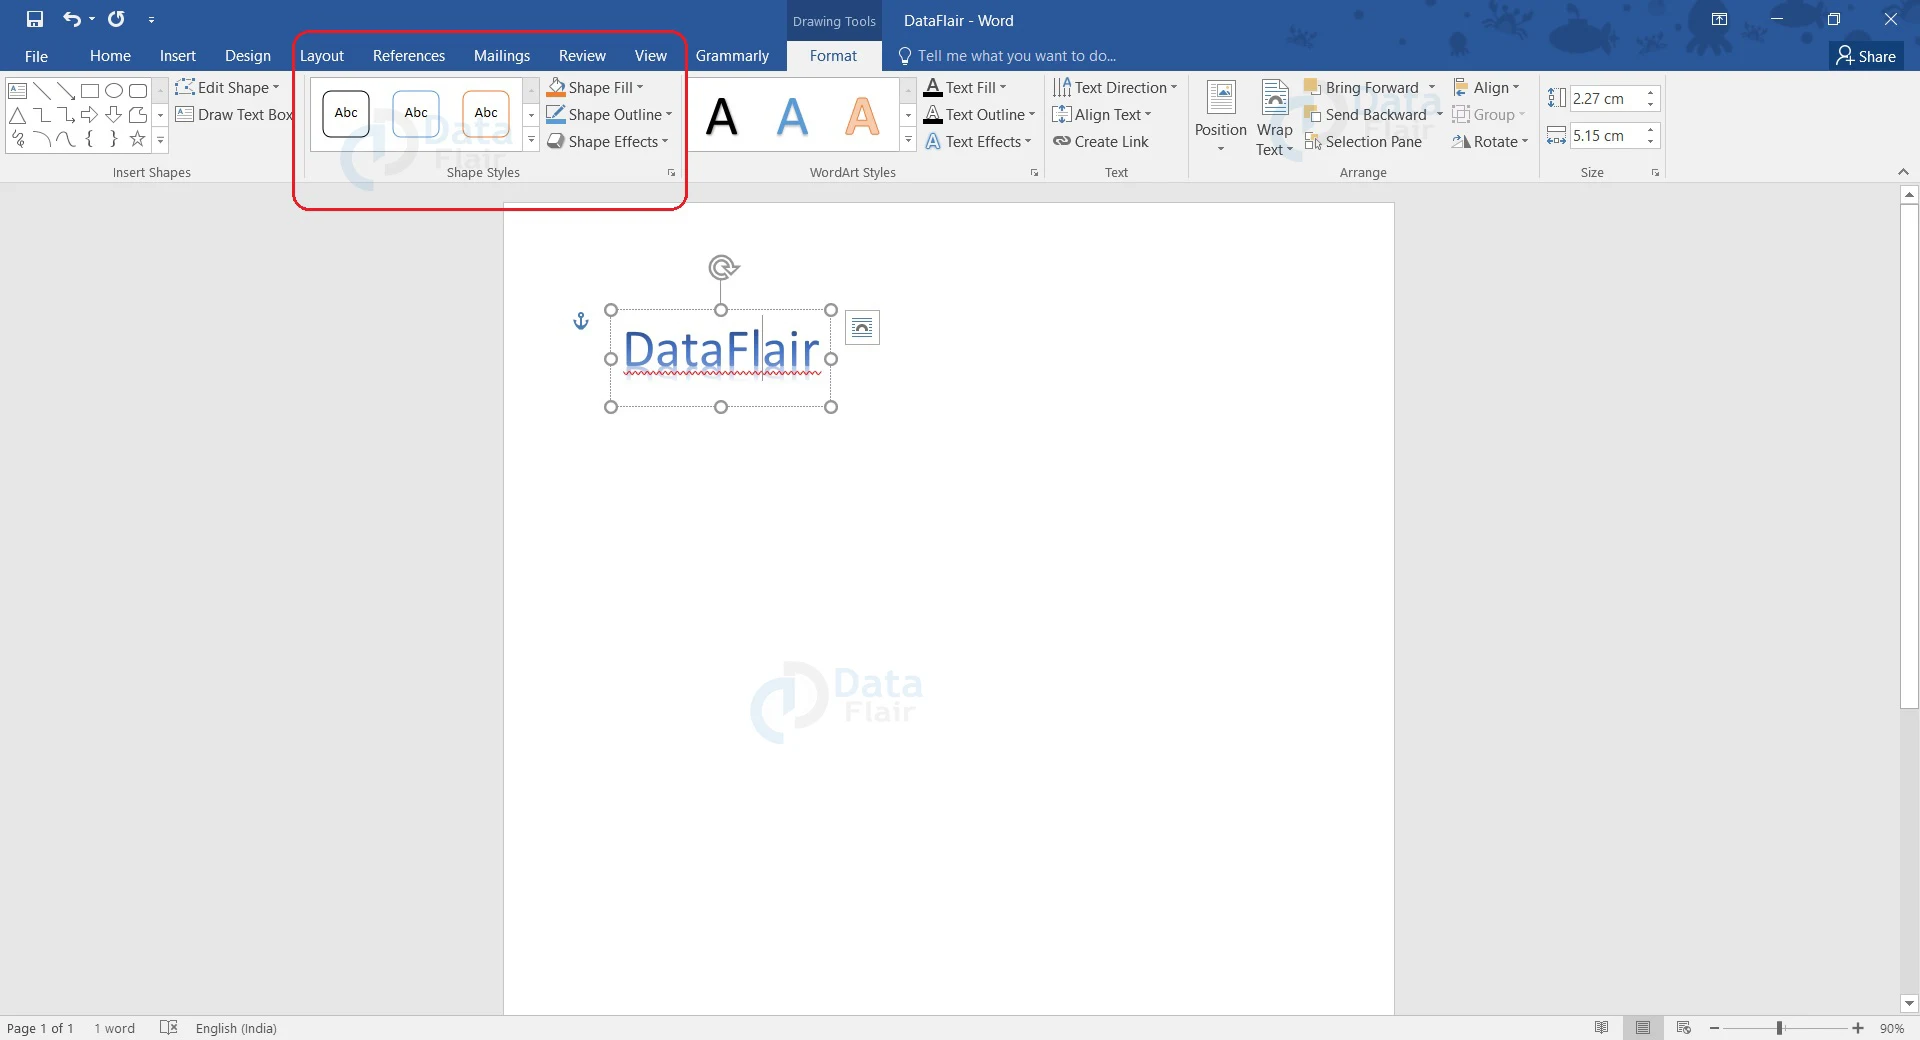
1. Choose the WordArt by selecting the whole text. The Format tab in the Drawing Tools group will appear in the ribbon.
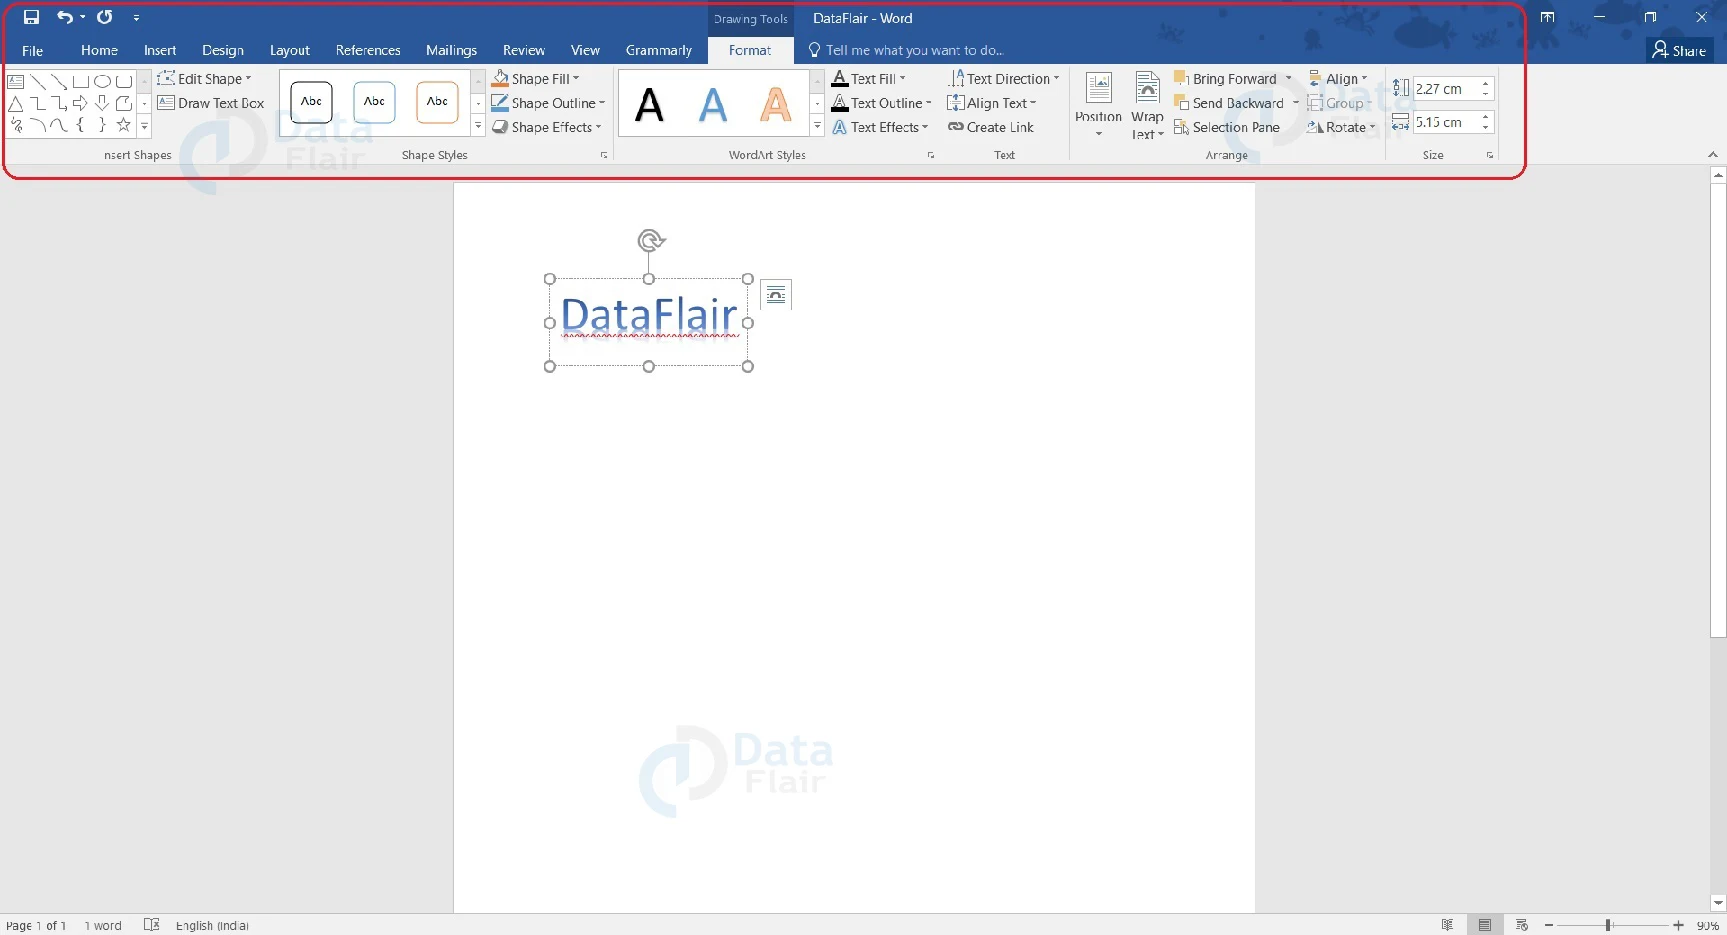
2. You can format the WordArt by using the options available in the WordArt Styles group.
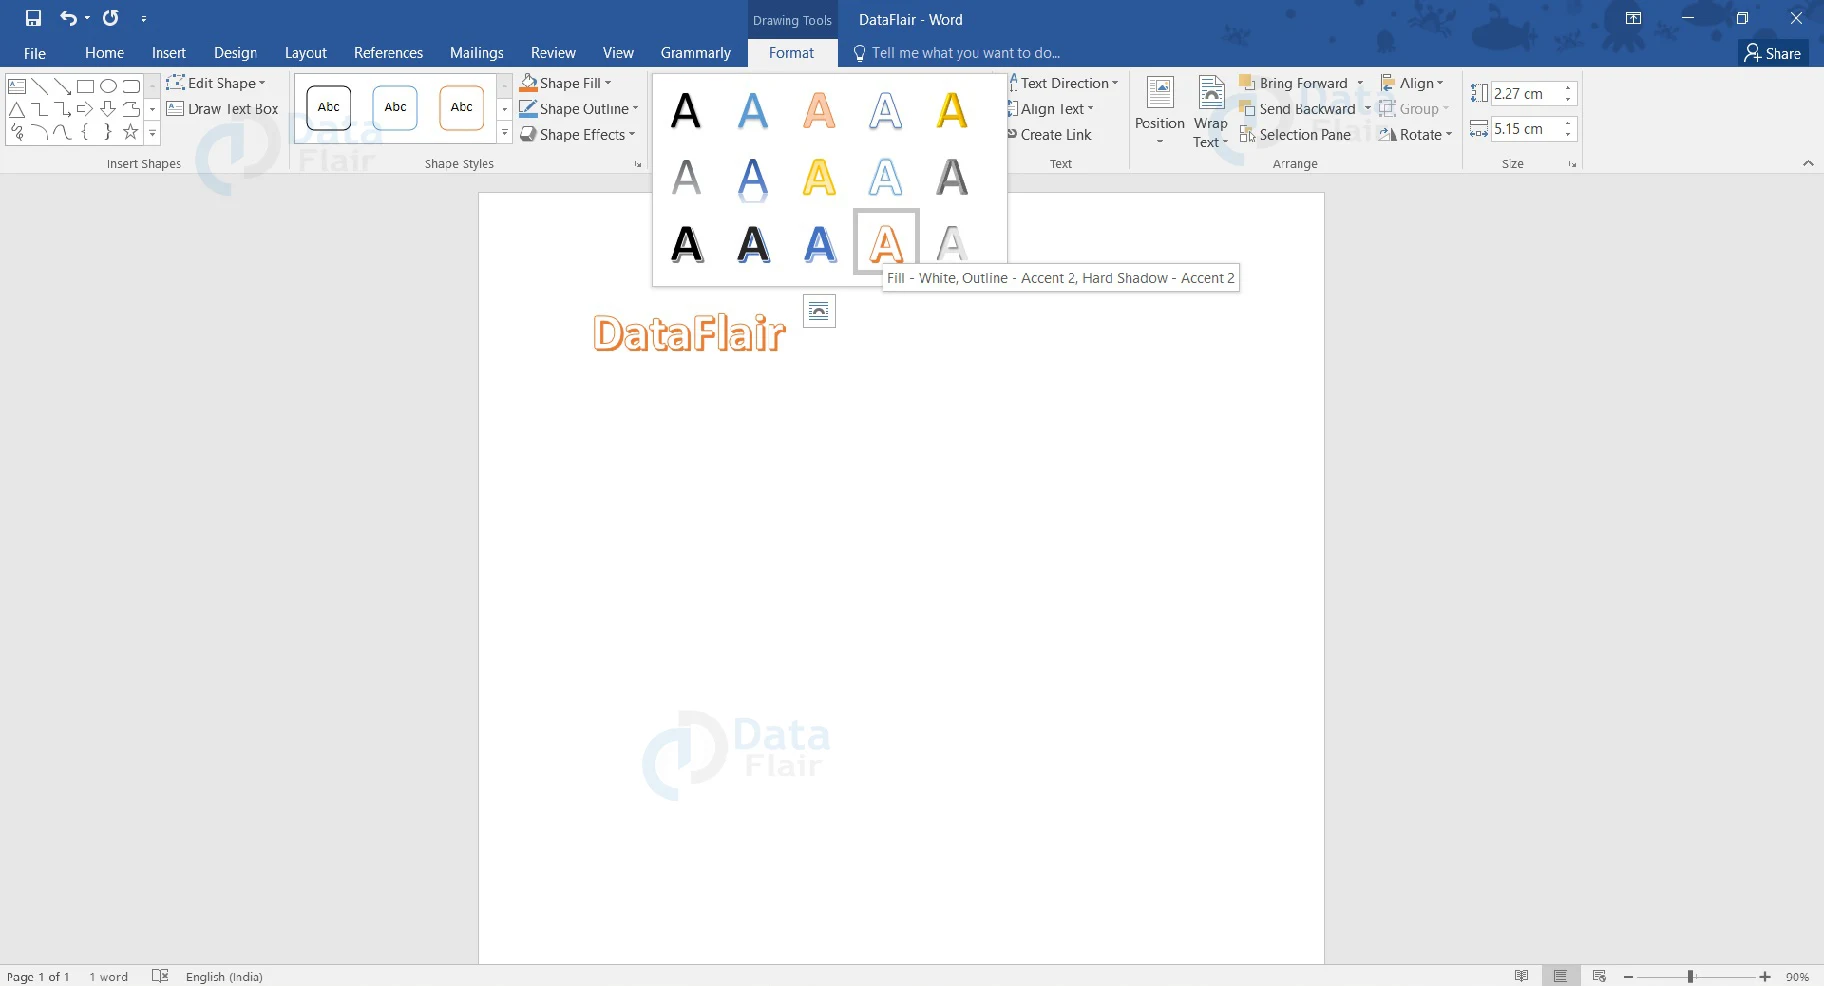
a. If you want to change the WordArt style, choose another style from the available options. Click on the downward arrow to view all the other styles.
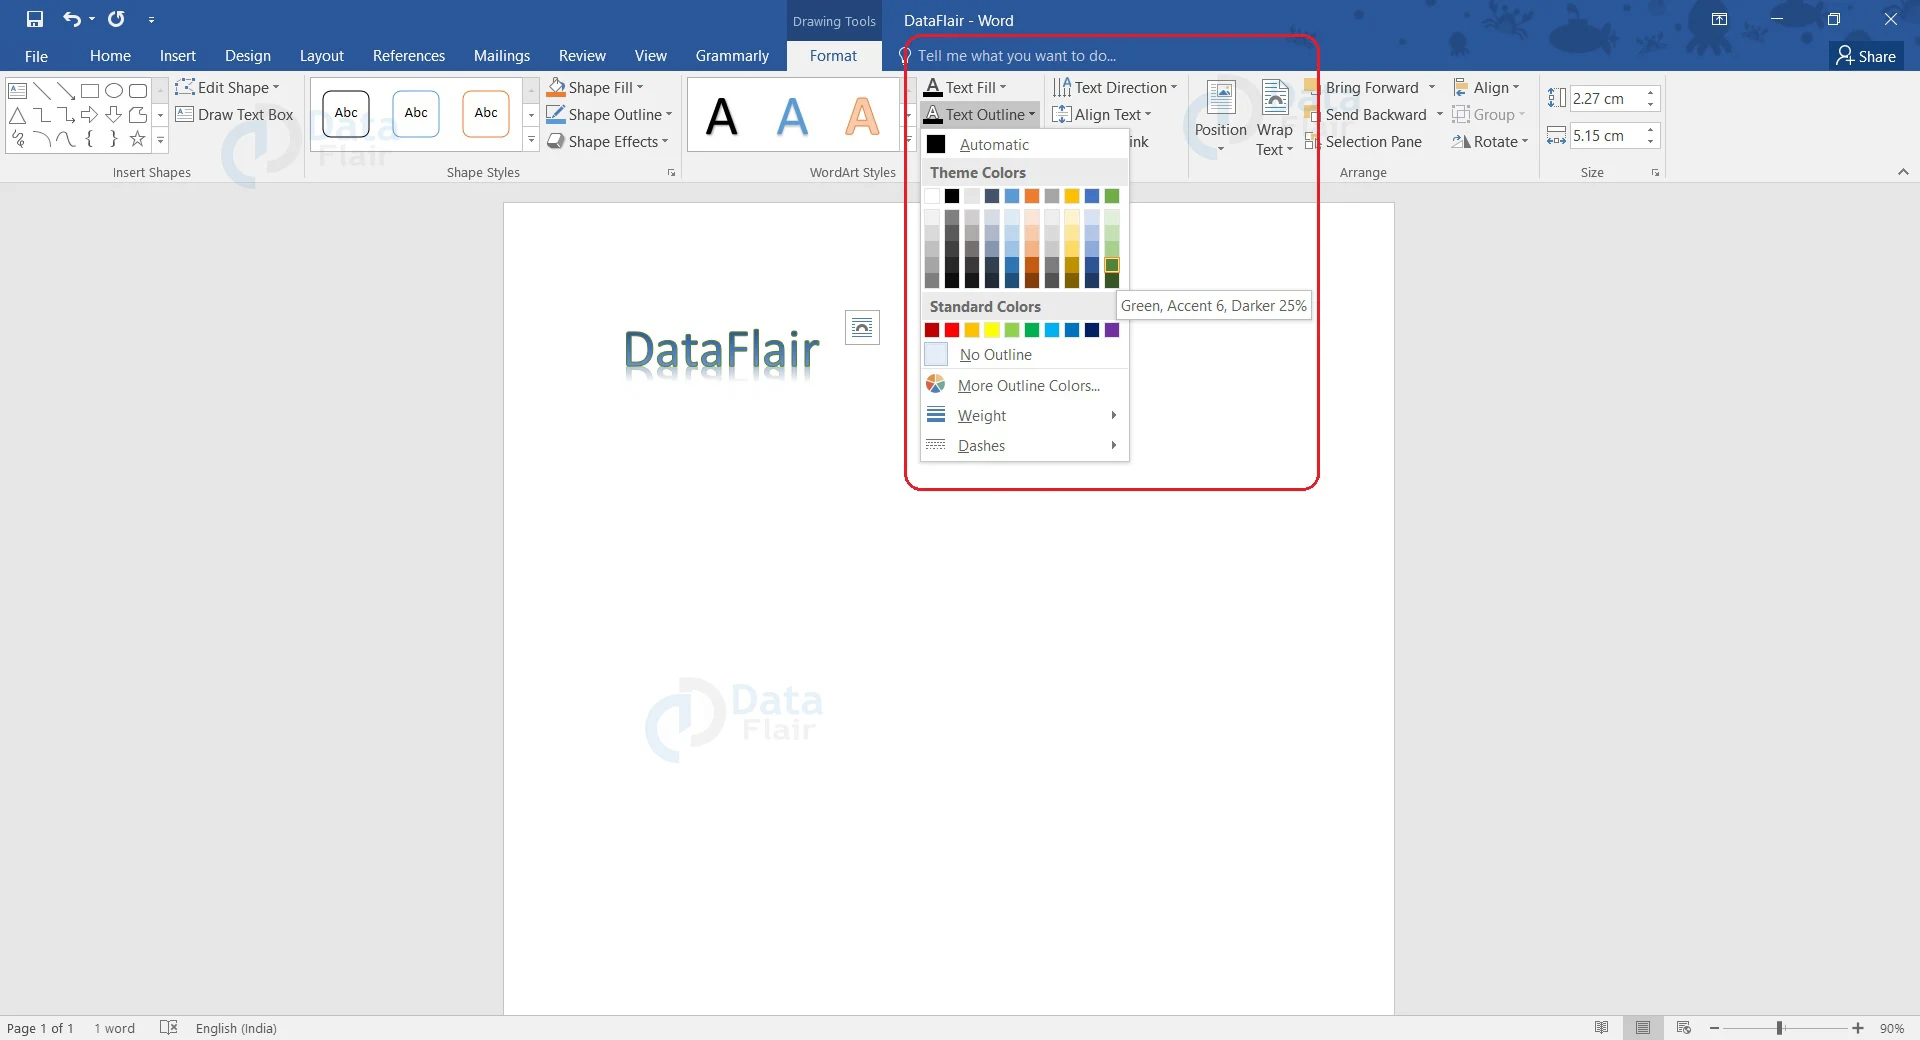
b. To change the text fill and text outline, click on the downward arrow beside the respective option and choose one.
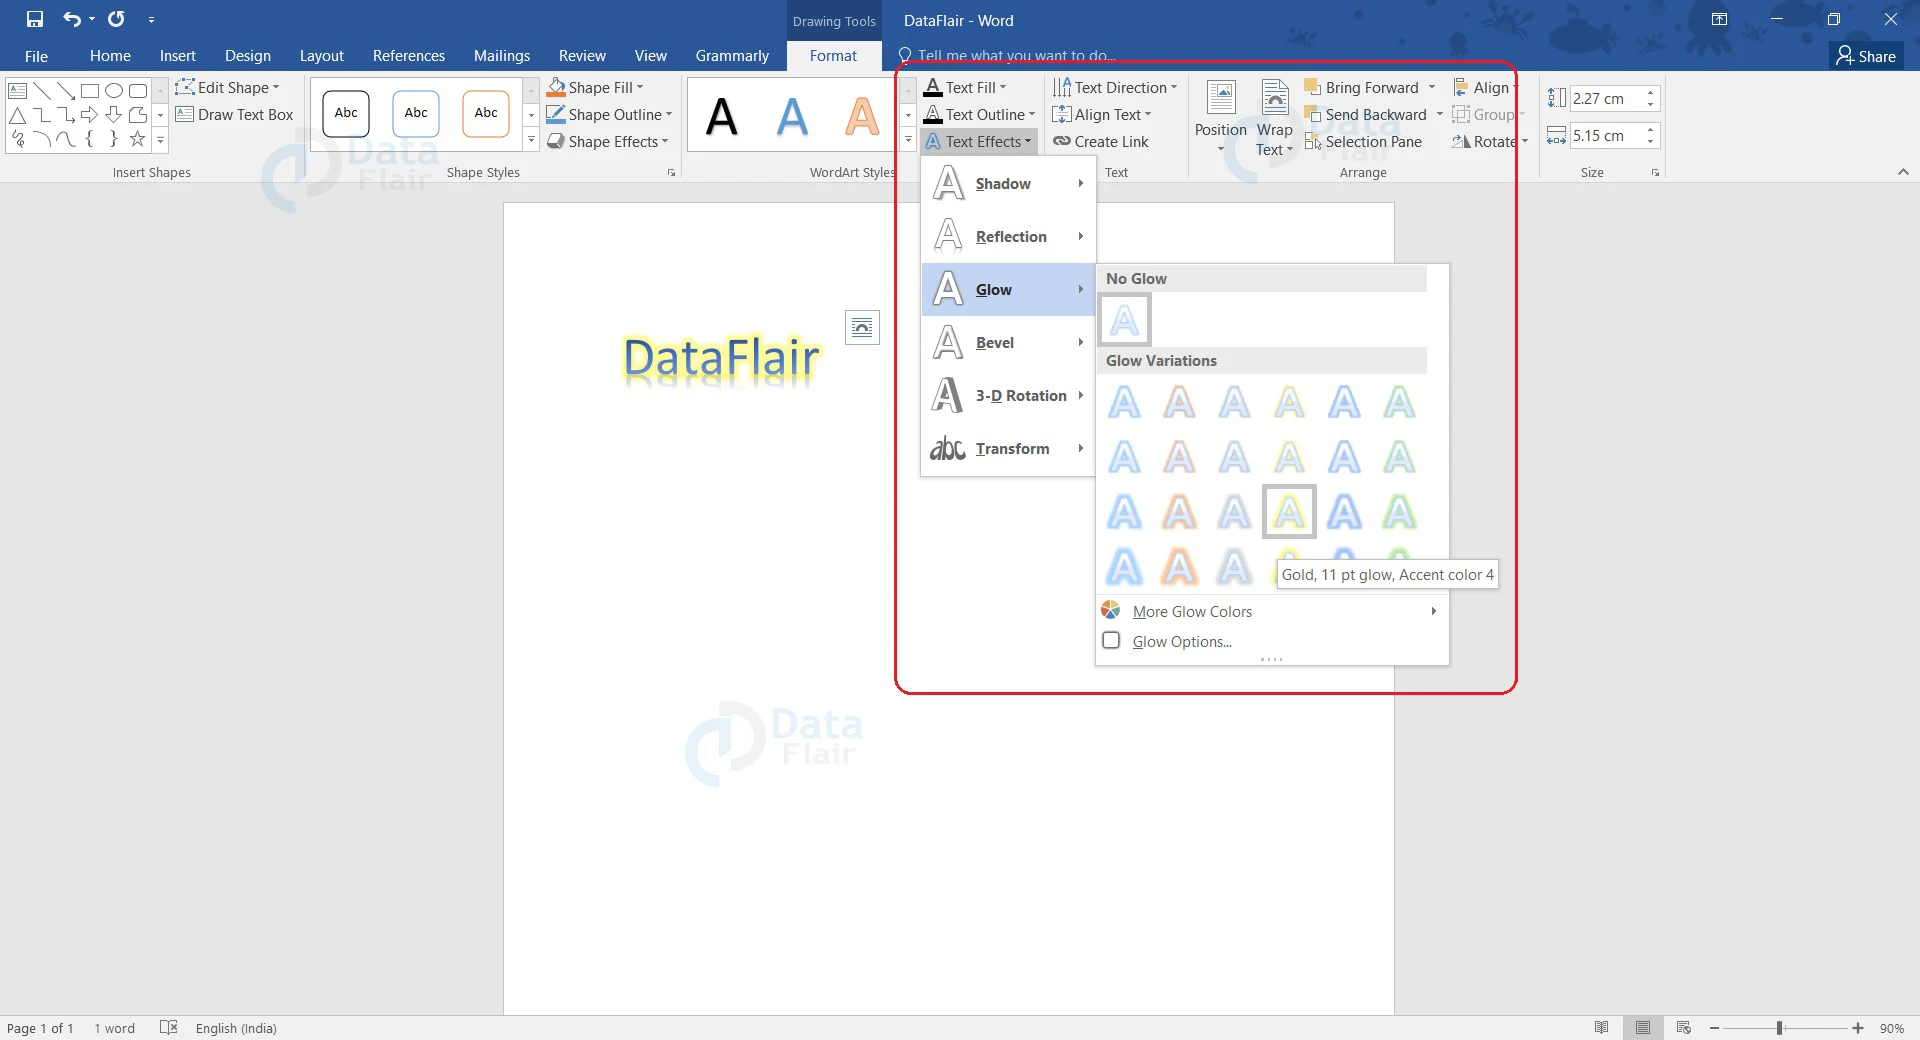
c. You can also insert text effects. To view available text effects, open the dropdown menu for the Text Effects option.
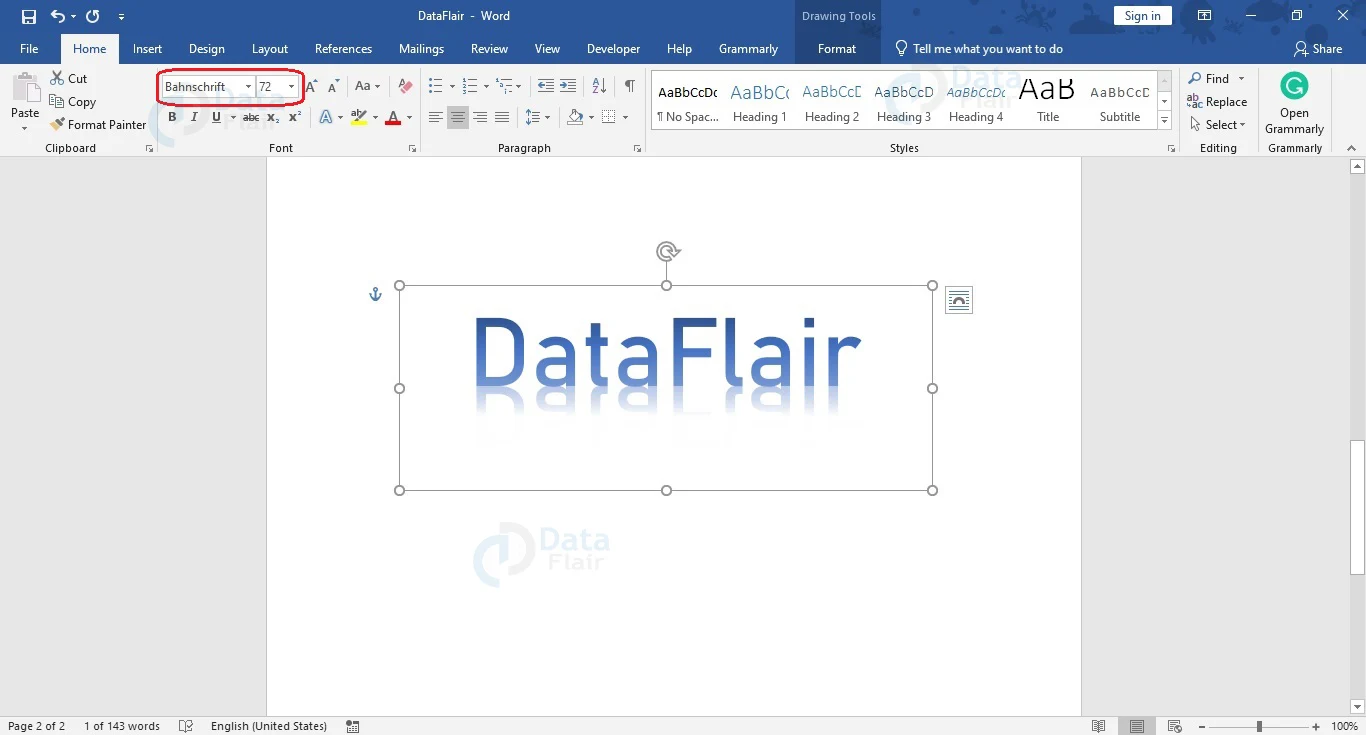
d. To change the text size and font, go to the Home tab and choose the appropriate font style and font size from the Font and Font Size sections under Font group respectively.
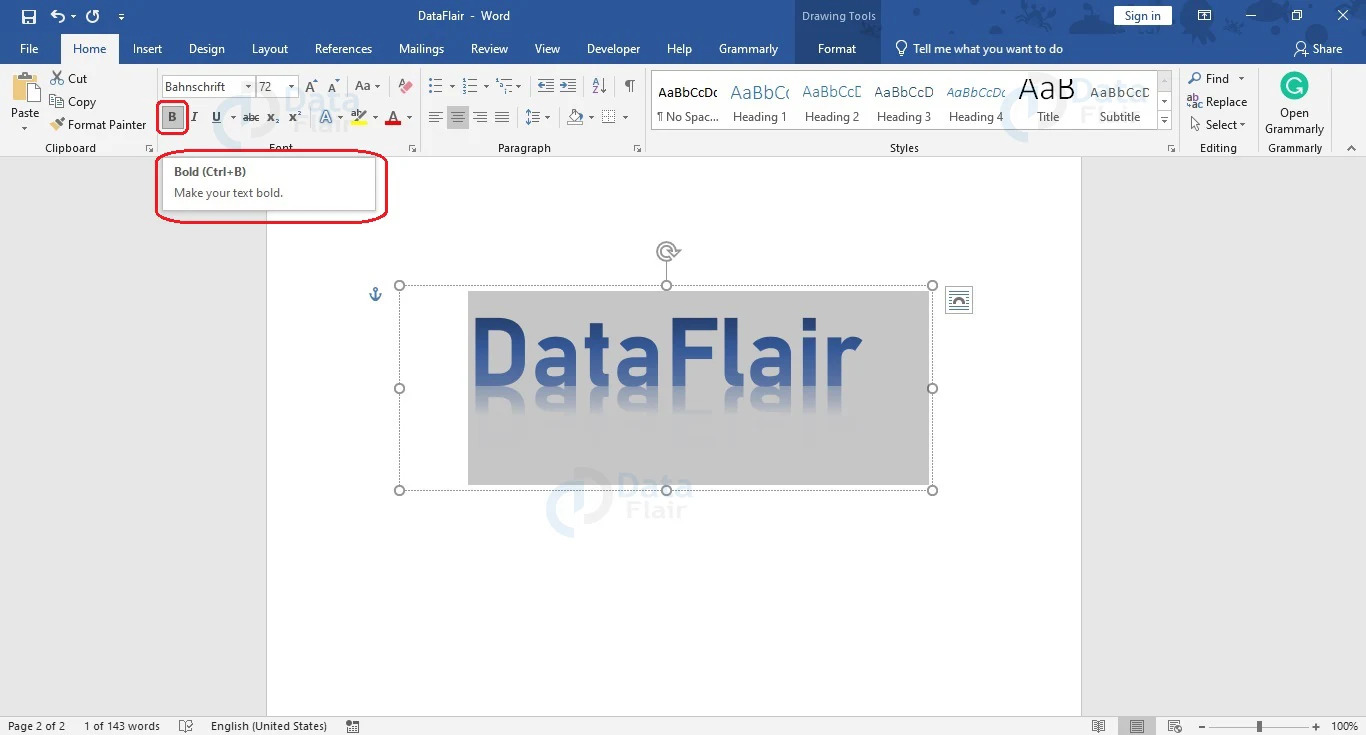
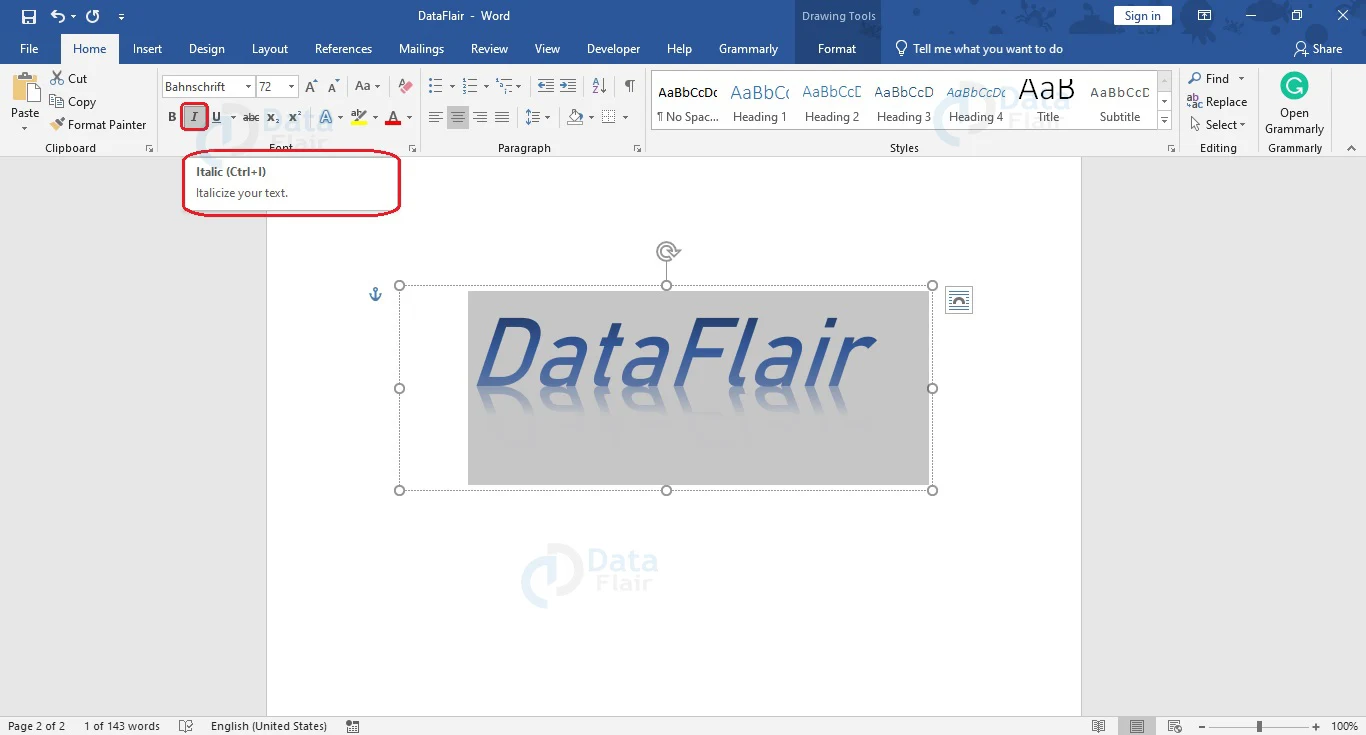
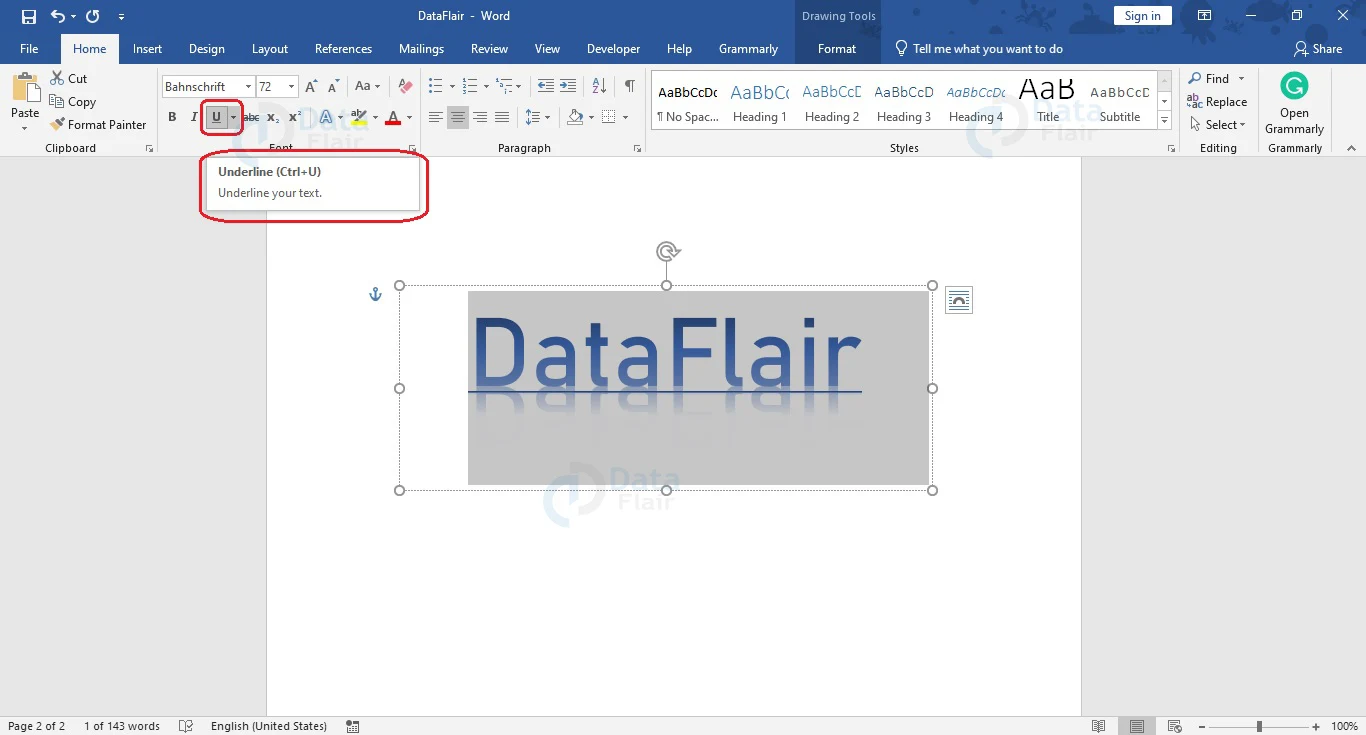
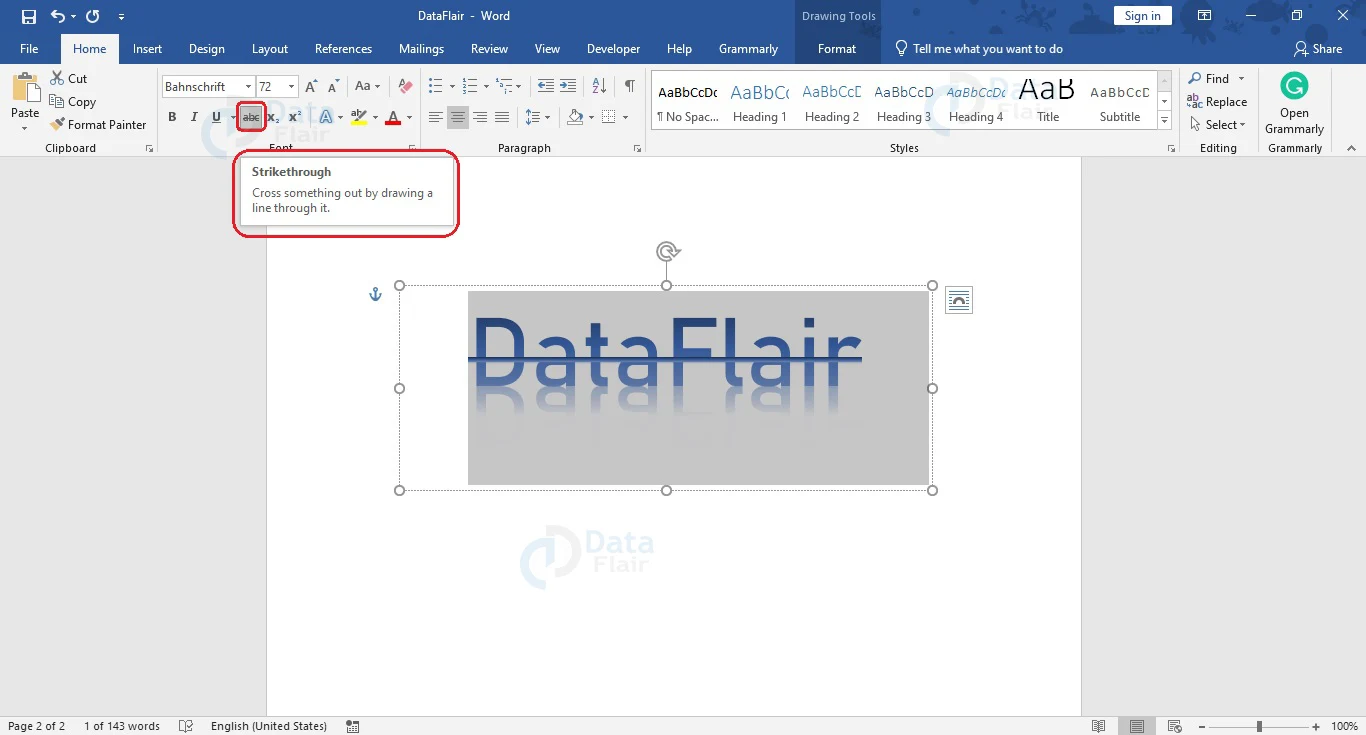
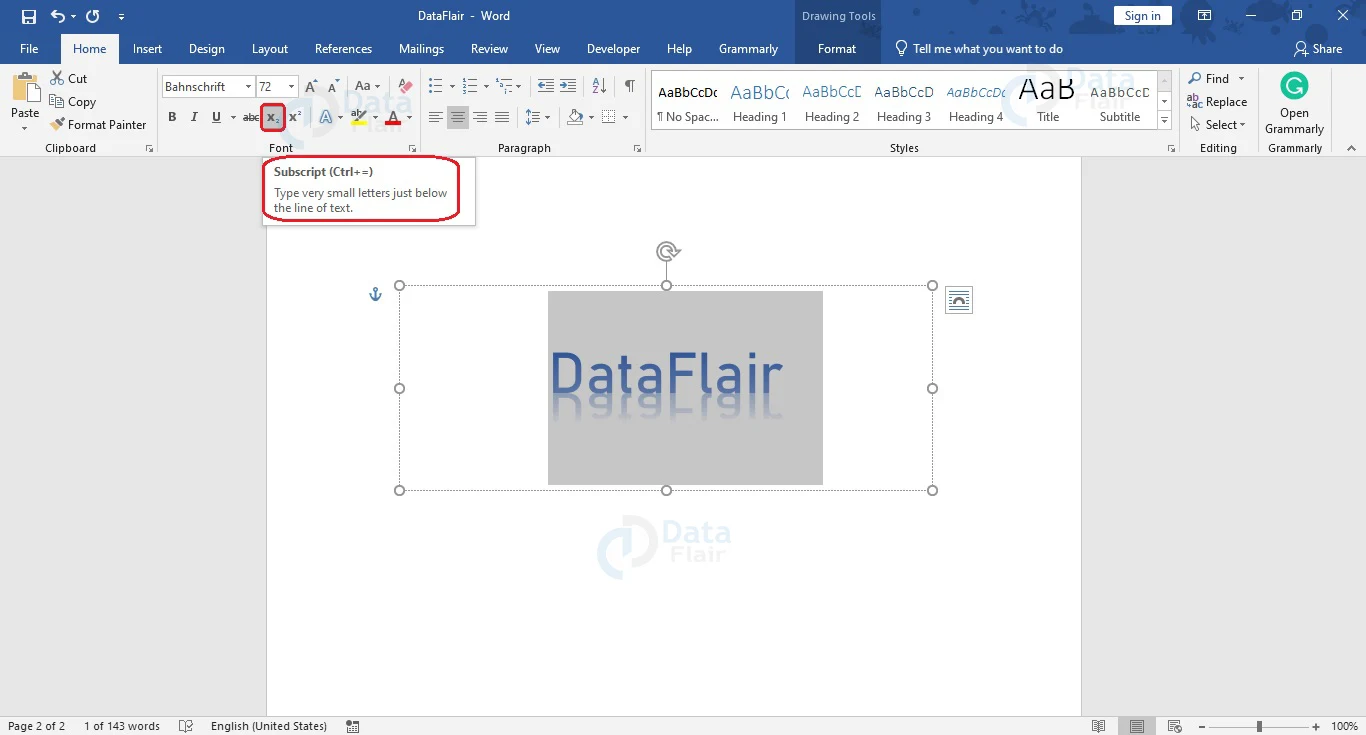
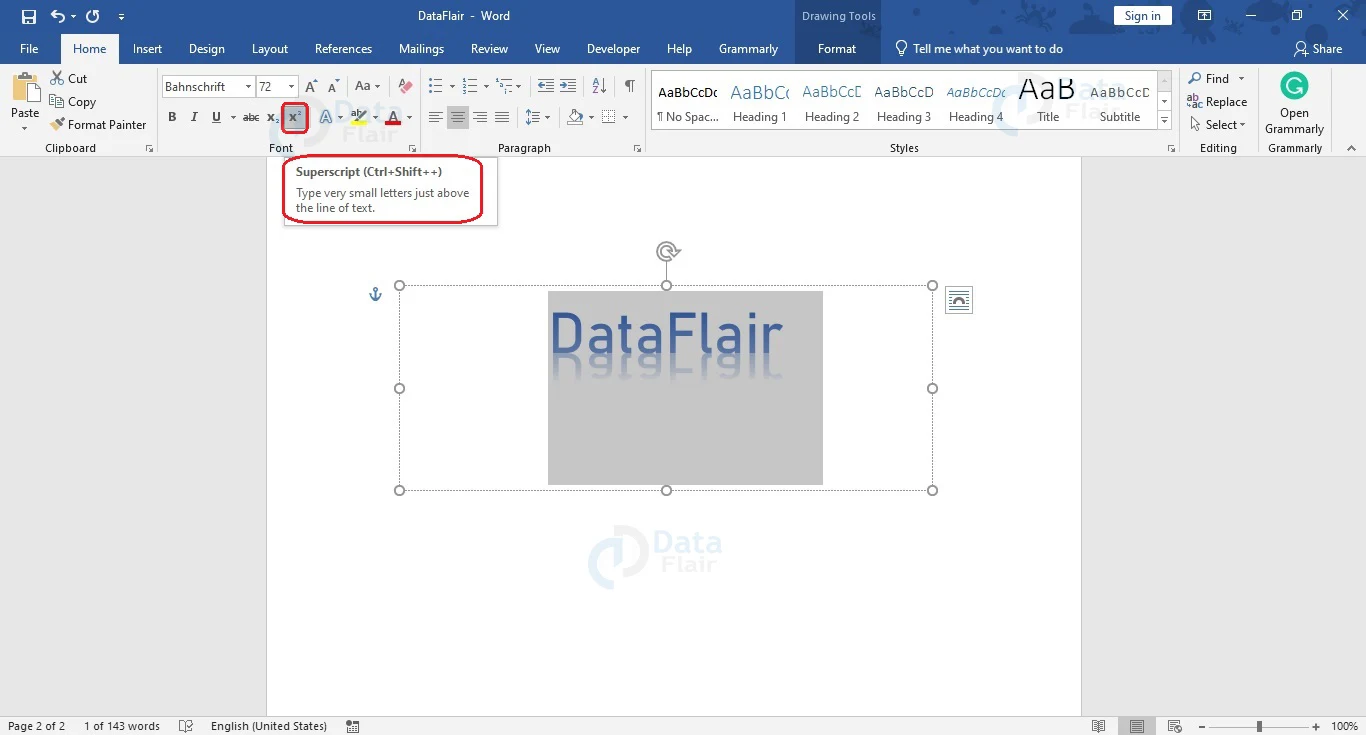
e. You can also choose to apply formatting effects like Bold, Italic, Underline, Strikethrough, Subscript and Superscript by choosing the appropriate option from the Font group of the Home tab.
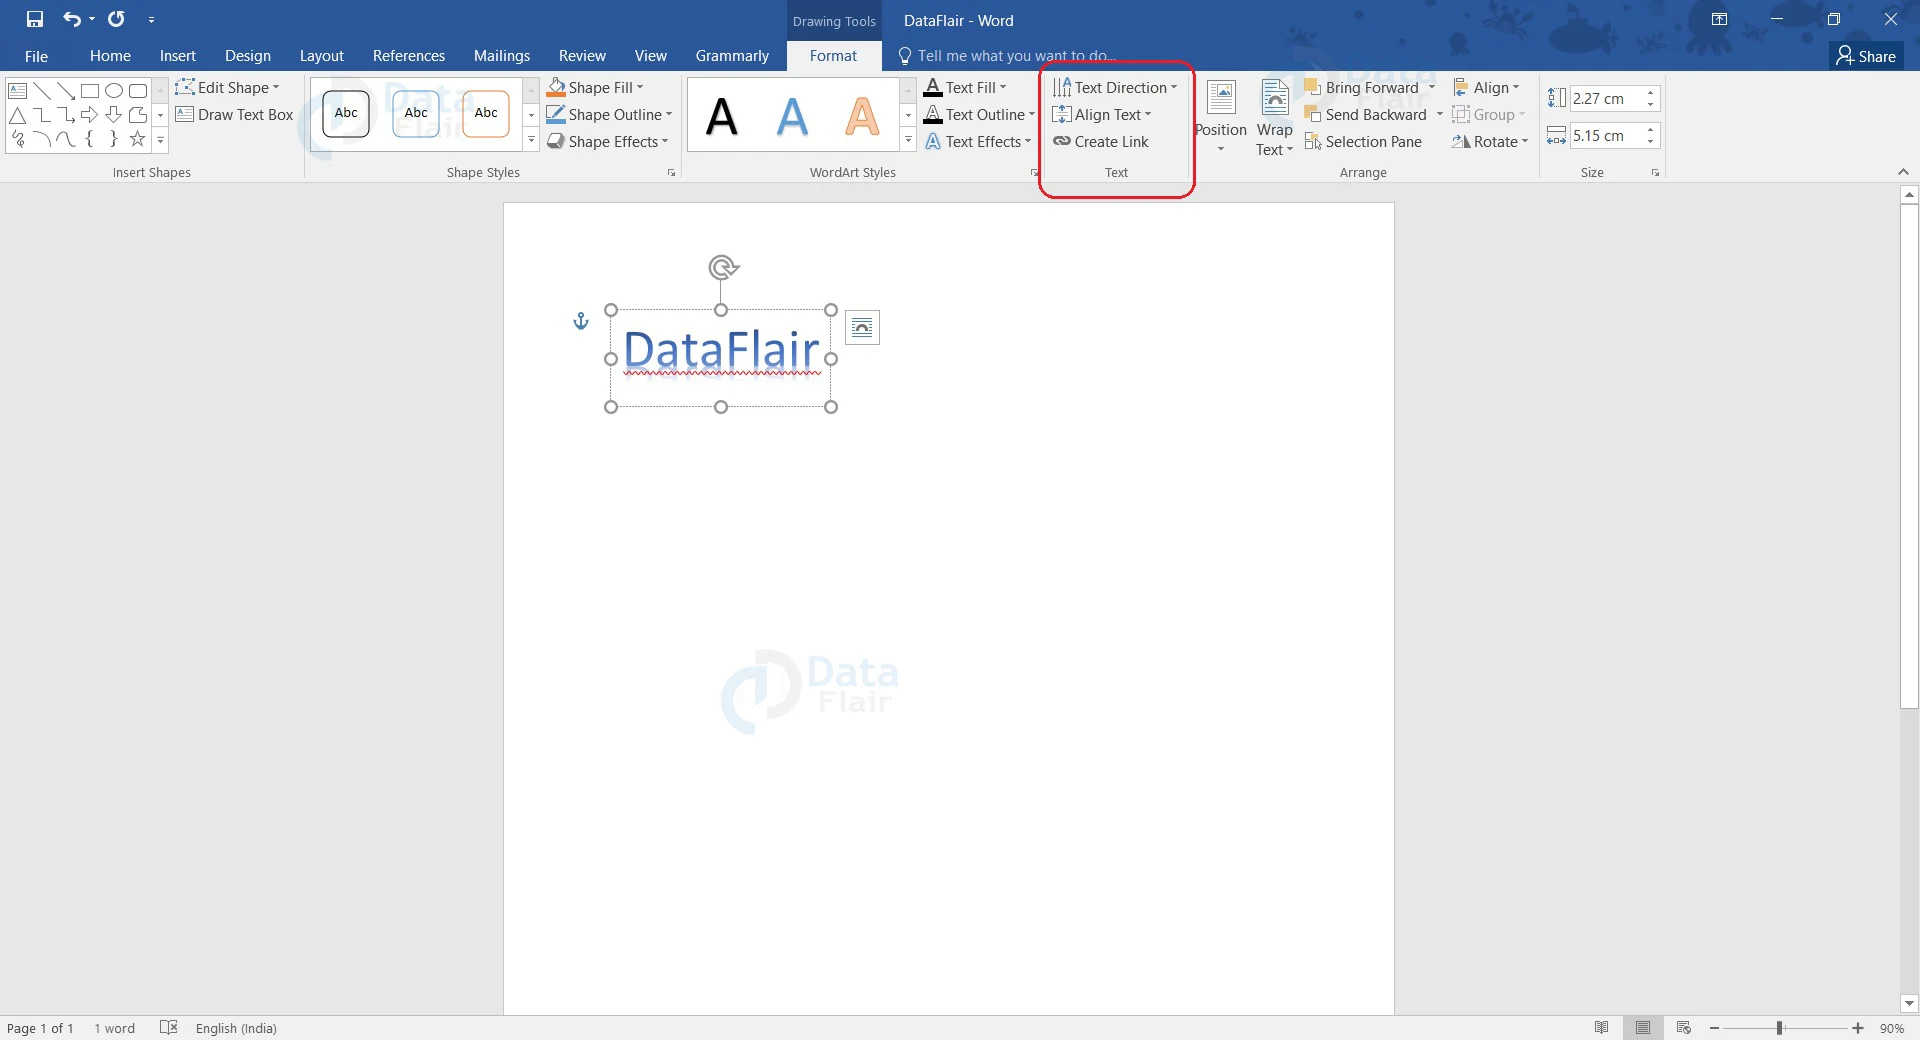
3. You can choose to change the text alignment and the text direction by using the Align Text and Text Direction options from the Text group.
4. The Shape Style group contains many tools for formatting your WordArt placeholder.
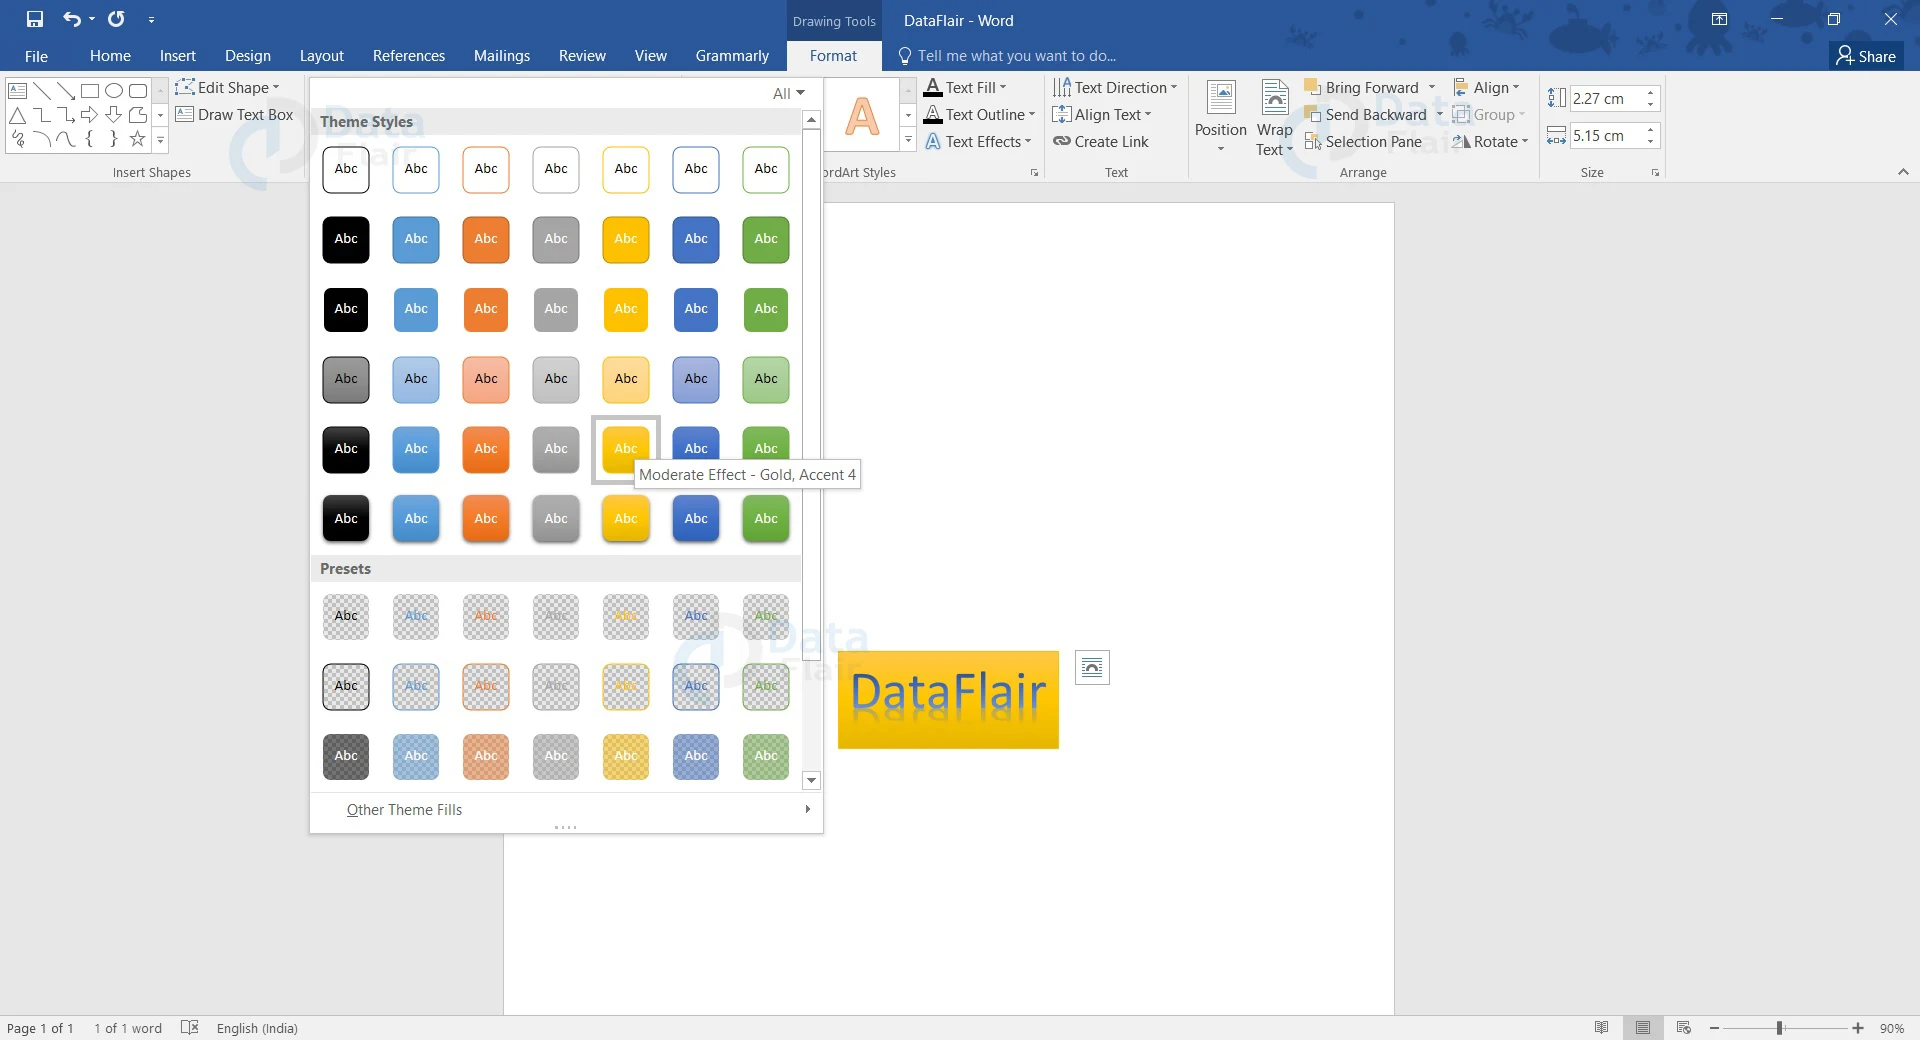
a. You can change the placeholder theme from one of the various preset options available.
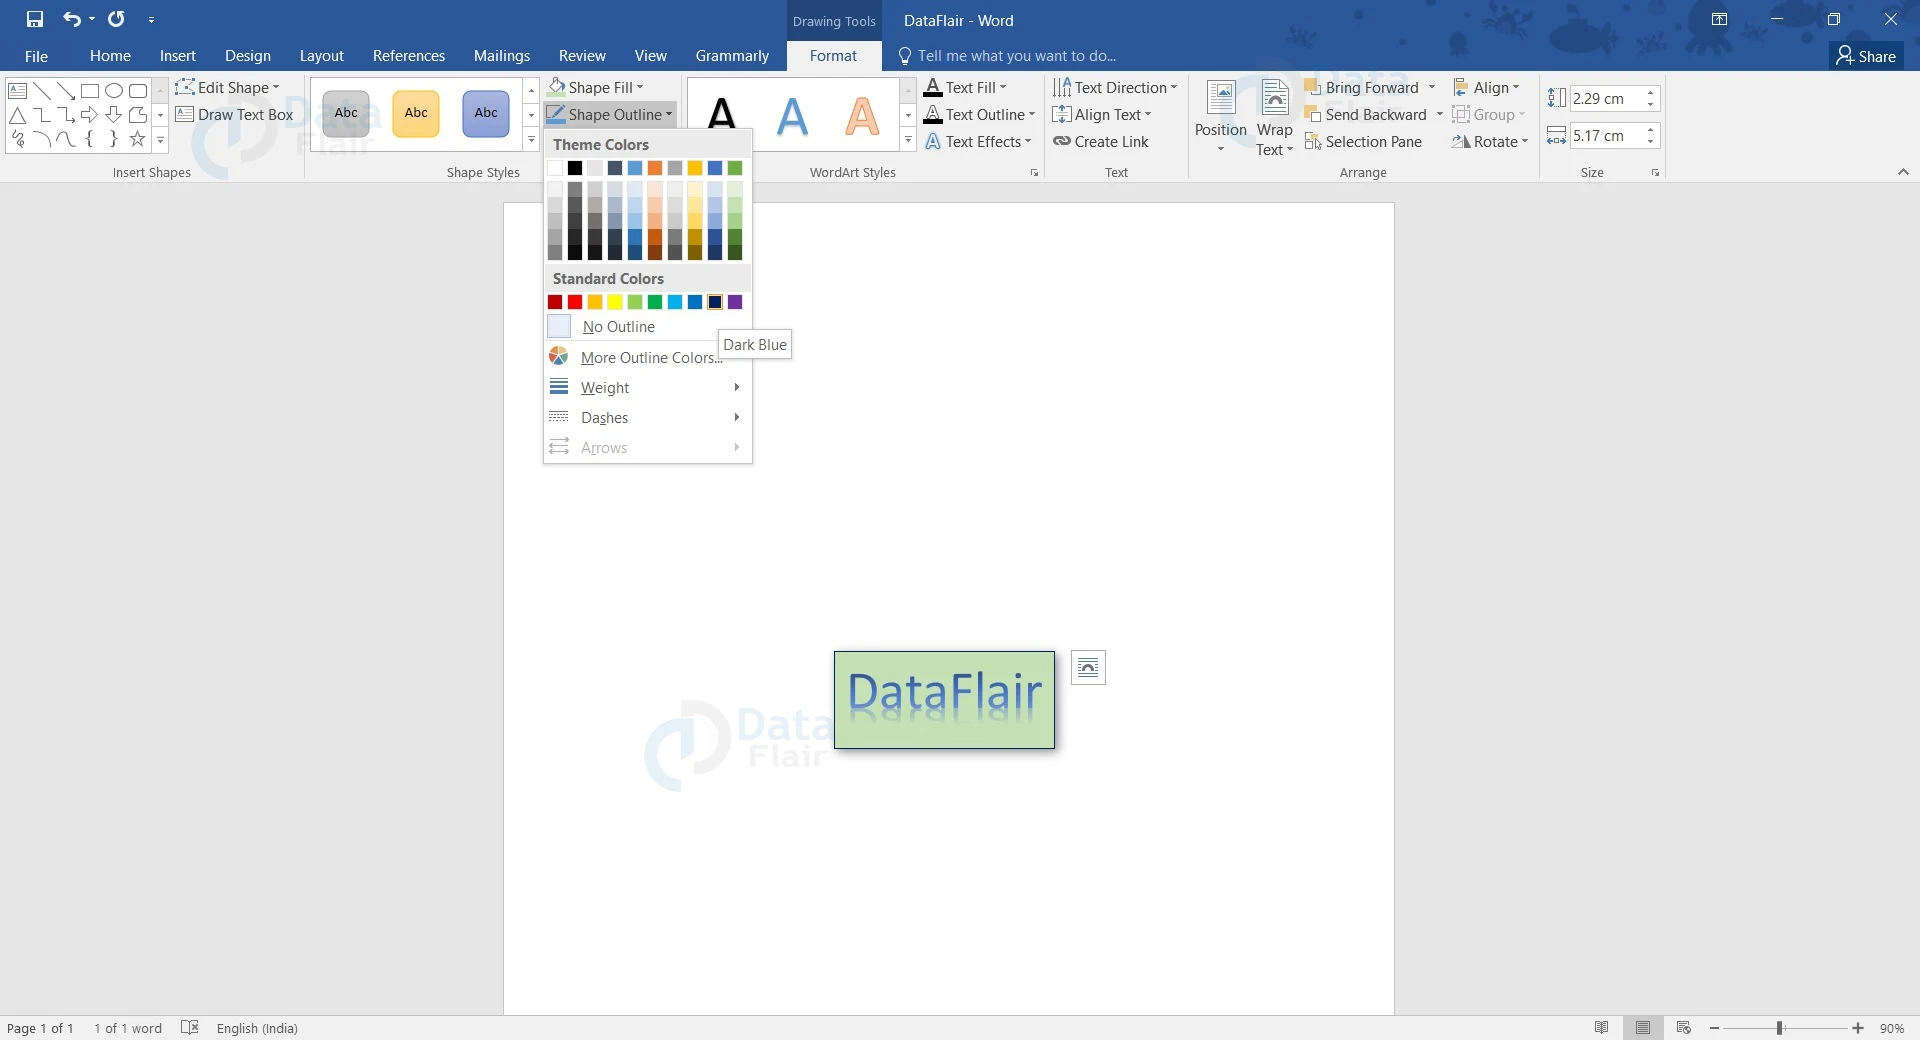
b. The Shape Fill and Shape Outline options let you choose a fill color and an outline for your WordArt placeholder.

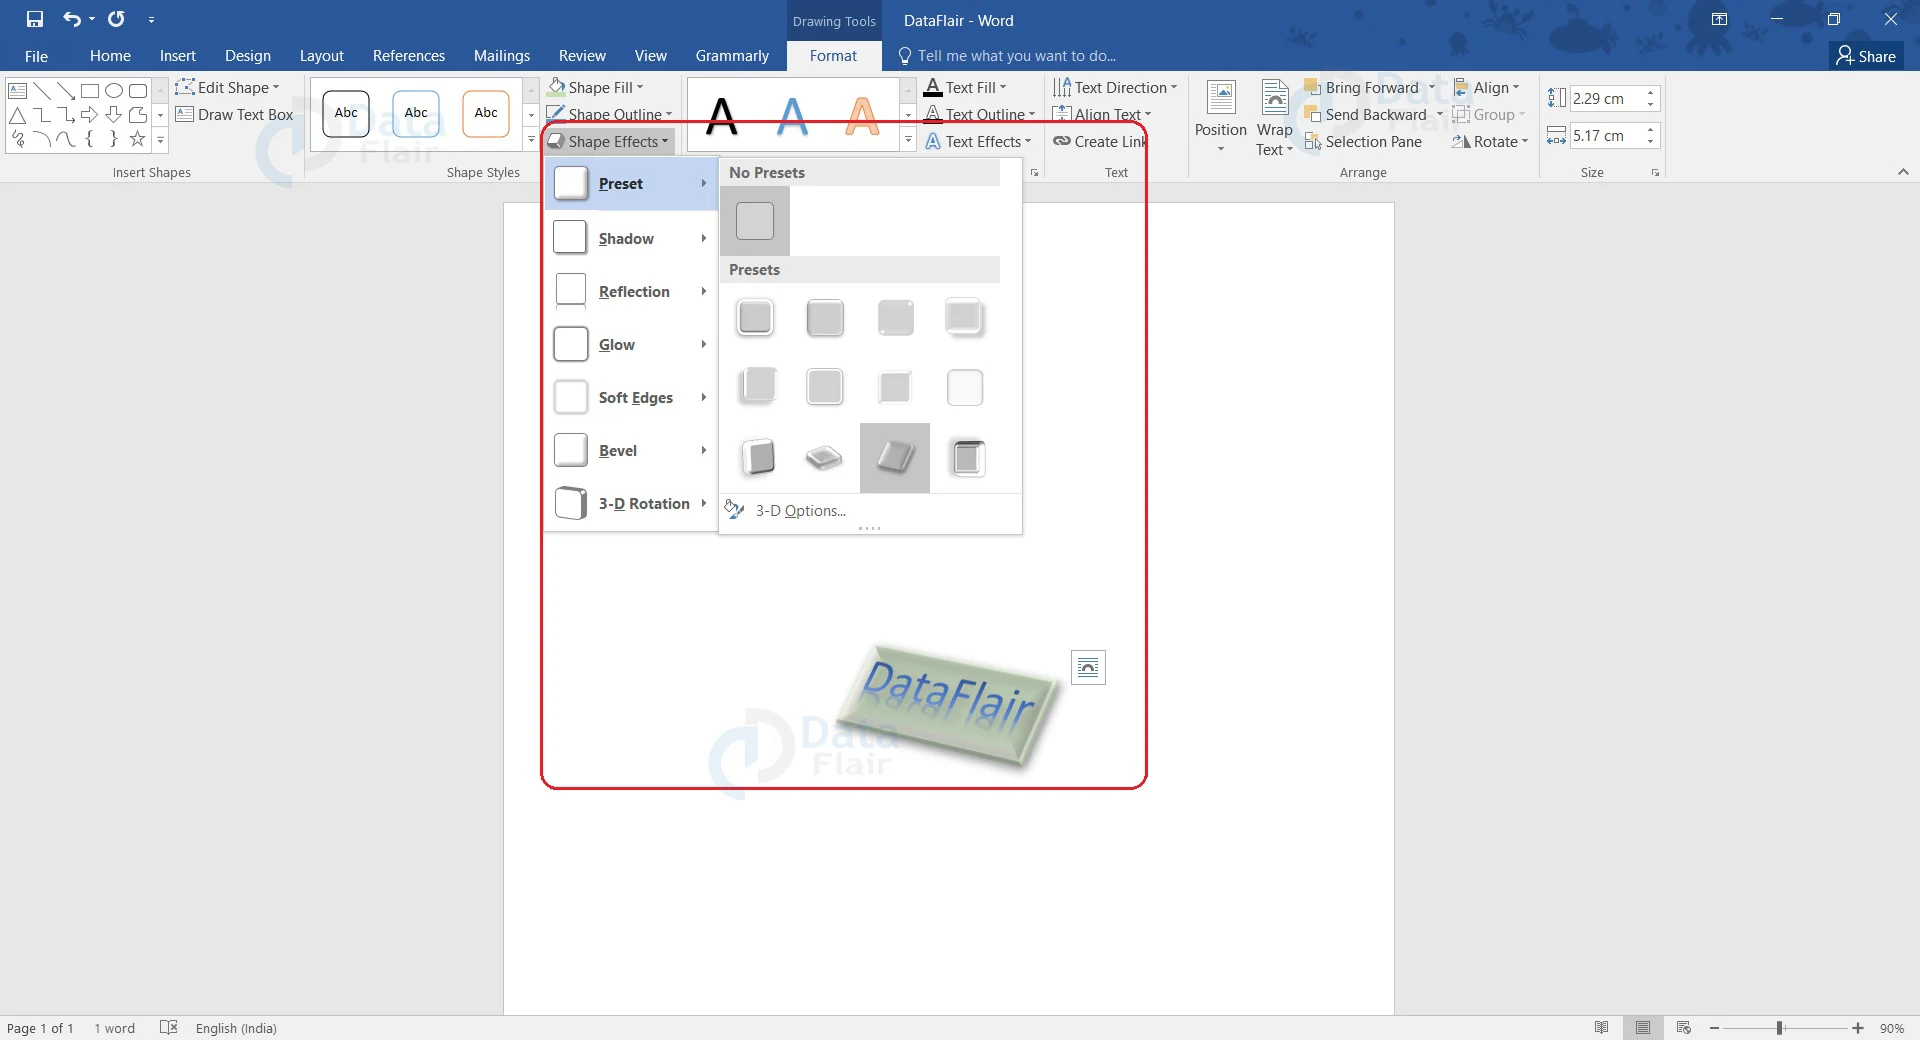
c. The Shape Effects option can help you change the effect of your WordArt.
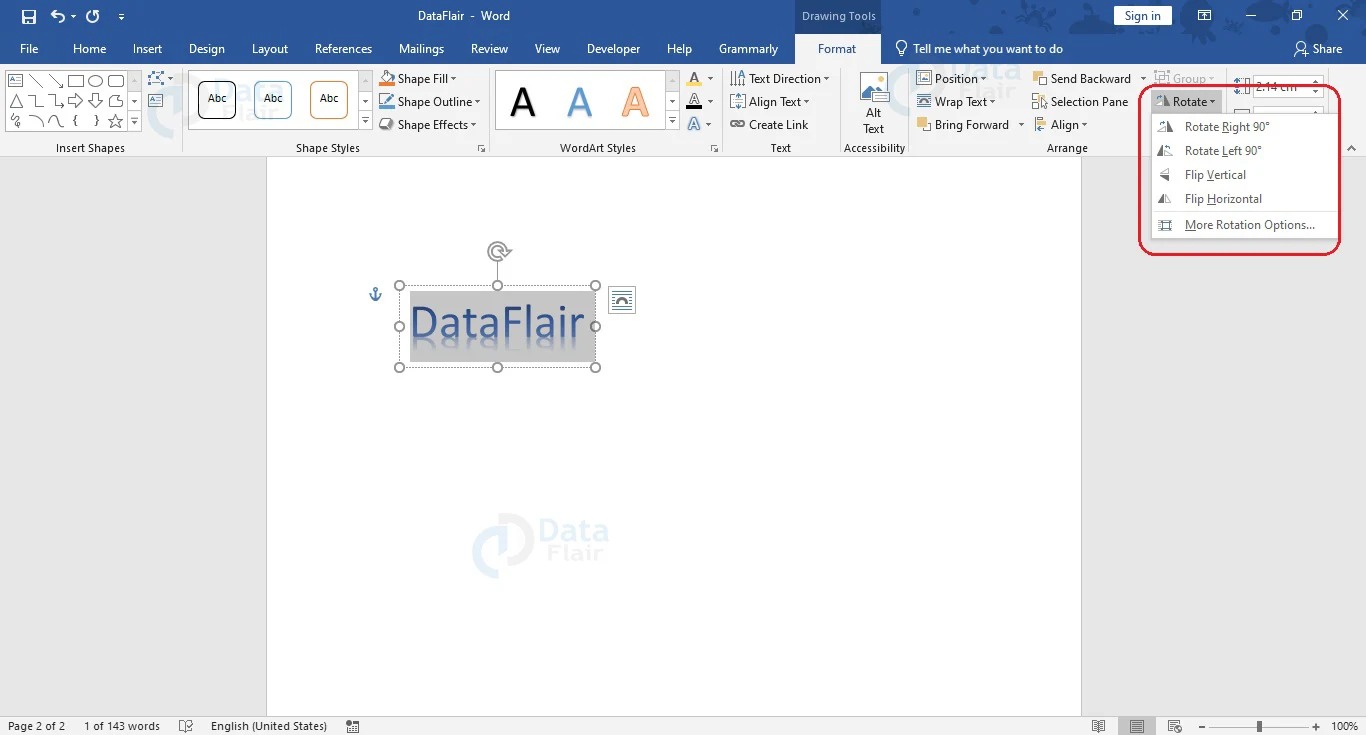
5. You can also rotate your WordArt at an angle you wish. To do so, click on the Rotate option of the Arrange group of Format tab under Drawing Tools. From the dropdown, you can choose a suitable option, or choose More Rotation Options… .
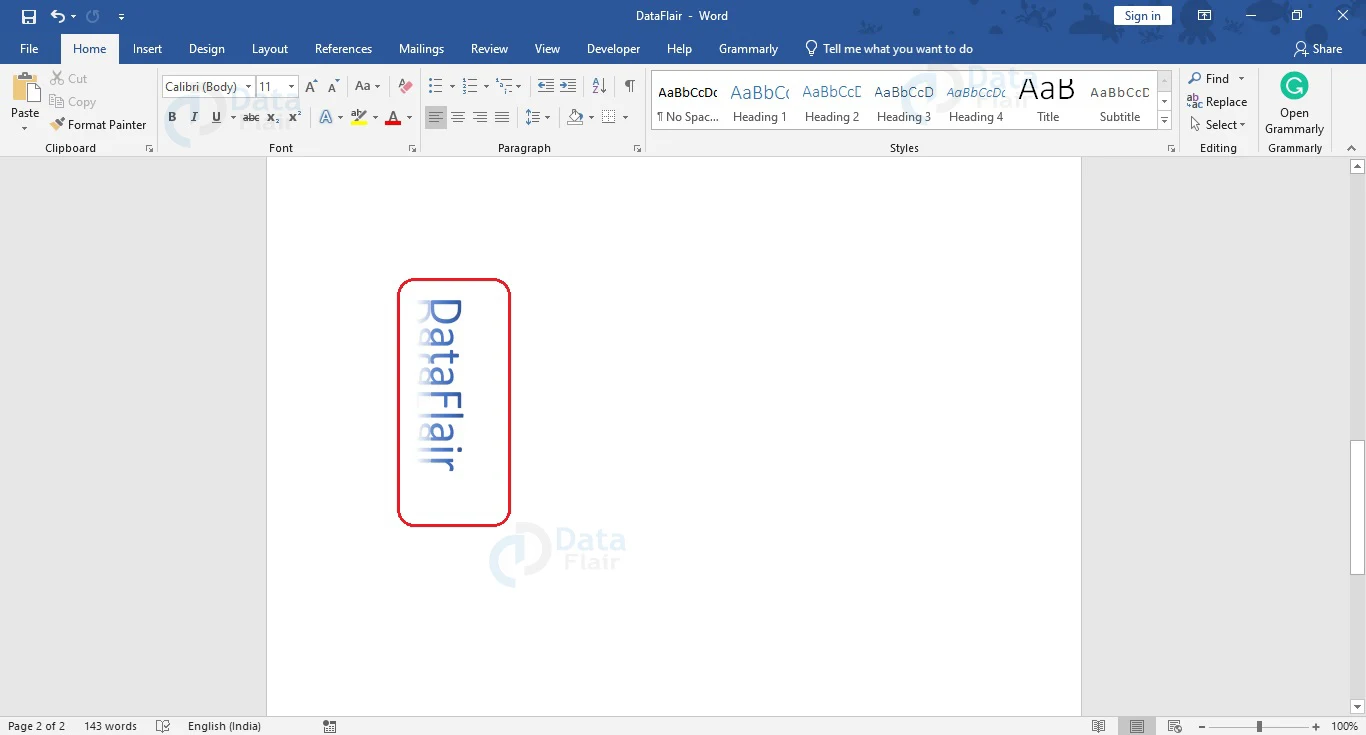
After choosing Rotate Right 90o, this is what we get.
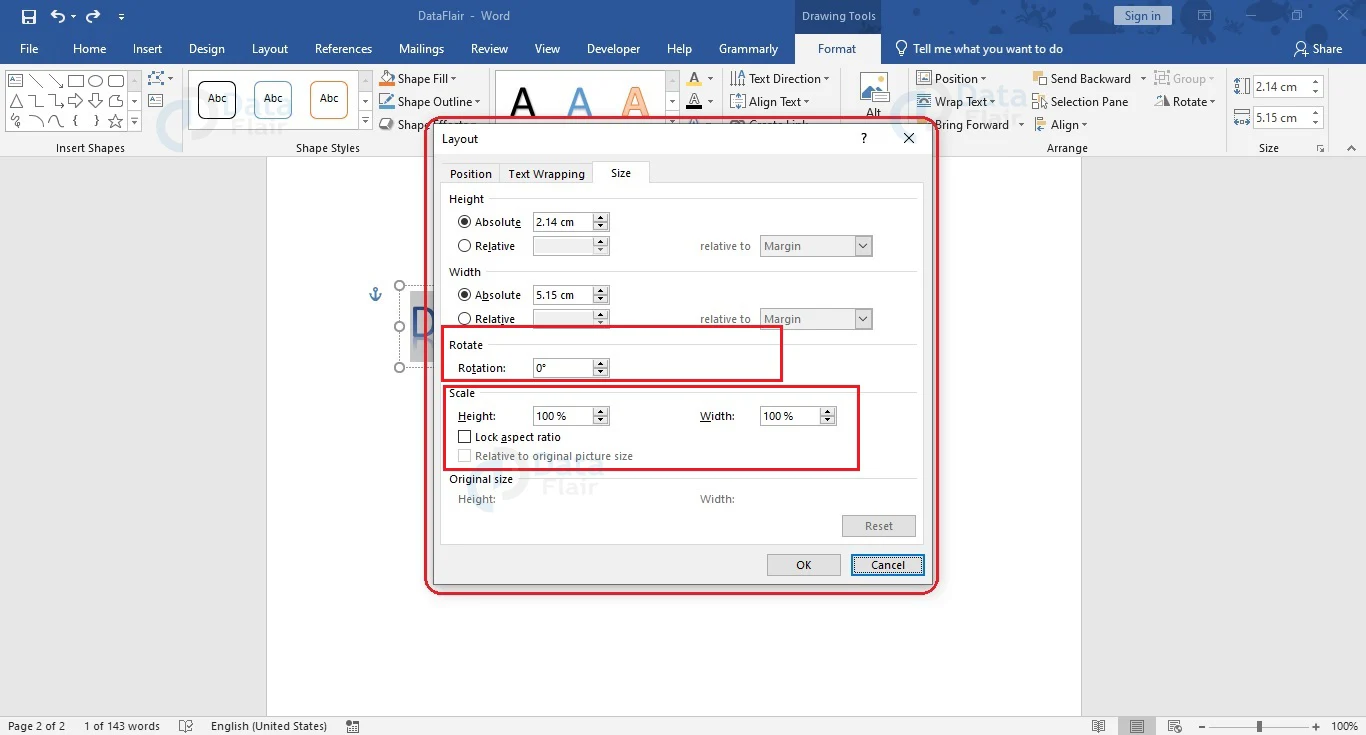
More Rotation Options… opens the Layout dialog box, where you can mention the angle of rotation and even scale the height and width of your WordArt. Click OK once the settings are done. You will see the changes on your WordArt.
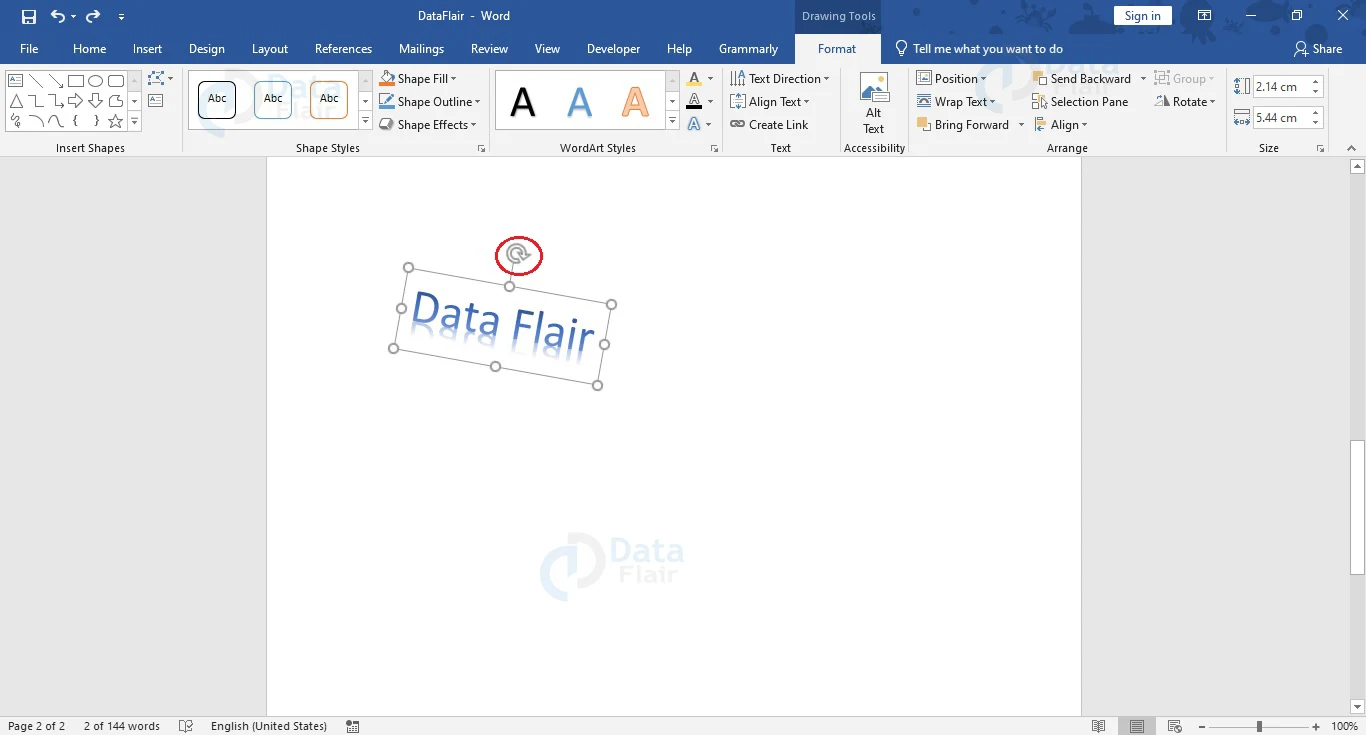
You can also rotate the WordArt using the Rotate handle on top of it.
Now that you know how to insert WordArt and format it, you should try it out on your own and have fun with it.
After your WordArt has served its purpose, or if you wish to remove it from your document, simply double click on it and press on the Delete to remove it.
How to Edit Word Art?
You can easily edit the WordArt that you have entered in your document. To do so, select the text in the WordArt and make the changes. You can select the text by double-clicking on the WordArt.

Once you have selected the text, type in what you wish to change the current WordArt into. You may also place your cursor in the present WordArt to correct errors or add text in it.
Conclusion
WordArt is one of the best ways to make your projects and documents look beautiful and appealing to the eyes of the reader. Add WordArt to your documents and use this feature properly. Just like too many cooks spoil the broth, using WordArt meaninglessly and excessively may make it irritating for your readers and your project might have a bad impression. This playful feature comes in handy when presenting in school or to young children.
Did we exceed your expectations?
If Yes, share your valuable feedback on Google


