How to Insert a Watermark in Word?
Job-ready Online Courses: Knowledge Awaits – Click to Access!
Have you ever looked at official documents and stared at the light, yet legible watermark on the pages? These watermarks help maintain the authenticity of these documents and prevent confidential and private documents from being forged. Let us look into how you can insert a watermark into your own Word document.
The following steps show how you can insert a watermark in Word.
1. Open the Word document in which you wish to insert the watermark.
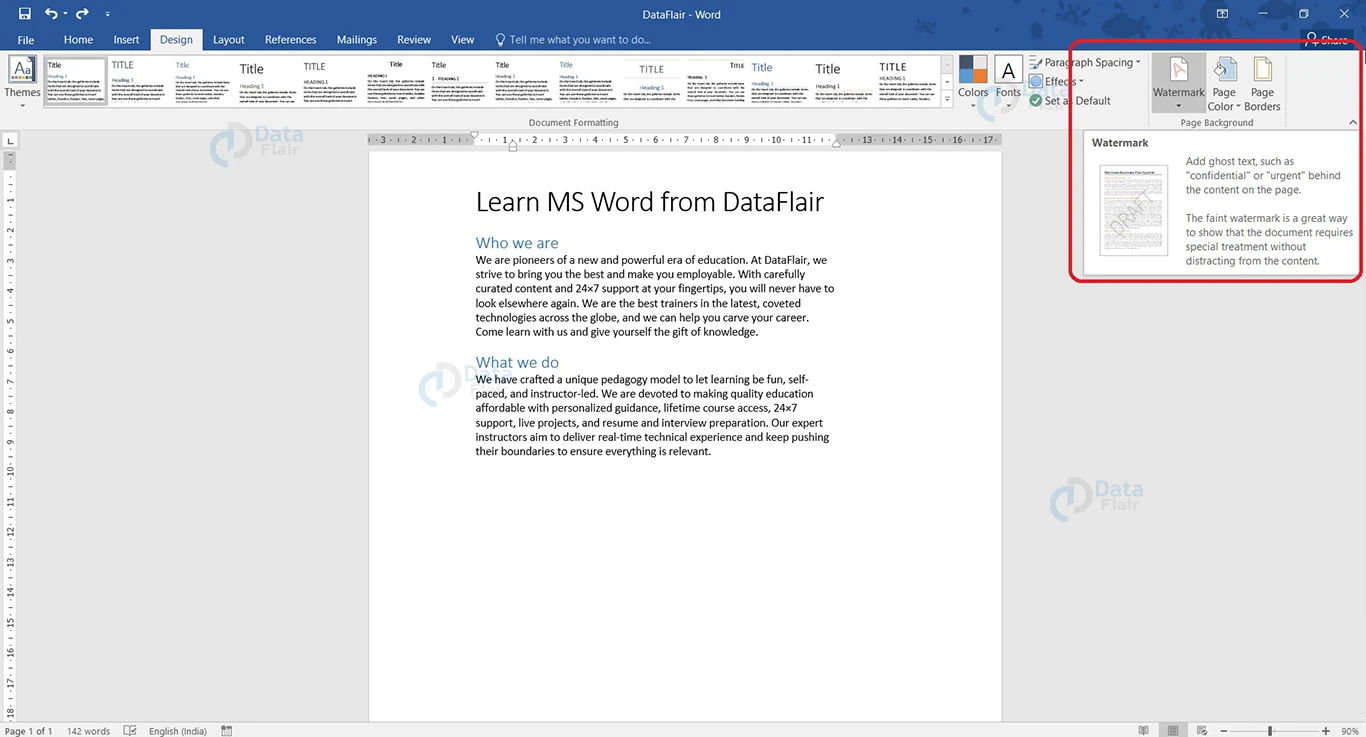
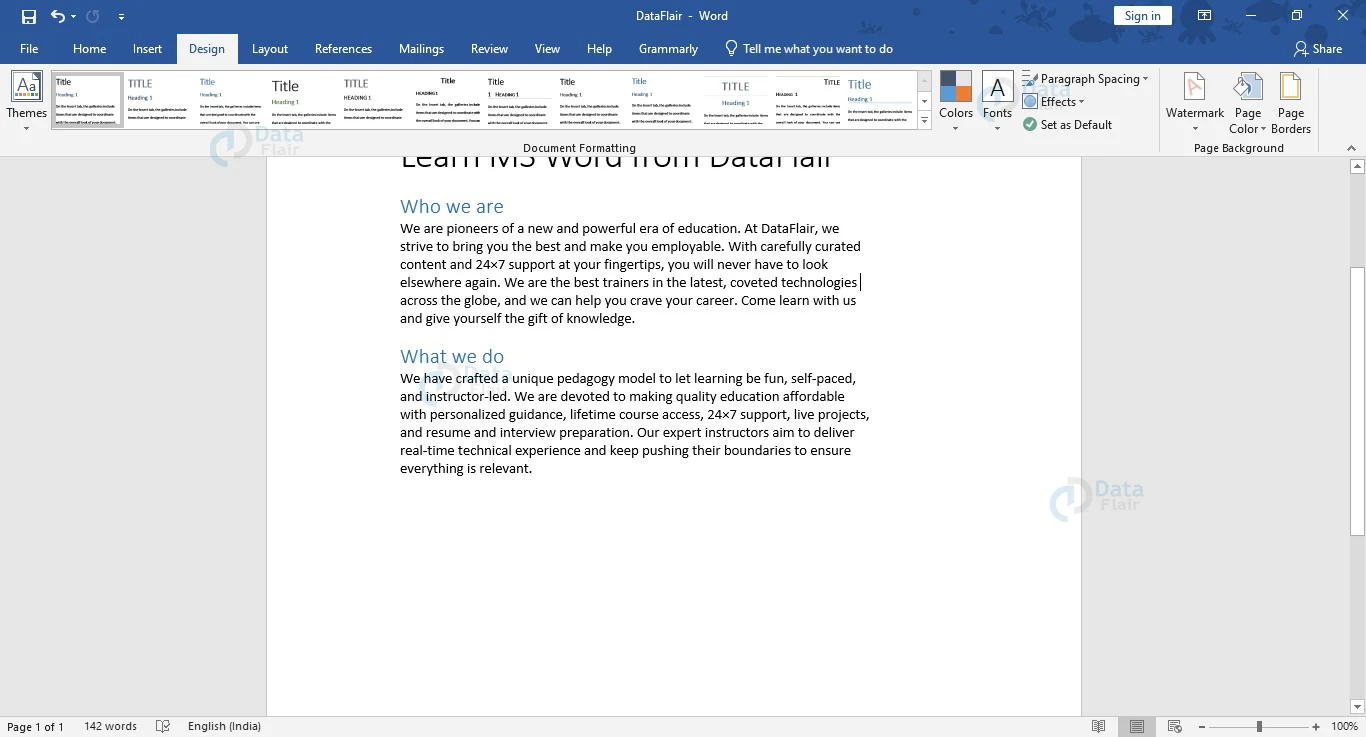
2. Open the Design tab in Word. From the Background group, click on the Watermark option.
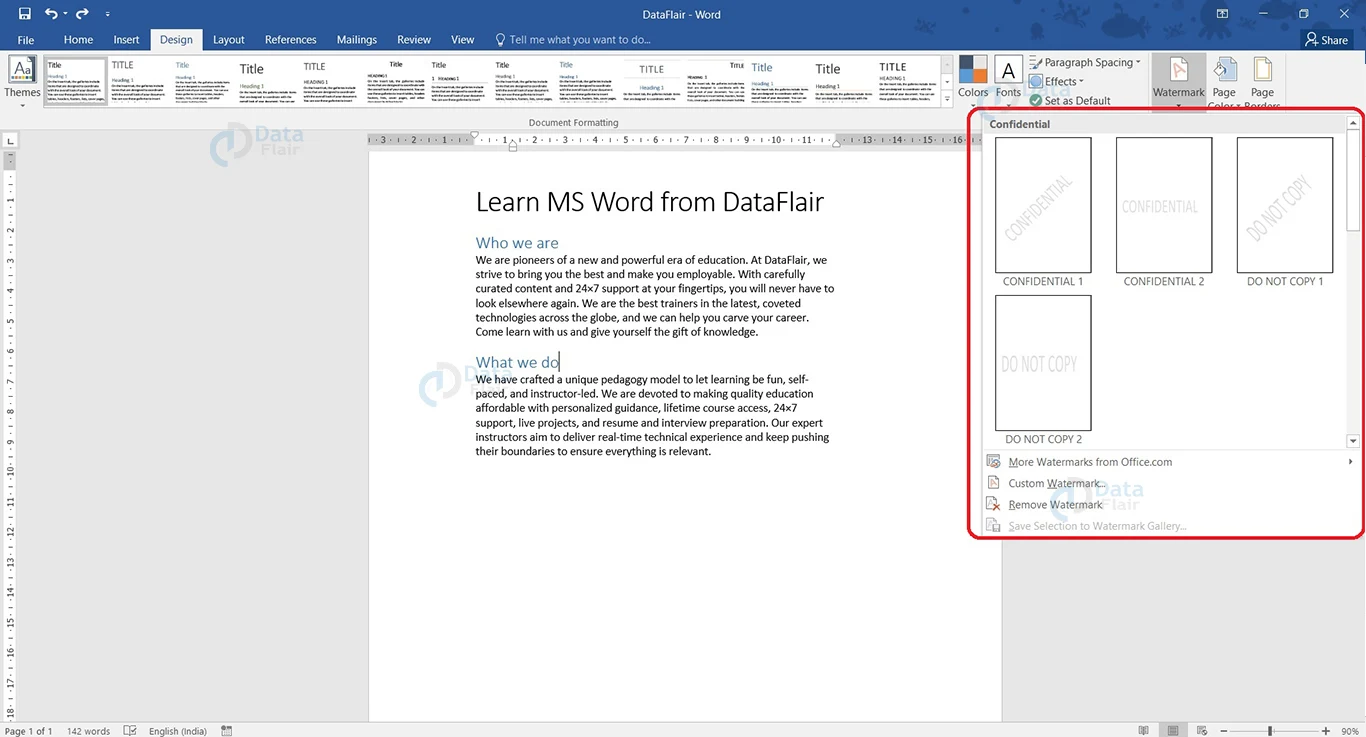
3. A dropdown menu will open with a few watermark options. Choose one to apply to your document.
If you wish to look for more available options, you can choose More Watermarks from Office.com or make your own custom watermark.
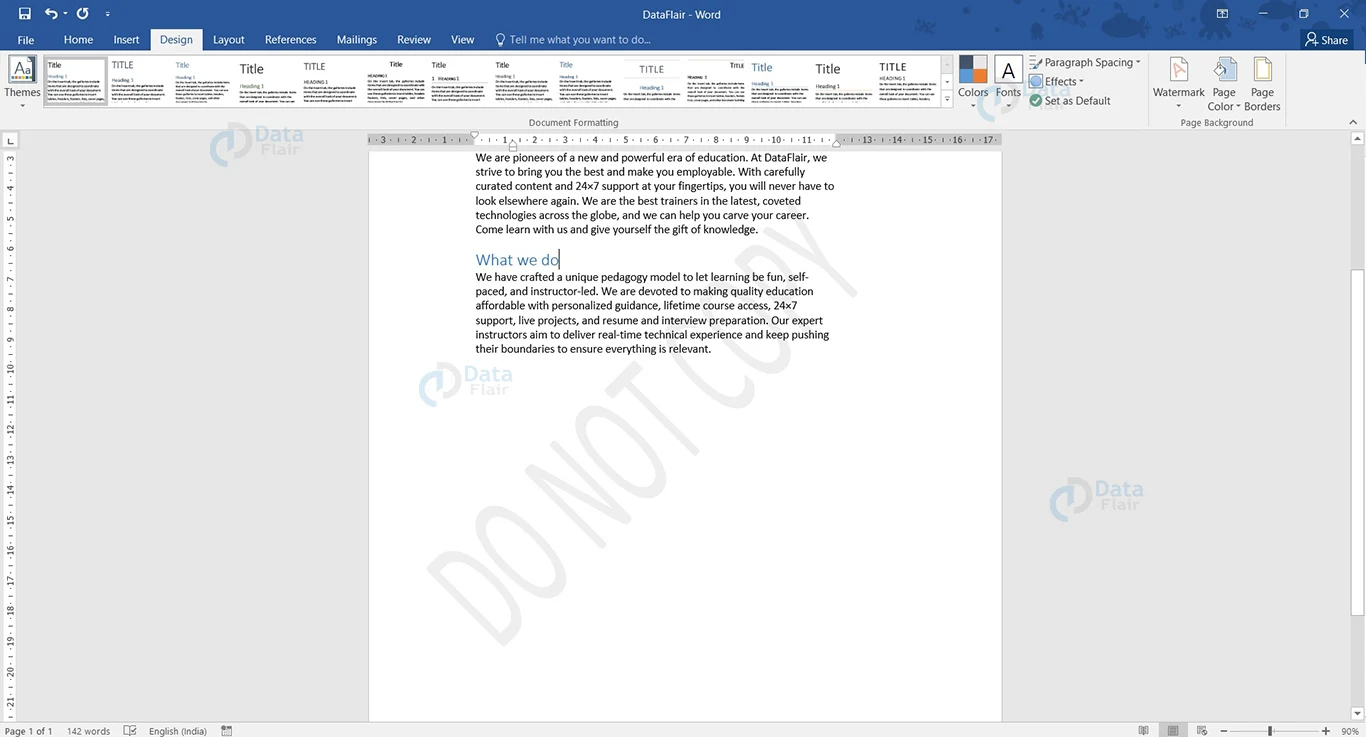
If you check your Word document, you will notice that the chosen watermark is now present as shown below.
There are four kinds of default watermarks present in the latest version of Word.
1. CONFIDENTIAL (diagonal and horizontal)
2. DO NOT COPY (diagonal and horizontal)
3. ASAP (diagonal and horizontal)
4. URGENT (diagonal and horizontal)
Creating a Custom Watermark in Word
In Word, you can create your custom watermark for your company and apply it to your document. Word allows you to insert both text or pictures in custom watermarks. Here are the steps to insert a custom watermark.
1. Open the Word document, where you wish to insert your watermark.
2. In the Design tab, choose the Watermark option from the Background group. A dropdown menu appears.
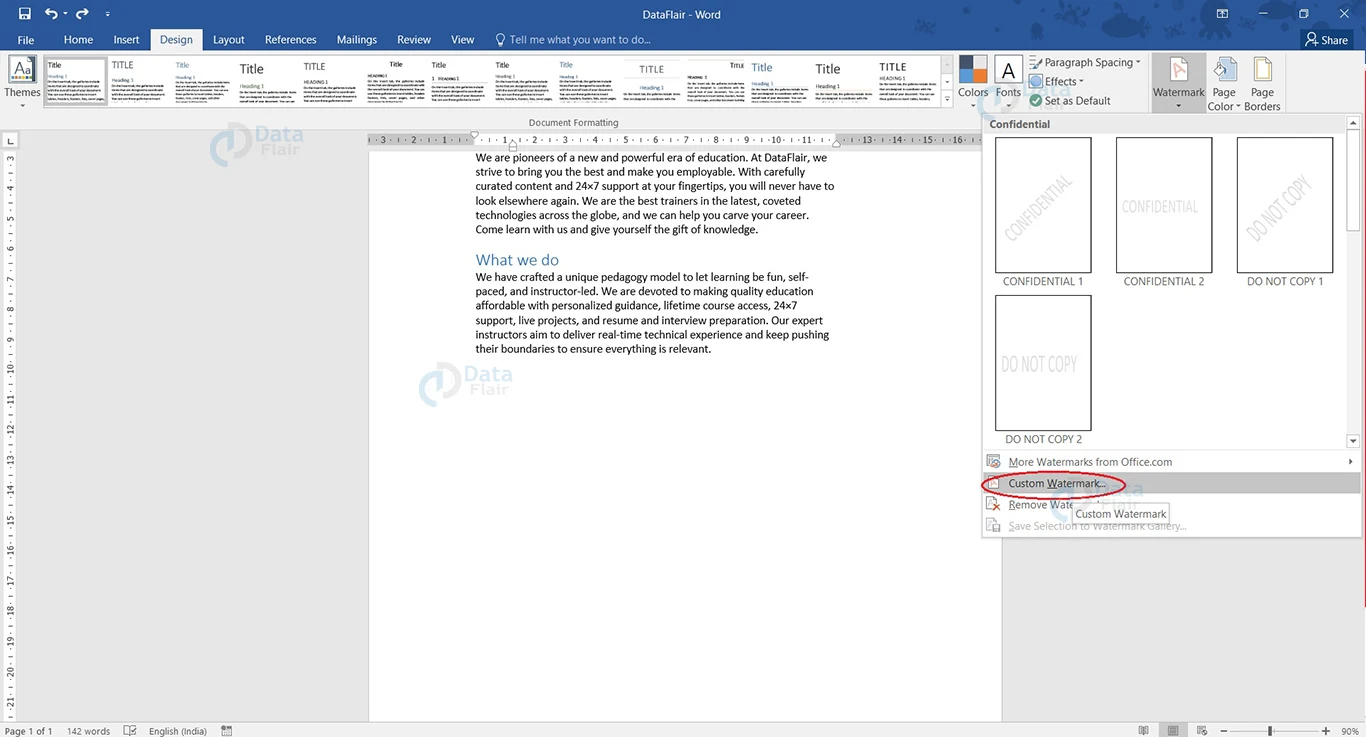
3. Choose Custom Watermark… option. The Printed Watermark dialog box appears.
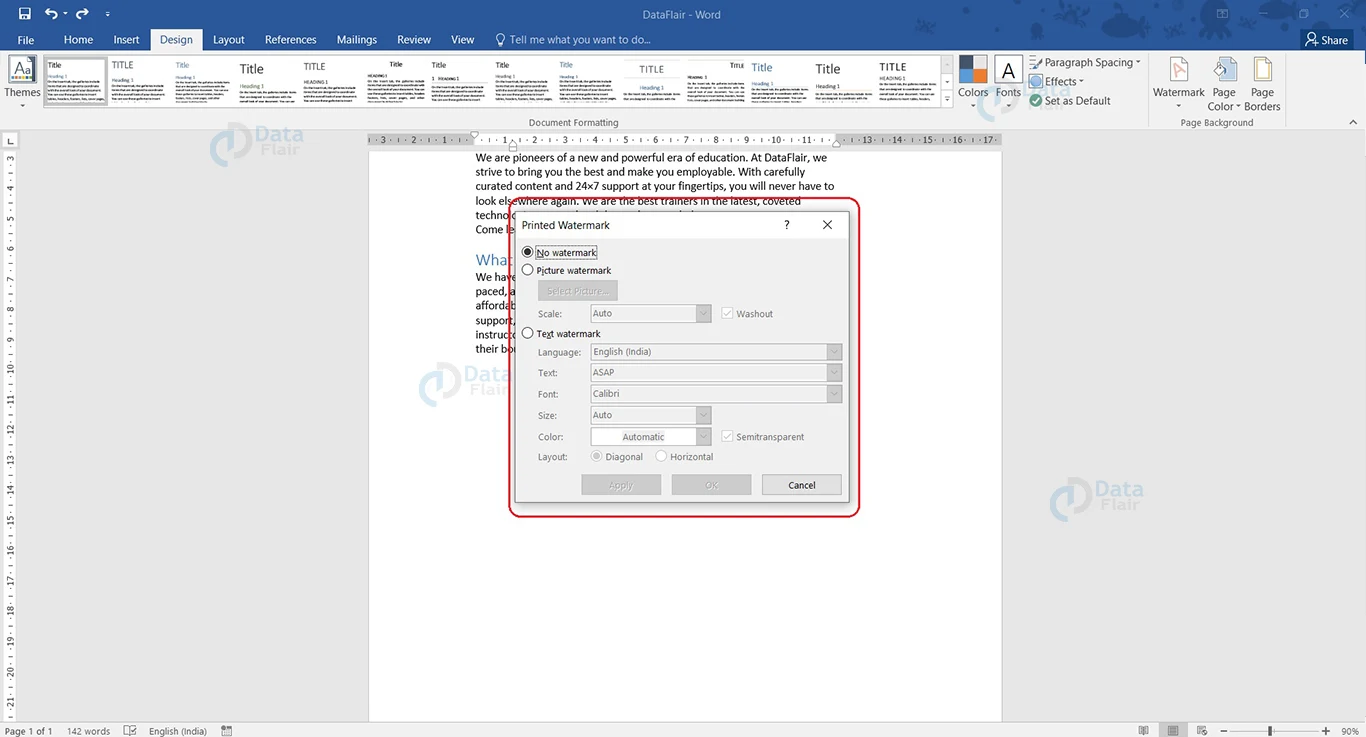
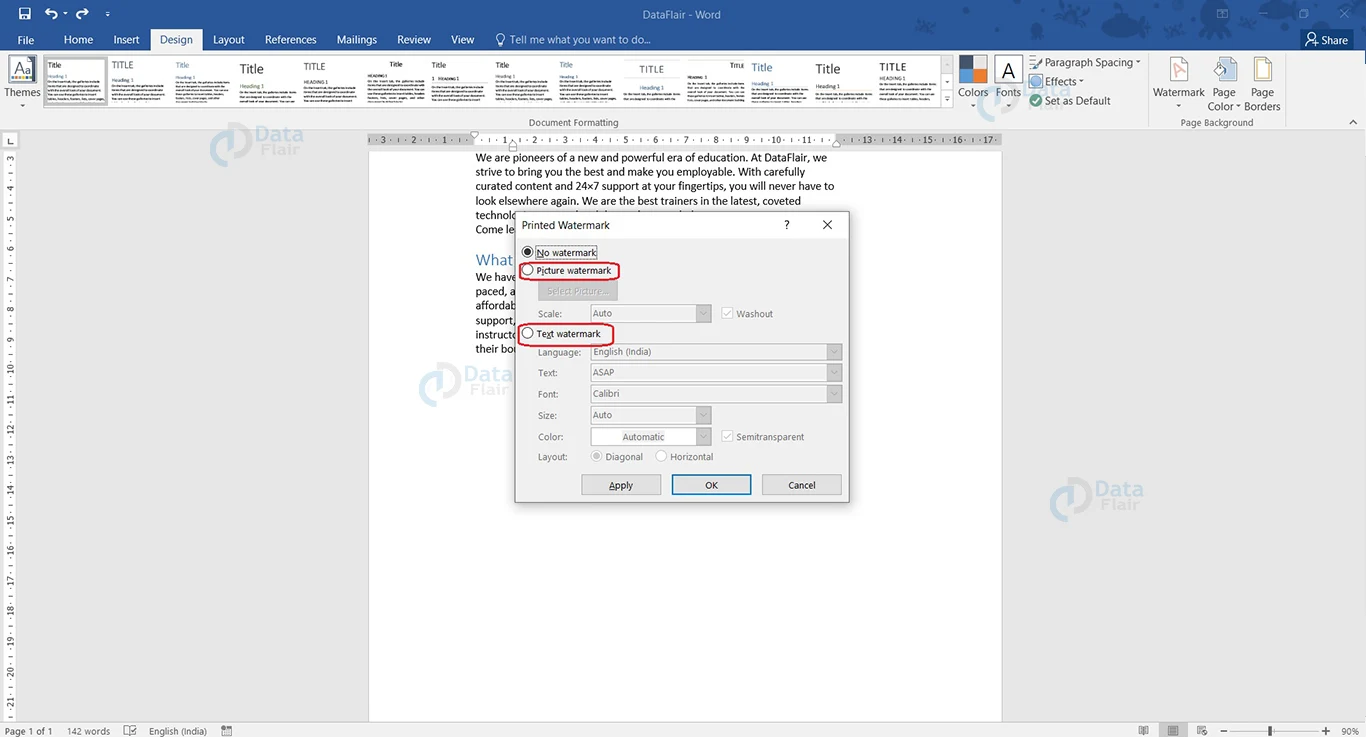
4. Choose the Picture Watermark option to insert a custom picture watermark or the Text Watermark option to insert a custom text watermark.
5. To insert a custom picture watermark, follow the steps below.
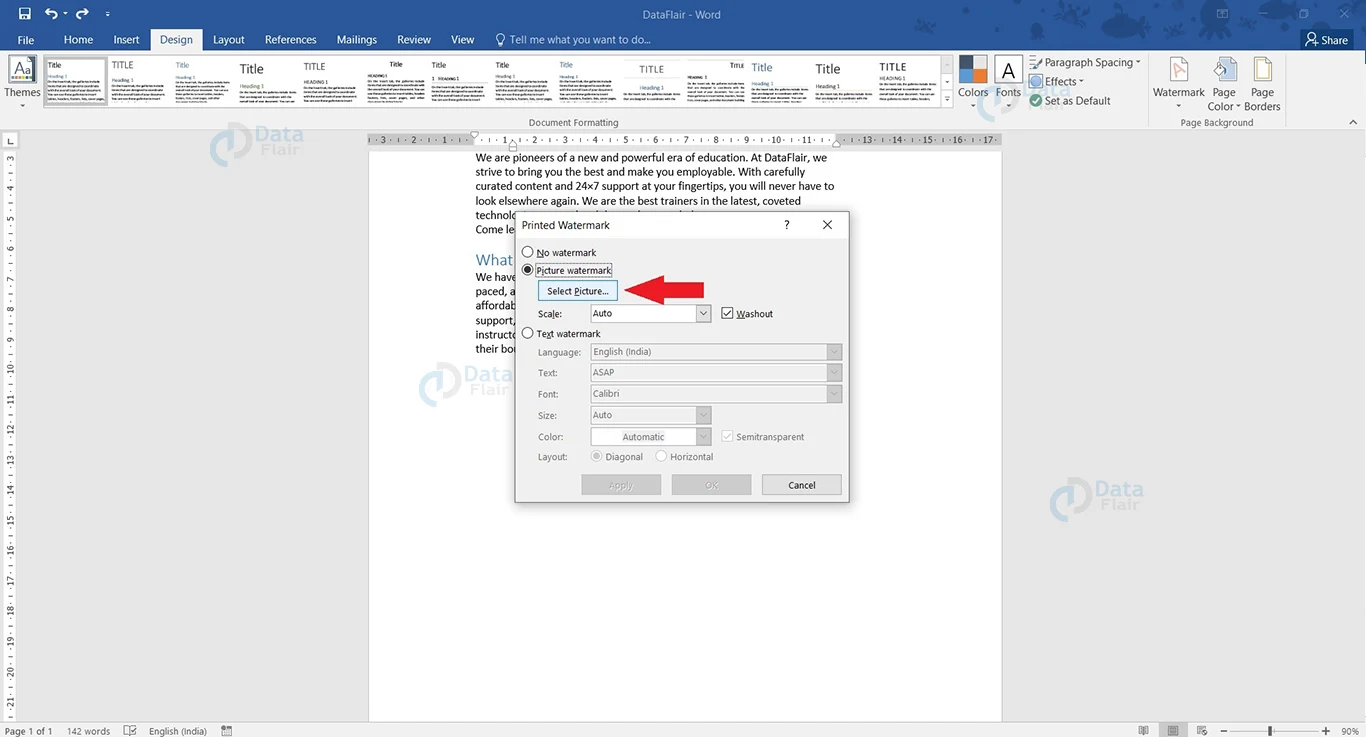
a. Click on the radio button corresponding to Picture Watermark. The Text Watermark section will be greyed out.
b. Click on the Select Picture… button.
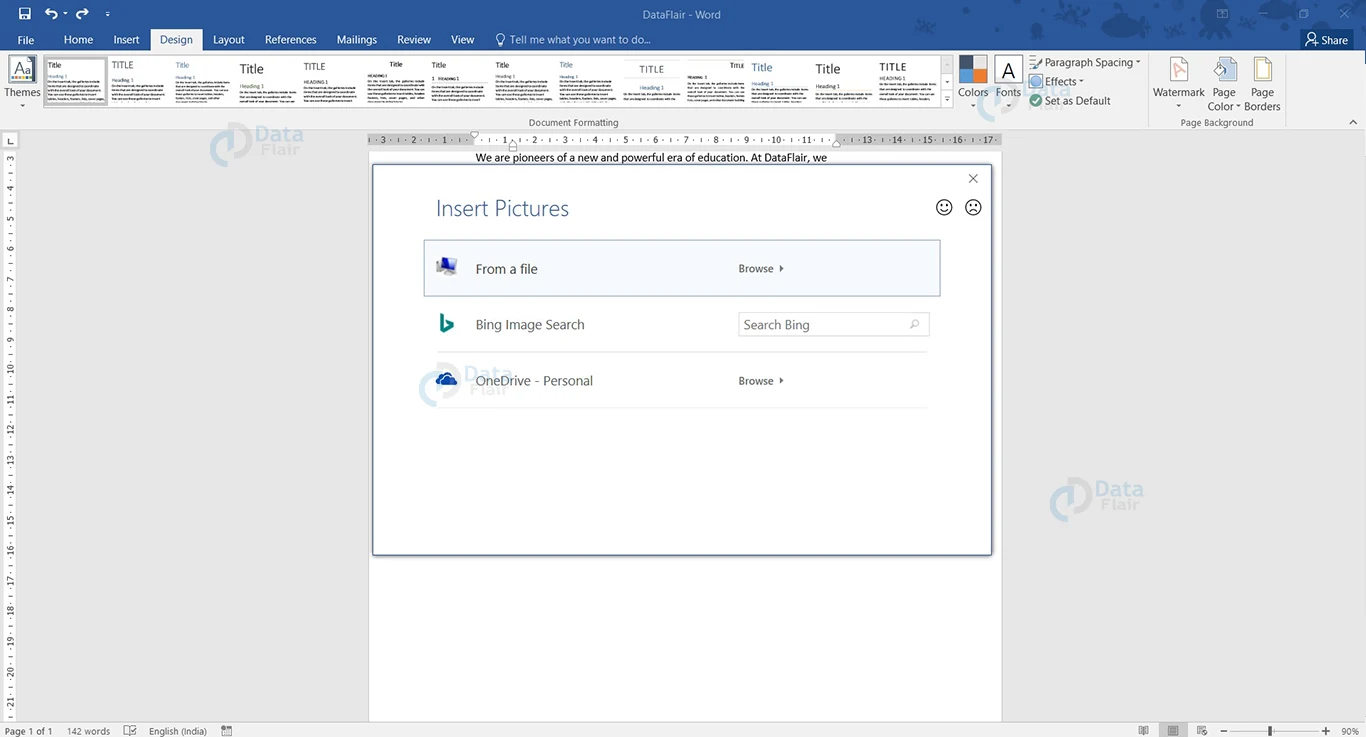
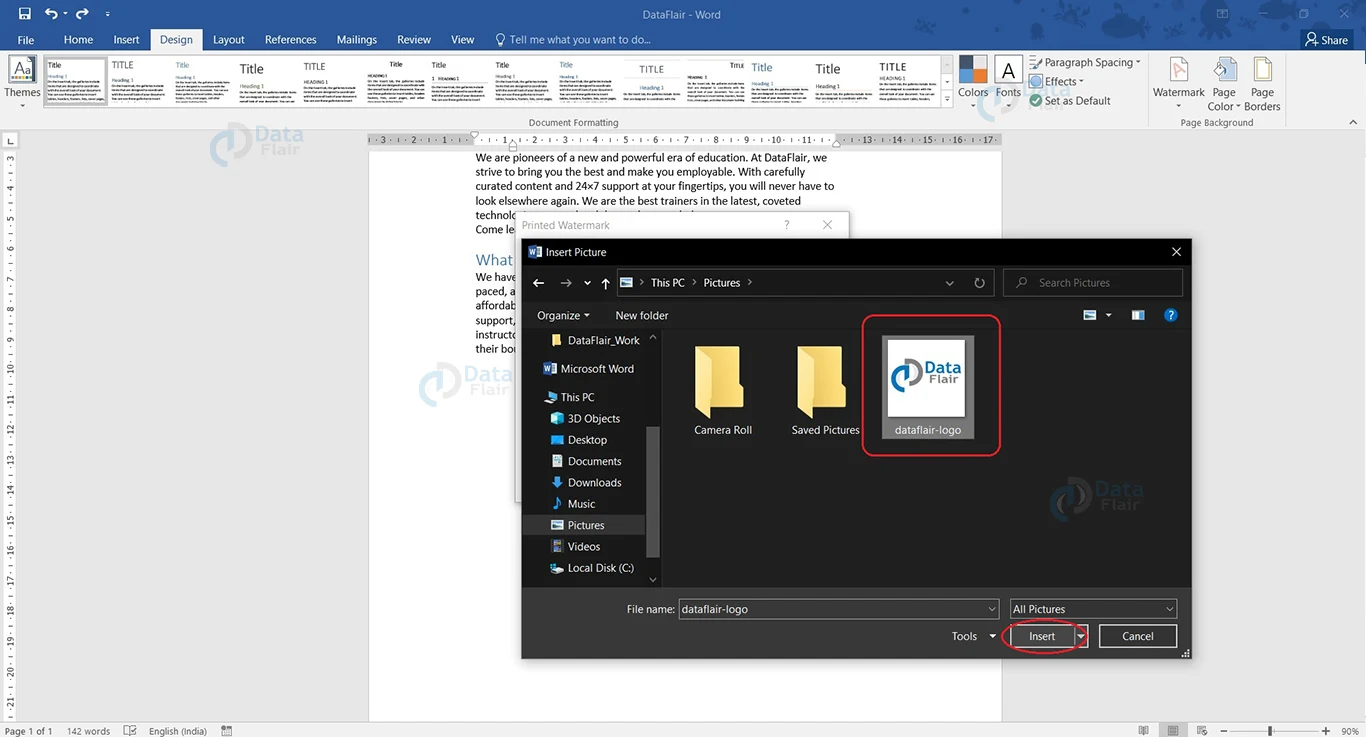
c. The Insert Pictures dialog box appears. Choose the appropriate option for inserting pictures. You can choose to insert an image from your computer, perform a Bing image search, or insert an image from your OneDrive account. Here, we choose to insert an image from a file and click on that option.
d. Search for the picture on your computer that you wish to insert as a watermark and click the Insert button.
e. The picture will be selected. Now, you can change the Scale from the dropdown list to change the size of your watermark and check the Washout option to increase transparency.
f. Click the OK button to apply the custom picture watermark. You will notice that the picture watermark has been inserted into your document.

6. To insert a custom text watermark, the following will help you.
a. Click on the radio button corresponding to Text Watermark. The Picture Watermark section will be greyed out.
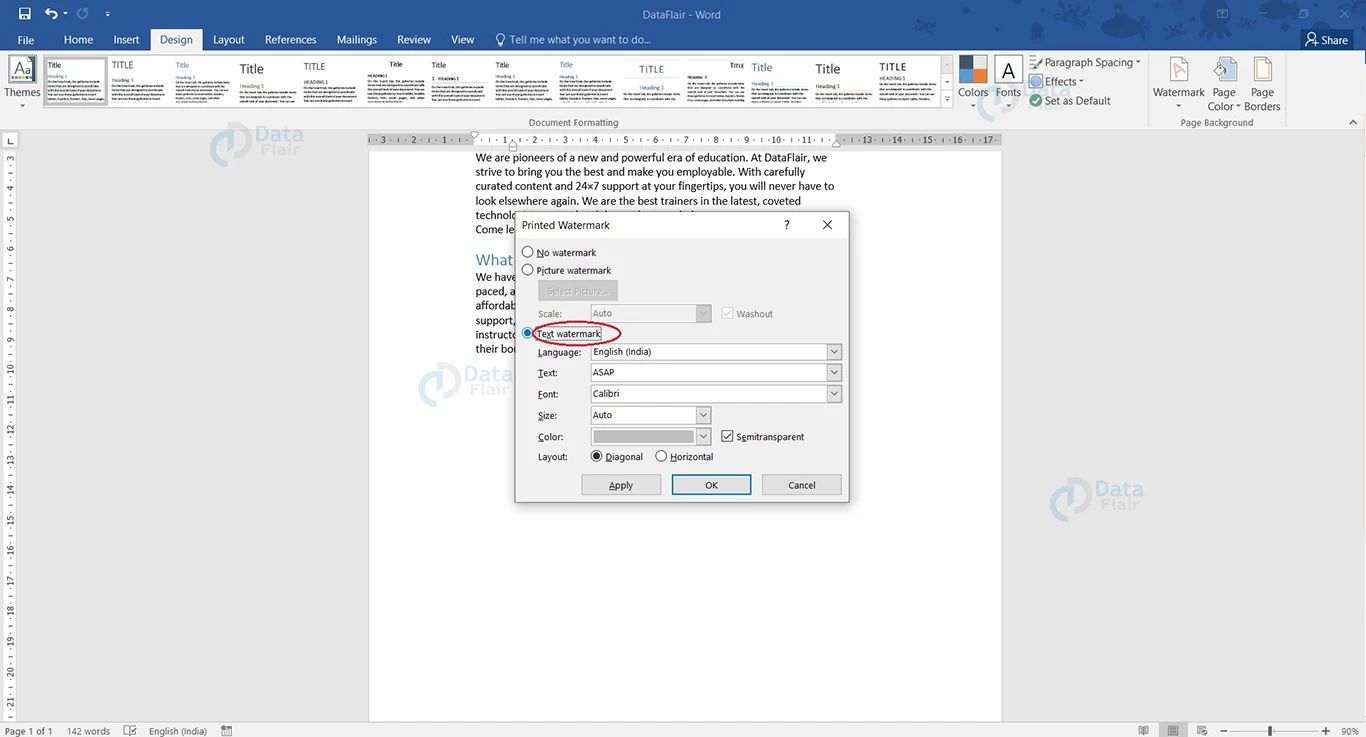
b. Fill these sections as you see fit:
i. Language: – Choose the language of your watermark from the list.
ii. Text: – Type down the text or words that you wish to use in the watermark.
iii. Font: – Choose the font of the watermark from the list.
iv. Size: – Change the size of the watermark.
v. Color: – Choose the color of the watermark. You can select the checkbox for Semitransparent if you wish it to appear as such.
vi. Layout: – Choose whether the watermark will appear horizontally or diagonally. Choose the appropriate radio button.
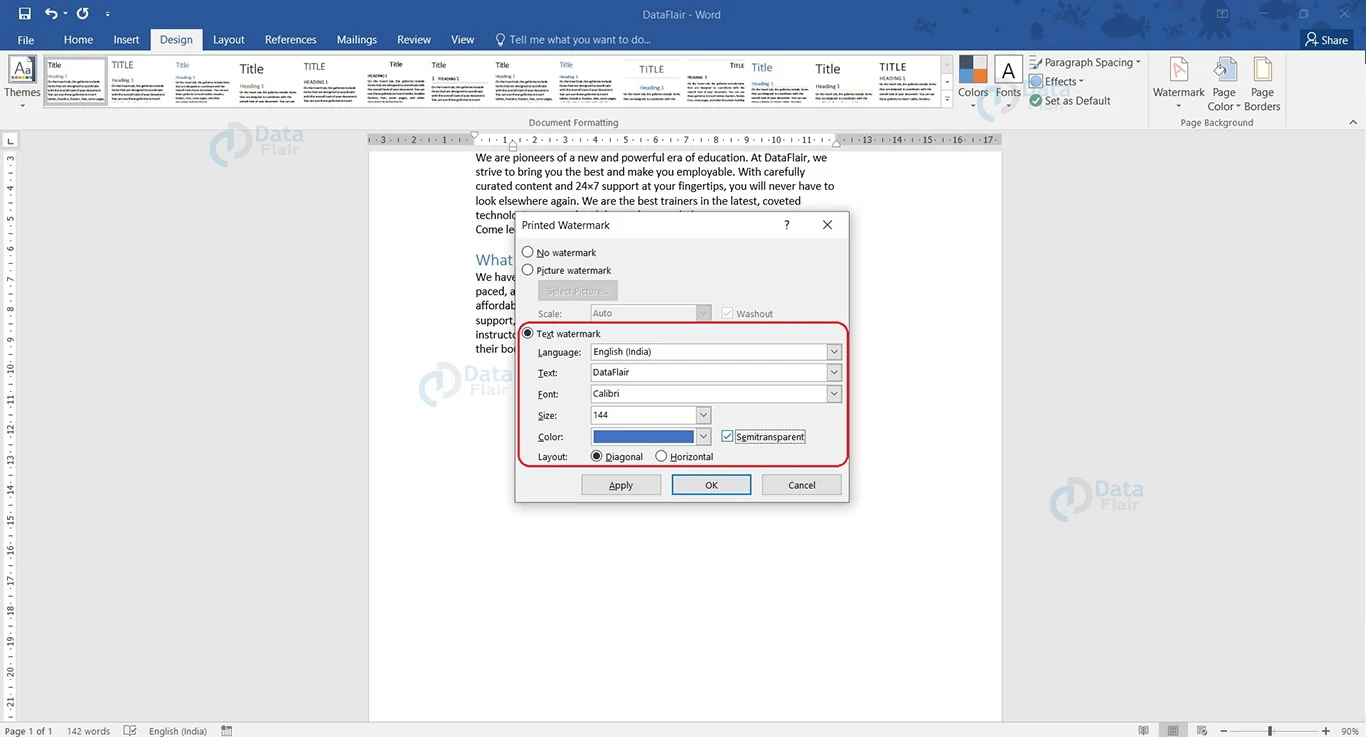
c. Click the OK button. The text watermark will appear on your document.
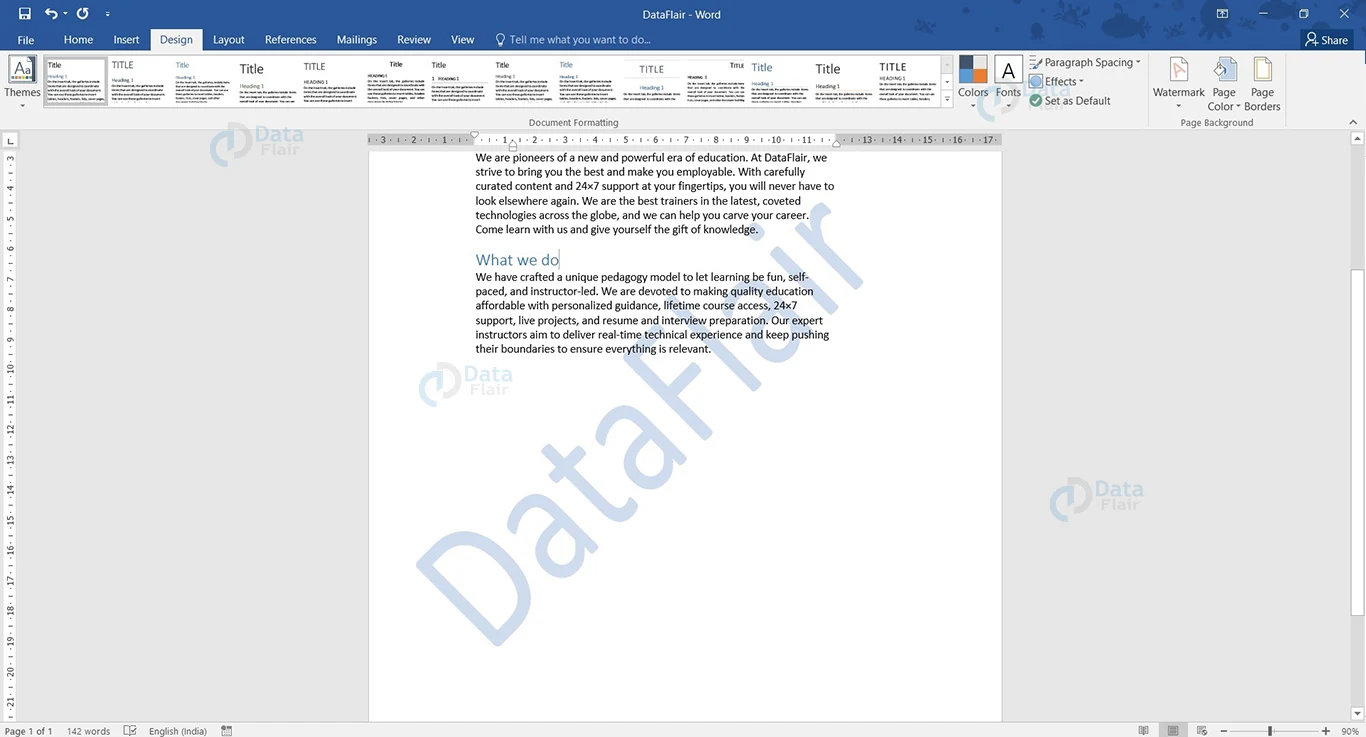
Now you know how you can insert a watermark to your document, and create official documents for your company.
Saving A Watermark in Word
You can save a custom watermark in your Watermark gallery to use in other documents. Here are the steps to save your custom watermark in Word.
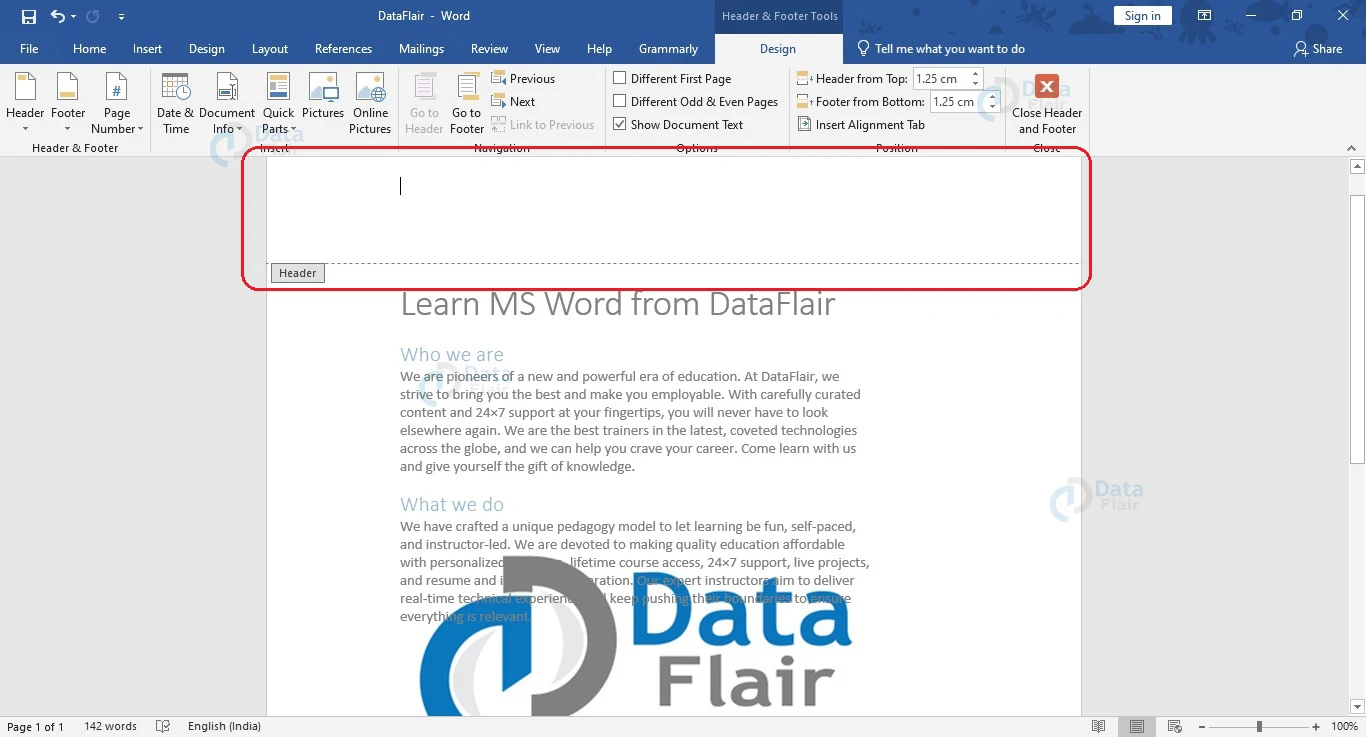
1. After inserting the watermark in your document, click near the top or bottom of the page to open the header or footer respectively.
2. As you move your cursor over the watermark, it changes to a four-headed arrow. Click on the left mouse button to select the watermark.
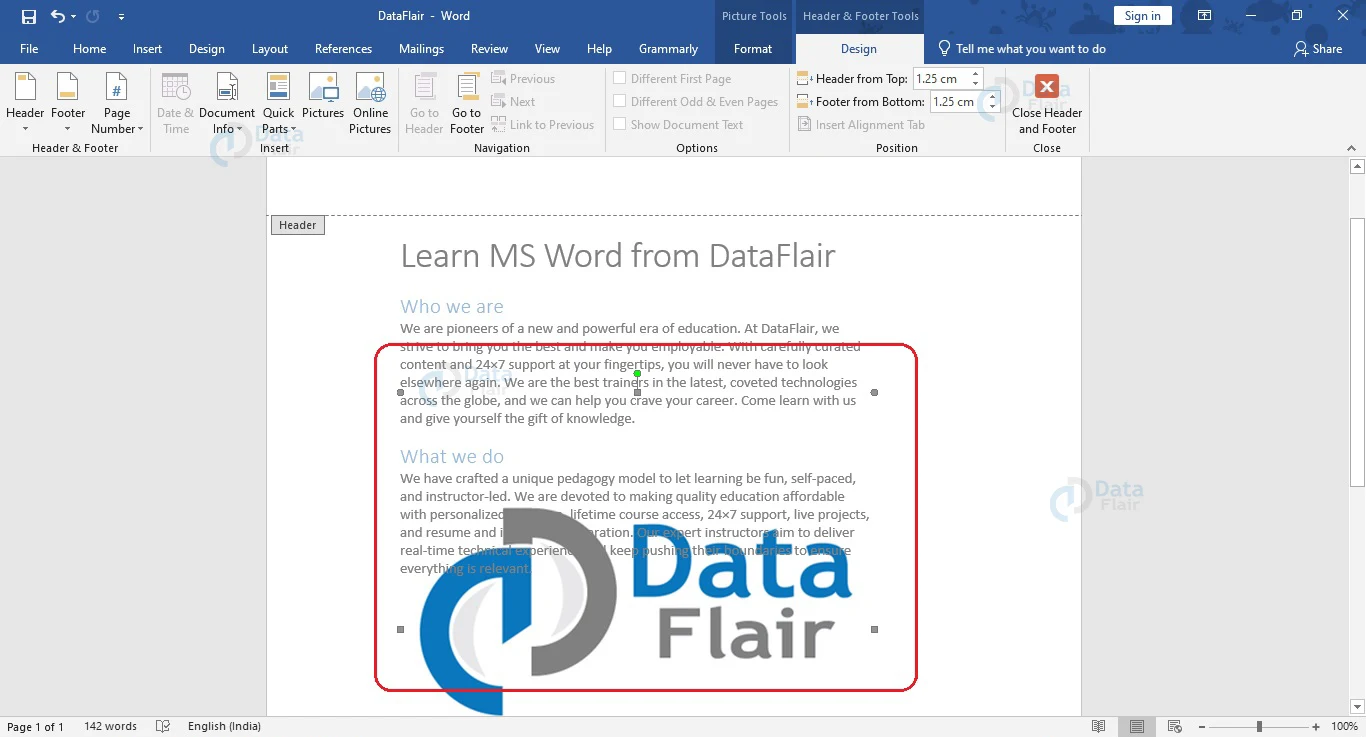
After selecting the watermark, you may drag the image to resize it or change its position on your document.
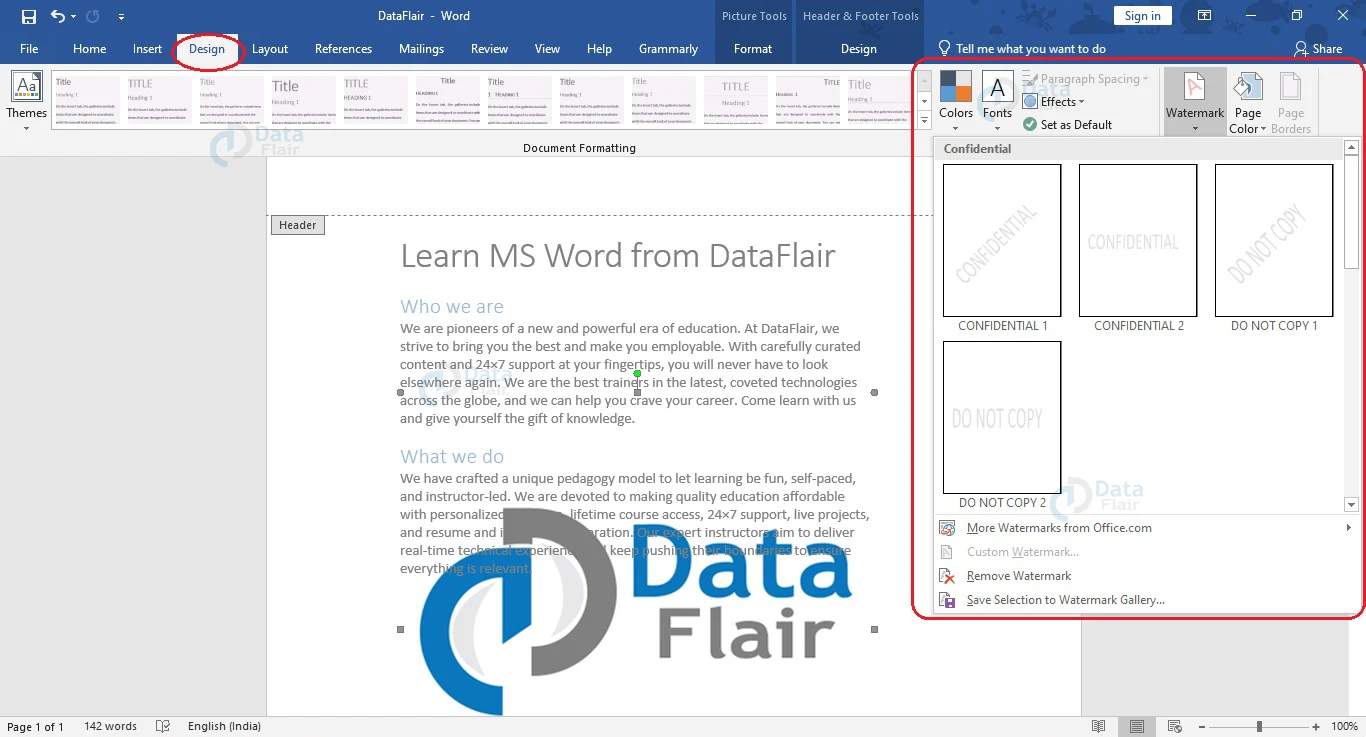
3. In the Design tab, click on the Watermark option under the Page Background group.
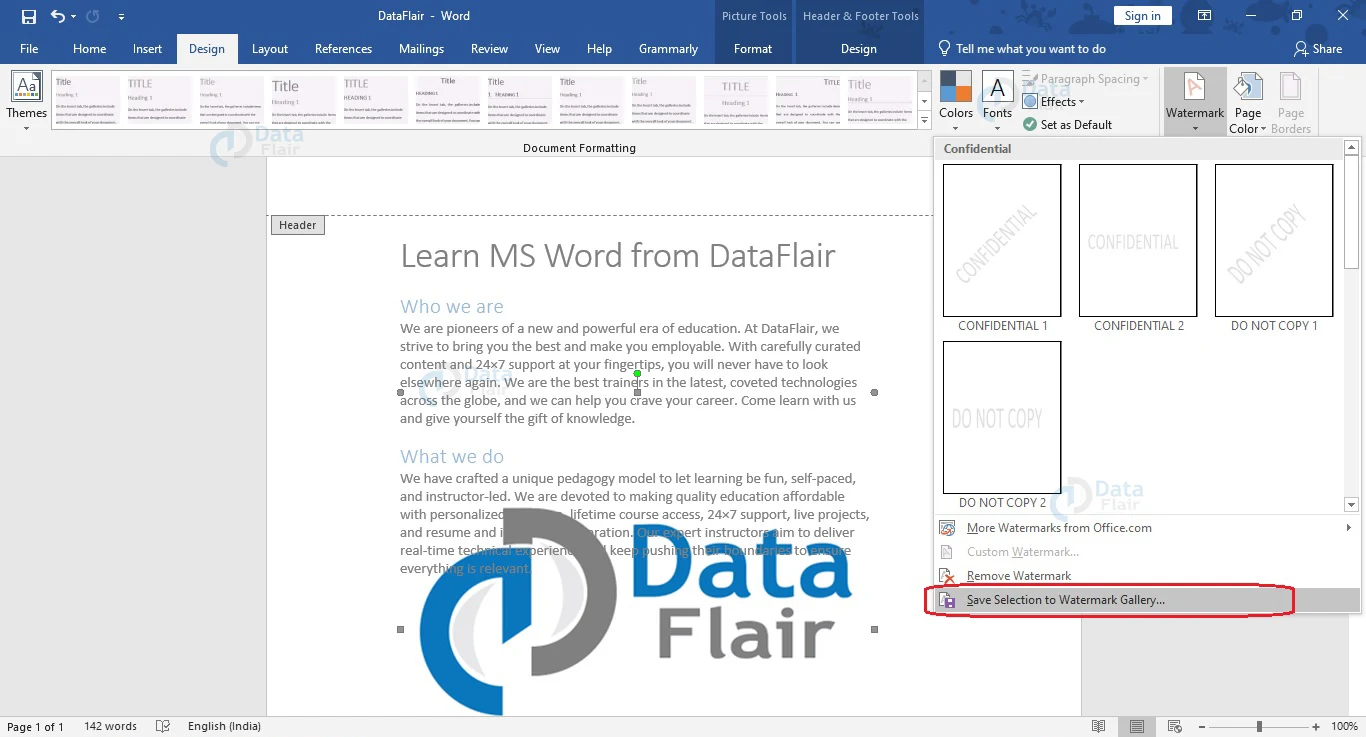
4. From the dropdown, choose Save Selection to Watermark Gallery… option.
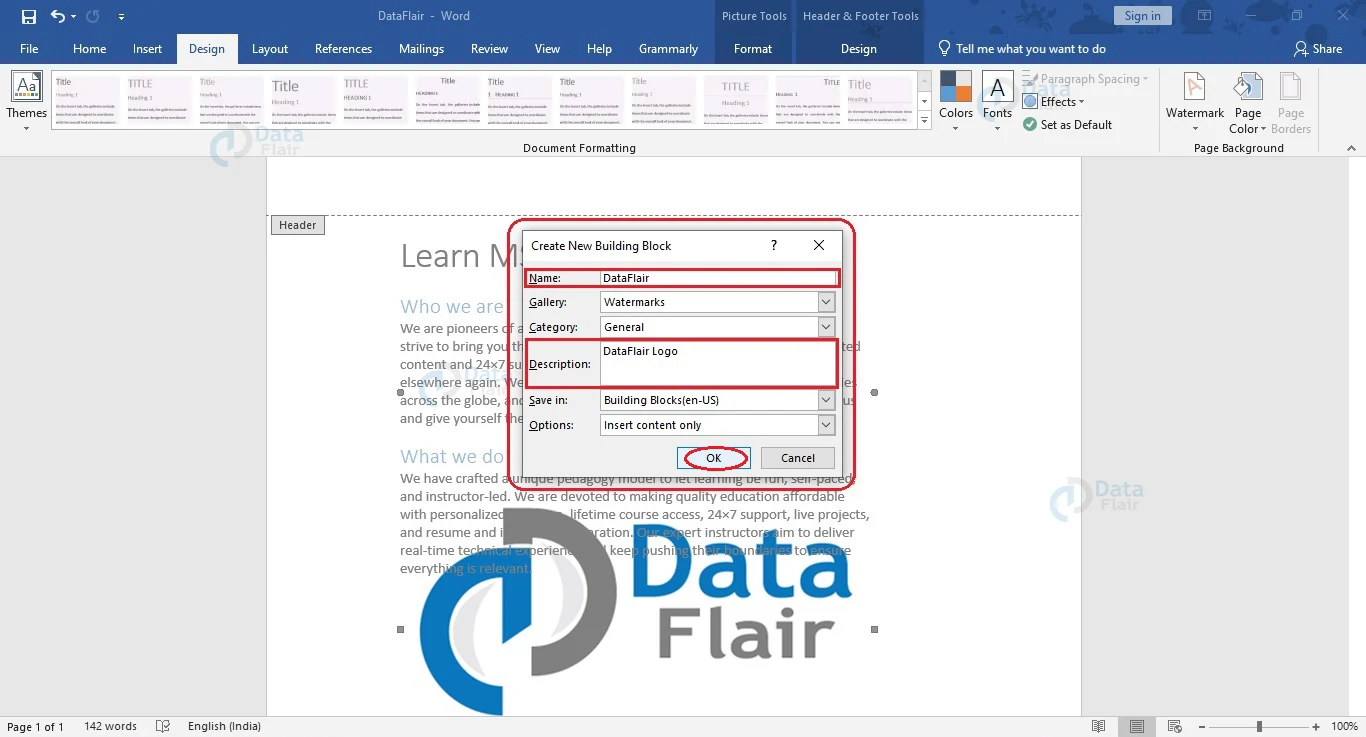
5. The Create New Building Block dialog box will appear. Here, fill the Name: and Description: sections to save your new watermark and click OK.
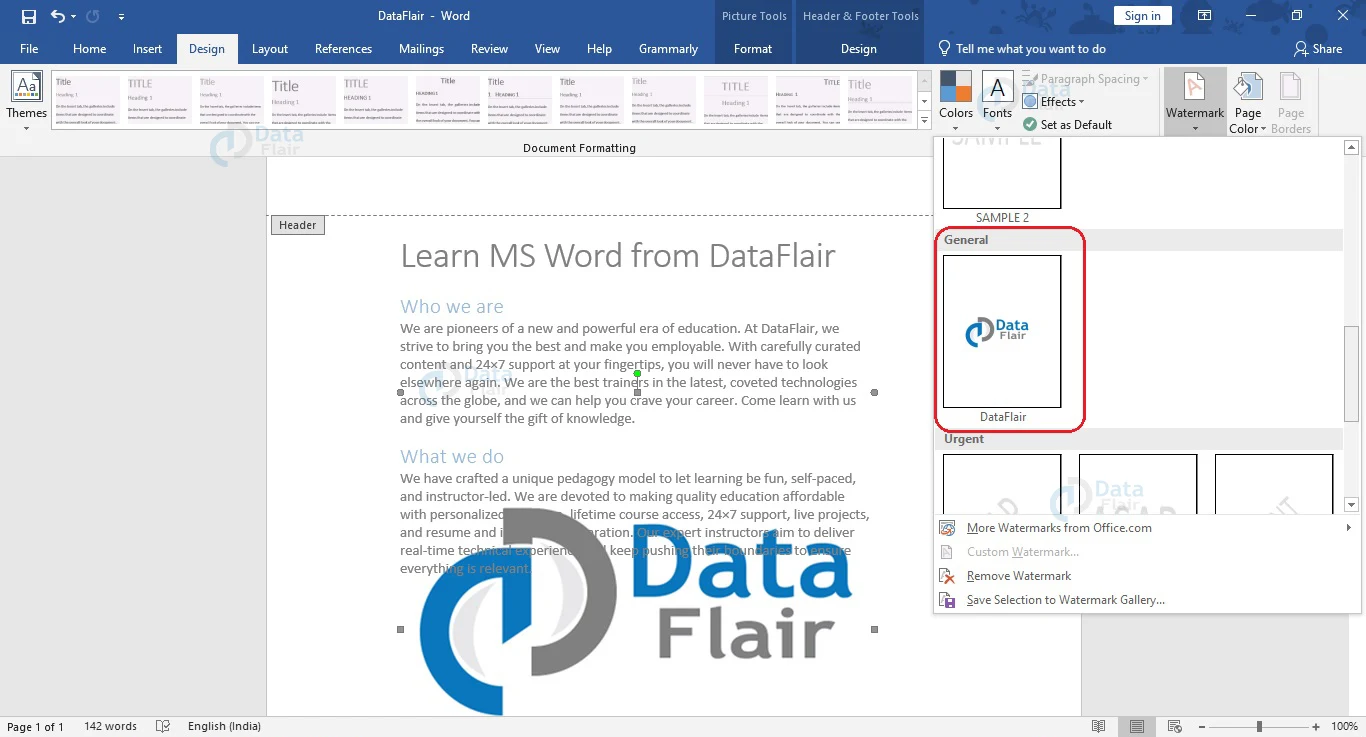
If you check now, you will notice that the watermark has been added to your watermark gallery and you can use it in other documents too.
How to Remove Watermark from Your Word Document?
There are times when you might want to remove watermarks from your document. There are two ways in which you can remove watermarks from your document – from the Watermark option under the Page Background group of Design tab, or by going to the Header or Footer area of your document.
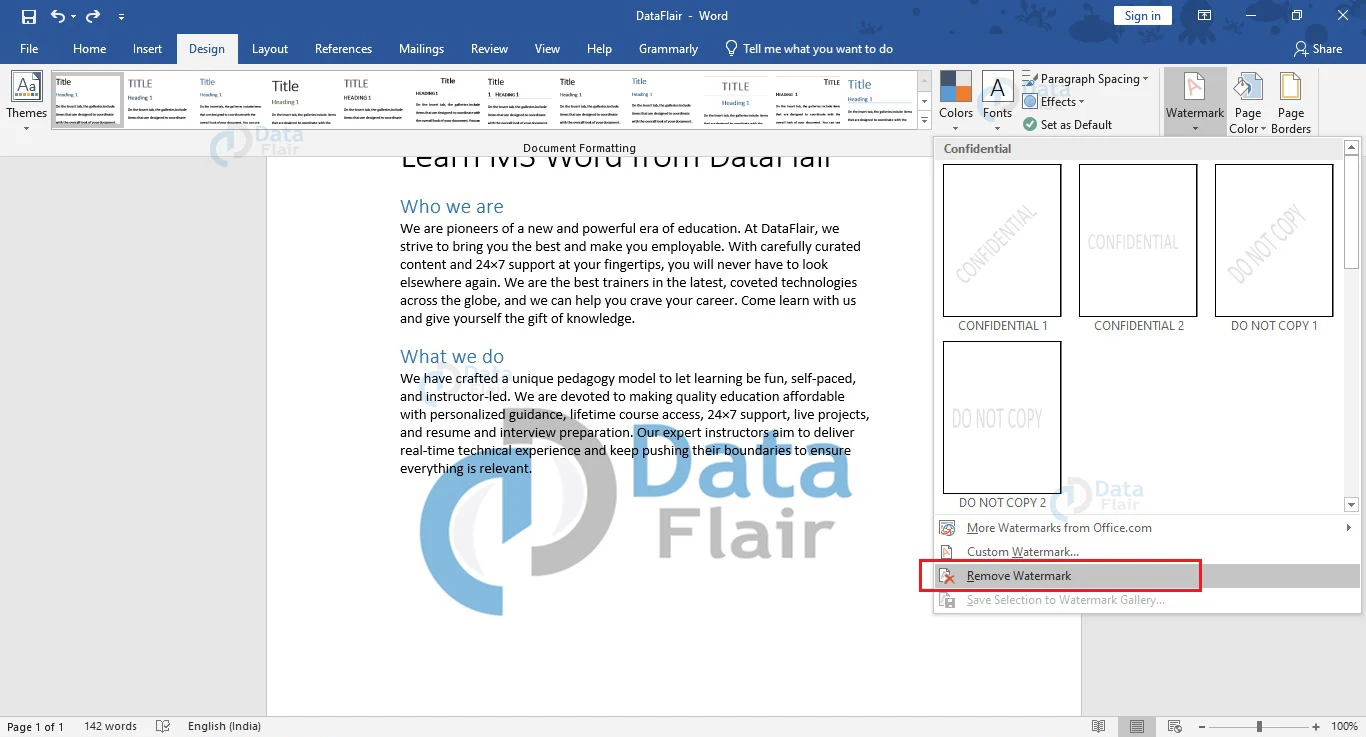
To remove the watermark from the Design tab, click on the Watermark option. From the dropdown that appears, select the Remove Watermark option, and you will notice that the watermark has been removed from your document.

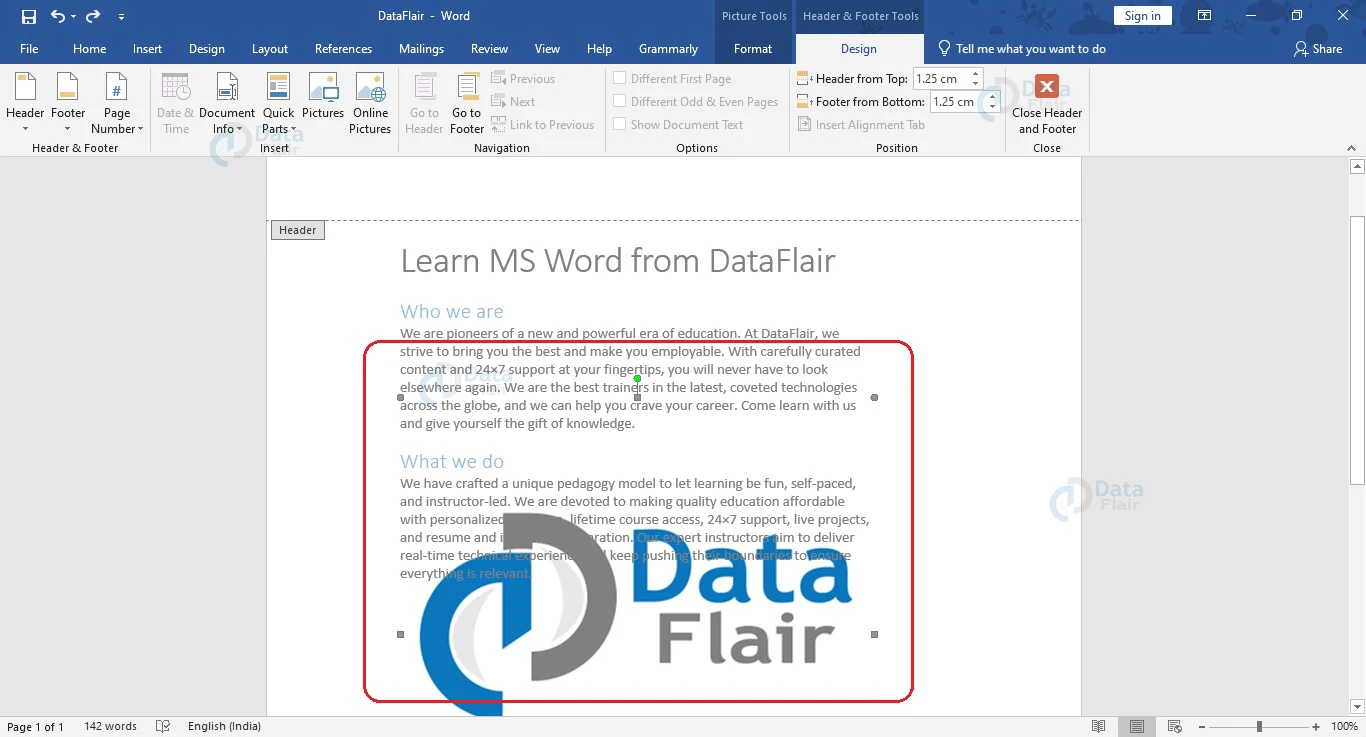
As an alternative, you can also click on the header or footer area of your document. The header is the region on top of the first line of your page and the footer is the space below the last line on your page. After clicking in the header/footer area, click on the watermark and it will be treated as an image.
Click on the watermark and press the Delete key from your keyboard to delete the watermark. You can also resize the watermark by dragging along the corners of the image. If you hover your mouse along the borders, it changes to a four-headed arrow. You can click and drag the watermark to change its position in the document.
All changes you make to the watermark on any one page get reflected on every page of your document. Change in size and position, as well as adding or removing watermark takes place for every page of your document and not just on any particular page.
Conclusion
Watermarks make your documents special and ensure authenticity. They are dark enough to be read, but not dark enough to hinder you while reading the contents of the document. They are so light that they cannot be scanned and photocopied, so it protects unauthorized use of the document and protects you or your company’s integrity.
Your opinion matters
Please write your valuable feedback about DataFlair on Google


