How to Curve Text in Word?
Job-ready Online Courses: Click, Learn, Succeed, Start Now!
You can use Word to design your unique logos, letterheads, and symbols. Curving text in Word lets your creativity flow and create new designs and styles. There are two main methods to curve text in MS Word – using WordArt and using the traditional TextBox.
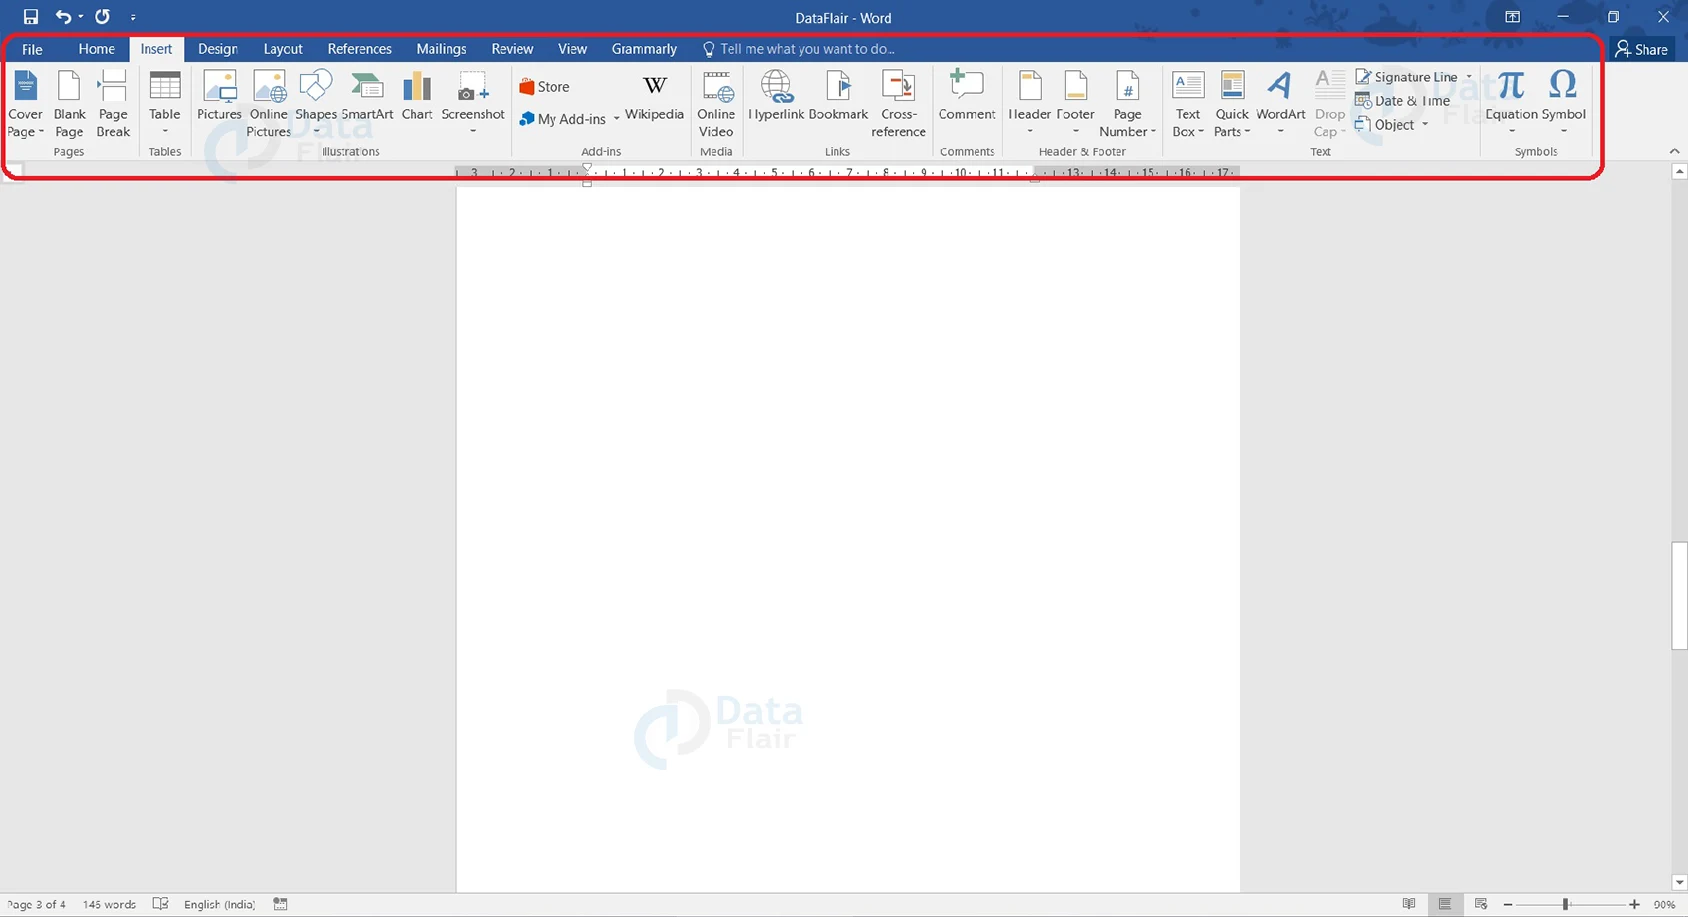
Let us look into the procedure you can follow to curve text in Word. We would be using the tools available in the Text group under the Insert tab for curving text in Word.
Method 1: Using WordArt in MS Word
To curve text using WordArt, you would first need to insert WordArt into your document. To insert WordArt in your document, follow the steps below.
1. Place your cursor where you wish to insert the WordArt.
2. Go to the Insert tab, and click on the WordArt option from the Text group.
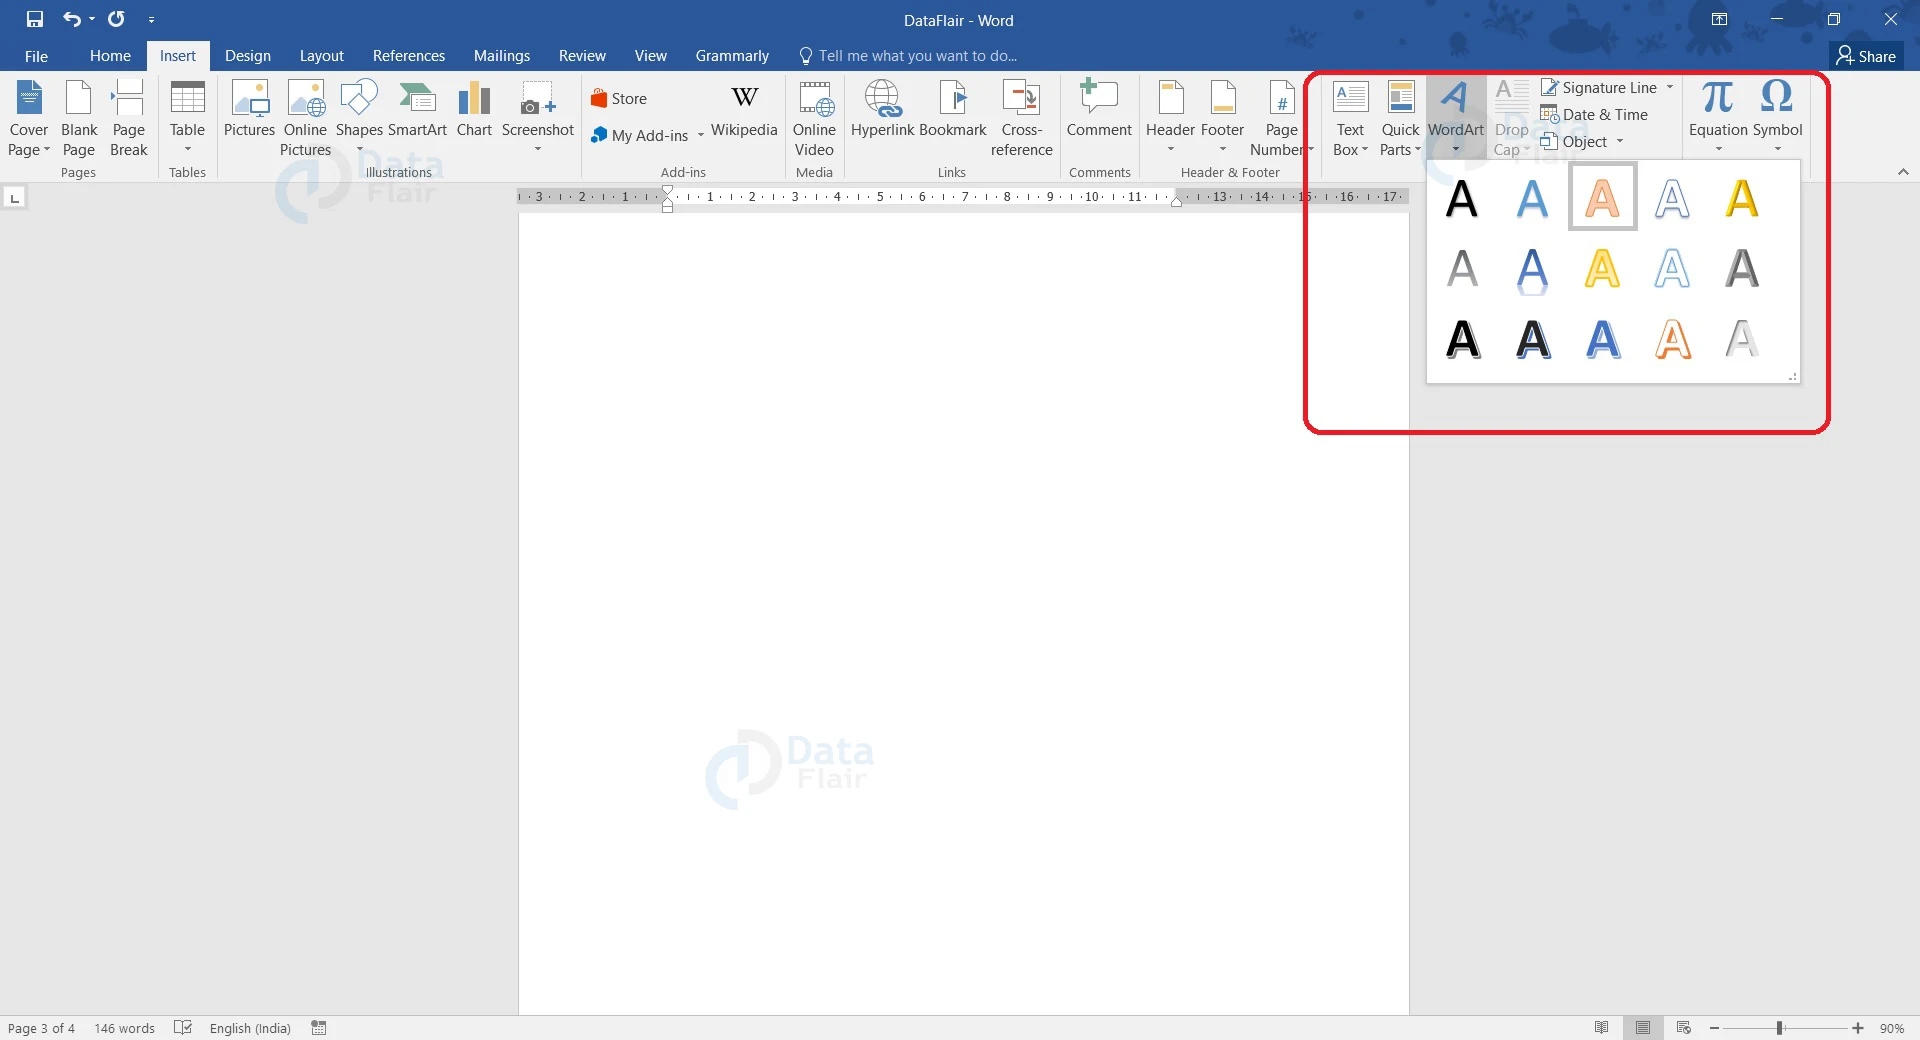
3. A dropdown menu appears, showing a list of available WordArt designs and styles. Choose any one of them.
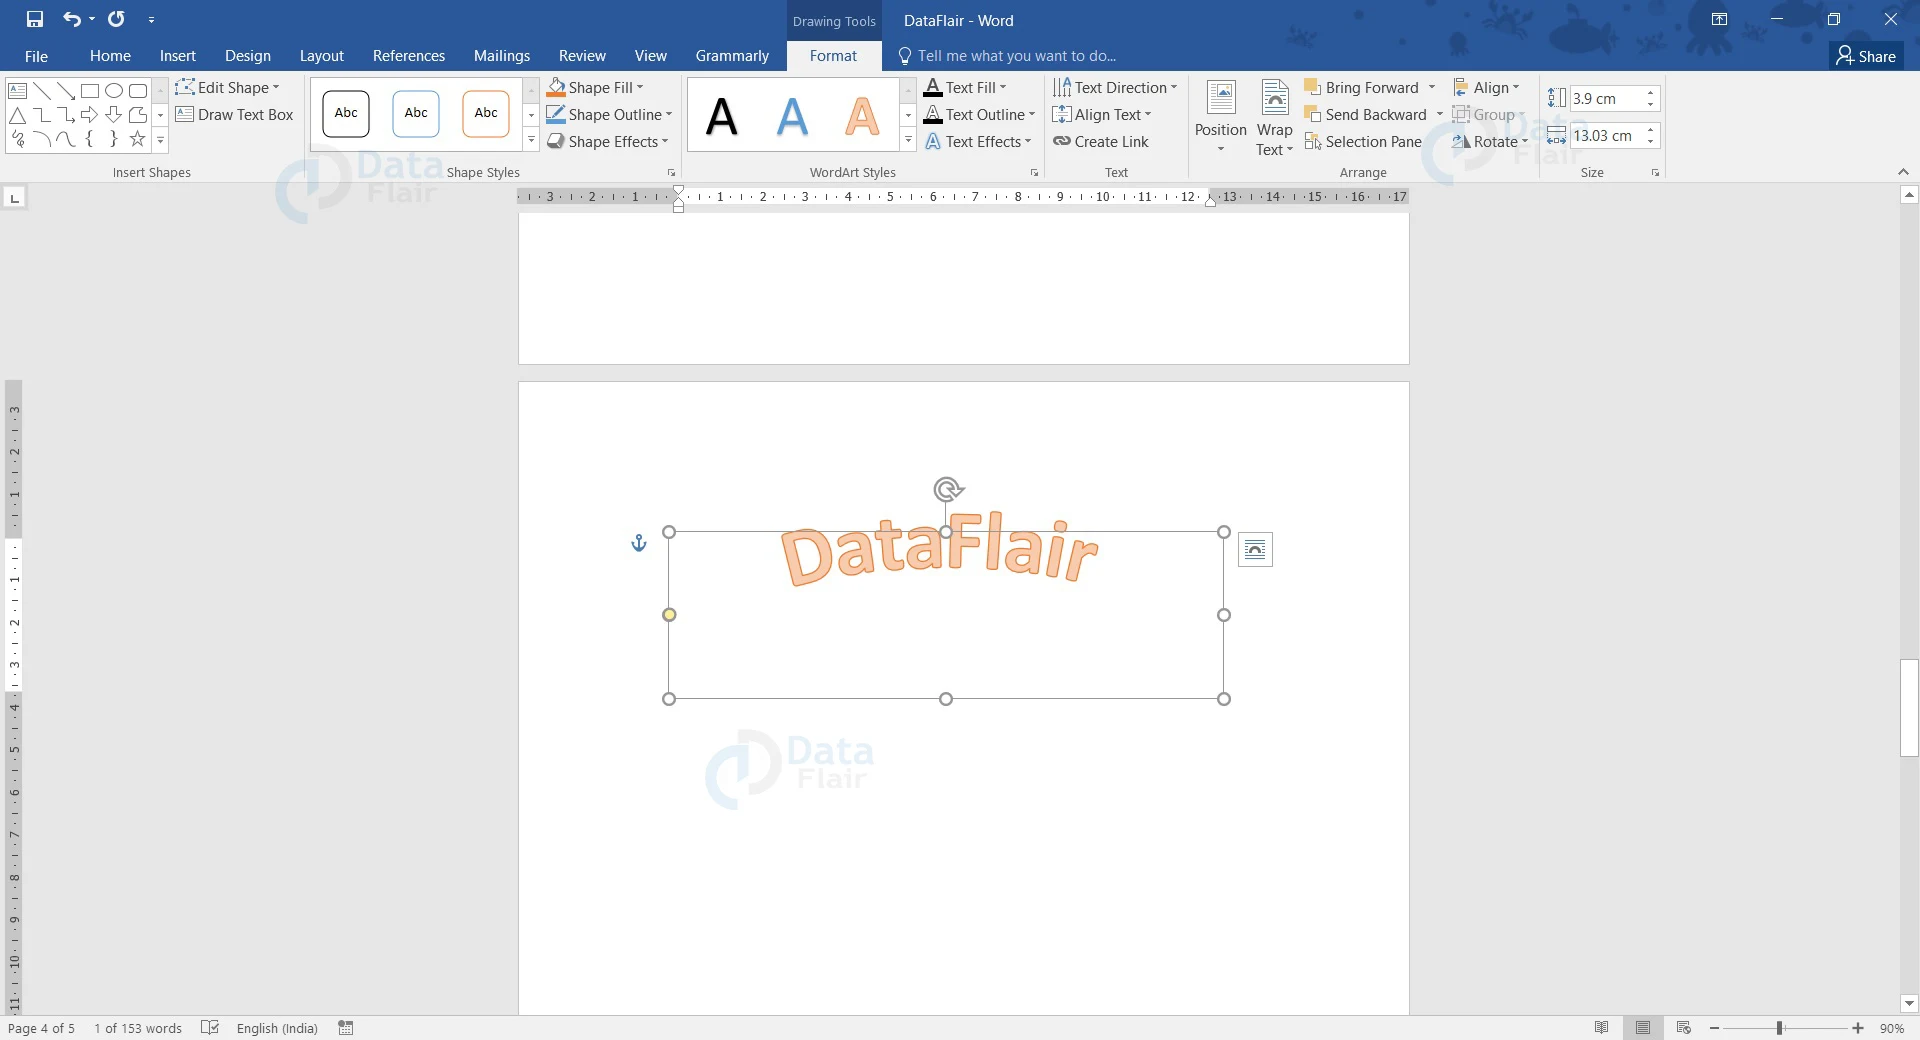
4. A placeholder appears in the document with Your text here written. Type in the text that you wish to curve and it will replace the default text.

Now that WordArt has been added, you can curve the text written as in WordArt. The following steps can help you curve your text in Word.
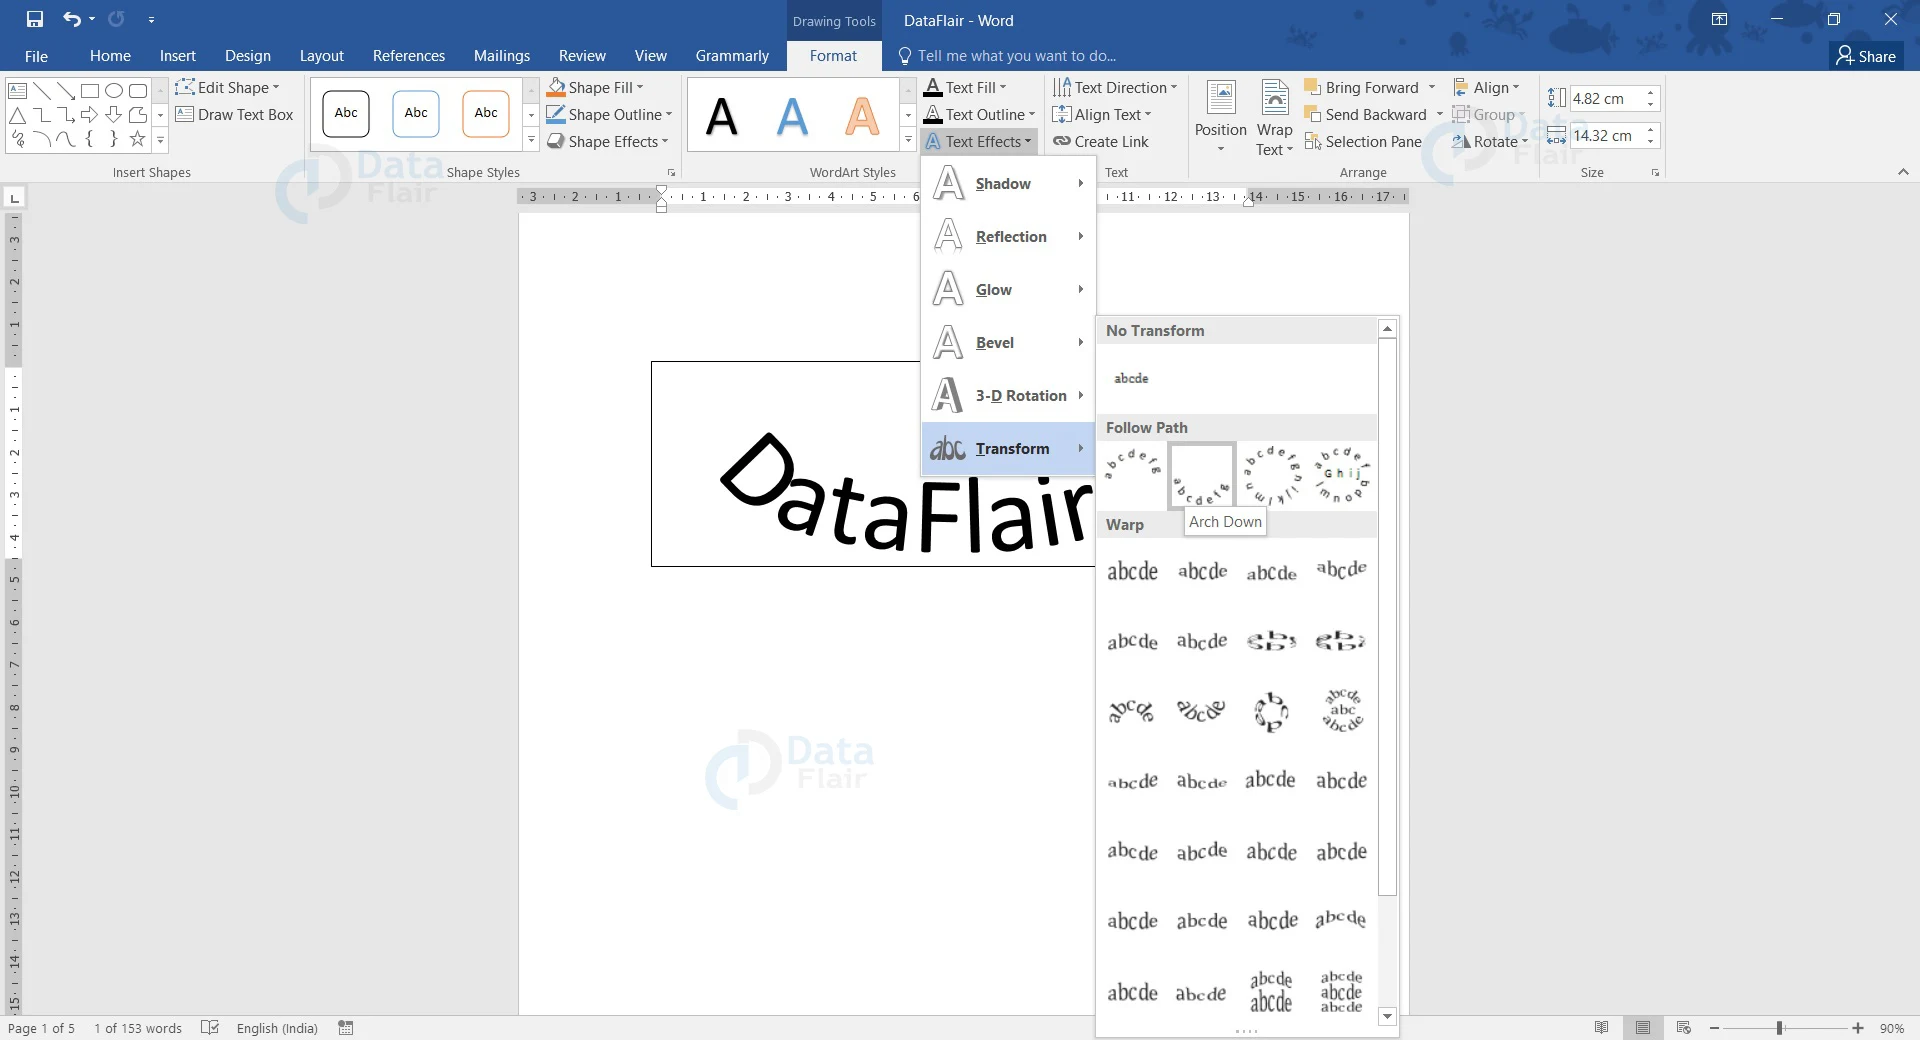
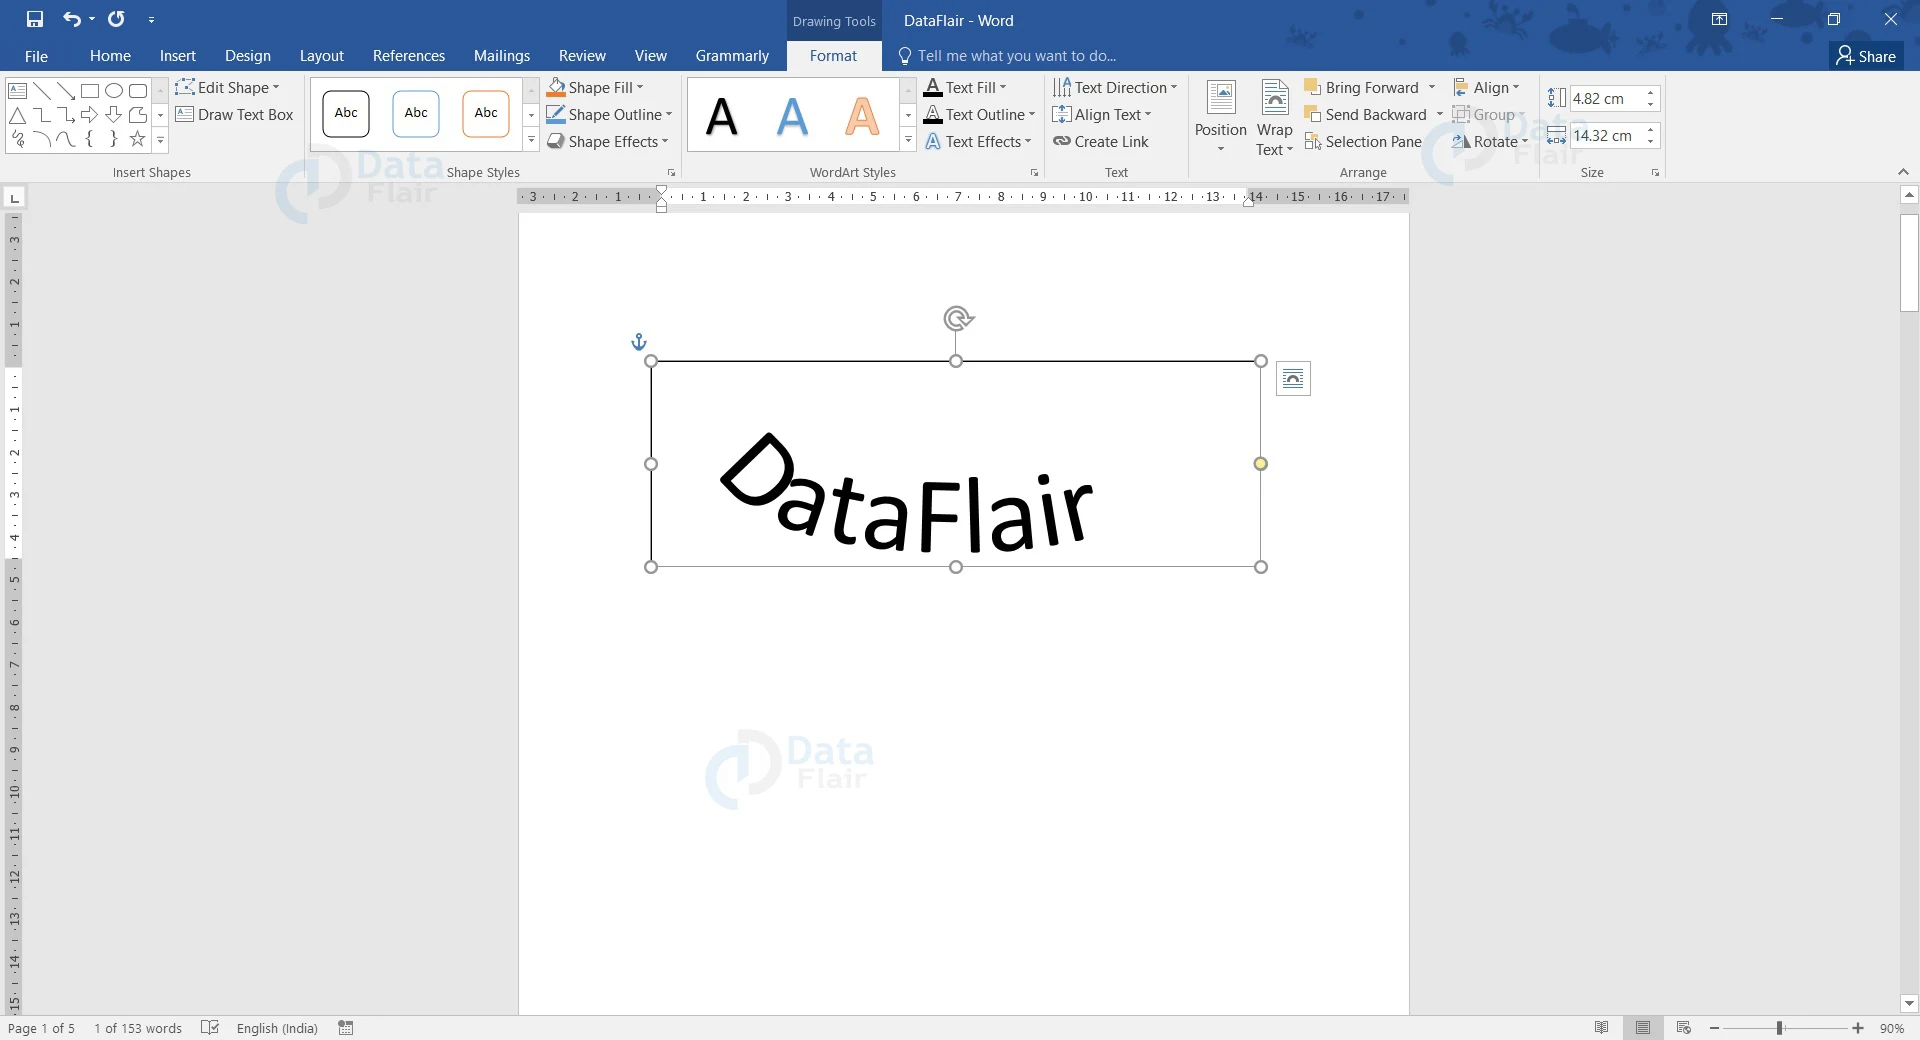
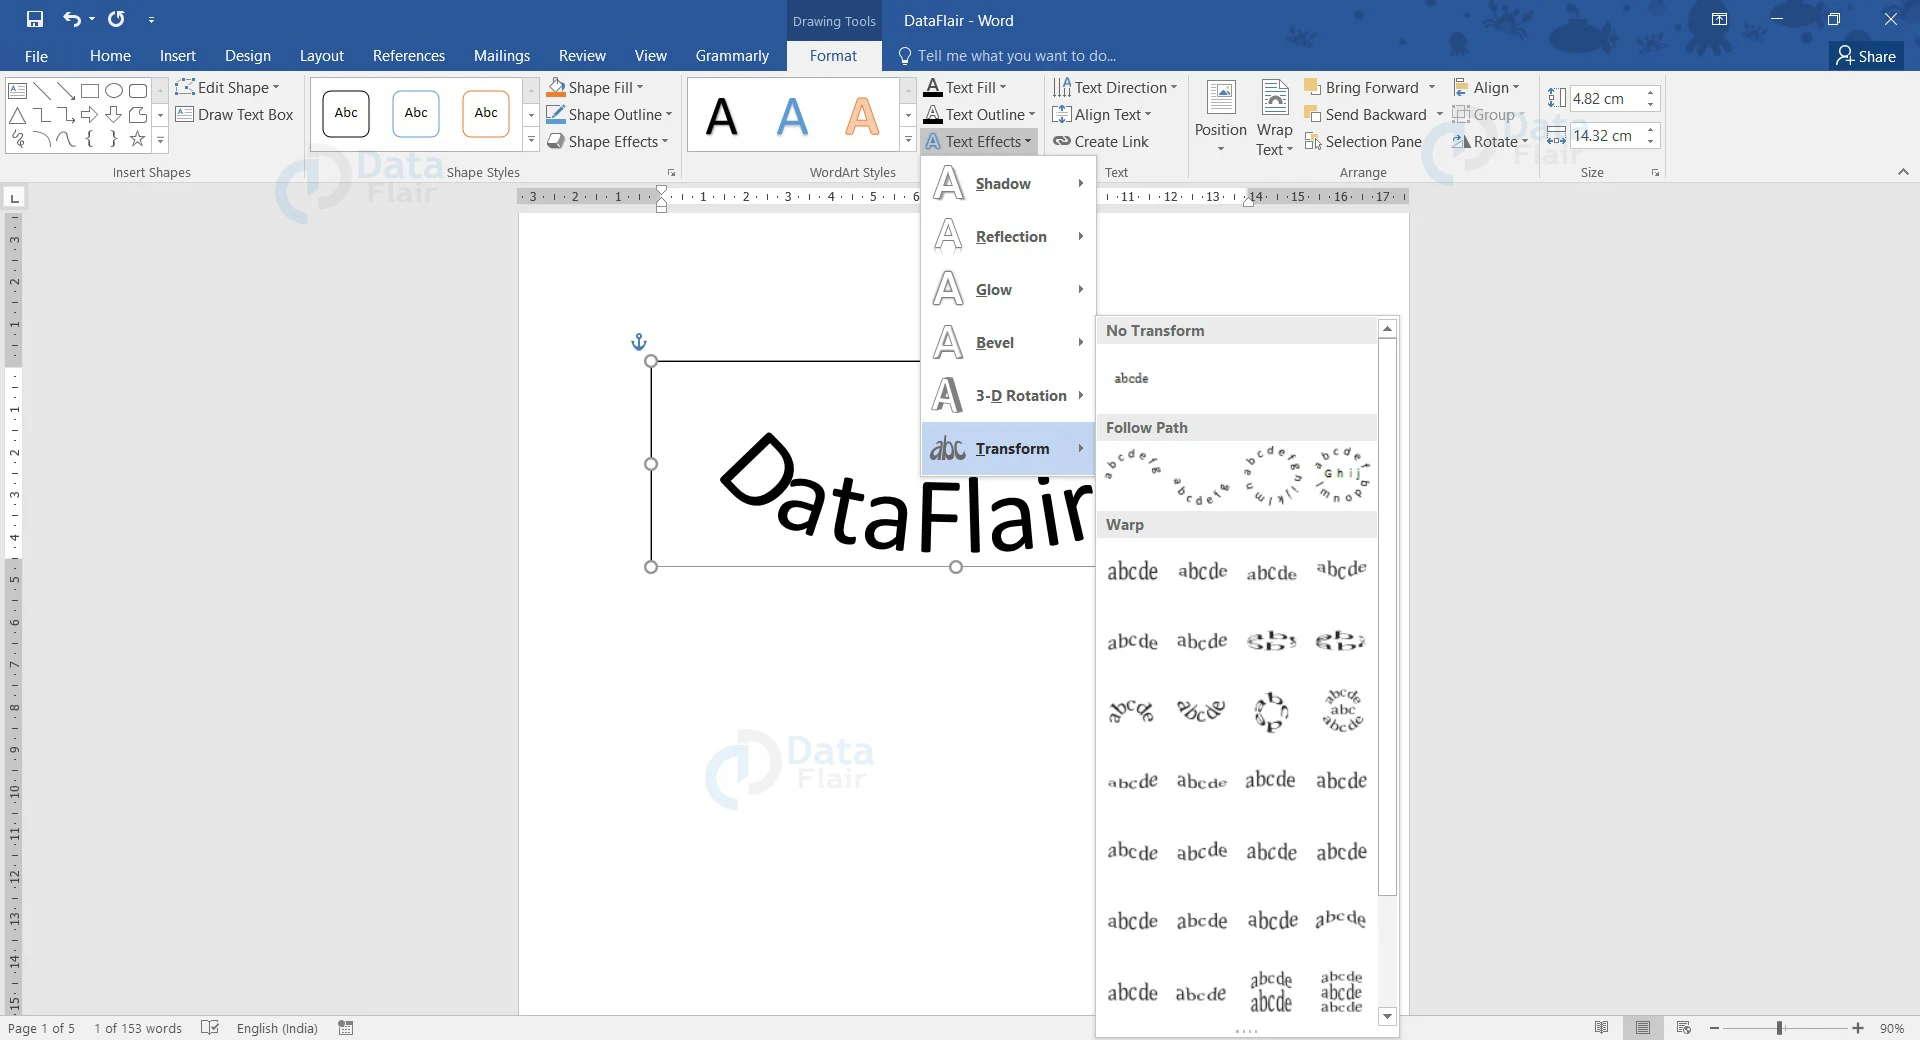
1. Click on the WordArt; the Format ribbon under the Drawing tab appears.
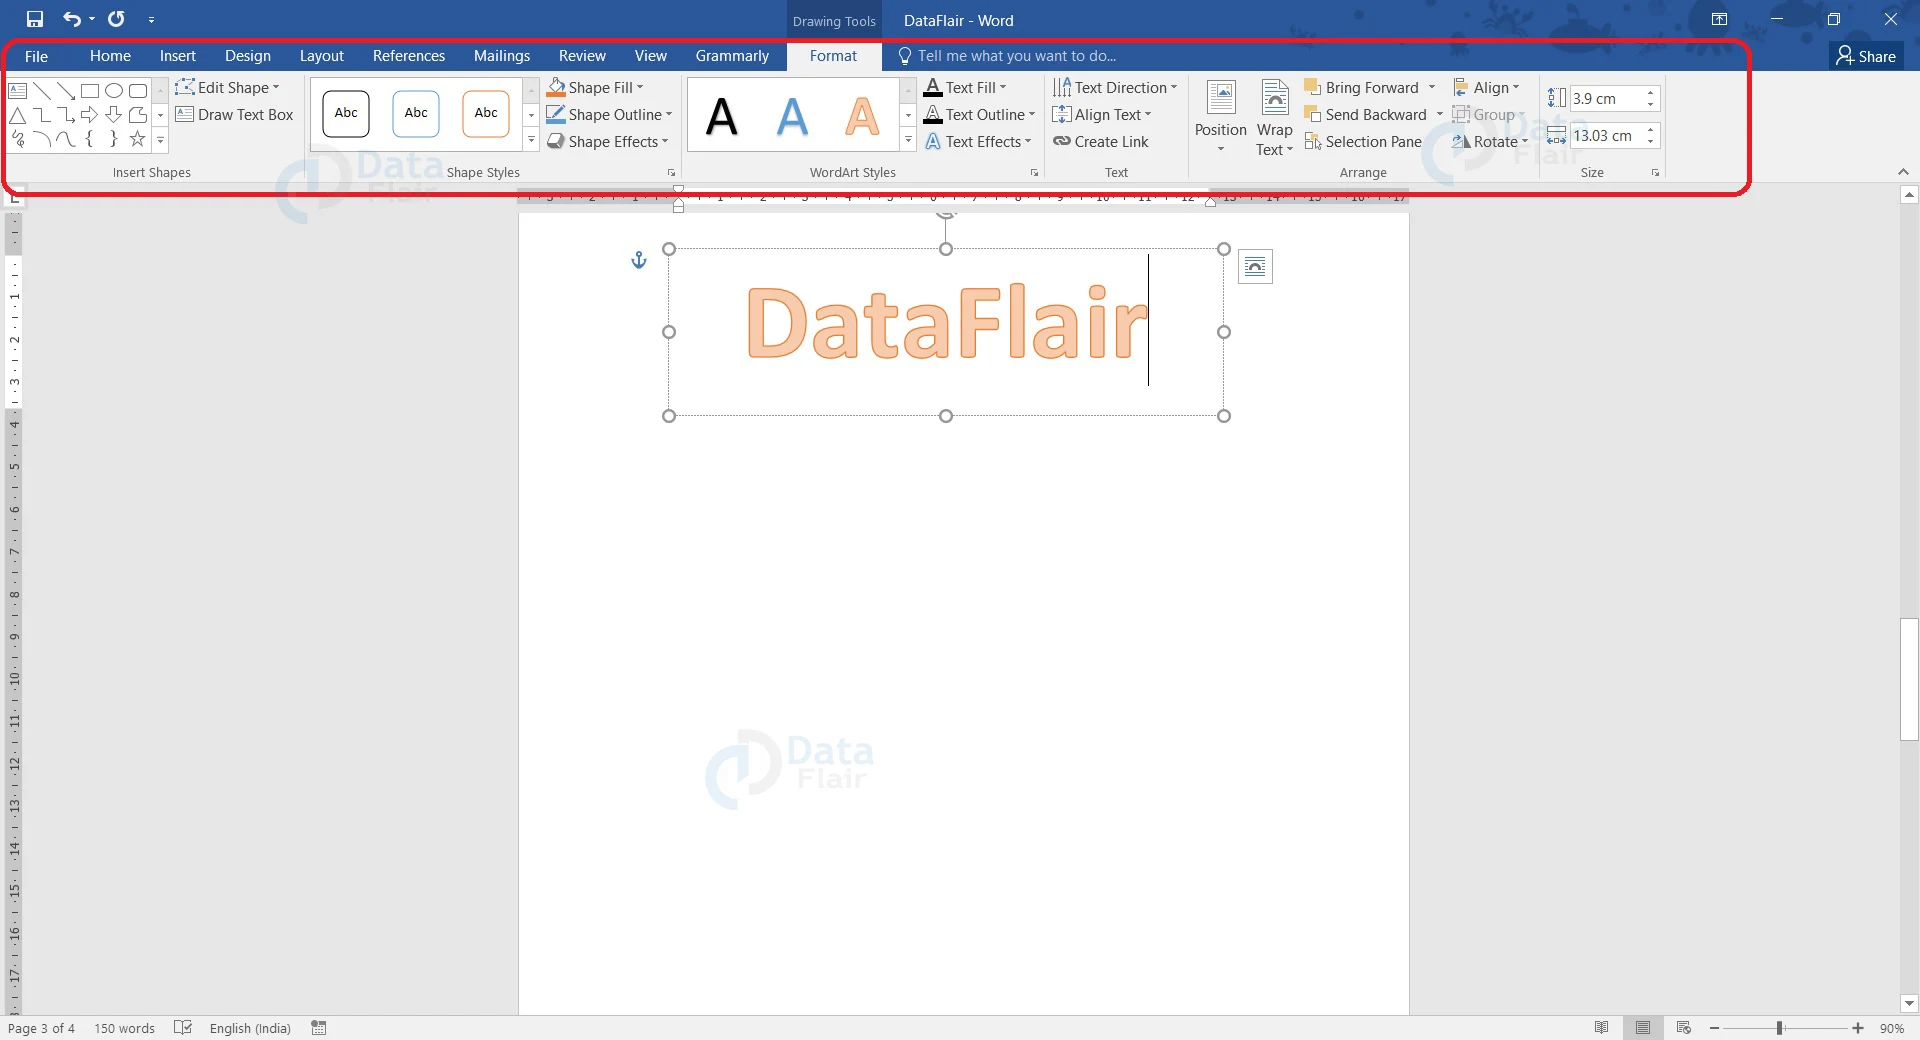
2. Click on the Text Effects option, and go to Transform. If you hover over the Transform option, various options will appear. You can hover over the different curve options to see how your text would look.
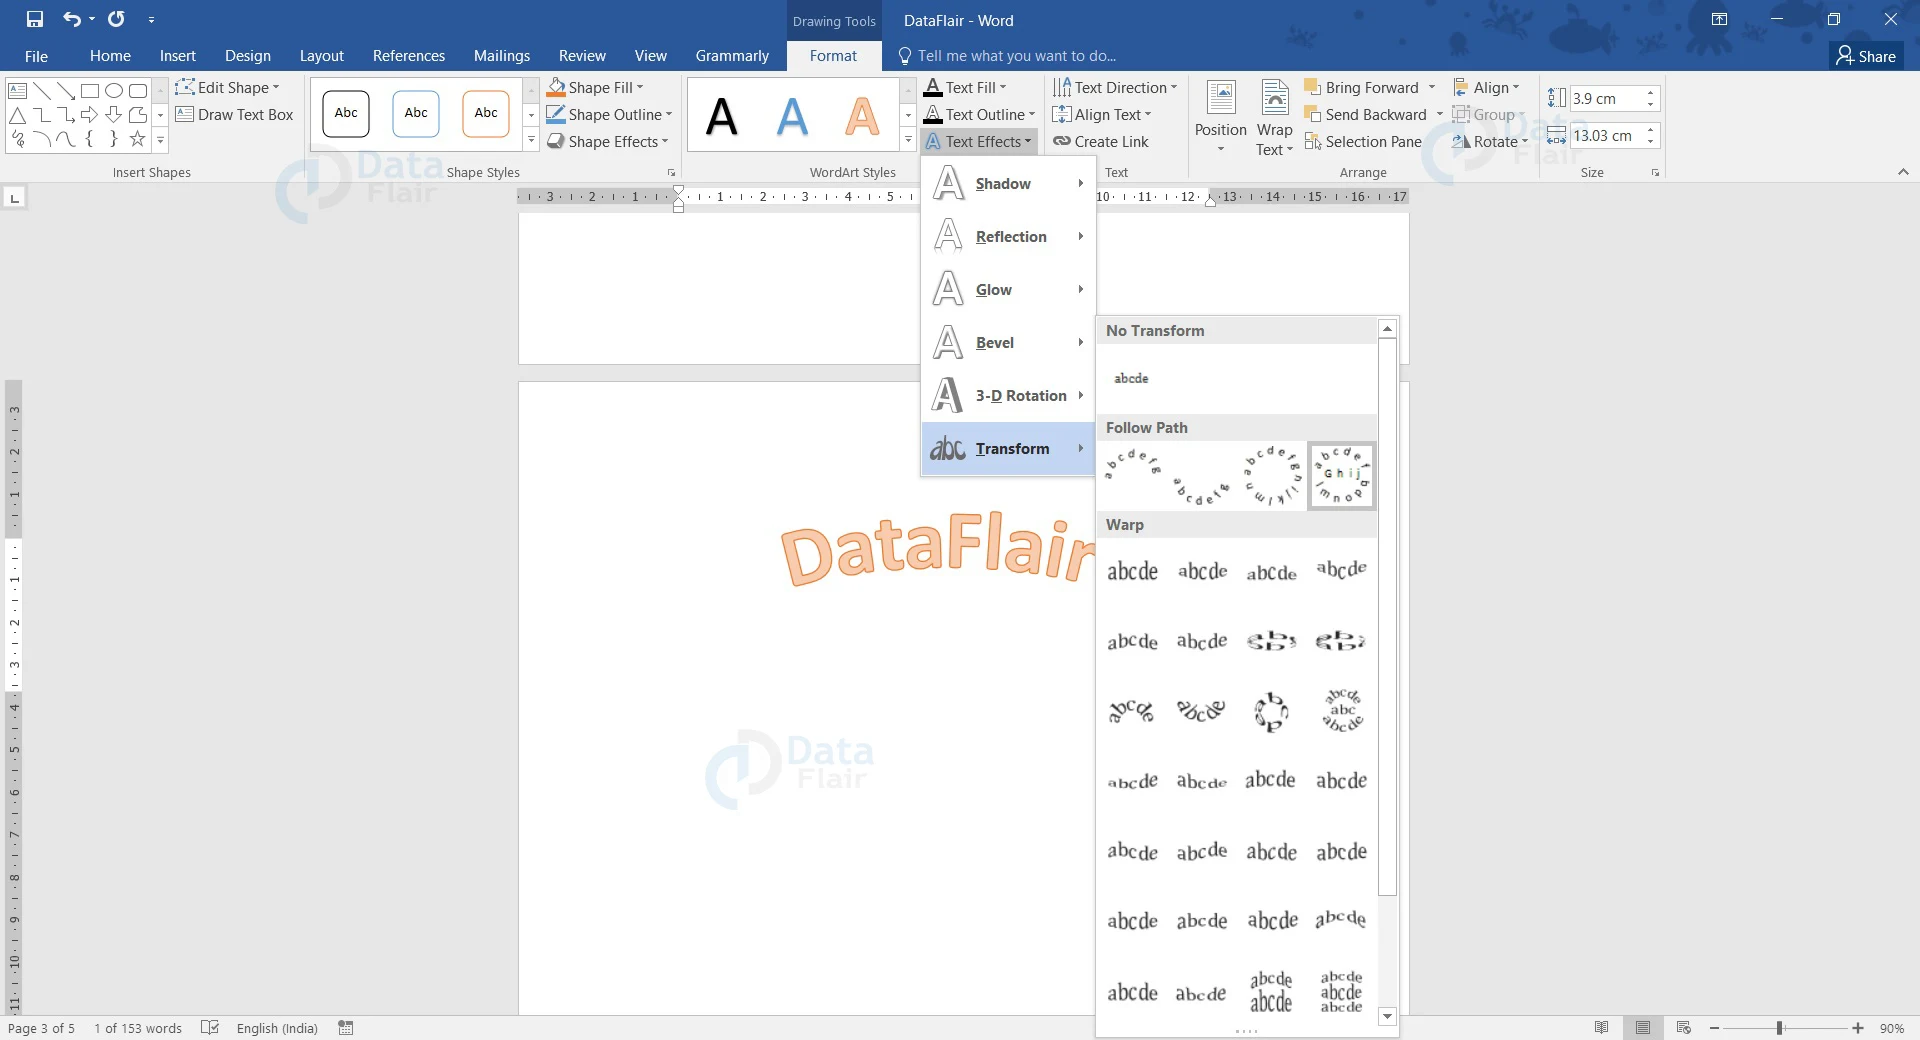
3. After choosing the appropriate curve style, click on it to apply to the text in the TextBox.
4. The WordArt will now be curved, and you can use it for your emblem, sigil, or symbol.
Method 2: Using TextBox in MS Word
You can curve text in Word using TextBox easily. Using TextBox for curving text comes in handy when you wish to work with normal text without any designs or style. The steps below show how this can be made possible.
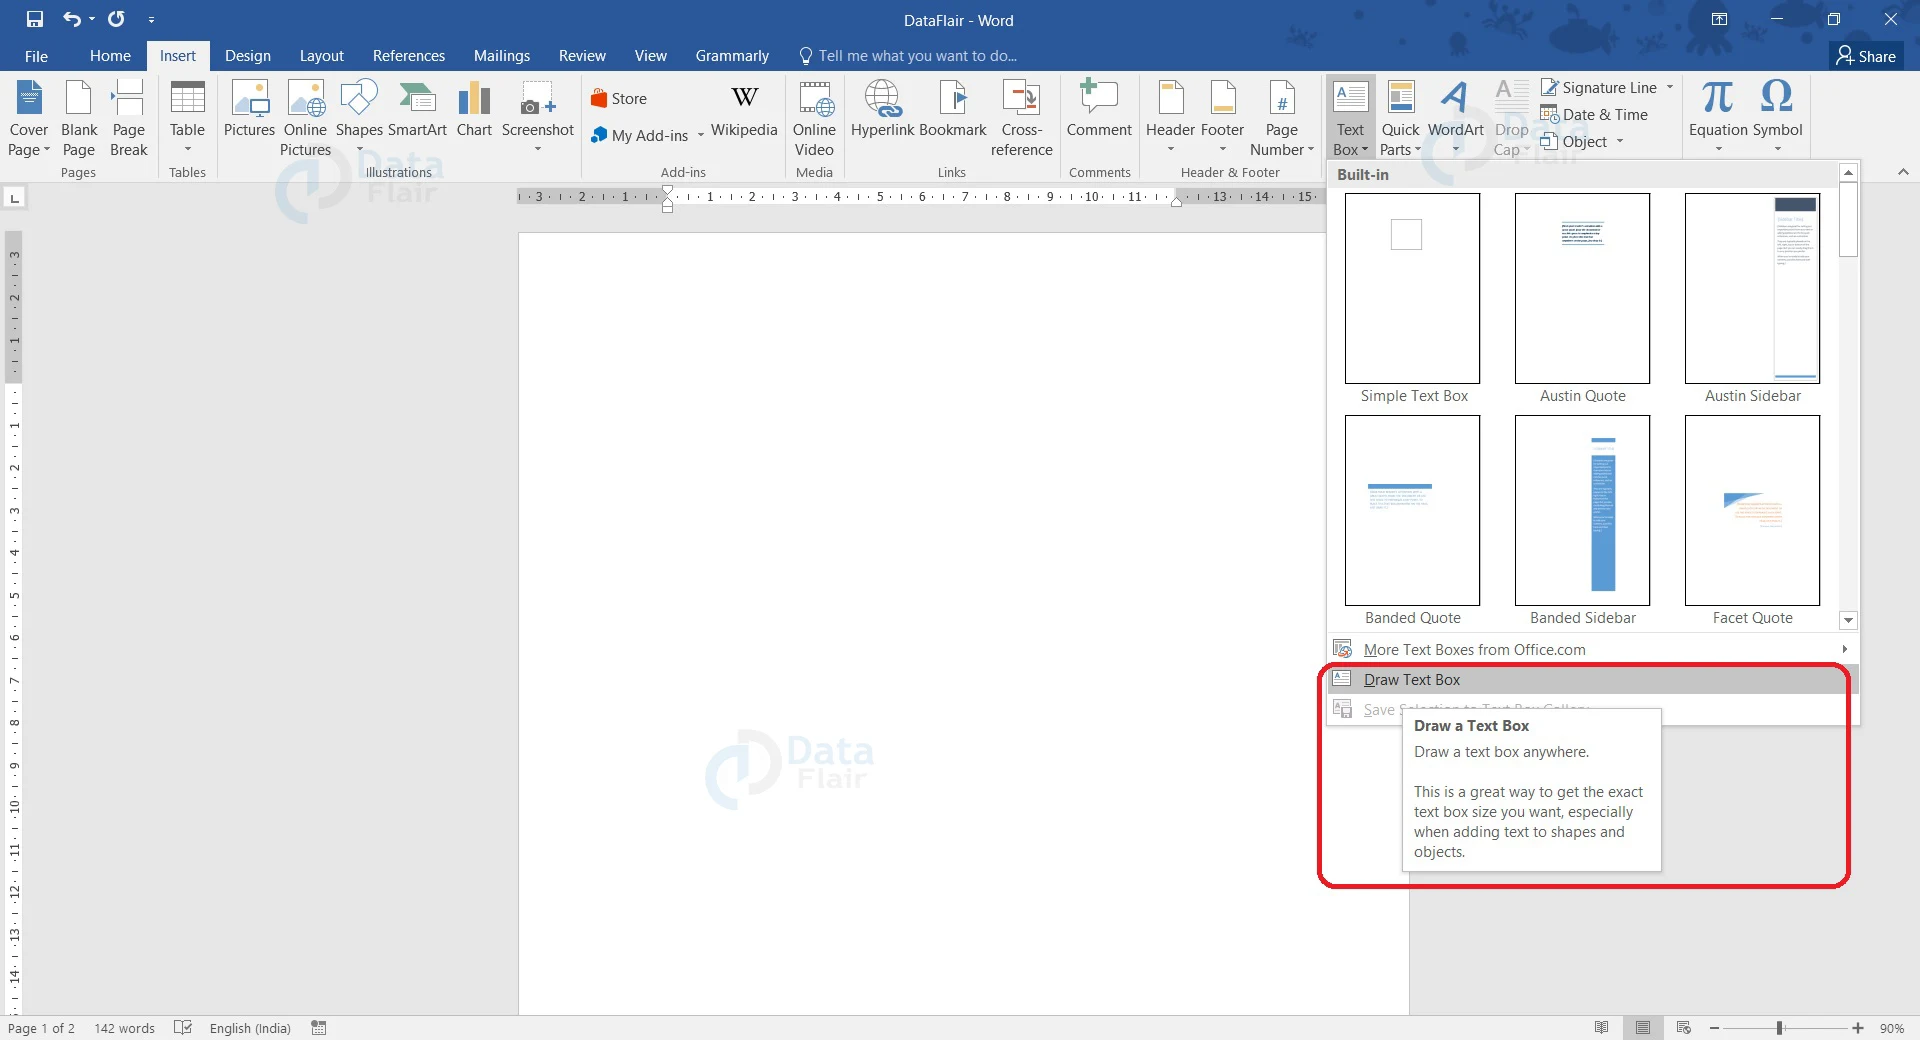
1. Go to the Insert tab and open the dropdown menu associated with the Text Box option in the Text group.
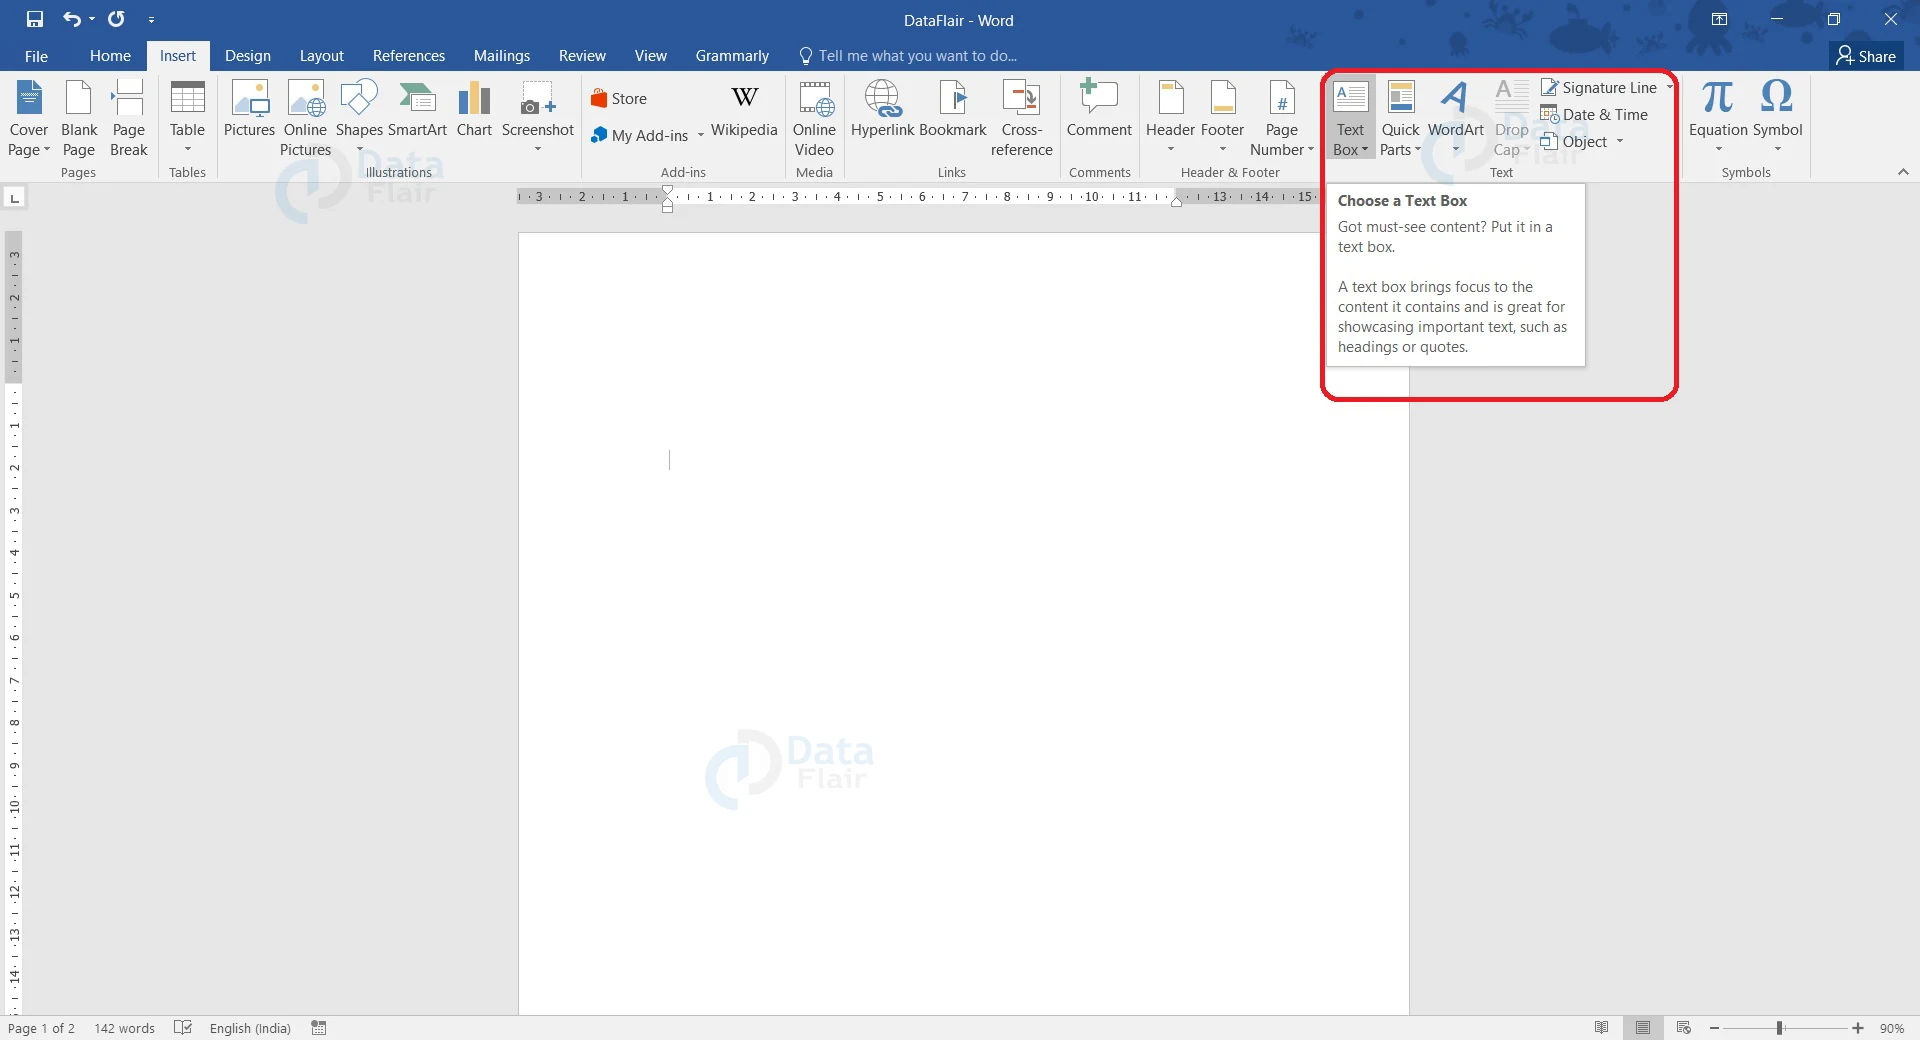
2. From the Built-in dialog box that appears, click the Draw Text Box option.
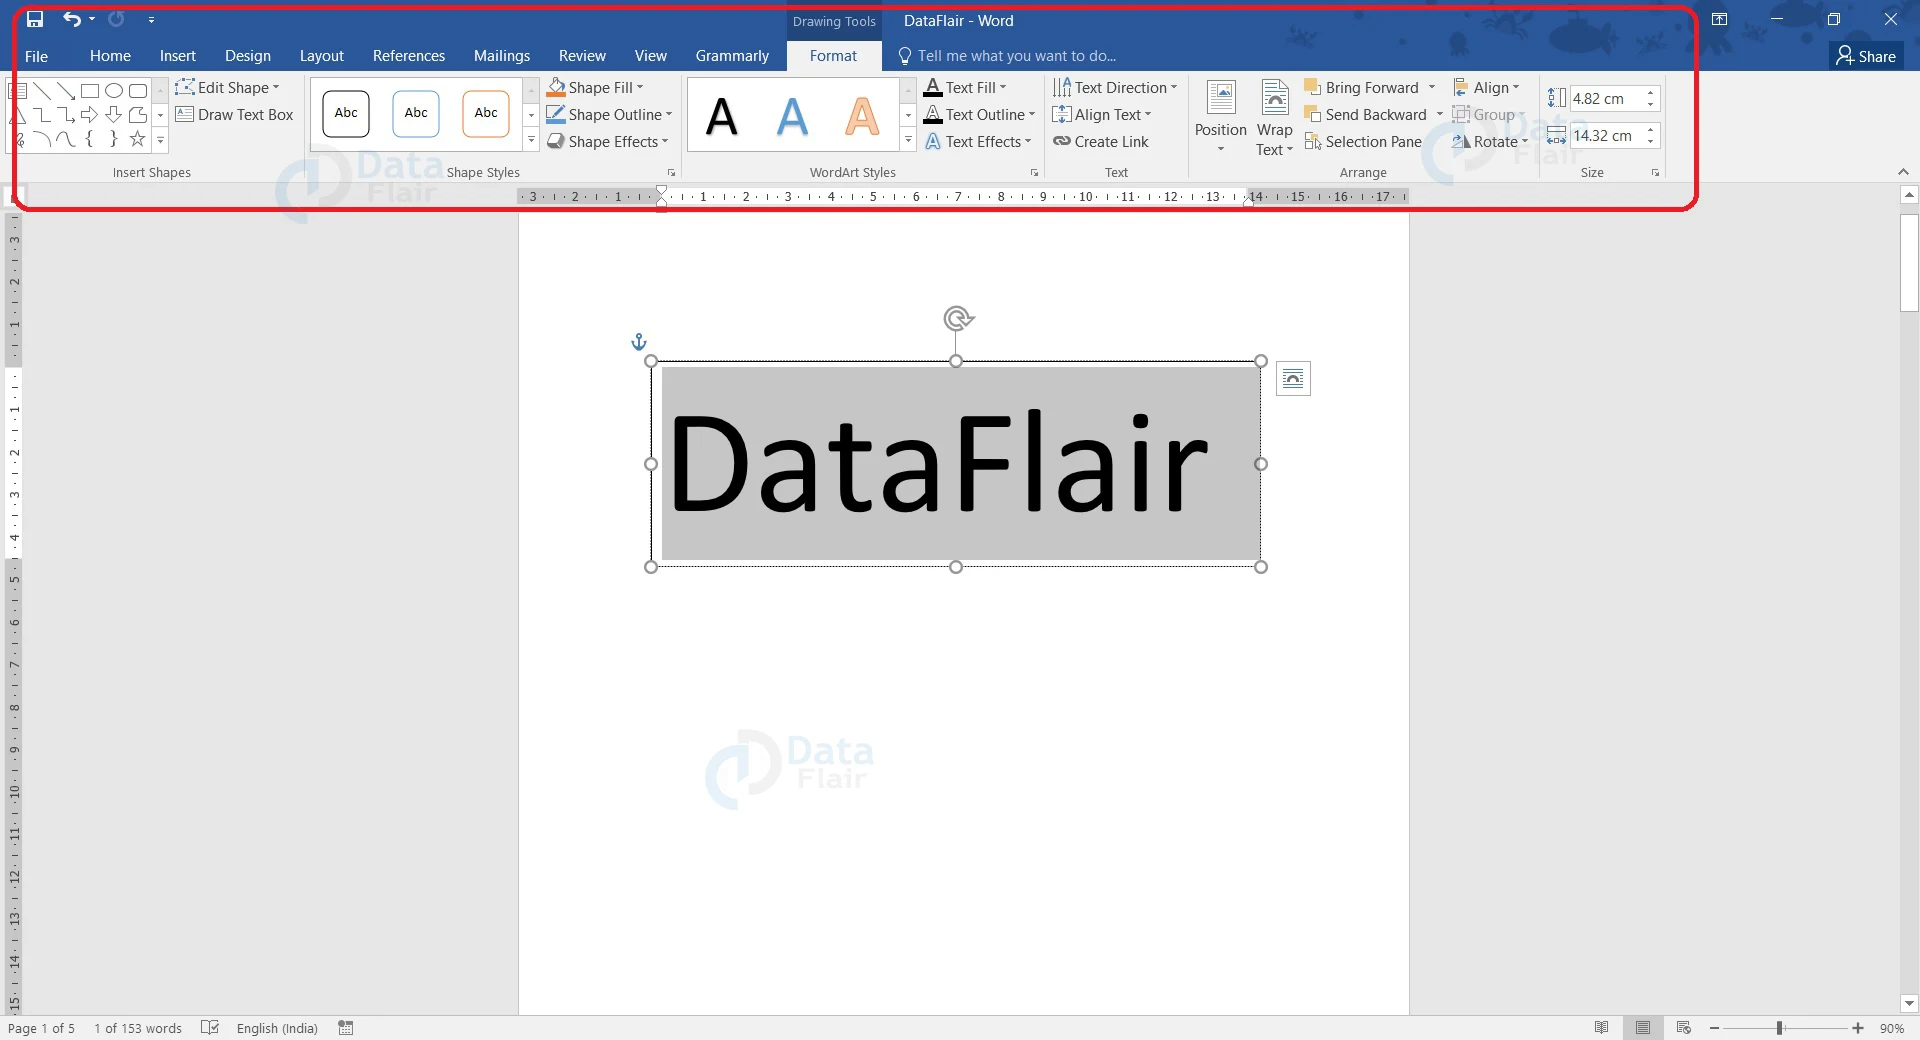
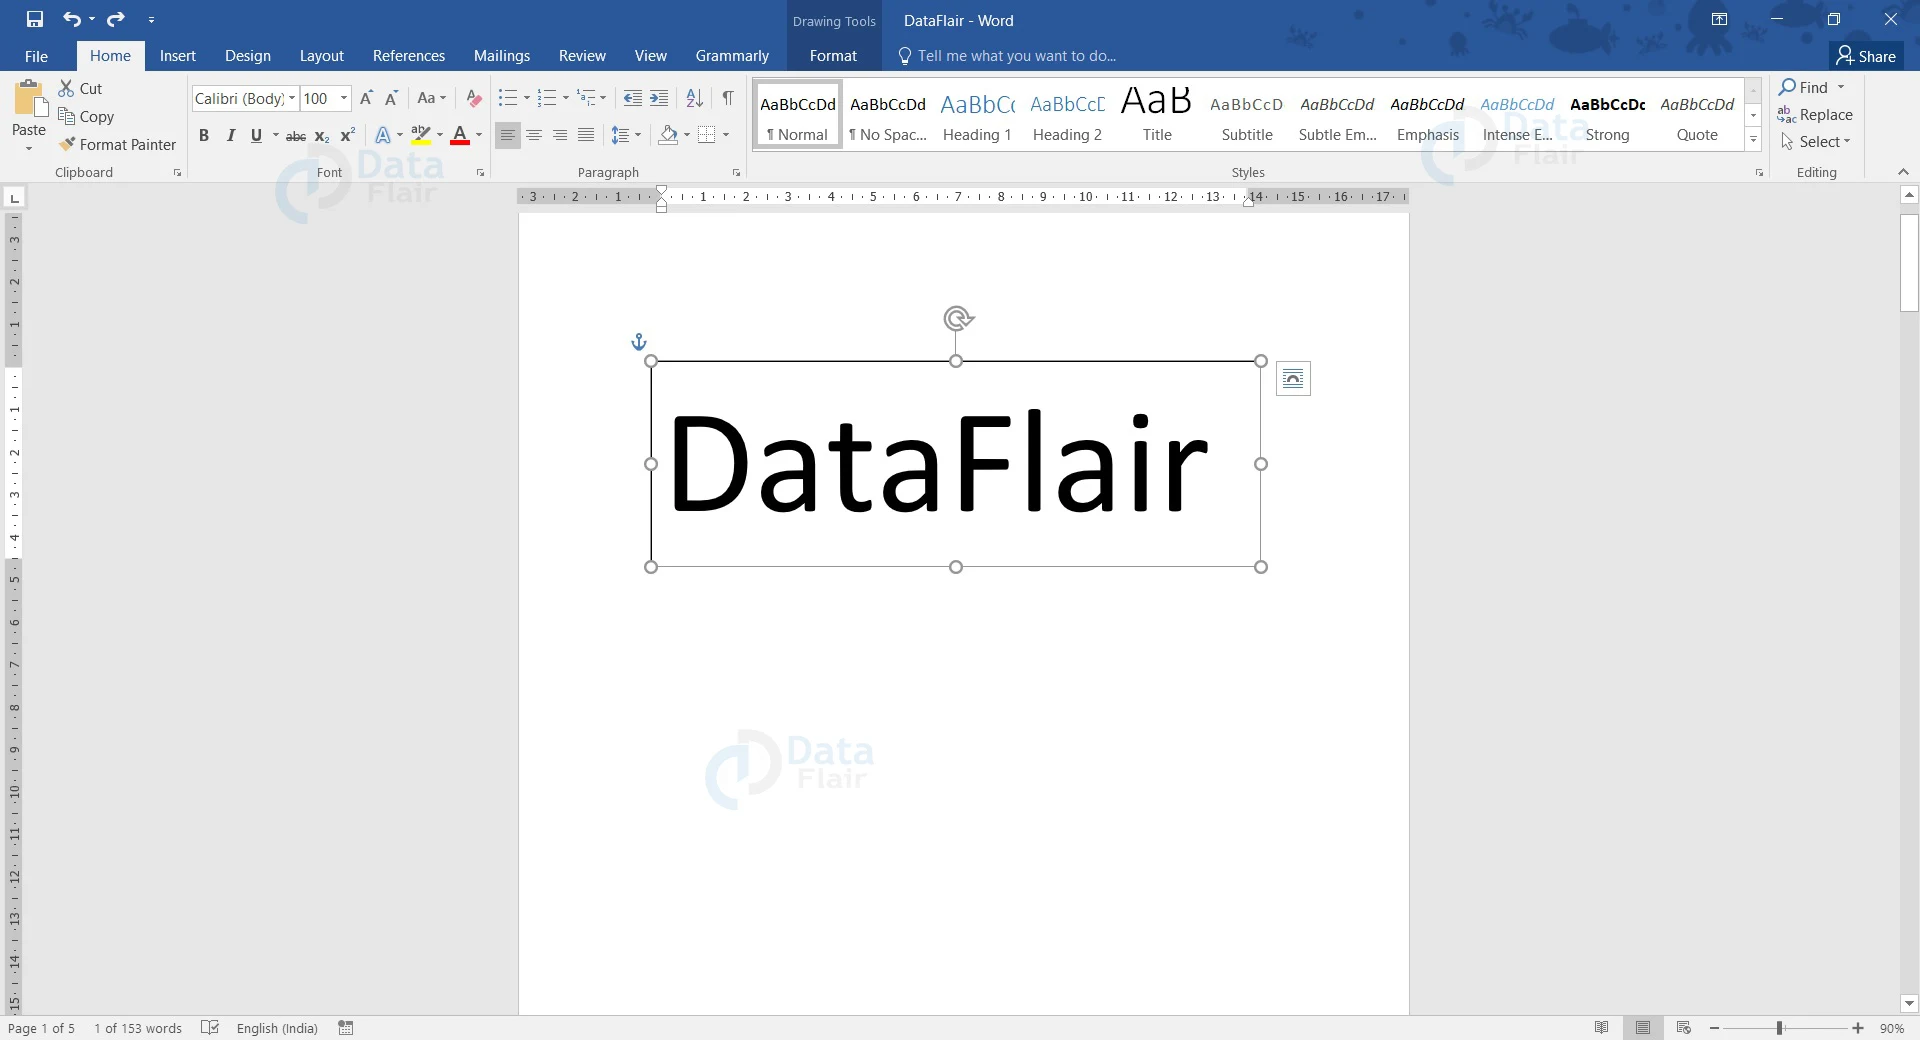
3. Type text within the TextBox. This text will be used for curving.

4. Click on TextBox. You will see that the Format ribbon under the Drawing tab appears.
5. Click on the Text Effects option, and go to Transform. If you hover over the Transform option, various options will appear. You can hover over the different curve options to see how your text would look.
6. After choosing the appropriate curve style, click on it to apply to the text in the TextBox.
The curved text will appear in your document. This can be useful in a lot of ways while decorating or creating unique logos and symbols.
Removing Curved Text in Word
Since you have curved text in your document, you might change your mind and wish to remove the curve. To remove the curve, follow the steps mentioned below.
1. Click on TextBox and select it.
2. Open the drop-down menu associated with Text Effects under the WordArt Styles group.
3. Go to the Transform option, and from the list of options, choose No Transform, which is the first option in the list.
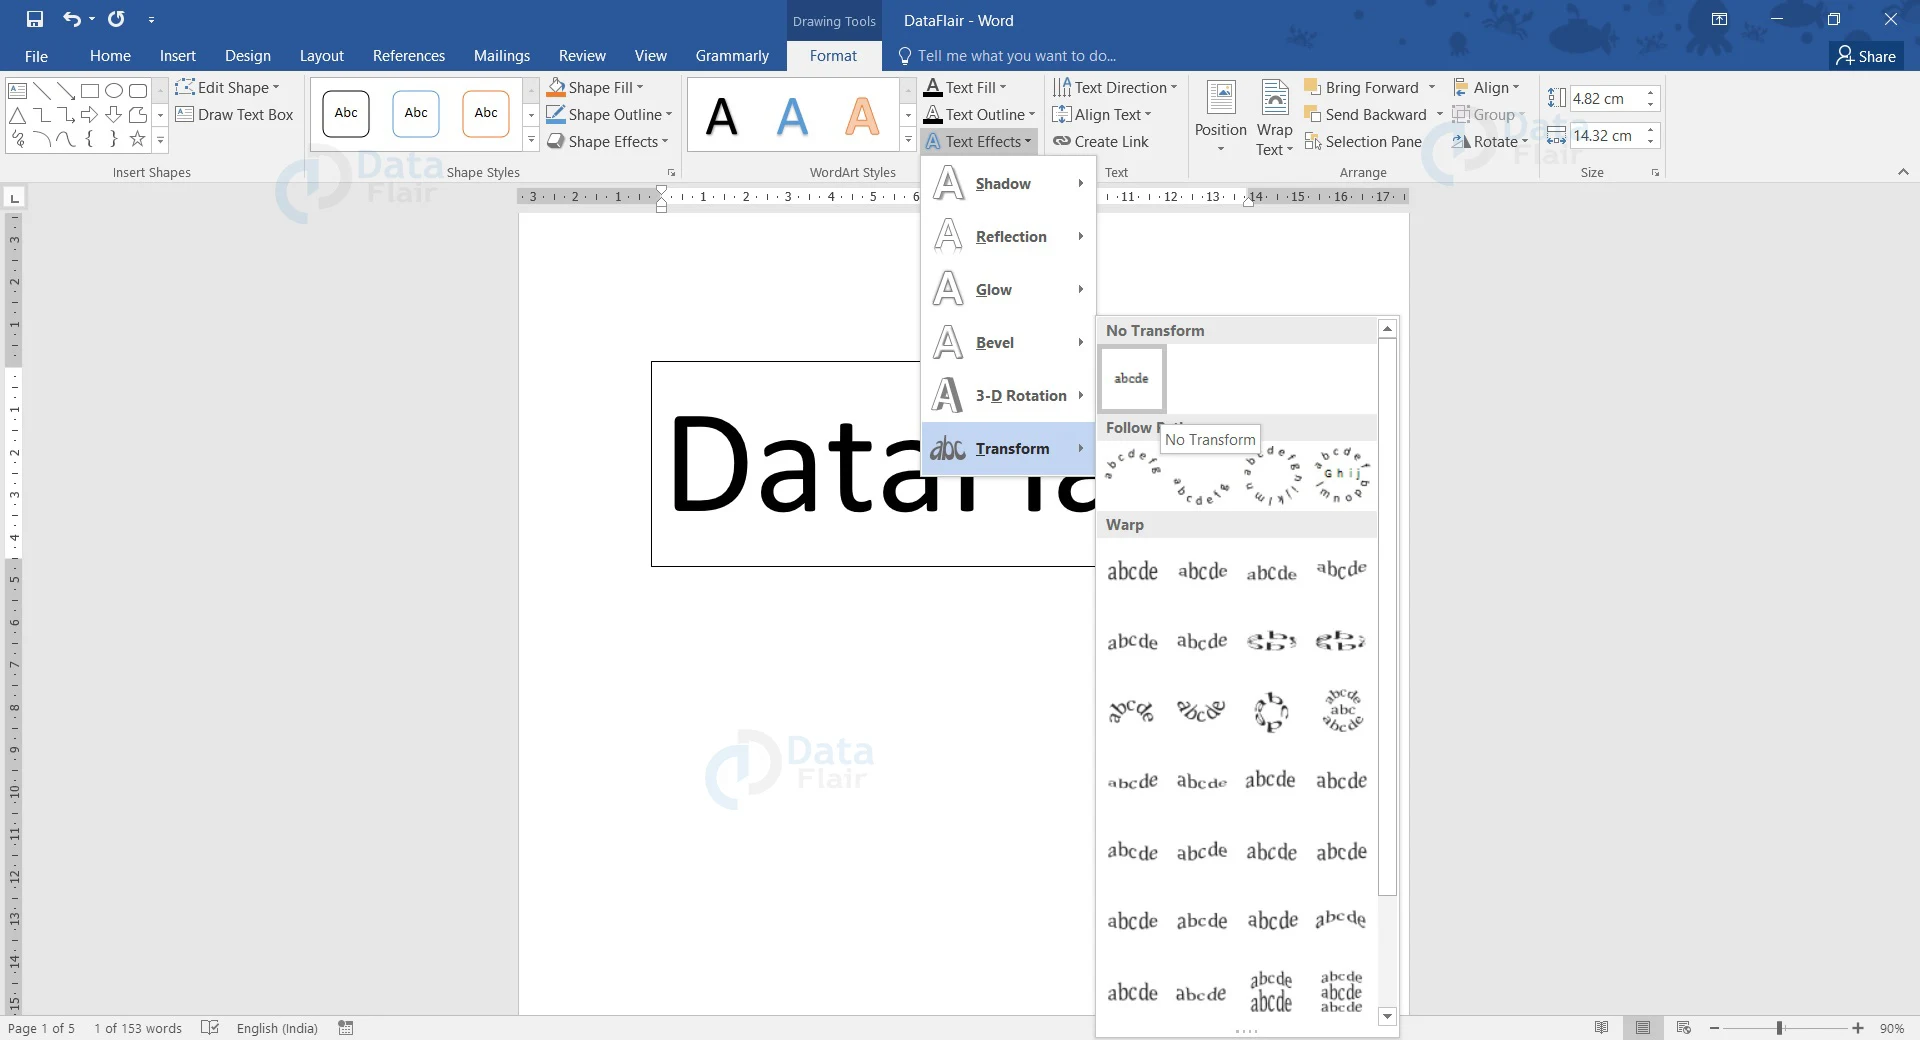
4. You will notice that the text is not curved any longer. To remove the text, you can just select TextBox and use the Delete key on your keyboard.
Conclusion
As you have learned how to curve text in Word, it would become easy for you to show your artistic spirit as you develop your logos and letterheads. This can be very helpful in decorating documents for projects and for presentations too. It is time for you to try out curving text in Word and have fun while you learn.
You give me 15 seconds I promise you best tutorials
Please share your happy experience on Google


