How to create Table of Contents in MS Word?
Interactive Online Courses: Elevate Skills & Succeed Enroll Now!
For every document detailing any particular idea or a service, it is important to highlight the various aspects being talked about. As such, giving a proper Table of Content to your document is of utmost importance. Before adding the Table of Contents to your word document, you need to format your document properly. So first let’s see how to format a wrod document and then we will learn how to insert, update and remove table of contents in word.
How to format MS Word Document?
Proper formatting ensures that the proper topics are being mentioned and helps the author in organizing the word document. For properly formatting the headings and subheadings of your document, follow the steps mentioned below.
1. Place your cursor on the line that has to be formatted to be a heading or a subheading.
2. Choose the appropriate style from the Styles group of the Home tab. For headings, choose Heading 1, and Heading 2 or lower for each level of subheadings.

After giving proper headings and subheadings to your document, you can proceed to make a table of contents for your document.
Importance of Adding a Table of Contents in word document
Before adding a table of content to your document, let us understand its importance. Here are a few points which make a Table of Contents important for your document.
1. Give the readers an overview of the contents and topics covered in the document.
2. Makes the document look sophisticated and formal.
3. Highlights the key topics and makes them easier to navigate and present.
4. Gives a well-structured format for studying the document.
5. Helps in organizing the content.
How to Create Table of Contents in MS Word?
The following steps show how to create a table of contents for your Word document.
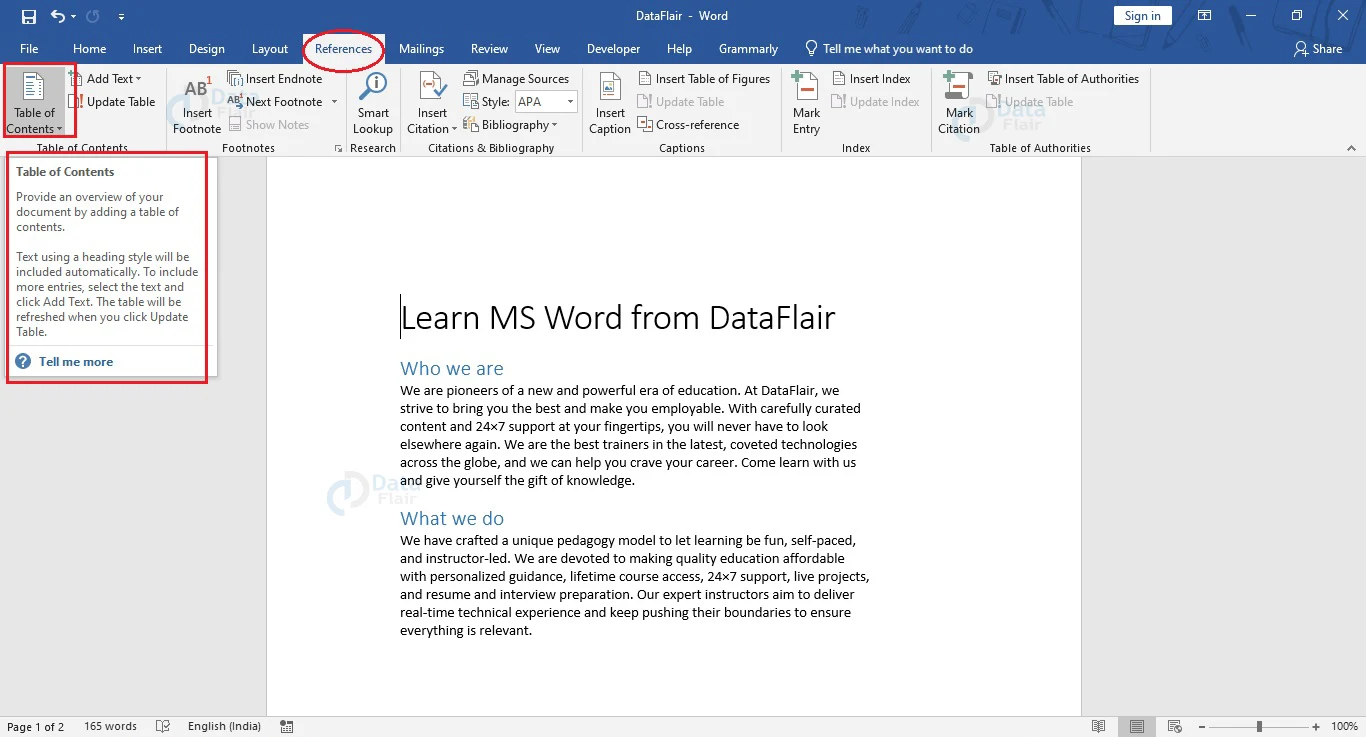
1. Place your cursor at the beginning of the document. Go to the References tab on the ribbon.
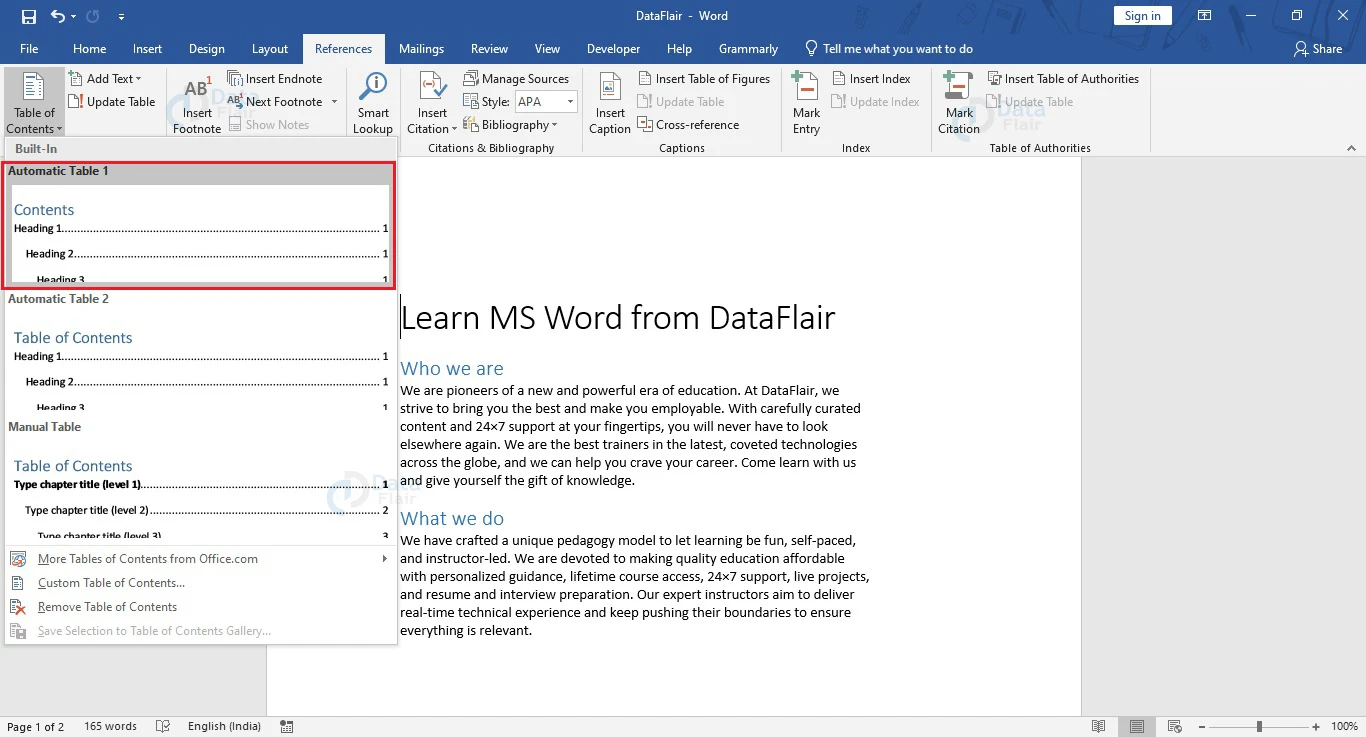
2. From the Table of Contents group, click on the Table of Contents button. The associated drop-down menu will appear.
3. Choose any of the preset styles for your table of contents.
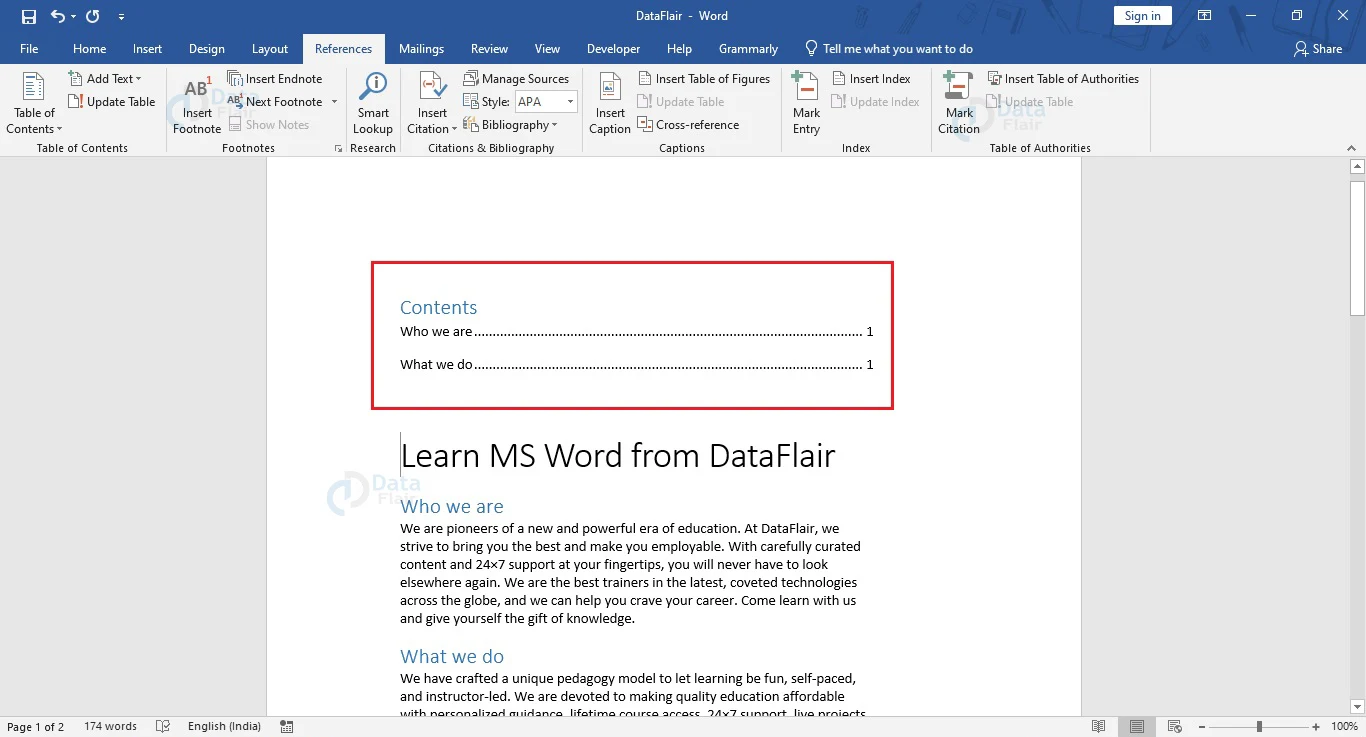
You will see that the table of contents is now added to your document.
Sections that begin with Heading 2 or lower styles will be nested within a section beginning with Heading 1 style. This is very similar to a multi-level list where any section beginning with Heading 1 has the highest order.
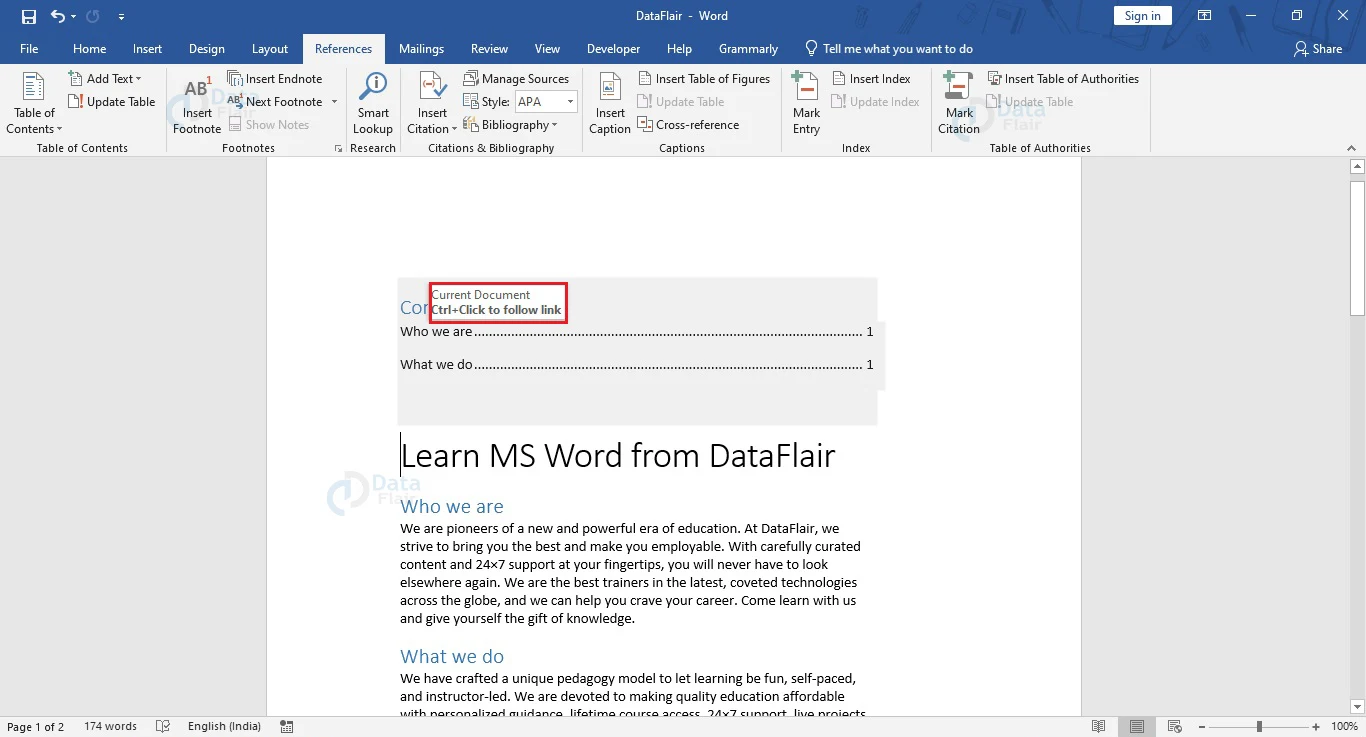
The table of contents would link to each section of your document. You can visit the required section by holding down the Ctrl key on your keyboard and clicking on it using the mouse.
How to Update Table of Contents in Word?
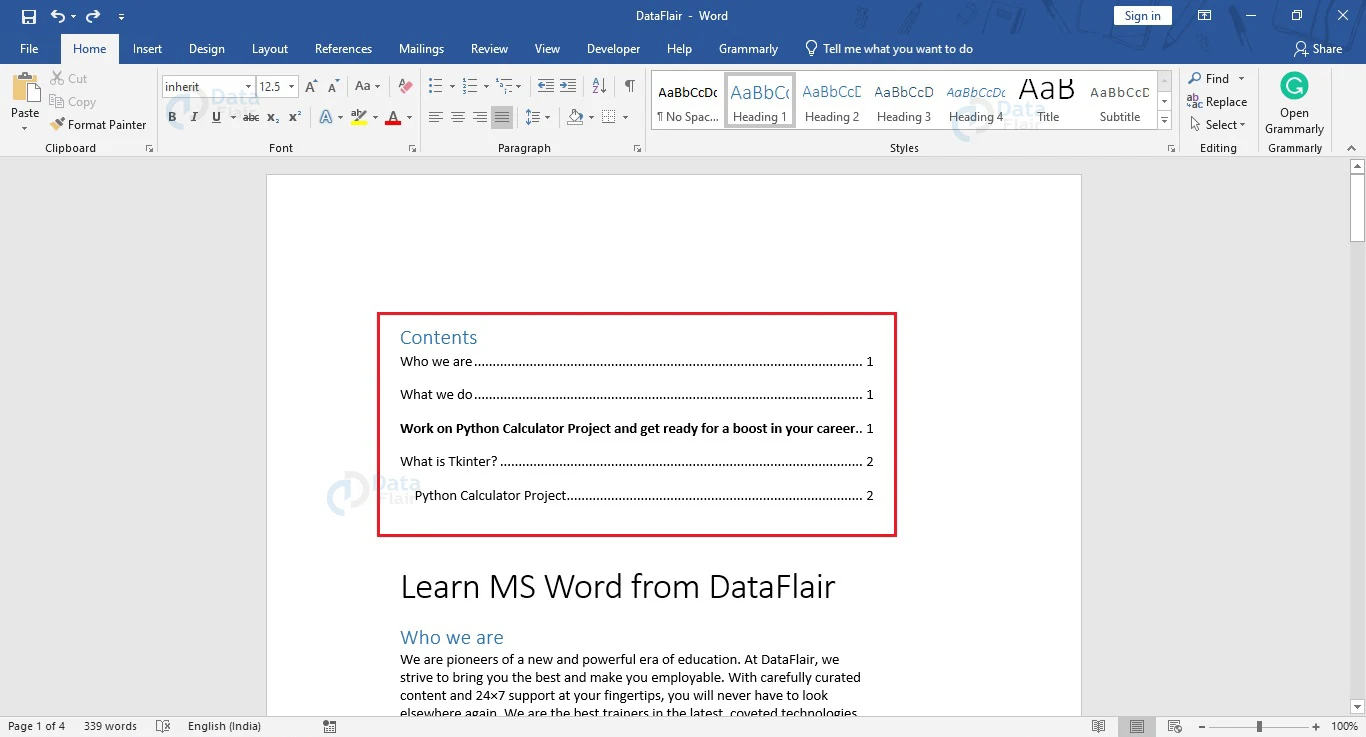
After editing your document, you need to update the table of contents present in your document so that it shows the proper contents of your document and their corresponding page numbers. After adding text or new topics to your documents, it is natural for the page numbers and headings to change, so you should keep your table of contents updated. You might also have missing entries, where the headings are not formatted properly.
After adding text and formatting the headings properly, follow the steps below to update your table of content.
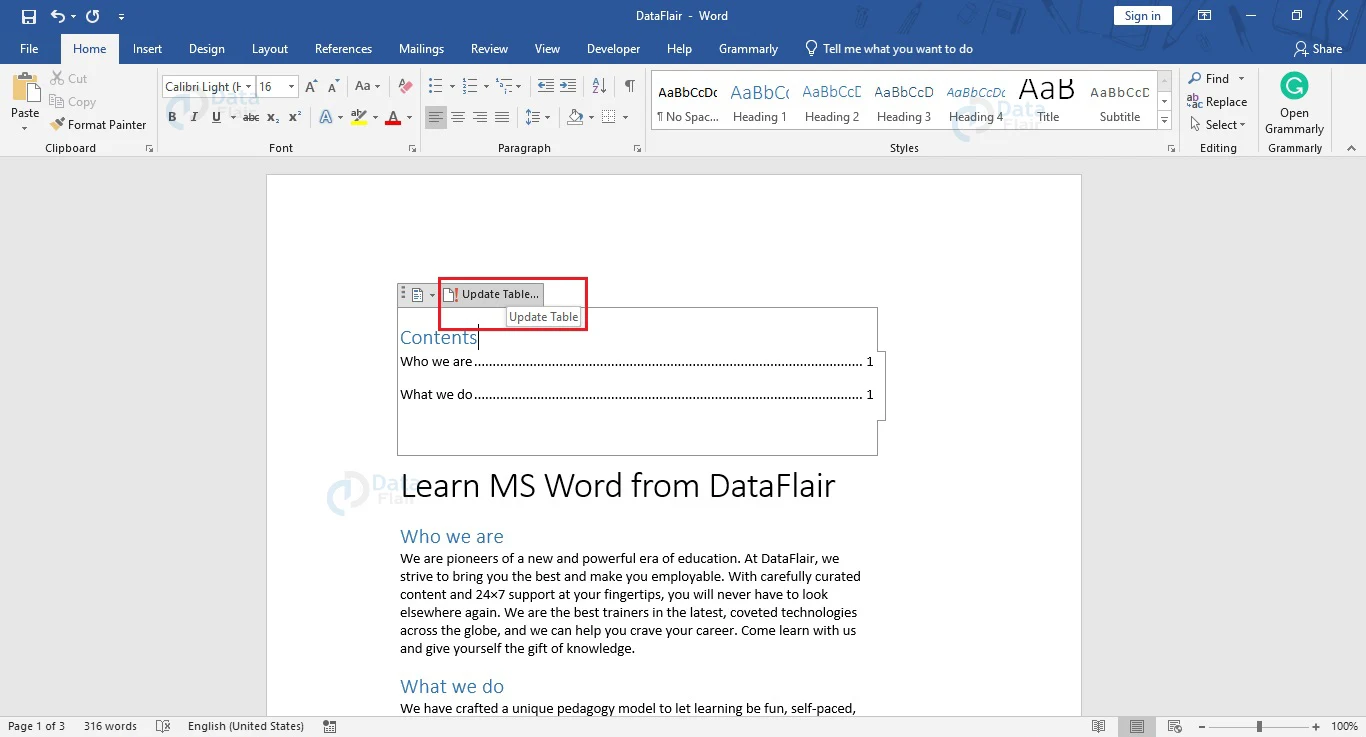
1. Select the table of contents and click on the Update Table… button. The Update Table of Contents dialog box appears.
2. If you have changed only the text, without adding any new headings or subheadings, then choose the radio box for Update page numbers only.
If you have added new headings or subheadings, and new elements have to be added to the table, choose the radio box corresponding to Update entire table.
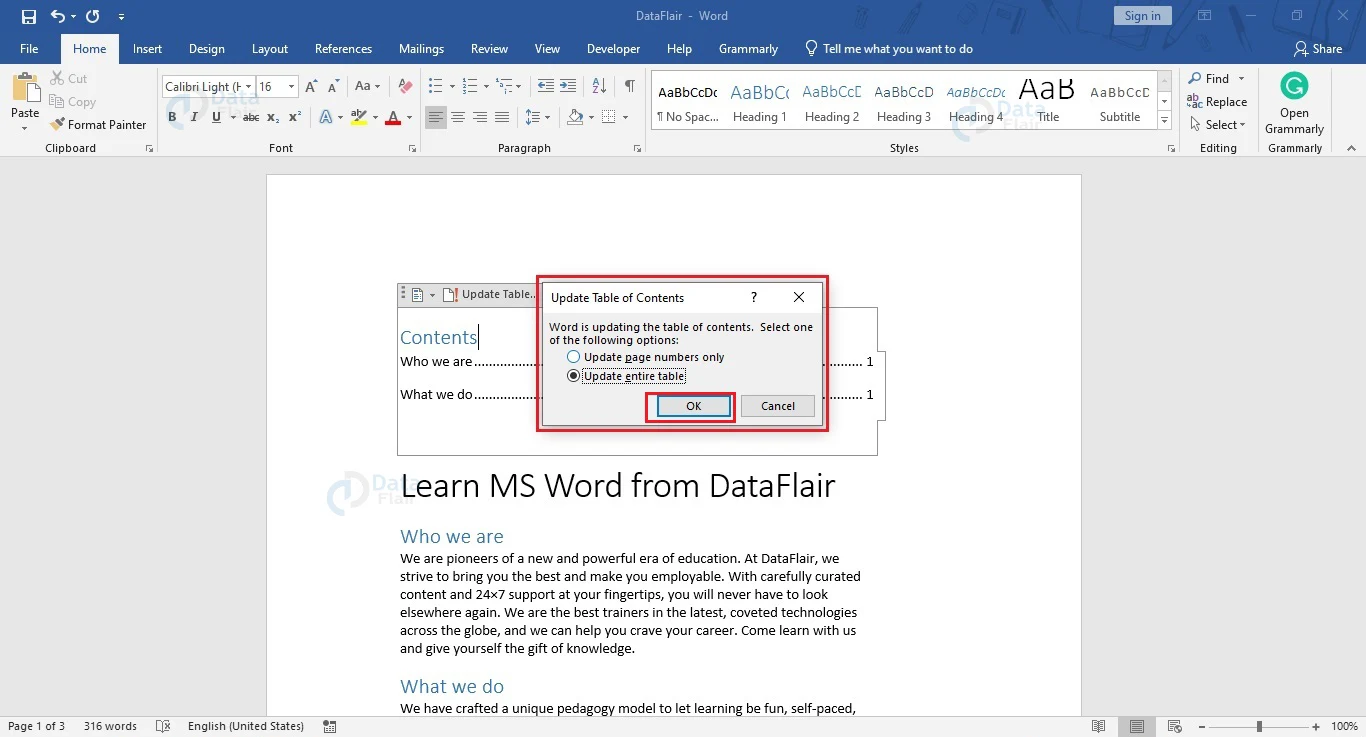
For the sake of simplicity, you can always choose the Update entire table option.
3. Click the OK button to reflect the changes on your table of contents.
How to Create Custom Table of Contents in Word?
If the built-in templates are not to your liking, or your requirements are different, then you can create your custom table of contents for your document. The following steps show how to create a custom table of contents for your document.
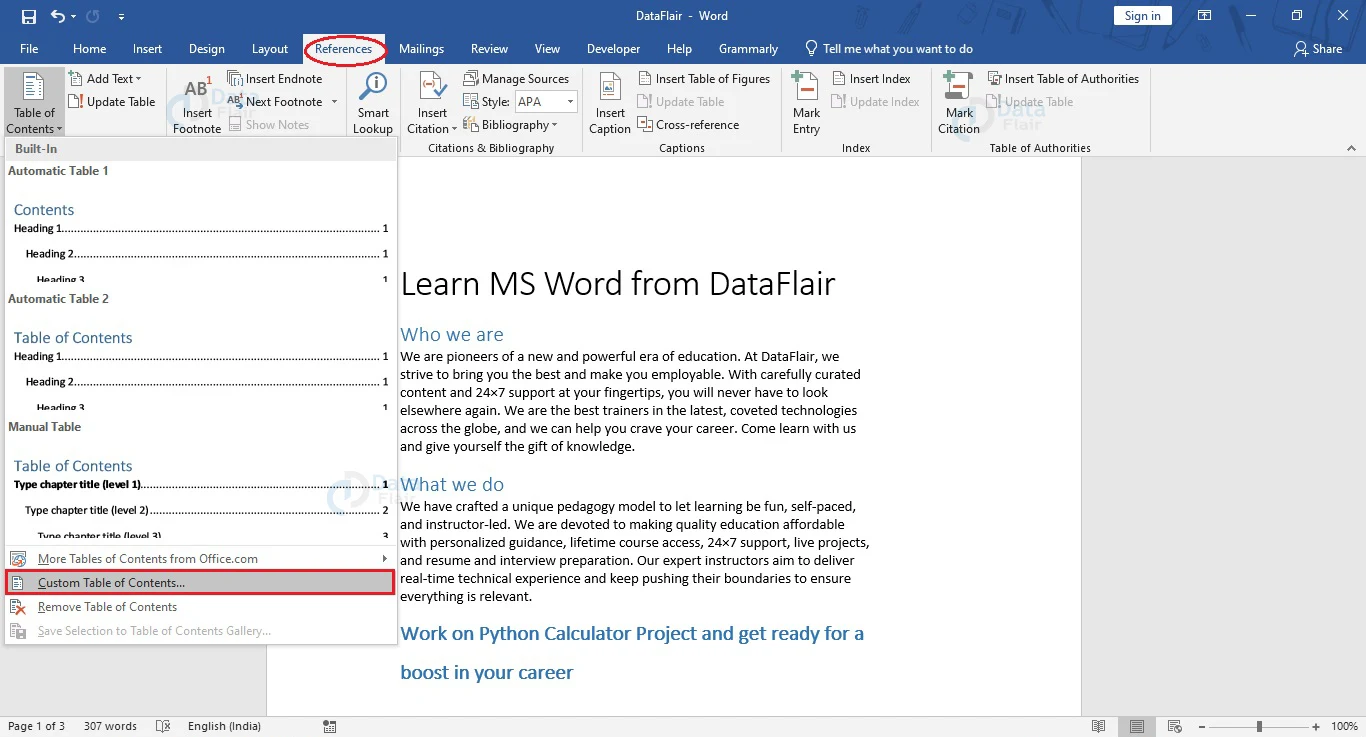
1. Go to the References tab of your Word document and click on the Table of Contents button.
2. From the dropdown menu that appears, choose the Custom Table of Contents… option.
3. The Table of Contents dialog box appears. Here you have the option of customizing the appearance and behavior of the table of contents.
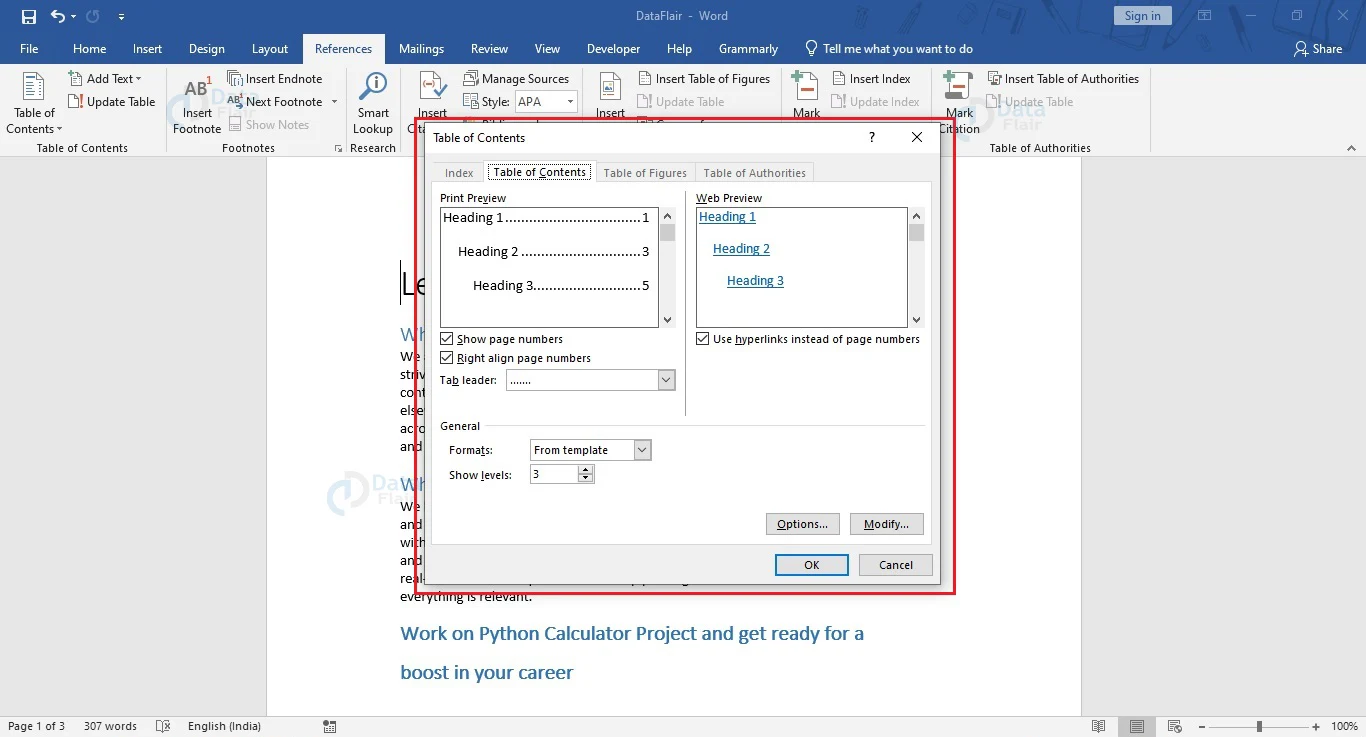
You can choose to show or hide the page numbers, and right-align them. For the web preview, you can choose to link each element to its respective section or page.
In the General section, you can also choose the format of your table and specify how many levels you wish to show in the table of contents.
Click on the Modify… button to select an appropriate level or style for each element in it. The Options… button opens the Table of Contents
Options dialog box, where you can add balloon text, comments, headers, and footers.
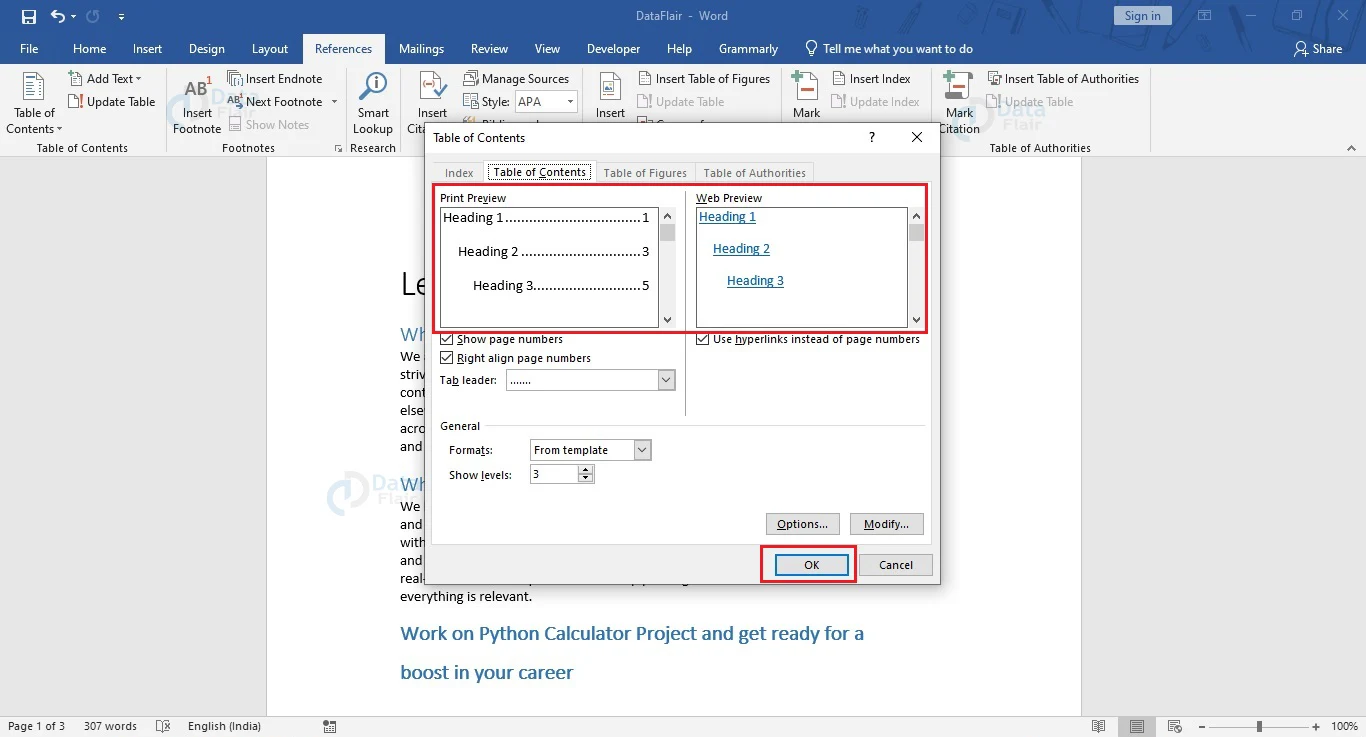
4. After customizing to suit your needs and requirements, check how it will appear in the Print Preview and Web Preview panes and click on the OK button to close this dialog box and insert your table of contents.
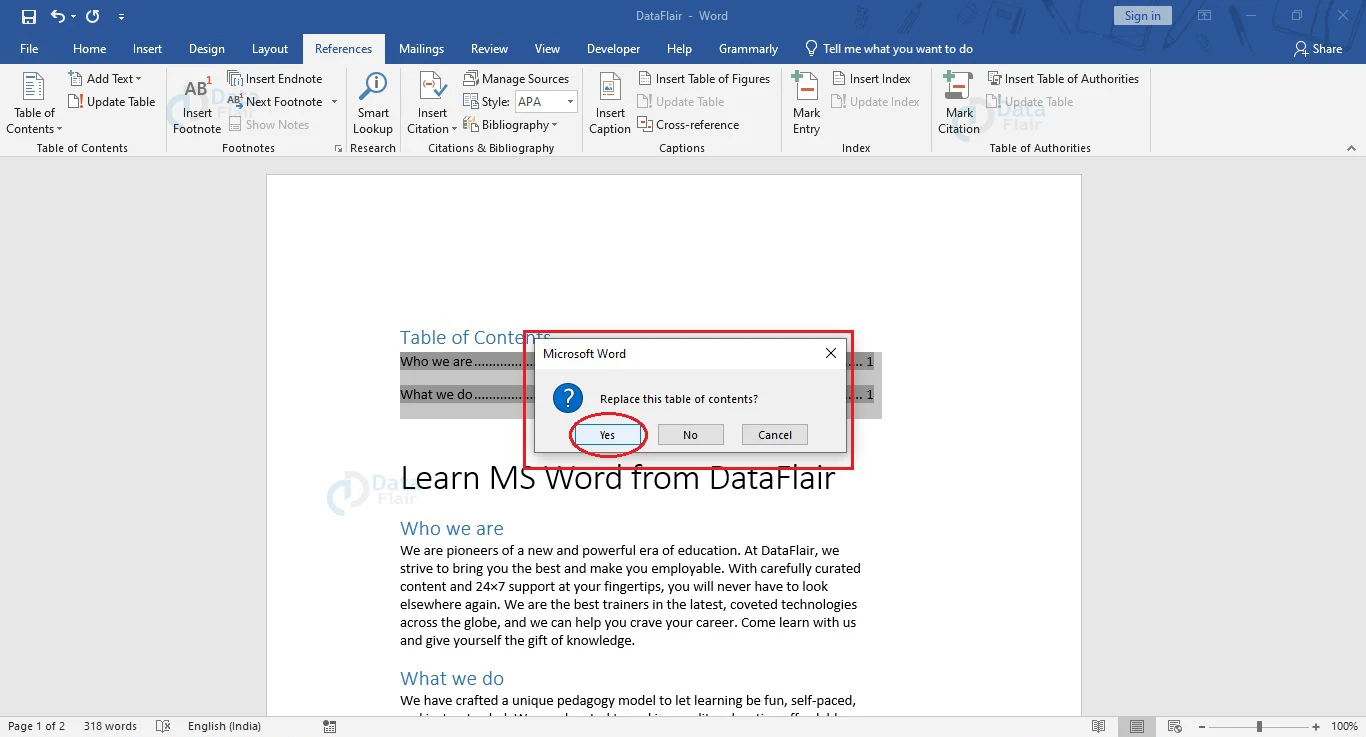
If your document already has a table of contents and you wish to update its behavior and appearance, a notification will pop up, asking you to confirm your changes. Click OK to confirm your choice.
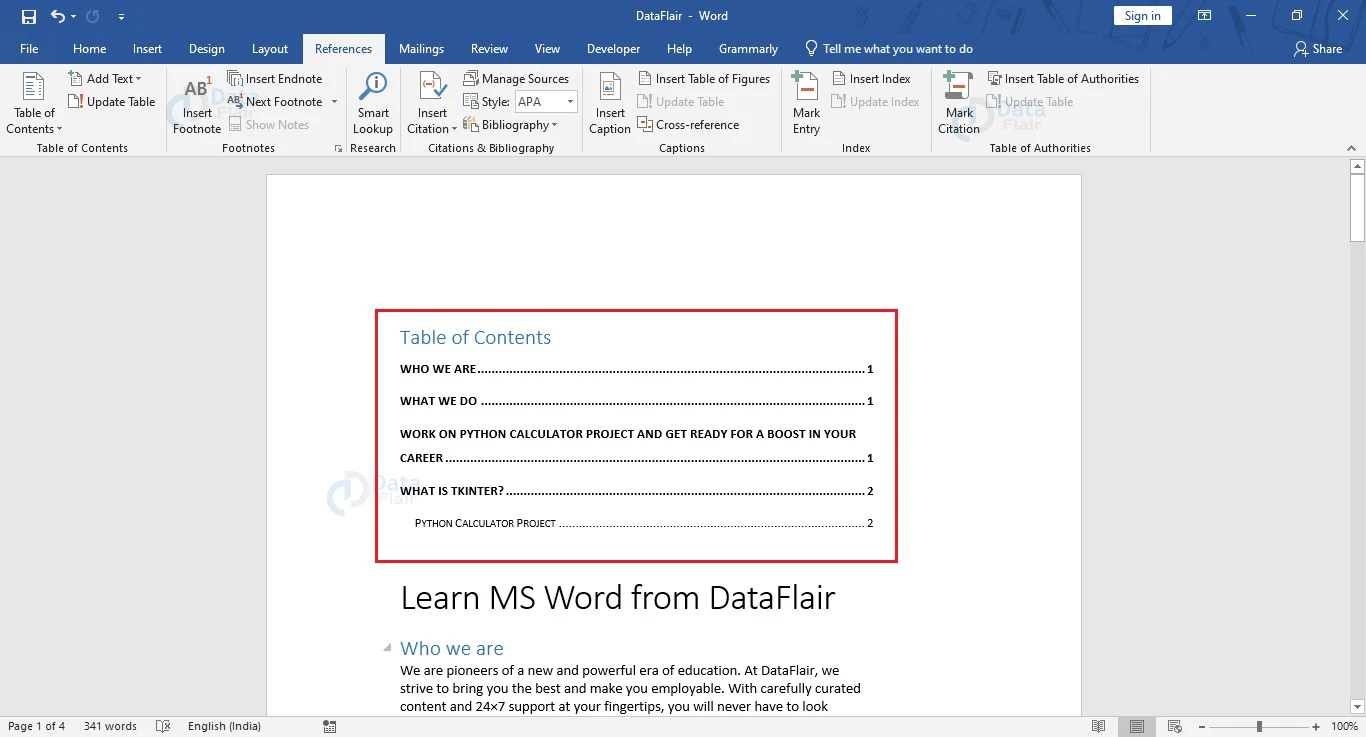
You will now see that the new table of contents has the appearance and behavior according to how you have customized it.
How to remove your Table of Contents from Word Document?
Removing the table of contents from your document is a very easy task. The following steps show how you can remove the Table of Contents from your document.
1. Select the Table of Contents and from the menu that appears, open the drop-down menu.
2. Choose the Remove Table of Contents option from the bottom of the menu.
You will notice that the Table of Contents has been removed.
Conclusion
A proper table of contents makes it extremely easy to navigate through long word documents. Customers and clients can even understand the topics covered in a particular document. It is an indispensable feature available in Word that has made work easy for many people. This nifty feature makes documents look more organized and the presentation becomes more sophisticated.
Did you like our efforts? If Yes, please give DataFlair 5 Stars on Google


