How to Create Hanging Indent in Word?
Job-ready Online Courses: Click, Learn, Succeed, Start Now!
Hanging indentation is very useful for cited pages and reference pages. On applying a hanging indent to a piece of text or to a paragraph, all lines, except the first line, are indented. We will be discussing three ways through which you can apply hanging indent to your paragraph in MS Word.
Ways to Create Hanging Indent in Word
1. Adding Hanging Indent from Paragraph Dialog Box in Word
Here are the steps for creating a hanging indent in Word.
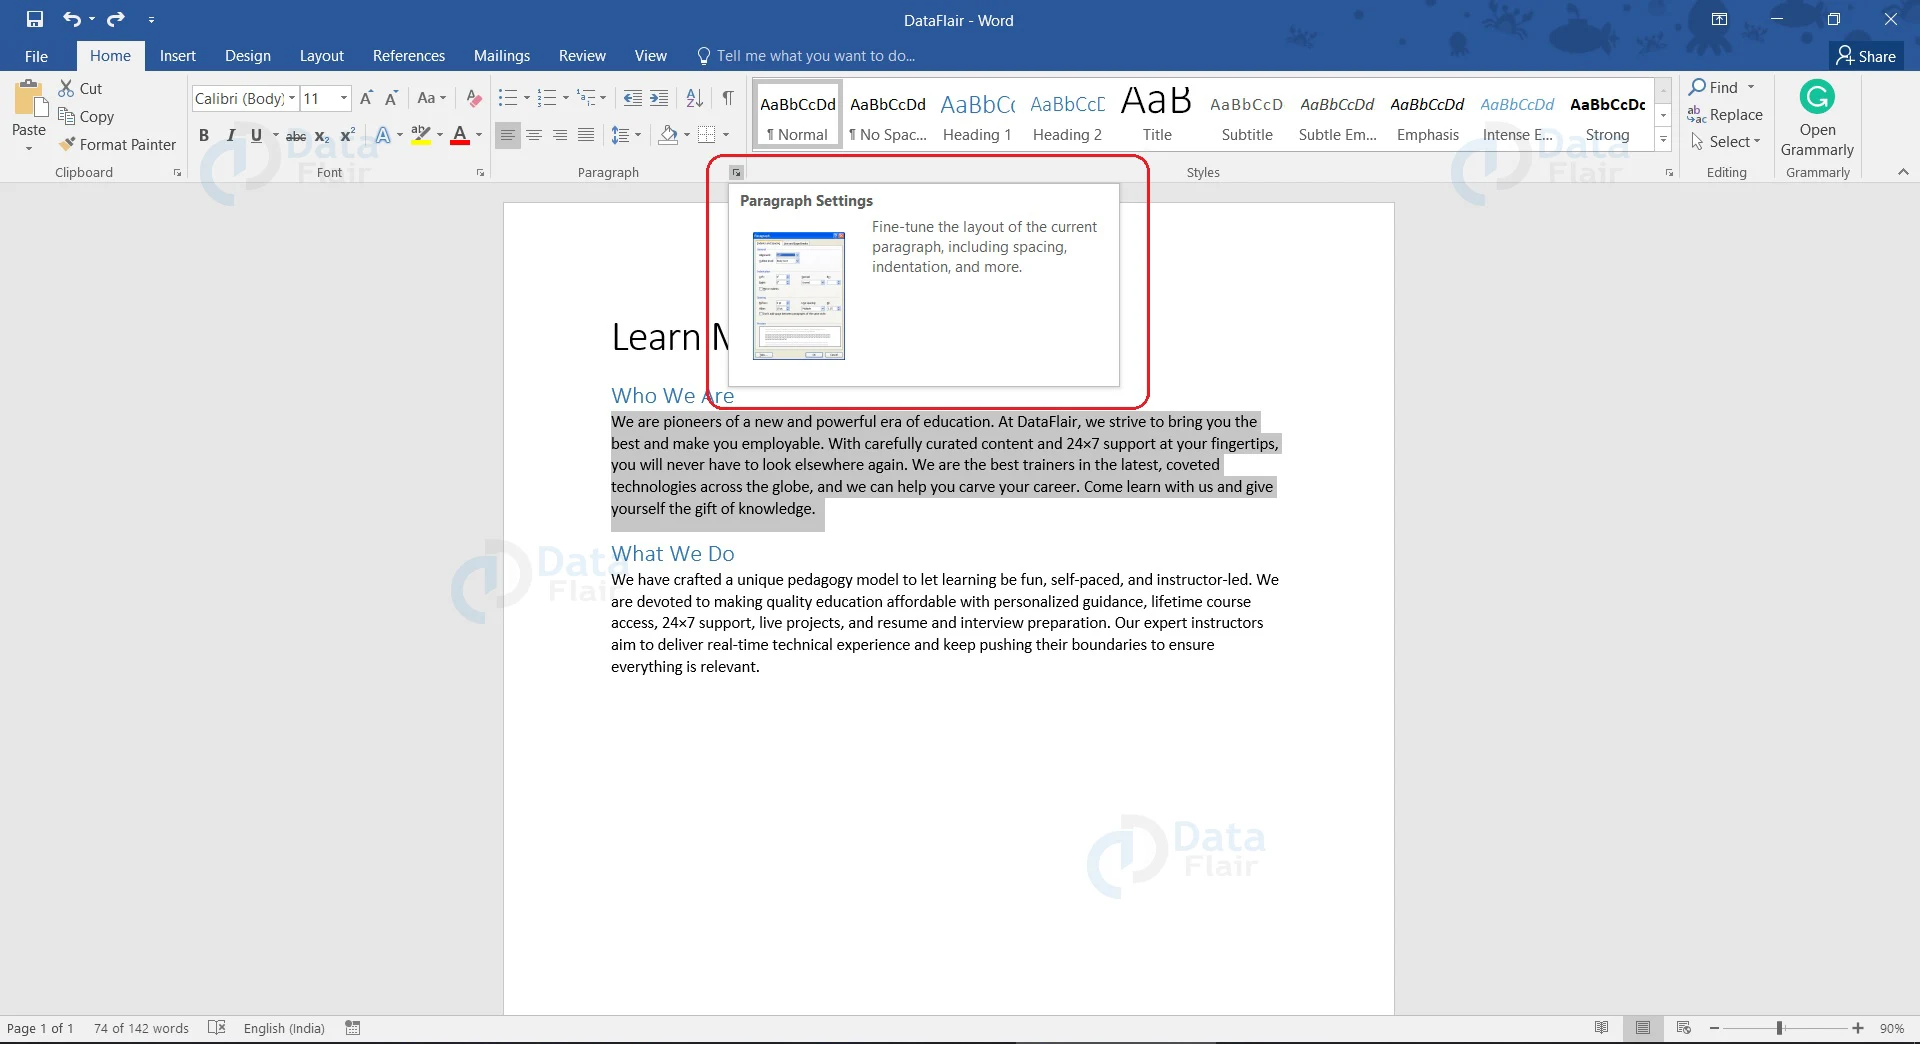
1. Select the text where you want to create a hanging indent.

2. Under the Home tab, go to the Paragraph group. Open more options for paragraph formatting by clicking on the arrow icon to the bottom right of the group. The Paragraph dialog box appears.
You can also open the Paragraph dialog box using the right mouse button. Simply select the paragraph to apply hanging indent and click on the right mouse button. From the menu that appears, choose the Paragraph… option and the Paragraph dialog box appears.
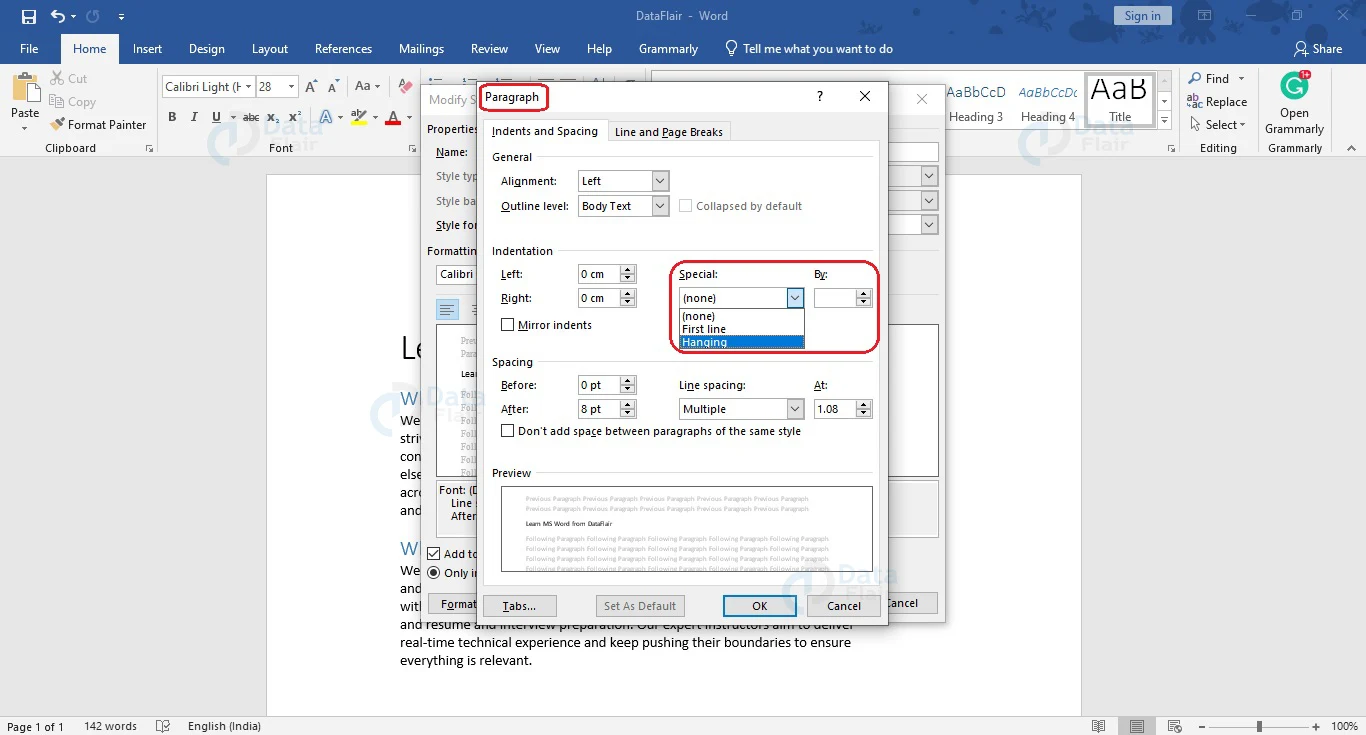
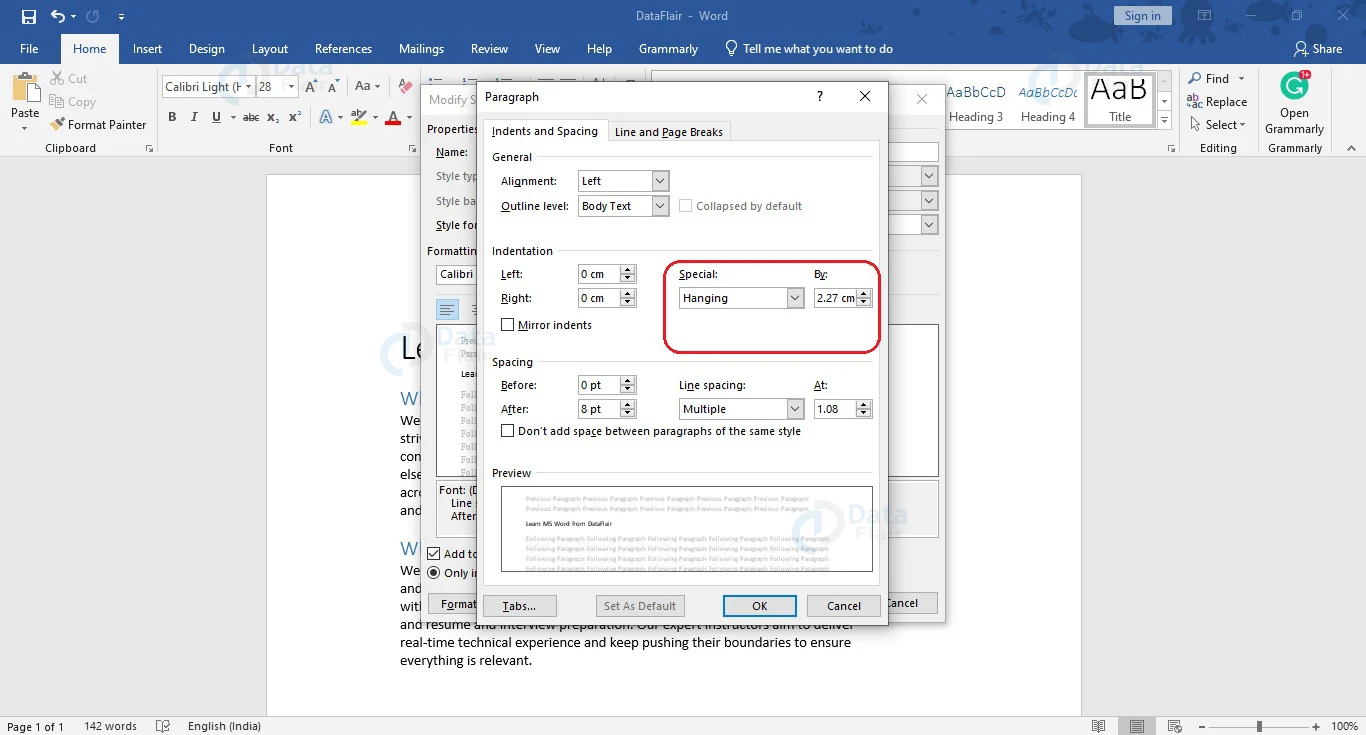
3. Under the Indents and Spacing tab, go to the Indentation group. Choose Hanging from the dropdown under Special:. Mention the space for the hanging indent in the By: section. This is the space for indentation and can be used in case of both hanging indent, as well as first-line indent.
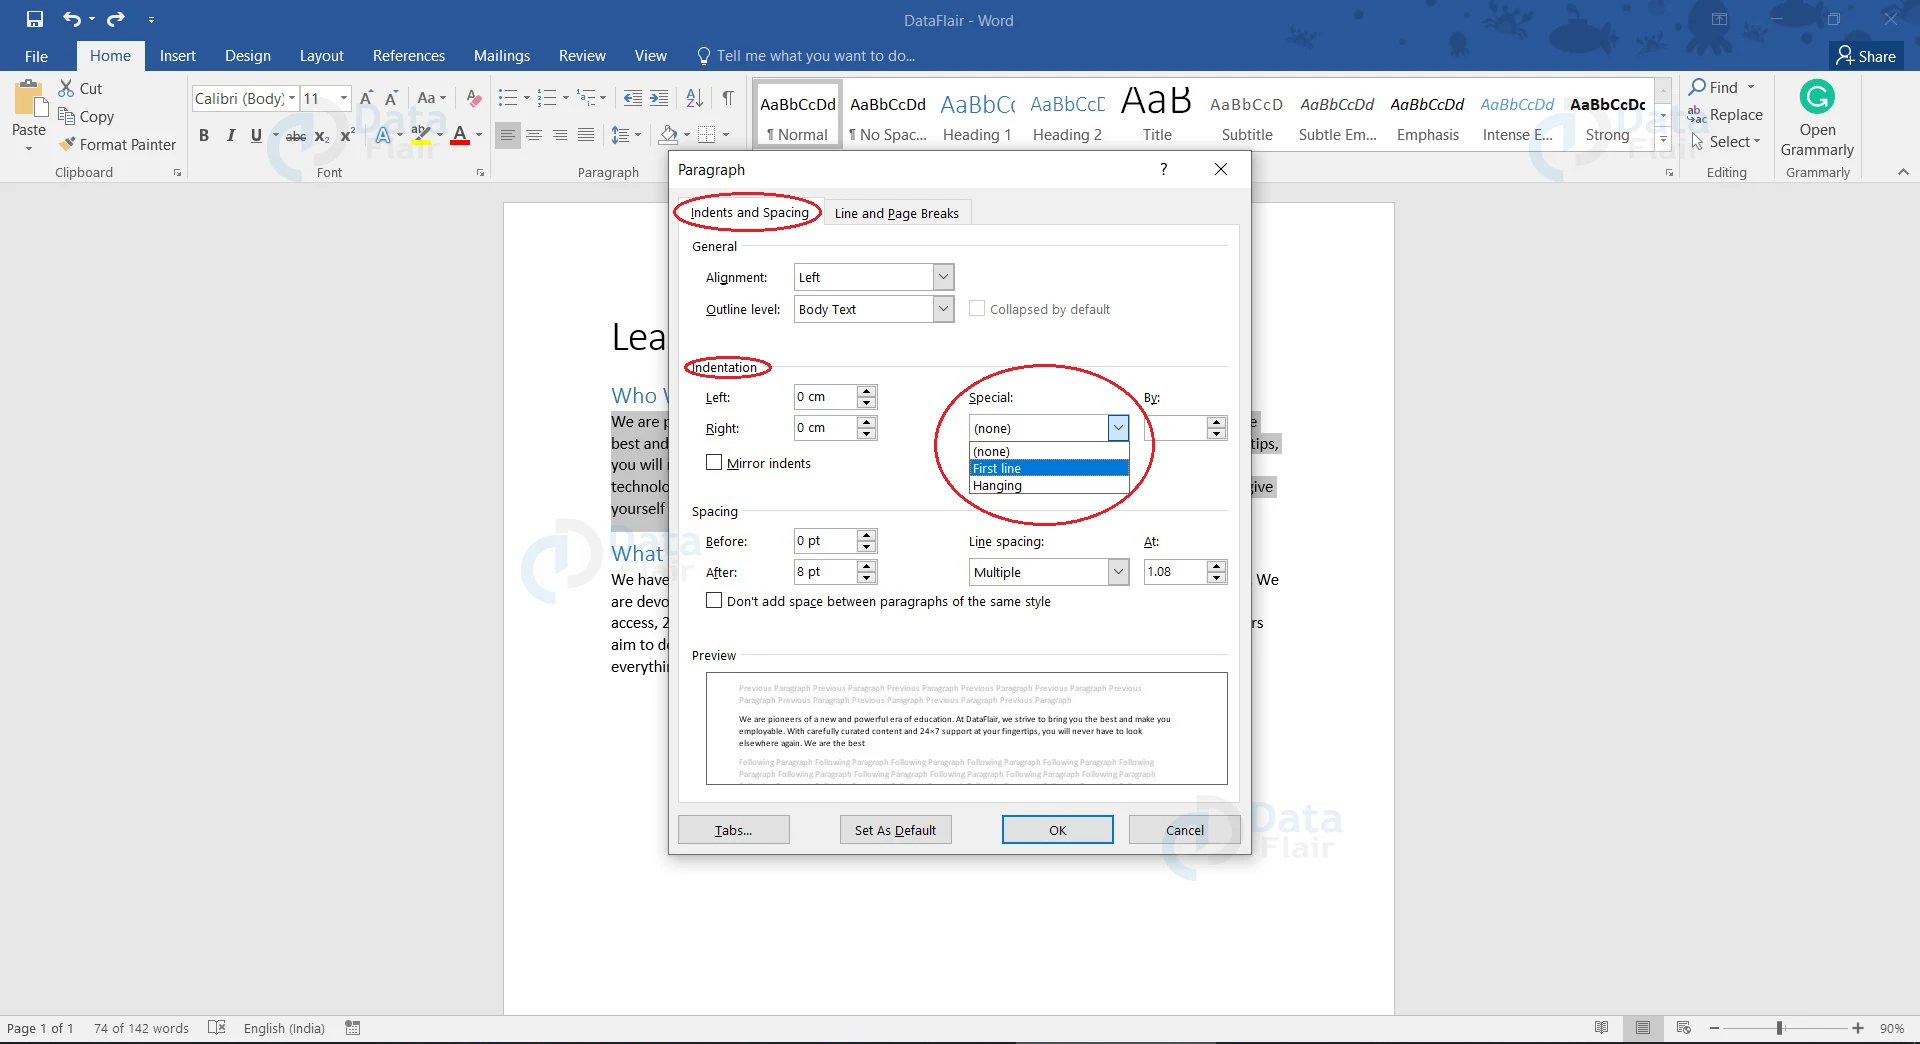
4. Click OK to close the Paragraph dialog box.
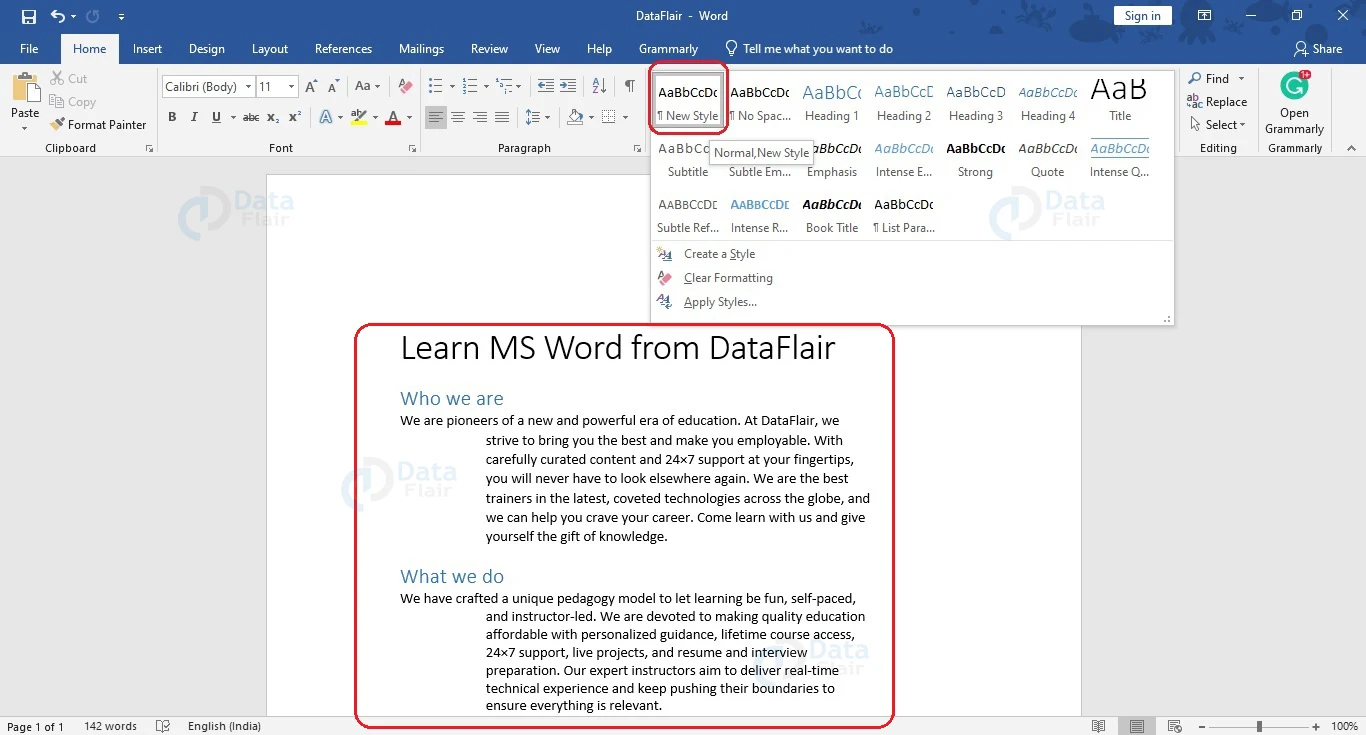
If you check your document, you will see that a hanging indent has been created.

2. Keyboard Shortcut for Indenting in Word
You can introduce hanging indentation in Word by using the Ctrl + T keyboard shortcut. The following steps show how you can introduce a hanging indent using the keyboard shortcut.
1. Select the paragraph where you wish to introduce hanging indent. To apply hanging indentation to the whole document, you can select the whole document using the Ctrl+A keyboard shortcut.
2. Hold down the Ctrl and T keys on your keyboard.
You will notice that the paragraph has a hanging indentation.
3. Applying Hanging Indent from the Ruler in Word
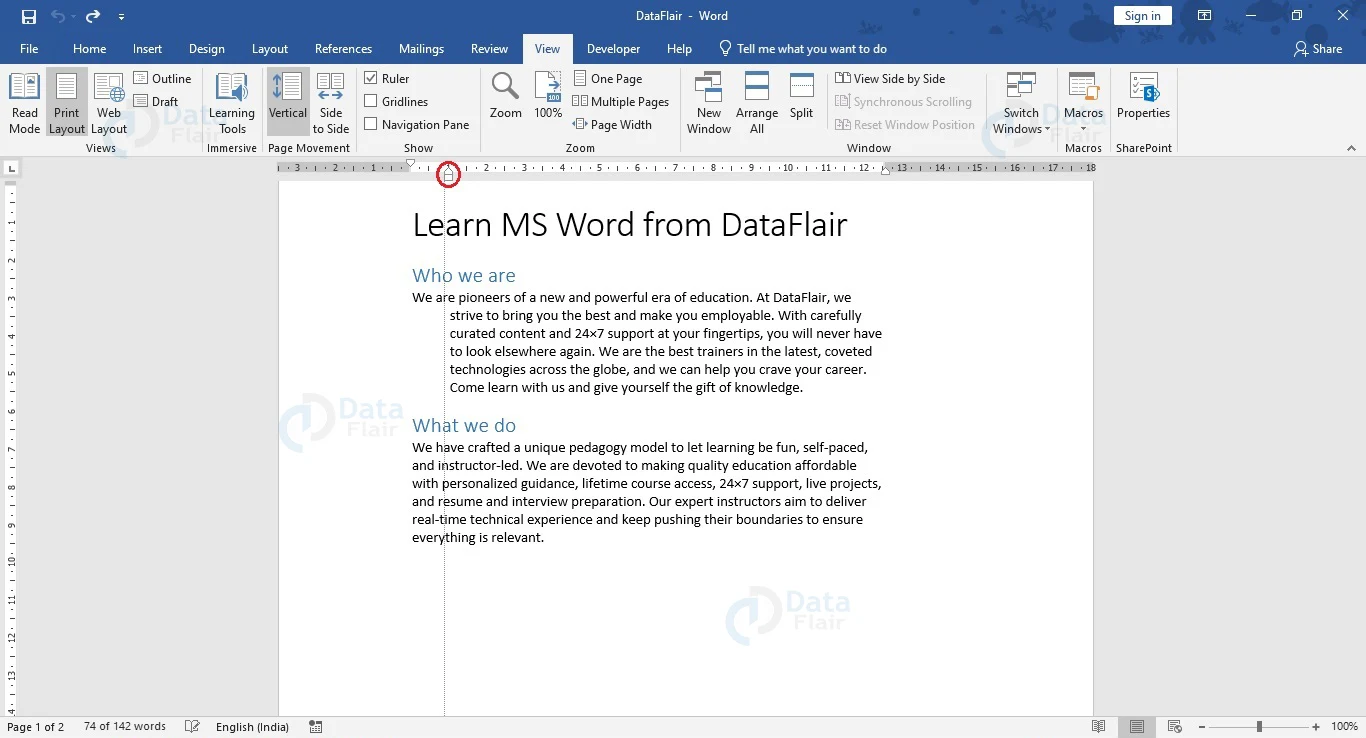
You can also apply a hanging indent to your paragraph from the ruler.
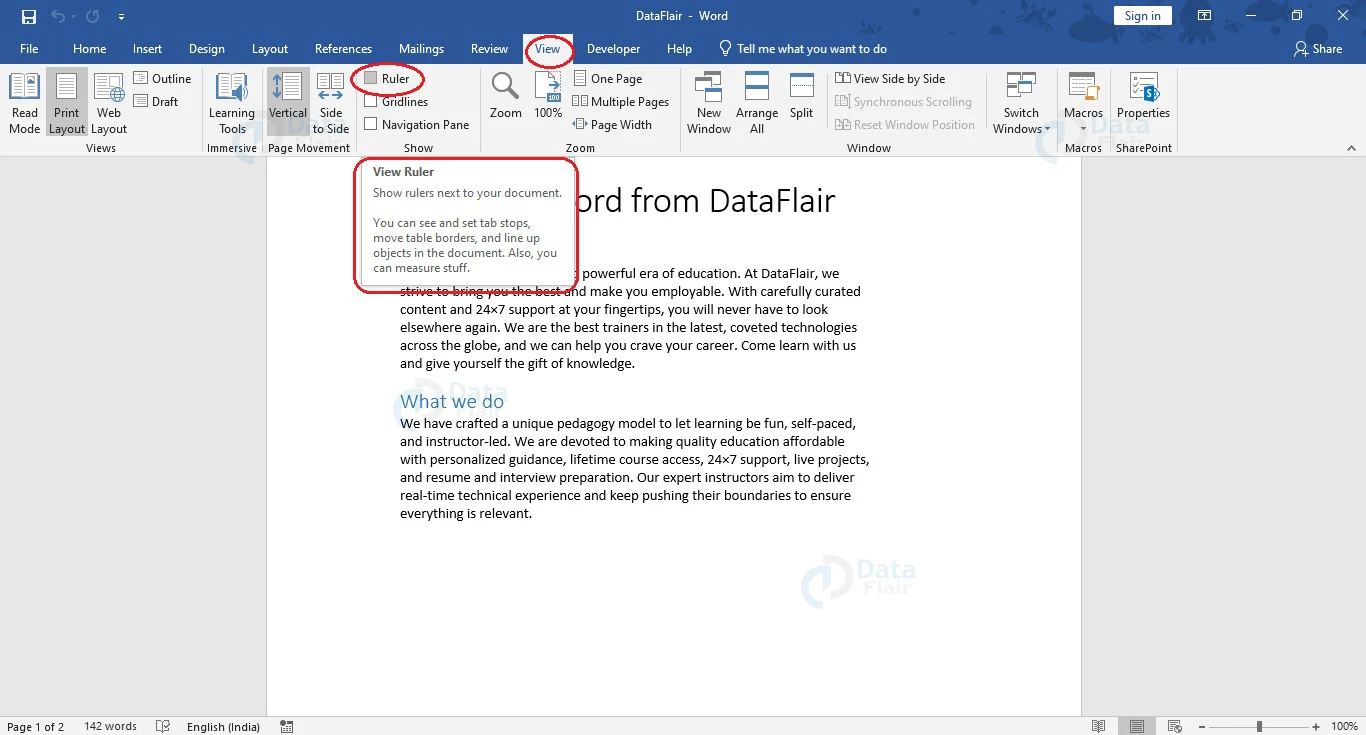
If the ruler is not visible on your window, select the Ruler checkbox from the Show group in the View tab to make it visible.
To apply hanging indent, select the paragraph which will have the hanging indent and drag the bottom (up-arrow) slider on the ruler to shift the text in the second row and below.
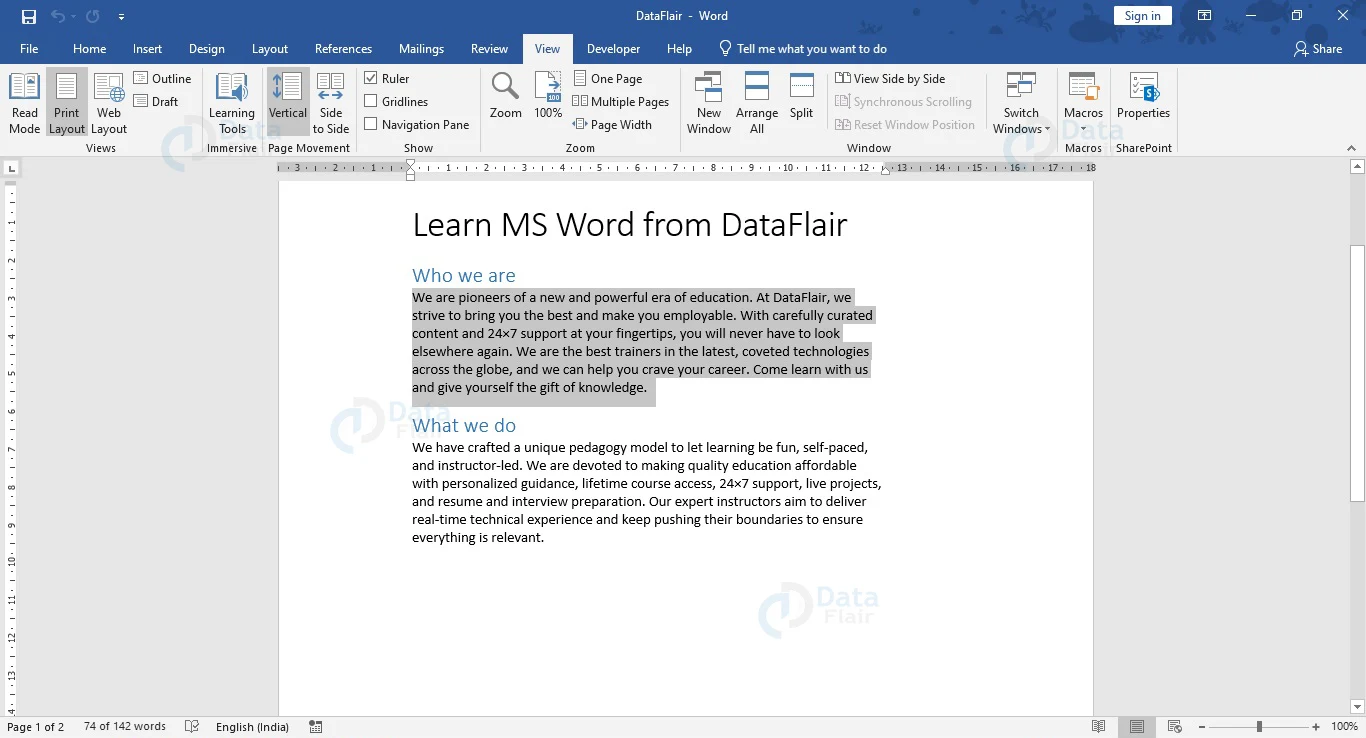
Now you can see that the hanging indent is applied to the paragraph. The spacing will be determined by how much you move the ruler towards the right.
Applying Hanging Indent to a Style in Word
You can add a hanging indent to a style and use that style later on in your document. The steps to apply hanging indent to a style.
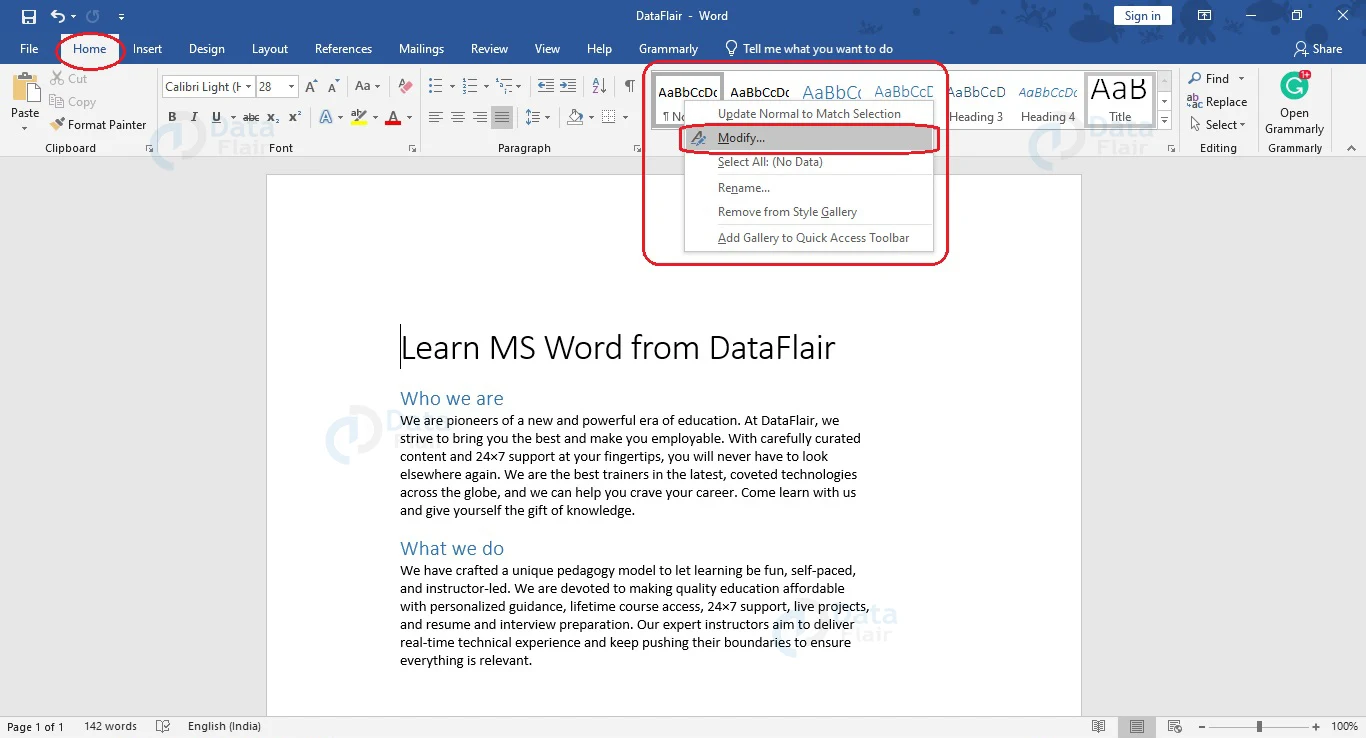
1. Open a new or existing document and go to the Style group of the Home tab.
2. Go to the Normal style and click on the right mouse button. Choose Modify… from the menu that appears. The Modify Style dialog box appears.
3. In the Name: section, give a name to your style.
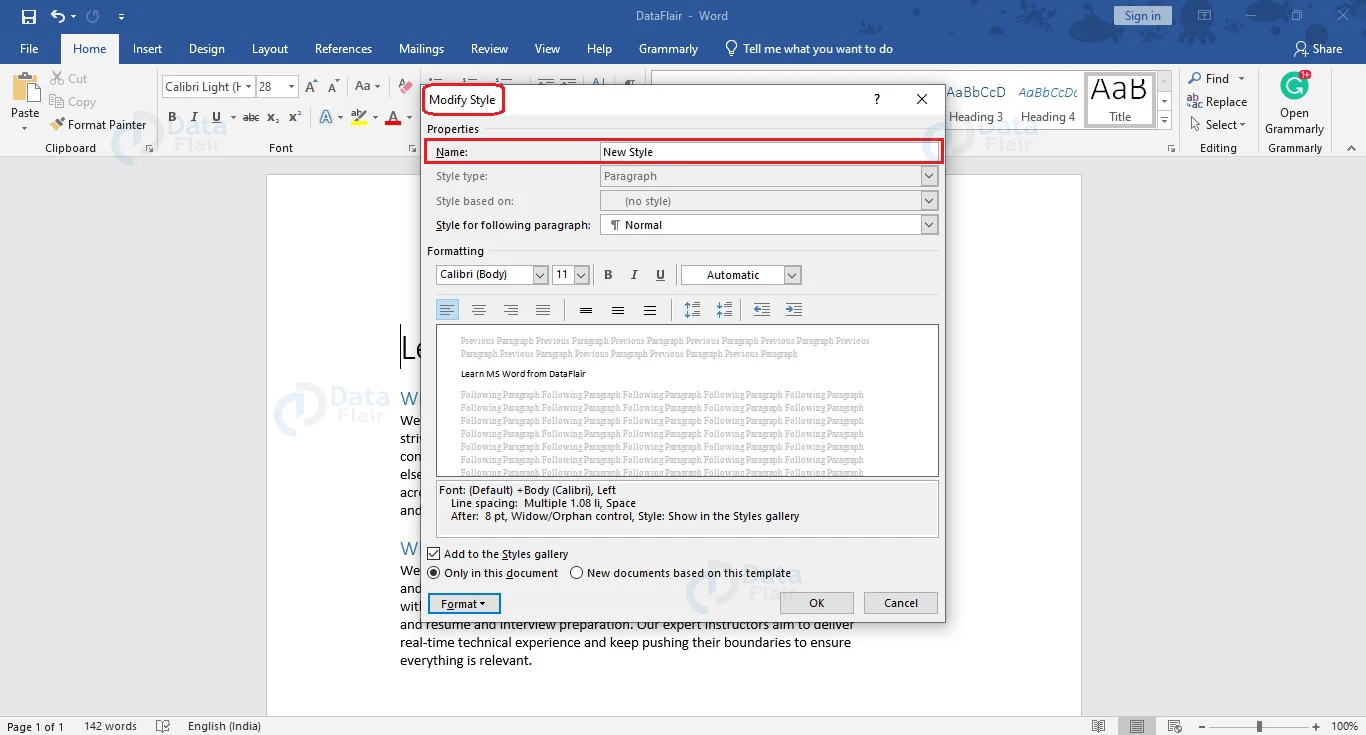
4. Click on the drop-down menu associated with the Format button and choose the Paragraph… option.
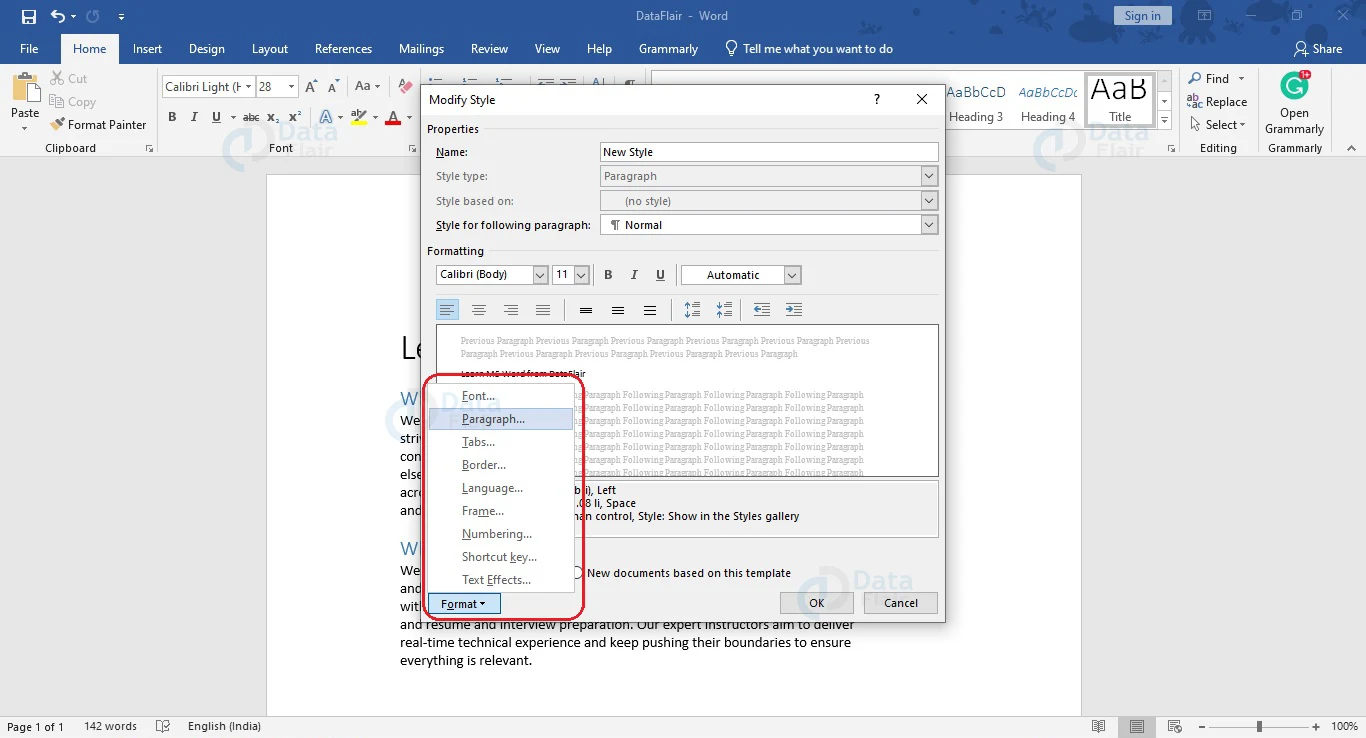
5. From the Paragraph dialog box that appears, select the Special: drop-down arrow and choose Hanging. Enter the spacing for indentation from the By: section.
6. Click the OK button to close the Paragraph dialog box. Click OK again to close the Modify Style dialog box.
Now you will see that wherever you use the specific style, a hanging indent will be applied to the corresponding paragraph.
Conclusion
Hanging indentation is very useful for differentiating between paragraphs and make your document look organized and clear. It is useful in long documents to make it easy for readers and reviewers to go through them. Further, it is very useful for mentioning citations and references in projects and scientific journals and documents.
Did you know we work 24x7 to provide you best tutorials
Please encourage us - write a review on Google


