How to Change Text Case in a Word Document?
Job-ready Online Courses: Click, Learn, Succeed, Start Now!
In Word, you might need to change the text from uppercase to lowercase depending on your work. You might have typed everything in uppercase, but you need it in lowercase. So will you re-type the whole document?
Word allows users to convert text from uppercase to lowercase and vice versa. You can even convert the whole document if needed! Let us see how we can convert uppercase to lowercase in a Word document.
There are two methods to convert uppercase to lowercase in Word.
Method 1: Using the Change Case Icon
The steps for converting uppercase to lowercase in Word using the Change Case icon are given below.
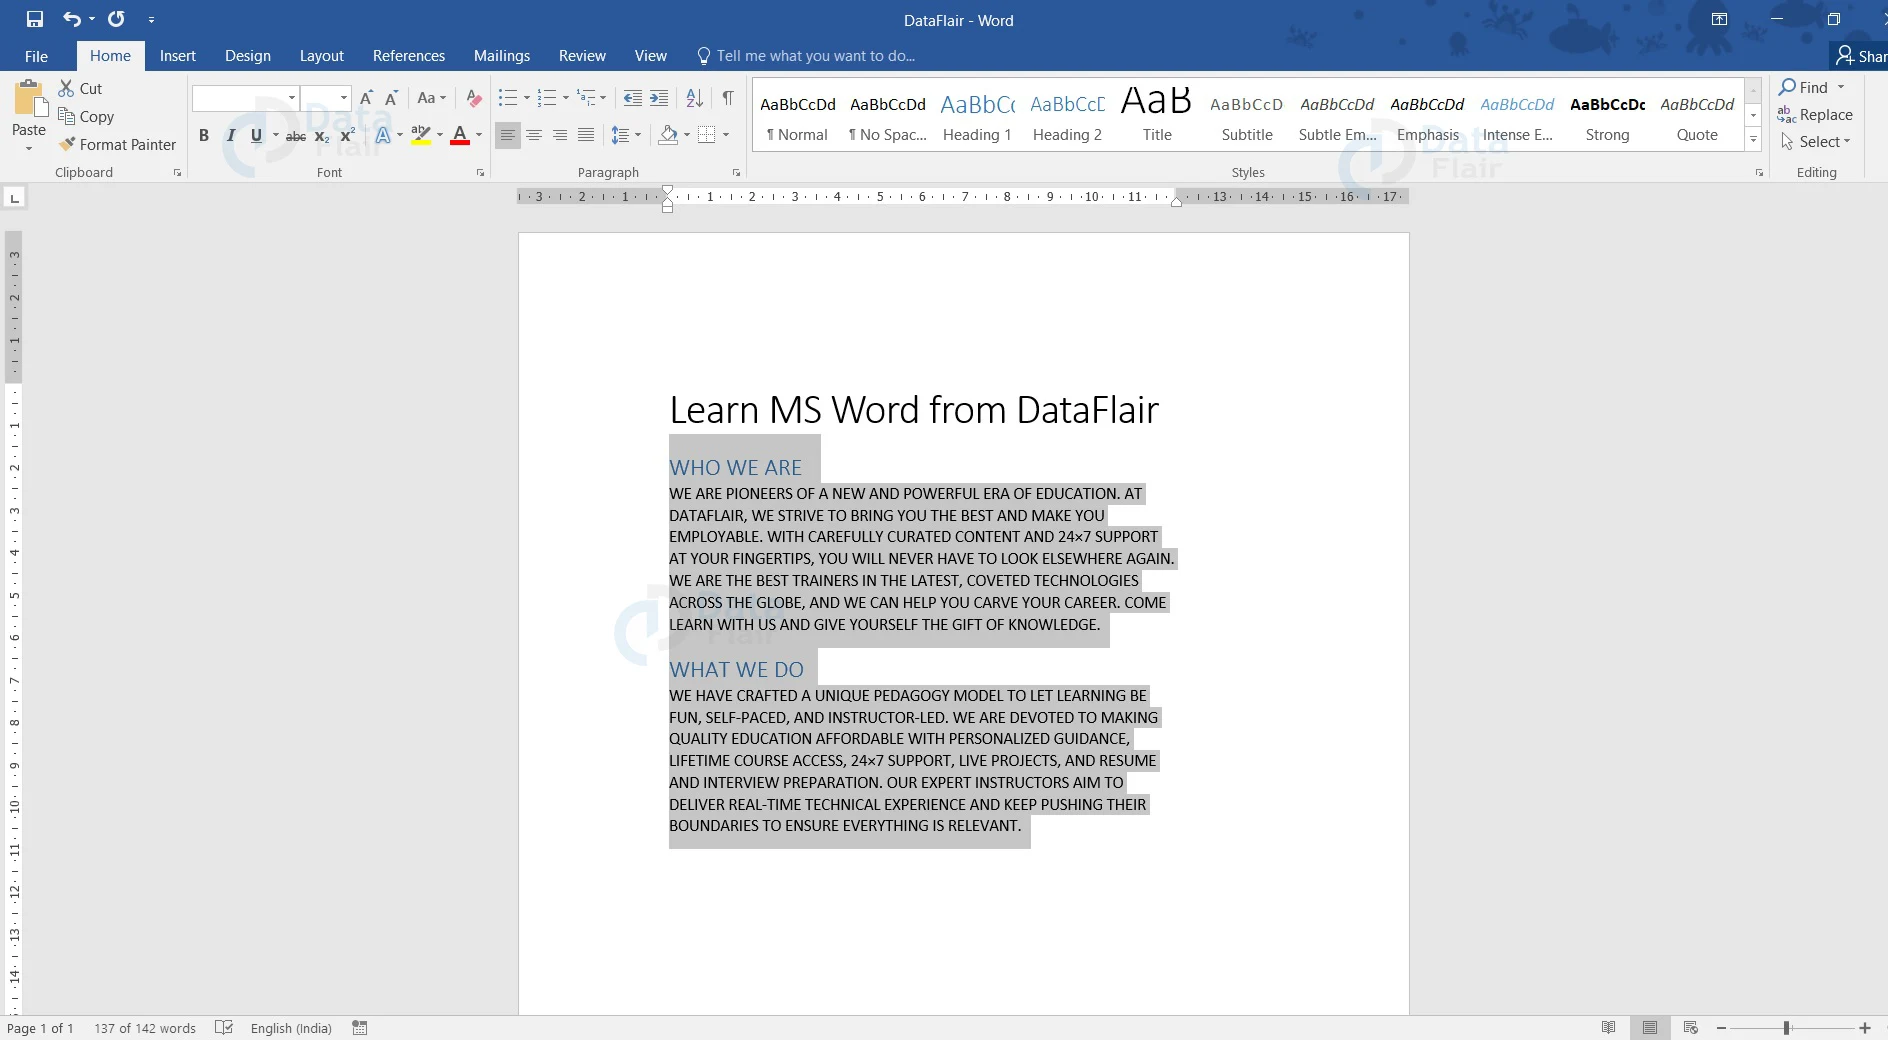
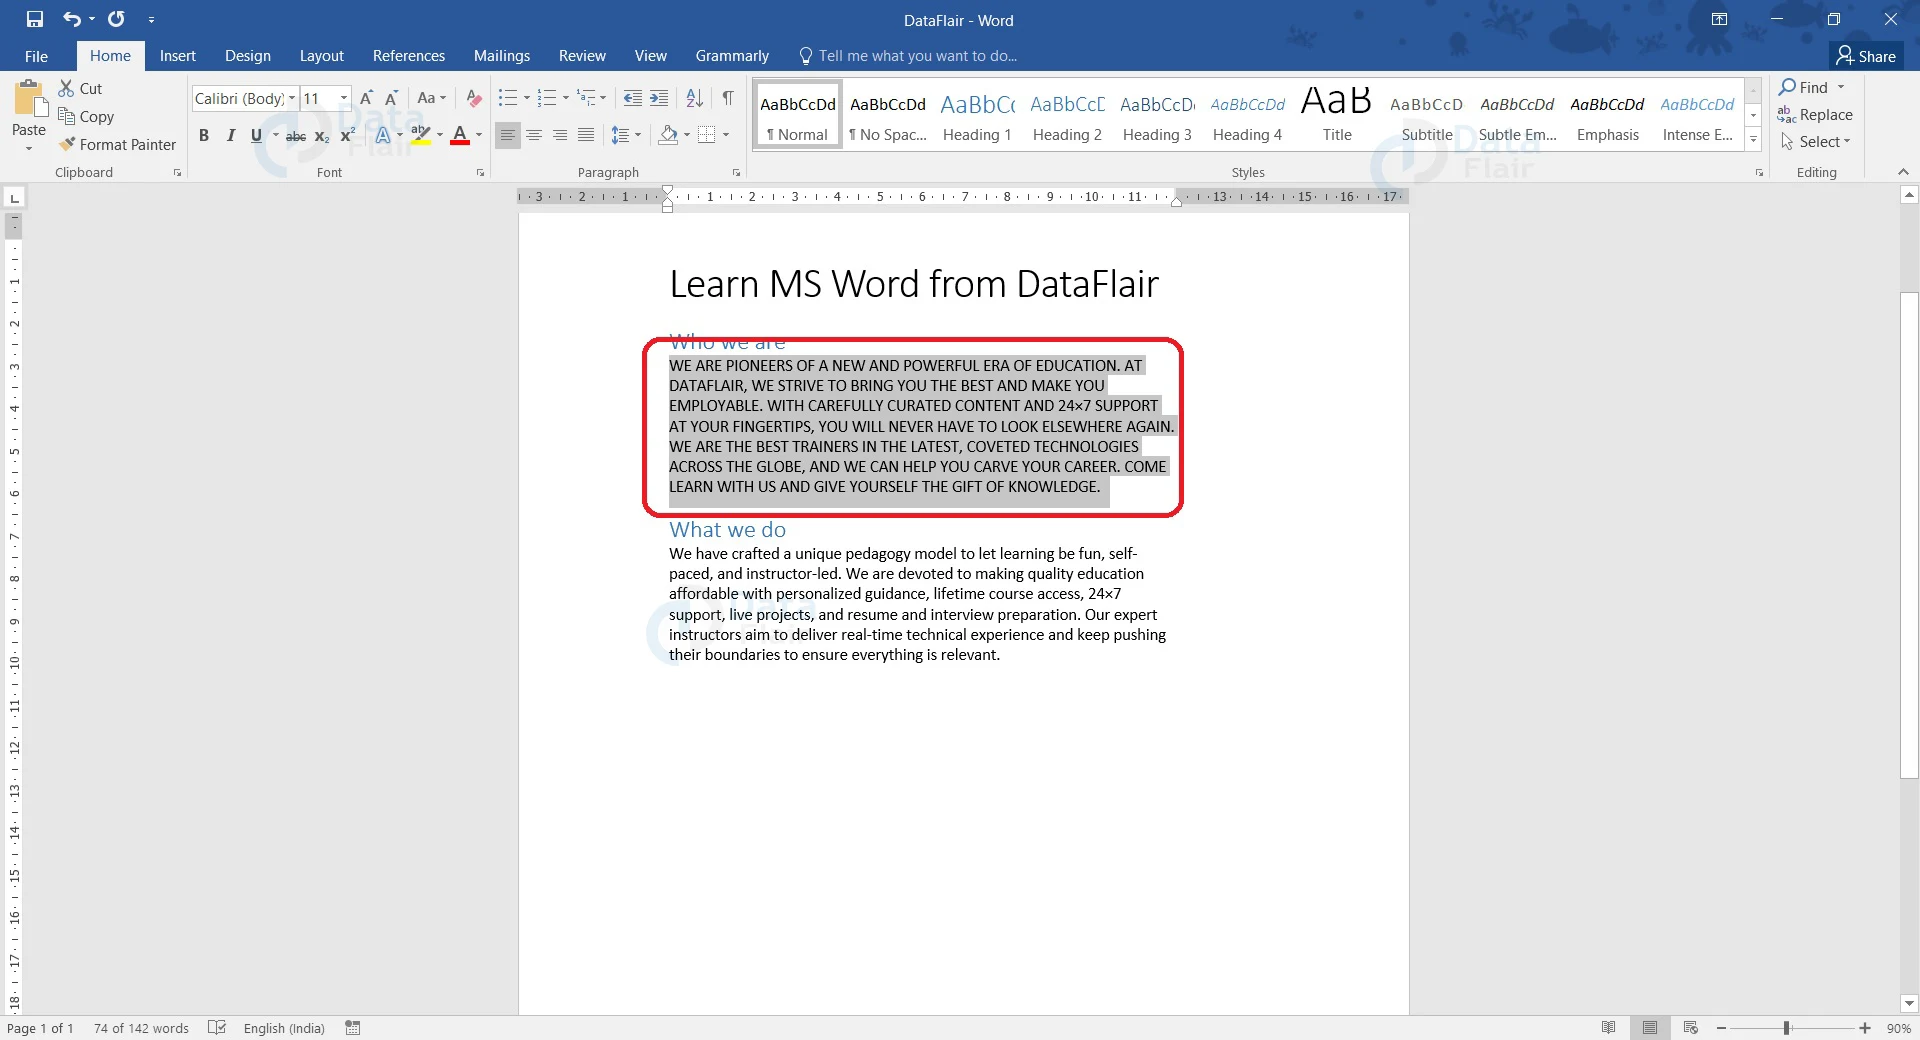
1. Select the text to convert from uppercase to lowercase.
2. On the Home tab ribbon, click on the Change Case icon in the Font group. The Change Case drop-down menu appears.
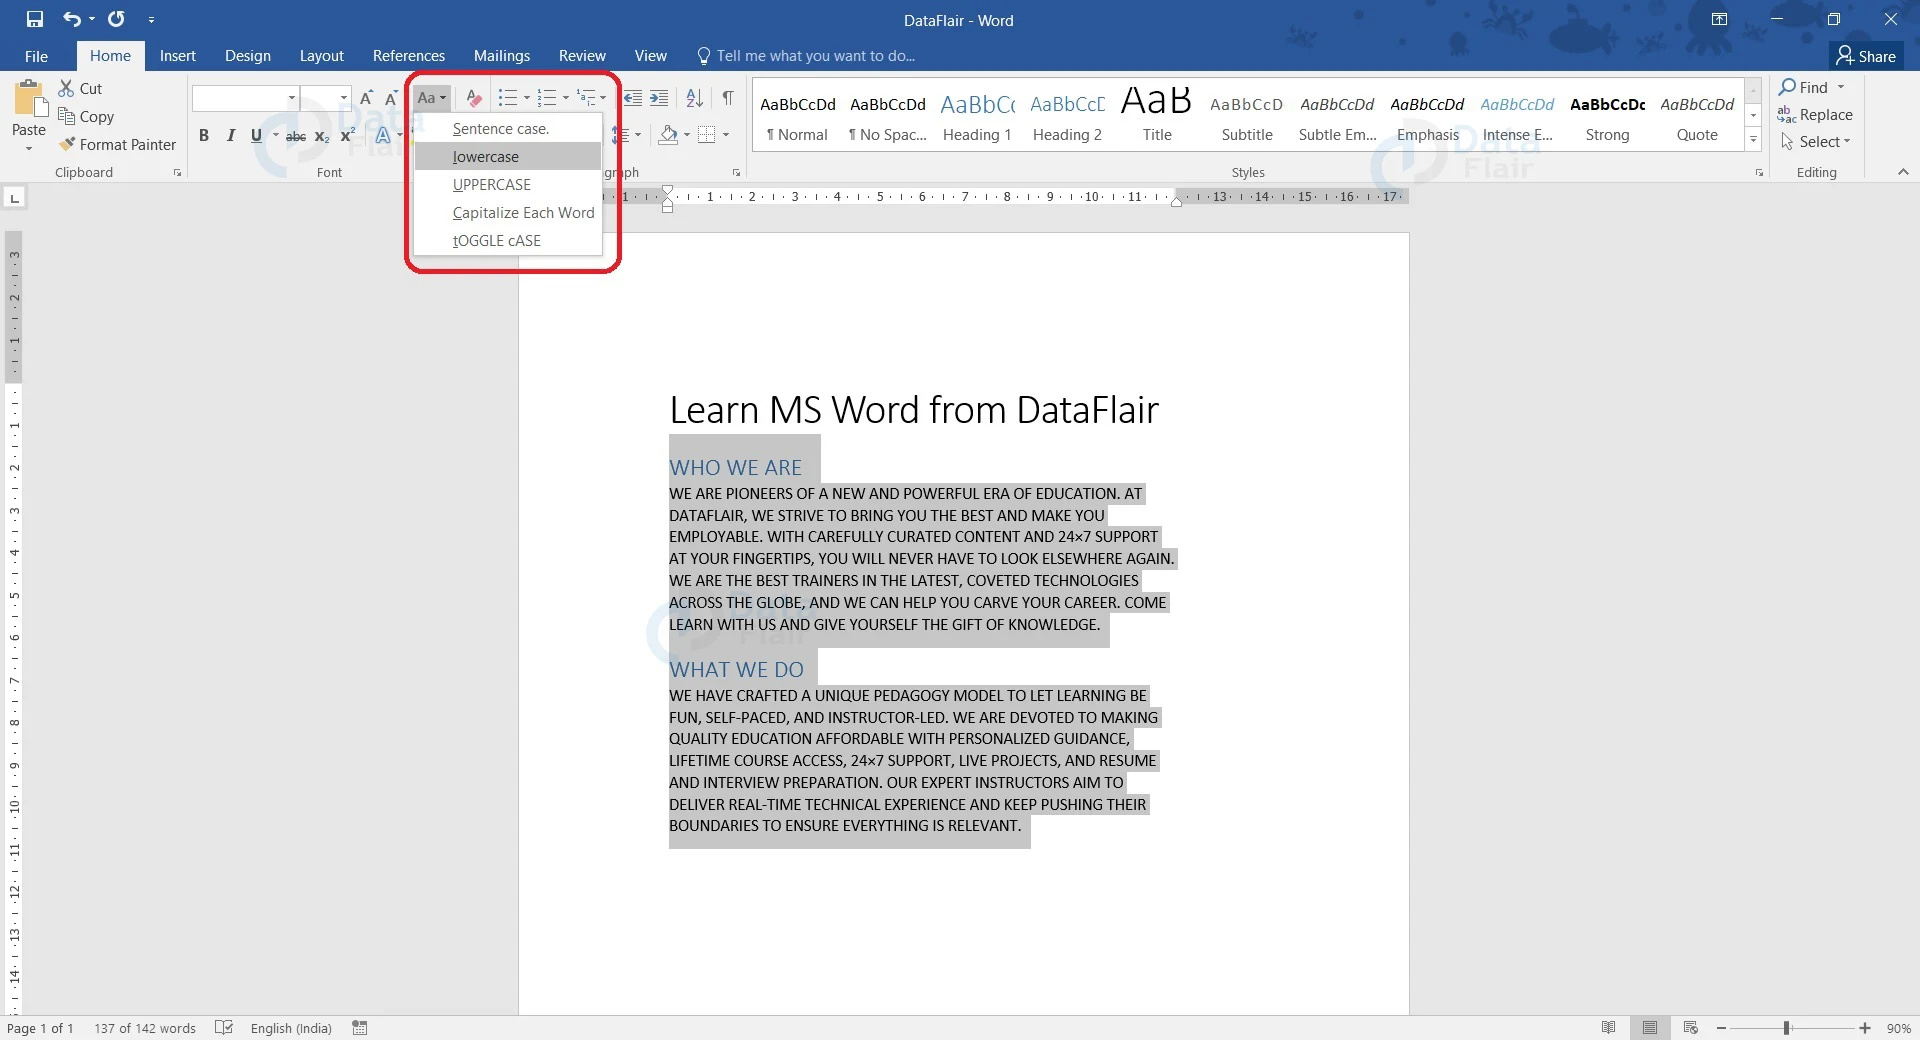
3. Select the lowercase option to convert to lowercase. Other options available are as follows:
a. Sentence case. – Capitalizes the first word of each sentence.
b. UPPERCASE – Changes everything to uppercase.
c. Capitalize Each Word – Changes the first letter of each word to uppercase.
d. tOGGLE CASE – Changes uppercase to lowercase and vice versa for the selected part of the document.
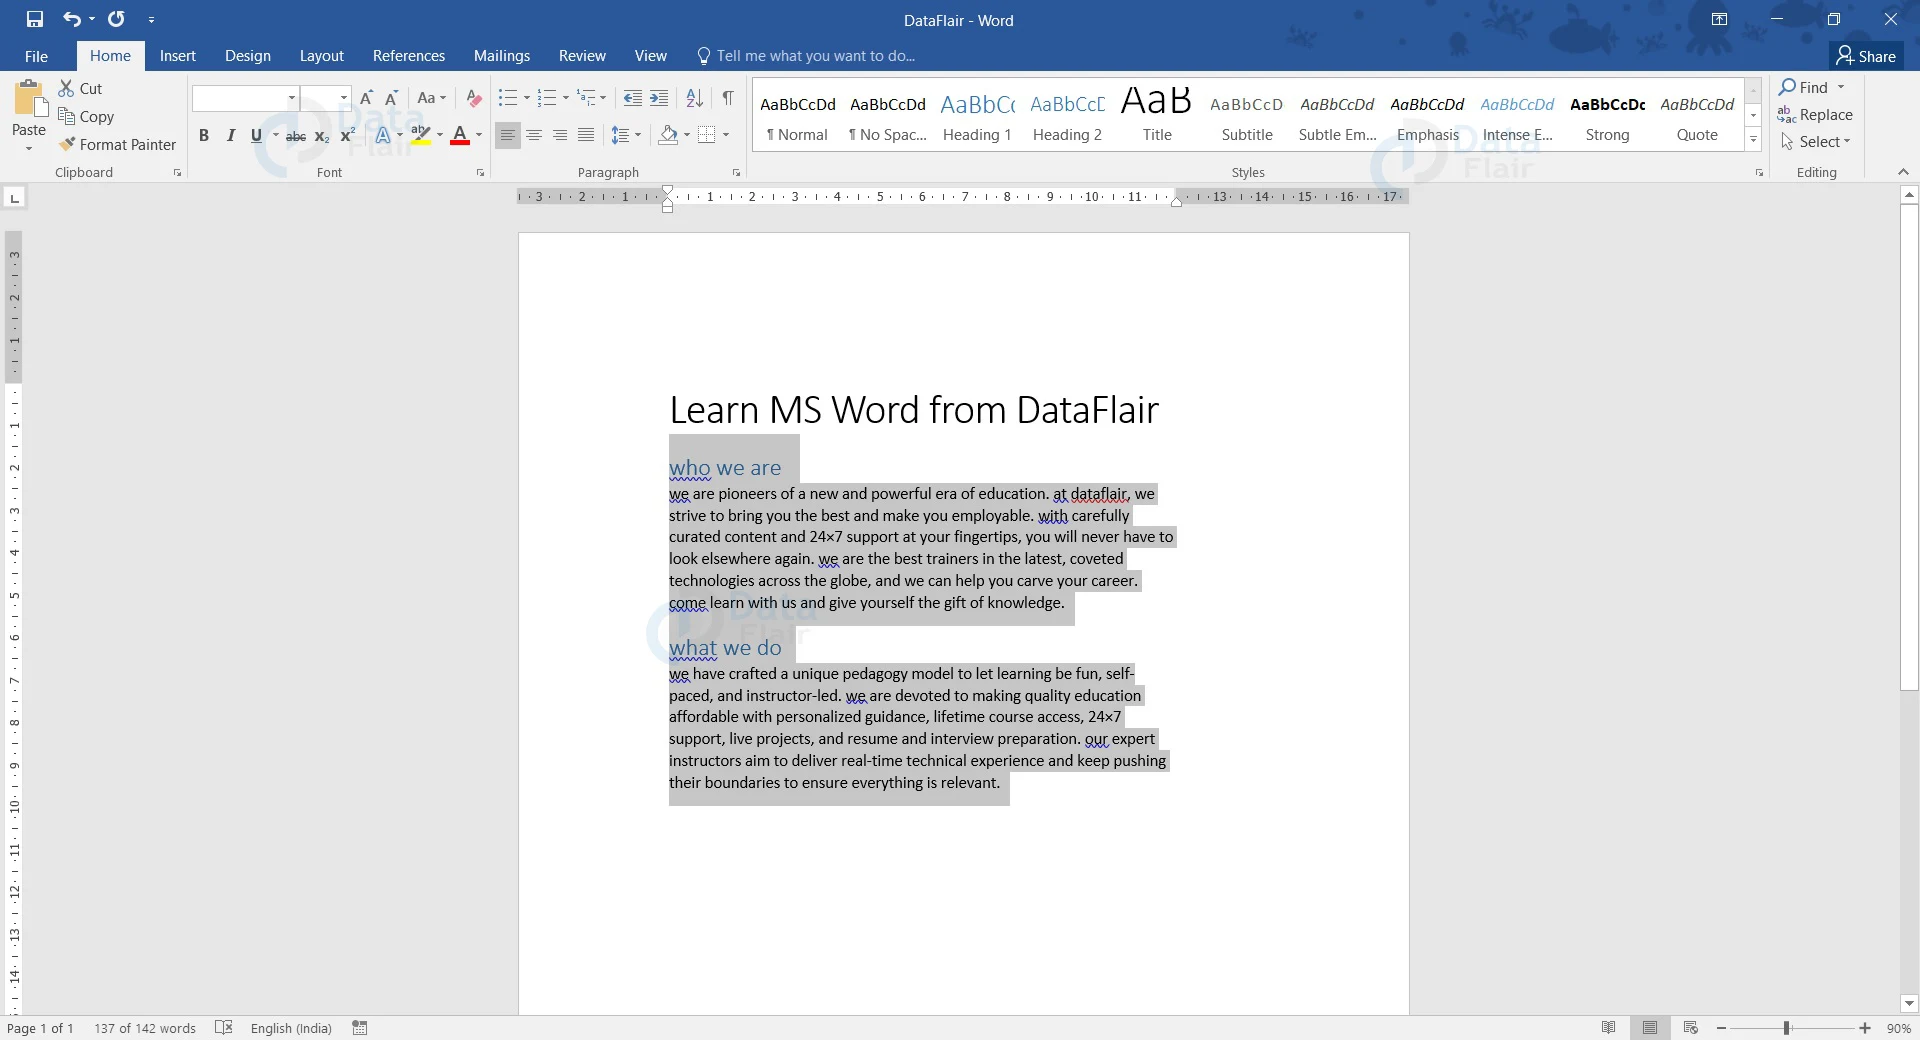
Now you will notice that for the selected text, uppercase has been converted to lowercase.
Method 2: Keyboard Shortcut
In Word, you can use the keyboard shortcut Shift + F3 to convert uppercase to lowercase. You can follow the steps mentioned below to use this method.
1. Select the text that you wish to convert from uppercase to lowercase.

2. Press and hold the Shift and F3 keys.

You will now observe that all text in uppercase has been converted to lowercase.
However, keep in mind that the Shift + F3 keyboard shortcut key does not only convert from uppercase to lowercase. It actually toggles between uppercase, lowercase, and sentence case.
Lowercase to Uppercase using the Font Dialog Box
Using the Font Dialog box, you can convert text in lowercase to uppercase. The following steps show how to do the same.
1. Select text that you wish to convert from lowercase to uppercase. You can use the Ctrl+A keyboard shortcut to select the whole document if necessary.

2. In the Home tab, go to the Font section. Click on the arrow pointing towards the bottom left to open the Font dialog box. You can also use the Ctrl + D keyboard shortcut to open the Font dialog box.
![]()
3. In the Font tab, go to the Effects section and select the checkbox corresponding to All caps.
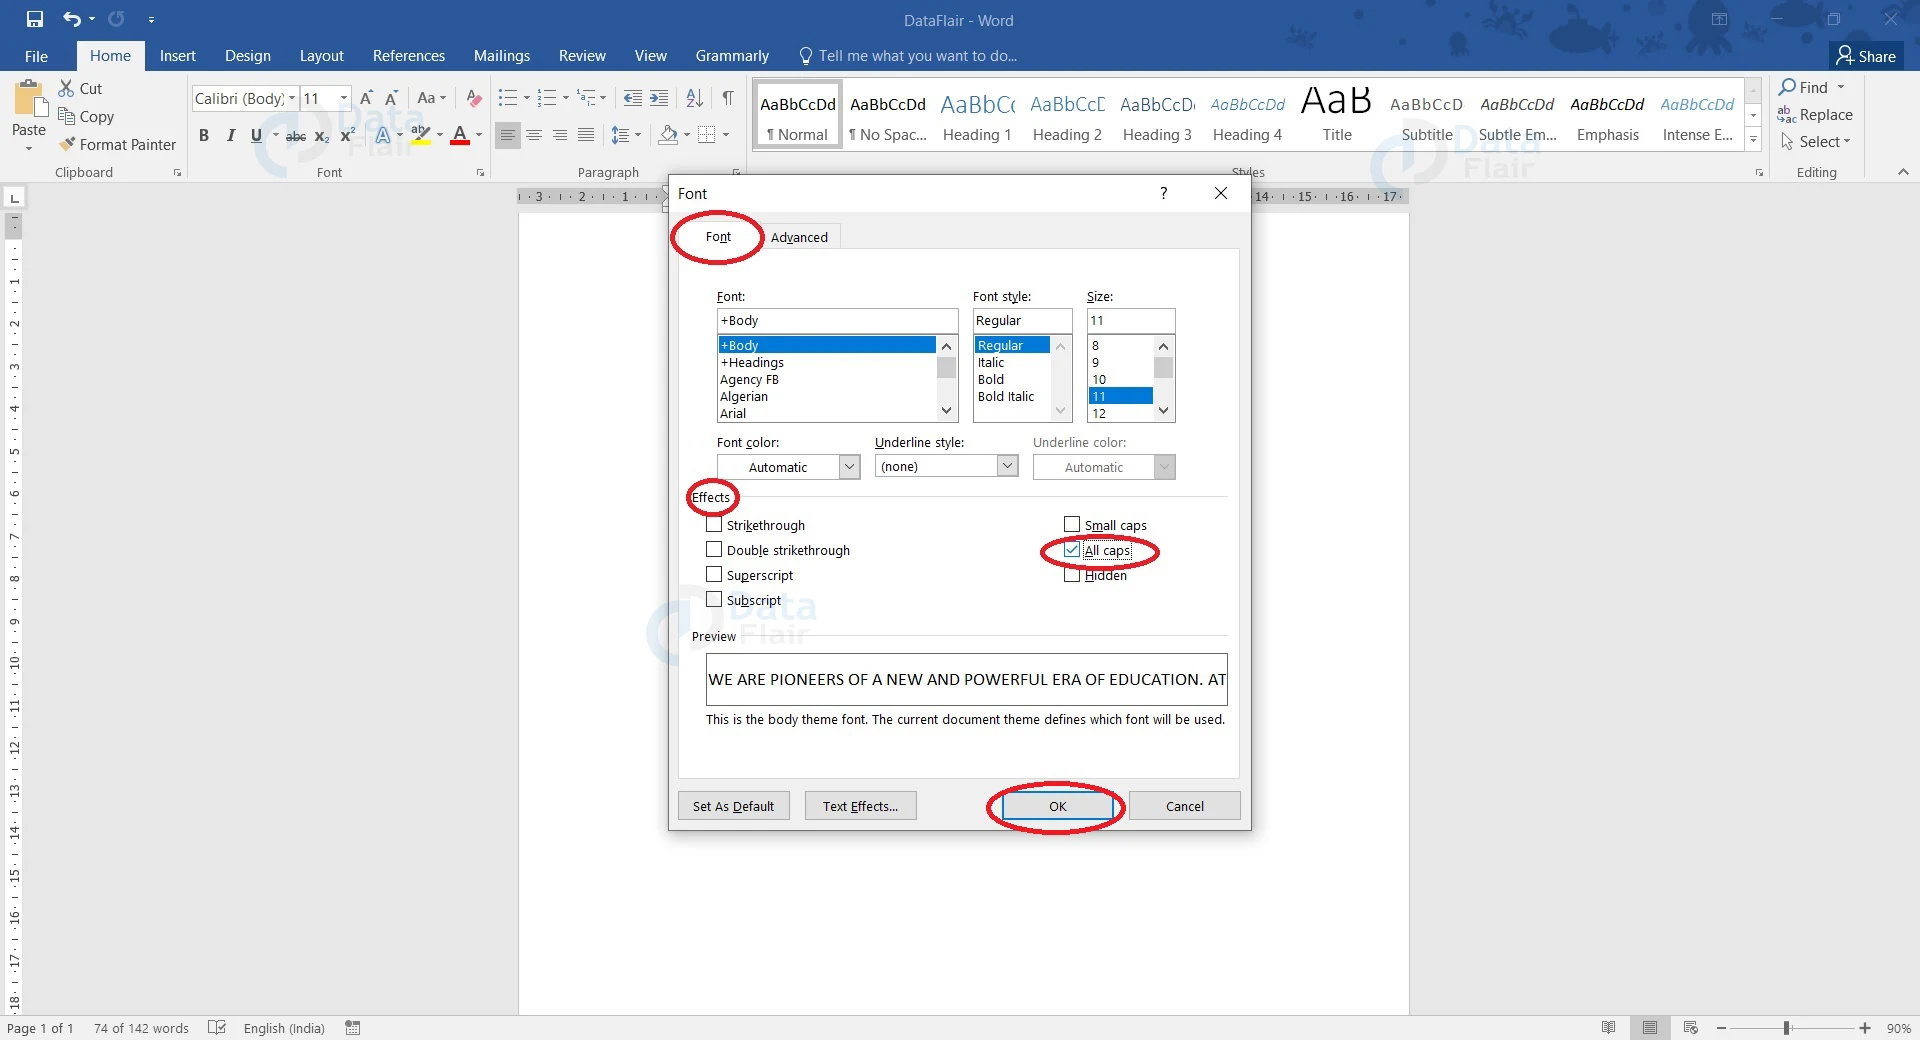
4. Click the OK button to exit the dialog box.
Now if you go back to your document, you will notice that the selected text has been converted to uppercase. This feature comes in handy when you wish to emphasize a part of your document, but have not written it in uppercase while typing it.
Summary
You can follow any of these methods to convert uppercase to lowercase or the other way round if you have typed the document in uppercase erroneously. Your work becomes easier and this is a great feature provided by Word. Additionally, you can also choose to convert to other cases that are available under the Change Case icon.
If you are Happy with DataFlair, do not forget to make us happy with your positive feedback on Google


