How to Add Text Box and Text in Powerpoint?
Interactive Online Courses: Elevate Skills & Succeed Enroll Now!
PowerPoint Presentations always have some text in each slide. It is not recommended to have a lot of text in a presentation, but text boxes do play a major role in preparing the presentation. By default, each slide template comes with a number of text boxes of different kinds. In this article, you will learn how to add text boxes of your own.
Steps to add textbox and text in them in PowerPoint:
1. Click on the ‘Insert’ tab in the top pane.
2. On the right side, you will find an icon named ‘Text box’. Click on it. This will change the pointer icon.

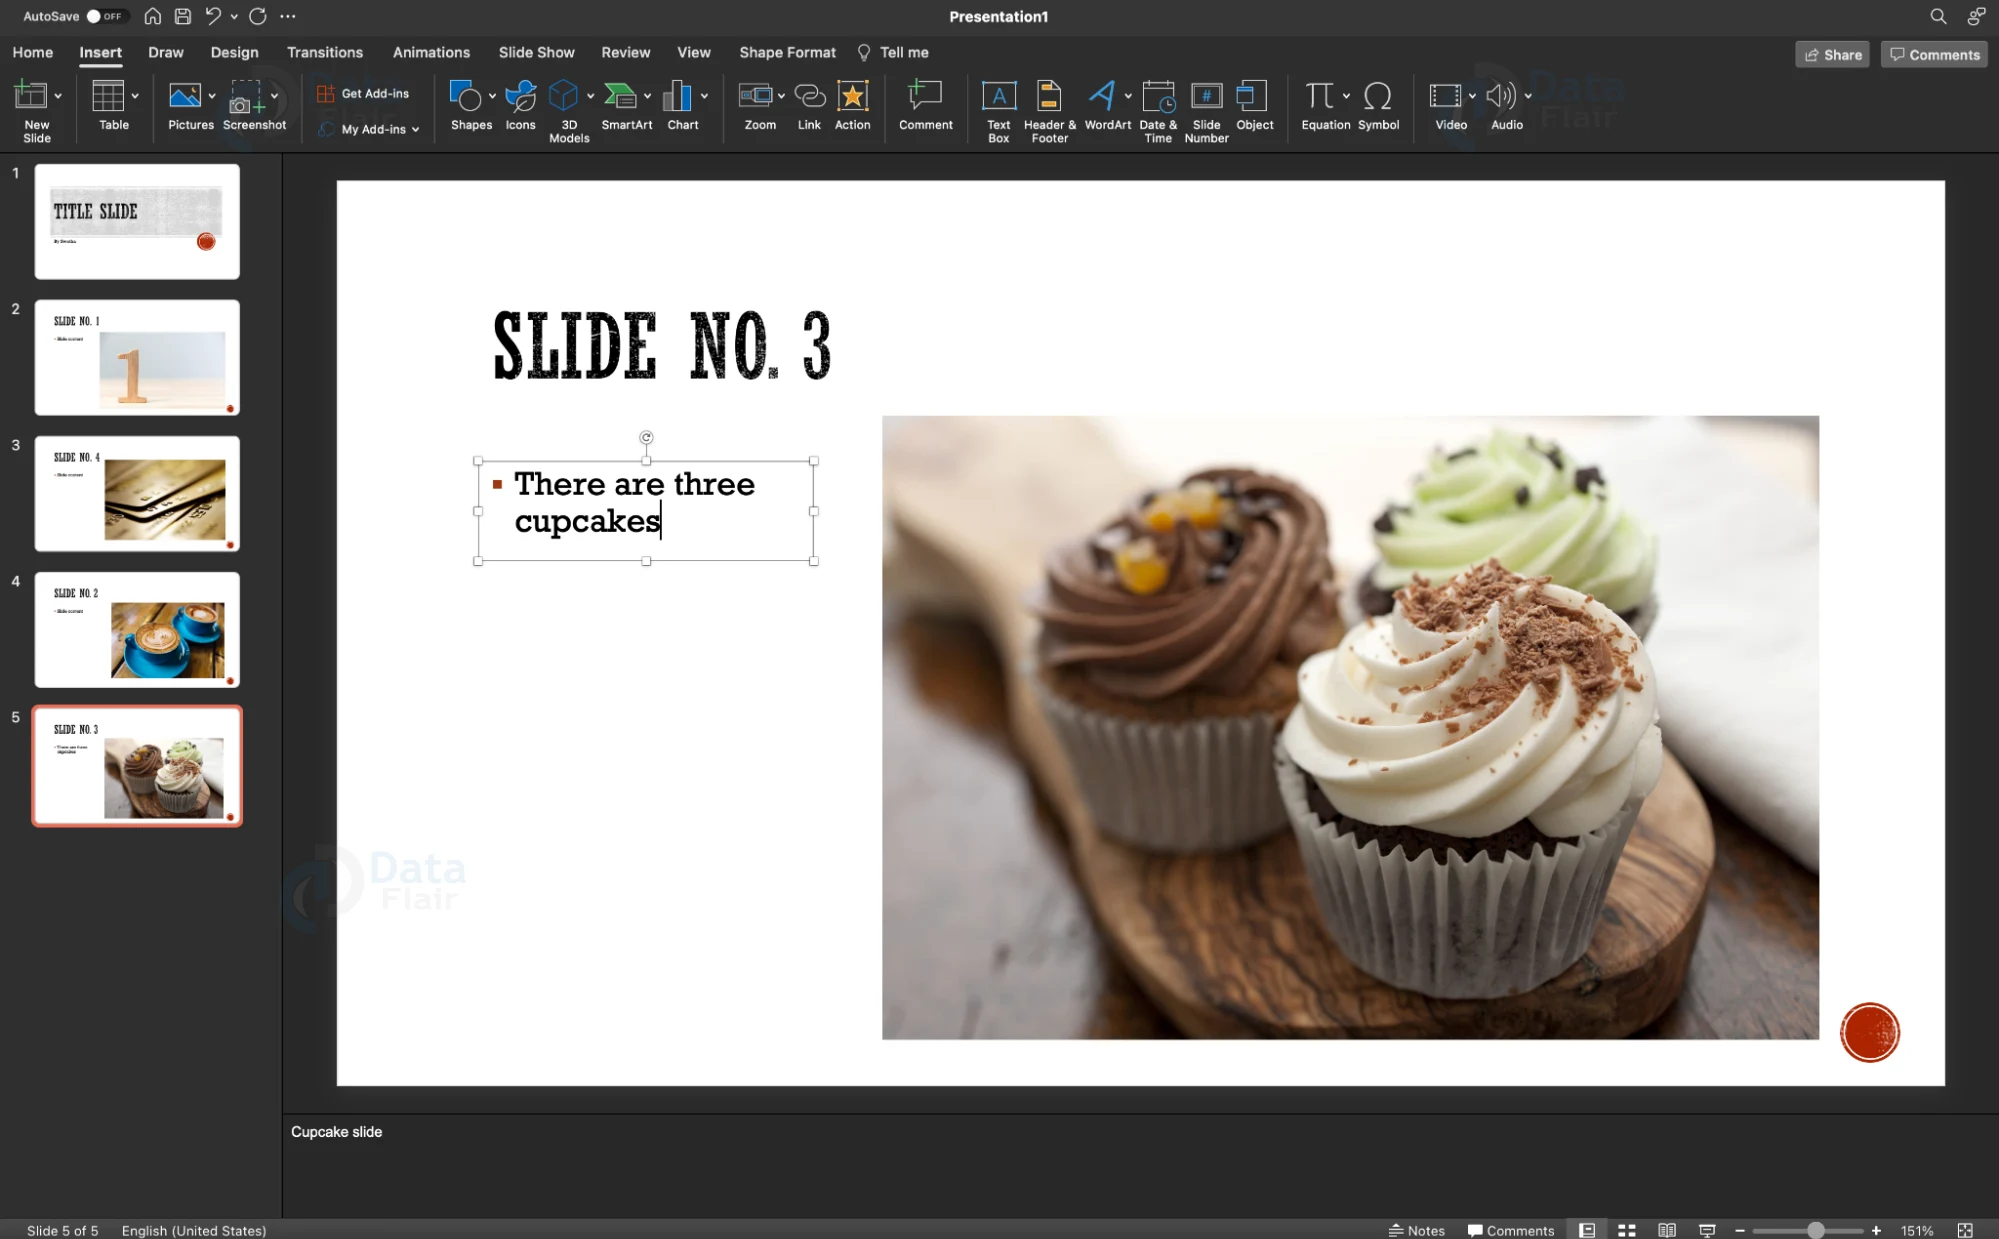
3. Click anywhere on the slide where you want to insert text. It will look something like this:
Type in your text. The text box can be moved and rotated. You can also change the shape and size of the text box using the indicators on the box.
Move, Cut, Copy, Paste, Delete and Resize Text boxes:
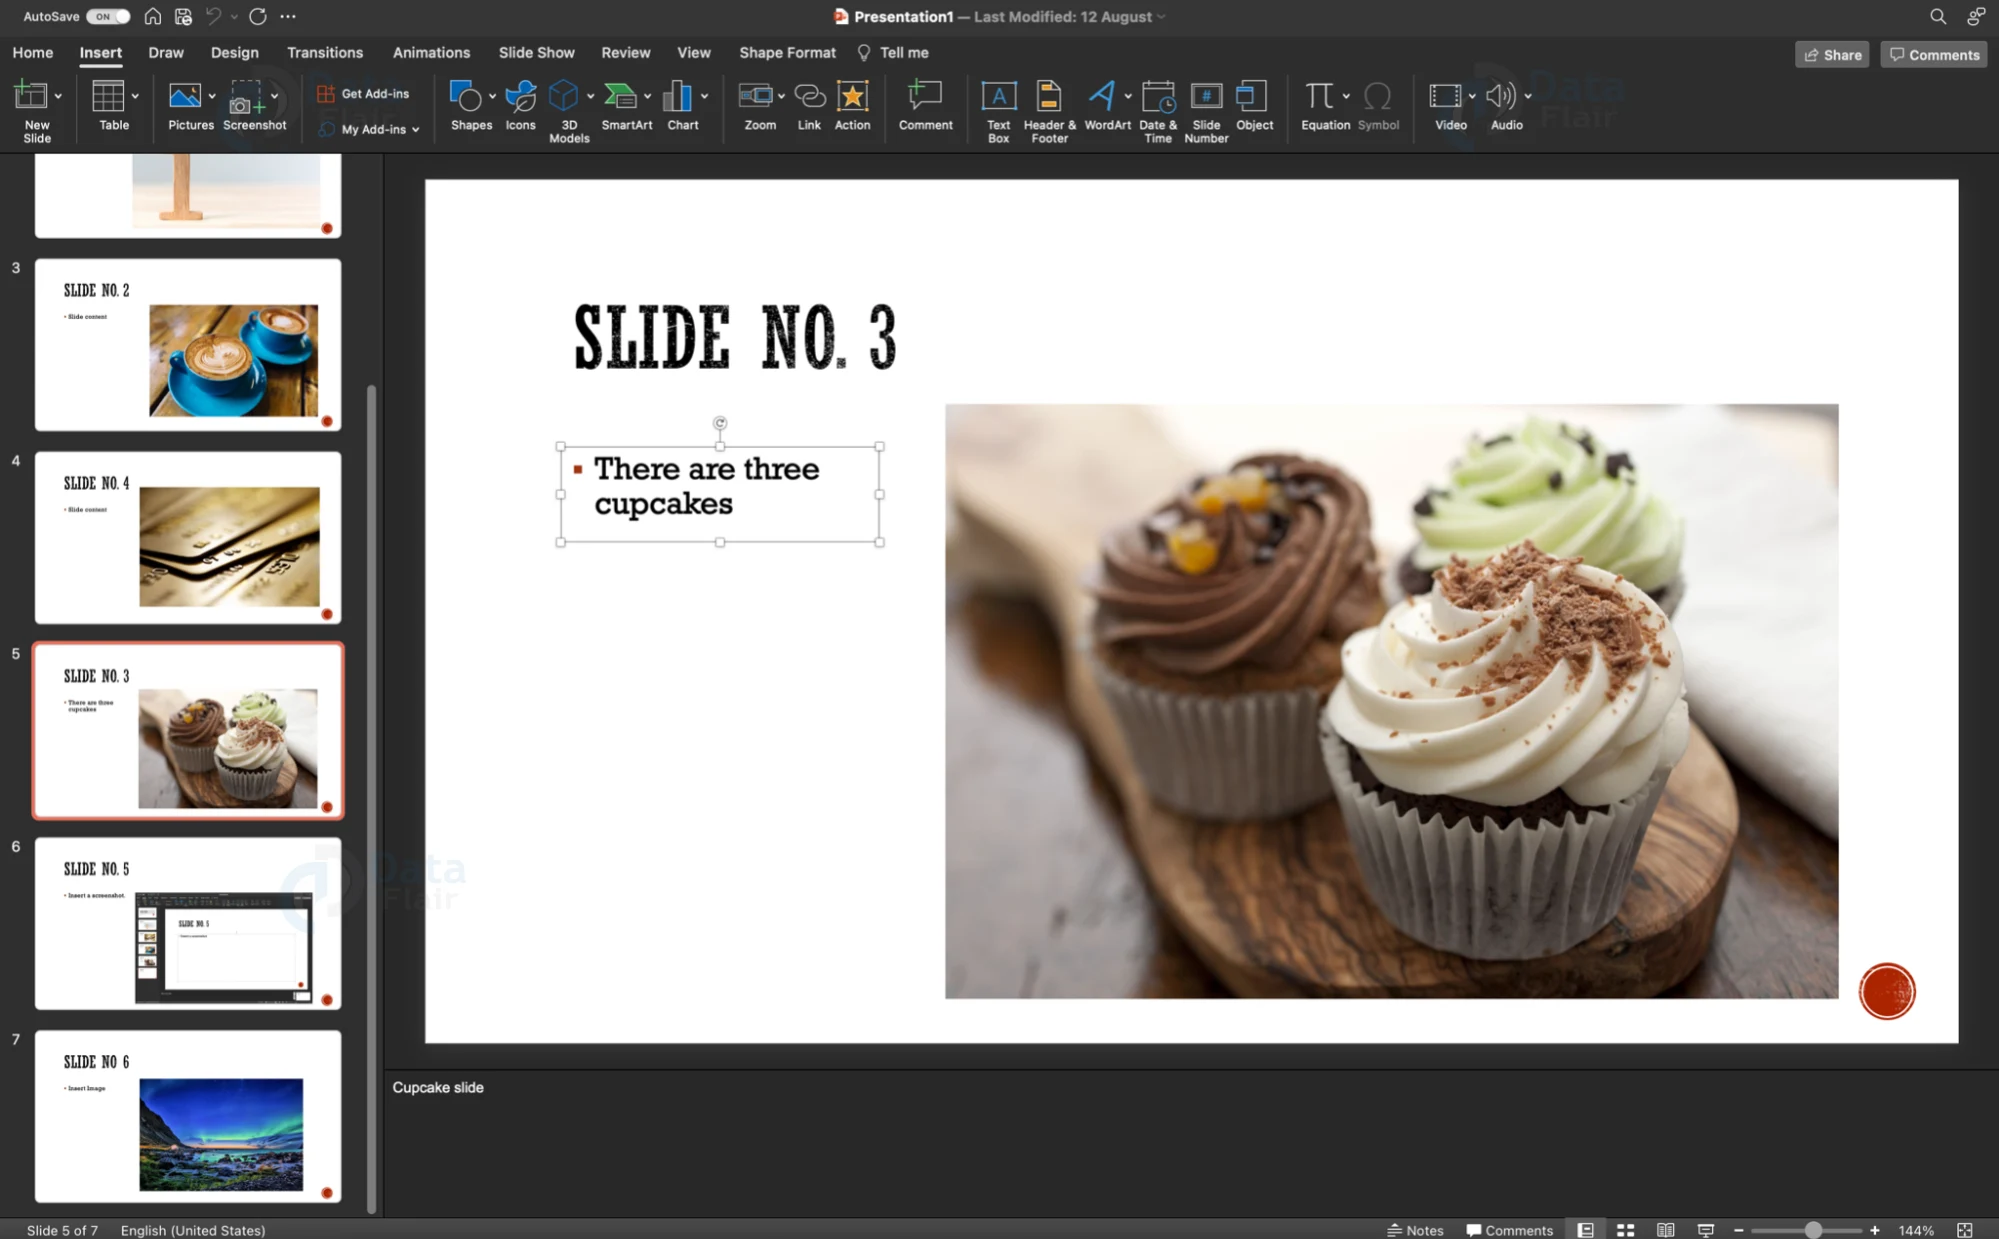
Move the text box:
1. Click on the text box outline such that the pointer changes into a symbol with four arrows pointing in four different directions.
2. Click and drag the text box to the desired position.
Cut the text box:
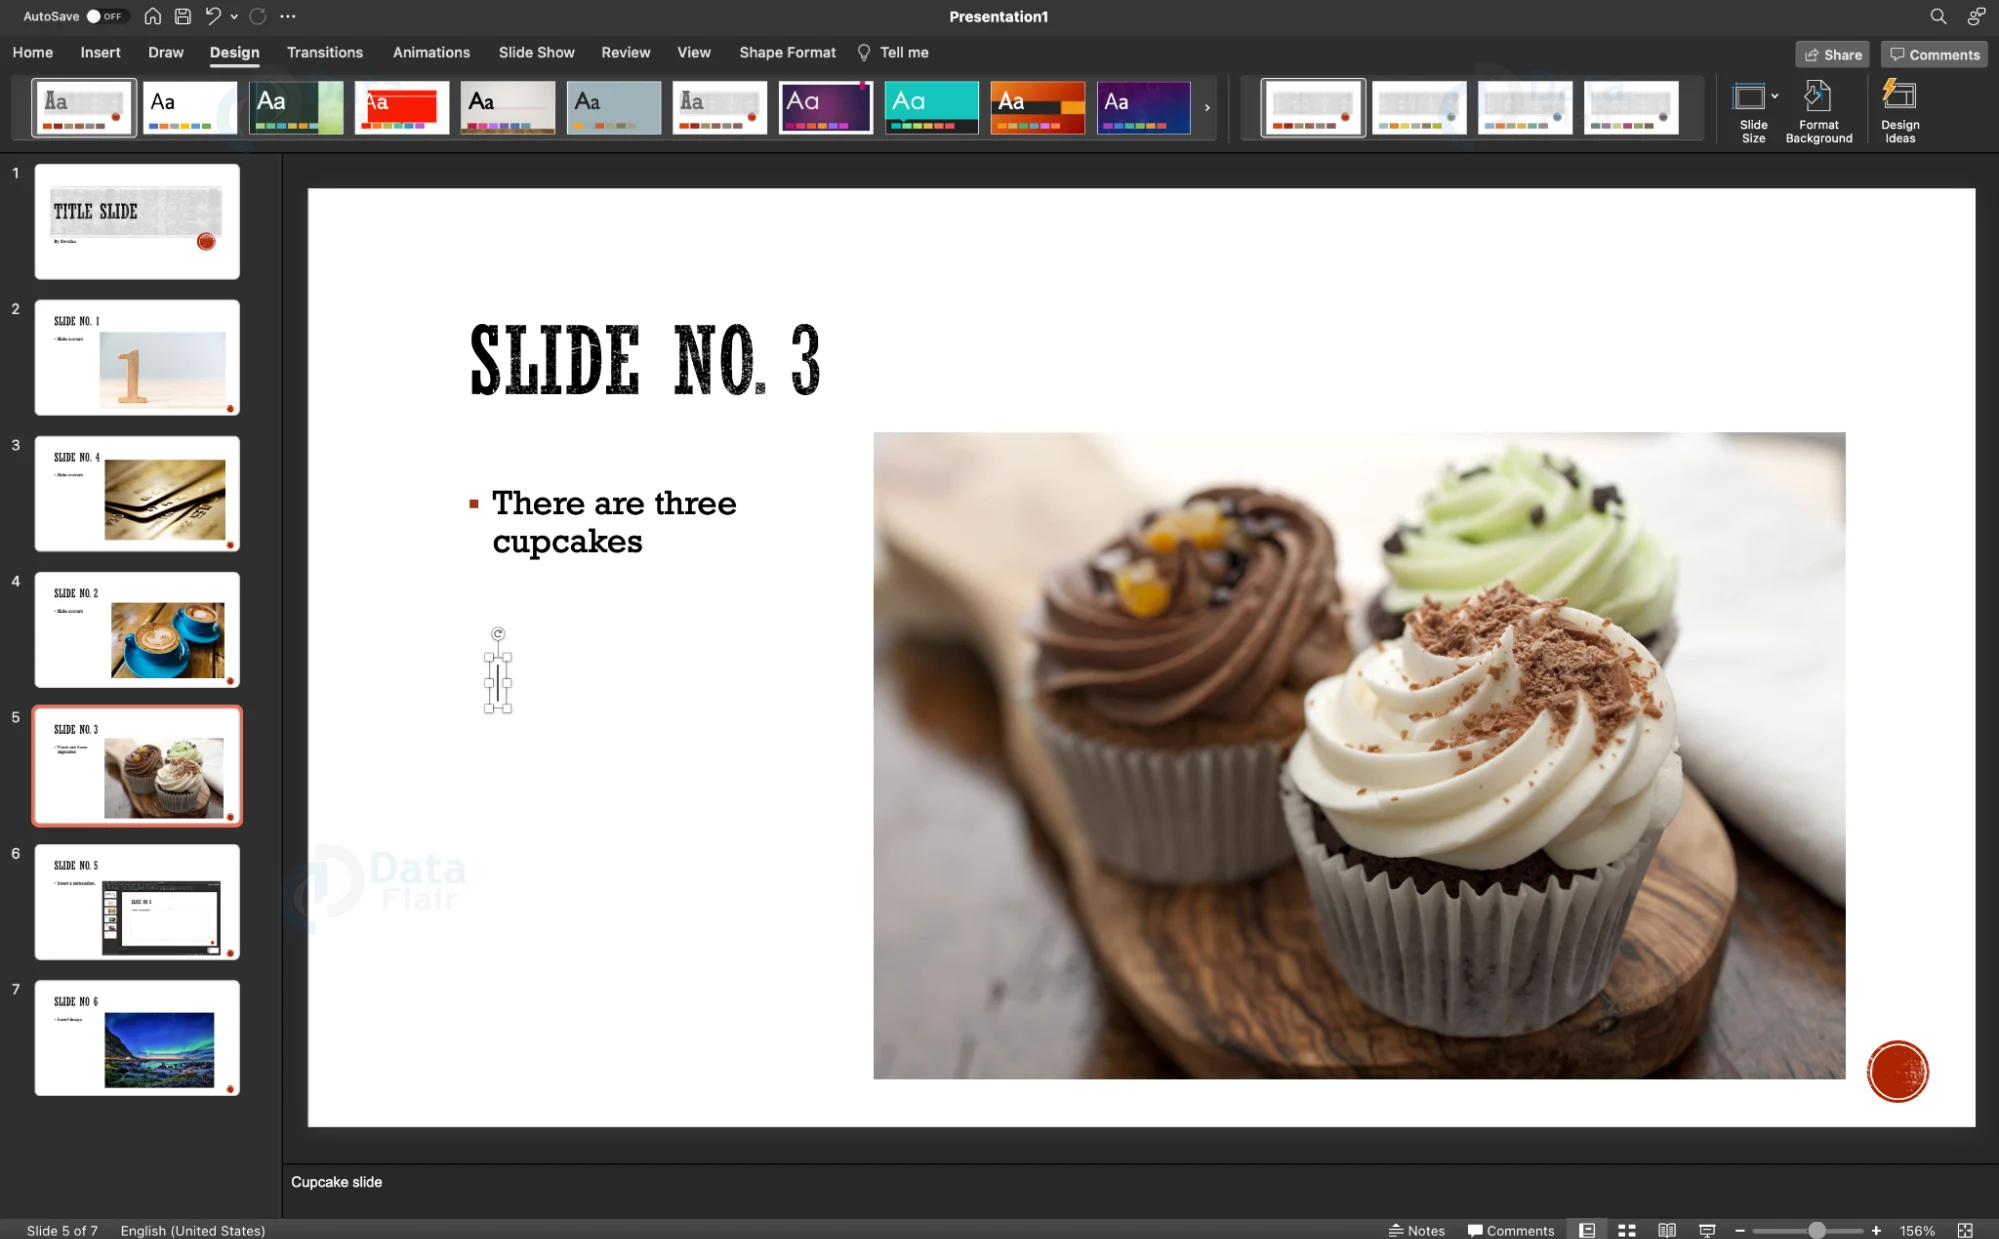
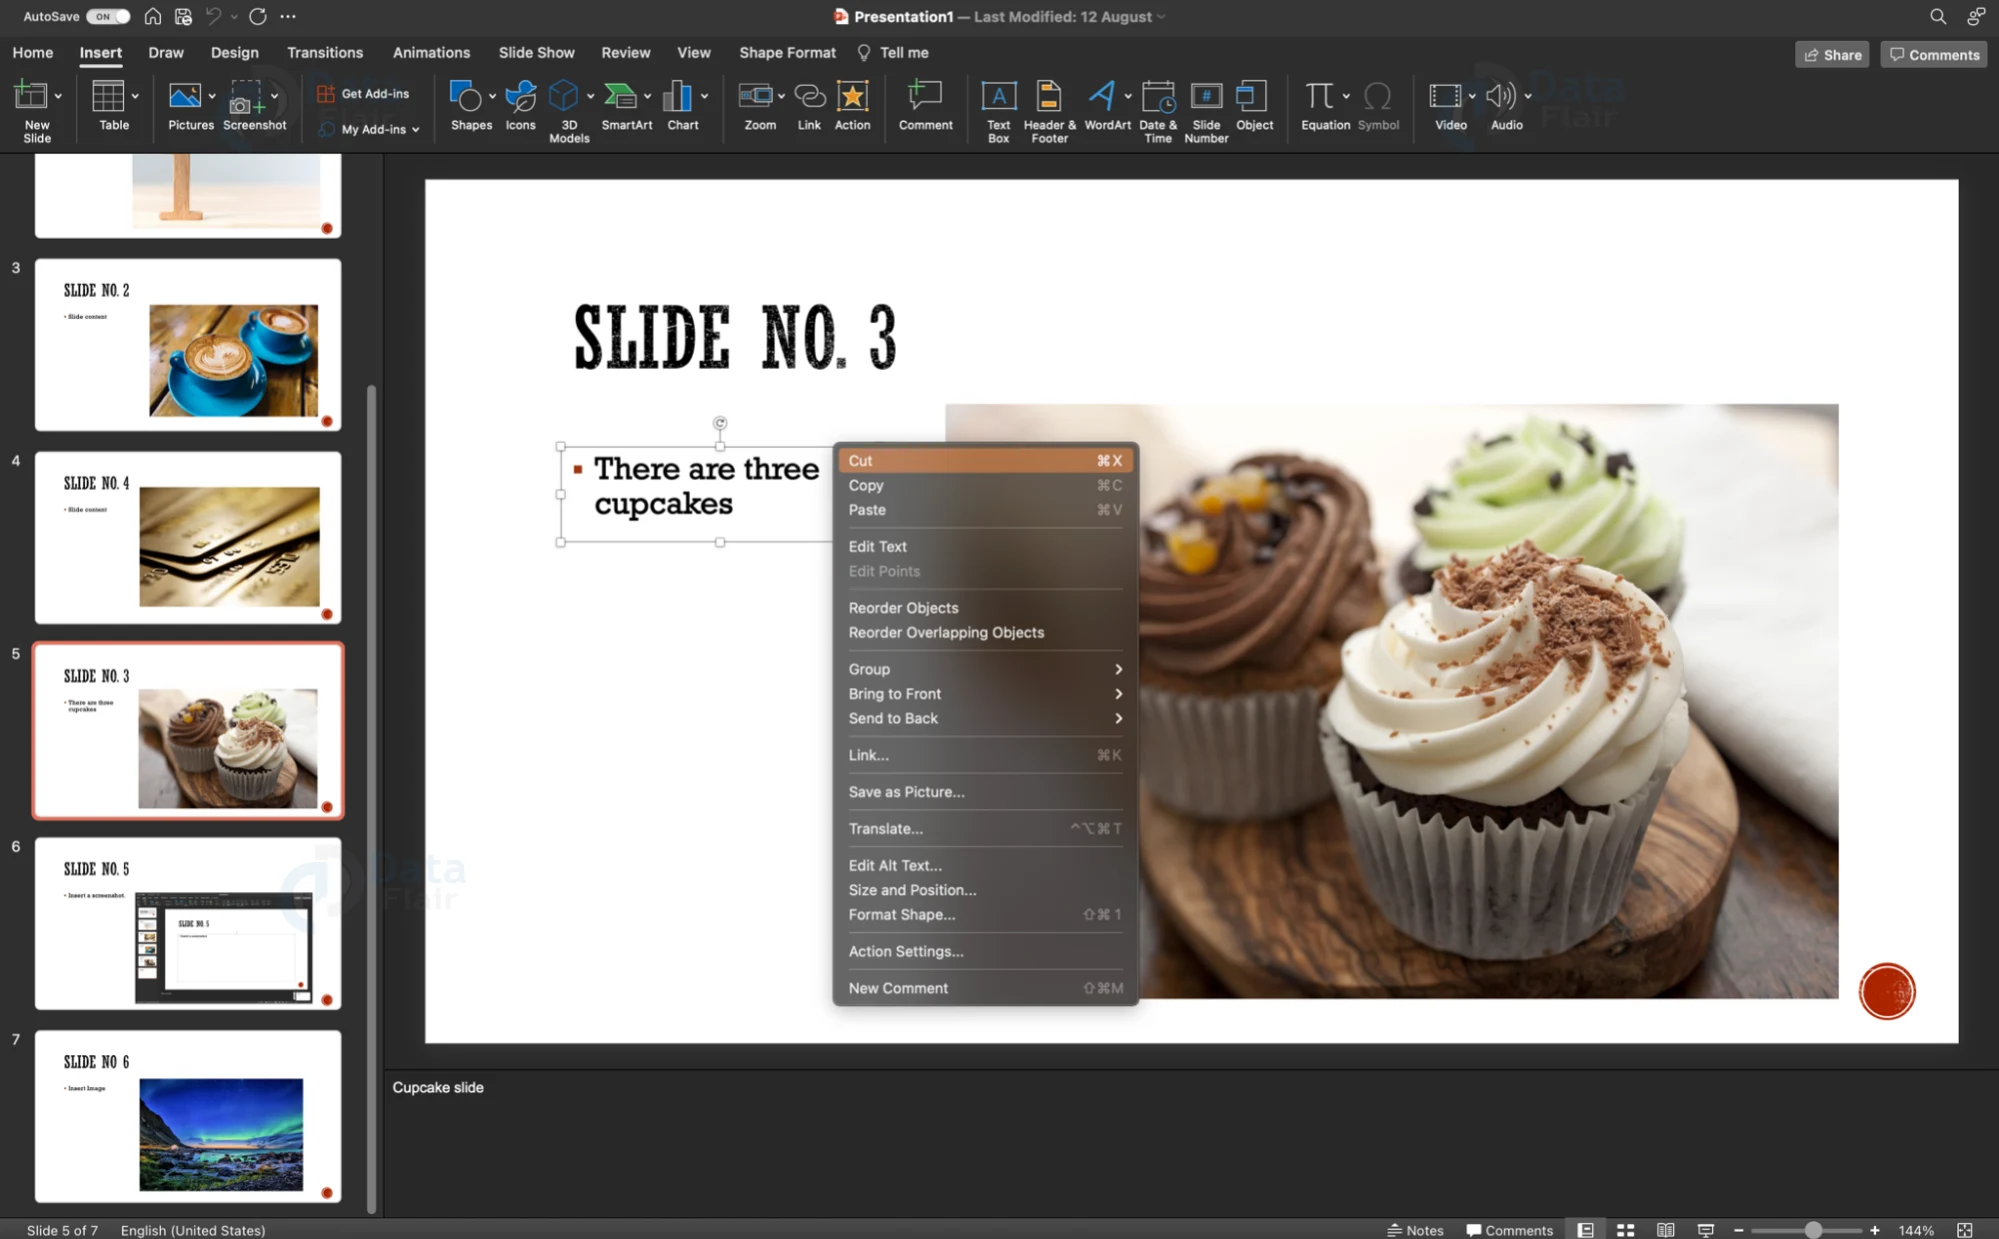
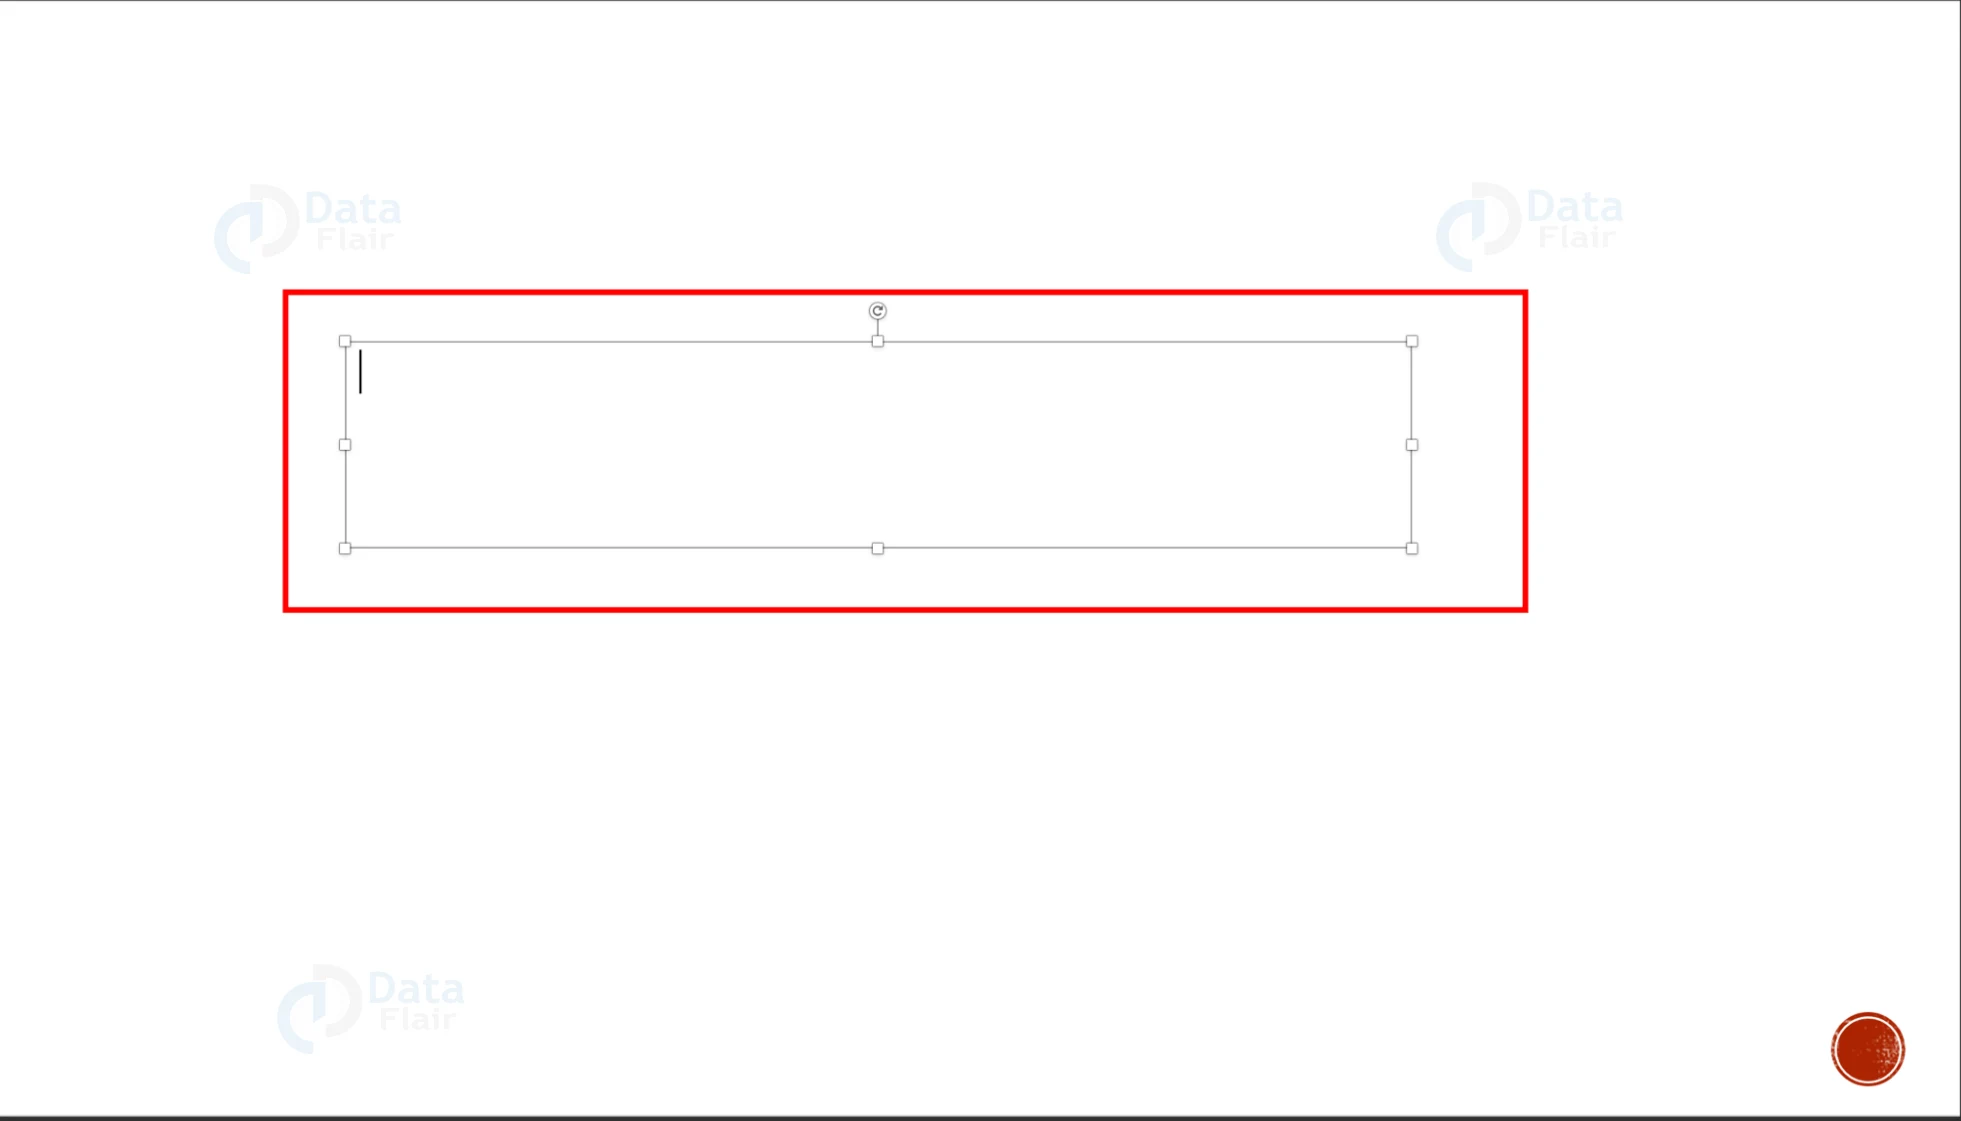
1. Click on the textbox and your pointer will change into a symbol with arrows pointing in four directions. The cursor for typing the text will disappear, as shown:
2. Right click on the text box and click on cut. Alternatively, press Command + X on your keyboard to cut the entire text box.
3. To cut the text alone from the text box, click and drag to select the text you want to cut and press Command + X or right-click and select Cut.
Copy the text box:
1. Similar to the cut step, click on the text box and the typing cursor must disappear.
2. Right click on the text box and click on ‘Copy’. Alternatively press Command + C on your keyboard.
3. To copy the text alone from the text box, click and drag to select the text you want to copy and press Command + C or right-click and select Copy.

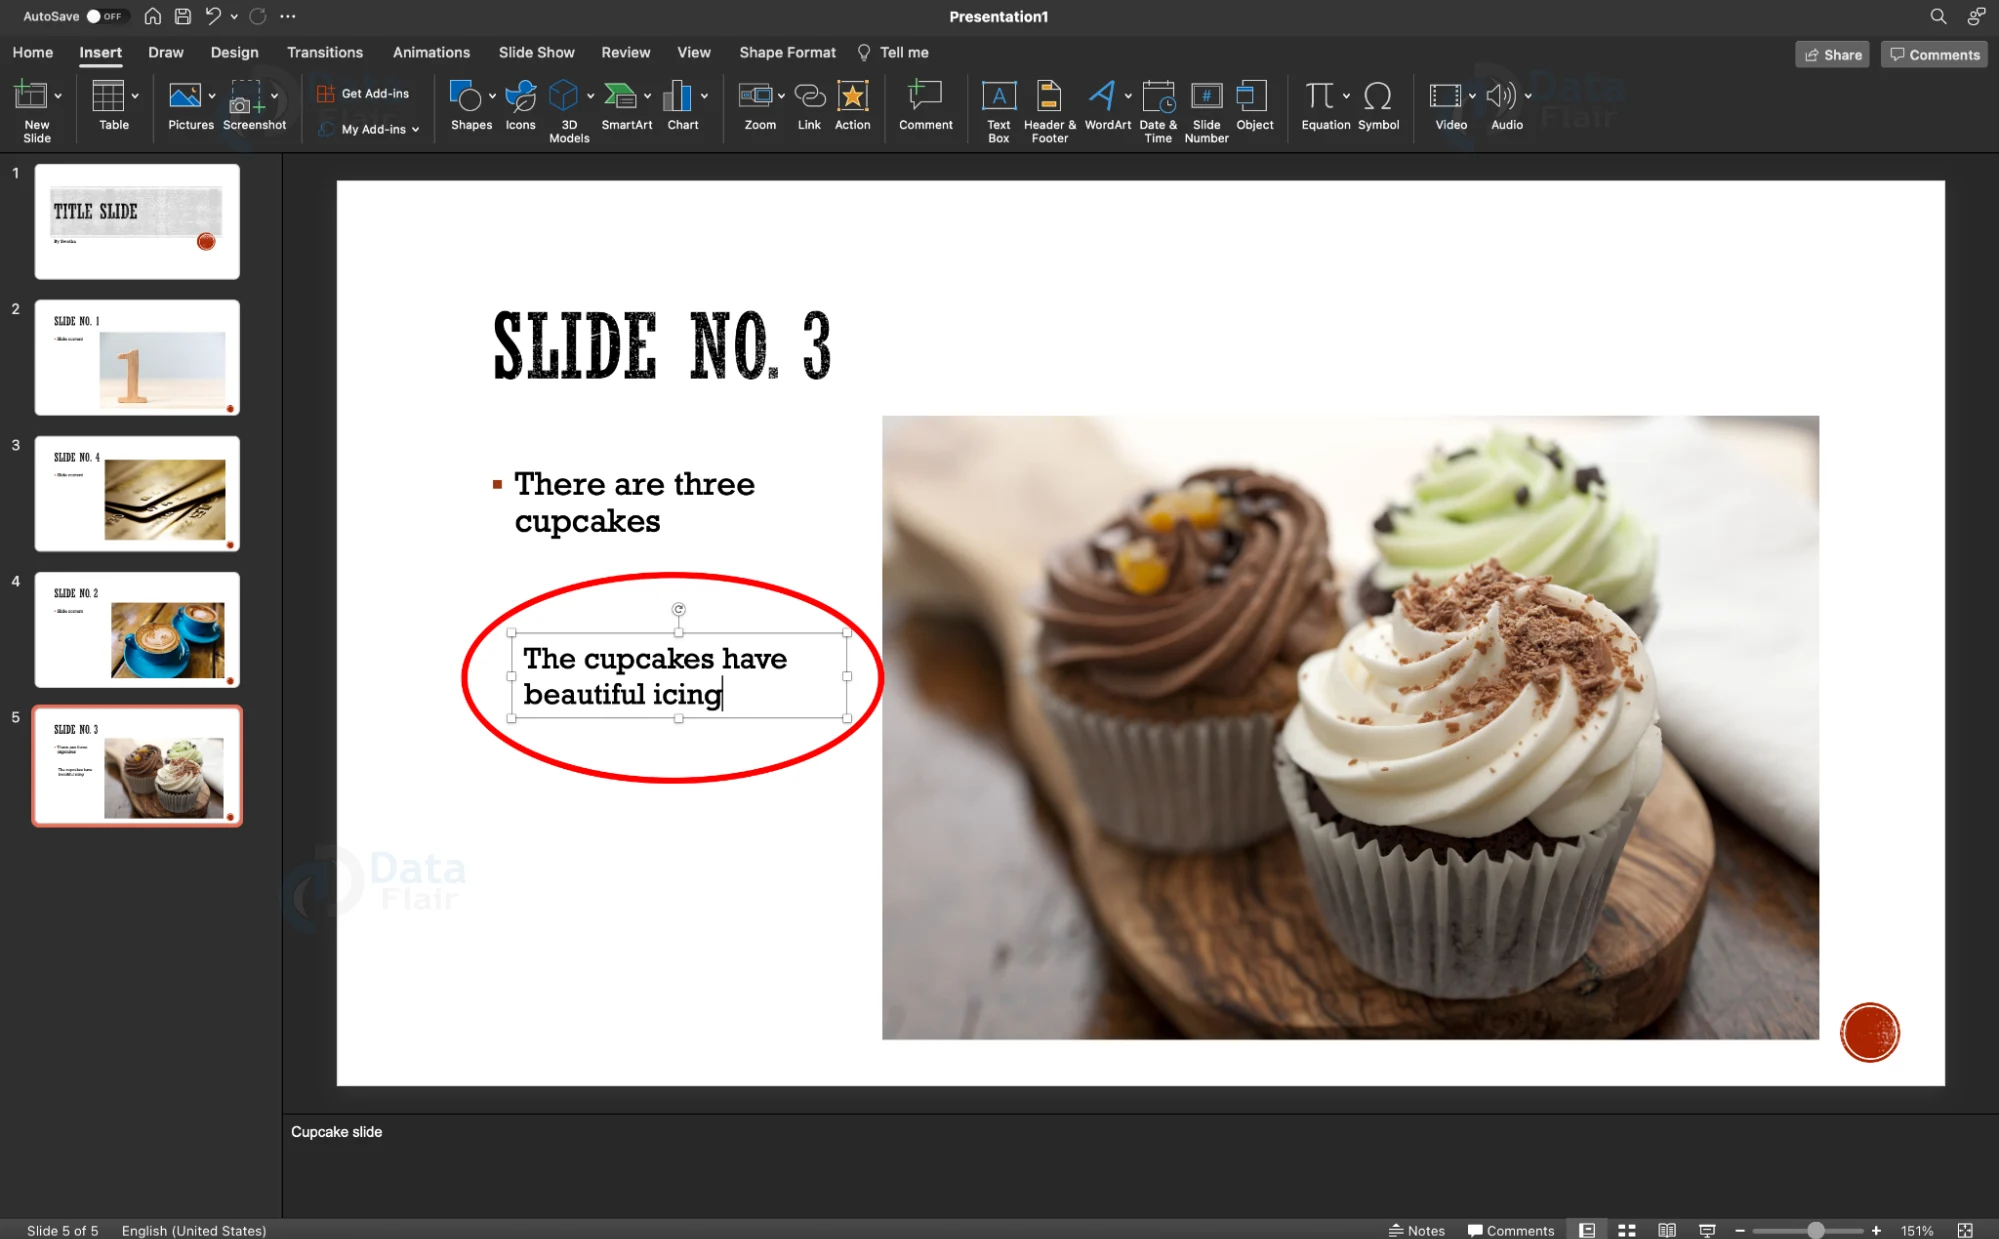
Paste the text box:
1.Right click anywhere on the slide where you want to paste the text box and click on ‘Paste’.
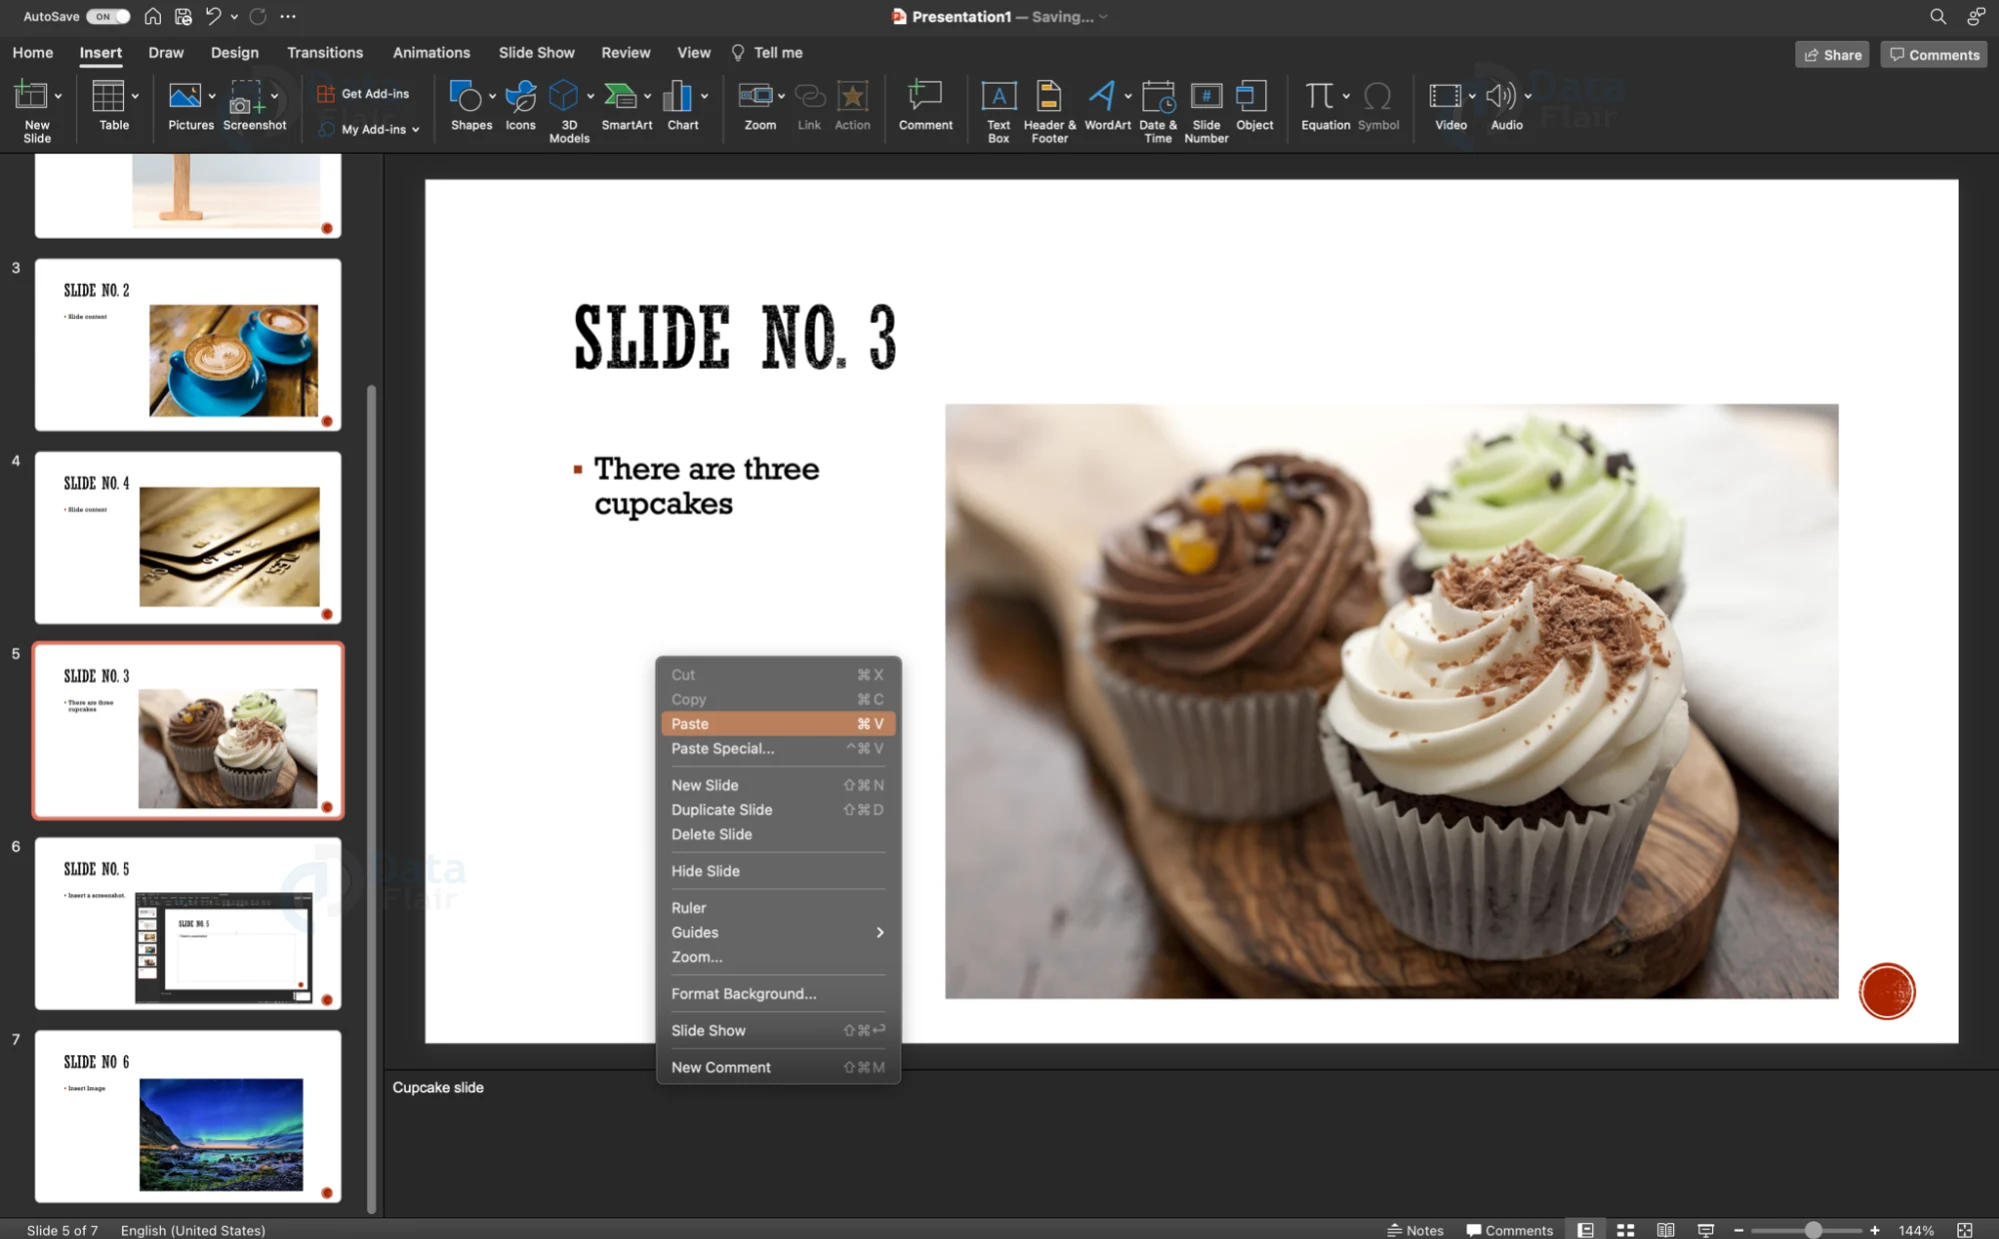
2. Alternatively press Command + V on your keyboard. Drag and reposition the textbox as needed.
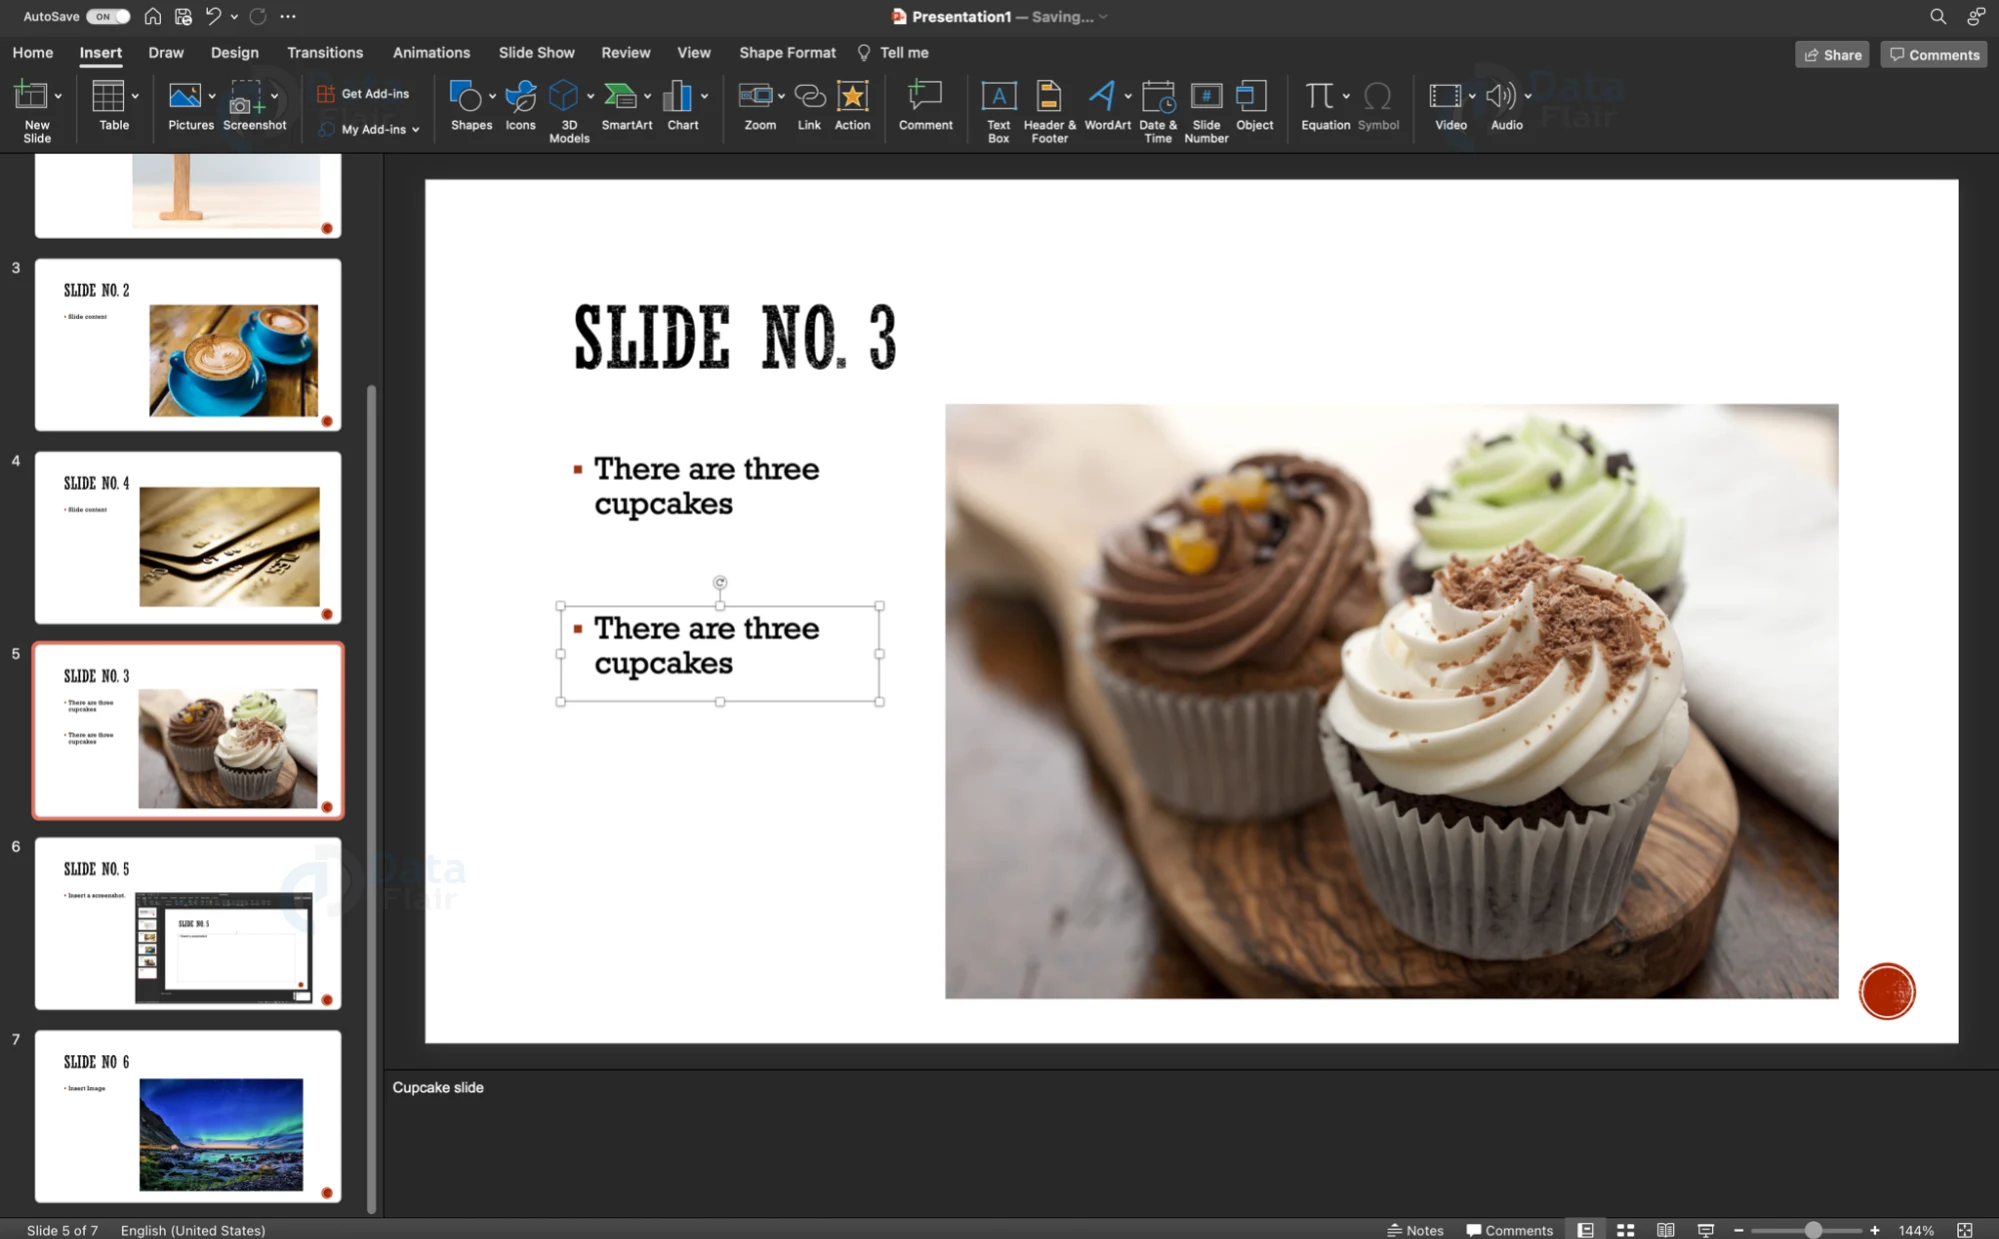
3. To paste the text alone from the text box, click on the spot where you want to paste the text and press Command + V or right-click and select Paste.
Delete the text box in PowerPoint:
1. Click on the text box that you want to delete to highlight it. The typing cursor must not be visible.
2. Click on the Delete button on your keyboard to delete the selected text box.
3. To delete the text in the textbox, click inside the box (you should see the blinking cursor appear) and press the Delete button on your keyboard.
Duplicate the text box in PowerPoint:
1. Duplication of a text box is done simply by copying and pasting the text box as explained above.
Resize the text box in PowerPoint:
1. Click on the text box that you want to resize to highlight it. The typing cursor must not be visible.
2. You should see four circles in each corner of the textbox. It would look like this:

3. Click on any of the circles with the direction of resizing in mind, and drag it to resize the textbox.
Types of textboxes in PowerPoint:
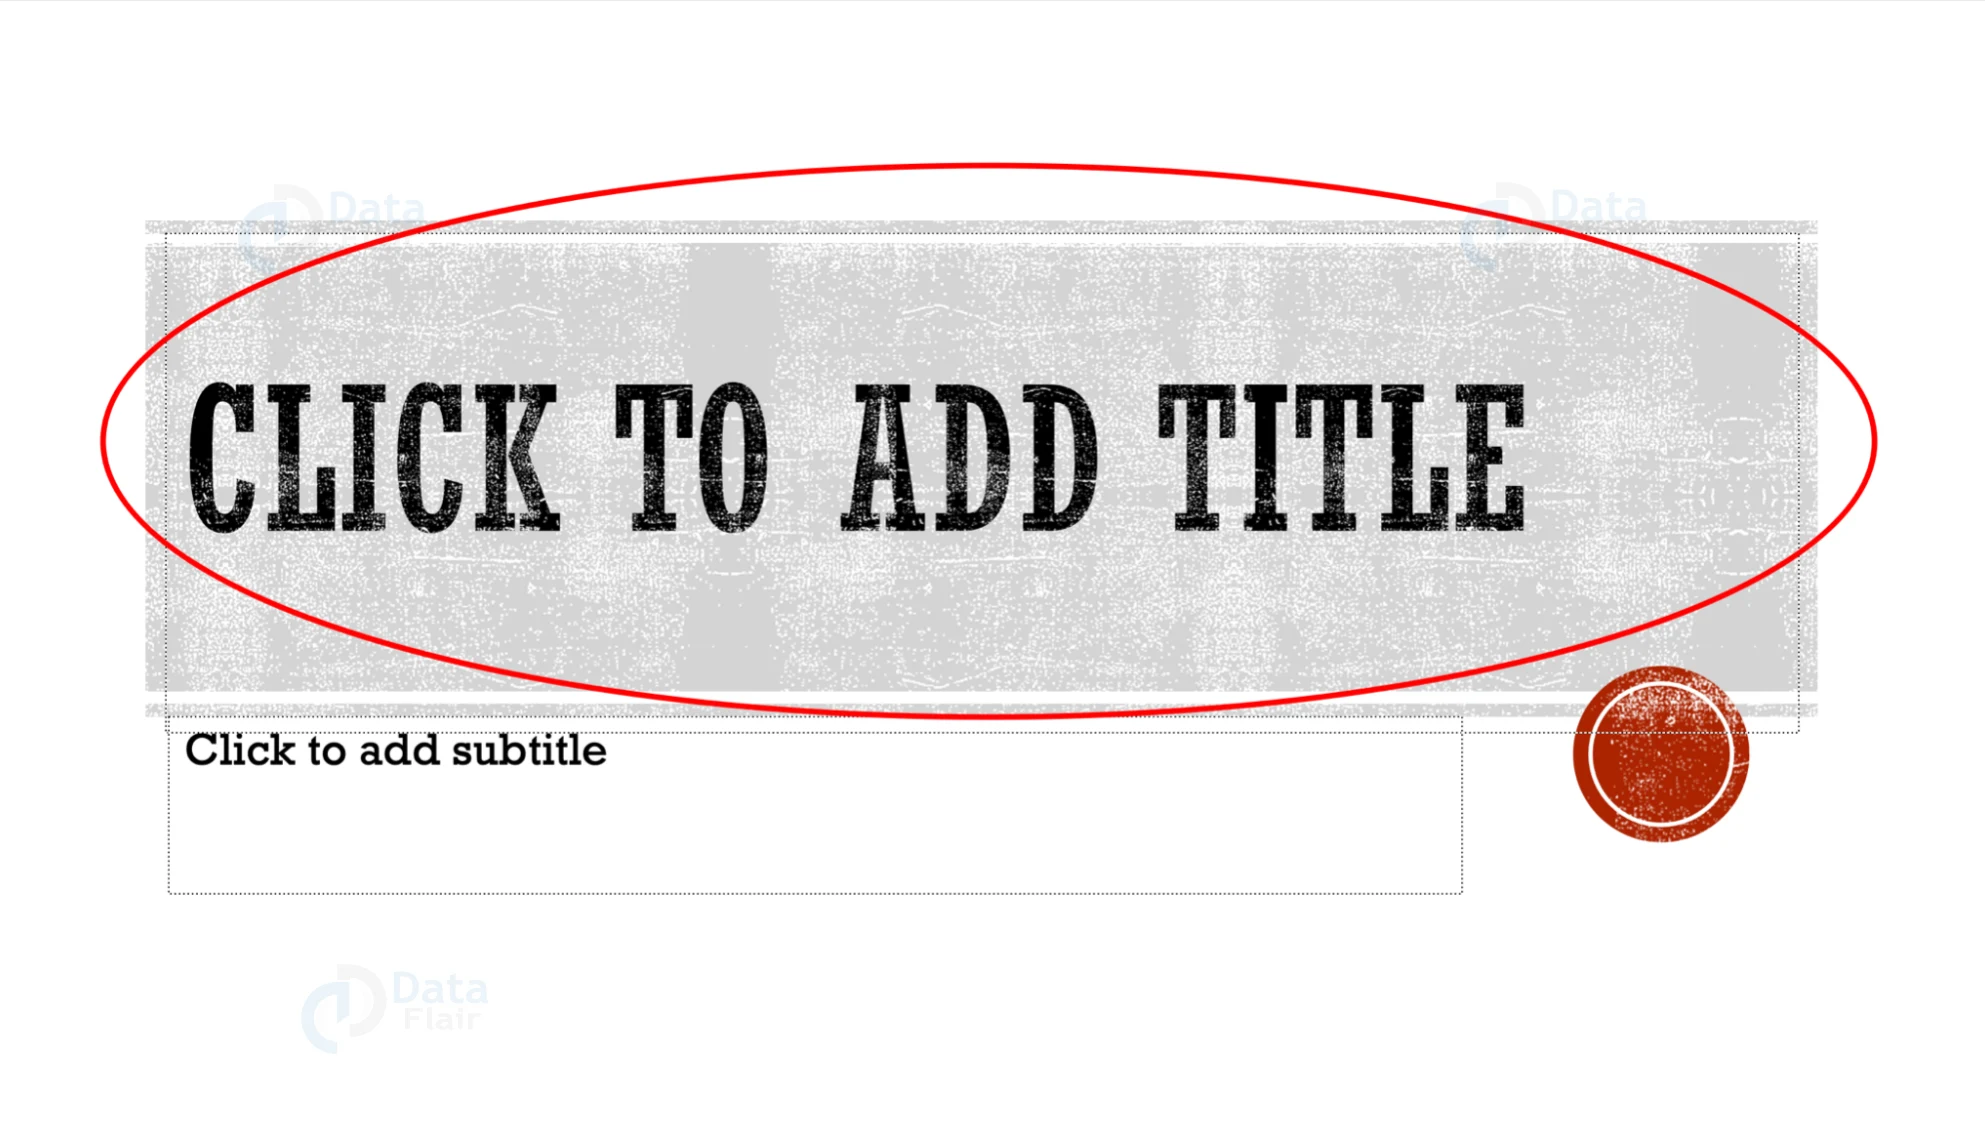
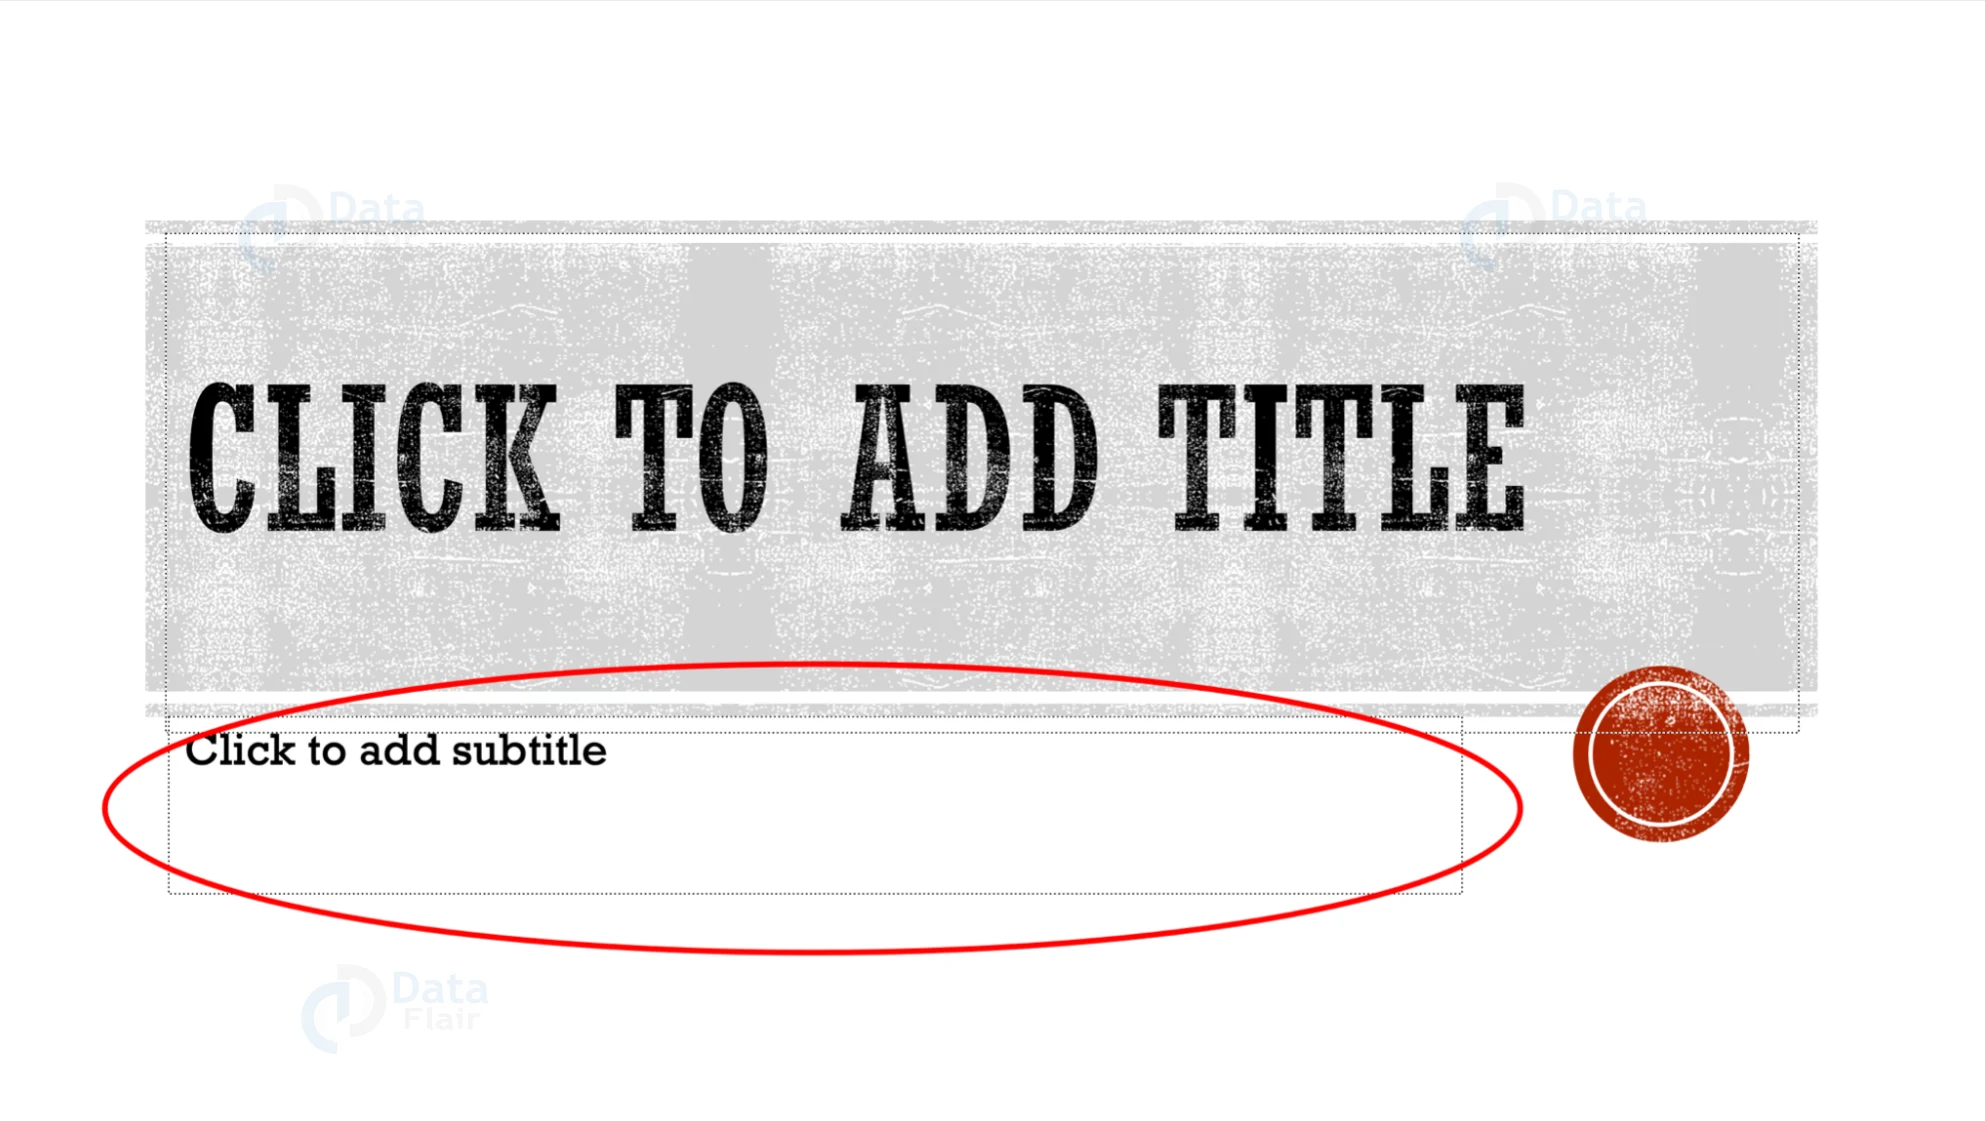
1. Title box:
This type of textbox is typically used to add the title of the presentation.
2. Subtitle box:
The subtitle box is used to add the subtitle of the presentation.
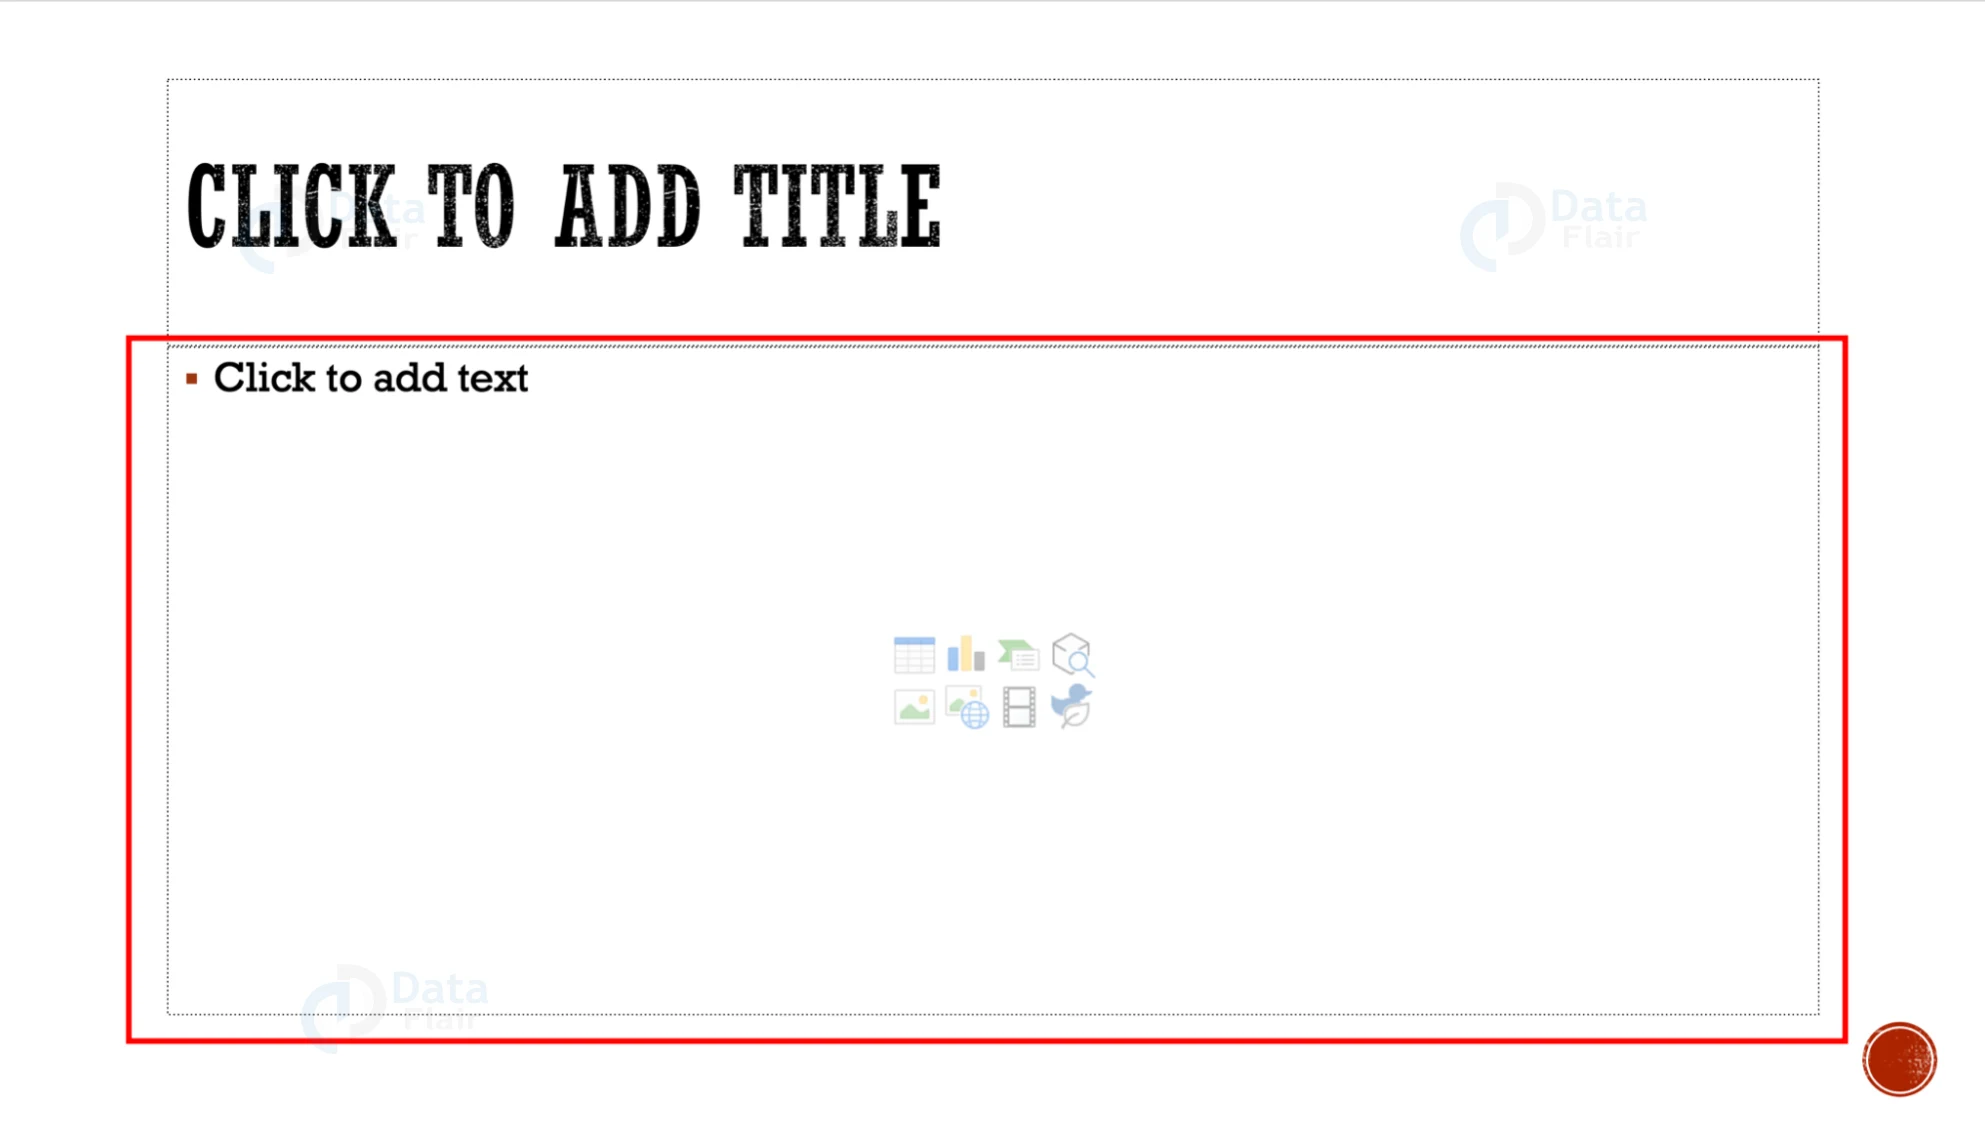
3. Content box:
Any kind of content can be added inside a content box. It can be images, graphs, charts, etc.
4. Text-only box:
In this textbox, only text can be added and edited.
Summary
In this article you must have learned all about textboxes. You have seen how to add text box in PowerPoint and how to add text in these boxes. Be sure to try them in your own presentation to get the hang of all functionalities. After all, textboxes are an essential part of PPT Presentations!
Did we exceed your expectations?
If Yes, share your valuable feedback on Google


