How to Add Checkbox in Word?
Expert-led Courses: Transform Your Career – Enroll Now
Checkboxes are very important where you need to fill up data and check them for correctness. They can be very helpful in filling up forms or answering multiple-choice questions.
Checkboxes would work differently for printed and non-printed documents. While printed documents would leave an empty box, for softcopies, users need interactive checkboxes to fill as necessary. Let us look at how we can insert checkboxes in either of these conditions.
Condition 1 – Printed Documents
For printed documents, you need to leave an empty checkbox for the readers to fill as they need. The best way to insert checkboxes in printed documents would be to insert them as bullet lists. Instead of the usual bullets, you can change its style to an empty square, a circle, or any other figure that you may choose.
Here are the steps to insert a checkbox for printed documents.
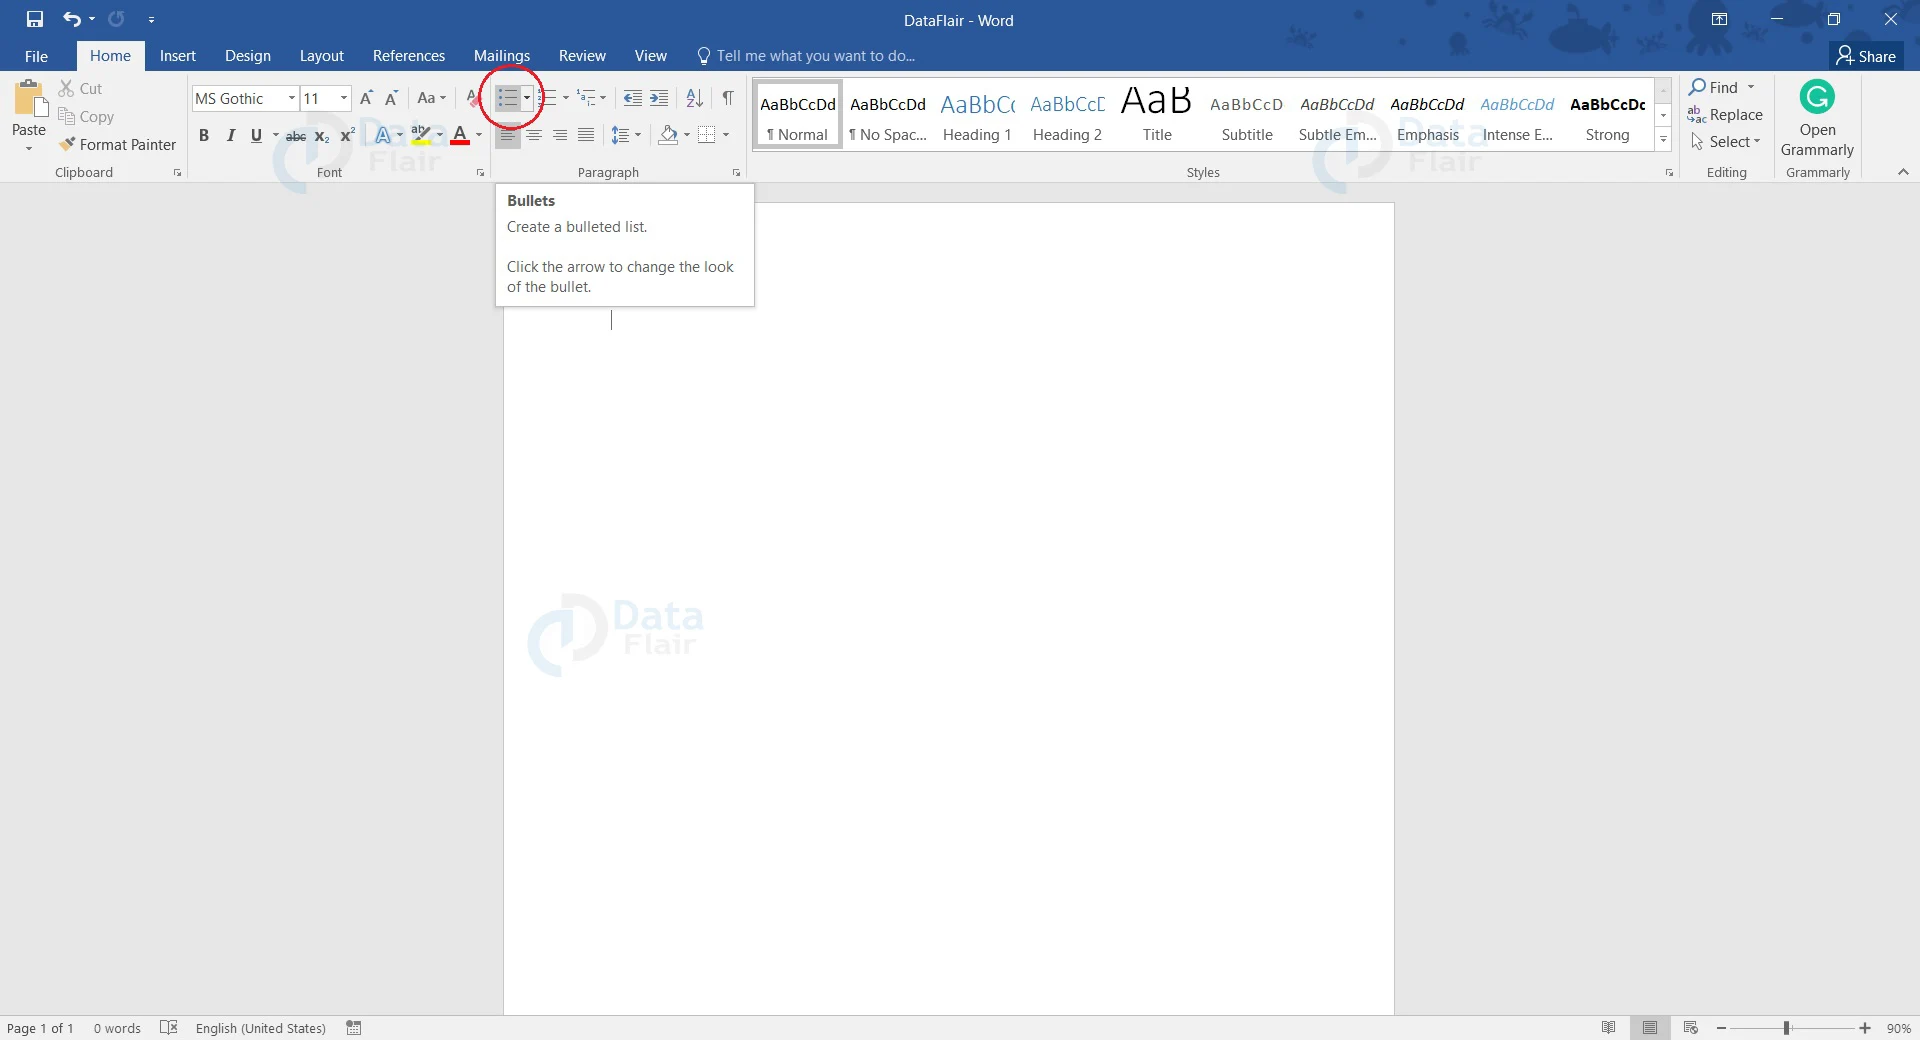
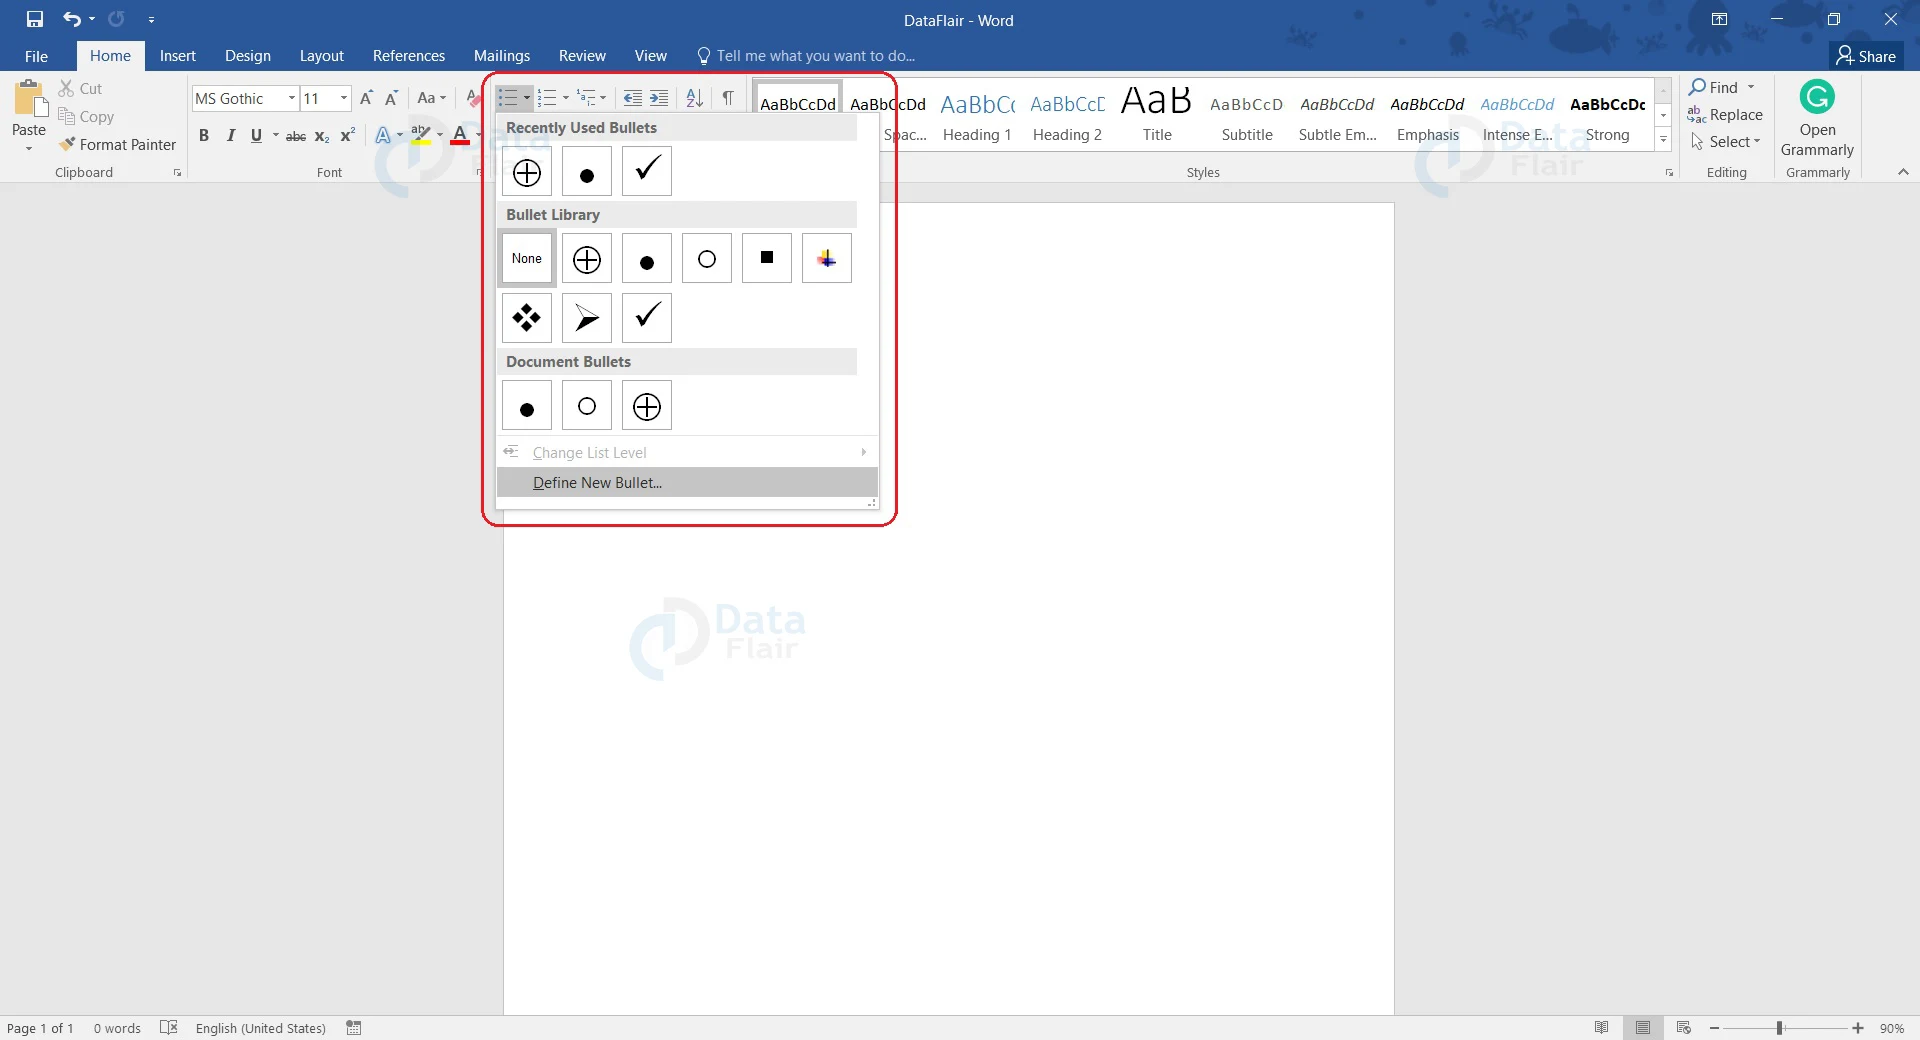
1. Place the cursor where you wish to insert a checkbox. On the Home tab, open the drop-down menu by clicking the downward arrow to the right of the Bullets button.
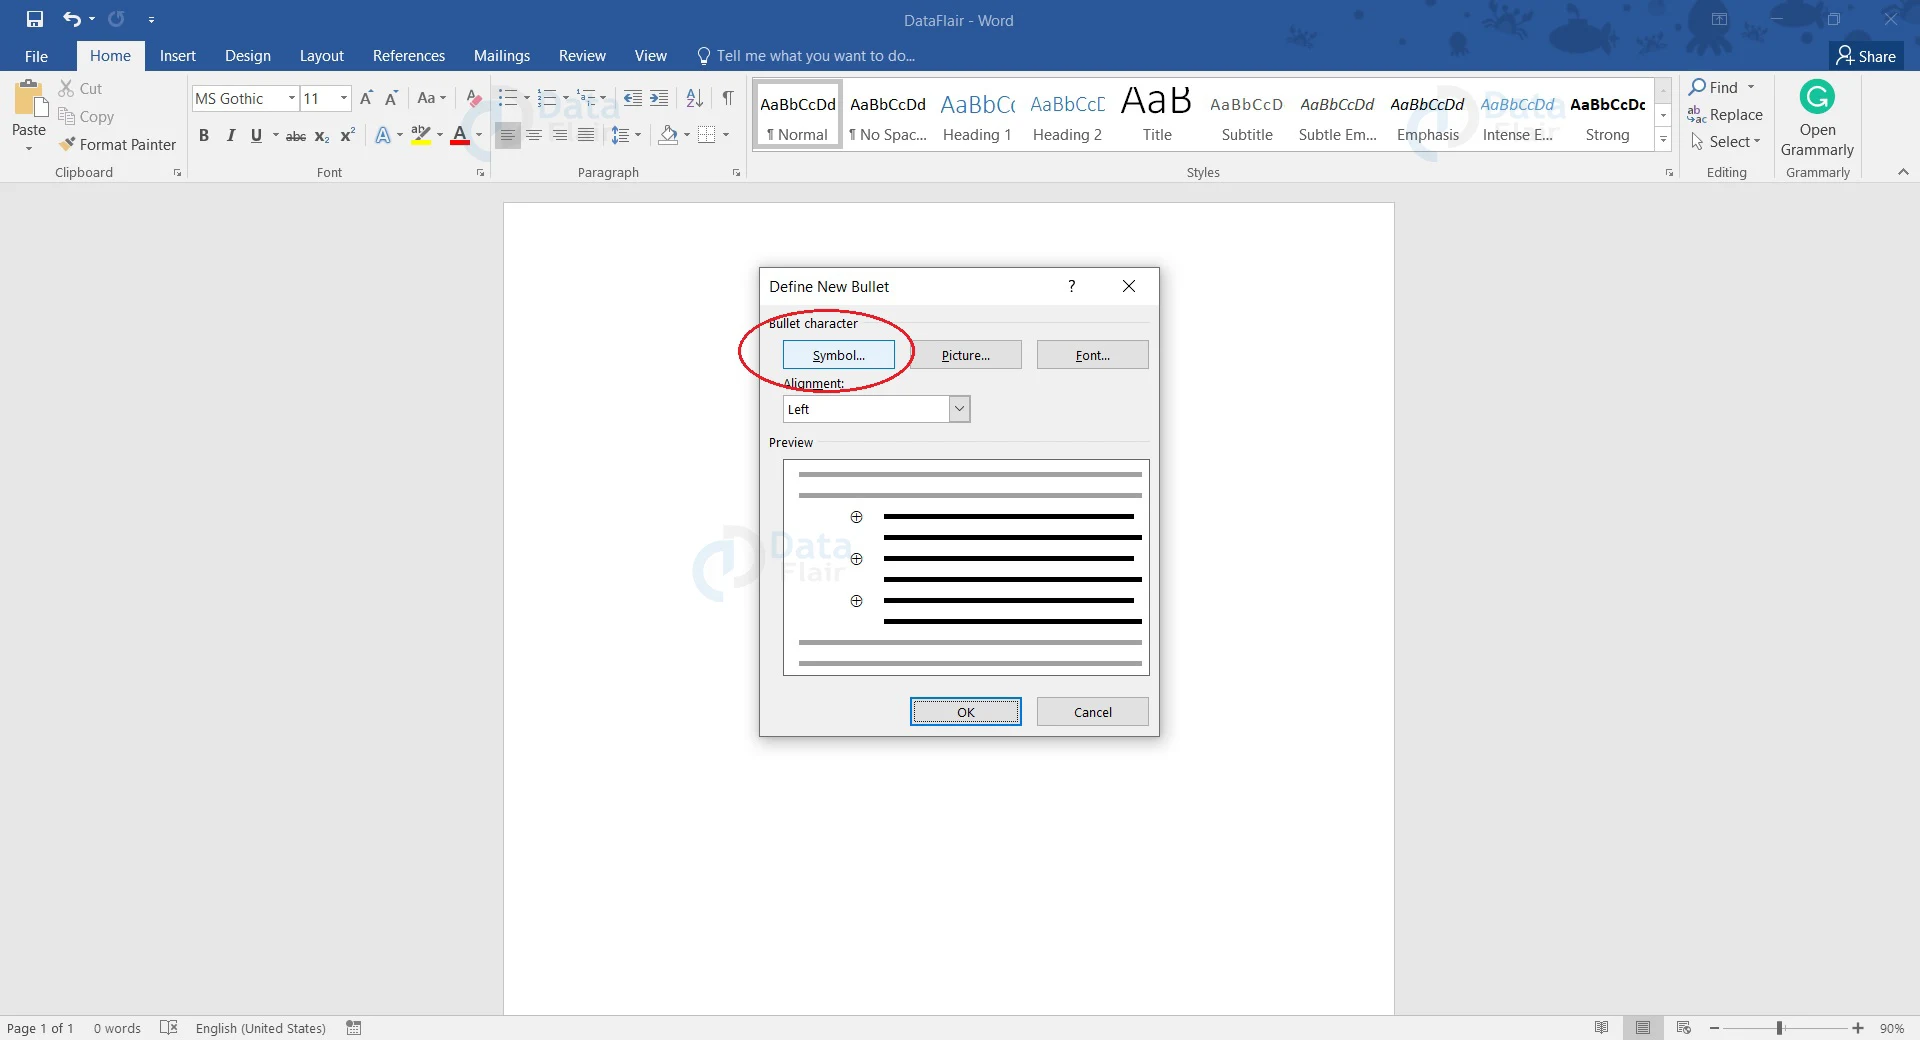
2. The Define New Bullet dialog box appears. Click the Symbol button.
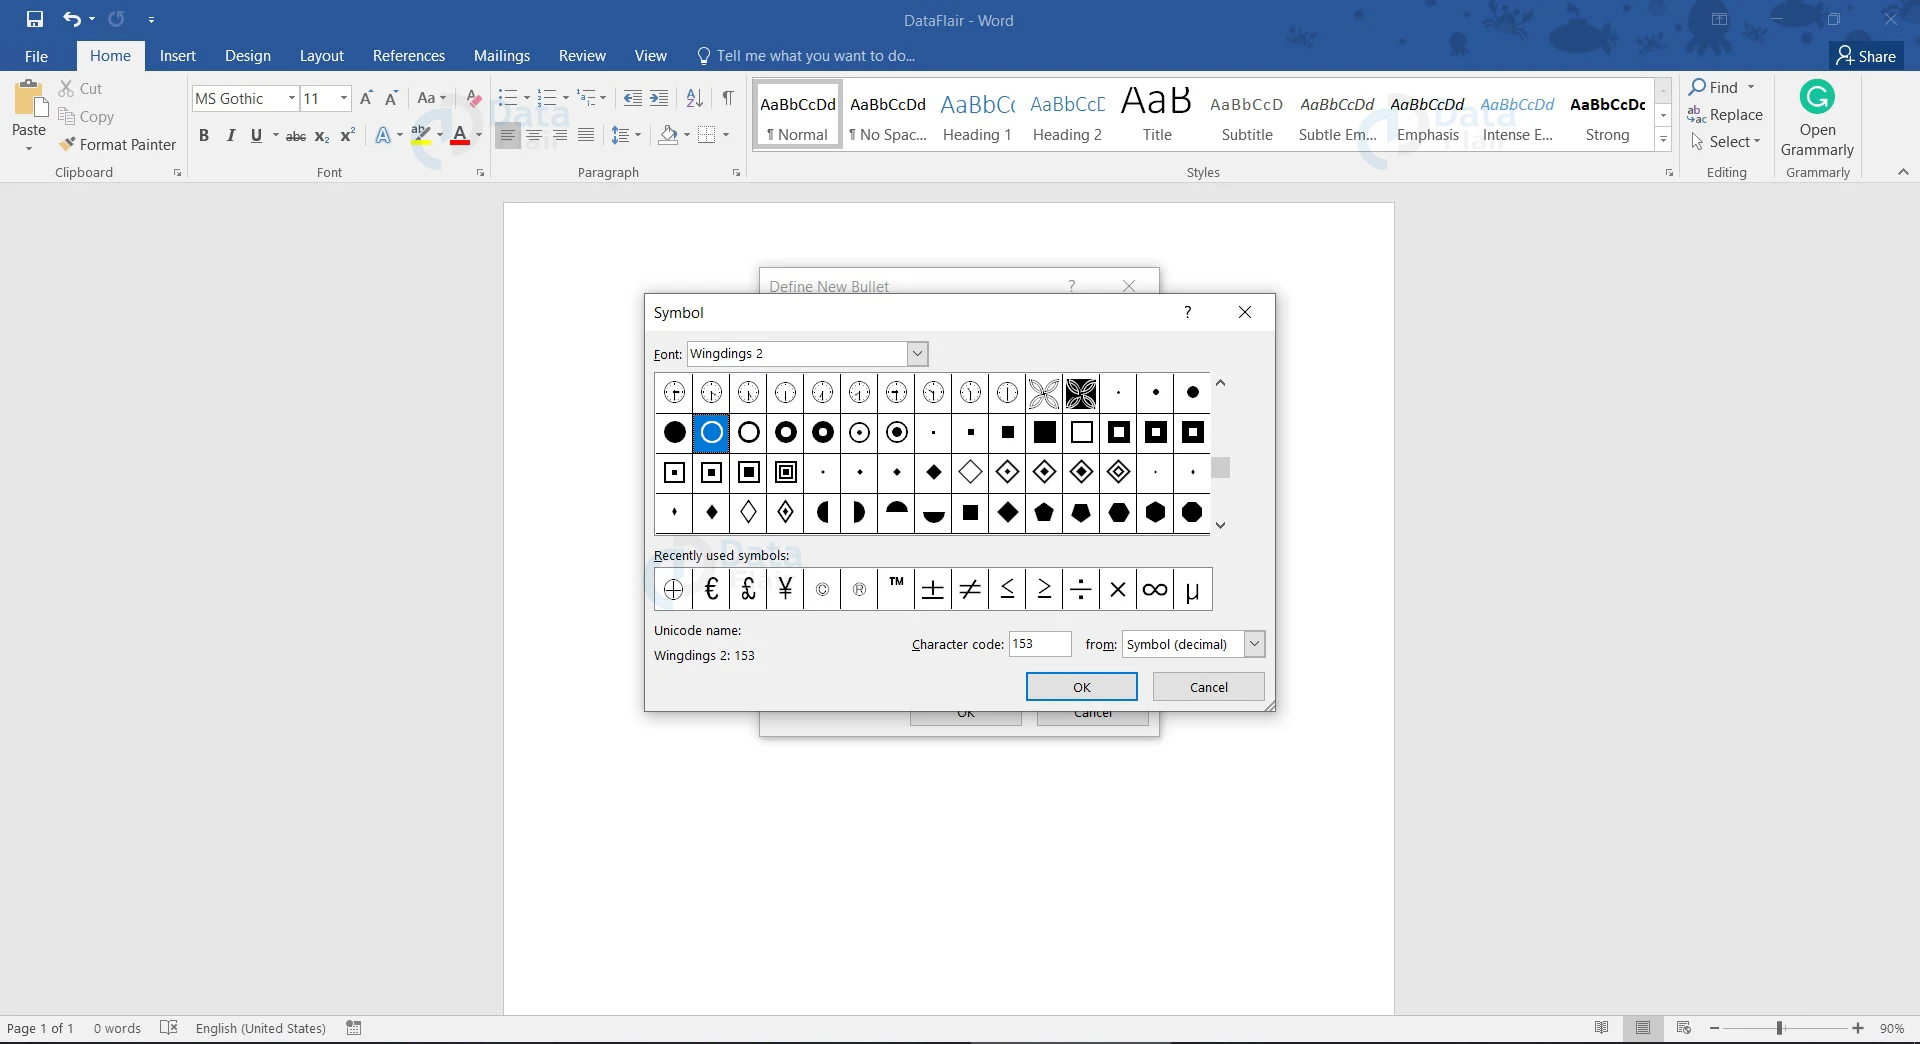
3. From the Symbol dialog box, open the Font dropdown menu. Choose the Windings 2 option.
You can also open the Symbol dialog box by clicking on the Symbol option under Symbols group of the Insert tab. From the dropdown menu that appears, choose More Symbols… option.
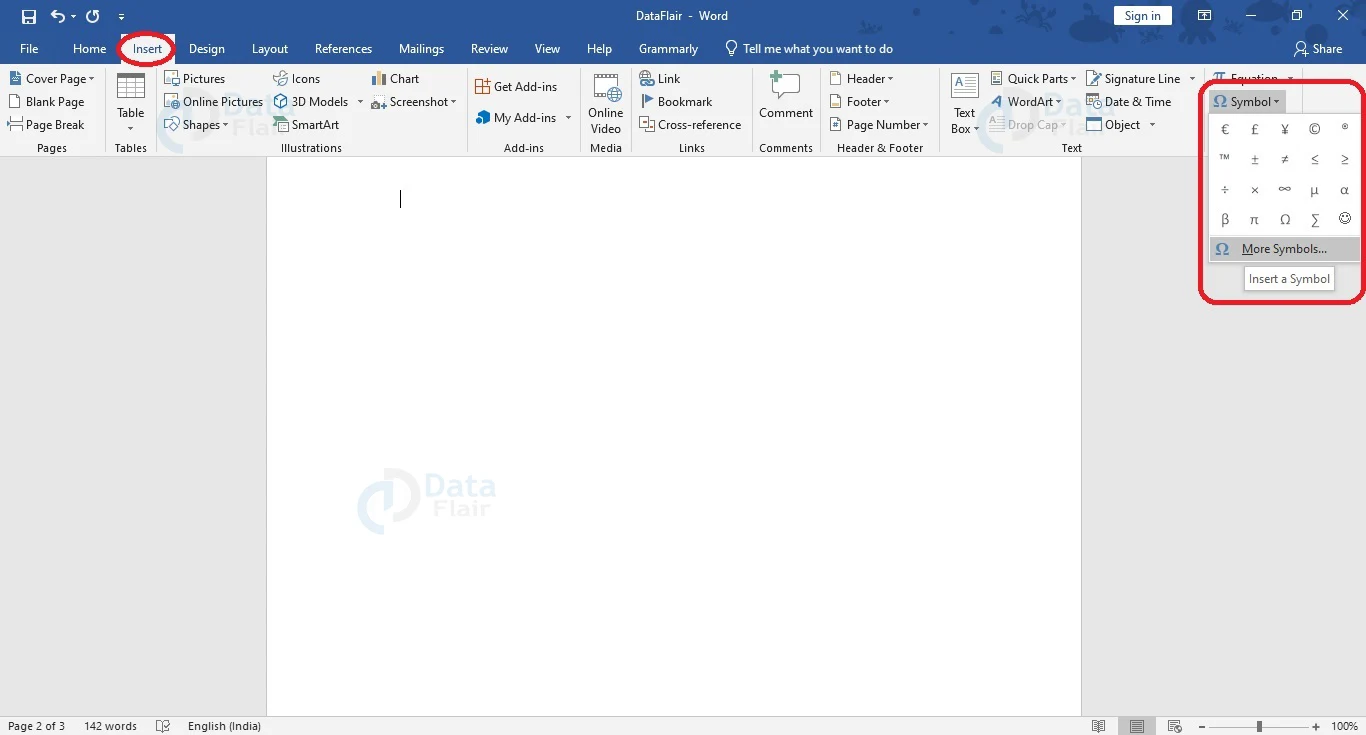
If you have already used the proper symbol for the checkbox, you might find it among the list of common symbols used and can also choose from there.
4. Several symbols appear for you to choose from. For the proper checkbox symbol, you need to scroll down till you find the required one. As an alternative, if you already know the symbol’s character code, you can type it in the Character code: box.
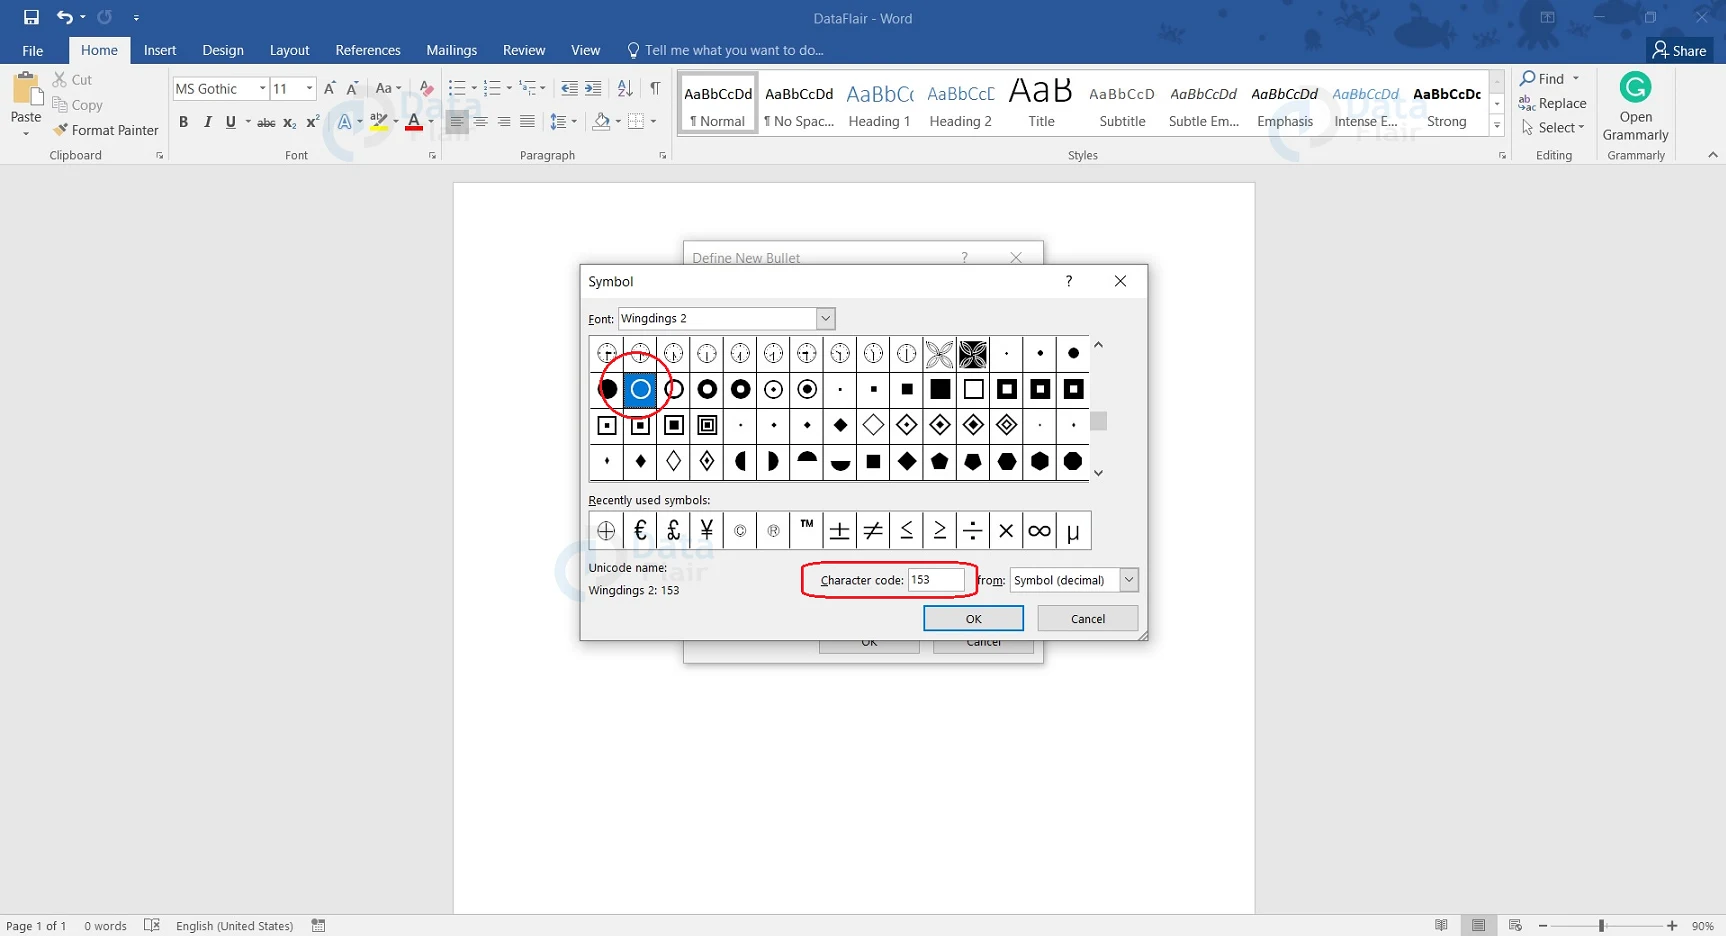
The character code for an empty square is 163.
The character code for an open circle is 153.
5. Click OK to close the Symbol dialog box. Again click OK to close the Define New Bullet dialog box.
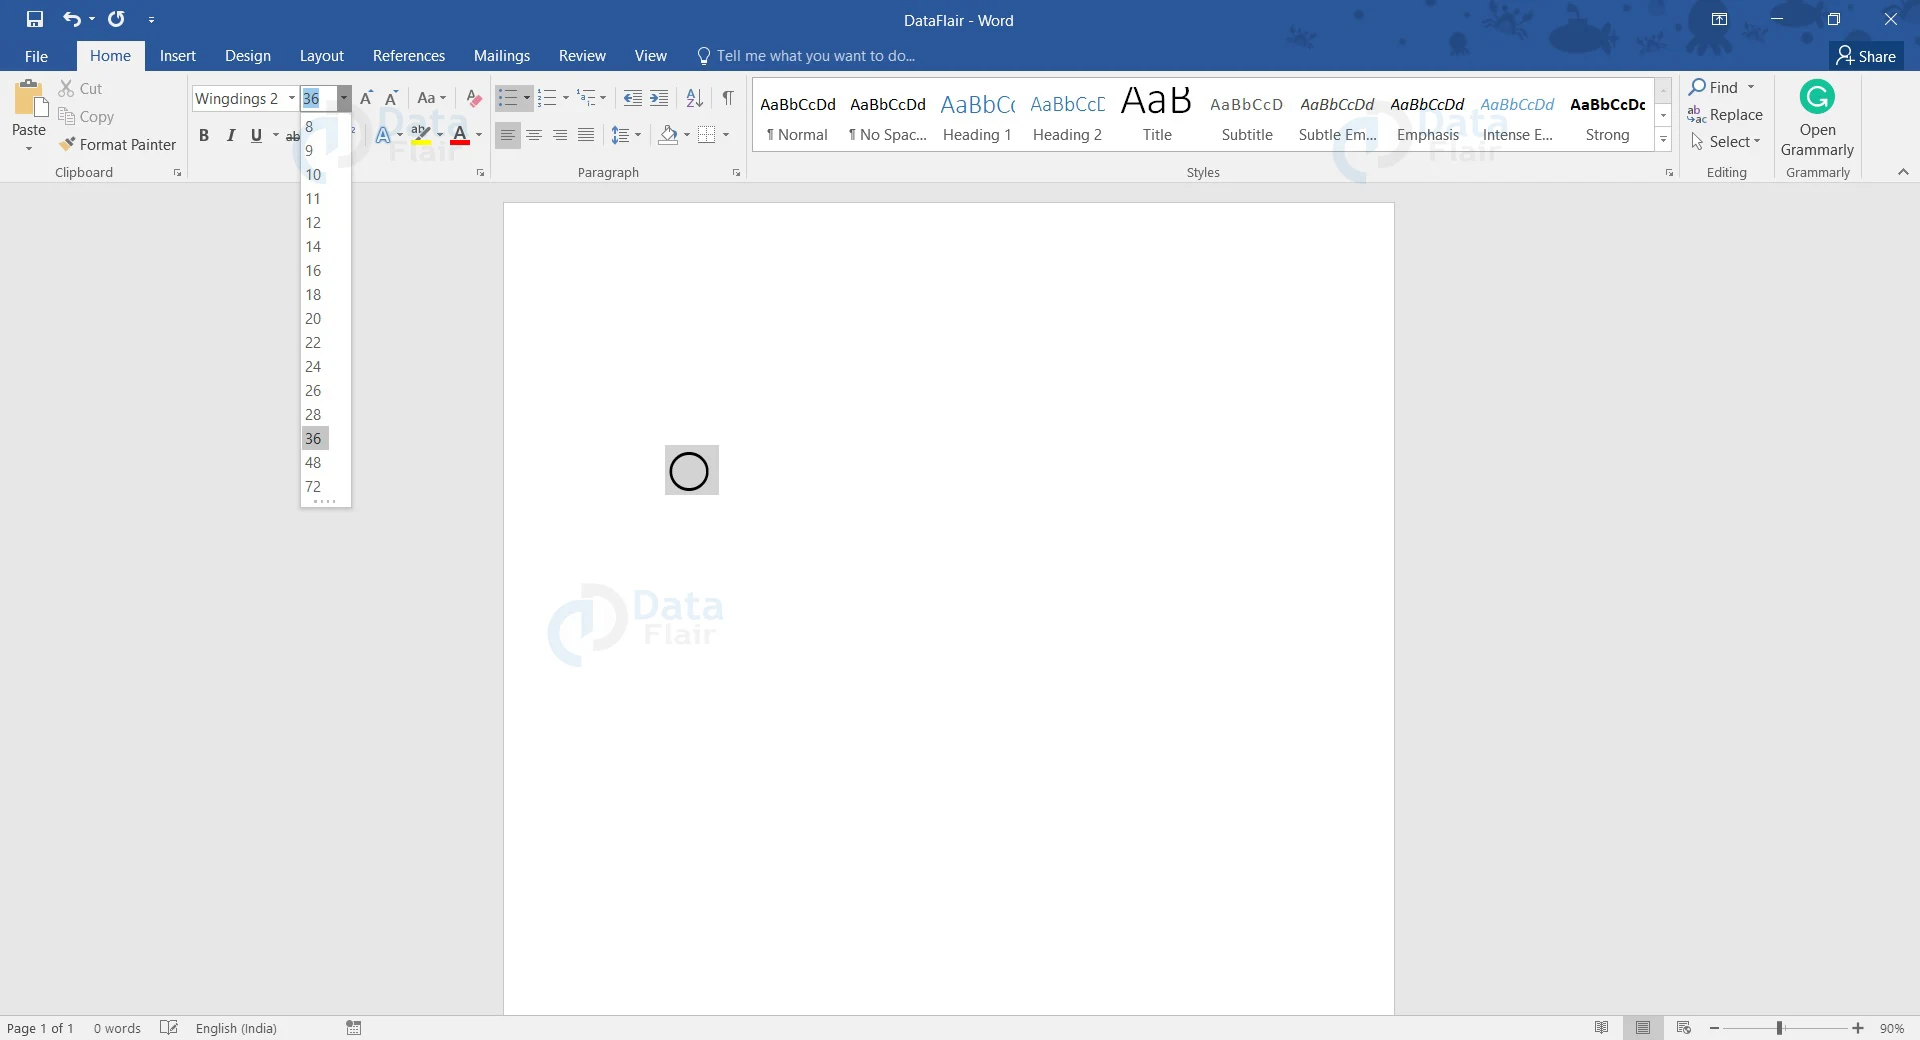
If you go back to your document, you will notice that the check box is now present at the mentioned position. We have chosen the circle (Character code 153), so it appears here. You can also choose other empty shapes or bounded figures like a square.

In case you need to insert a checkbox to the same document again, you would just have to select the proper symbol under Recently Used Bullets from the dropdown menu of Bullet List. You may change the size of the checkbox by changing the font size of that specific line.

This method is very useful only for printed documents.
Condition 2 – Non-Printed Documents
On softcopies, checkboxes can be inserted from the Developers tab. However, by default, the Developer tab is absent, and you would have to enable it manually. First, let us go through how you can enable the Developer tab in Word.
1. Open a new or existing Word document.
2. Click the File tab on the ribbon. From the menu that appears, go to Options.
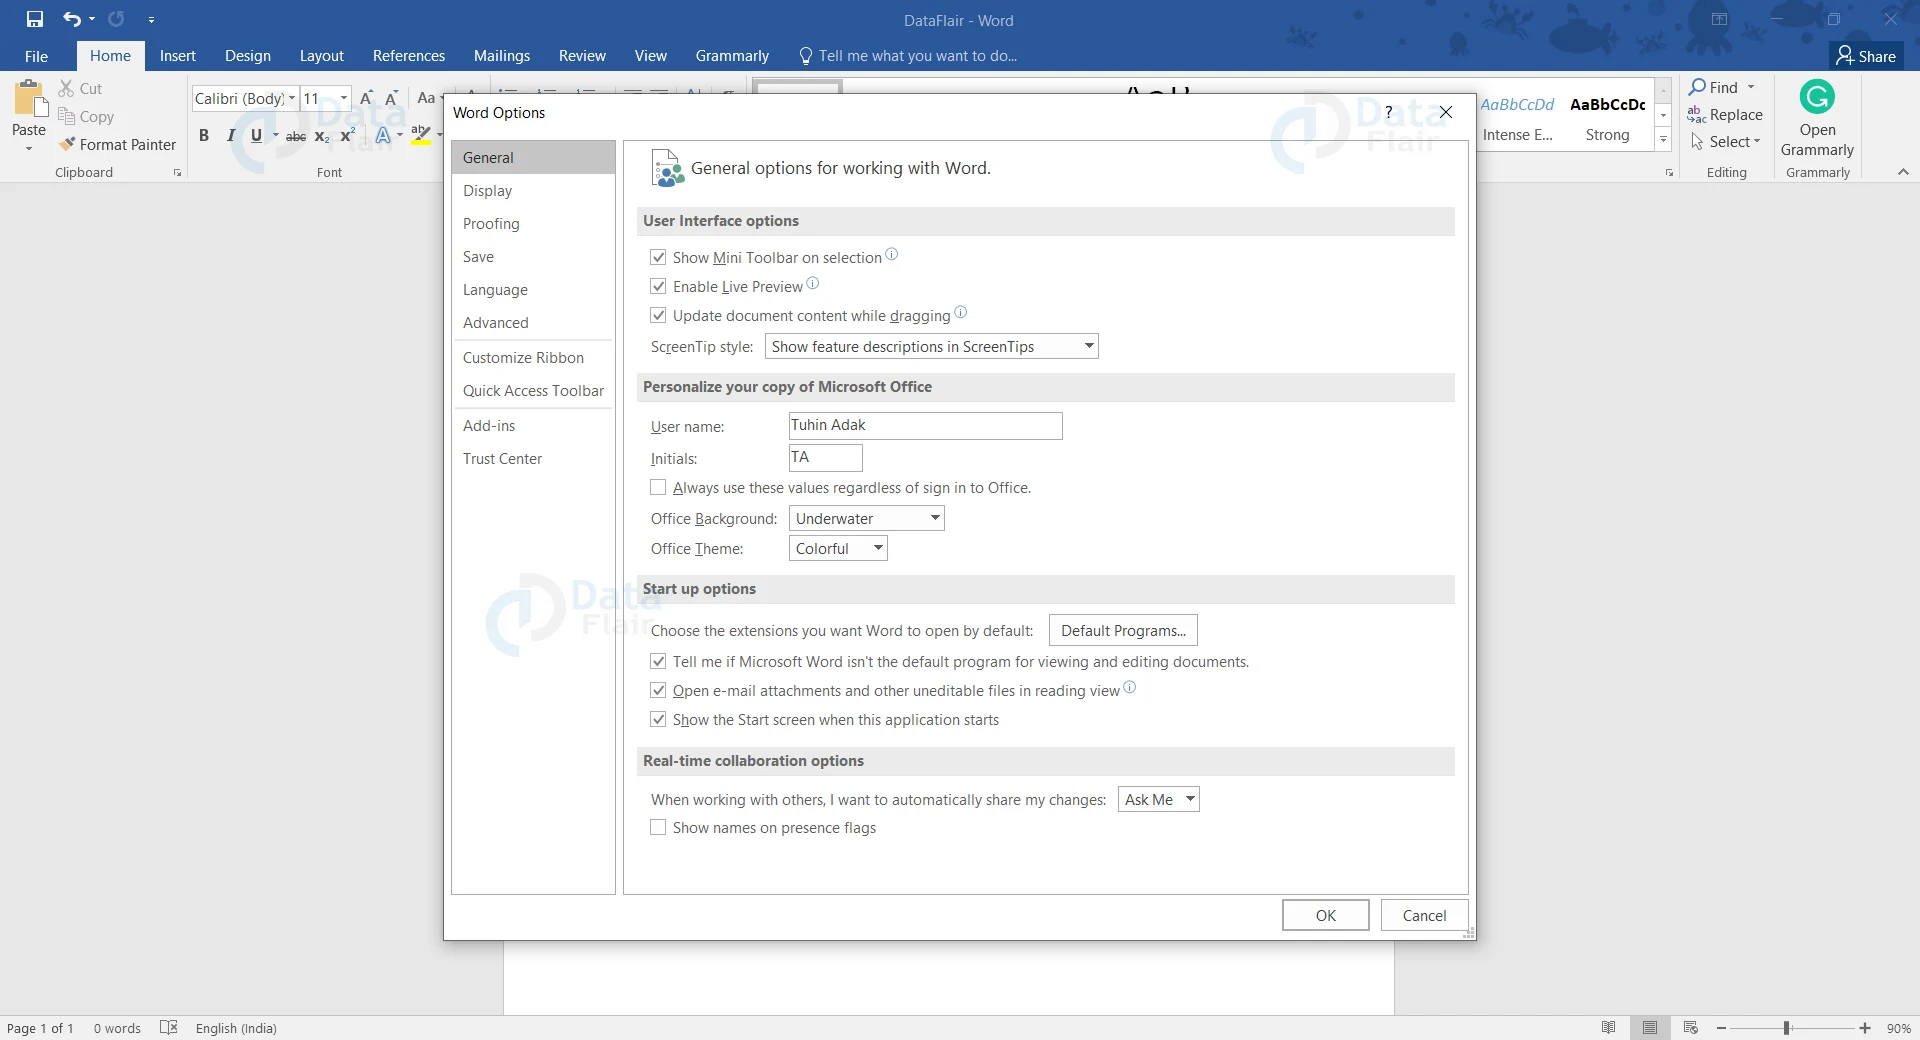
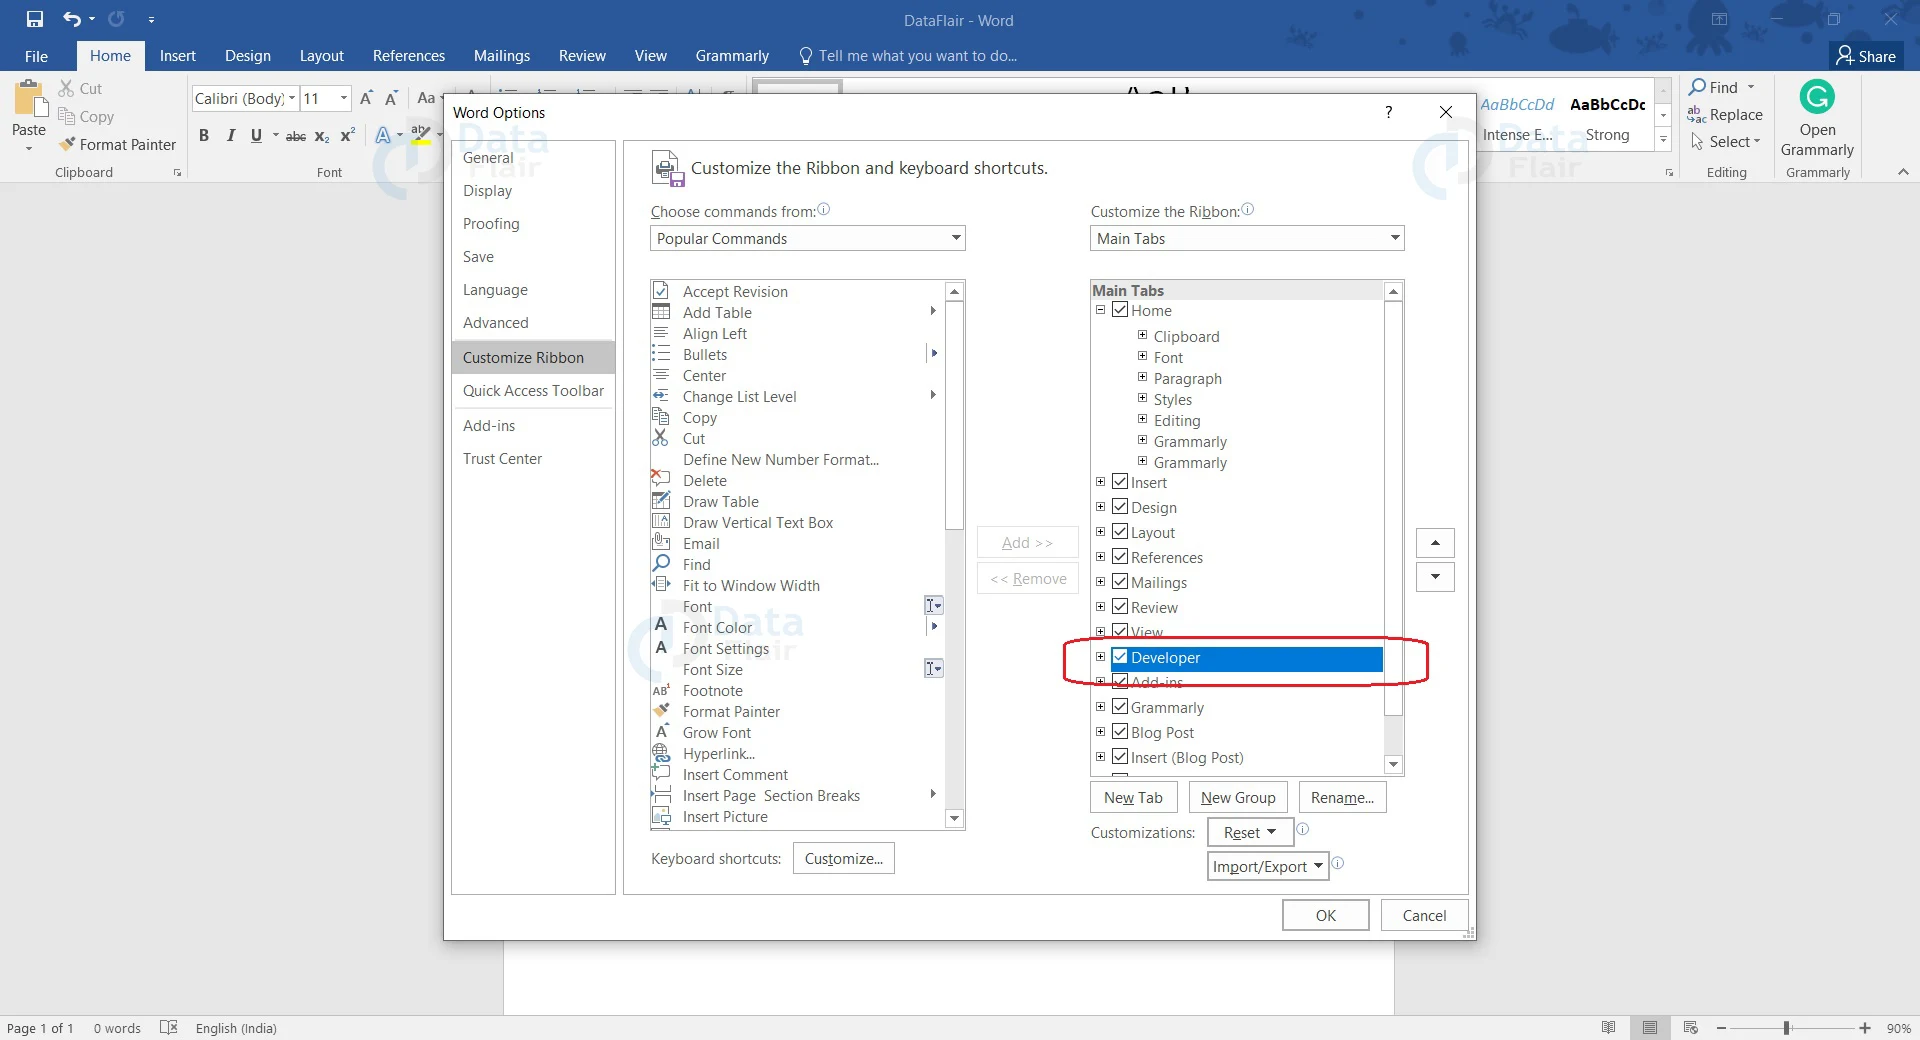
3. The Word Options dialogue box appears. From the left-hand list, choose Customize Ribbon option.
4. Under Customize the Ribbon list, choose Main Tabs from the dropdown list.
5. You would see that the Developer tab is not selected. Select the respective checkbox, and click OK.
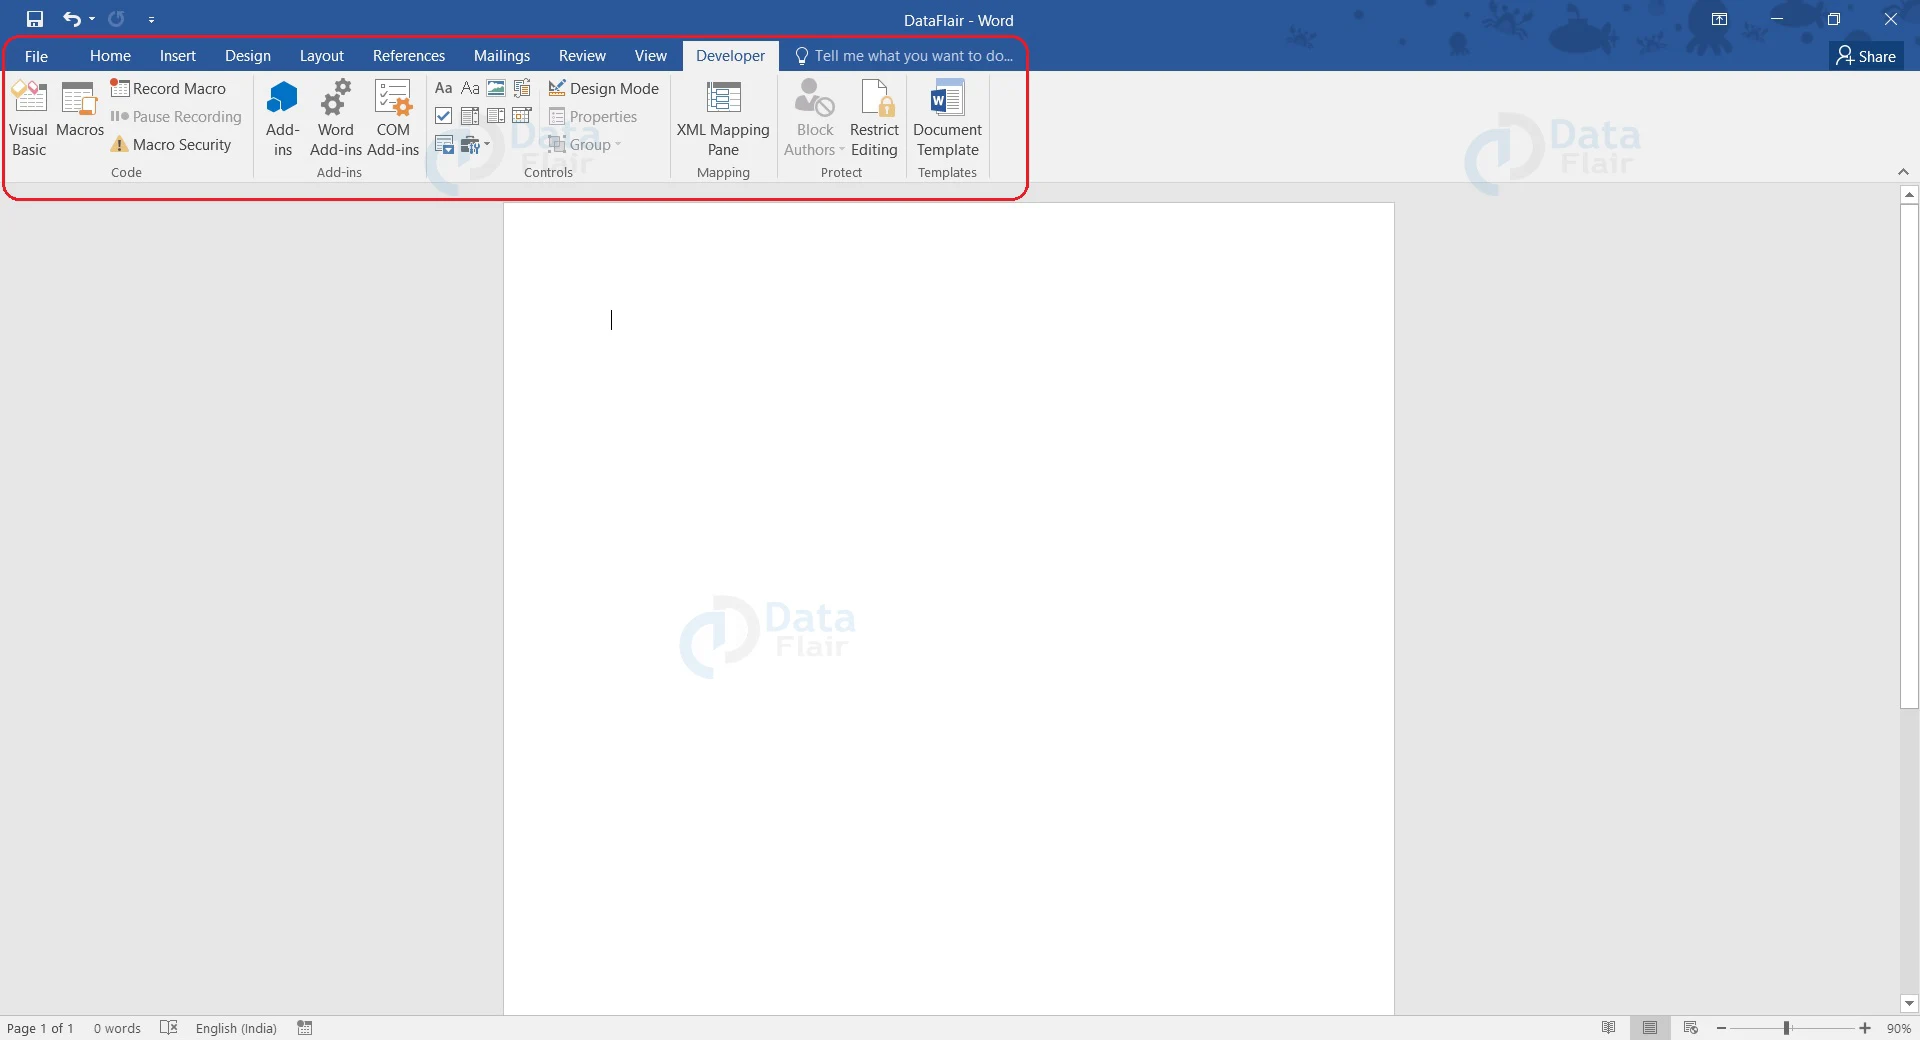
Now you will see that the Developer tab is present in the ribbon. Let us see how you can insert checkboxes in Word to create a fillable form.
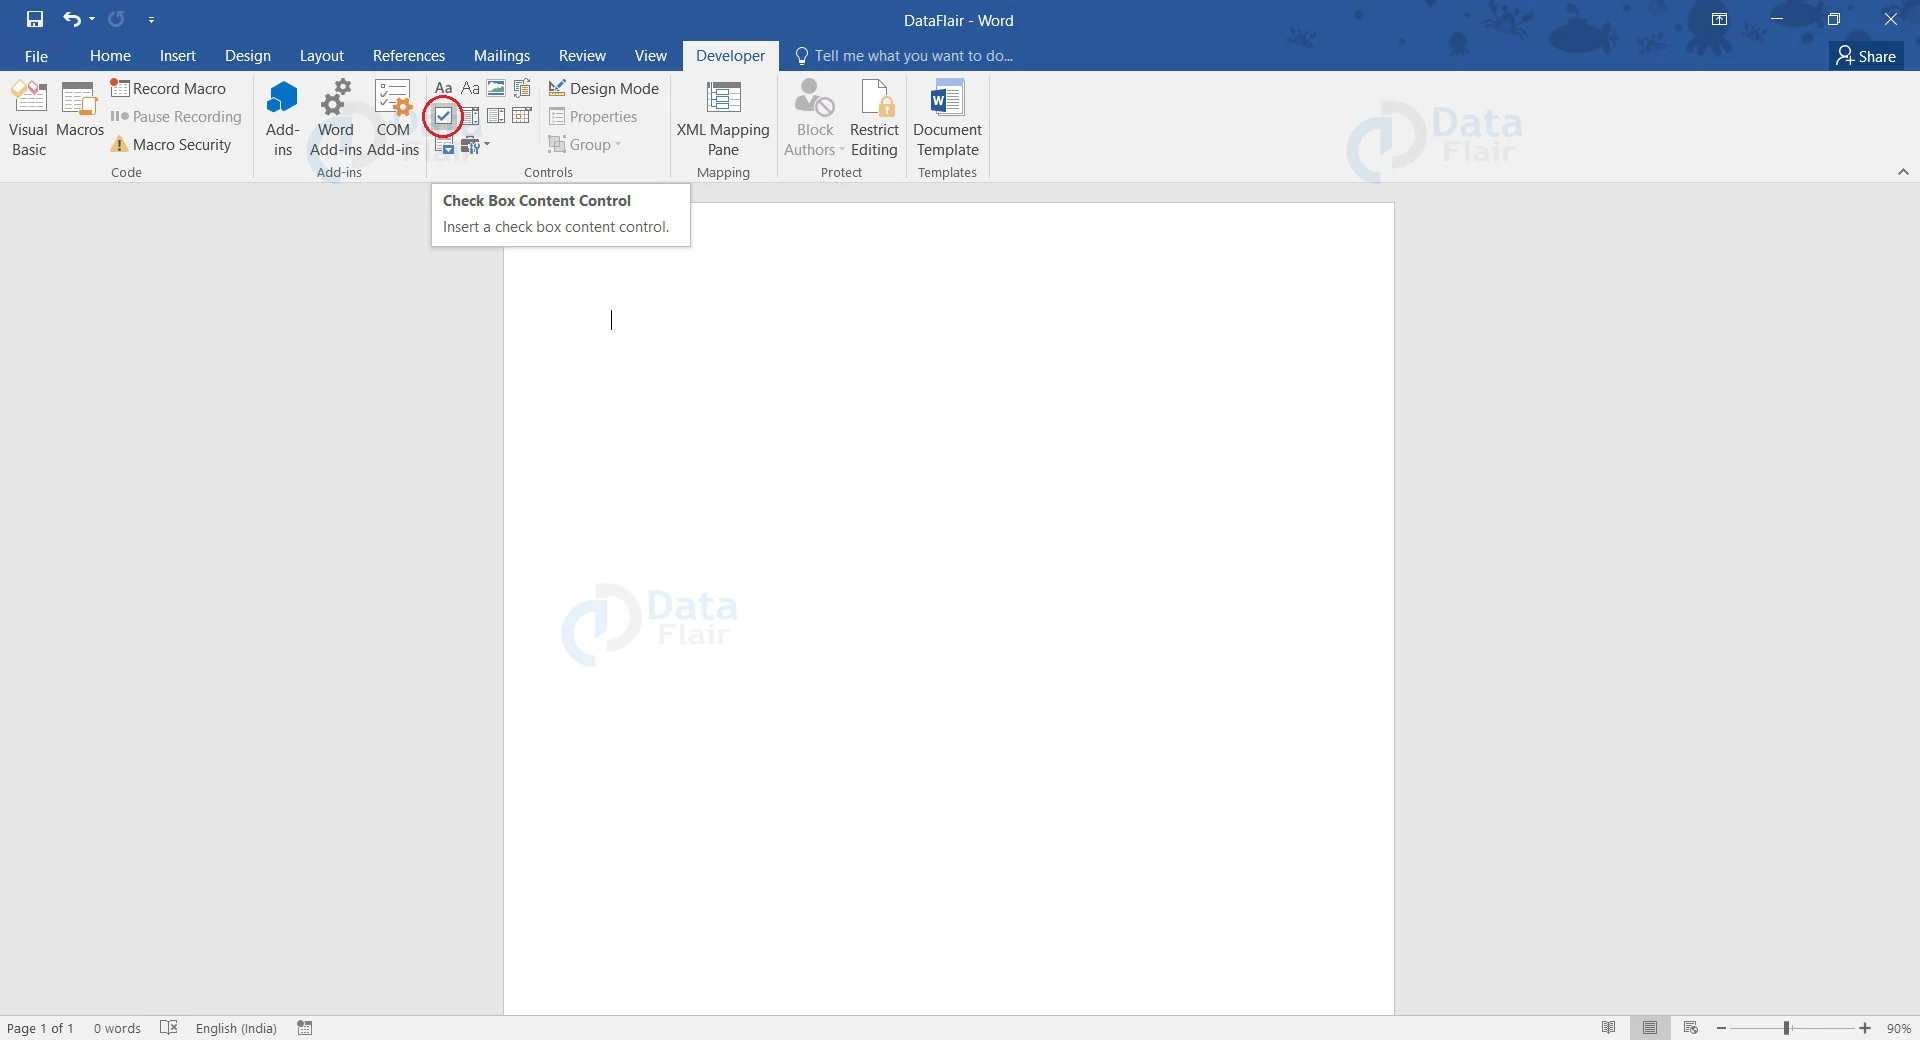
1. Place your cursor at the position where you wish to insert the checkbox.
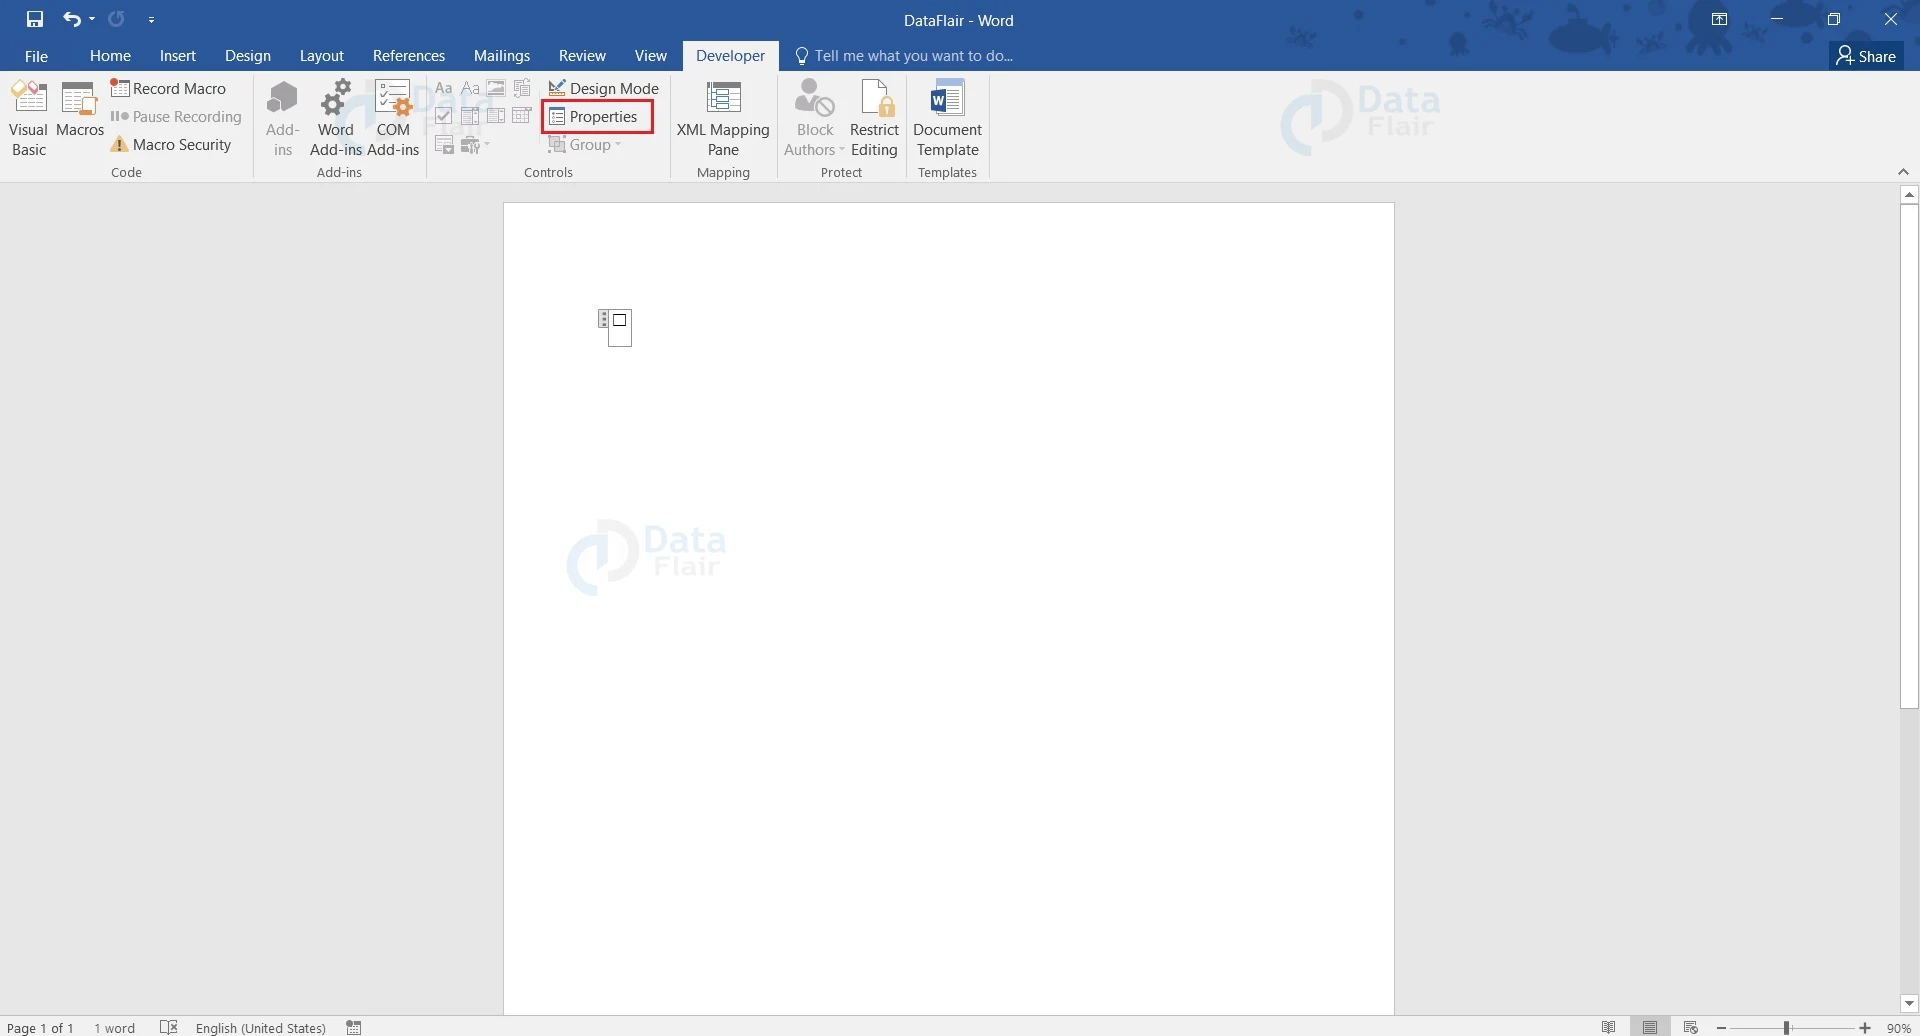
2. Go to the Developer tab and click the Check Box Content Control button.
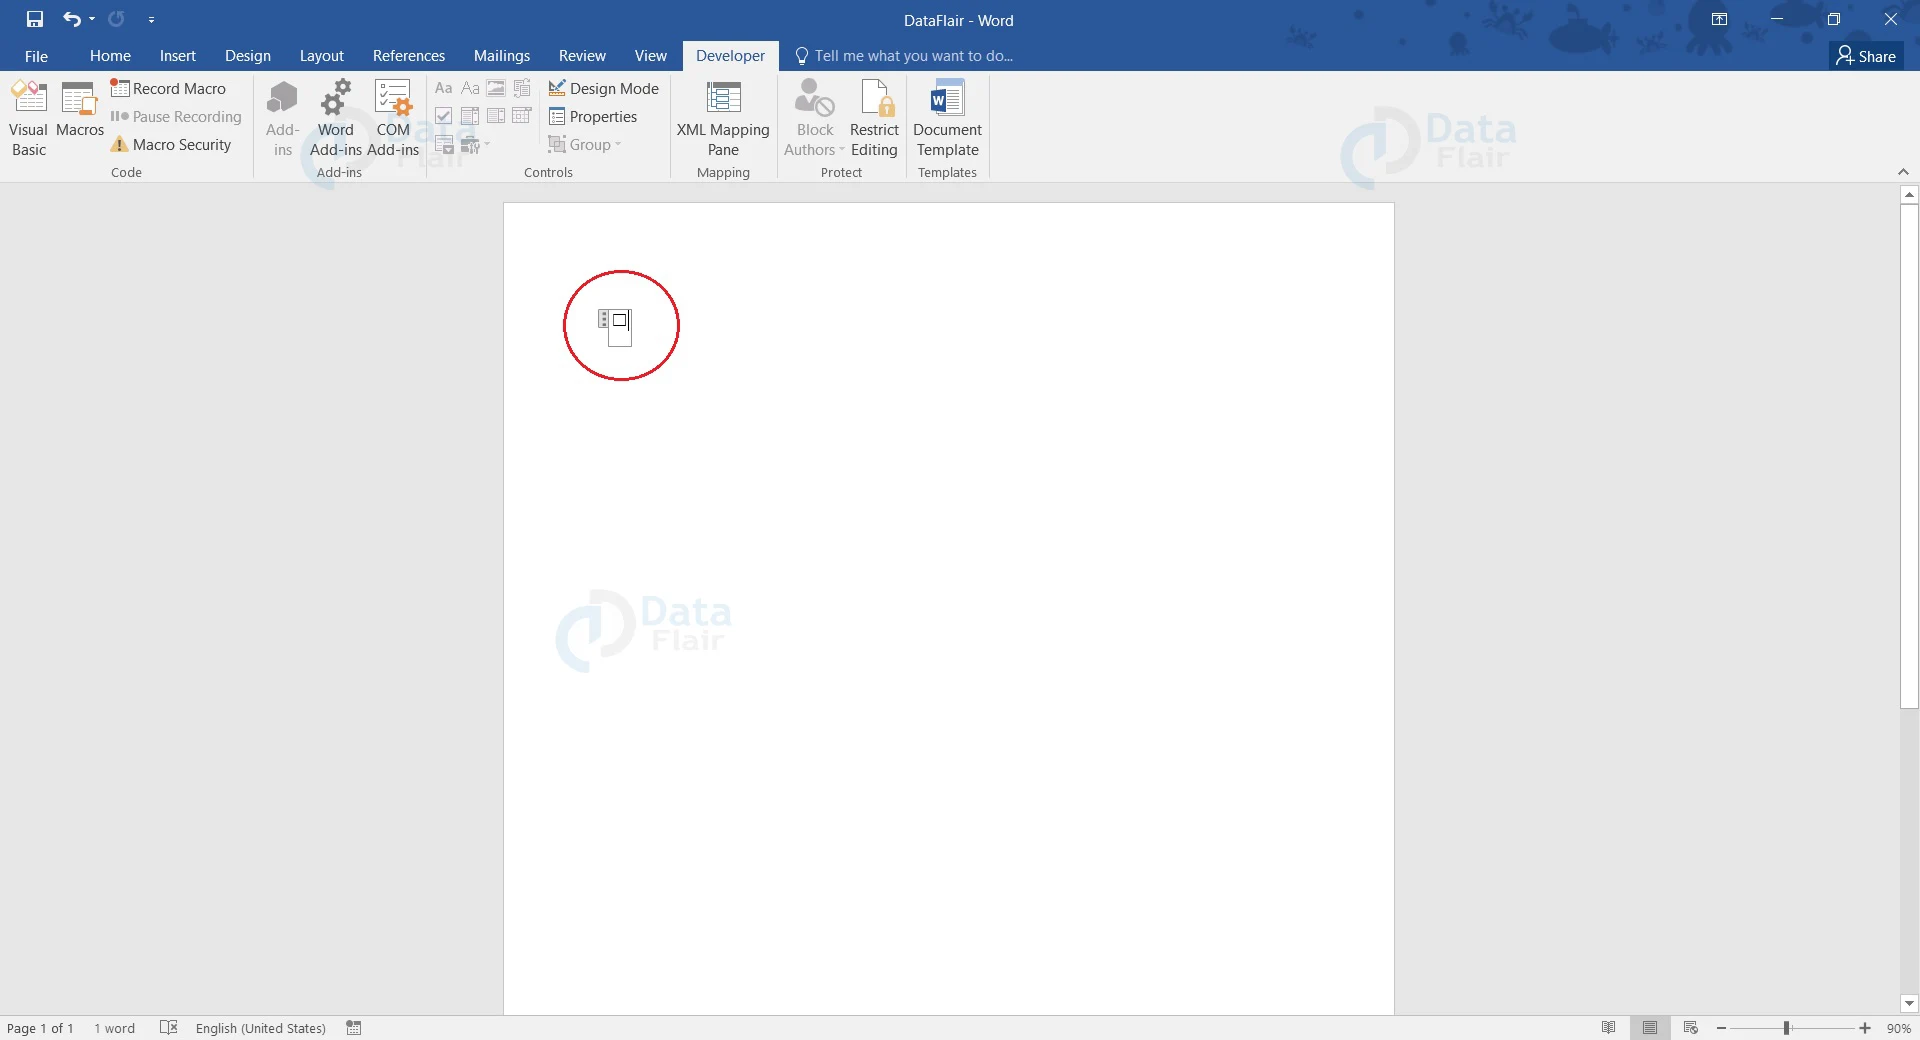
3. An interactive checkbox will appear. If you click a box, it gets marked with an ‘X’ and you can remove the mark by clicking it again.
4. You can select the whole box and drag it to change its position.
5. You can change the properties by selecting the checkbox and clicking the Properties button.
On clicking the Properties button, the Content Control Properties dialog box appears.
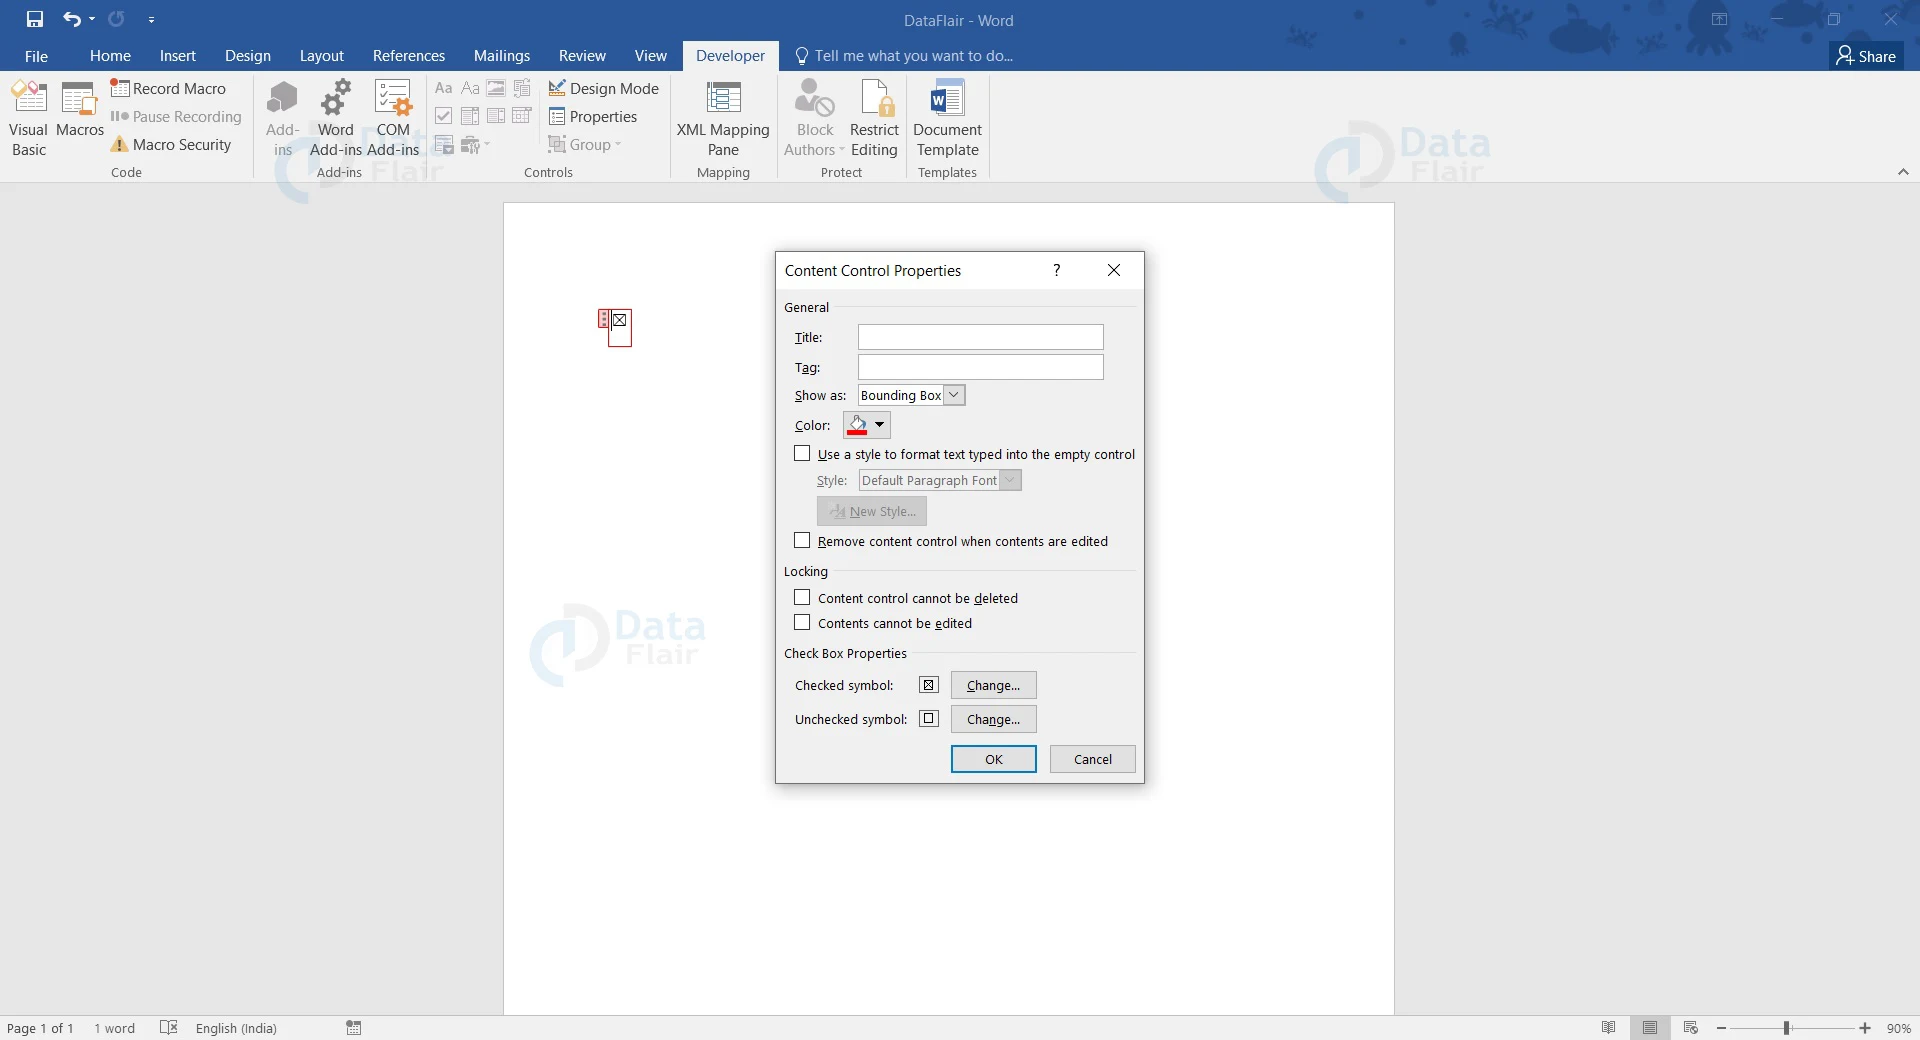
We have selected the color red for our checkbox. You can also add a title, tag, and change how the checkbox appears. You can also change how the checkbox looks from the Checked Symbol: and Unchecked Symbol: sections. These control options will help you in your work.
You have successfully inserted an interactive checkbox on your Word document. This can help you a lot while working on forms in Word.
Conclusion
You now know how to add checkboxes in Word, and that will help you a lot while you are creating forms to be filled or making a list of options for others to choose from. The Checkbox feature in Word has been a great help for many offices and companies as they create feedback forms to gather customer reviews for improving themselves and their services. You should try out this feature as they come in handy often.
Did we exceed your expectations?
If Yes, share your valuable feedback on Google


