Formatting Text in MS Word
Interactive Online Courses: Elevate Skills & Succeed Enroll Now!
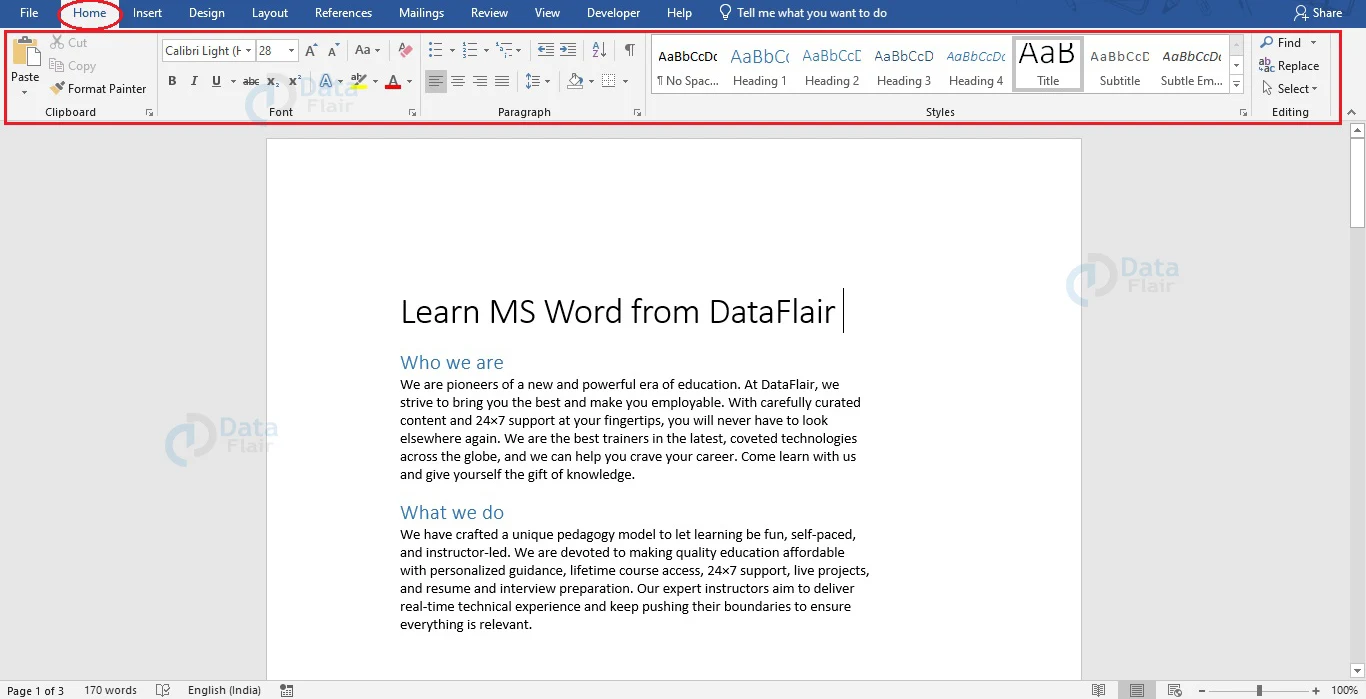
Students and professionals use Word for documenting their work and projects. Formatting can help draw the reader’s attention to a specific part of the document, and also emphasize on main points or the headlines of the document. You can see all the formatting options for Word under the Home tab. This is the default tab that is selected when you open a new or existing document.
Let us see how we can change the formatting of text in Word.
How to Format Font Size in Word?
Formatting the font size is one of the most used cases of formatting. Follow the steps mentioned below to change the font size of your text.
1. Choose the words or text whose size you wish to change.
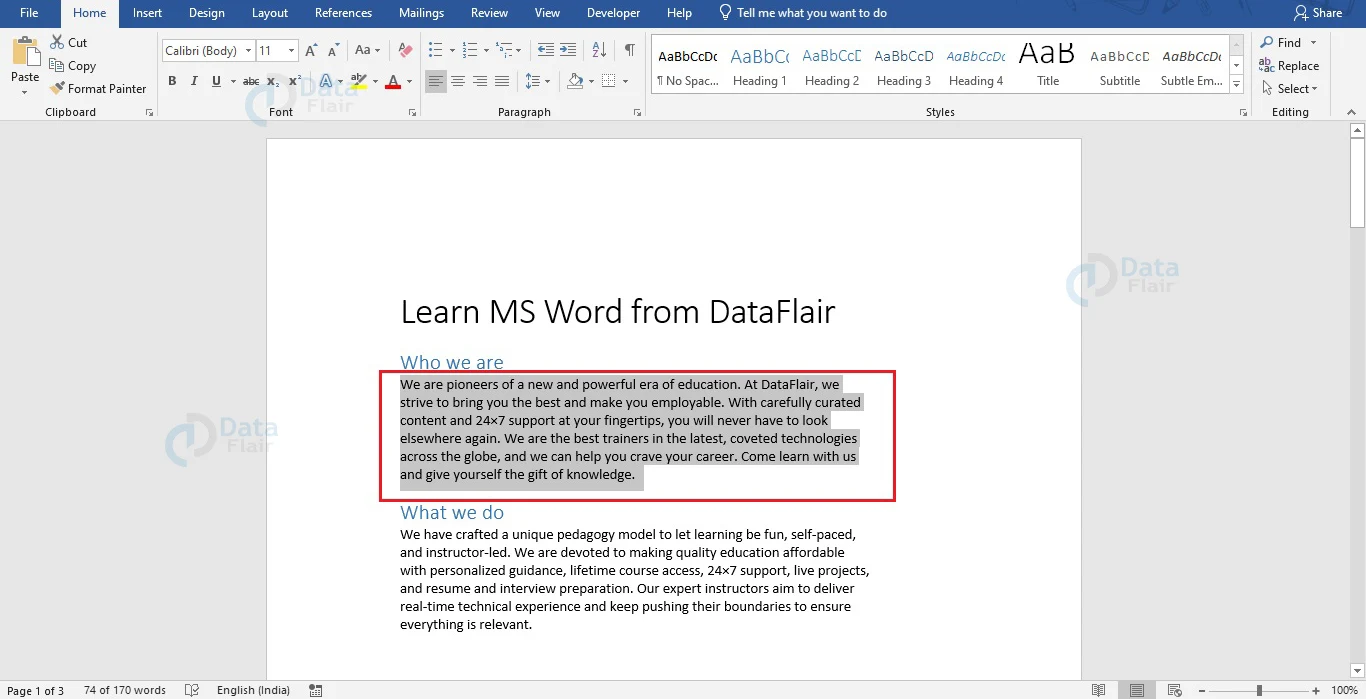
2. From the Font Group under the Home tab, choose the necessary font size from the dropdown. You can also type the desired font size for your text in the space.

Here is another method you can follow to change the font size of your text.
1. Select the text to change its size.
2. Click on the right mouse button to open the formatting options and a menu.
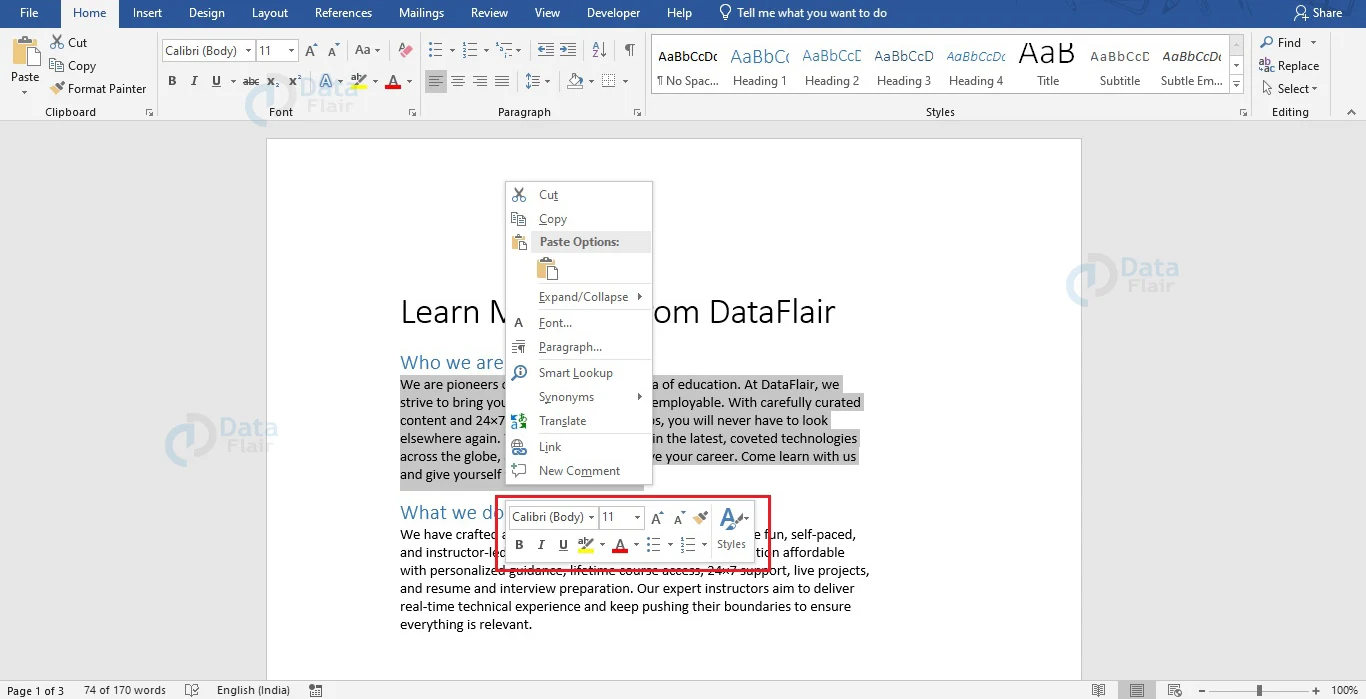
3. You can choose the desired font size from the formatting options that appear.
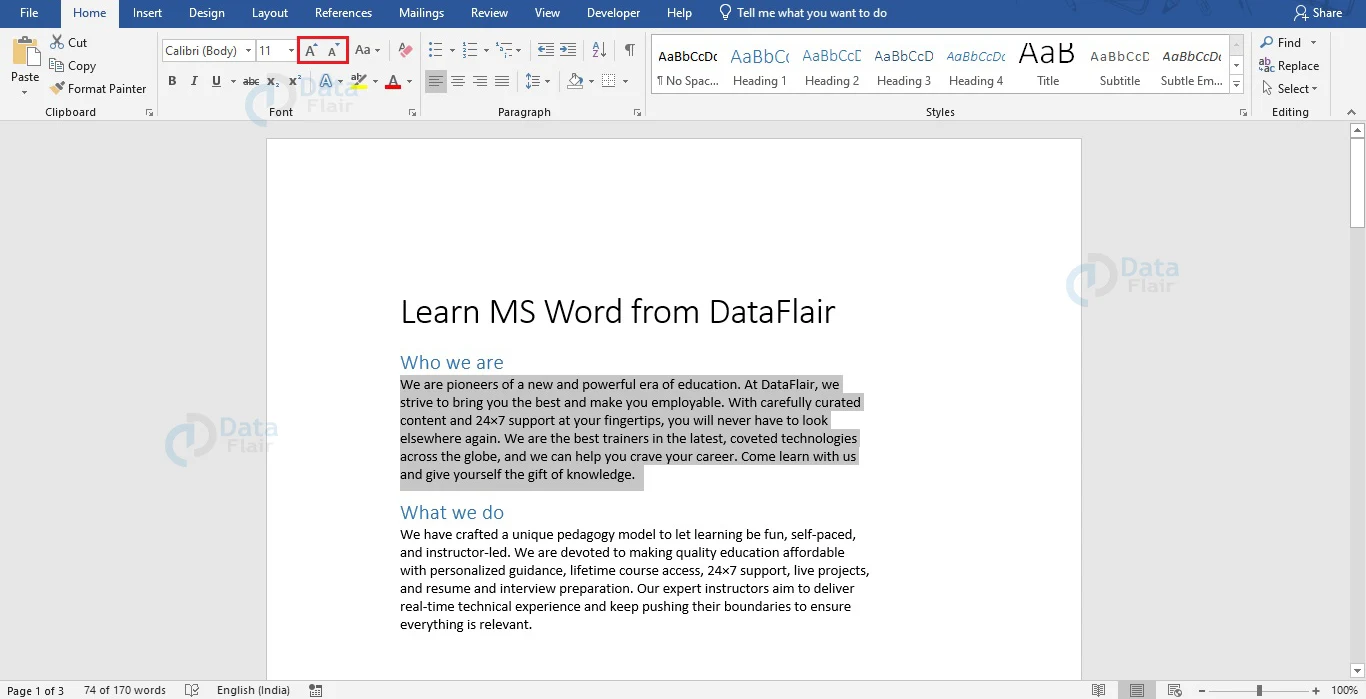
You can also change the font size of your text using the Shrink and Grow buttons. To do so, select the text whose size you wish to change. Click on the Shrink button to decrease the size, and the Grow button to increase the font size. Select the whole document to change the font size of the whole document. Every time you use these buttons, your font size changes by 1 point.
How to Format Font Style?
Formatting font style is a very easy task and can be successfully done by following the steps mentioned. There are two ways, and we would be discussing both of them.
Method 1:
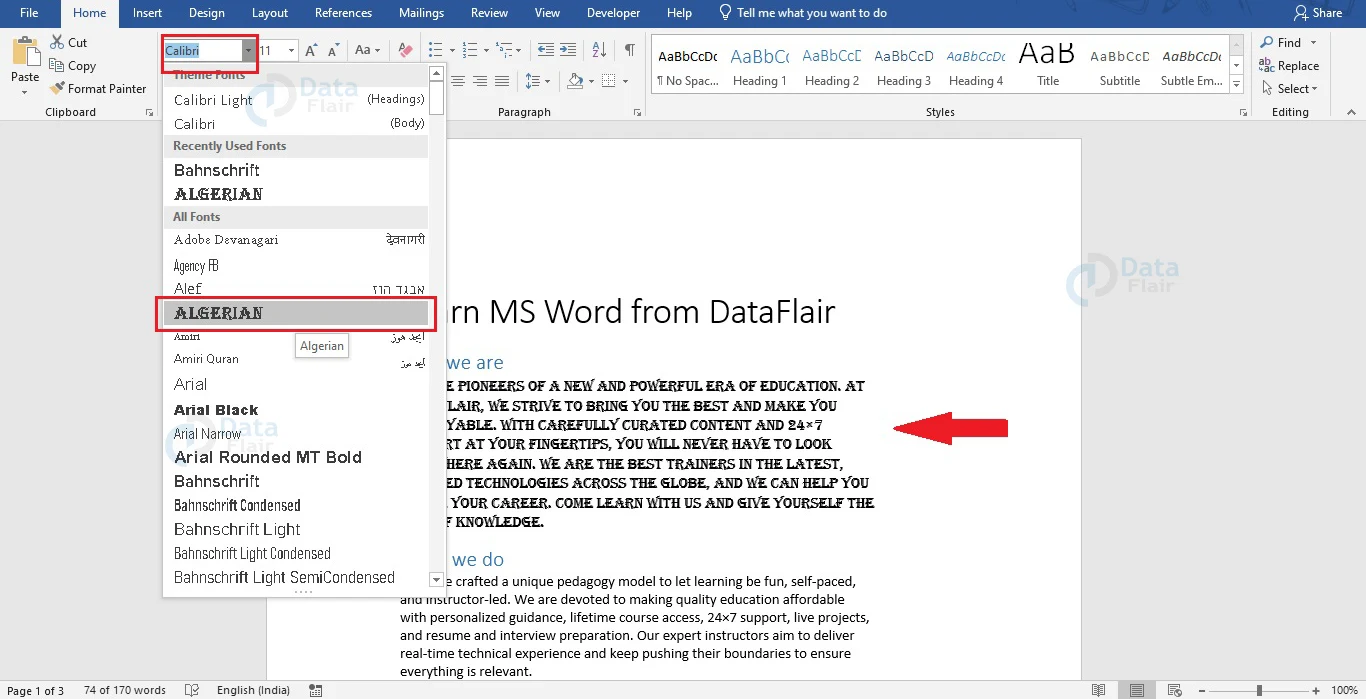
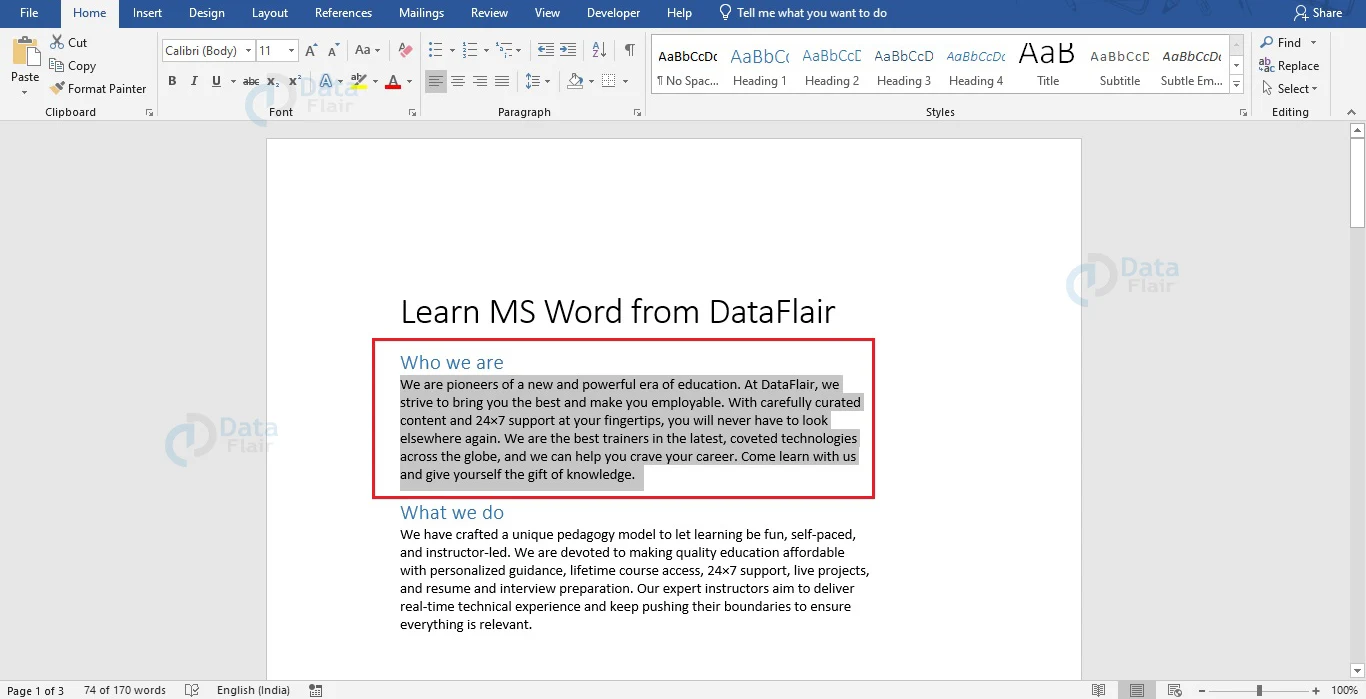
1. Choose the words or text to change its style.

2. From the Font Group under the Home tab, choose the necessary font style from the dropdown menu. In case you know the specific font style that you want, you can start typing in the style box to get it easily.
Method 2:
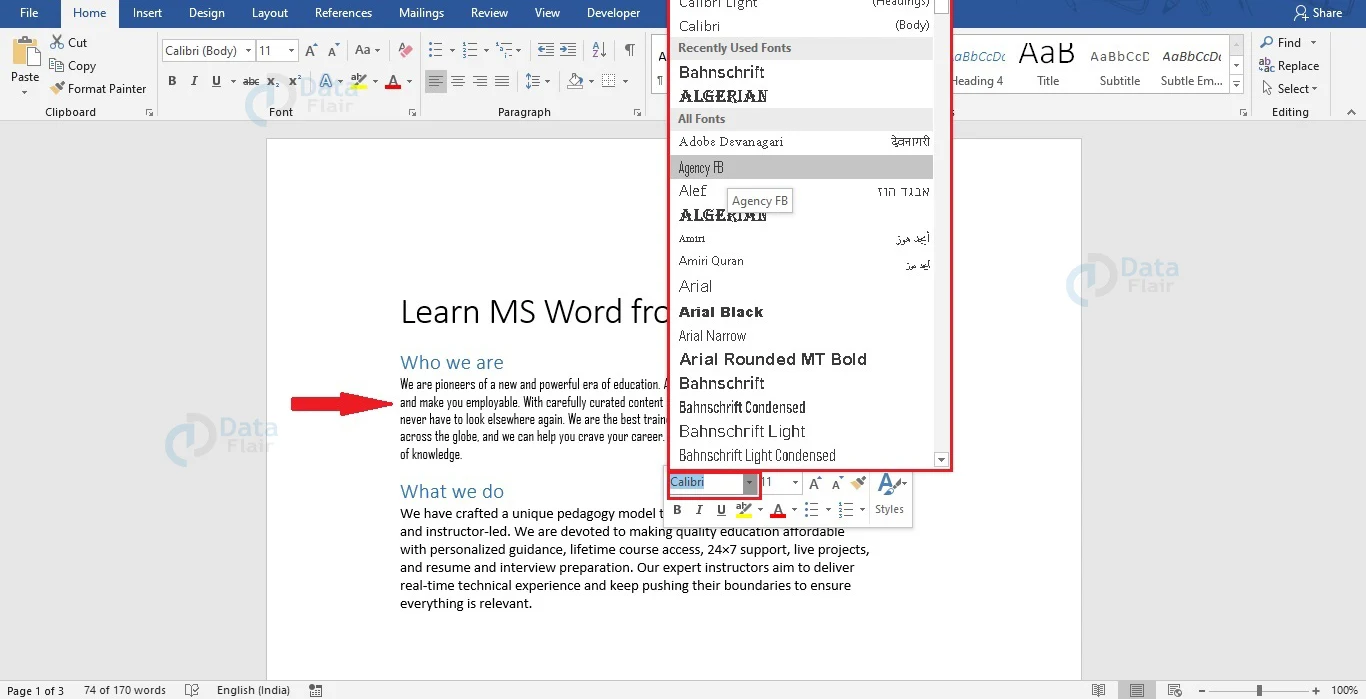
1. Select the text whose style has to be changed.
2. Select the text and click on the right mouse button. Formatting options and a menu will appear.
3. You can choose the desired font style from the formatting options that appear.
How to Format Font Color?
Changing the font color of your text can help emphasize the most important points and highlight topics. Here are the steps to change your font color.
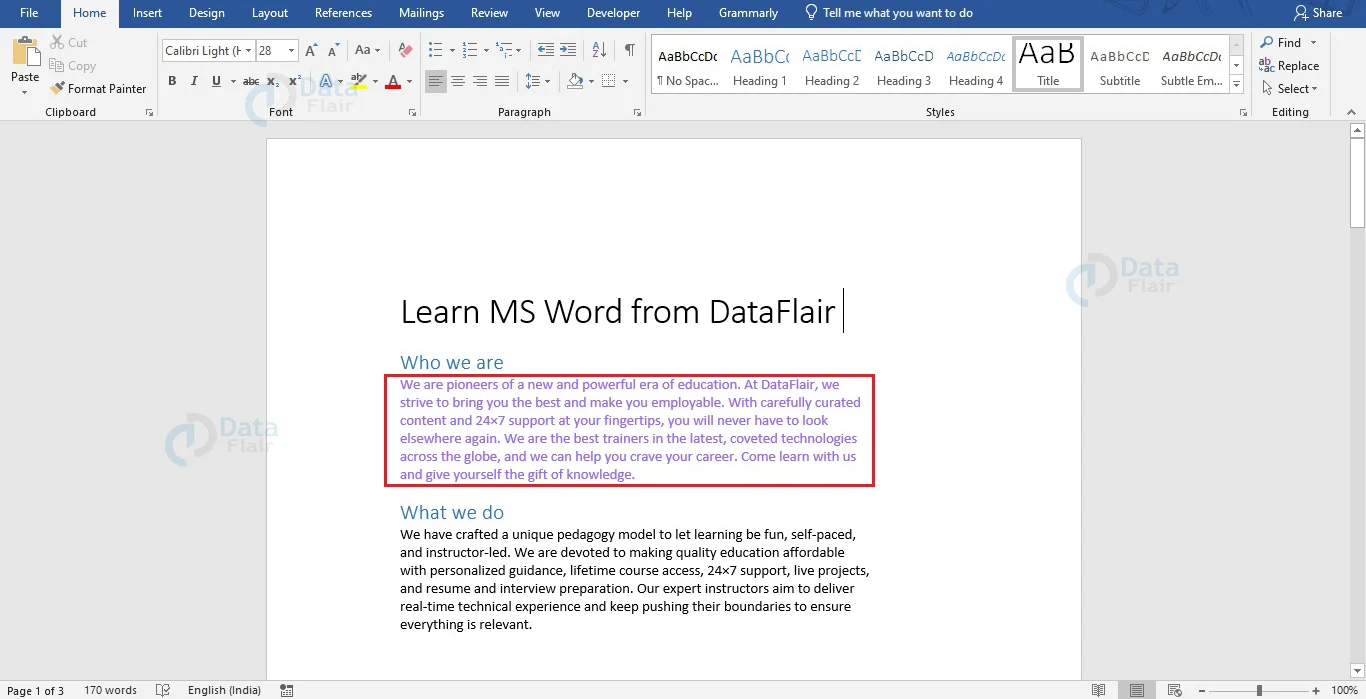
1. Select the text for which you wish to change the color.

2. Select a color from the palette to change the font color. You can choose the More Colors… option if you are looking for more colors. Here you can choose from preset colors or choose a custom color.

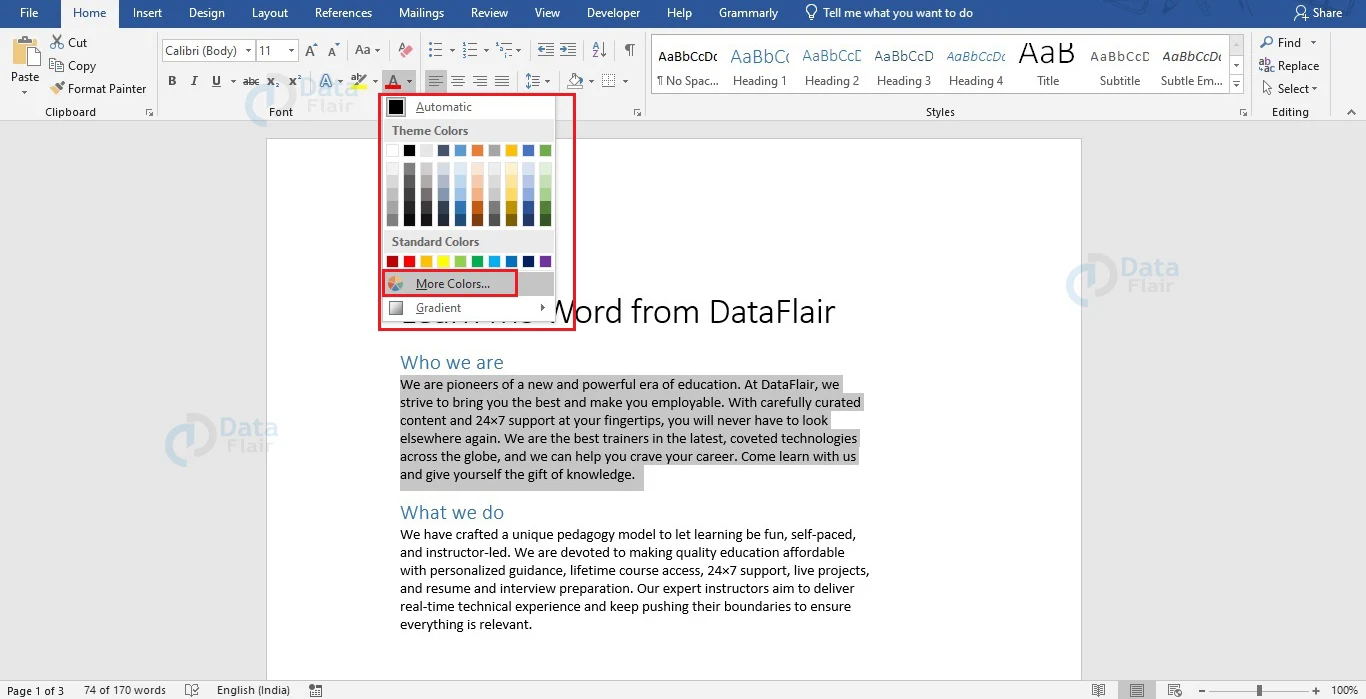
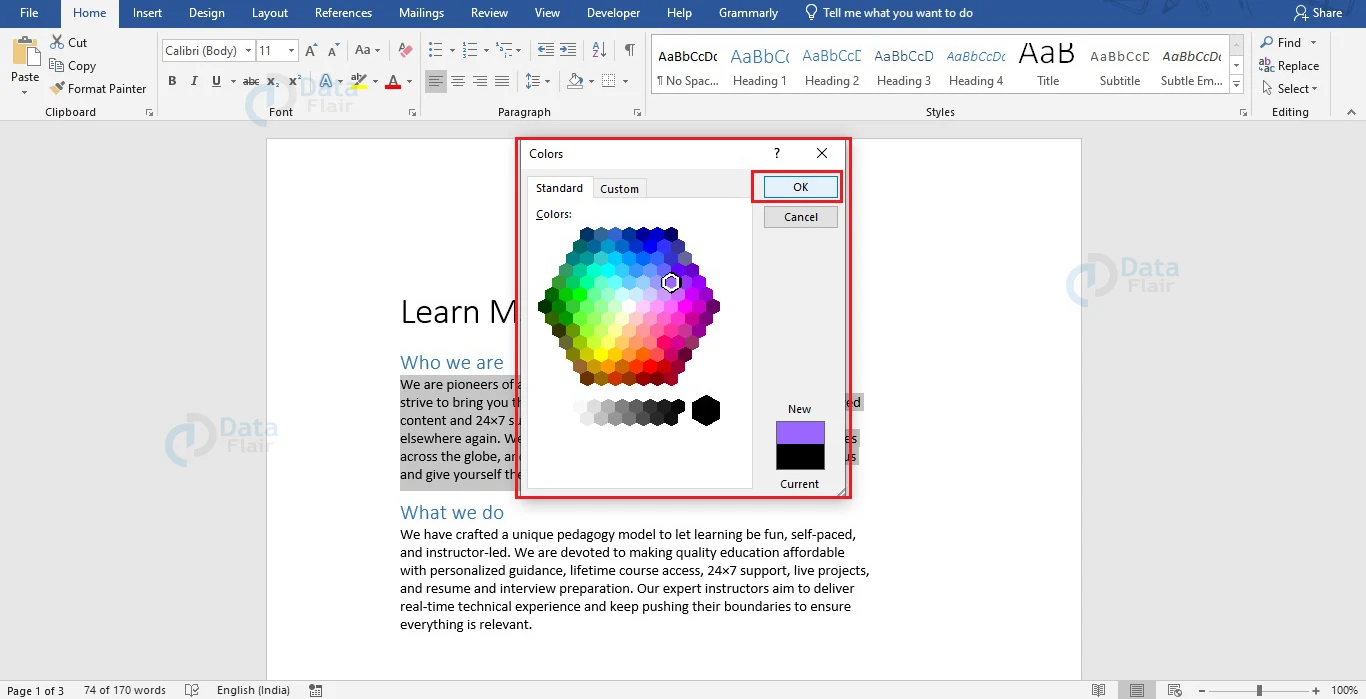
3. Click OK and your font color changes.
Additionally, there is another method to format font color. After selecting the text, right-click to open the formatting options and choose the font color of your choice.

How to Highlight Text in Word?
In Word, the Highlight feature lets you highlight important text in your document. The steps to highlight text in Word are as follows:
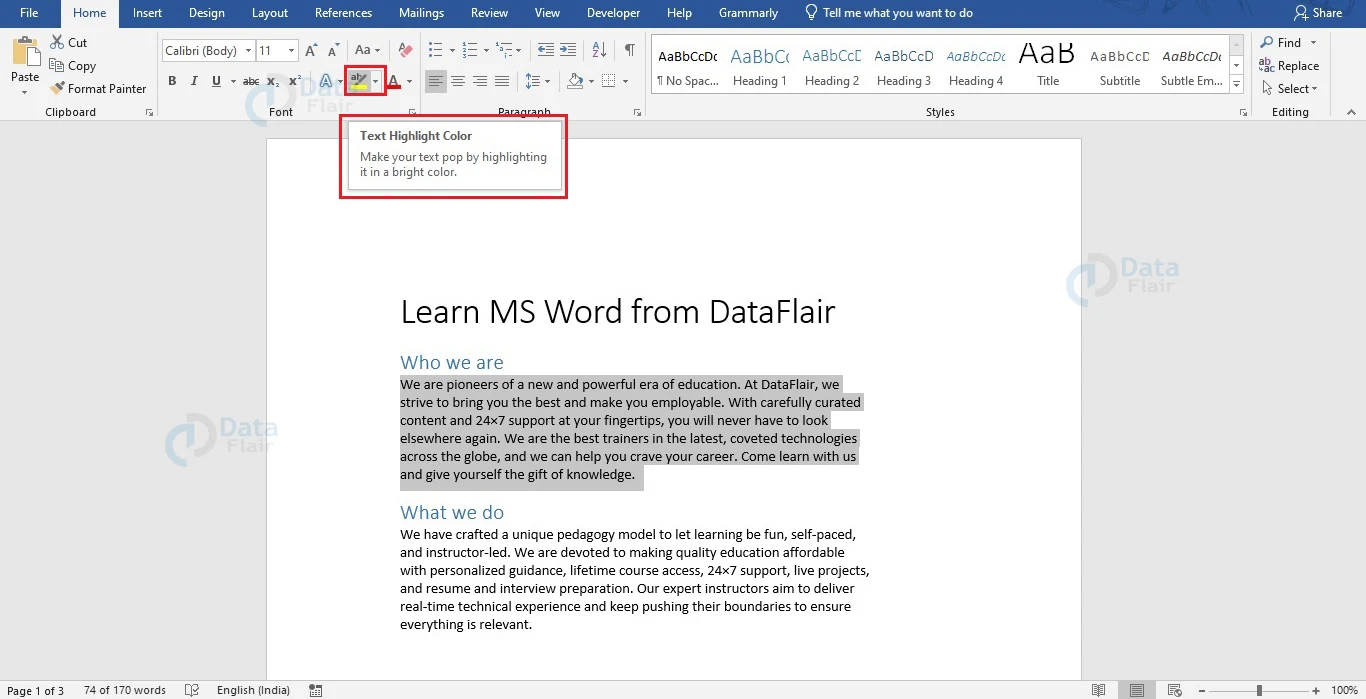
1. Select the text that you wish to highlight.

2. Click on the downward arrow beside the Text Highlight Color button in the Font group of the Home tab to open the associated drop-down menu.
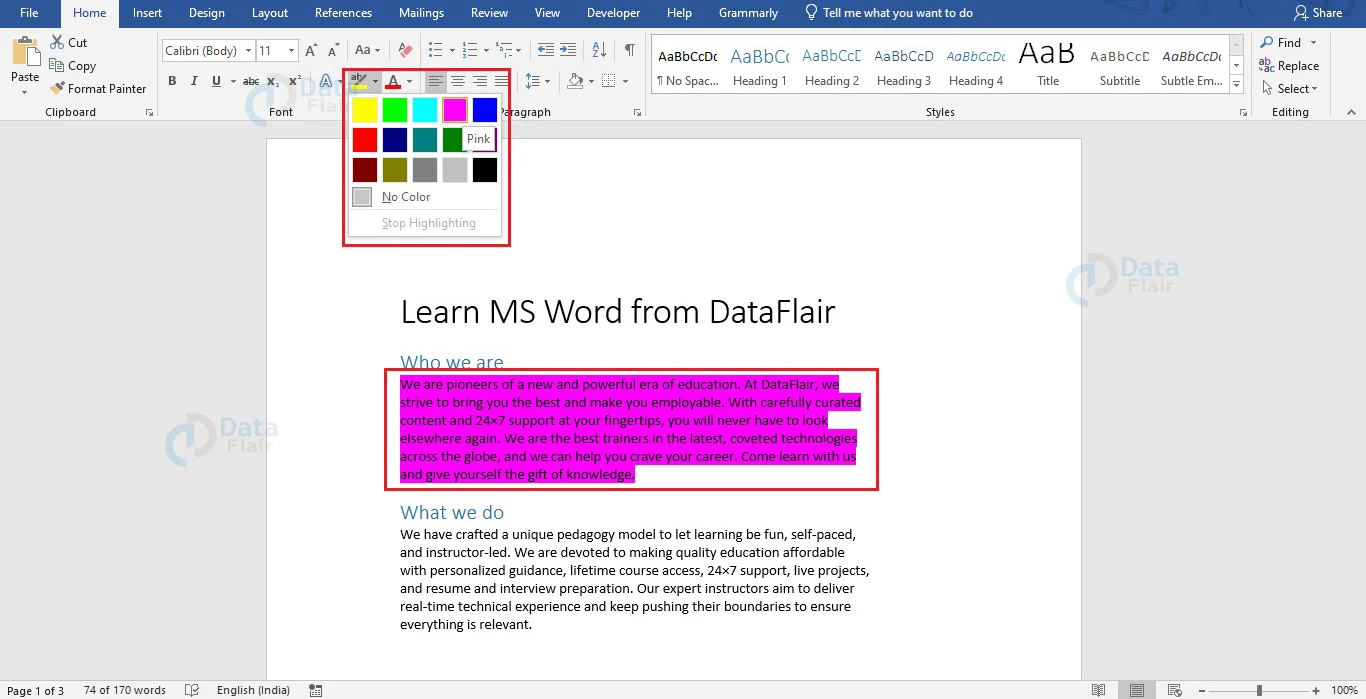
3. From the dropdown menu that appears, choose the color for highlighting your text and select it.
You can also highlight your text using the right mouse button. The following steps show how you can highlight your text using your mouse.
1. Select the text that you wish to highlight and click on the right mouse button. A related menu will appear with several formatting options.

2. From the formatting options, click on the downward arrow beside the Text Highlight Color button. A list of possible highlight colors appears.
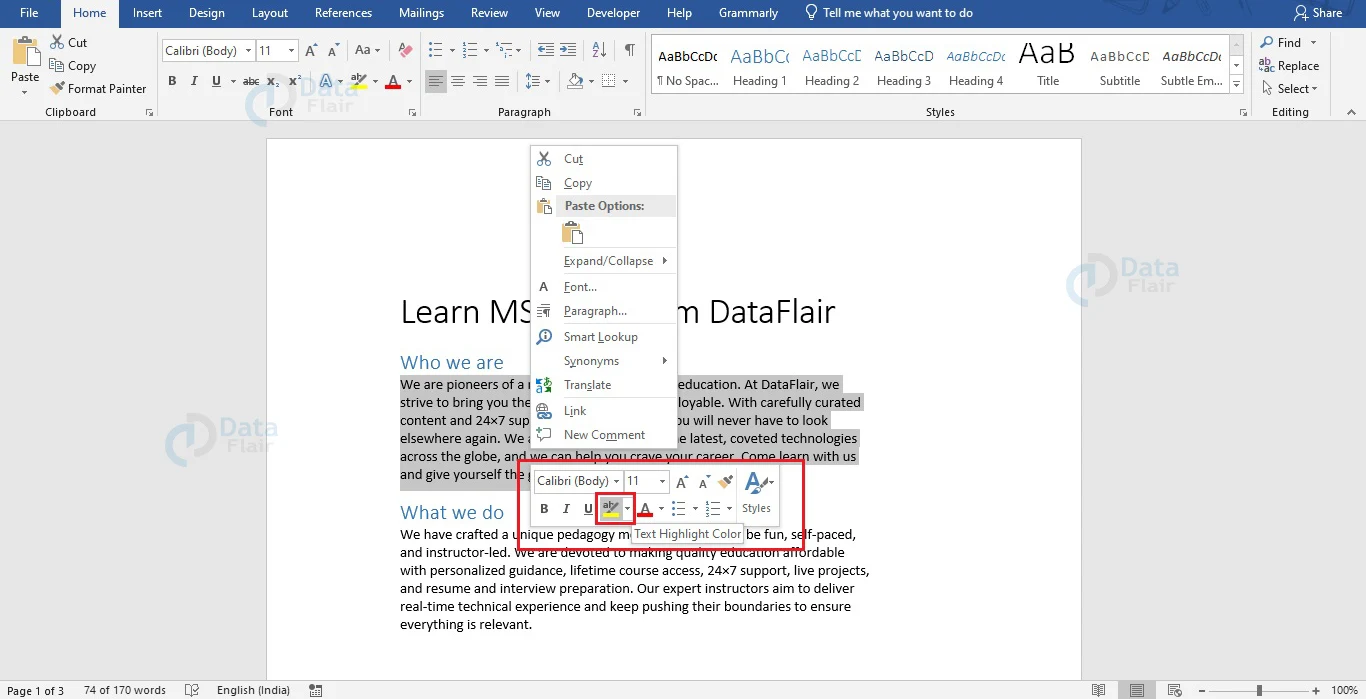
3. Choose the required color that you wish to use for your highlight and click on it.
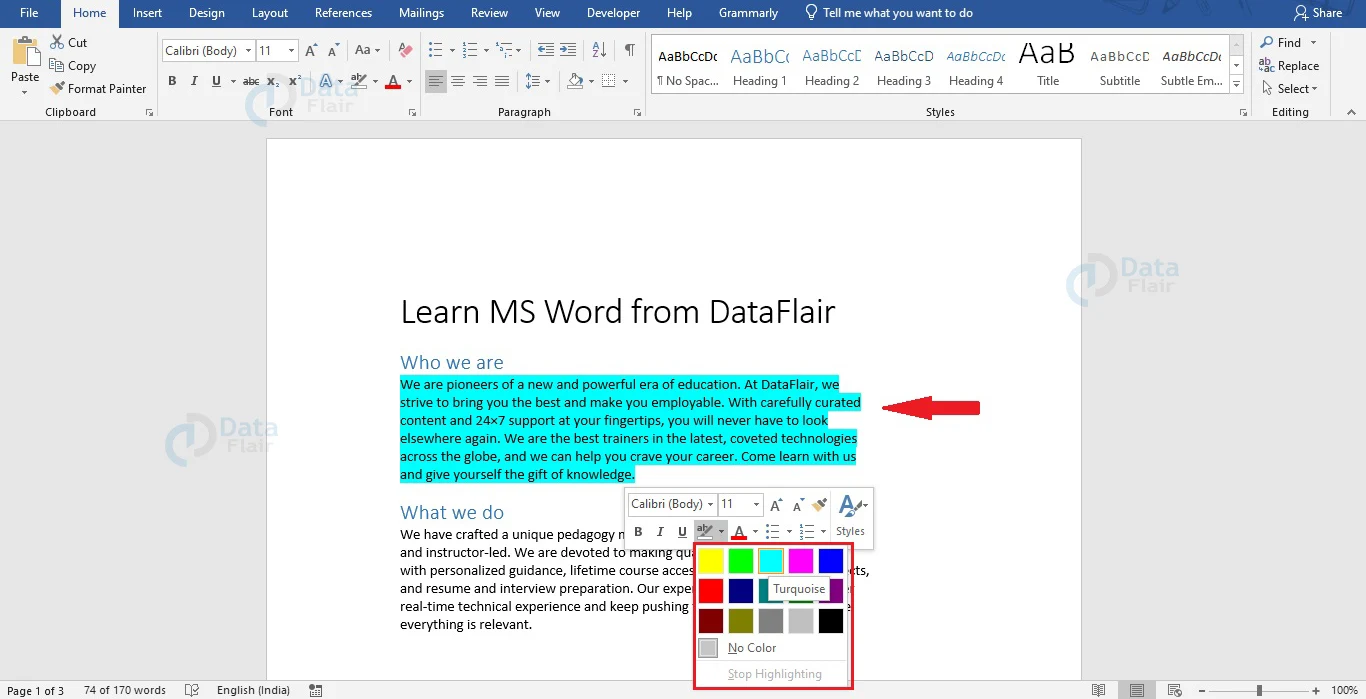
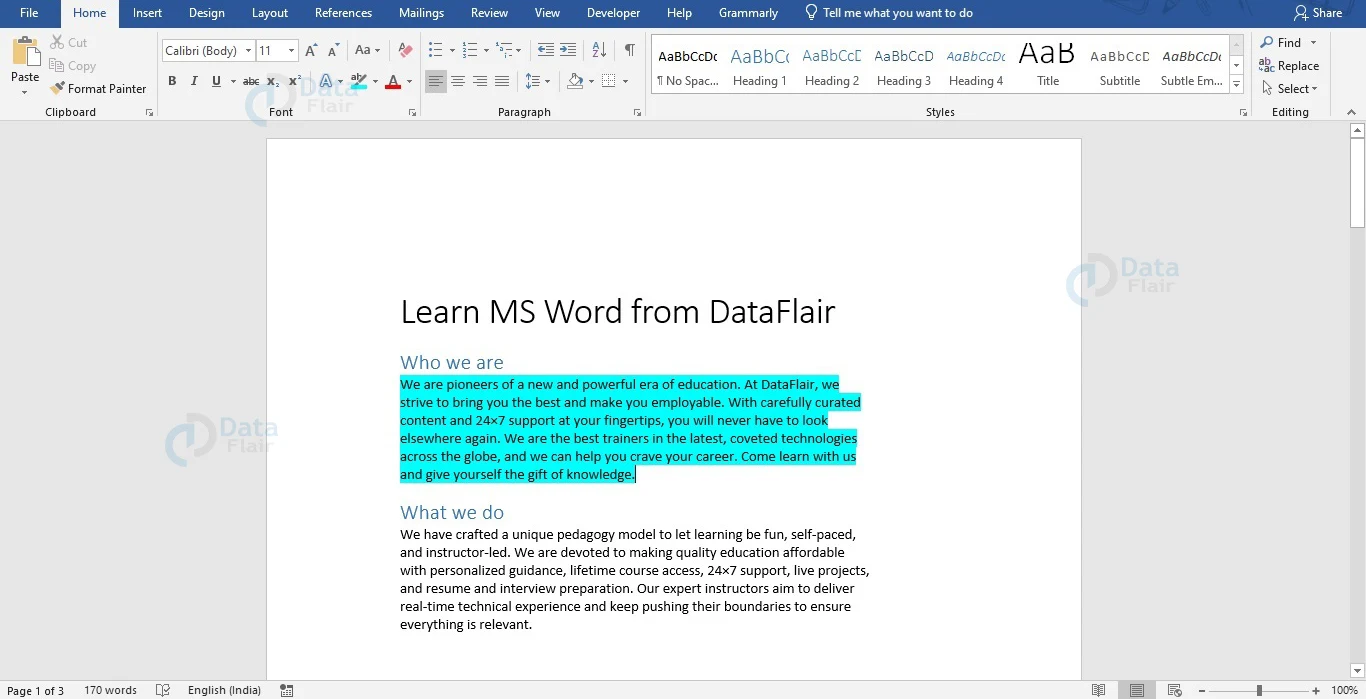
You will now see that the selected text is highlighted with the color that you chose.
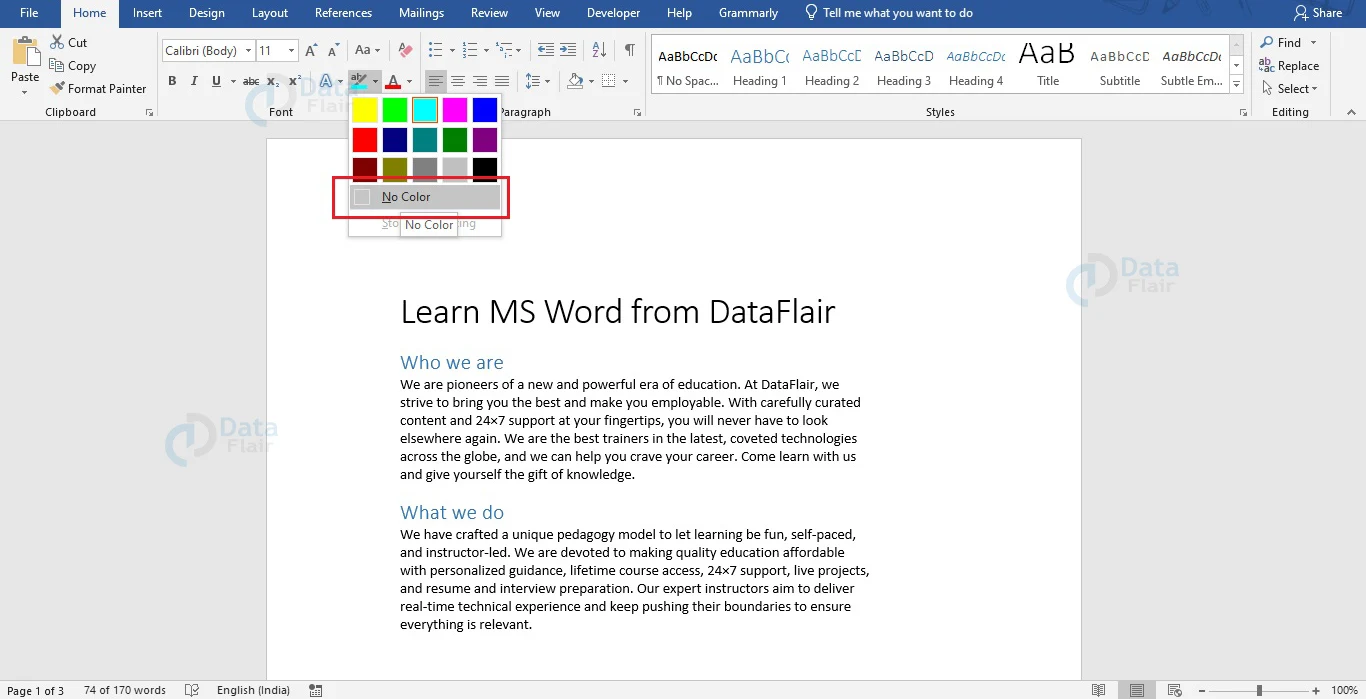
To remove the highlight, select the highlighted part and open the dropdown along the Text Highlight Color button.
Select No Color option and your highlight will be removed.
How to Change a Text Case?
Changing the text case is one of the most basic formatting tasks you can come across while using Word for studies or work. Here are the steps to follow to change the text case in Word.
1. Select the text for changing the case.

2. Under the Home tab, choose the Change Case option. The respective dropdown menu appears.
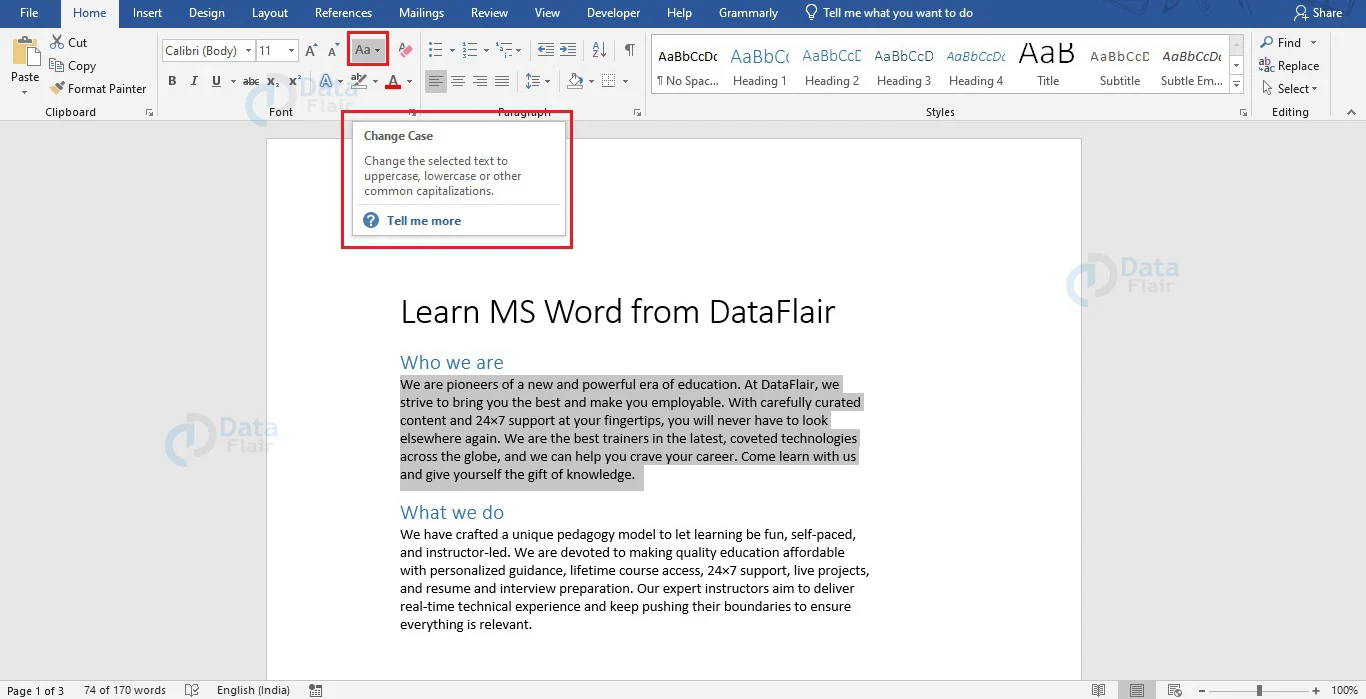
3. From the dropdown menu, select the appropriate choice to change the text case as required.

The different options that appear in the dropdown menu, and their description are as follows:
- Sentence case.: It capitalizes the first word of a sentence while keeping all others as lowercase. If a word in between starts with uppercase, it is treated as a proper noun.
- lowercase: It changes all the selected text to lower case.
- UPPERCASE: Changes selected text to uppercase.
- Capitalize Each Word: Use this option to capitalize the first letter of each word.
- tOGGLE cASE: Text in uppercase is changed to lowercase, and vice versa
How to Format Text Alignment?
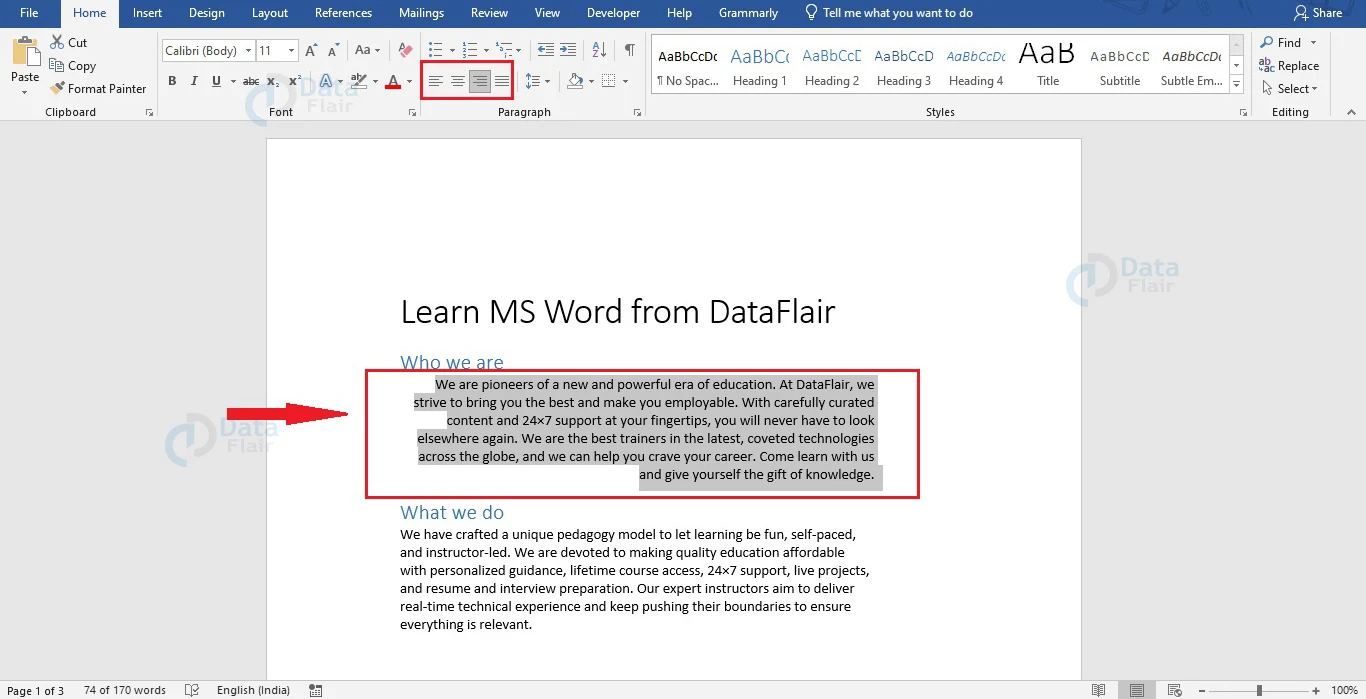
Word offers 4 types of text alignment. They are Left Alignment, Centre Alignment, Right Alignment, and Justified Alignment. You can format the alignment of text from the Paragraph group under the Home tab. However, make a note that the alignment formatting applies to the whole paragraph. Even if you choose a part of a paragraph, the alignment of the whole paragraph would change.
Left Alignment is the default alignment of every Word document. To change the alignment of your text, select the paragraph and choose the necessary alignment.
Otherwise, you can also select the paragraph and use the keyboard shortcuts to align the text.
Alignment | Keyboard Shortcut |
| Left Alignment | Ctrl + L |
| Centre Alignment | Ctrl + E |
| Right Alignment | Ctrl + R |
| Justified Alignment | Ctrl + J |
Special Formatting in Word
There are a few special formattings in Word that are very useful for documentation purposes. Bold, Underline, Italic, Strikethrough, Superscript, and Subscript fall under special formatting features. We will look into how each of these affects your text and how you can apply the same to your text.
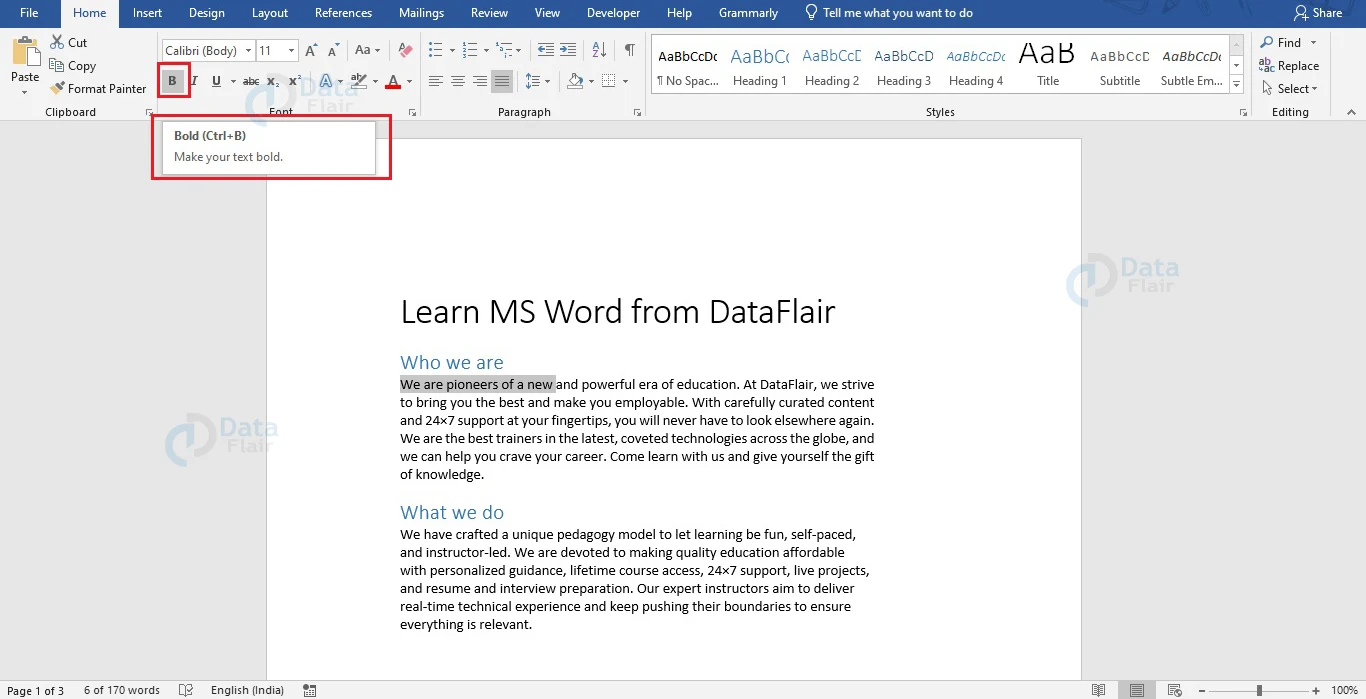
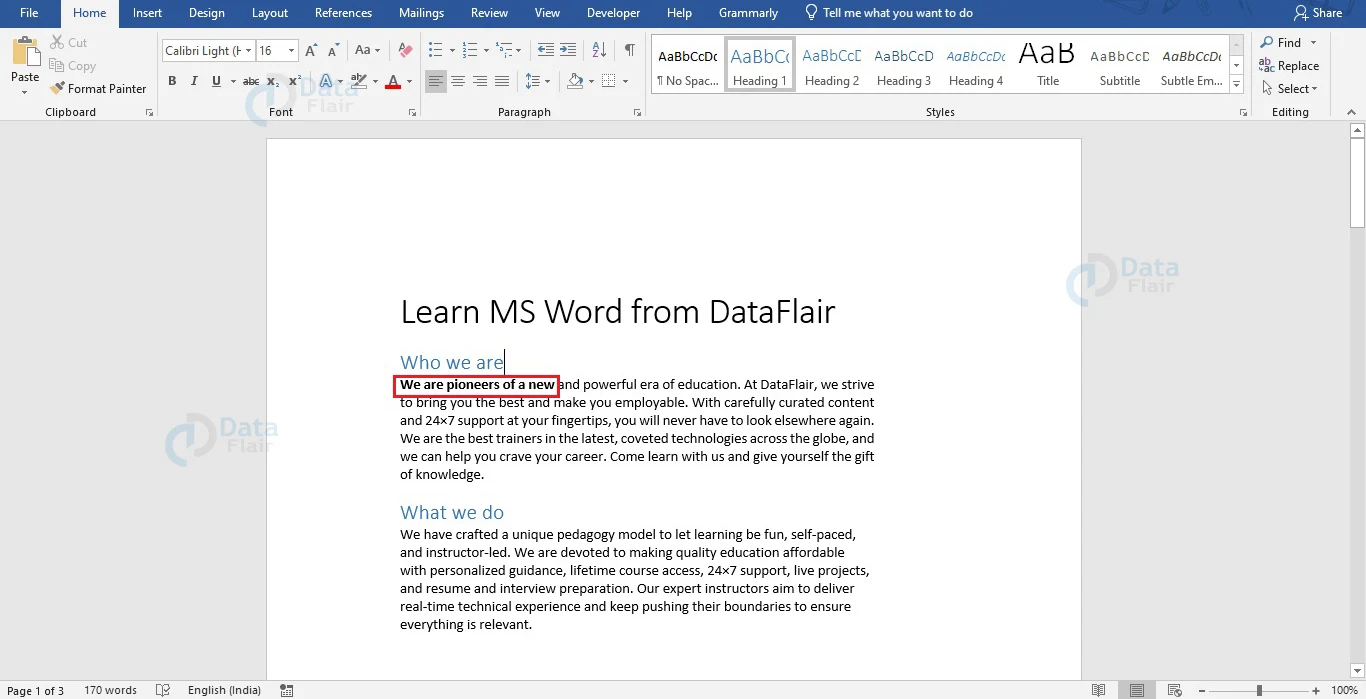
Making Text Bold in Word
Bold refers to making the letters of the text thicker and more prominent. To make your text bold, select your text and do any of the following:
1. Select the Bold icon from the Font group under the Home tab.
Or,
2. Right-click on your mouse to make the mini-menu appear. From there, select the icon for Bold.

Or,
3. Use the keyboard shortcut Ctrl + B.
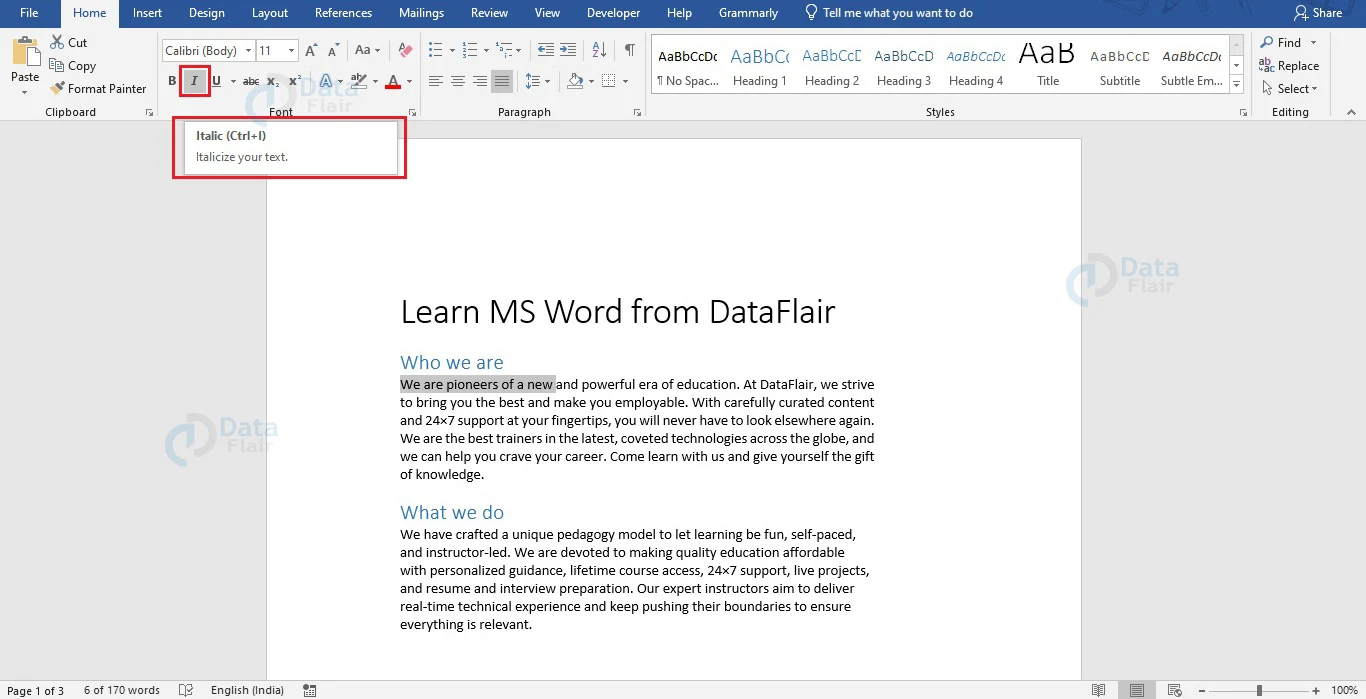
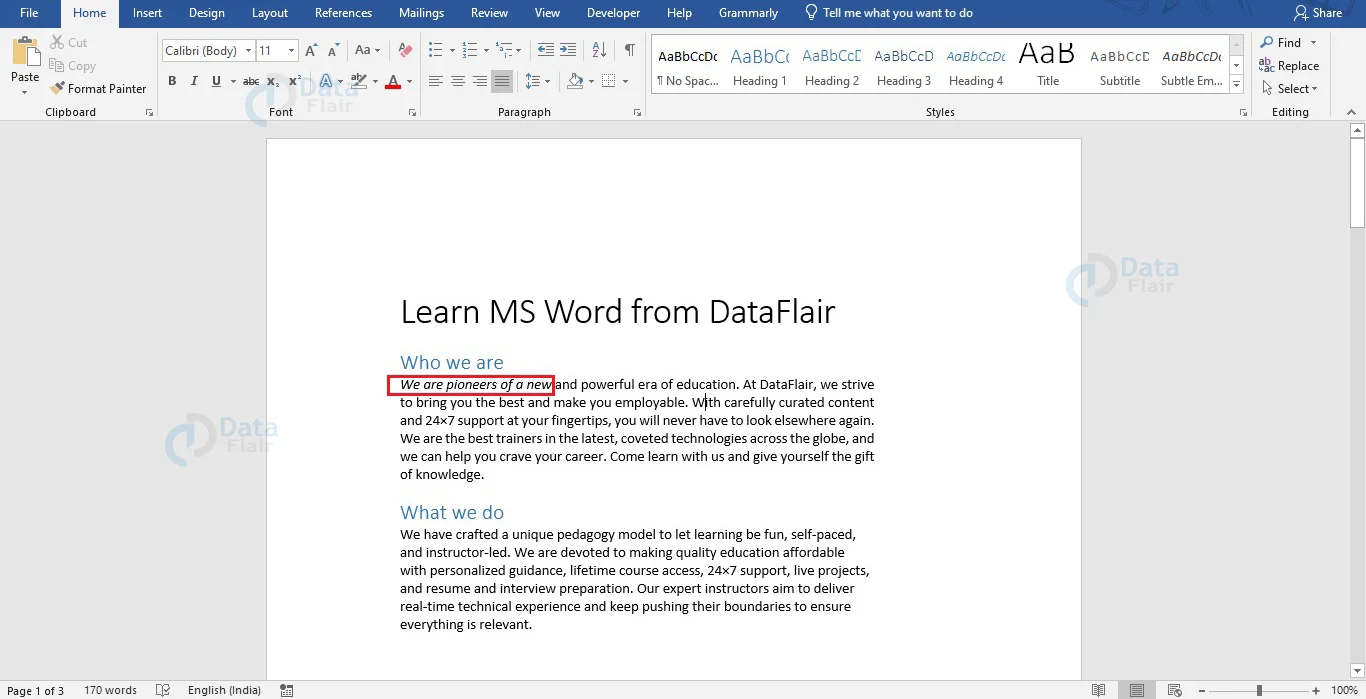
Making Text Italic in Word
Italic makes the font slanting and italic. To italicize your text, select your text and do any one of the following:
1. Select the Italic icon from the Font group under the Home tab.
Or,
2. Right-click on your mouse to make the mini-menu appear. From there, select the icon for Italic.
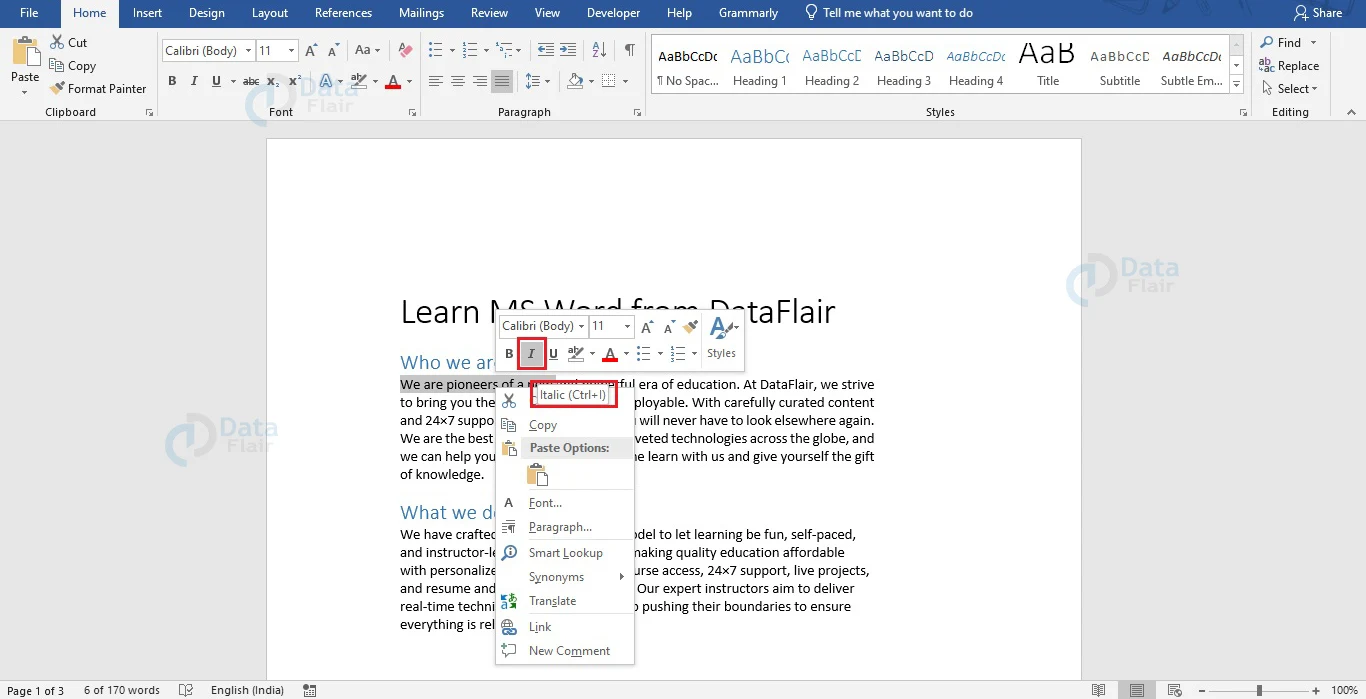
Or,
3. Use the keyboard shortcut Ctrl + I.
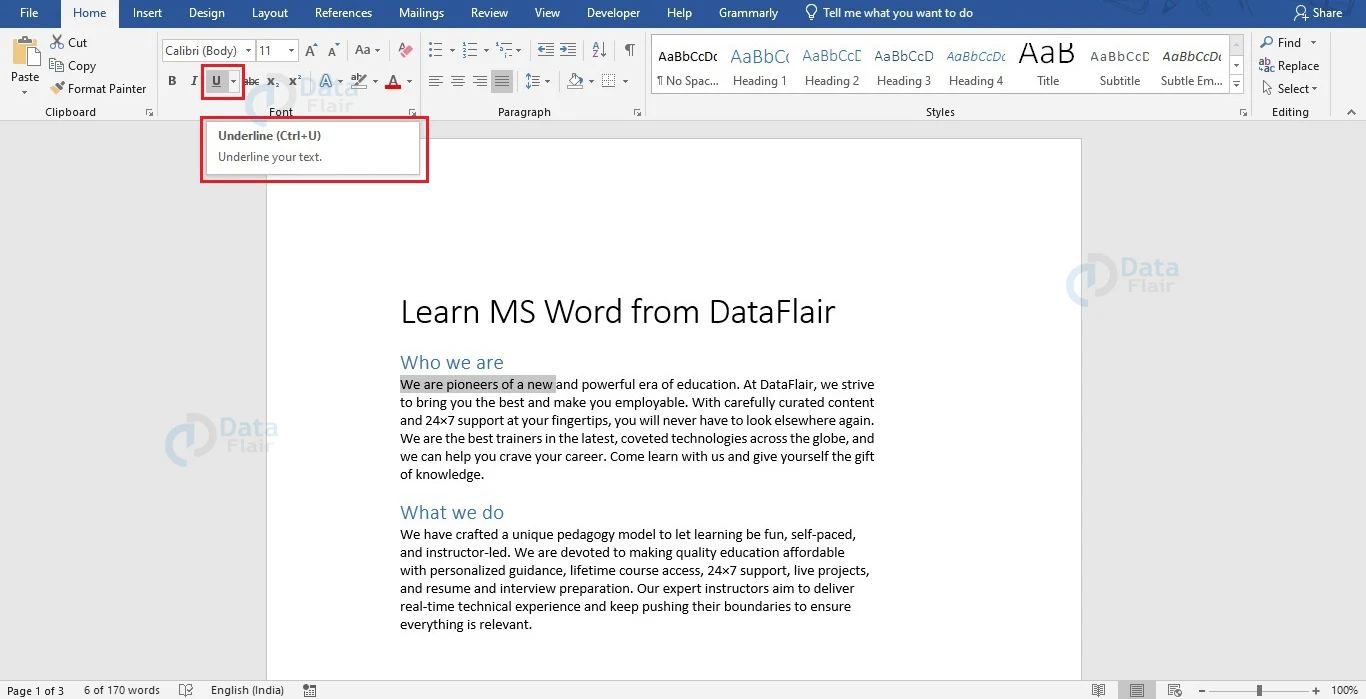
Underlining Text in Word
The Underline icon is used to underline your text. You can do any one of the following to underline your text after you have selected it.
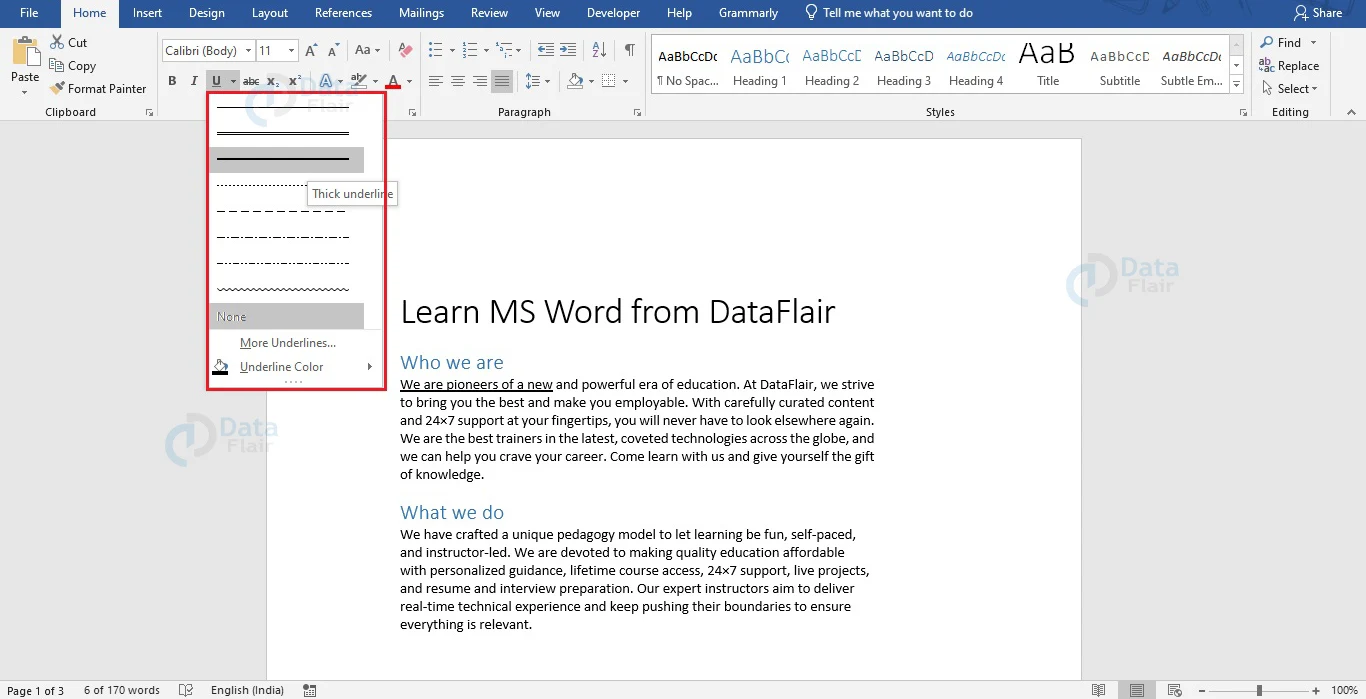
1. Select the Underline icon from the Font group under the Home tab. Here, you can also choose the type of underline you wish to apply.
Or,
2. Right-click on your mouse to make the mini-menu appear. From there, select the icon for Underline.

You can choose the style of underline from the drop-down menu associated with the Underline button in the Font group of Home tab.
Or,
Use the keyboard shortcut Ctrl + U.

Adding Superscript in Word
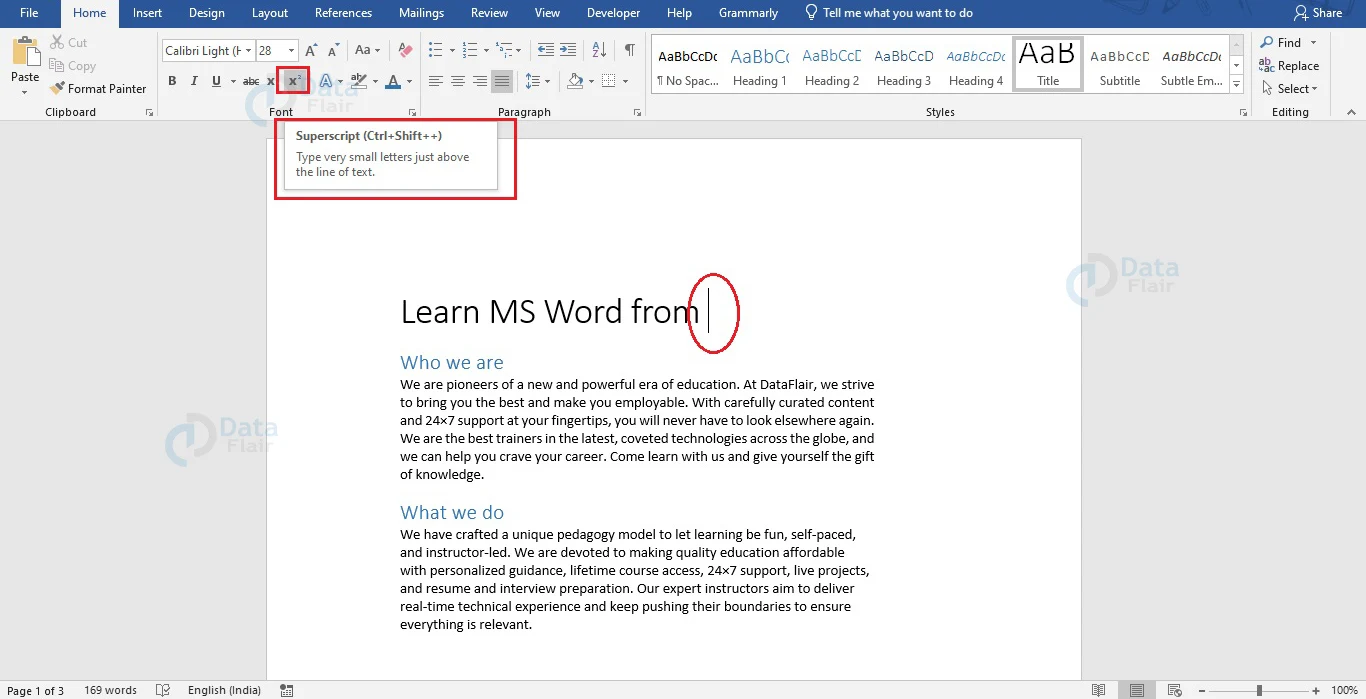
The Superscript button is very useful for typing small letters or text above your line of text. It helps while writing exponents in mathematics as well as while mentioning the specifications of chemicals in chemistry. The steps to use superscript in Word are given below.
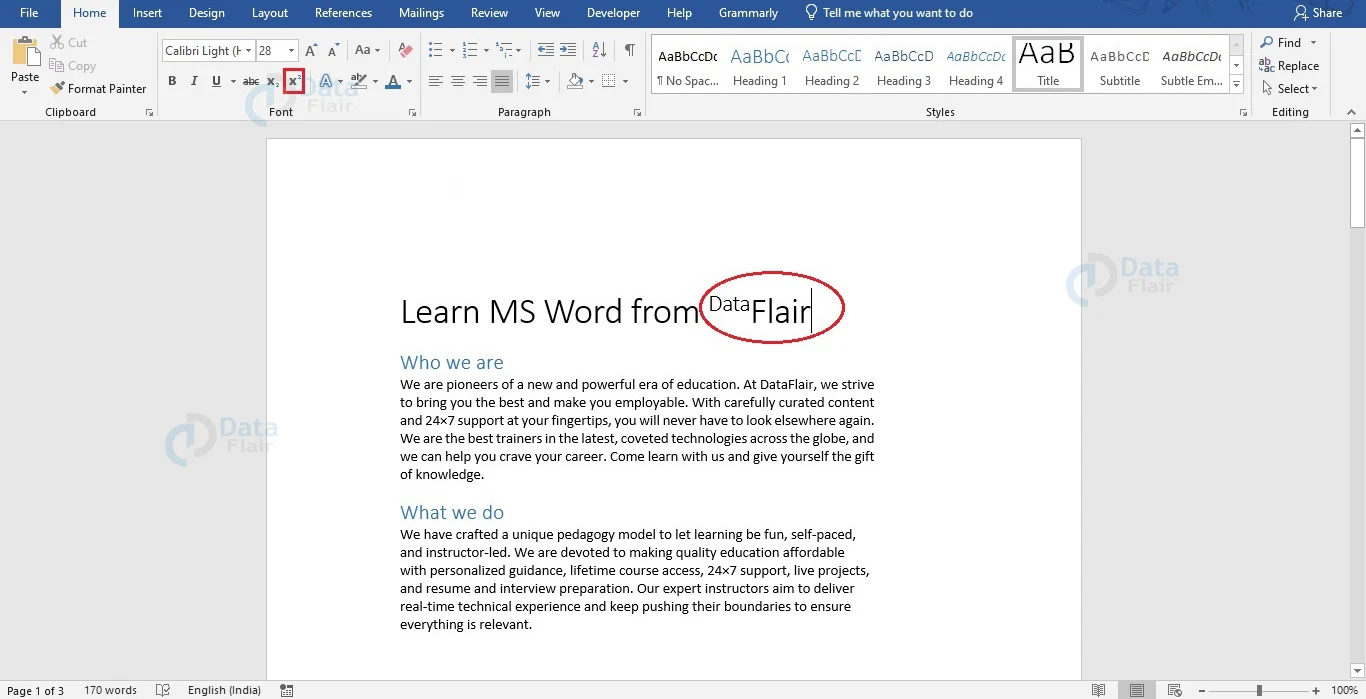
1. Place your cursor at the position where you wish to insert superscript and click on the Superscript button.
2. Click on the Start typing. This text will be written as superscript.

3. After you finish writing text in superscript and wish to go back to normal, click on the Superscript button again. Your cursor will go back to normal size and you will not be able to write normally again.
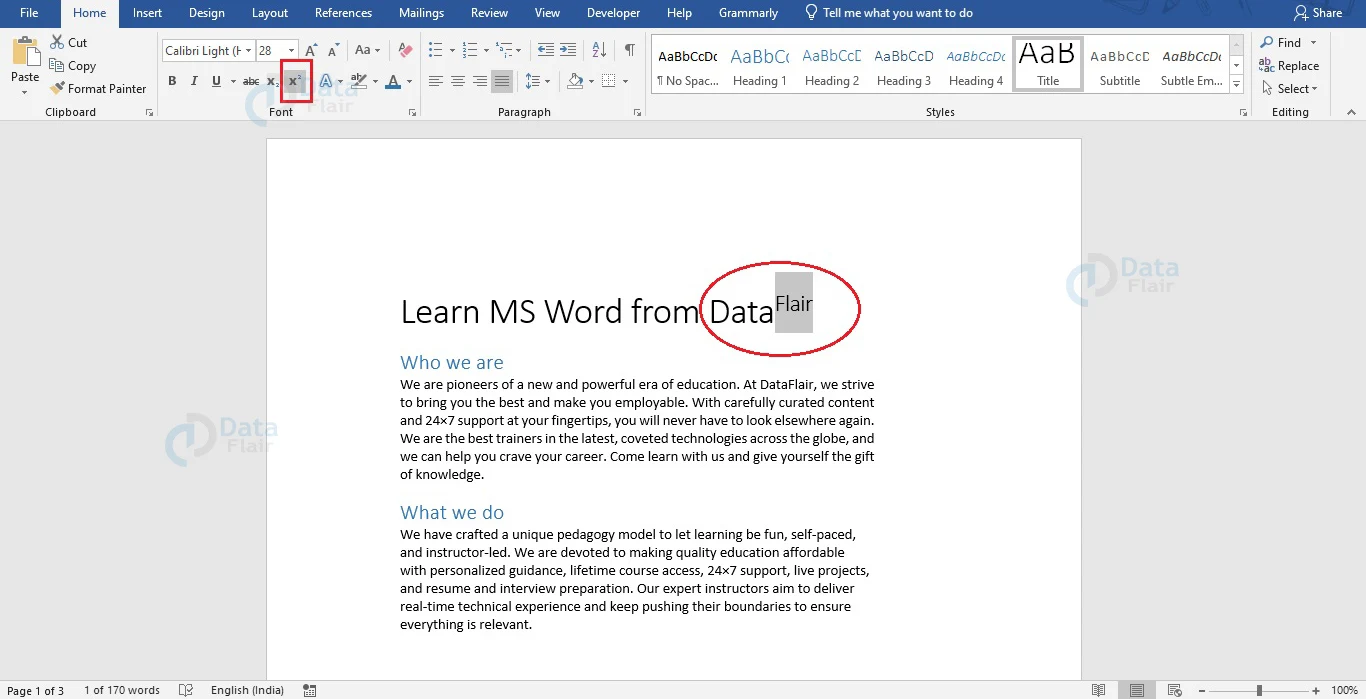
If you have already written text that you wish to convert to superscript, you can select it and click on the Superscript button under the Font group of the Home tab.
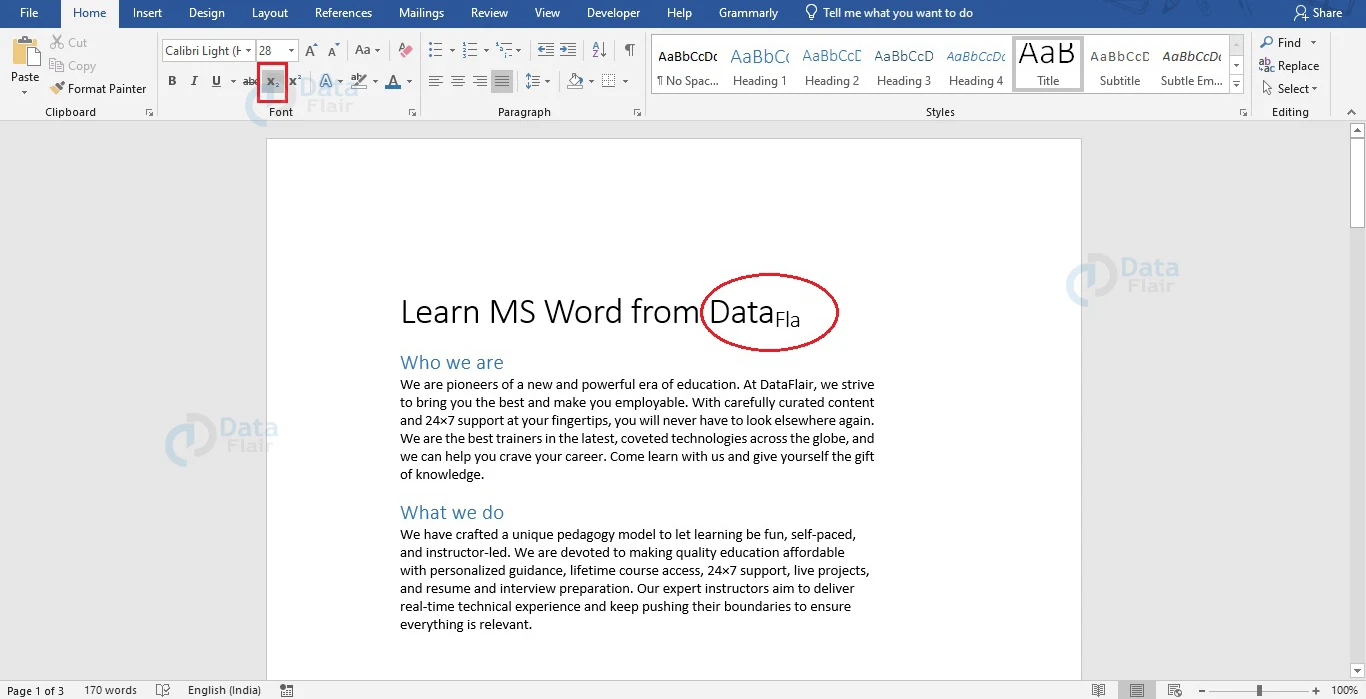
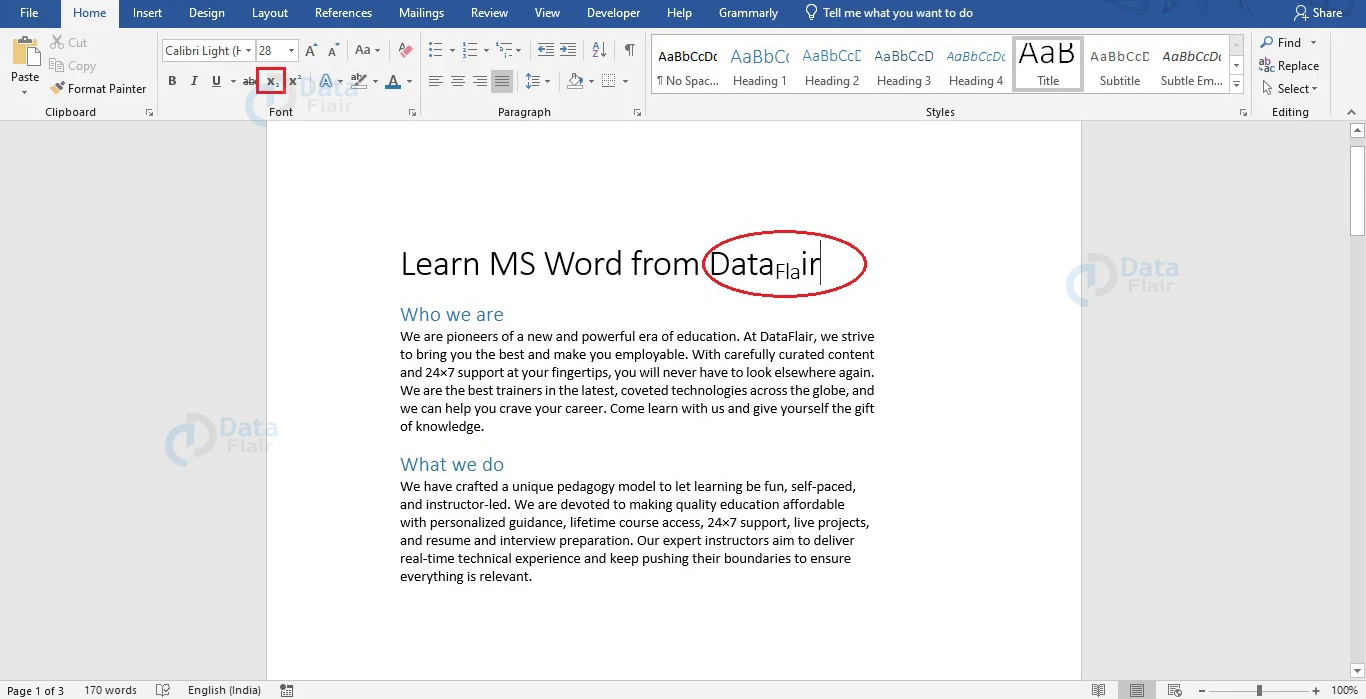
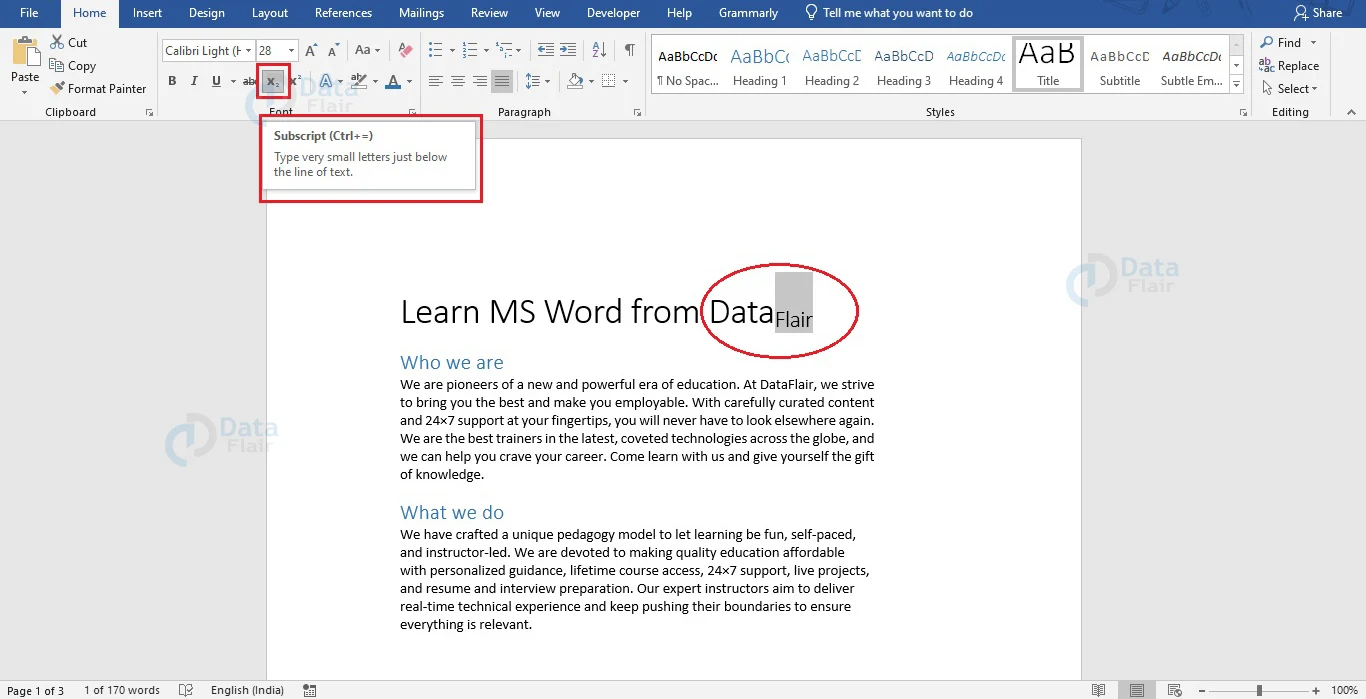
Adding Subscript in Word
Similarly, you can use the Subscript button to type small letters or text below your line of text. It helps while writing chemical formulas or the atomic number of elements in Chemistry. The steps to use Subscript in Word are given below.
1. Place your cursor at the position where you wish to insert subscript and click on the Subscript button.

2. Click on the Start typing. This text will be written as subscript.
3. After you finish writing text in subscript and wish to go back to normal, click on the Subscript button again. Your cursor will go back to normal size and you will not be able to write normally again.
If you have already written text that you wish to convert to subscript, you can select it and click on the Subscript button under the Font group of the Home tab.
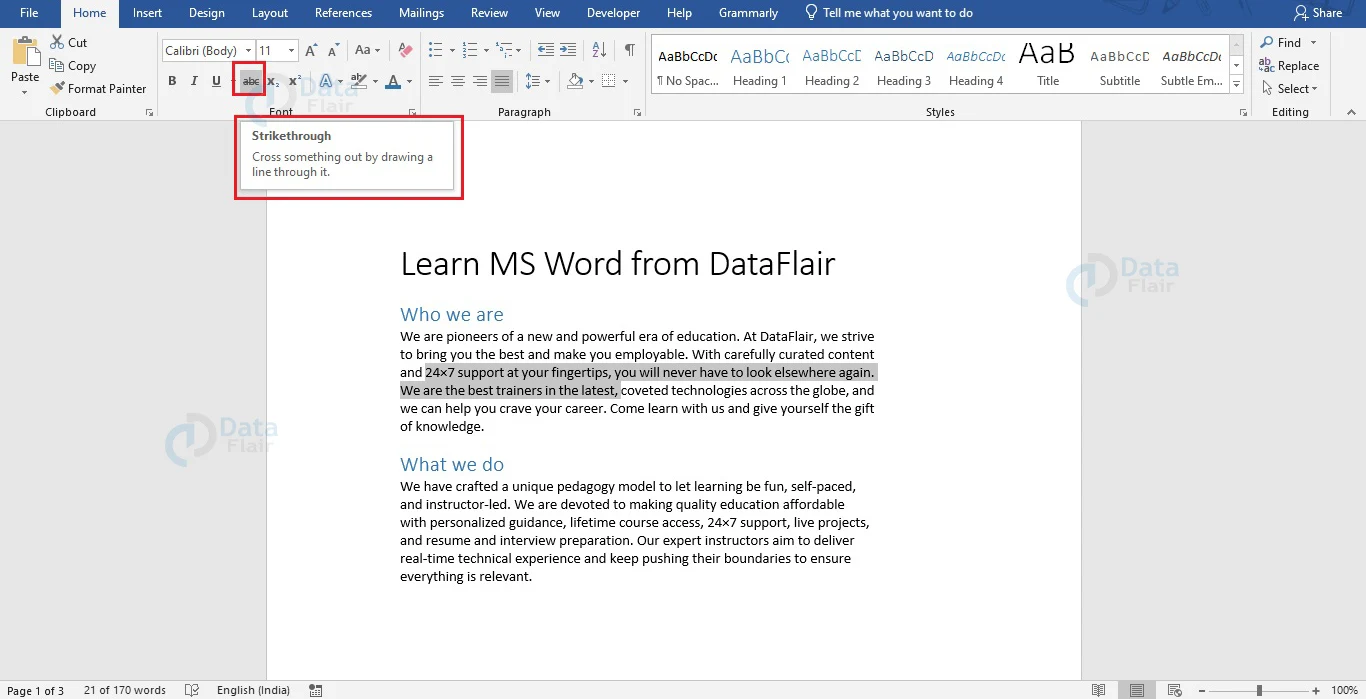
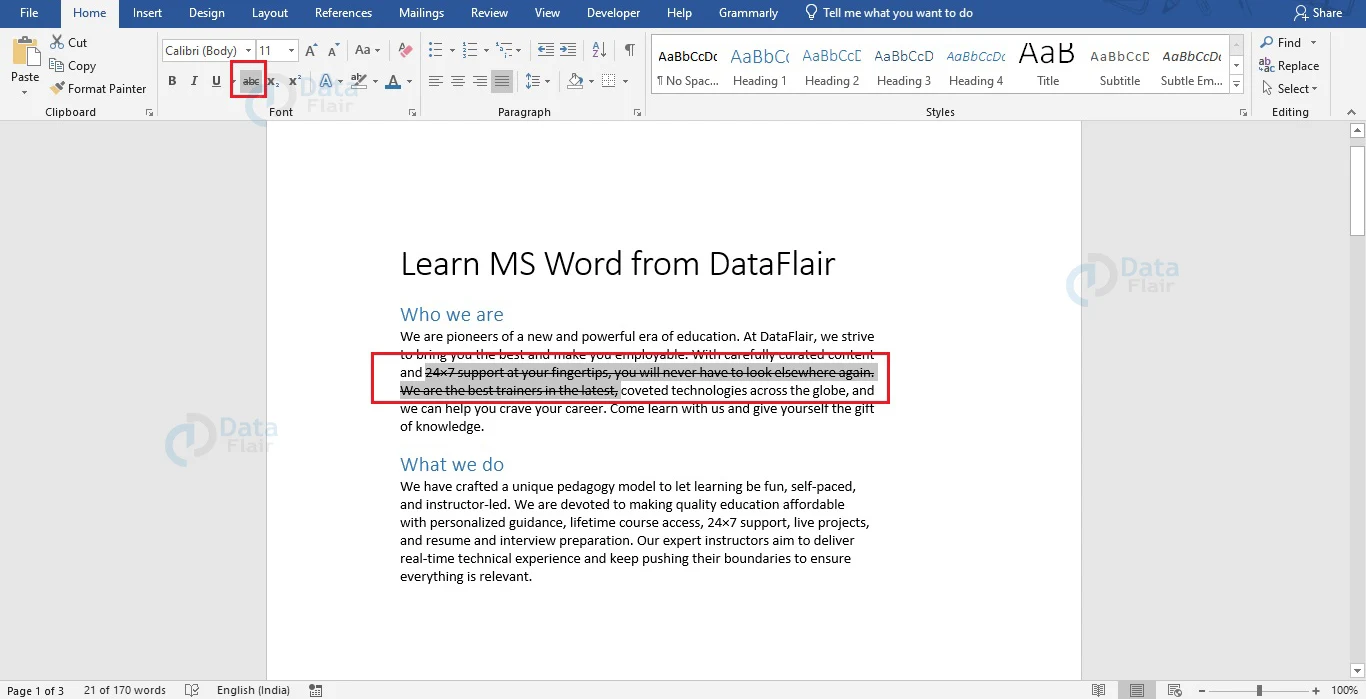
Strikethrough in Word
To strike through text in a Word document, select the text and click on the Strikethrough button under the Font group of Home tab.
Format Painter in Word
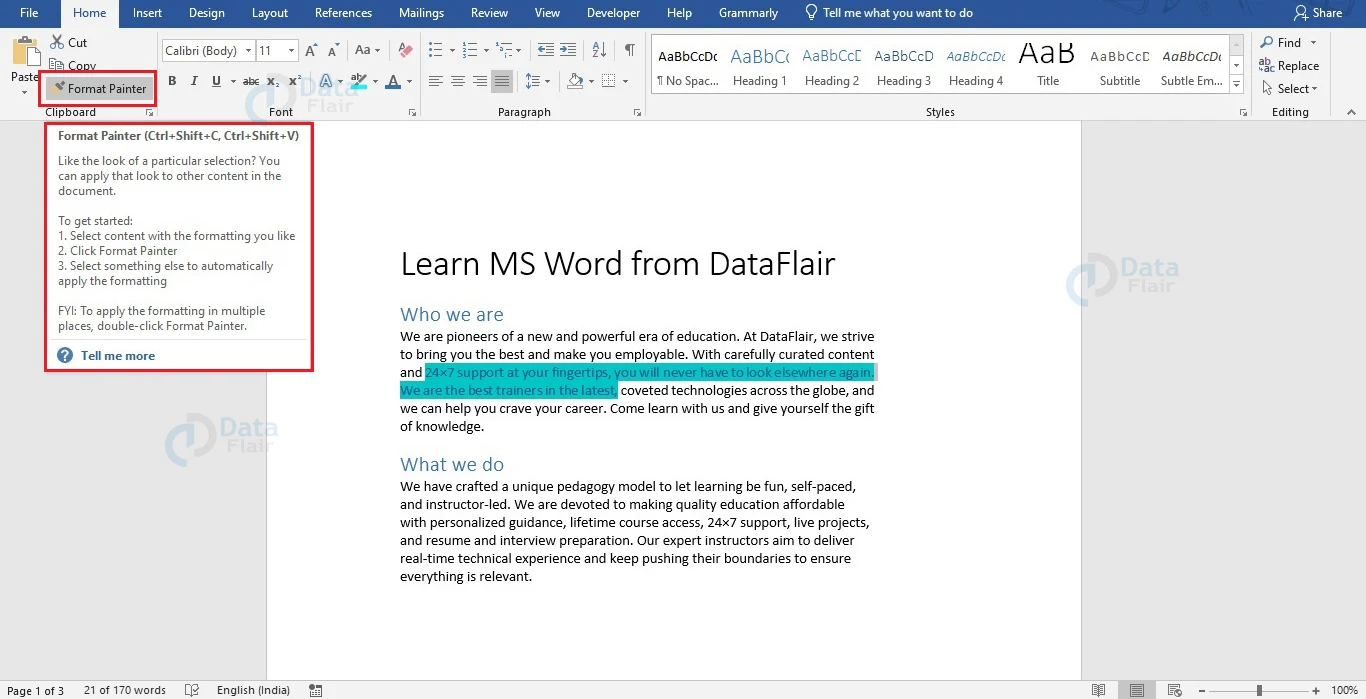
In Word, Format Painter is an advanced tool that allows users to copy the formatting of a particular section of their document and paste the formatting to another section. As such, the two sections of your document will have similar formatting. Follow the steps given below to use the Format Painter feature in Word.
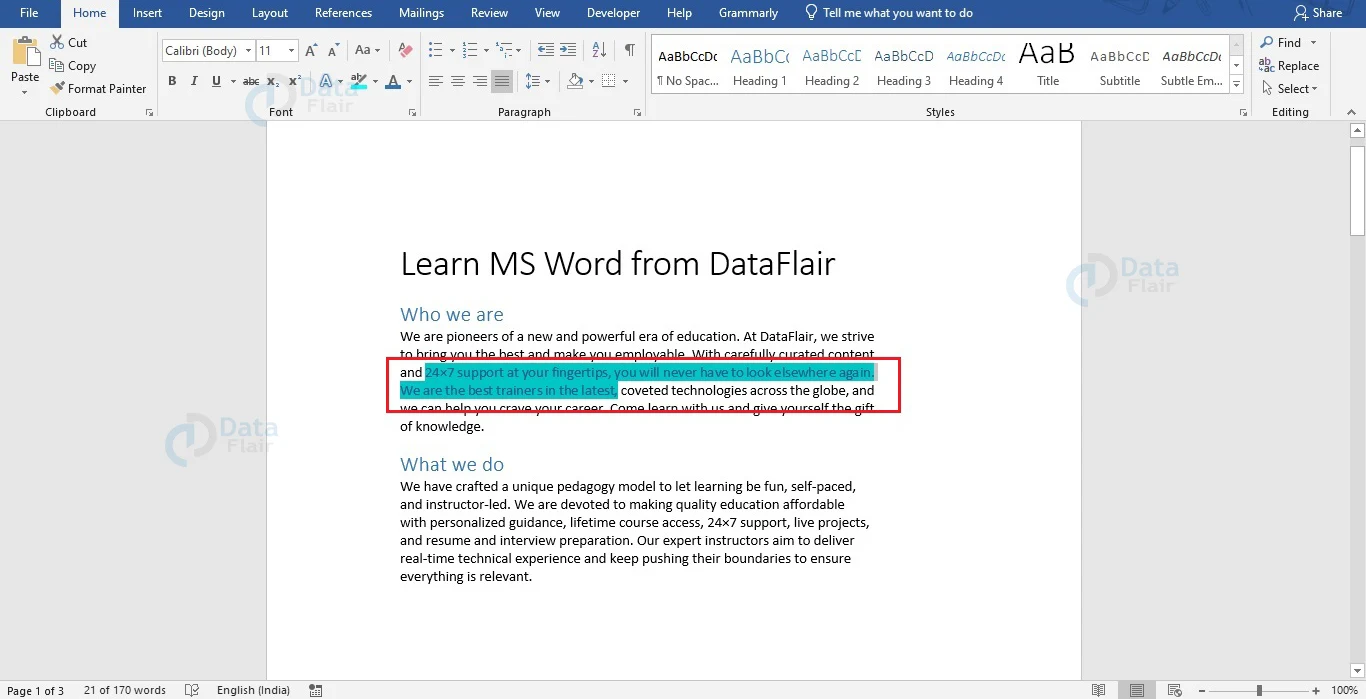
1. Choose the section whose formatting you wish to copy.
2. Click on the Format Painter option under the Clipboard section of the Home tab. This copies the formatting of the initial section. You can also use the keyboard shortcut Ctrl + Shift + C for copying the formatting of the initial section.
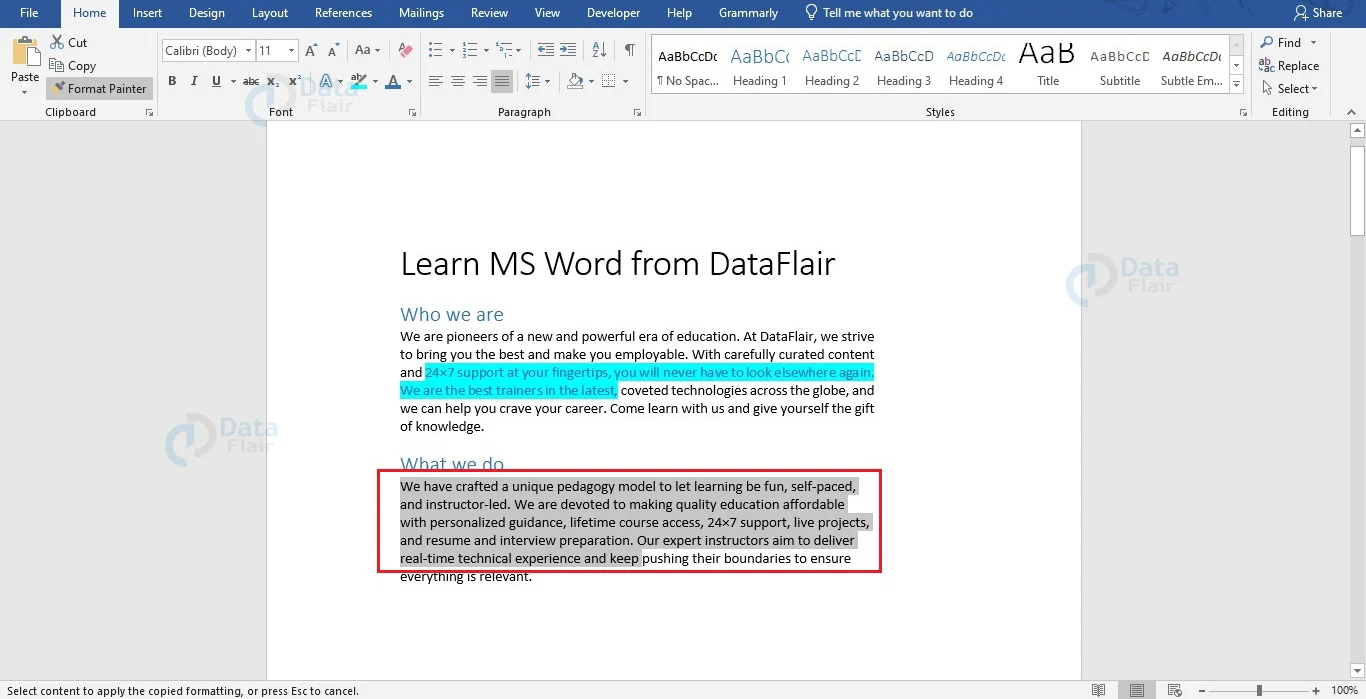
3. If you hover over the destination section, you will notice that your mouse pointer changes to a brush. Select the destination section to paste the formatting of the initial section.
4. If you have copied the formatting using the keyboard shortcut, then select the destination section and use the keyboard shortcut Ctrl + Shift + V to paste the formatting.
If you wish to paste the same formatting to multiple parts of your document, then follow the steps below.
1. Select the text section whose format you wish to copy.
2. Double click on the Format Painter option under the Clipboard group of Home tab of your Word window.
3. Paste the formatting to other sections of your document by selecting them.
4. Once done, use the Esc key, or click on the Format Painter option under the Clipboard group of Home tab to exit.
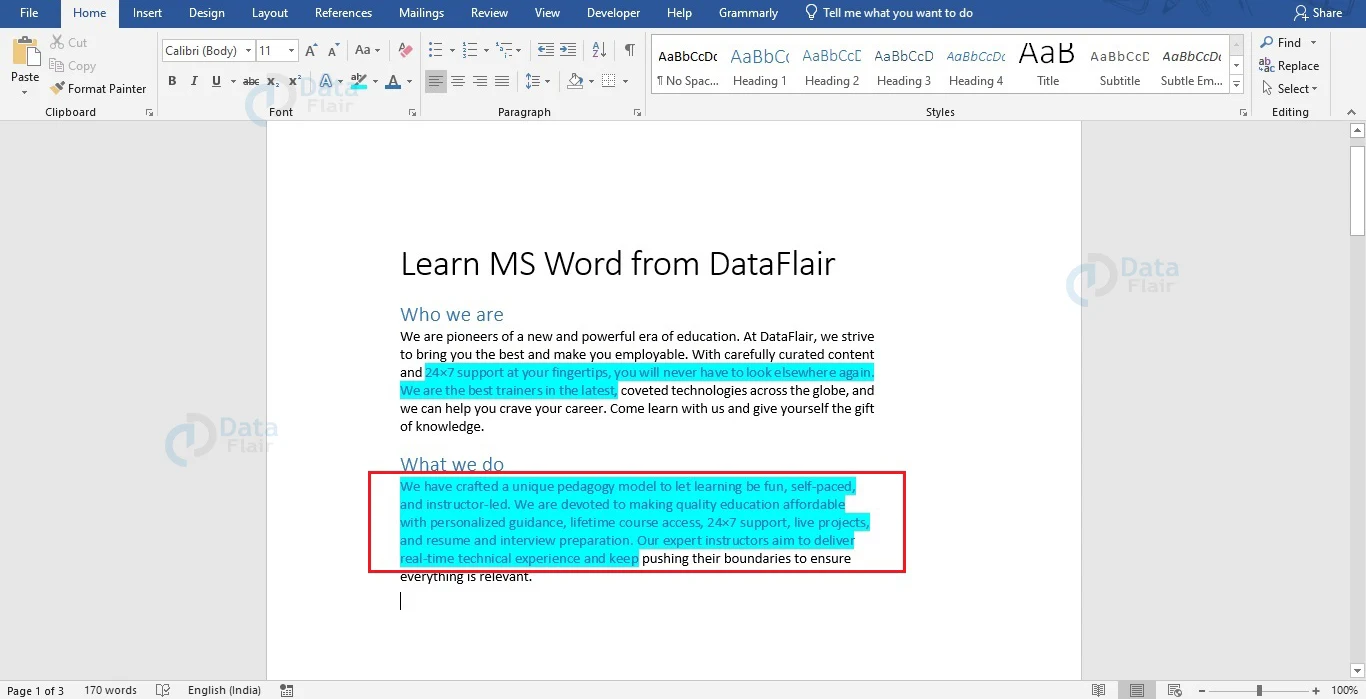
Clear Formatting in Word
In Word, you can clear the formatting that you have applied to the text in your document by following the steps given below.
1. Select the text in your document where you wish to clear the formatting. You can select the whole document if you wish to reset the formatting of the whole document.
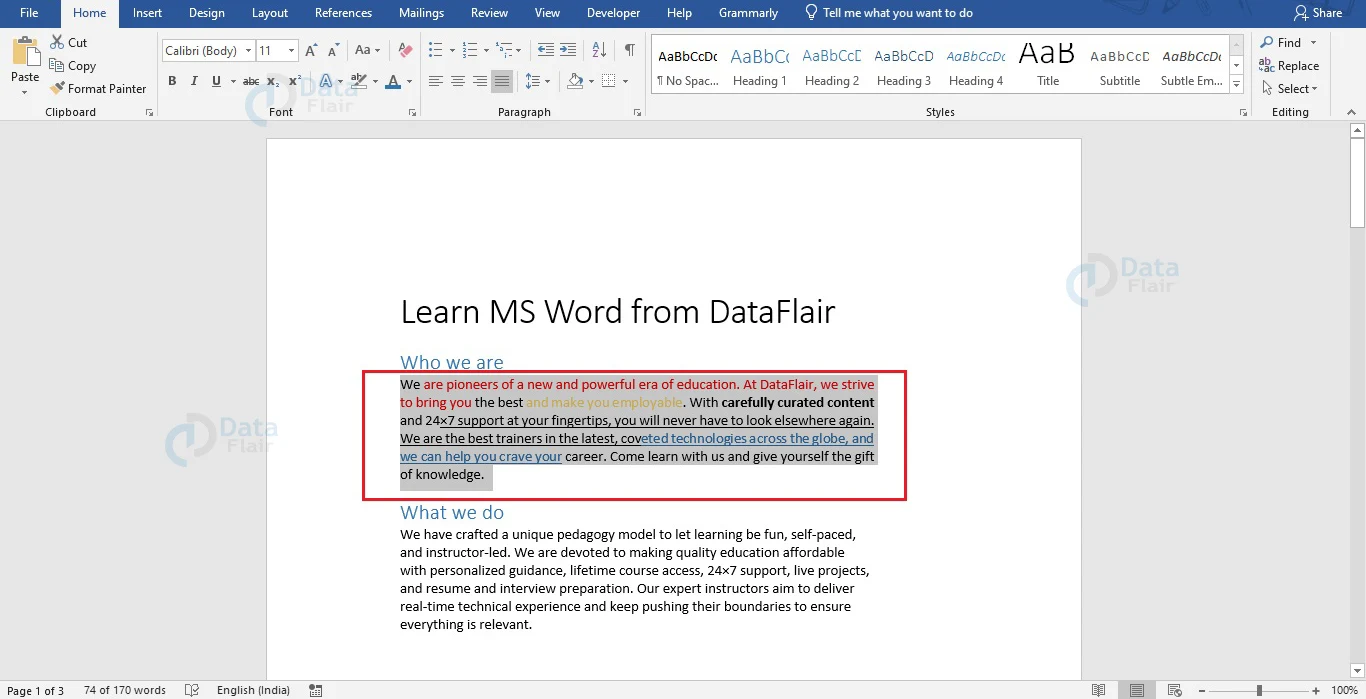
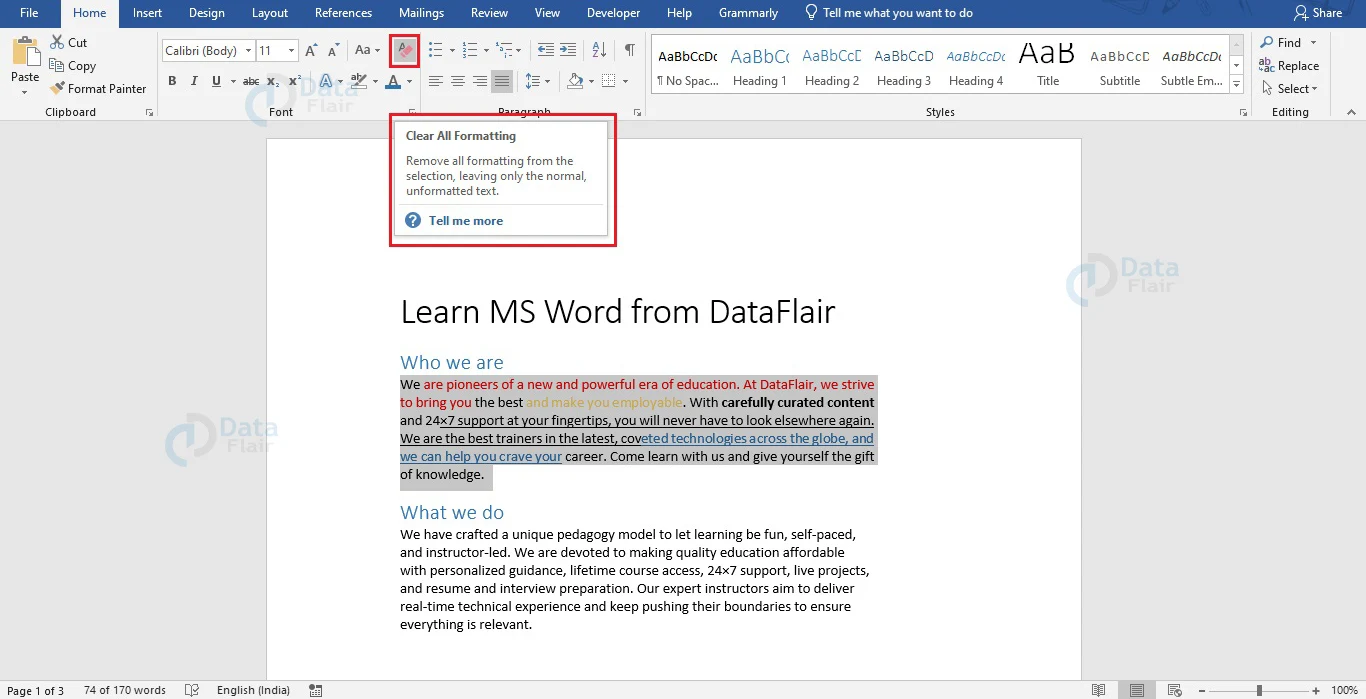
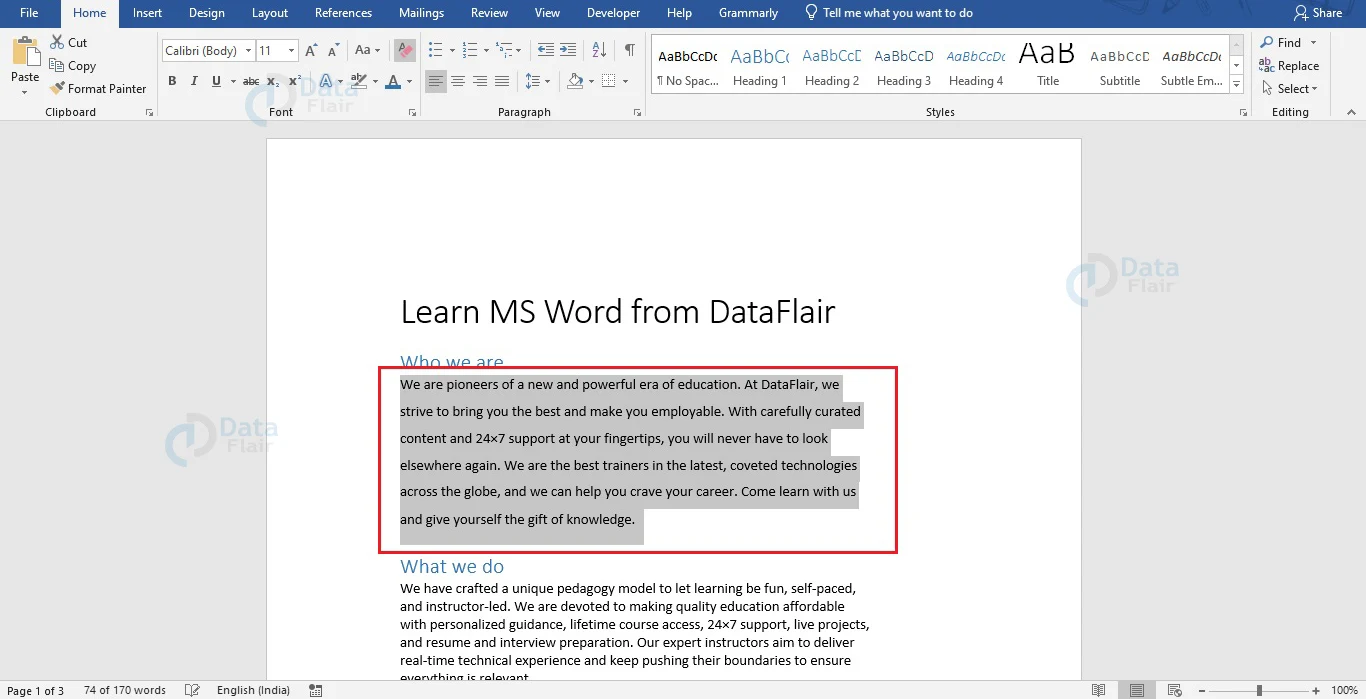
2. Click the Clear All Formatting button under the Font group of the Home tab to clear formatting. Alternatively, you can also use the keyboard shortcut Ctrl + SPACEBAR.
Being able to reset your formatting lets you take control whenever you make some errors unconsciously.
Conclusion
Since you now know how to format text in Word, you can use these tools to format your document properly. Properly formatting text in Word will help you draw the reader’s attention to the important parts and also have a better effect during presentations. Try out these formatting tools in Word to become better acquainted with them.
If you are Happy with DataFlair, do not forget to make us happy with your positive feedback on Google


