Font Management in PowerPoint – Set Text Fonts, Case, Size and Color
Placement-ready Courses: Enroll Now, Thank us Later!
Adding text is quite easy in Microsoft PowerPoint. Customising the text that you have added is actually easier with the latest updates of PowerPoint. In this article, we will explore all there is to know about working with texts and fonts. We will learn font management in powerpoint. Let’s start!!!
Changing Font Style and Size in PowerPoint
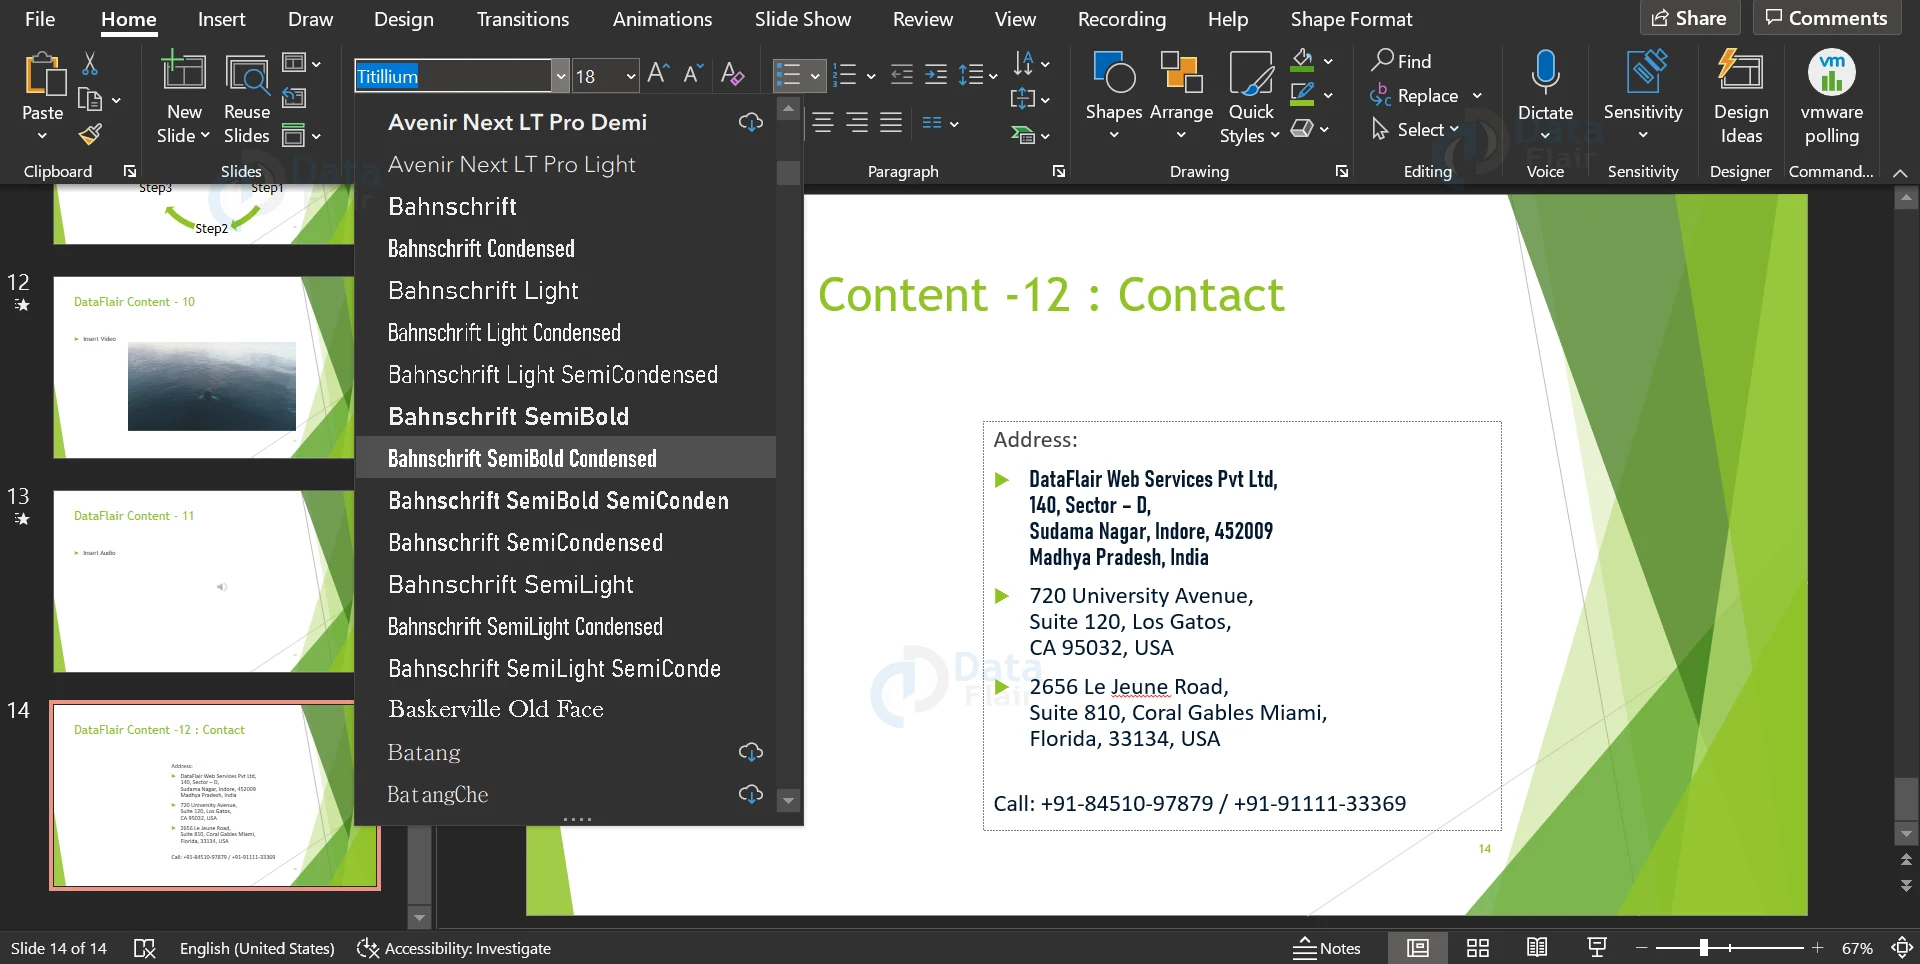
1. To change the font style of a selected piece of text, simply click on the dropdown in the Home tab. In this drop down, you can pick a font style of your choice.
2. To change the size of the font, use the dropdown right beside the style dropdown. As you hover over each option, you can see the preview on the slide.

More customizations for Fonts in PowerPoint:
1. Starting with the basics, the B, I and U buttons stand for Bold, Italics and Underlined respectively.
2. The S button is meant to add a shadow to the selected text. You can preview it as you hover over it. Look at the word ‘Address’ in the picture below for reference.
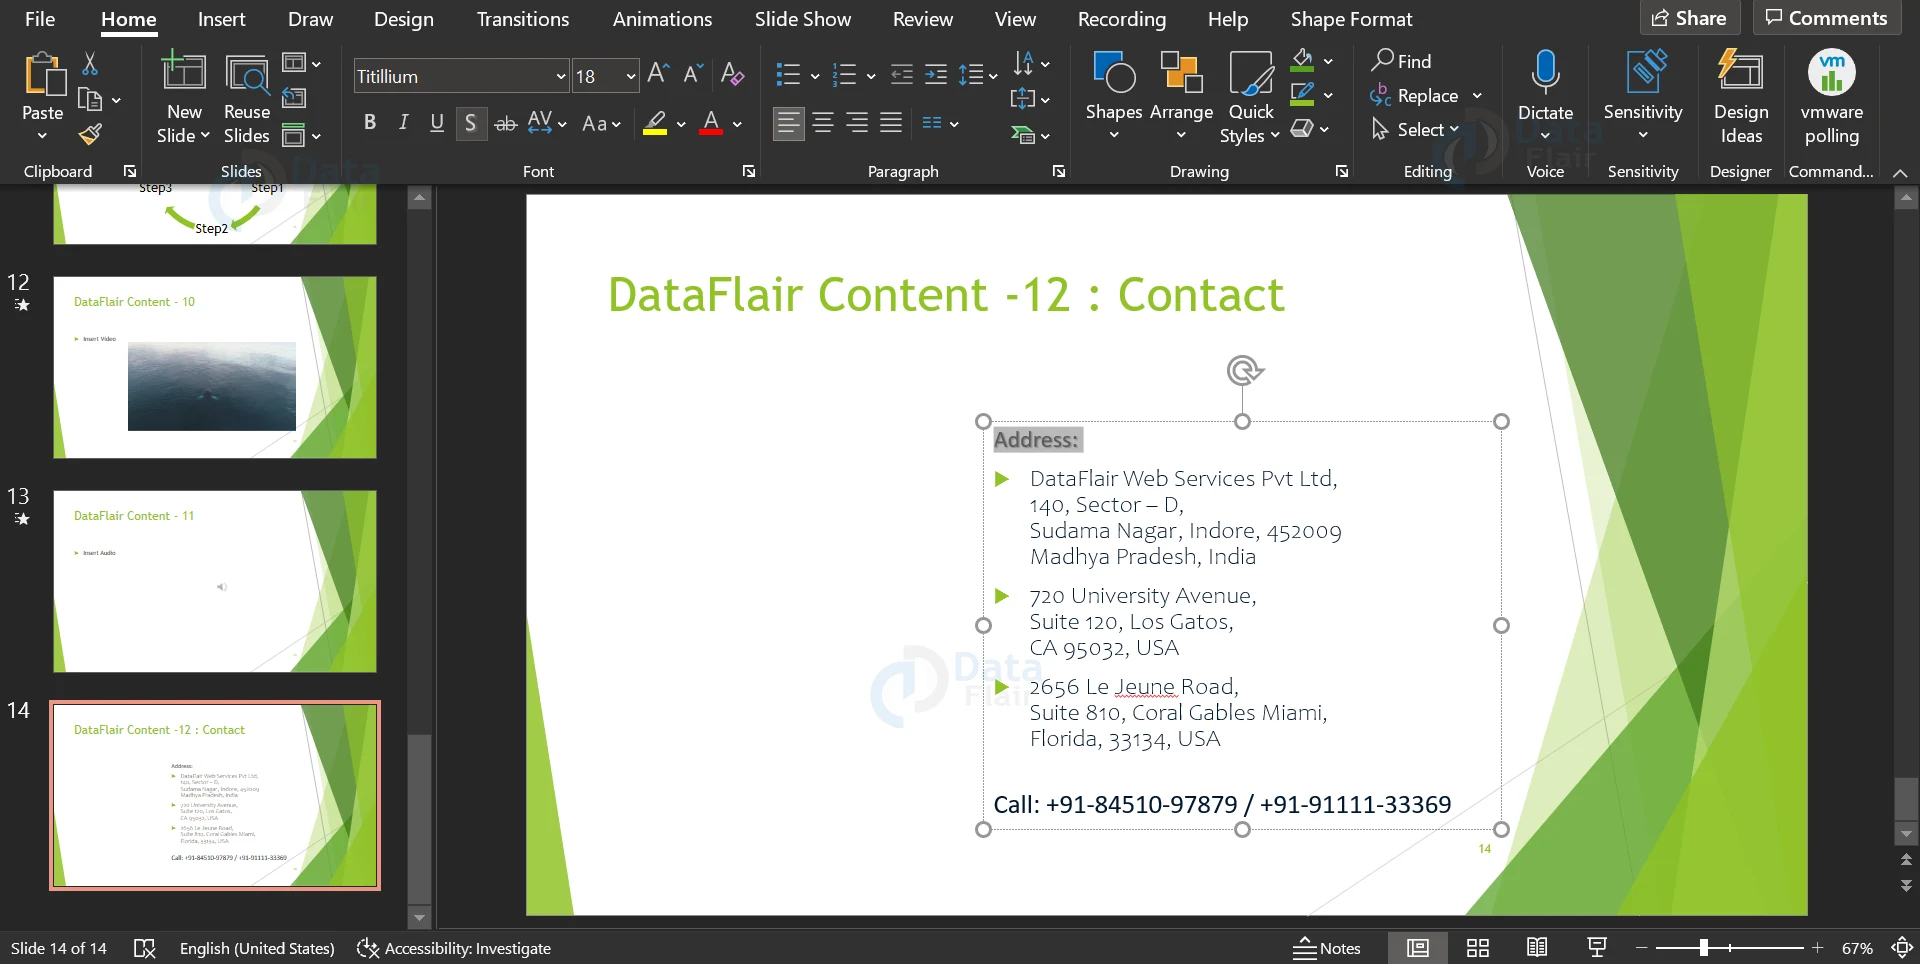
3. The icon next to the S button adds a strikethrough format to the selected text.
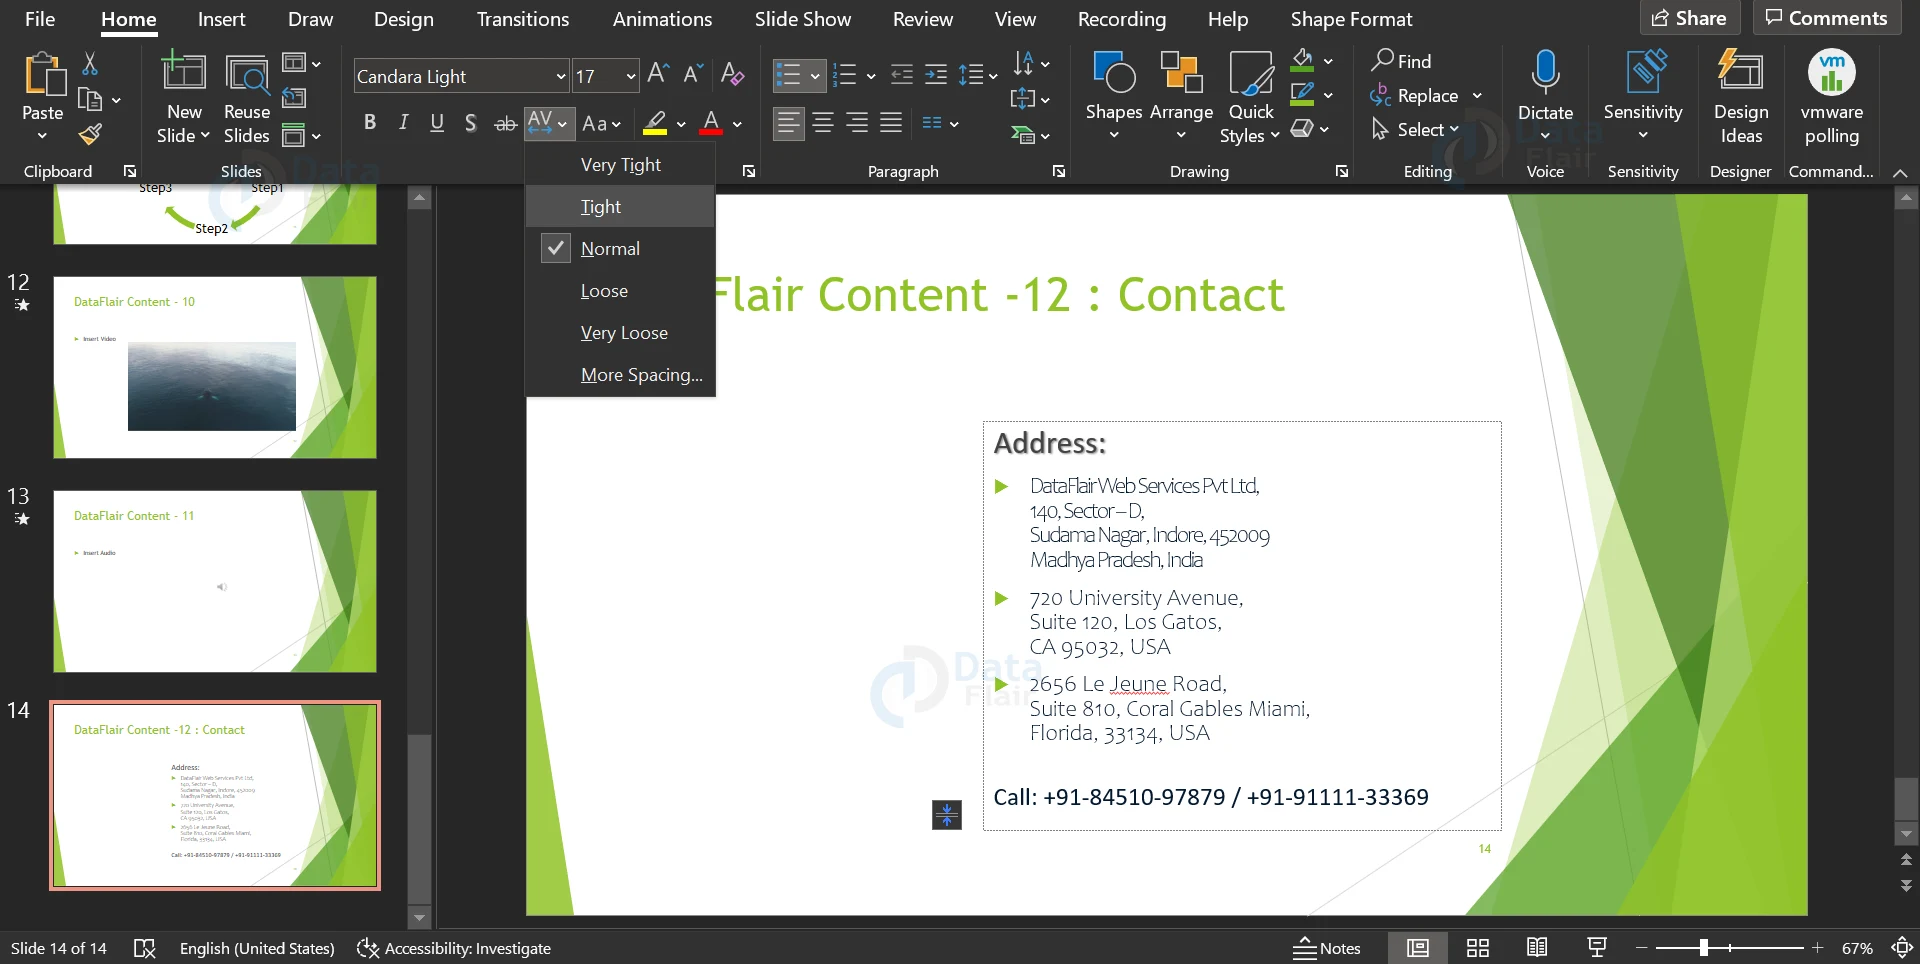
4. The next icon has a dropdown from which you can choose how much space should be present between the letters in the text you select.
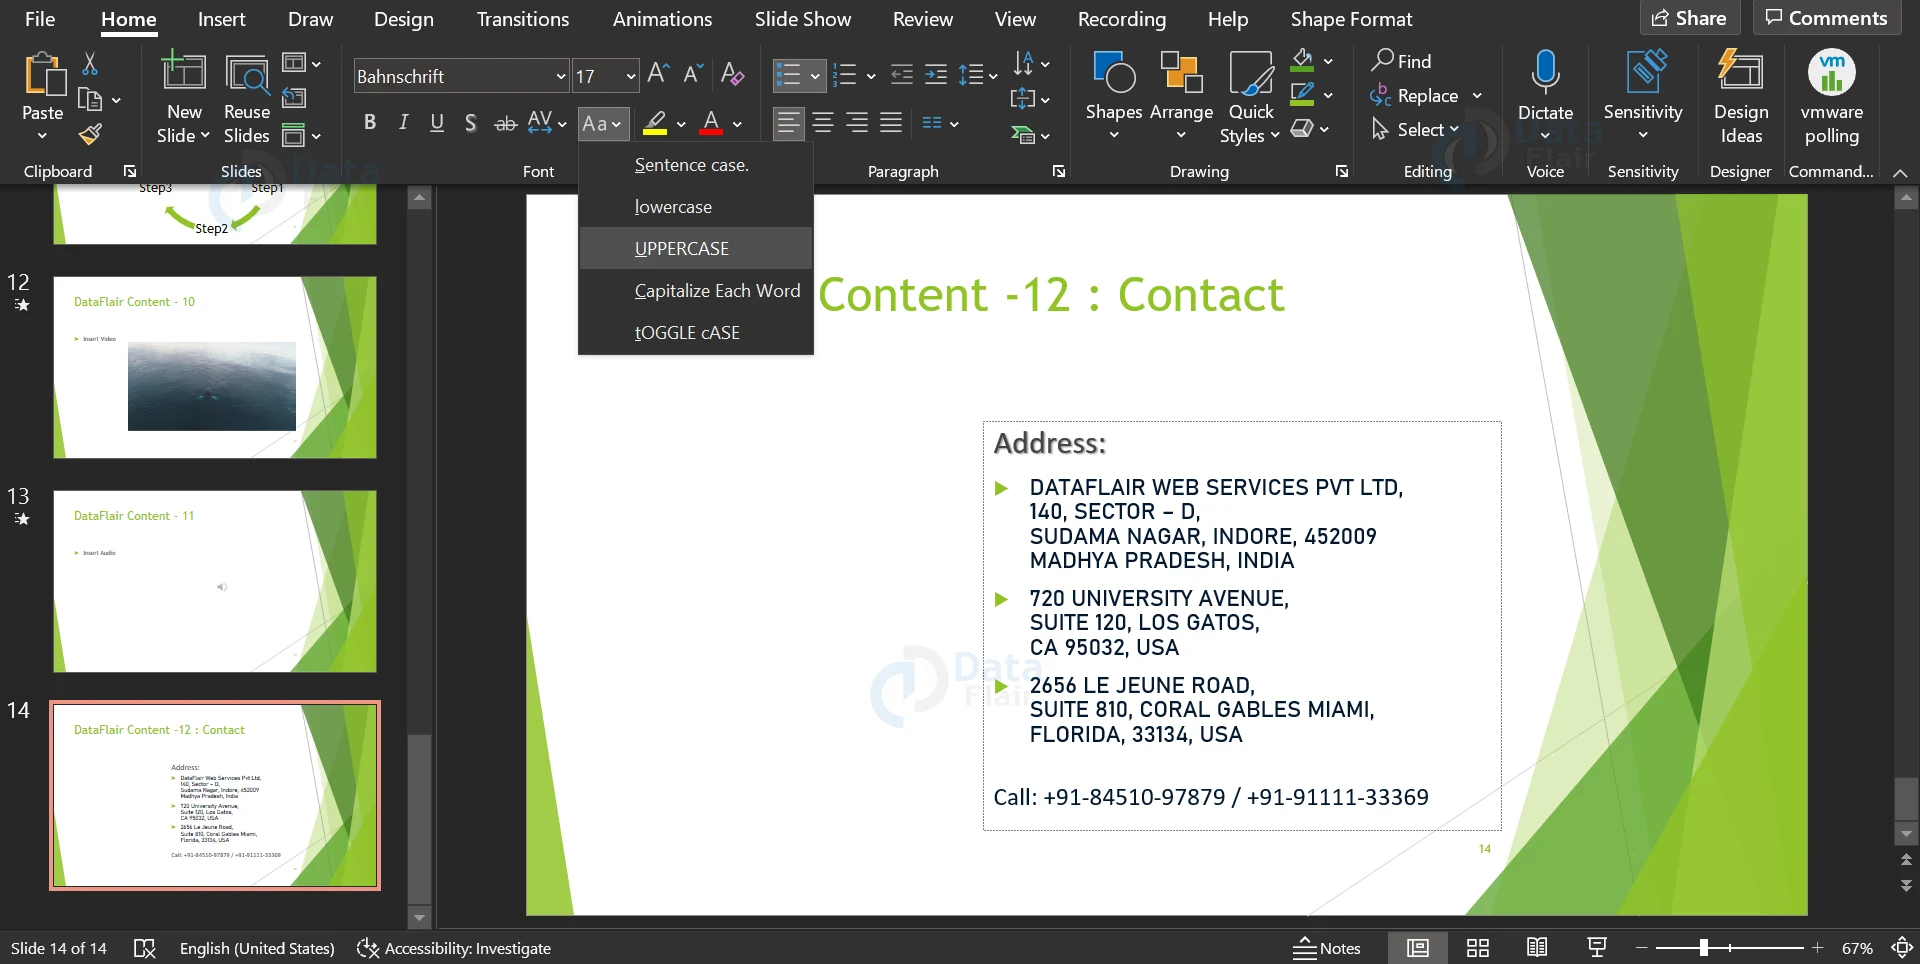
5. The next icon ‘Aa’ is used to transform the text that you select. You can transform the text you select into UPPERCASE, lowercase or Capital Each Word or tOGGLE cASE.
a. Highlight the text to switch and press Shift+F3 to cycle between the settings
b. In the sentence case, the initial letter of the specified phrase or bullet point is capitalised.
c. lowercase turns all of the text in the selection to lowercase.
d. The command UPPERCASE changes the chosen text to all-caps mode. Numbers do not transform into punctuation marks.
e. Capitalize Each Word capitalised the initial letter of every word in the specified text. (This isn’t the real title case; conjunctions, articles, and prepositions with fewer than four letters aren’t capitalised.)
f. tOGGLE cASE changes the case of each letter in the chosen text to the opposite of what it is now. If you mistakenly pushed the Caps Lock key while typing, this helps greatly.
6. There are buttons present just beside the size dropdown to increase or decrease the font size one unit at a time.
7. You can change the color of your text using the option with an A underlined with the text colour, as the picture depicts.

8. If you don’t see the colour you desire, go to More Colors and then choose a colour from the Standard tab or create your own colour from the Custom tab.
9. To match the colours on your slide, use Eyedropper. A live preview of the colour appears in a square when you move your mouse over various text colours. To apply the colour to the selected text, select the colour you want to match.
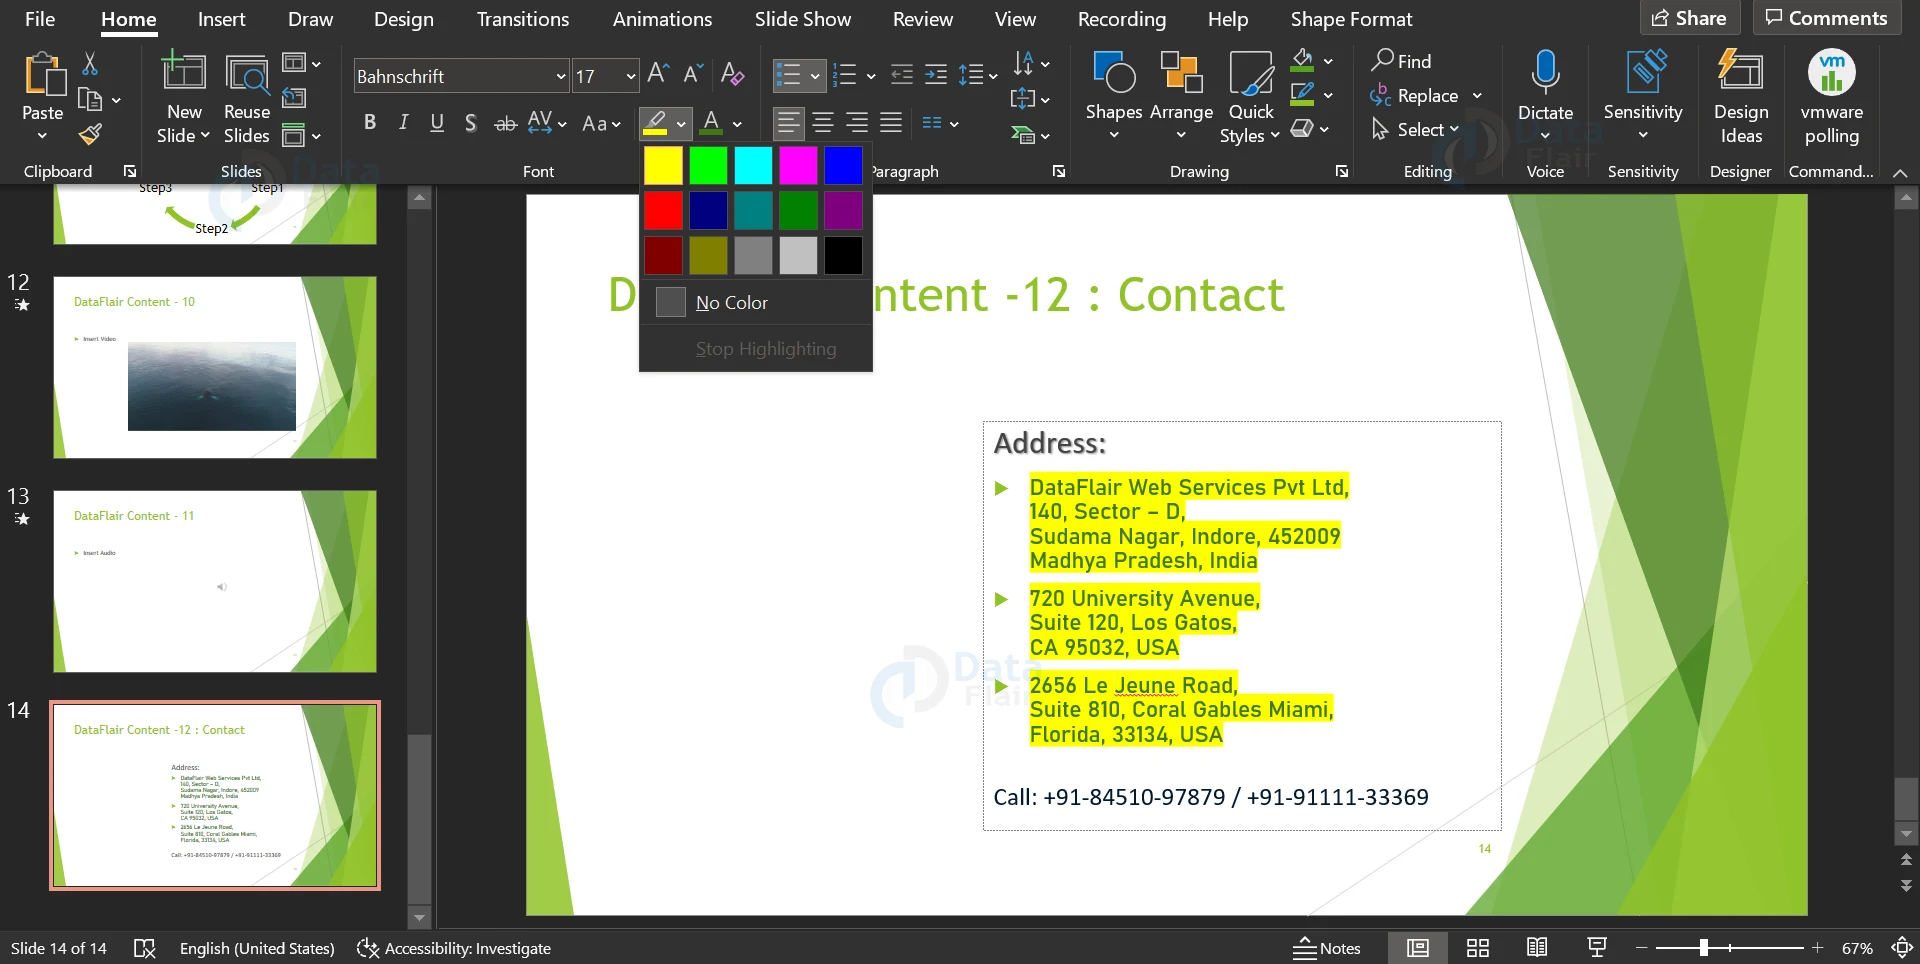
10. You can add a highlight to the text you select using the highlighter icon and then choosing a colour in the dropdown.
Summary:
As mentioned earlier, working with fonts and text is one of the easiest tasks in not just PowerPoint, but across all Microsoft Office products. Kudos to the developer team for being efficient thinkers and innovators. Take advantage of these interesting features and level up your presentation by learning font management in powerpoint.
Did you like our efforts? If Yes, please give DataFlair 5 Stars on Google


