Workbook in Excel
Job-ready Online Courses: Dive into Knowledge. Learn More!
A workbook in excel is a collection of one or more worksheets in a single file.
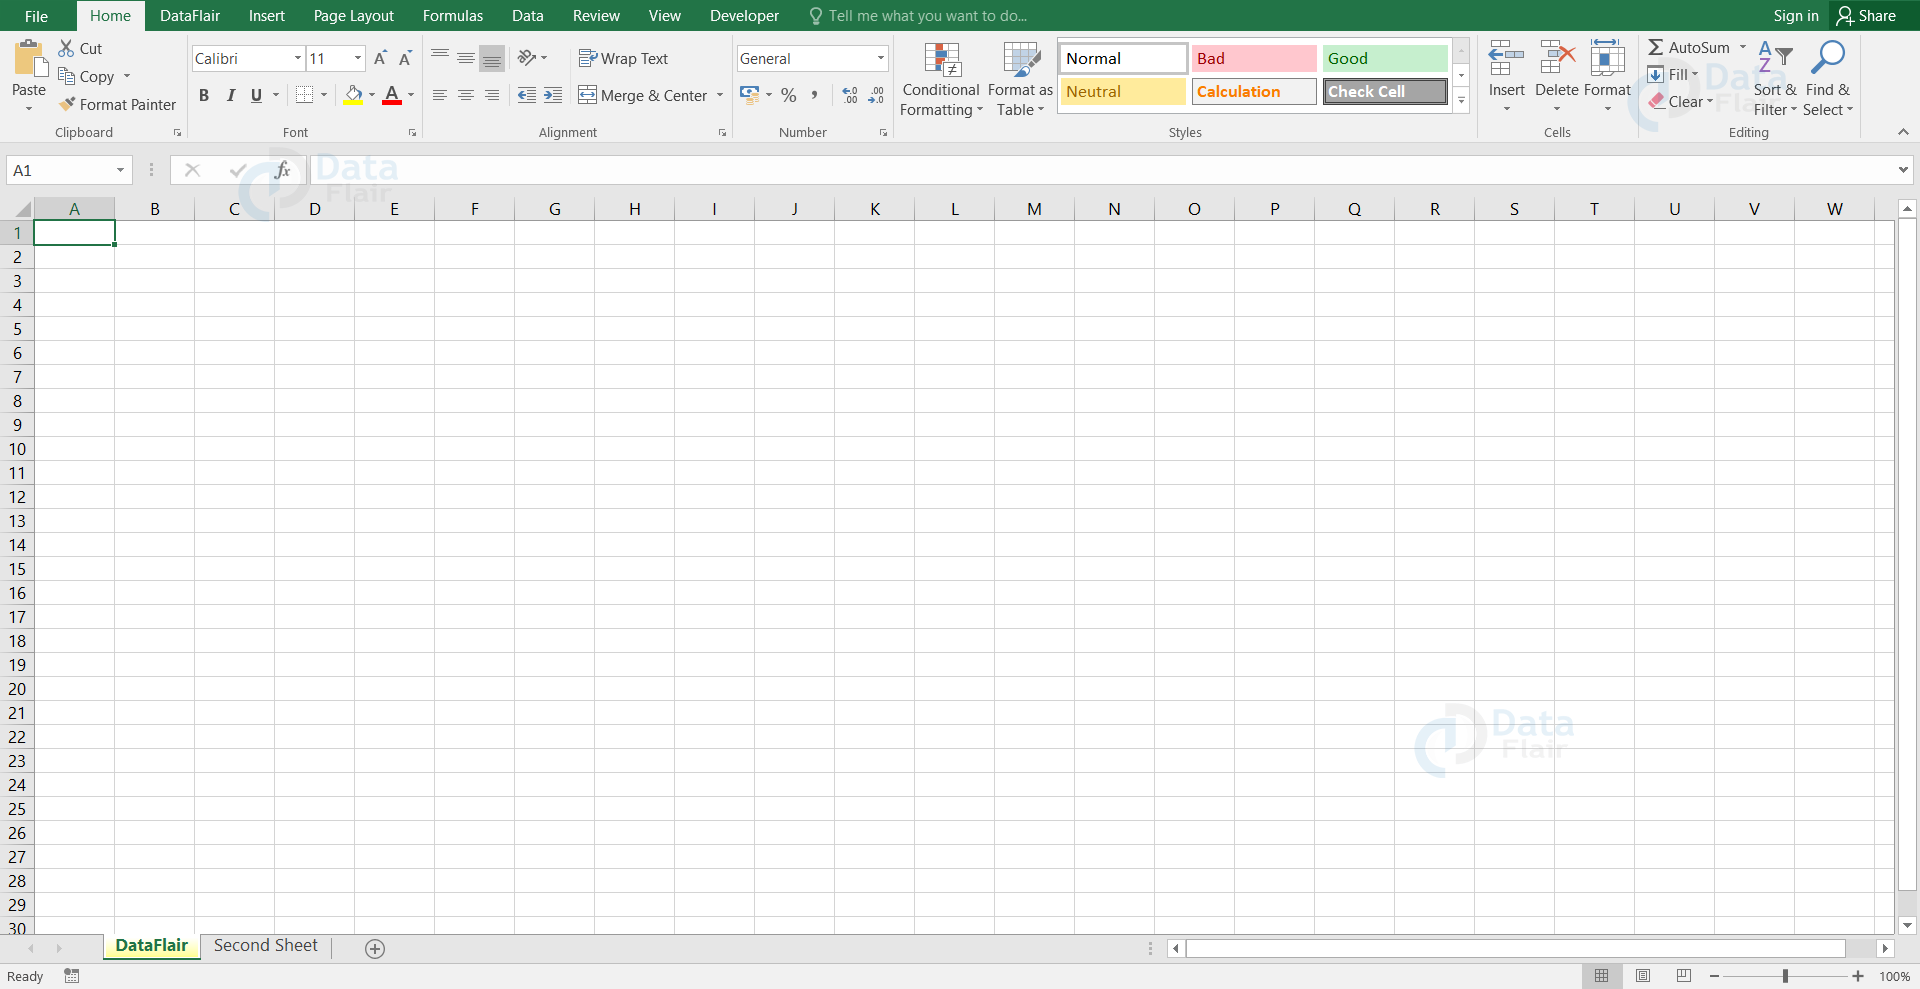
In this workbook, we have two worksheets named DataFlair, Second Sheet.
Difference between a workbook, worksheet, and spreadsheet in Excel
The terms spreadsheet, workbook, and worksheet are so similar, there might be some confusion when the user tries to understand the differences among them.
When the user opens a Microsoft Excel, they’re opening a workbook. A workbook can contain one or more multiple worksheets that can be accessed through the tabs at the bottom of the worksheet you’re currently viewing. A spreadsheet and worksheet mean the same thing in Excel.
How to open an Excel workbook?
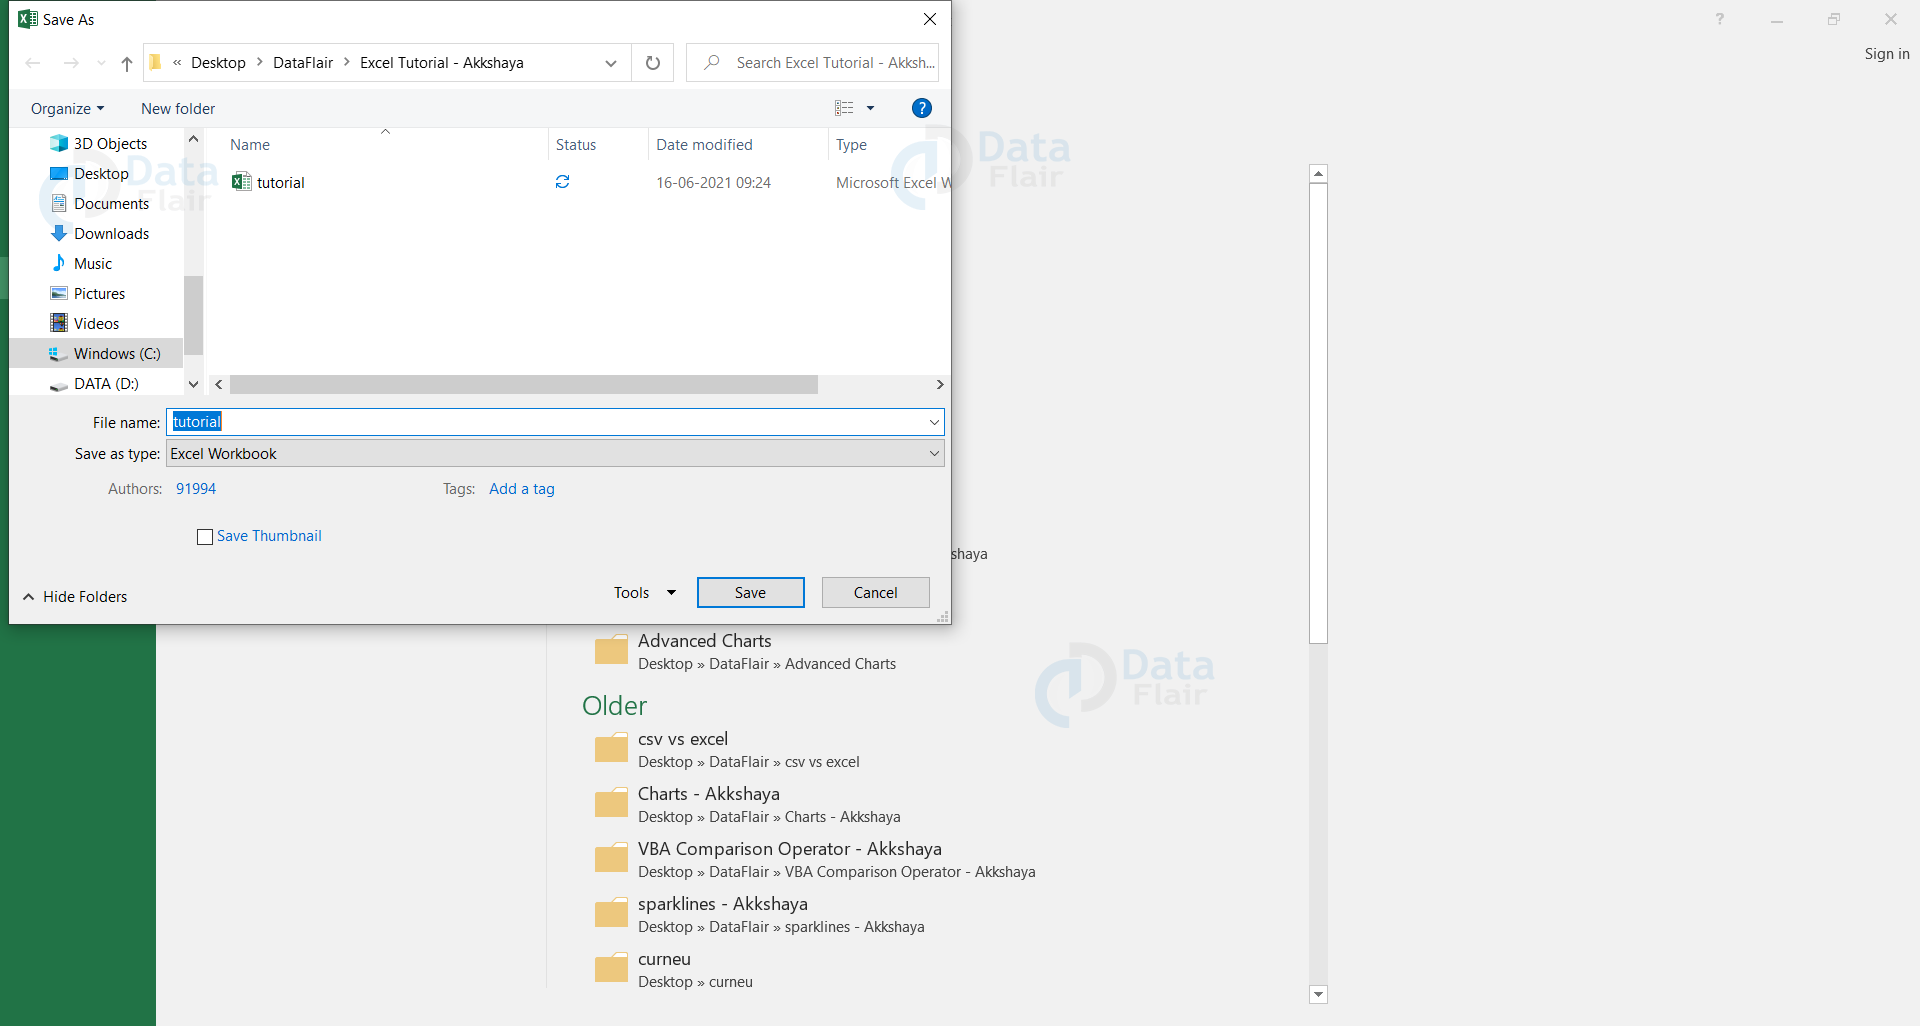
To open an excel workbook, click on the excel icon on your system and choose a blank document, you will see an excel window on the screen.
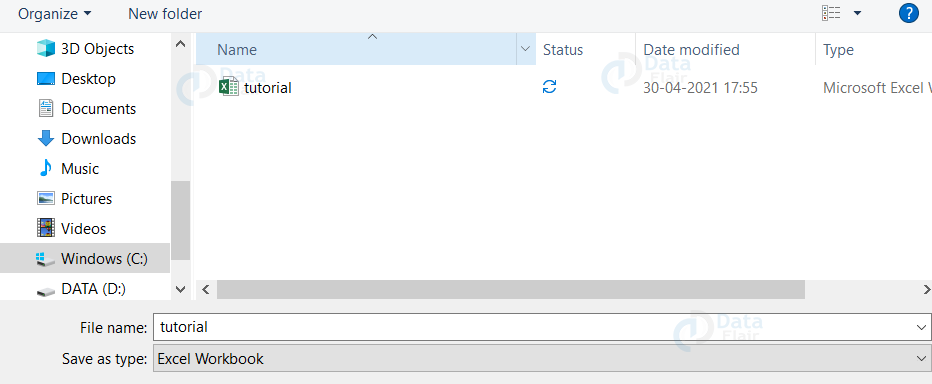
After entering the data in the spreadsheet, save it with a “file name” and save as type “Excel Workbook”. Excel files are saved with the .xlsx extension.
How to Create and Open Workbooks in Excel?
The other name for excel files are workbooks. The user needs to create a new workbook to start a new project in Excel. There are different ways to open and start working with it. The user can open an existing workbook or a predesigned template or else a blank workbook.
Create a new blank workbook in Excel
To create a new blank workbook, follow the steps:
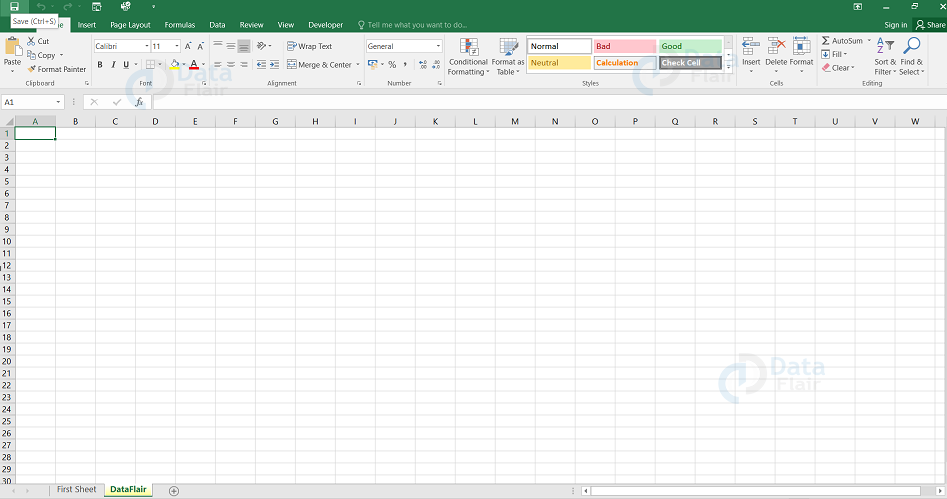
Step – 1: Click on the File tab and the Backstage view will appear.
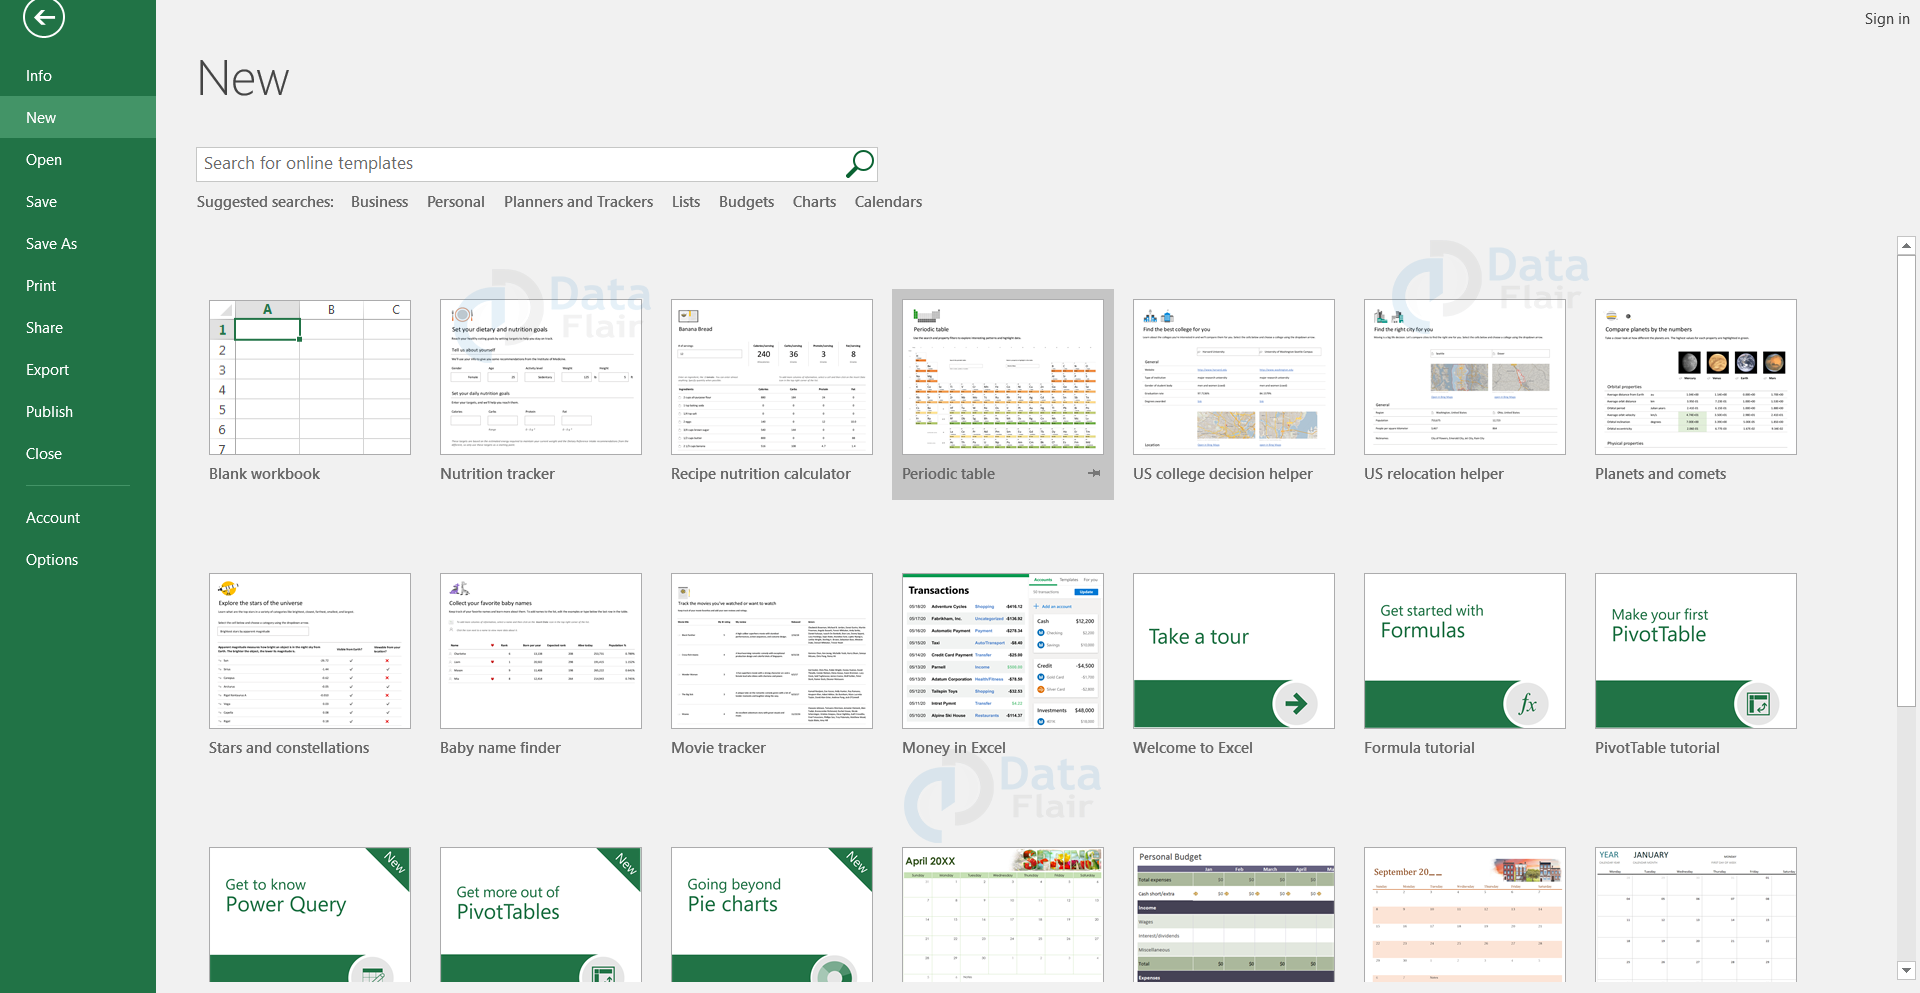
Step – 2: Choose New option, and then click on the Blank workbook.
Note: A new blank workbook will appear.
Open an existing workbook in Excel
To open an existing workbook, follow the steps:
Step – 1: Click on the File tab and the Backstage view will appear.

Step – 2: Choose Open option and then click browse if you can’t find your file in recents.
Note: If you have opened the required workbook recently then you can choose the file from recents rather than searching for the file.
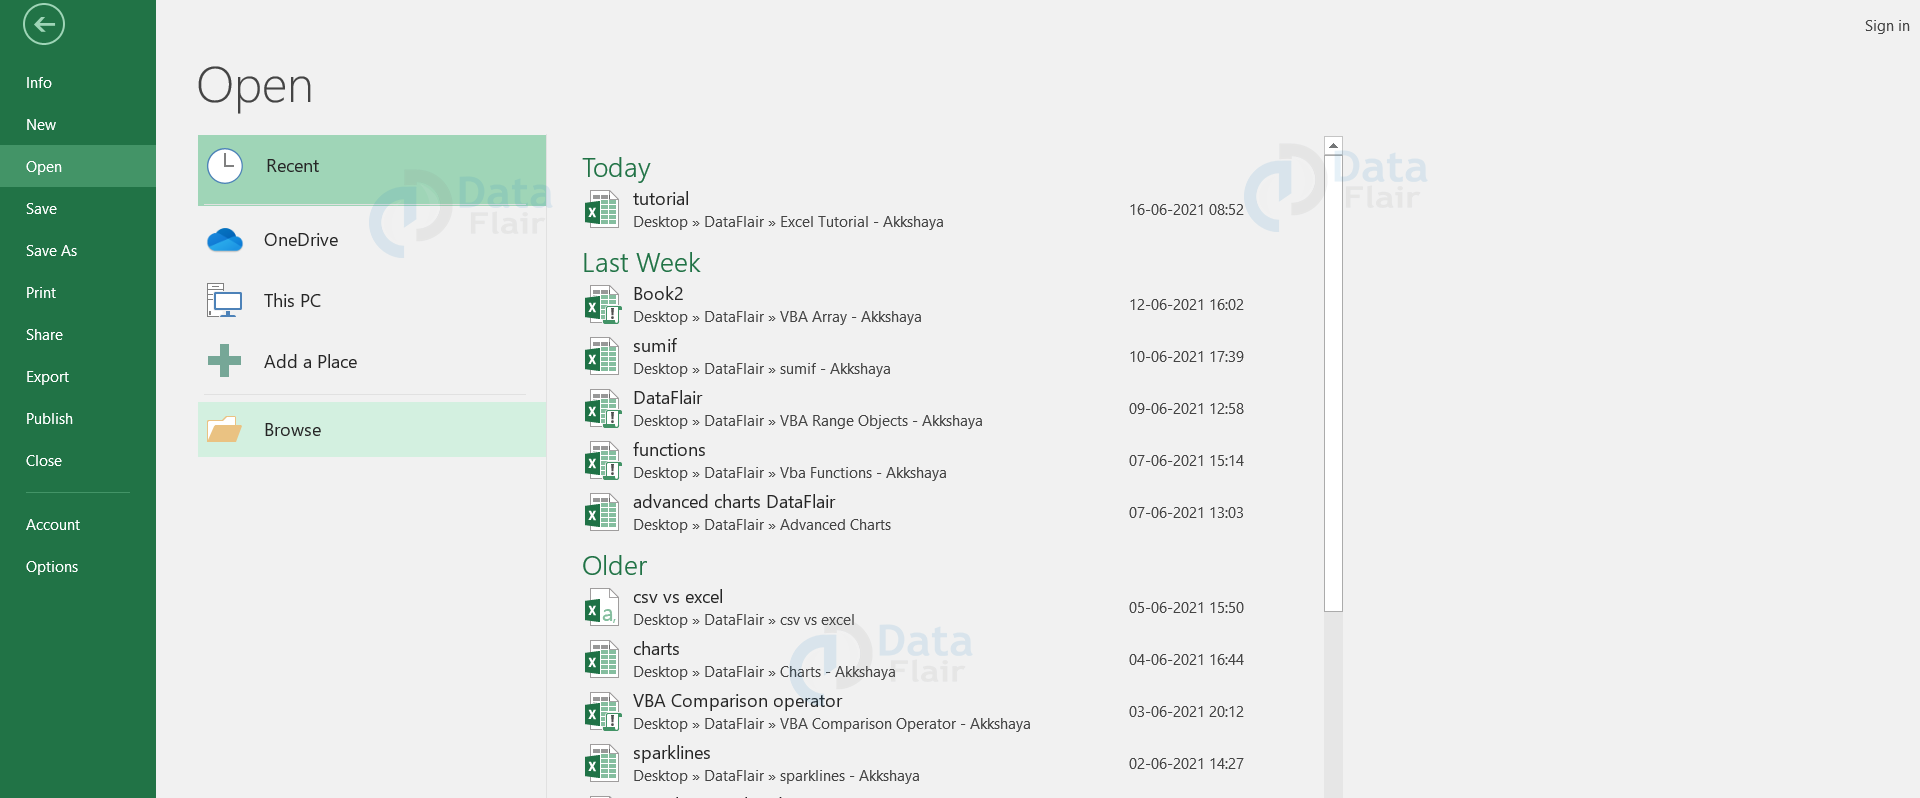
Note: The dialog box appears with the list of workbooks.
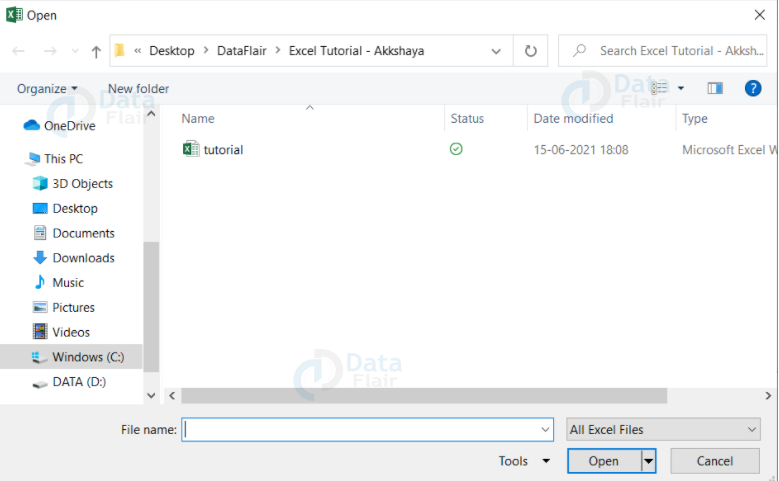
Step – 3: Choose the file and click on the open button.
How to close a workbook in Excel?
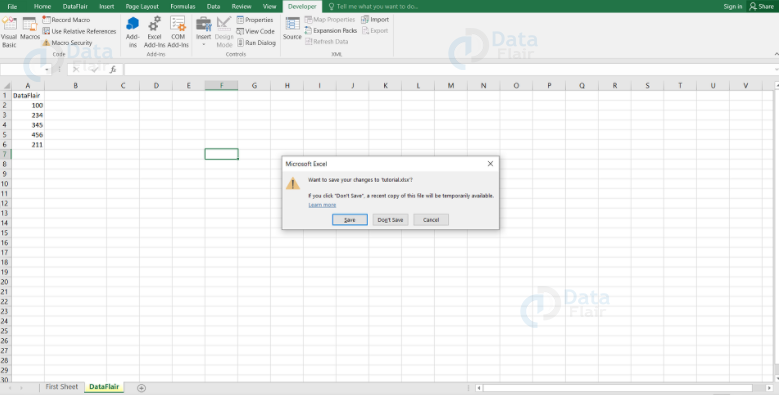
To close a workbook, the user can directly click on the exit icon which is available in the top right corner of the sheet or the user can click on the file tab and choose the close option. The user will see a dialog box asking whether to save the changes to the workbook or not. Click as per the convenience and the excel sheet closes either saving or without saving the changes.
Pin workbook in Excel
The user can pin the workbook to the backstage view for quick access. To do so, follow the steps:
Step – 1: Click on the File tab and the Backstage view will appear.
Step – 2: Place the mouse over the workbook you wish to pin. Click on the pushpin icon that appears next to the workbook.
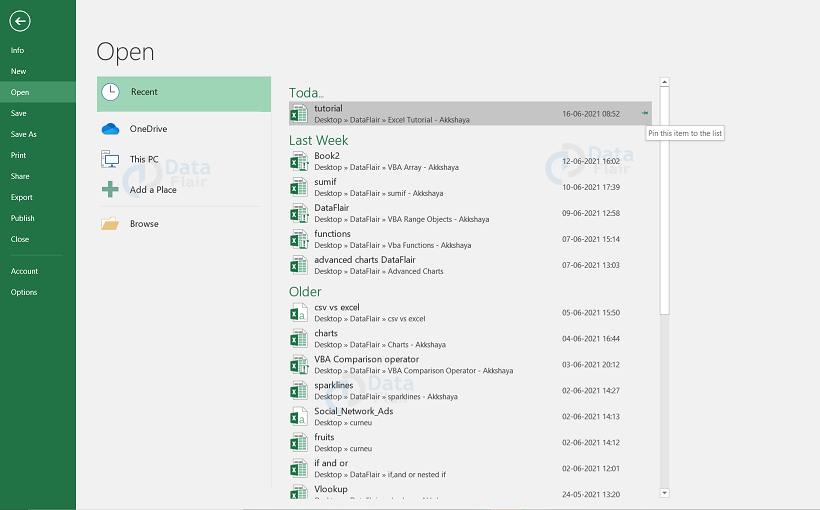
Step – 3: Click on the pushpin icon again to unpin the workbook.
Note: The user can also pin folders to the Backstage view and the same steps have to be followed to pin the folder after locating the file.
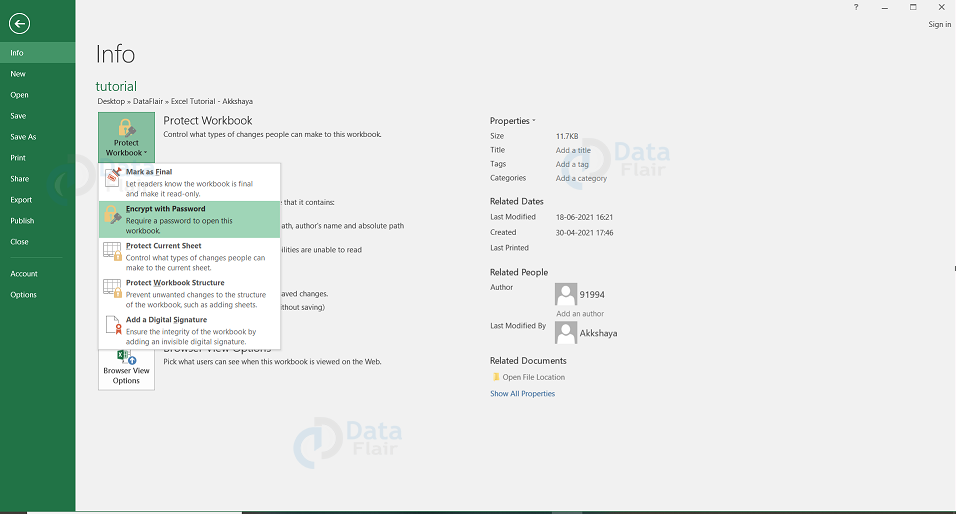
Excel Sheet Information
When the user clicks on the Info option, it displays the following information:
Permissions − The user can use this option to protect the excel sheet. They can set a password so that nobody can open the worksheet or else the user can lock the worksheet so that the others cannot edit the sheet.
Prepare for Sharing − It highlights the important information about the worksheet before the user sends it to others such as a record of the edits etc.
Versions − If the worksheet has been saved several times then the user may access the previous versions of it from this section.
Excel Compatibility mode
The compatibility mode occurs if the user works with the workbooks that were developed in earlier versions such as Excel 2003 and Excel 2000. The user can access only a few commands which were used to generate the workbook. Certain features are disabled in compatibility mode.
In order to overcome this issue, the user can convert the workbook to the current version type.
To convert a workbook to current version, follow the steps:
Note: Converting a file with the data may cause some loss while transferring to the original layout of the workbook.
Step – 1: Click on the File tab and the Backstage view will appear.
Step – 2: Choose the file and select the convert command.
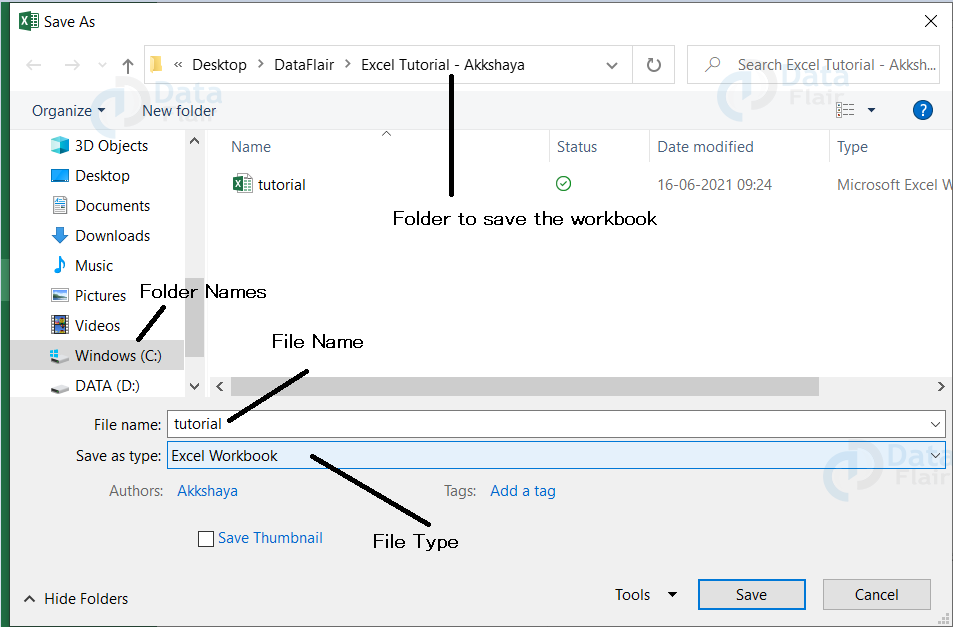
Step – 3: The Save As dialog box appears, go to the location where you want to save the workbook, enter the file name and then click Save.
Step – 4: The workbook will be converted to the newest file version.
Sheet Properties
The sheet properties include the properties such as sheet size, title, tags, categories etc. The user can edit the various properties by clicking on the property value and then it displays a text box where the user can add the text like title, tags, comments and Author.
Exit Backstage View
To escape from the backstage view, click on the file tab or press the Esc button on the keyboard to switch to excel working mode.
Saving and Sharing Workbooks in Excel
Whenever the user creates a new workbook, they need to know how to store, access and edit it later if required. The user can save files locally to the computer in previous excel versions. But in Excel 2016, the files are saved in the onedrive cloud. The user can also export and share workbooks with others directly.
Save and Save As
There are two methods to save a file in Excel and they are Save and Save As. These options work in similar methods, with a very few differences:
Save: When the user creates or edits a workbook, they have to use the Save command to save the changes and in that case, the user can use the save option. When the user saves a file, they need to select a file name and just click on the Save command to save it in the similar name and the location.
Save As: The user will use this command to create a copy of a workbook and this prevents the changes in the original file. When the user uses the Save As command, they will need to select a different name for the copied version.
Save a workbook in Excel
To save a workbook, follow the steps:
Step – 1: Select the Save command from the Quick Access Toolbar.
Note: If you are saving the file for the first time then the Save As command will occur in the Backstage view. The user needs to choose where to save the file and give a file name. The save as dialog box appears with the location where you want to save the workbook, enter the file name and click on the save button.
Using Save As to make a copy
If the user wants to save a different version of a workbook then they can create a copy. For example, if we have a file named “Tutorial” the user could save it as “Tutorial 2” so the user will be able to edit the new file and still refer back to the original file data.
If the user clicks on the Save As command in the Backstage view. The user needs to select where to save the data and give it a new file name.
Saving New Changes in Excel
The user may get a situation where they want to open an existing file and edit a little or more information, or even the user would like to save the changes in between editing the sheet. If the user want to save the worksheet with the same name, then the user can use any of the following technique:
- Press Ctrl + S from the keyboard to save the changes.
- The user can click on the save icon available at the top left corner of the sheet which is just above the File tab. This option will also save the changes in the sheet.
- The user can also use the save option to save the changes, which is available just above the Save As option in the backstage view.
- If it’s a new sheet and not yet saved anytime, then with any of the three options, the sheet would display the user a dialogue box to let you select a folder, and enter the sheet name.
Themes in Excel
Excel offers themes to change the appearance of the workbook with a click on the button. Each theme consists of 12 colors, two fonts i.e., Headings and Body and effects for the shapes and SmartArt.
To change the theme, follow the steps
Step 1: Under the Page Layout tab, click on the theme icon.
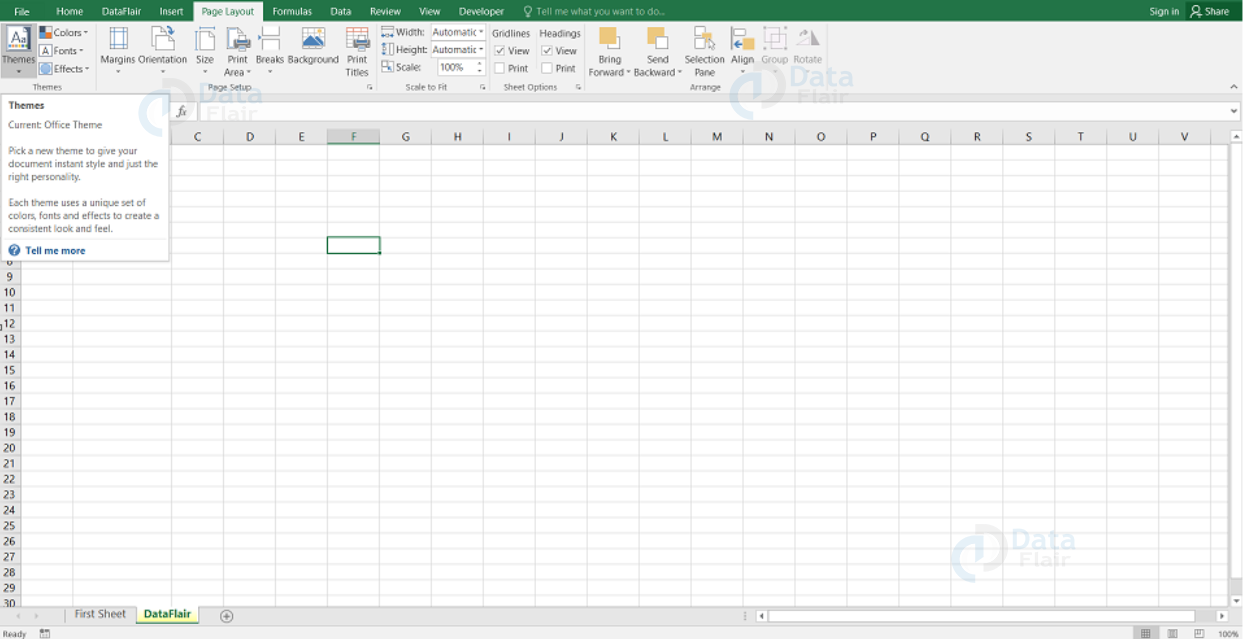
Step 2: Under the File tab, the user can view the Theme Colors and Theme Fonts of the chosen theme.
Step 3: Under the Page Layout tab, choose Themes and click on the Facet theme.
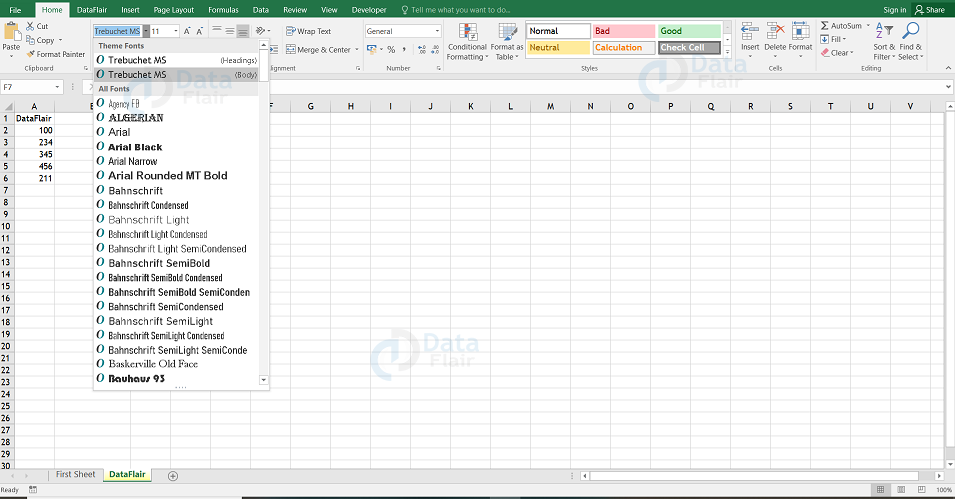
Step 4: On the Home tab, the user can view the Theme Colors and Theme Fonts Trebuchet MS of the chosen theme.
Note: If the user wants to customize the color and fonts, go to the page layout tab, Customize Colors and Fonts to create new theme fonts and save it.
AutoRecover in Excel
Excel automatically saves the workbooks to a temporary folder while the user is working on the file. If the user forgets to save the changes or if Excel crashes due to other reasons then the user can restore the file using the AutoRecover option.
To use AutoRecover, follow the steps:
Step – 1: Open the Excel. If auto-saved versions of the file are found then the Document Recovery pane will appear.
Step – 2: Click to open the available data and the workbook will be recovered.
Note: Excel keeps auto-saving the file for every 10 minutes. If the user is editing a workbook for less than ten minutes then excel may not have its auto-saved version.
If the user doesn’t see the file, they can browse all AutoSaved files from the Backstage view. To do so, click on the File tab, choose the Manage Versions and then select the Recover Unsaved Workbooks Option.
Exporting Workbooks in Excel
Excel workbooks are stored in the .xlsx file type by default. There may be a time when you want to use another file type such as a PDF etc. It’s easy to export the workbook from Excel to a variety of file types.
To export the workbook as a PDF file, follow the steps:
Step – 1: Click on the File tab and then the backstage view appears.
Step – 2: Choose Export and then click on the Create PDF/XPS Document.
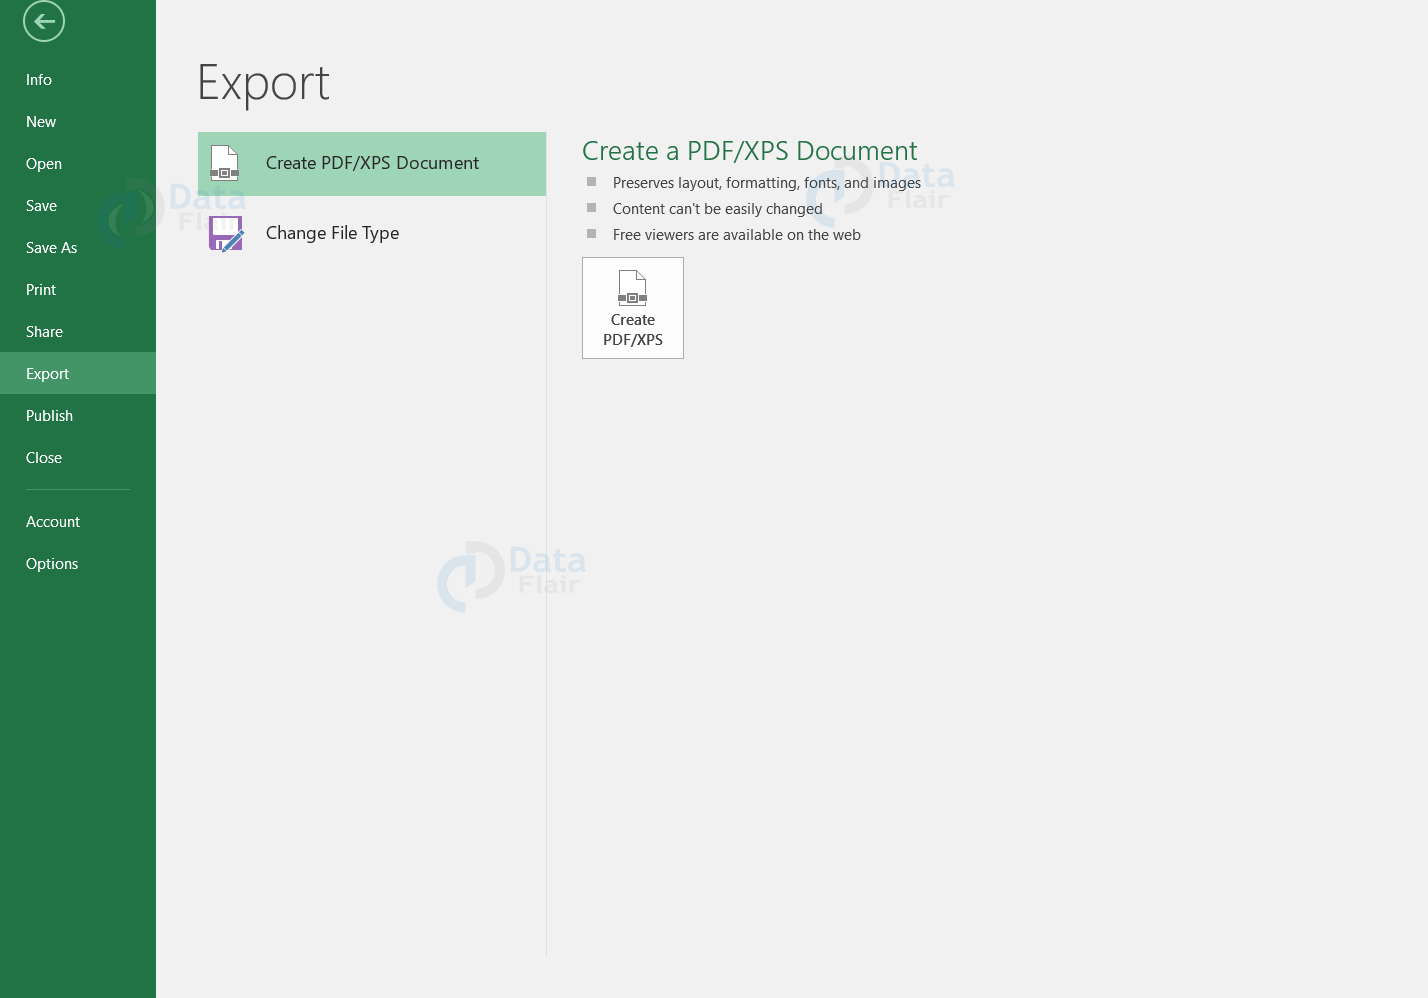
Step -3: The Save As dialog box appears with the location where you want to export the workbook, enter a filename, and then click Publish.
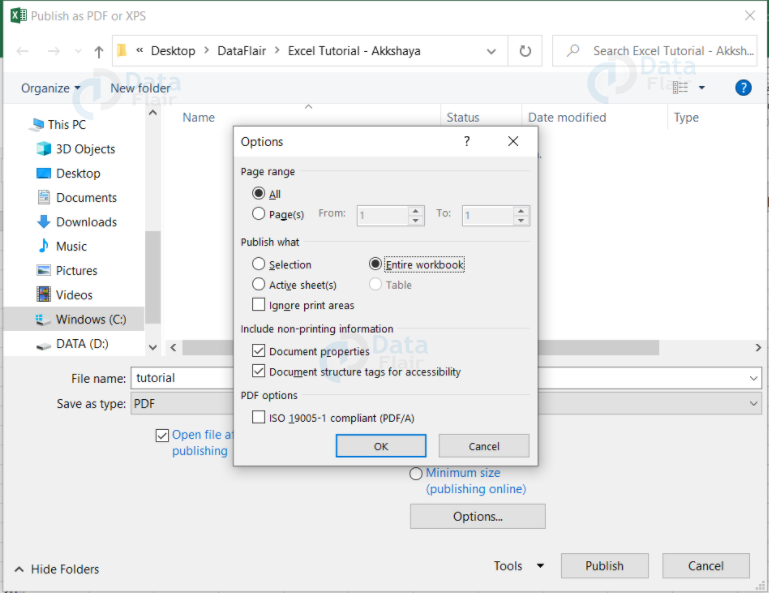
Note: If there are multiple worksheets and if you want to store all of them in a similar PDF file, click on the option in the save as dialog box and select the entire workbook option to save everything in a single PDF.
To export the workbook in other file types
Sometimes, the user may convert the worksheet to an older version or a .csv file extension. To export the workbook in other file types, follow the steps:
Step – 1: Click on the File tab and the Backstage view will appear.
Step – 2: Select Export and choose the change File Type.
Step – 3: Choose the common file type and click on the Save As option.
Step – 4: A dialog box appears with the location where you want to export the workbook, enter a filename and then click Save option.
Email Workbook in Excel
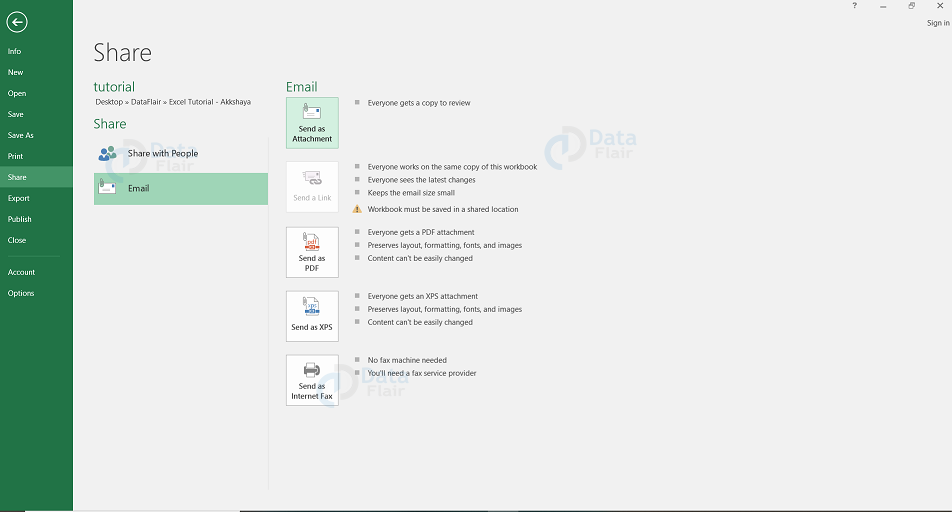
MS Excel allows the user to email the workbook in a few steps. To email the workbook to some other user, follow the steps.
Step 1: Click on the File tab and choose the Share option.
Note: Save the document first and then proceed with the email.
Step 2: Click on Send as an Attachment option if the user wants to receive it as a worksheet itself or else the user can choose any option below such as PDF, XPS document etc.
Note: MS Outlook will open a tab with the file as an attachment in the New Email Window and the user can mail the particular workbook to anyone with a valid email address.
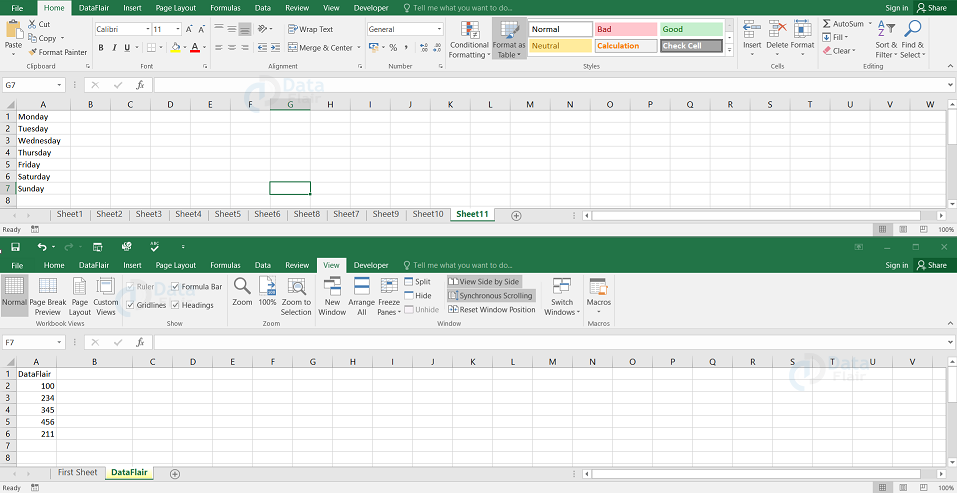
View Multiple Workbooks in Excel
If the user wants to view multiple Excel workbooks at the same time, then follow the steps.
Step 1: Open two or more workbooks.
Step 2: On the View tab, choose the Arrange All icon.

Step 3: Choose the desired arrange setting. Here, we are choosing Horizontal.
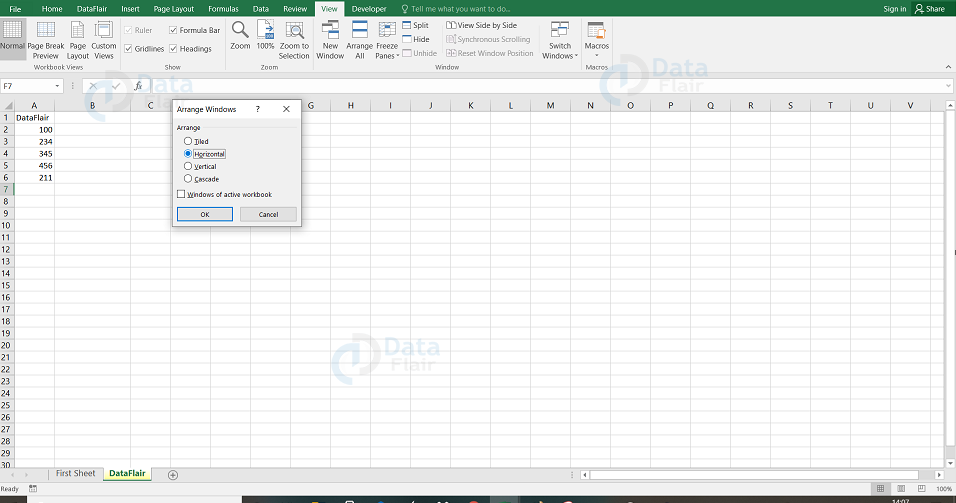
Step 4: Finally press the OK button.
Step 5: On the View tab, choose the View Side by Side option to scroll both workbooks at the same time.
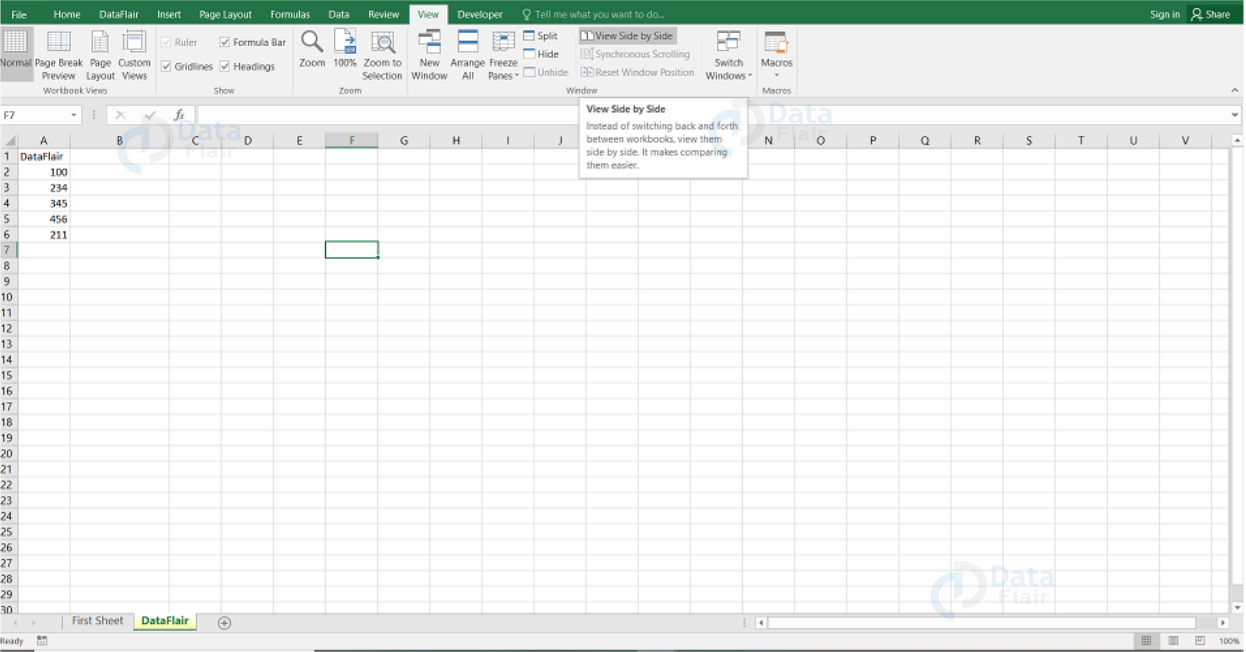
Note: When the user clicks on view side by side option, the following output appears
Excel Workbook Security
The user can apply security to the workbook by the concept of protection available in the Review tab. There are three categories in protection related features.
1. Worksheet protection
When the worksheet is under protection, any other users cannot modify or the user can restrict the modifications to certain users.
2. Workbook protection
When the workbook is under protection, the sheets in that workbook are protected from insertion, deletion and also it requires the password to open the workbook.
3. Workbook’s Structure protection
The user can prevent others from performing certain actions in a workbook and this protects the structure of the worksheet.
Protect Worksheet
The user may want to protect a worksheet for many reasons. One main reason is to prevent the sheets from themselves or others from accidentally deleting the formulas or other important data.
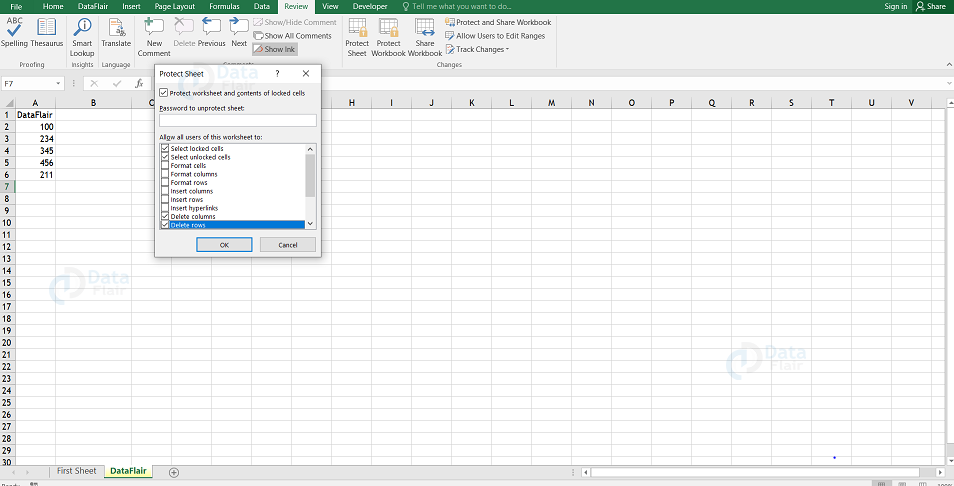
To protect a worksheet, click on the review tab, select the protect sheet option. Protect Sheet dialog box appears in the sheet.
Note: Providing a password is optional. If the user enters a password, that password will be required to unprotect or open the worksheet. The user can select various options in which the sheet should be protected. Suppose, if the user has checked the Delete rows and Delete Columns option, then Excel will not allow to format cells.
When others try to format the cells, they will get the error as shown below.
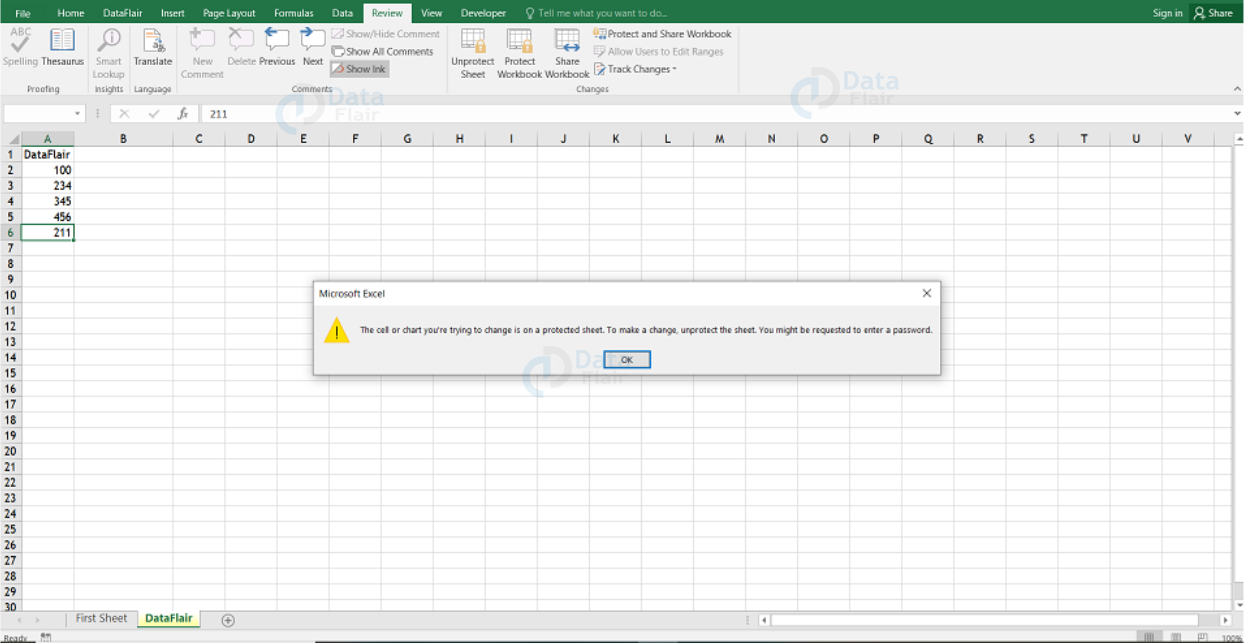
To unprotect a protected sheet, go to the review tab and select the unprotect sheet.
Note: If the sheet was protected with a password, then the user is prompted to enter that password to unprotect it.
Protecting a Workbook in Excel
Excel lets the user save a workbook with a password. After providing the password, whoever tries to open the workbook, must enter the password. To add a password to a workbook, follow the steps.
Requiring a Password to Open a Workbook
Step 1: Go to the file tab and select info.
Step 2: Click on the protect workbook and encrypt with password.
Note: The Encrypt Document dialog box appears.
Step 3: Type a password and press the OK button.
Step 4: Type the password again and press the OK button.
Step 5: Finally, save the workbook.
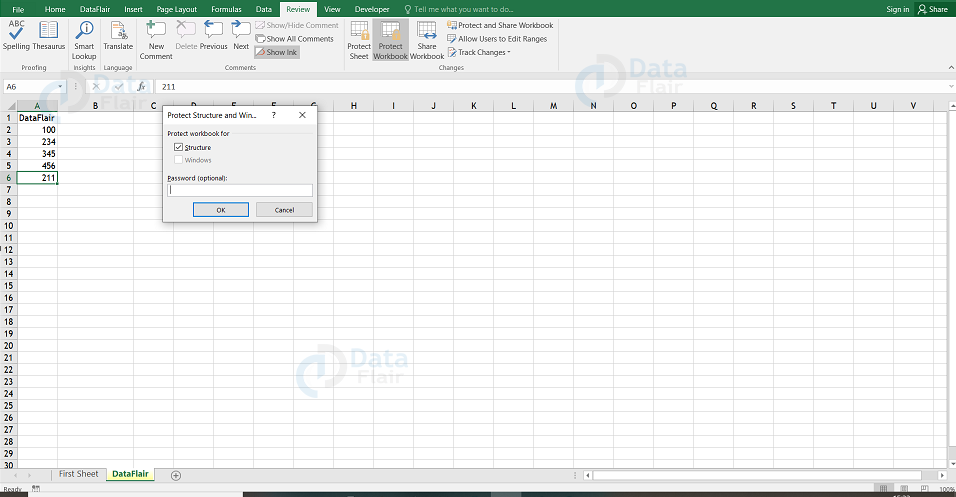
Protecting Excel Workbook’s Structure and Windows
To prevent the other users from performing certain actions in a workbook, the user can protect the workbook’s structure and windows. When a workbook’s structure and windows are protected, the user cannot add, delete, hide/unhide a sheet, etc and they may not be allowed to change the size or position of a workbook’s windows also.
Step 1: Under the review tab, select the Protect Workbook.
Note: The Protect Workbook dialog box appears.
Step 2: Select the Structure check box and Windows check box from the dialog box window.
Note: The user can add the password if they want.
Step 3: Finally press the OK button.
Summary
The workbook comprises one or more worksheets in Excel. Workbooks are very flexible to perform analysis and can hold information with different data types such as text, numbers, formulas etc. The user can also convert the workbook to other file types such as PDF, etc.
Did we exceed your expectations?
If Yes, share your valuable feedback on Google


