CSS Padding
Full Stack Web Development Courses with Real-time projects Start Now!!
CSS padding is an essential aspect of web design that allows developers to control the spacing between an element’s content and its border. It can create more visually appealing designs by adding space around an element’s content without affecting the border or margin.
In this blog, we will introduce CSS padding and its different properties and values. We’ll cover how to use the individual padding properties, shorthand property and different values that can be used for padding. By the end of this blog, you’ll have a solid understanding of how to use CSS padding to create more attractive and practical designs.
CSS Padding Properties
There are four individual padding properties that we can use in CSS:
1. Padding-top:
It sets the padding value for the top side of the element.
For example
{
  padding-top: 20px;
}
2. Padding-right:
This sets the padding value for the right side of the element.
For example
{
padding-right: 10%;
}
3. Padding-bottom:
This sets the padding value for the bottom side of the element.
For example
{
  padding-bottom: 2rem;
}
4. Padding-left:
This sets the padding value for the left side of the element.
For example
{
  padding-left: 20px;
}
In addition to these individual properties, we can use the shorthand property padding to set all four padding values simultaneously.
CSS Padding Values
There are two types of values that we can use for CSS padding:
1. Length values: We can use length values such as pixels (px), ems (em), rems (rem), and so on to specify the padding value in absolute units.
Example:
padding: 10px;
In this example, the padding value for all four sides of the element is set to 10 pixels.
2. Percentage values: We can use percentage values to specify the padding value relative to the element’s width. For example, a padding value of 50% would make the padding on each side of the element equal to 50% of the element’s width.
Example:
padding: 5% 10%;
In this example, the padding value for the top and bottom sides of the element is set to 5% of the element’s width, while the padding value for the right and left sides is set to 10%
3. Auto: The value will be set to the browser’s default value.
Example:
padding: auto;
In this example, the padding value for all four sides of the element is set to the browser’s default value.
Example of CSS Padding using Shorthand Property
Let’s start with an example of CSS padding using the shorthand property:
<!DOCTYPE html>
<html>
<head>
    <title>CSS Padding Example</title>
    <style>
        .box{
            padding: 20px;
            background-color: lightblue;
            border: 2px solid black;
        }
    </style>
</head>
<body>
    <div class="box">DataFlair - This is a box with padding</div>
</body>
</html>
In this example, we have defined a class called “box” and applied it to a div element. We have also set the padding value to 20 pixels using the shorthand property. The background color is light blue, and the border is black.
The output of this code will be as follows:
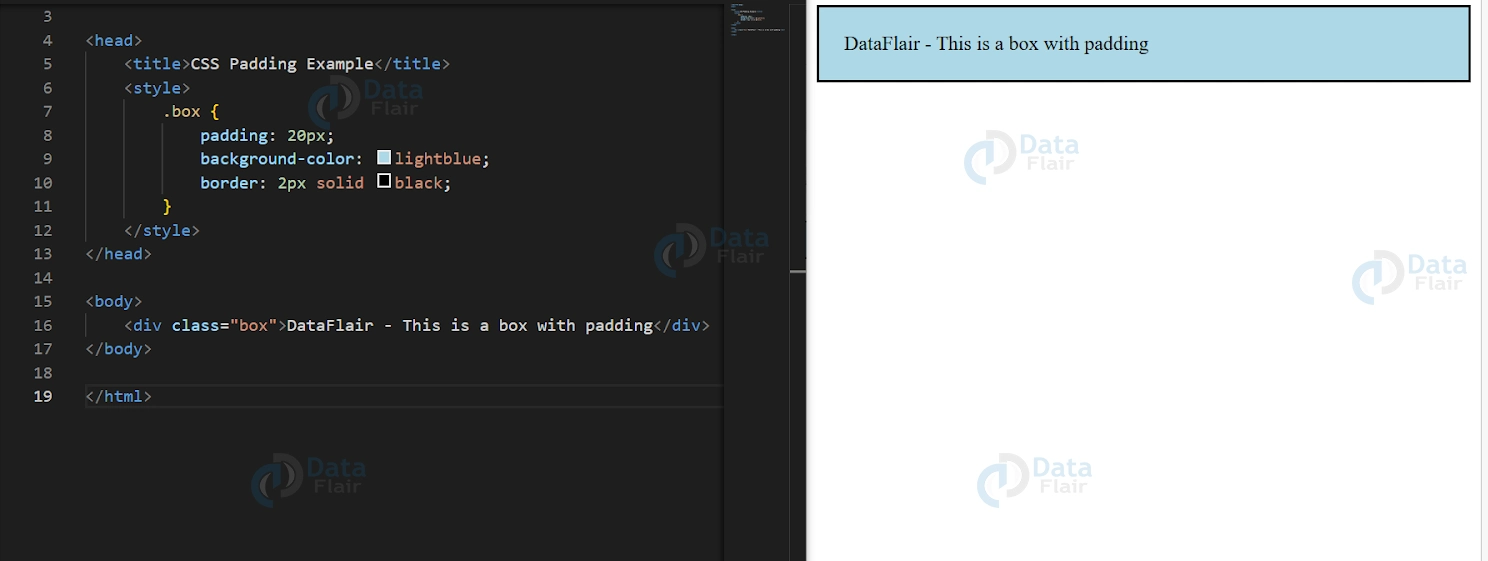
As you can see, the padding value has been applied equally to all four sides of the box, creating space between the content and the border. CSS padding is not just a space creator but a basic success key inResponsive design. This makes sure that no aspect of a certain design is learned, but rather is consistent in physical appearance in all kinds of gadgets.
Example of CSS Padding using Individual Properties and Values
Now let’s take a look at an example that uses each padding property with different values:
<!DOCTYPE html>
<html>
<head>
    <title>CSS Padding Example</title>
    <style>
        .box{
            padding-top: 20px;
            padding-right: 30%;
            padding-bottom: 40px;
            padding-left: 10px;
            background-color: lightblue;
            border: 2px solid black;
        }
    </style>
</head>
<body>
    <div class="box">DataFlair - This is a box with different padding values</div>
</body>
</html>
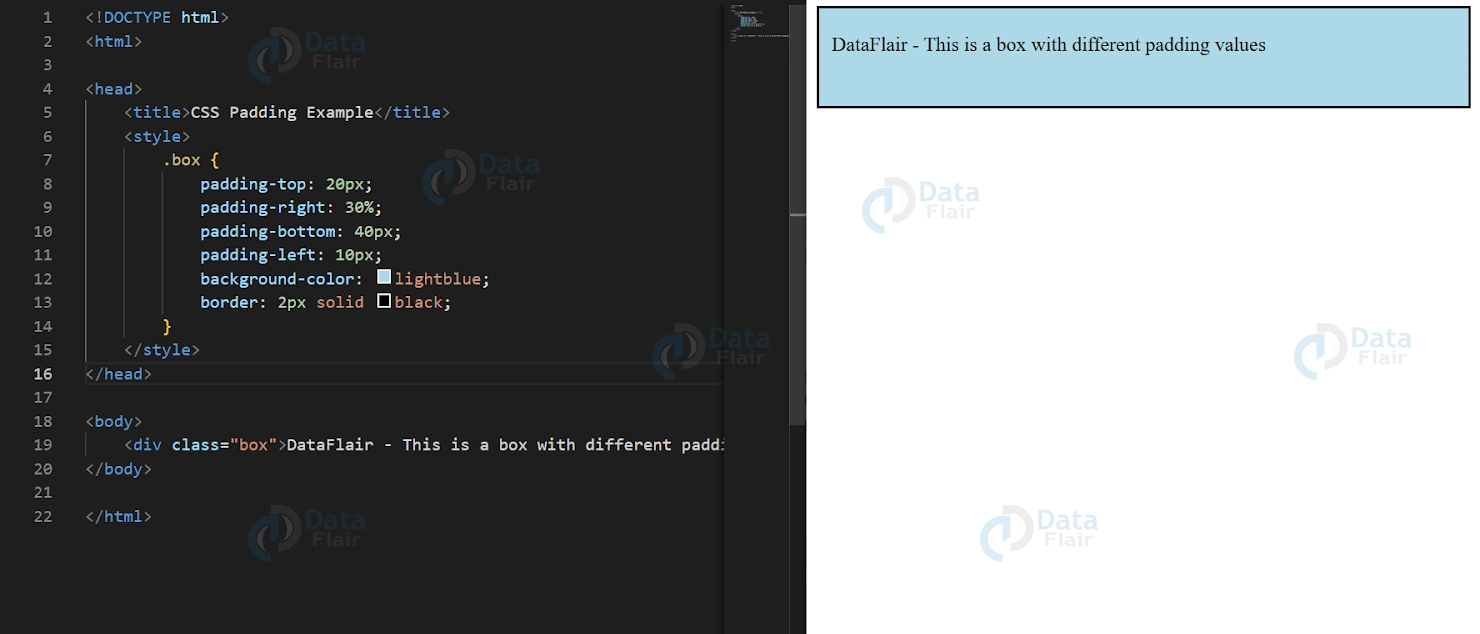
In this example, we have used each individual property of CSS padding, including padding-top, padding-right, padding-bottom, and padding-left. We have also used different units for each value. The top padding value is 20 pixels, the right padding value is 30% of the box width, the bottom padding value is 40 pixels, and the left padding value is 10 pixels. The background color is light blue, and the border is black.
The output of this code will be as follows:
CSS Padding and Elements width
In CSS, padding refers to the space between an element’s content and its border. It can be defined using the padding property. It takes up to four values to set the padding for each side of the element (top, right, bottom, and left) individually or one value to set the same padding for all sides.
When adding padding to an element, it’s important to keep in mind how it affects the element’s width. By default, an element’s width is determined by its content, not including padding, border, or margin. However, when padding is added, it increases the total width of the element, which can cause unexpected layout issues.
For example, suppose we have a div element with a width of 300 pixels and a padding of 20 pixels. In this case, the total width of the element will be 340 pixels (300 pixels for the content + 20 pixels of padding on each side). If we add a border of 1 pixel and a margin of 10 pixels, the total width becomes 372 pixels.
To avoid these issues, we can use the box-sizing property to adjust how an element’s width is calculated. By setting box-sizing: border-box, the element’s width will include its padding and border, but not its margin. This allows us to add padding to an element without changing its overall width, which can be useful in creating consistent layouts and spacing.
Overall, understanding how padding affects an element’s width is important in creating well-designed and visually consistent web pages. By using the box-sizing property and paying attention to how padding is applied, we can create layouts that look and function as intended.
Example of CSS Padding using Individual Properties and Values
1 value: If the padding property has only one value, that value is applied to all four sides of the element.
2 values: If the padding property has two values, the first value is applied to the top and bottom of the element, while the second value is applied to the left and right sides.
3 values: If the padding property has three values, the first value is applied to the top of the element, the second value is applied to the left and right sides, and the third value is applied to the bottom of the element.
It’s important to note that if you only specify one or two values for the padding property, the remaining values will be set to their default value of 0. For example, if you set padding: 10px, the padding on all sides of the element will be 10 pixels. But if you set padding: 10px 20px, the padding on the top and bottom of the element will be 10 pixels, while the padding on the left and right sides will be 20 pixels.
Conclusion
CSS padding is a versatile property that can be used to control the space between an element’s content and its border. By using the different properties and values of CSS padding, we can create unique and visually appealing designs for our web pages. We hope that this introduction to CSS padding has been helpful for you and that you can apply this knowledge to your own web development projects.
Understanding padding not only enhances the design but also contributes to the overall layout and readability of your web pages.
Your 15 seconds will encourage us to work even harder
Please share your happy experience on Google


