Azure Point to Site VPN
Top AWS Course for AWS Certified Cloud Practitioner (CLF-C01) Start Now!!
Expert-led Online Courses: Elevate Your Skills, Get ready for Future - Enroll Now!
In this article, we will gain knowledge about Point to Site VPN in Azure. But we will mostly focus on the practical demonstration. So, let us begin.
What is Point-to-Site Connectivity in Azure?
The most common method for connecting an on-premises network to an Azure VNet is through a Site-to-Site VPN. This VPN connection is established at the level of your edge firewall or router.
What if you connect from a distant location, such as your home? To do so, we can use the point-to-site method. The authentication between the endpoint and the Azure virtual network will be done using certificates in this method.
Azure Point to Site Connectivity Protocols
1. The OpenVPN® Protocol is a VPN protocol that is based on SSL/TLS. Because most firewalls open TCP port 443 outbound, which TLS uses, a TLS VPN solution can pass through them. Android, iOS (versions 11.0 and up), Windows, Linux, and Mac devices can all connect to OpenVPN (macOS versions 10.13 and above).
2. Secure Socket Tunneling Protocol (SSTP) is a TLS-based VPN protocol that is proprietary. Because most firewalls open TCP port 443 outbound, which TLS uses, a TLS VPN solution can pass through them. Only Windows devices are compatible with SSTP. All versions of Windows with SSTP and TLS 1.2 support are supported by Azure (Windows 8.1 and later).
3. IKEv2 VPN is an IPsec VPN solution based on standards. From a Mac device, you can connect to an IKEv2 VPN (macOS versions 10.11 and above).
How to create VNet in Azure?
Follow below steps to create VNet in Azure:
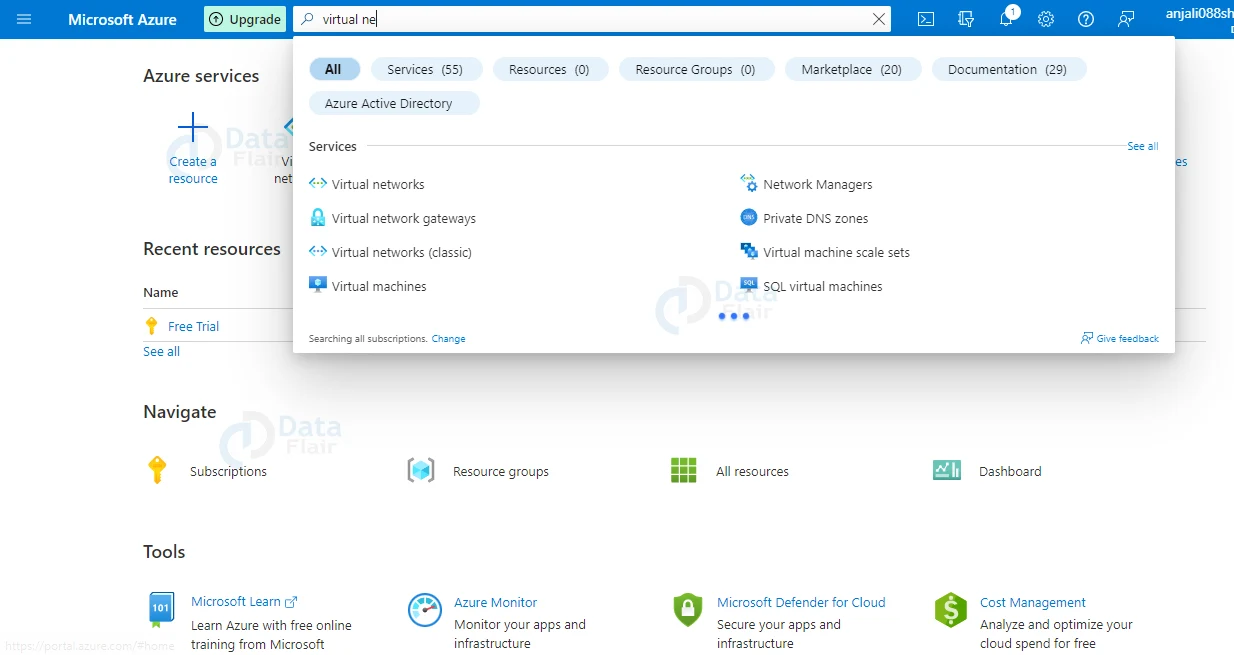
1: Firstly, you must sign into the Azure portal and then search for Virtual Network.
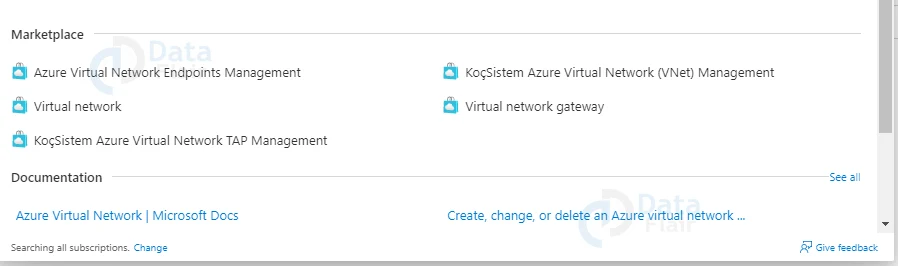
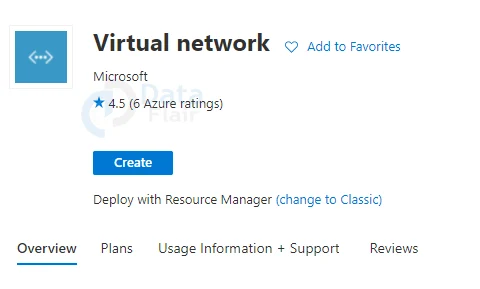
2: Secondly, choose Virtual Network from Azure MarketPlace and then click on the create button.
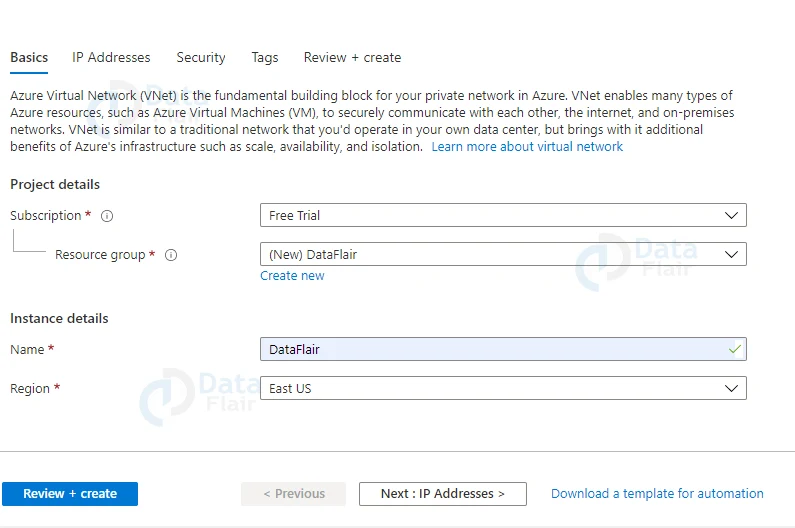
3: The Create virtual network page will appear after you select Create. Now, configure the Project details and Instance details VNet settings on the Basics tab.
4: In the IP provide the IPv4 address range and subnet.
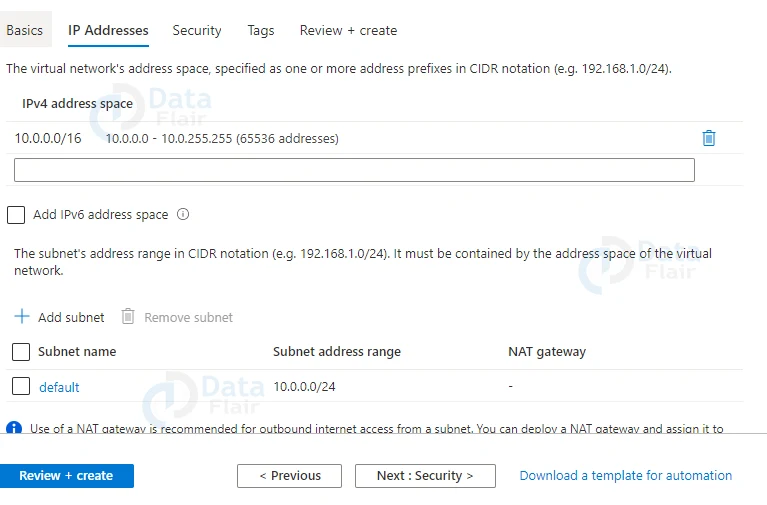
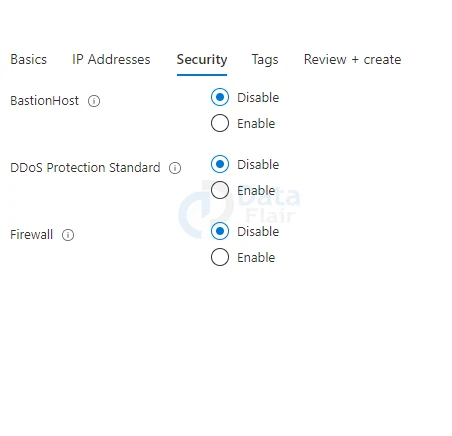
5: In the security tab leave it as default.
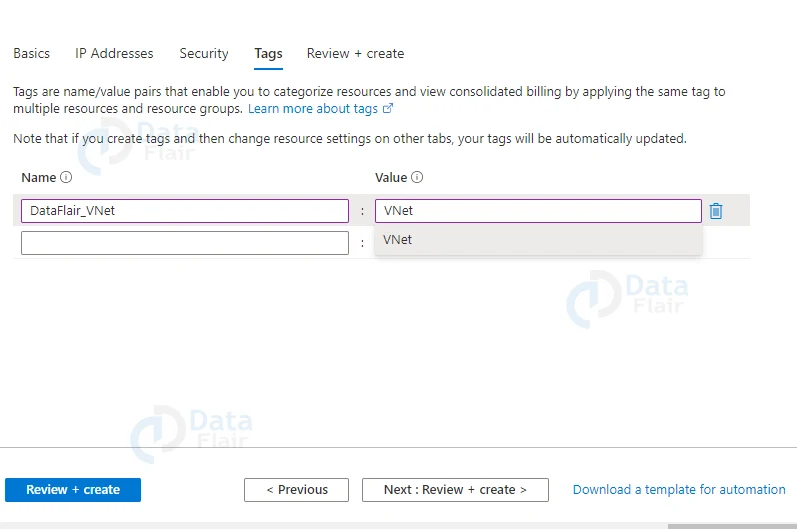
6: Provide appropriate tags
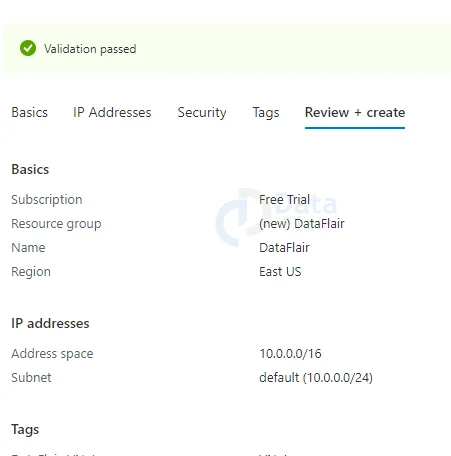
7: Once last review all the settings and then hit on the create button.
Creating Azure VPN Gateway
A VPN gateway is a type of virtual network gateway that sends encrypted traffic over the public Internet between an Azure virtual network and an on-premises location. There can only be one VPN gateway in every virtual network.
A subnet known as the gateway subnet is used by the virtual network gateway. The virtual network IP address range you specify when configuring your virtual network includes the gateway subnet. It contains the IP addresses for the resources and services of the virtual network gateway.
Follow the below steps to create VPN Gateway in Azure:
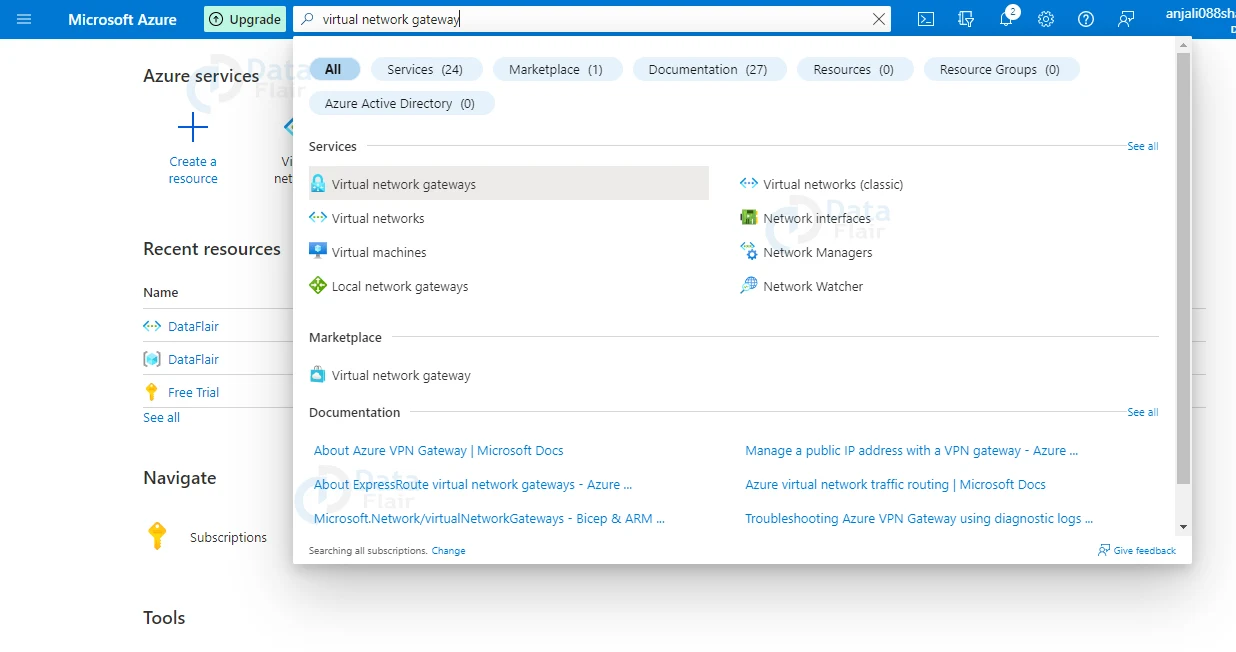
1: Firstly, search for Virtual Networks Gateway in the search box and then choose it from Azure MarketPlace. And, then hit on the create button.
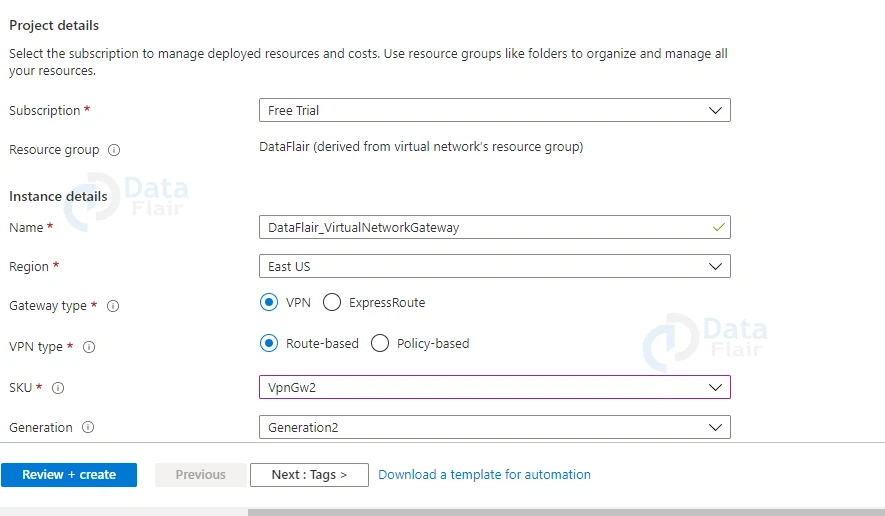
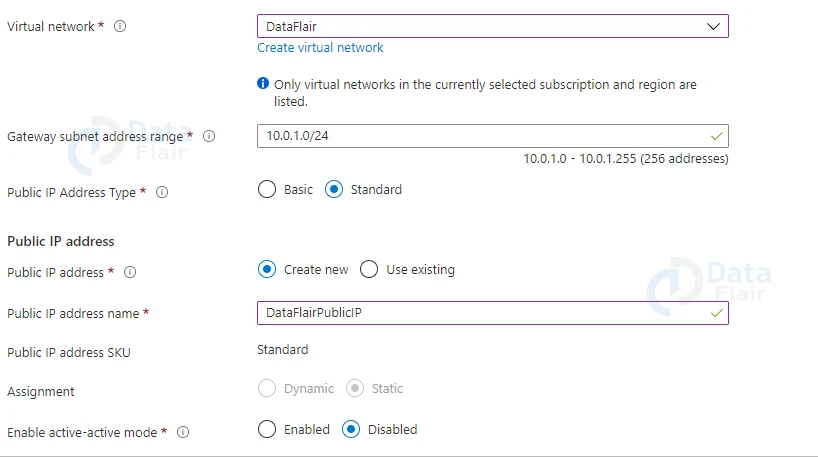
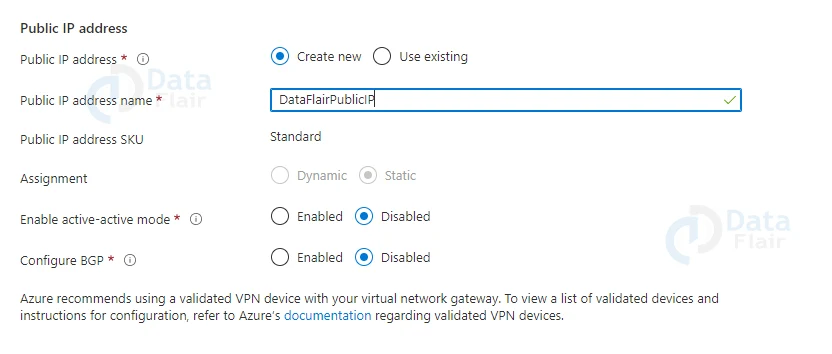
2: In the basics section one must fill all the values.
3: In the tags provide appropriate tags that you can remember

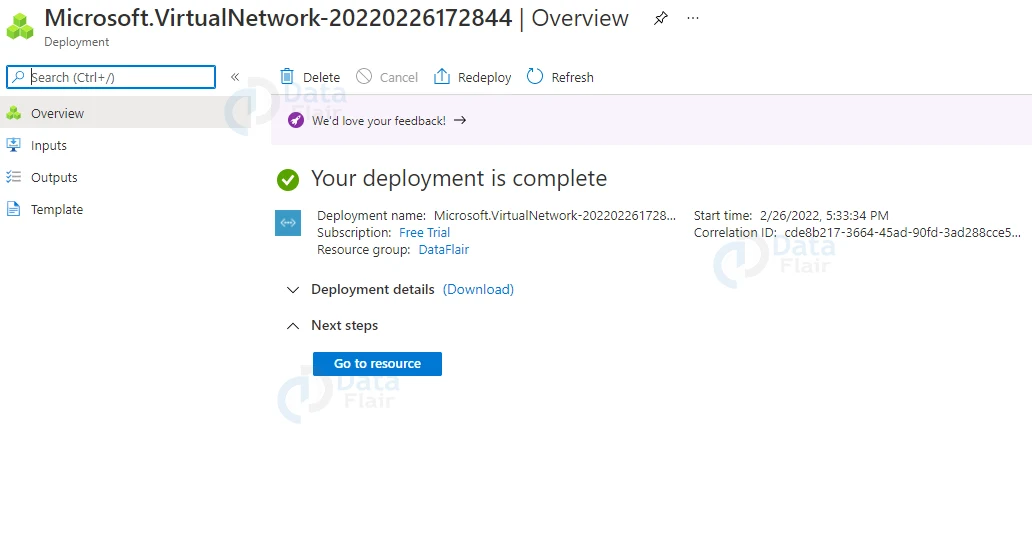
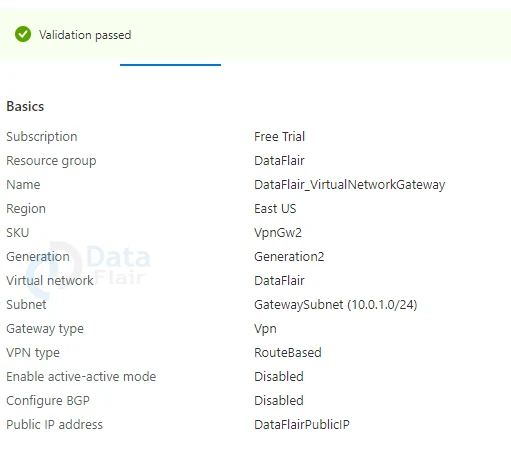
4: Review all the details and once the validation is passed click on the create button.
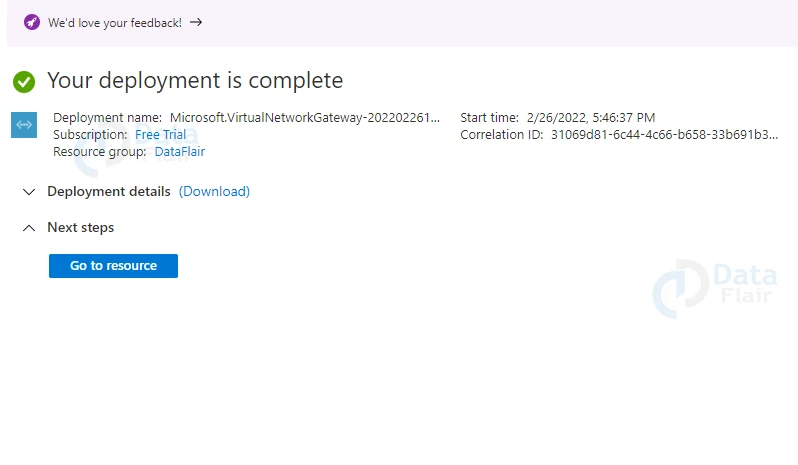
Note: Users should make a note that the deployment of the virtual network gateway might take up to 45 minutes of duration to complete.
Generating Certificates in Azure
Clients connecting to a VNet via a Point-to-Site VPN connection are authenticated using certificates in Azure.
You upload the public key information to Azure after you obtain a root certificate. Azure then considers the root certificate to be ‘trusted,’ allowing P2S to connect to the virtual network.
Client certificates will also be generated from the trusted root certificate and installed on each client computer.
When a client initiates a connection to the VNet, the client certificate is used to authenticate the client.
Generate a self-signed certificate or use a root certificate generated with an enterprise solution (recommended). Export the public certificate data (not the private key) as a Base64 encoded X.509.cer file after creating the root certificate. Then, on the Azure server, upload the public certificate data.
Run the following script in PowerShell as an administrator.
$cert = New-SelfSignedCertificate -Type Custom -KeySpec Signature `
-Subject “CN=SLP2SRootCert” -KeyExportPolicy Exportable `
-HashAlgorithm sha256 -KeyLength 2048 `
-CertStoreLocation “Cert:\CurrentUser\My” -KeyUsageProperty Sign -KeyUsage CertSign
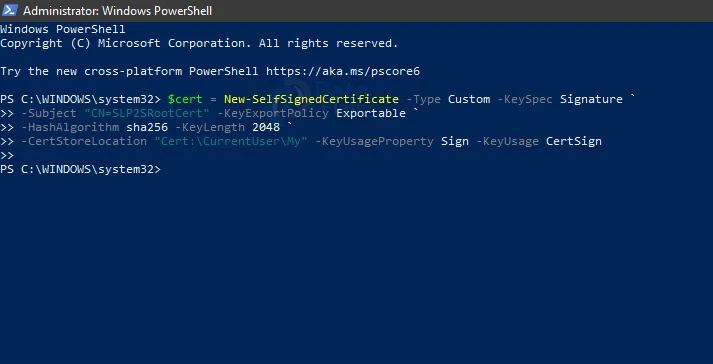
It will create a root cert and install it under the current user cert store.
Generate Client Certificates from Root Certificate in Azure
Now, in the Powershell run the following command:
Get-ChildItem -Path “Cert:\CurrentUser\My”
The following should provide a thumbprint:
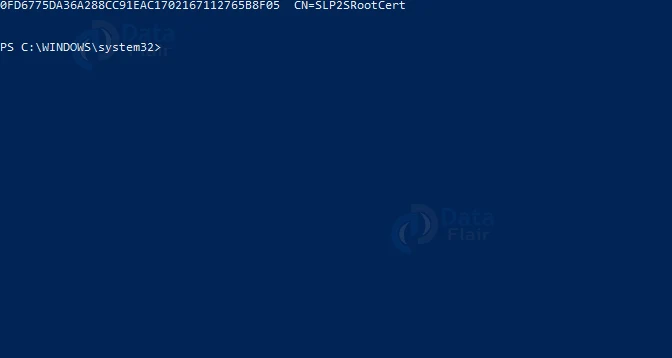
Now, run the following command. But, make sure the thumbprint should match your Certificate.
$cert = Get-ChildItem -Path “Cert:\CurrentUser\My\ 0FD6775DA36A288CC91EAC1702167112765B8F05
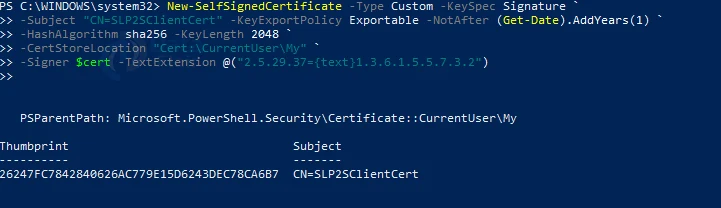
Lastly, enter the following command to generate client certificate
New-SelfSignedCertificate -Type Custom -KeySpec Signature `
-Subject “CN=SLP2SClientCert” -KeyExportPolicy Exportable -NotAfter (Get-Date).AddYears(1) `
-HashAlgorithm sha256 -KeyLength 2048 `
-CertStoreLocation “Cert:\CurrentUser\My” `
-Signer $cert -TextExtension @(“2.5.29.37={text}1.3.6.1.5.5.7.3.2”)
We now have certificates in place, but we need to export the root certificate so that it can be uploaded to Azure.
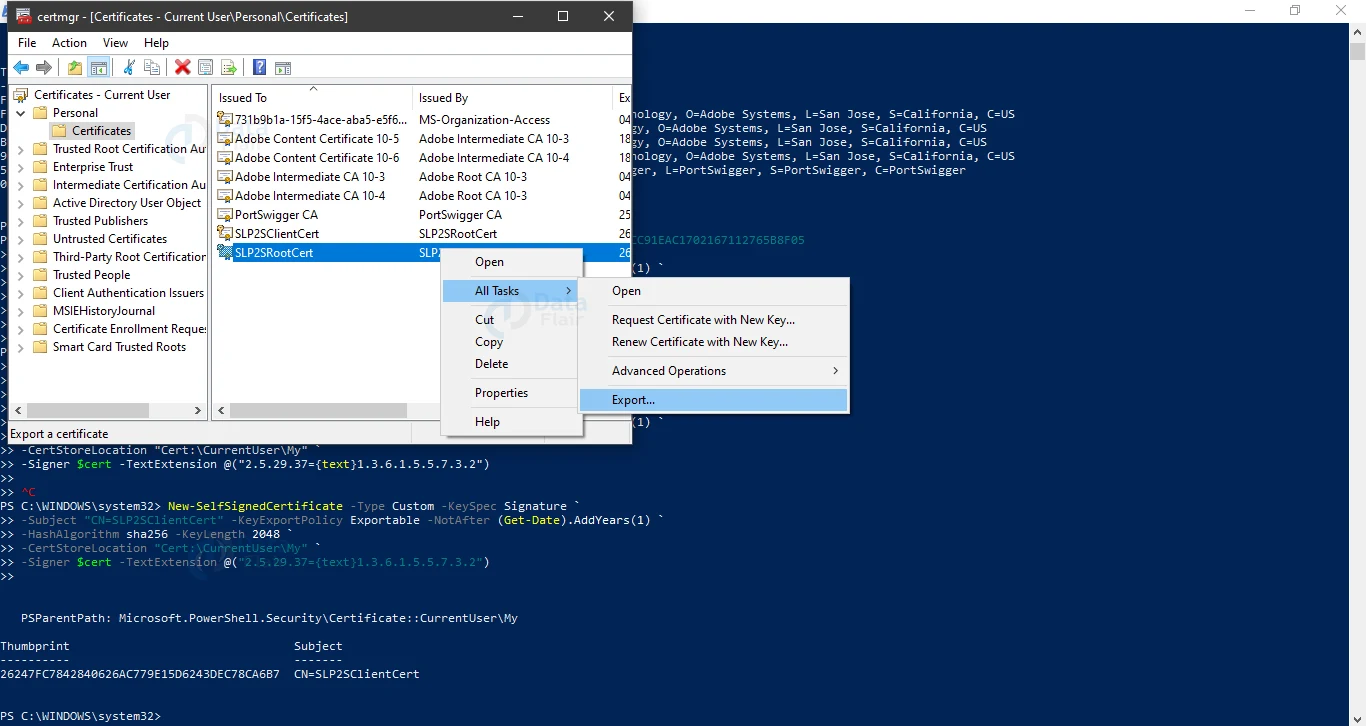
To begin, export the public key for the root certificate (.cer)
To open the Run dialogue box, press Windows Key + “R” and type “certmgr.msc.” Your newly created certificate should appear in “Current UserPersonalCertificates” when the management console opens. Go to All Tasks > Export by right-clicking on your newly created certificate.
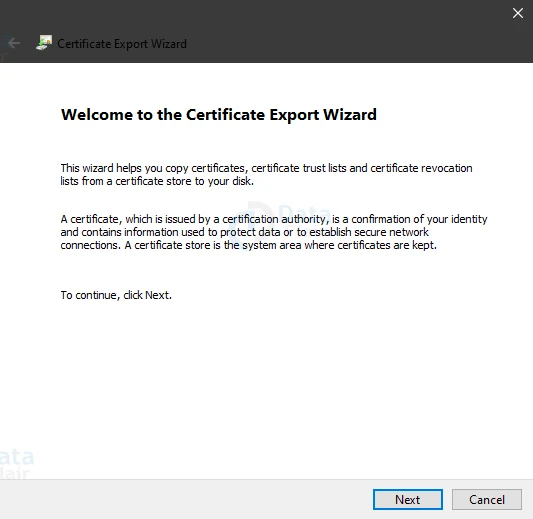
Now click on the Next option in the wizard.
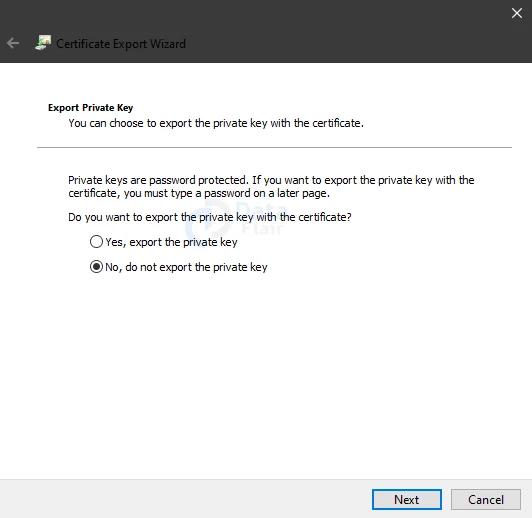
Choose “No, do not export the private key” and then click on the Next button.
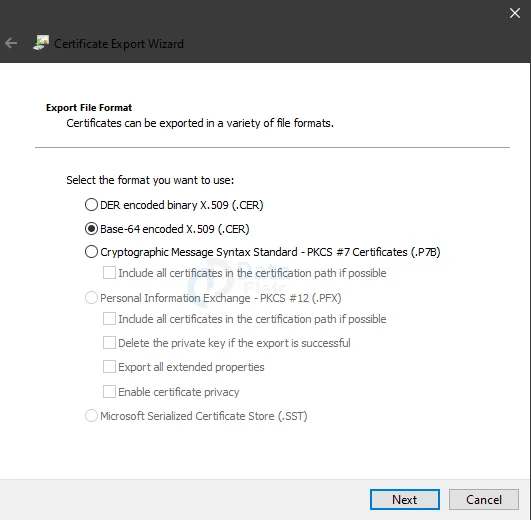
On the Export File Format page, choose Base-64 encoded X.509 (.CER)., and then click on the Next button.
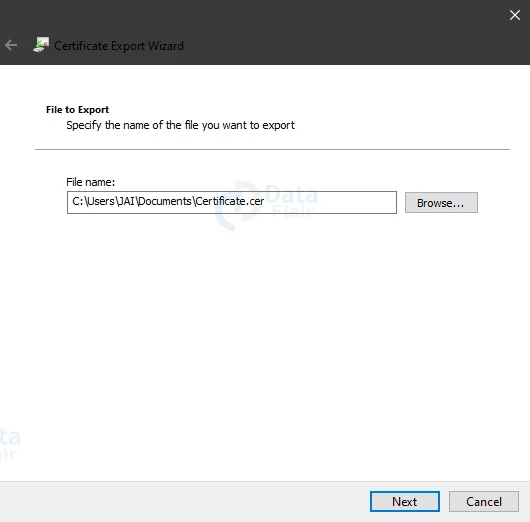
For File to Export, Browse and select a location to where you want to export the certificate then provide a file name. And, click Next.
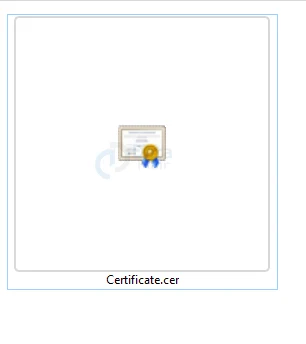
Finally, click on the finish button and you will see the certificate on the saved location.
Configuring Point to Site Connection in Azure
The point-to-site connection will be configured next in this configuration. We’ll also define the pool of client IP addresses here. It’s for VPN clients.
1. Select the newly created VPN gateway connection by clicking on it.
2. Then click Point-to-Site Configuration in a new window.
3. Select Configure Now.
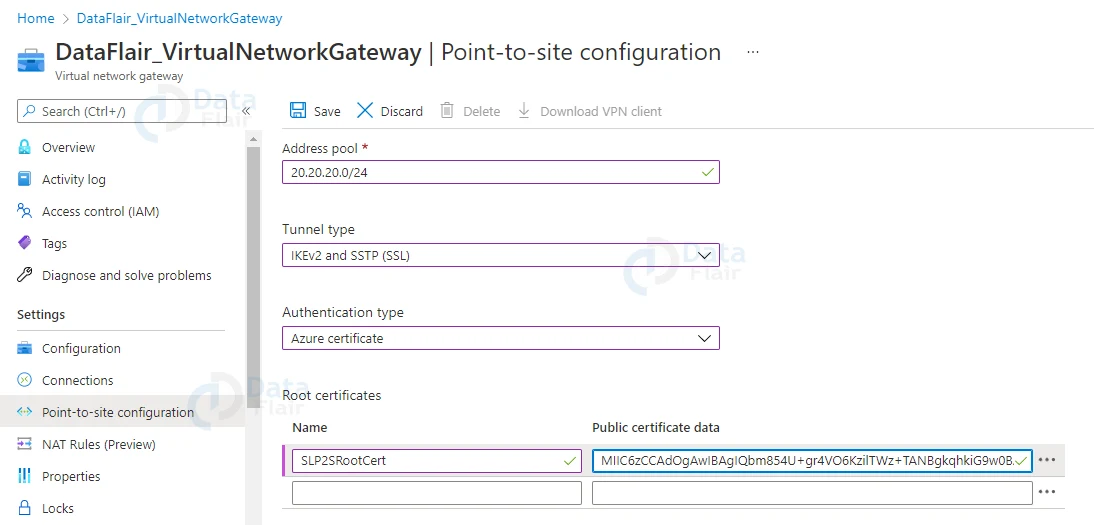
4. Type the VPN address pool’s IP address range in a new window. 20.20.20.0/24 will be used. Use both SSTP and IKEv2 for tunnelling. By default, IKEv2 is used to connect Linux and other mobile clients. In Windows, IKEv2 is used first, followed by SSTP. Use Azure Certificates for authentication.
5. There is a place to define a root certificate in the same window. Type the cert name in the root certificate name field, and paste the root certificate data in the public certificate data field ( you can open cert in notepad to get data).
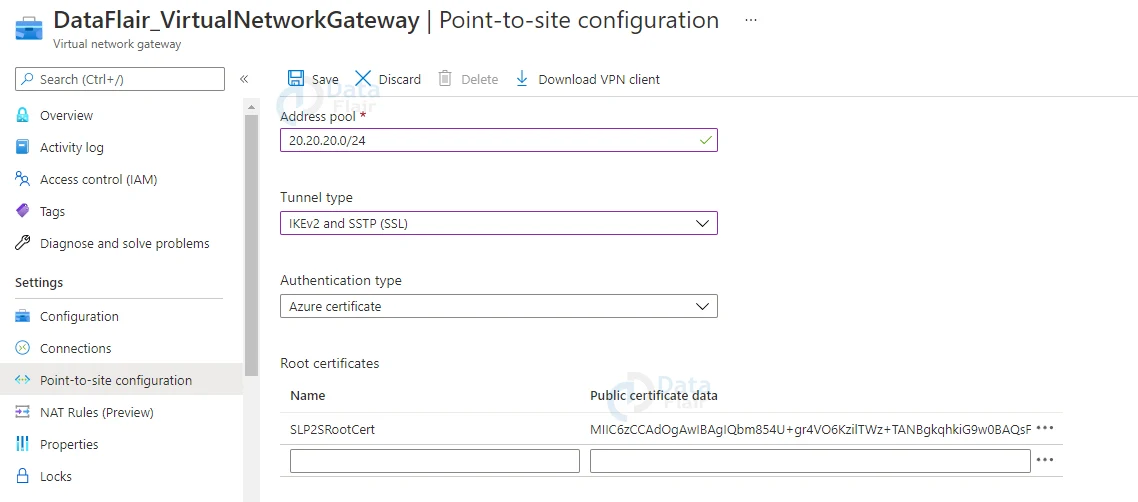
6. Then, to finish the process, click Save.
Note: Do not copy the text —–BEGIN CERTIFICATE—– and —–END CERTIFICATE—– when pasting certificate data.
Testing VPN Connection
From the machine, go to the VPN gateway configuration page in the Azure portal and follow below steps:
1: Select Point-to-Site Configuration from the drop-down menu.
2: Then, select Download VPN Client from the drop-down menu.
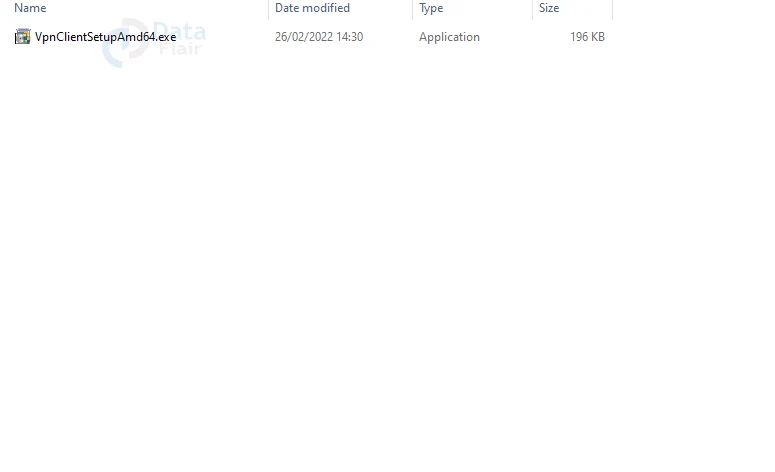
3: After downloading, extract or unzip the file and then double click on the VPN client setup.
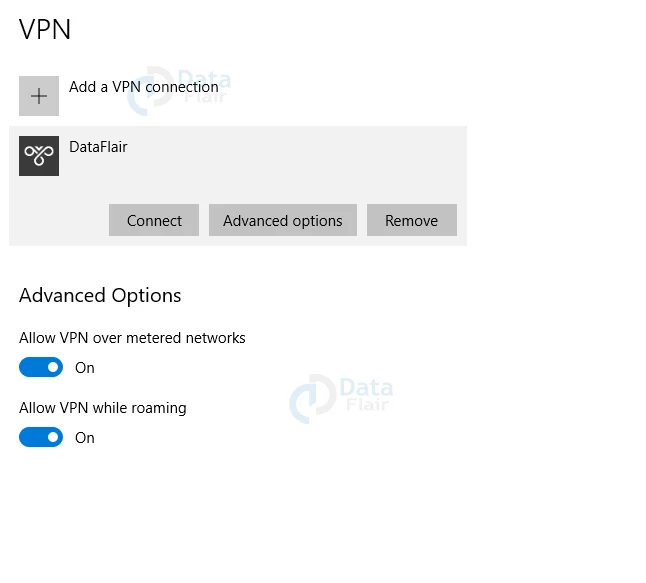
4: Just allow the installation and after that, you will see a new connection under the windows 10 VPN page.
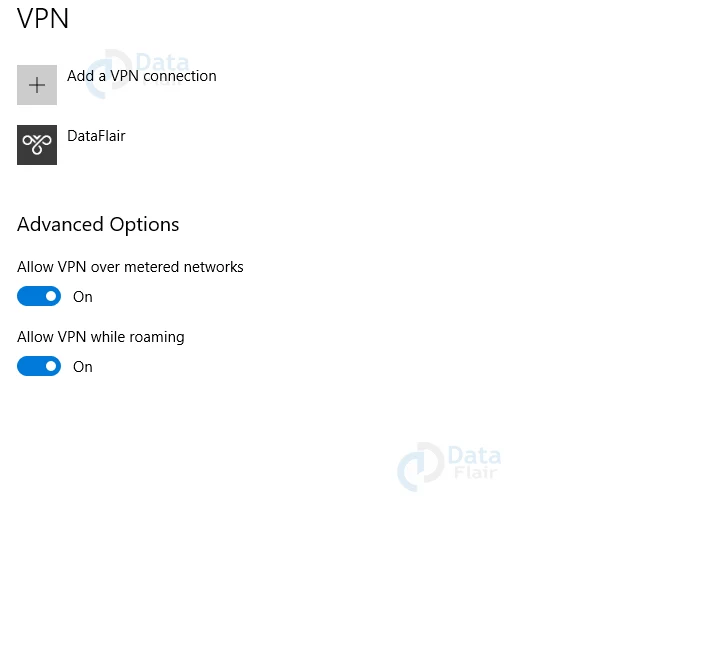
5: Now, click on connect option in VPN.
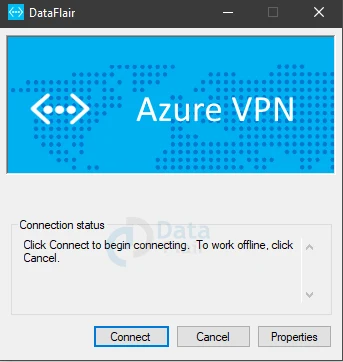
6: Now, a new window will appear on the screen and click on the Connect option.
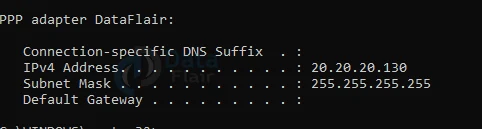
7: In the last step open the command prompt and then Run ipconfig to verify IP allocation from the VPN address pool.
Conclusion
Thus, in today’s article, we covered all the information about Point-to-Site Connectivity along with the demonstration. We believe you liked this article and will be in our further Azure journey.
Did you like this article? If Yes, please give DataFlair 5 Stars on Google


