Azure Import Export Service
Top AWS Course for AWS Certified Cloud Practitioner (CLF-C01) Start Now!!
Placement-ready Online Courses: Your Passport to Excellence - Start Now
In this article, we will learn about Data Import and Export Service which is used by organizations to transport their massive files into and from Azure. In this article, we will provide you with detailed information about this popular service. Let us begin.
What is Azure Import Export service?
By sending disk drives to an Azure datacenter, the Azure Import/Export service is used to securely import huge amounts of data to Azure Blob storage and Azure Files.
This service can also be used to transfer data from Azure Blob storage to disc drives, which can then be shipped to your on-premises locations.
Data can be imported from one or more disc drives into Azure Blob storage or Azure Files.
Use the Azure Import/Export service to move data from your own hard discs. You can also use Microsoft-supplied disc drives.
You can import data into Azure using Azure Data Box Disk if you want to transfer data using Microsoft-supplied disc drives.
Microsoft uses a regional carrier to deliver up to 5 encrypted solid-state disc drives (SSDs) with a total capacity of 40 TB per order to your data center.
You may rapidly configure disc drives, copy data to them using a USB 3.0 connection, and then return the disc drives to Azure.
Azure Import Export Components
The following components are used in the import/export service:
- Import/Export service: This Azure portal service assists users in creating and tracking data import (upload) and export (download) jobs.
- WAImportExport is a command-line utility that does the following tasks:
- Prepare for importing your disc drives that have been shipped.
- Makes it easier to copy your files to the hard disc.
- AES 256-bit BitLocker is used to encrypt the data on the drive. To protect your BitLocker key, you can utilize an external key protector.
- Creates the drive journal files that are utilized during the import process.
- Aids in determining the number of drives required for export jobs.
- Solid-state disks (SSDs) and hard disc drives (HDDs) can be shipped to the Azure datacenter. You send disc discs containing your data when you create an import task.
- You ship empty discs to the Azure datacenter when you create an export task. Go to Supported disc types for more information on specific disc types.
How does Azure Import Export Work?
By establishing tasks, the Azure Import/Export service allows data to be transferred into Azure Blobs and Azure Files.
To create jobs, use the Azure portal or the Azure Resource Manager REST API. A single storage account is assigned to each job.
Import and export employment are both possible. Data may be imported into Azure Blobs or Azure files using an import job, while data can be exported from Azure Blobs using an export job. You send drives containing your data to an import task.
You transport empty discs to an Azure datacenter when you establish an export task. You can send up to 10 disc drives per project in each circumstance.
Inside an Azure import job
An import task entails the following processes at a high level:
- Determine the data to be imported, the number of discs required, and the Azure storage destination blob location for your data.
- To copy data to disc drives, use the WAImportExport utility. BitLocker should be used to encrypt the disc drives.
- In the Azure interface, create an import job for your target storage account. Files from the drive journal should be uploaded.
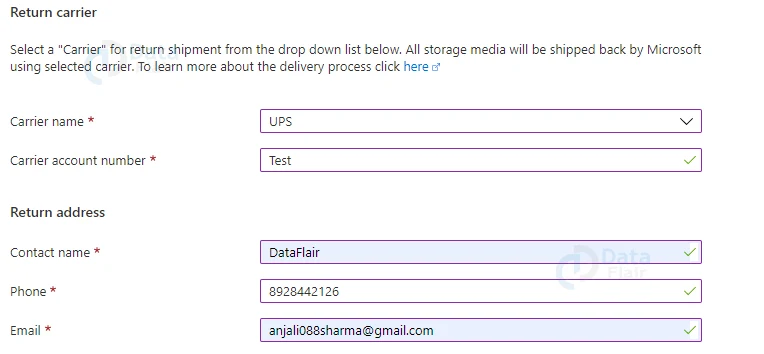
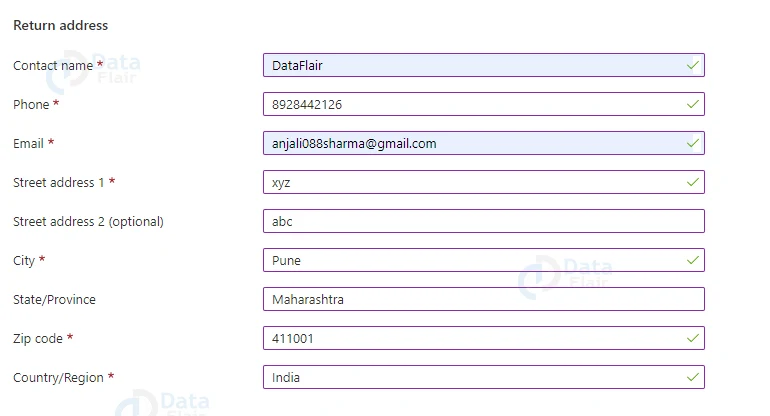
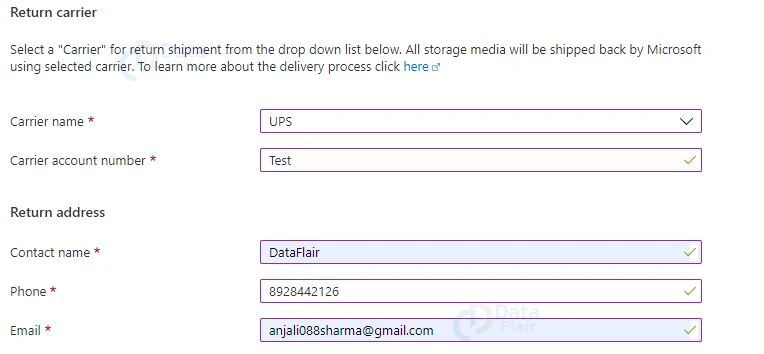
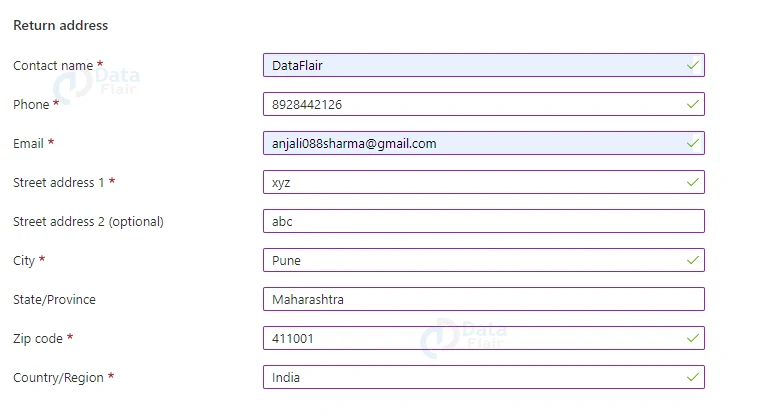
- For shipping the drives back to you, provide the return address and carrier account number.
- Ship the disc drives to the address specified when the task was created.
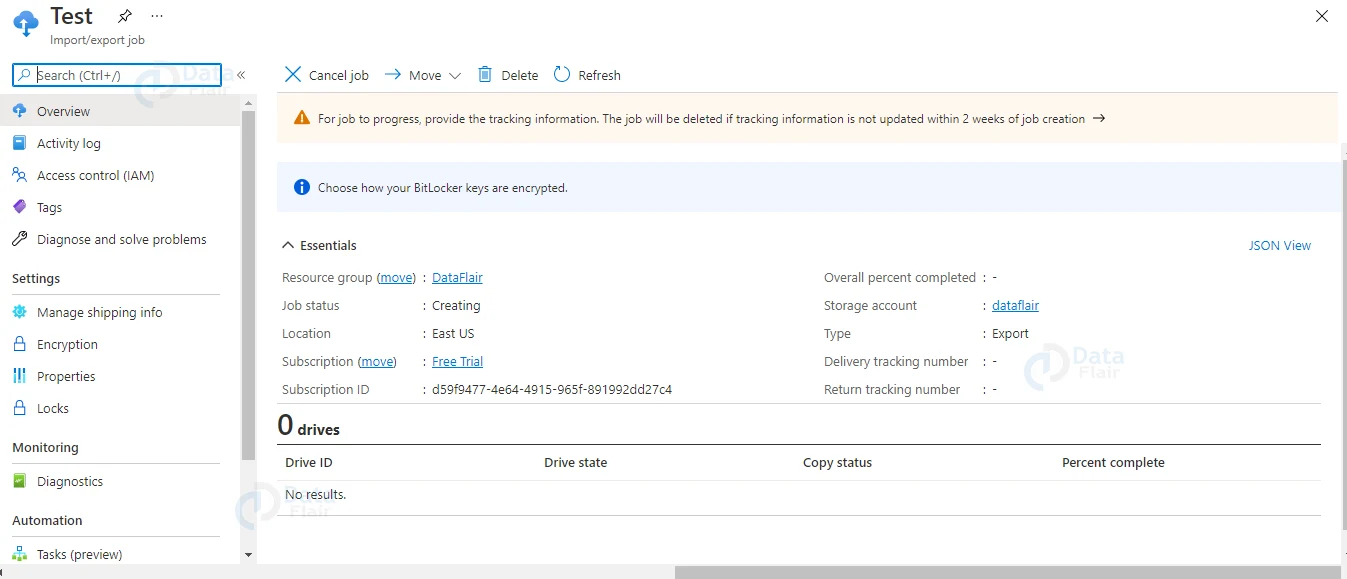
- Submit the import task after updating the delivery tracking number in the import job information.
- At the Azure data center, the discs are received and processed.
- The drives are dispatched to the return address specified in the import job using your carrier account.
Inside an Azure export job
An export task entails the following processes at a high level
- Determine the data to be exported, the number of discs required, and the source blobs or container paths in Blob storage for your data.
- In the Azure interface, create an export job for your source storage account.
- For the data to be exported, specify source blobs or container paths.
- For shipping the drives back to you, provide the return address and carrier account number.
- Ship the disc drives to the address specified when the task was created.
- Submit the export job after updating the delivery tracking number in the export job information.
- At the Azure data center, the discs are received and processed.
- The drives are BitLocker-encrypted, and the keys are accessible through the Azure interface.
- The drives are dispatched to the return address specified in the import job using your carrier account.
Supported Operating Systems for Azure Import Export
The following 64-bit operating systems that support BitLocker Drive Encryption are supported when using the WAImportExport tool to prepare hard drives.
| Platform | Version |
| Windows | Windows 7 Enterprise Windows 7 Ultimate Windows 8 Pro Windows 8 Enterprise Windows 8.1 Pro Windows 8.1 Enterprise Windows 10 |
| Windows Server | Windows Server 2008 R2 Windows Server 2012 Windows Server 2012 R2 |
Other required software for Windows client
| Platform | Version |
| .NET Framework | 4.5.1 |
| BitLocker | _ |
Supported Storage Accounts for Azure Import Export Service
The Azure Import/Export service is compatible with the following storage account:
- Storage accounts for General Purpose v2 (recommended for most scenarios)
- Accounts for Blob Storage
- Accounts for General Purpose v1 storage (both Classic or Azure Resource Manager deployments)
Each job can only transmit data to or from one storage account at a time. A single import/export job cannot span several storage accounts, in other words. See How to Create a Storage Account for details on how to create a new storage account.
Supported Storage Types for Import/Export
| Job | Storage Service | Supported | Not supported |
| Import | Azure Blob Storage Azure Files storage | Block blobs Page blobs Files supported | |
| Export | Azure Blob Storage | Block blobs Page blobs Append blobs | Azure Files not supported Export from archive tier not supported |
Supported Hardware for Import/Export
To copy data with the Azure Import/Export service, you’ll need supported drives.
Supported disks
For use with the Import/Export service, the following discs are supported.
| Disk type | Size | Supported |
| SSD | 2.5 | SATA III |
| HDD* | 2.5 3.5 | SATA II, SATA III |
512-byte sectors are required on an HDD; 4096-byte (4K) sectors are not supported.
The following disc types aren’t compatible with this programme:
USBs.
- External hard drive with USB port.
- Disks contained within the housing of an external hard disc drive.
- A single import/export task can have the following features:
- A maximum of ten HDD/SSDs can be used.
- Any size combination of HDD/SSD.
A large number of drives can be divided across numerous jobs, and the number of jobs that can be established is unlimited. Only the first data volume on the drive is processed for import jobs. NTFS must be used to format the data volume.
External USB adaptors can be used to prepare hard drives and copy data using the WAImportExport utility. The majority of USB 3.0 and newer adaptors should work.
Import/Export Region Availability
Supported shipping locations
Data can be copied to and from any Azure storage account using the Azure Import/Export service. Disk drives can be shipped to any of the locations listed.
When you create the job, an alternate shipping destination is supplied if your storage account is in an Azure location that isn’t listed here.
| Country/Region | |||
| East US | North Europe | Central India | US Gov Iowa |
| West US | West Europe | South India | US DoD East |
| East US 2 | East Asia | West India | US DoD Central |
| West US 2 | Southeast Asia | Canada Central | China East |
| Central US | Australia East | Canada East | China North |
| North Central US | Australia Southeast | Brazil South | UK South |
| South Central US | Japan West | Korea Central | Germany Central |
| West Central US | Japan East | US Gov Virginia | Germany Northeast |
| South Africa West | South Africa North |
Security considerations of Import/Export
AES 256-bit BitLocker Drive Encryption is used to encrypt the data on the drive. While your data is in transit, it is protected by encryption.
Drives are encrypted in two ways for import jobs.
When executing the WAImportExport utility during drive preparation, specify the option when utilizing the dataset.csv file.
Manually enable BitLocker encryption on the drive. When using the WAImportExport tool command line during drive preparation, specify the encryption key in the driveset.csv file.
An external key protector (also known as the Microsoft managed key) or a client managed key can be used to further protect the BitLocker encryption key.
After your data is copied to the discs, the service encrypts the drive with BitLocker before returning it to you for export jobs.
You may get the encryption key from the Azure portal. The drive must be unlocked with the key and the WAImportExport utility.
Deleting personal information
During import and export activities, personal information is important to the import/export service (through the site and API). The following data is used in these processes:
- Contact name
- Phone number
- Street address
- City
- Zip/postal code
- State
- Country/Province/Region
- Drive ID
- Carrier account number
- Shipping tracking number
Create an Import Job in Azure
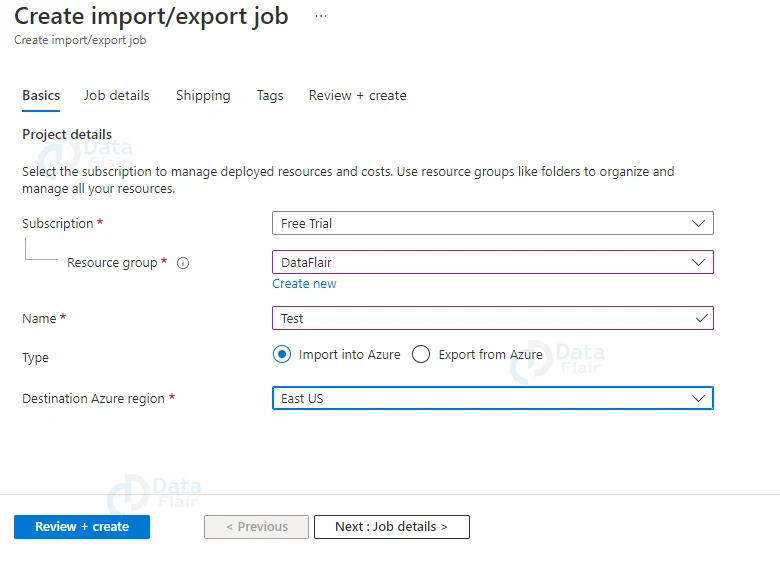
Follow the below steps to create an import job in Azure:
1: Log in to the Azure Portal
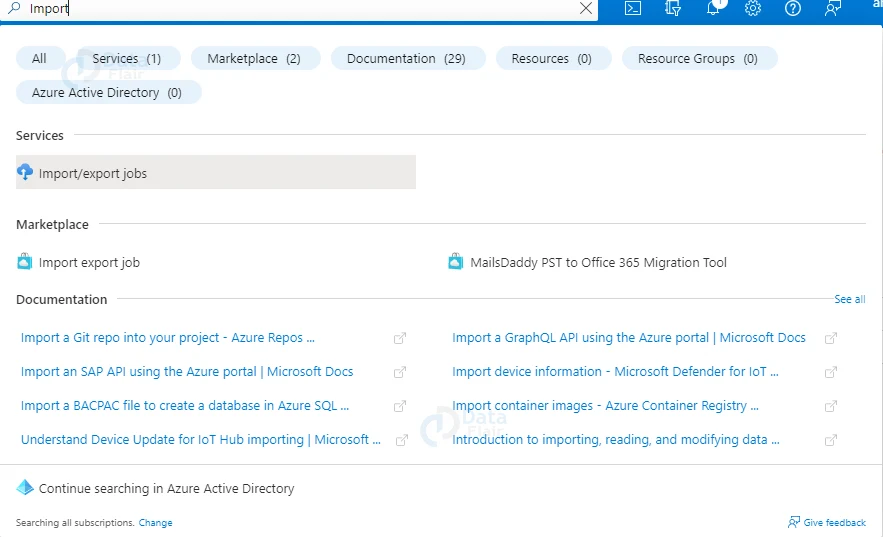
2: Search for Import/Export jobs in the search menu.

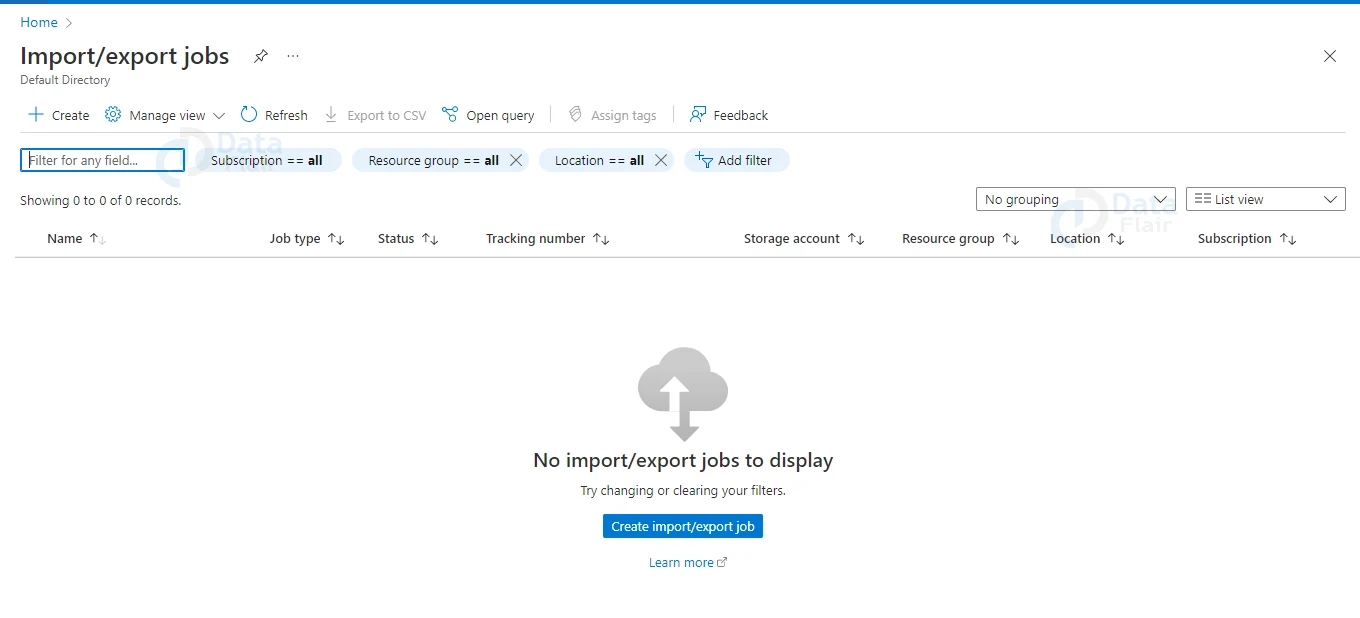
3: Click on Create import/export job button.
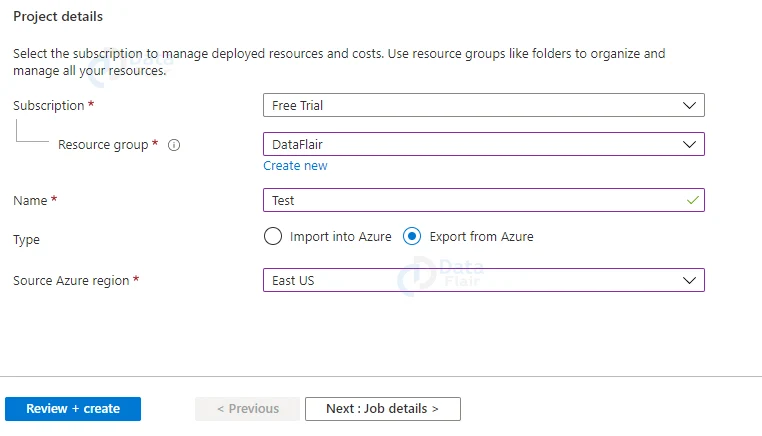
4: Now, provide all the details and select the “Import into Azure” Type option.
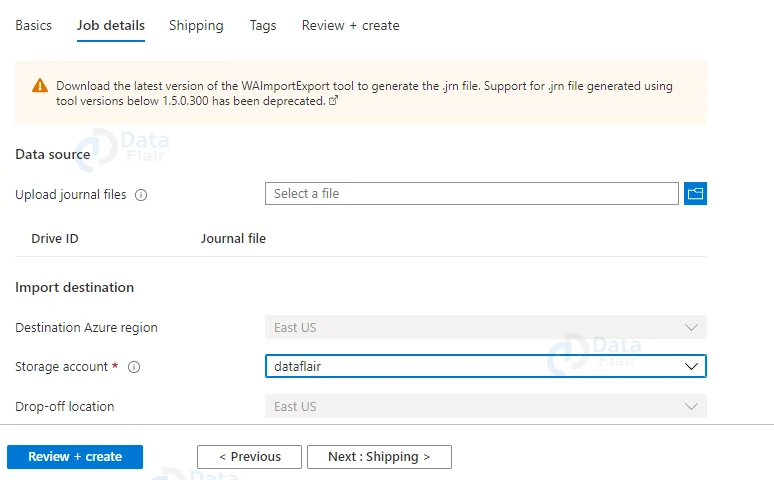
5: Now, upload the file and choose a storage account.
6: Provide appropriate shipping details.
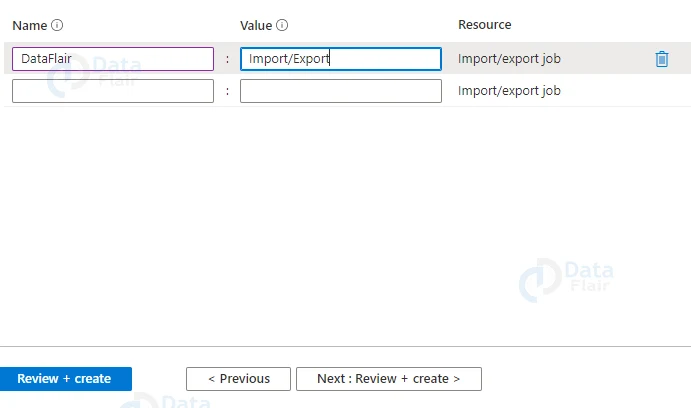
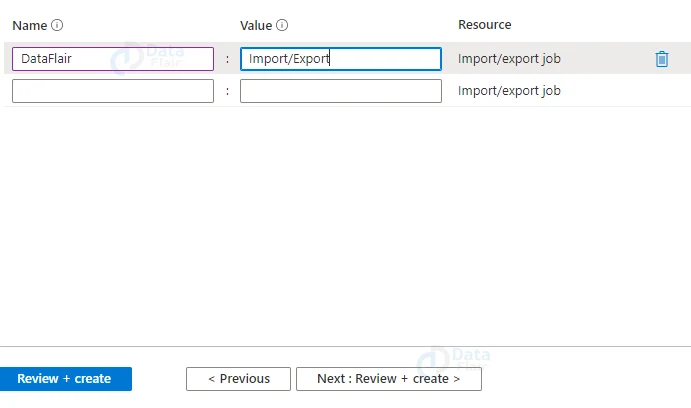
7: Provide appropriate tags and values and then hit the review+ create button once the validation is passed.
Hard Drives to Be Shipped
You’ll need to utilize the Microsoft Azure Import/Export Tool to figure out how many hard drives you’ll need for the Blob data.
This tool must be downloaded and installed on your computer. Only 3.5-inch SATA hard drives I/II with a maximum capacity of 6TB are supported.
Shipping the Hard Drives
You must ship the hard discs to the shipping address specified when the export operation was created. If you are selected to submit the tracking number after shipping in the previous screen, you’ll need to return to the management site to enter it.
Decrypting the Data
Before you can read the data on hard drives, you must first enter the decryption key. By selecting the job name in your management portal, you can obtain the decryption key.
Data Importing Job
Before you can read data from hard drives, you’ll need to enter the decryption key. Selecting the job name in your management portal will provide you with the decryption key.
Preparing the Hard Drives
To prepare the hard discs, you’ll need to use the Microsoft Azure Import/Export Tool. Only 3.5-inch SATA hard disks are supported for this function, as stated in the previous section.
This operation will generate a drive journal file, which you’ll need to create the import job in the administration site. On your PC, the journal file will be saved.
Creating an Export Job in Azure
Follow the below steps to create an export job:
1: Log in to the Azure Portal
2: Search for Import/Export jobs in the search menu.
3: Click on Create import/export job button.
4: Now, provide all the details and select the “Export from Azure” Type option.
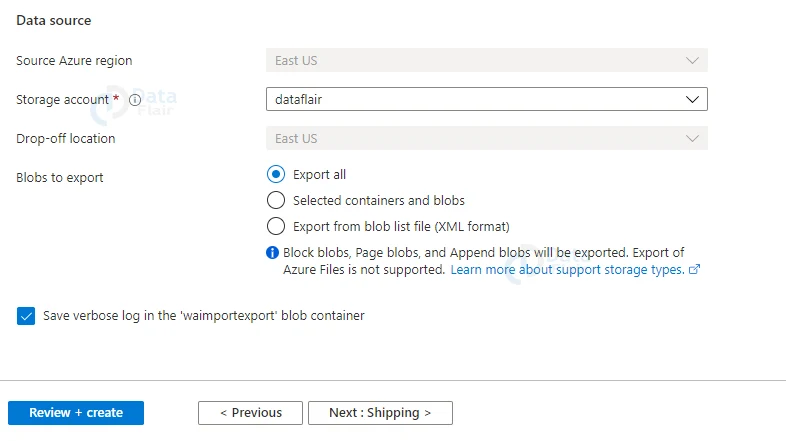
5: Provide appropriate job details.
6: Provide appropriate shipping details.
7: Provide appropriate tags and values.
8: And, then hit the review+ create button once the validation is passed.

Shiping the Hard Drives to the Datacenter
Ship the hard drive to the address you got from the administration page when you created the import job. To finish the project, enter the job’s shipping tracking number into the management portal.
Azure Import Export Use Cases
When uploading or downloading data over the network is too slow or procuring more network capacity is too expensive, consider using Azure Import/Export. In the following cases, this service can be used:
- Data transfer to the cloud: Easily and affordably move massive volumes of data to Azure.
- Send data to your customers’ websites quickly with content distribution.
- Take backups of your on-premises data and save them to Azure Storage.
- Recover massive amounts of data from storage and have it delivered to your on-premises location.
Pricing of Azure’s Import Export Service
A. Drive handling fee
Each drive processed as part of your import or export job incurs a drive handling cost.
B. Costs of shipping
You pay the shipping cost to the shipping carrier when you ship drives to Azure. The shipping cost is charged to the carrier account you identified at the time of job creation when Microsoft returns the discs to you.
C. Costs of transactions
During the import and export of data, there is a standard storage transaction charge. When data is exported from Azure Storage, standard egress charges, as well as storage transaction charges, apply.
Conclusion
Thus, we have reached the last section of the article. And, in this article, we learnt about Azure’s Data Import and Export Job. We hope you liked this article and continue further with us in this Azure series.
Did you know we work 24x7 to provide you best tutorials
Please encourage us - write a review on Google


