Install Angular – Angular Environment Setup Process
Free Angular course with real-time projects Start Now!!
Angular is a TypeScript based framework that works in synchronization with HTML, CSS, and JavaScript. To work with angular, domain knowledge of these 3 is required.
- Installing Node.js and npm
- Installing Angular CLI
- Creating workspace
- Deploying your First App
In this article, you will get to know about the Angular Environment setup process. After reading this article, you will be able to install, setup, create, and launch your own application in Angular. So let’s start!!!

Install Angular in Easy Steps
For Installing Angular on your Machine, there are 2 prerequisites:
- Node.js
- npm Package Manager
Node.js
First you need to have Node.js installed as Angular require current, active LTS or maintenance LTS version of Node.js
Download and Install Node.js version suitable for your machine’s operating system.
Npm Package Manager
Angular, Angular CLI and Angular applications are dependent on npm packages. By installing Node.js, you have automatically installed the npm Package manager which will be the base for installing angular in your system. To check the presence of npm client and Angular version check of npm client, run this command:
npm -v

Installing Angular CLI
- Open Terminal/Command Prompt
- To install Angular CLI, run the below command:
npm install -g @angular/cli

· After executing the command, Angular CLI will get installed within some time. You can check it using the following command
ng --version
Workspace Creation
Now as your Angular CLI is installed, you need to create a workspace to work upon your application. Methods for it are:
- Using CLI
- Using Visual Studio Code
1. Using CLI
To create a workspace:
- Navigate to the desired directory where you want to create your workspace using cd command in the Terminal/Command prompt
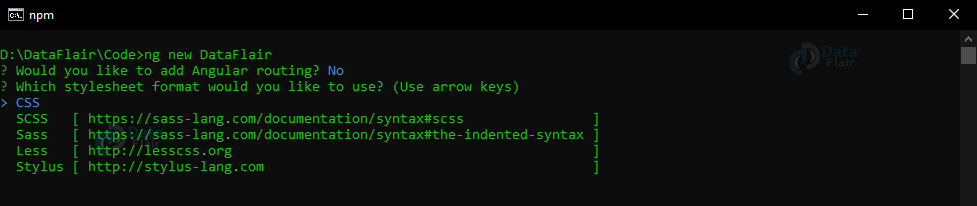
- Then in the directory write this command on your terminal and provide the name of the app which you want to create. In my case I have mentioned DataFlair:
Ng new YourAppName

- After running this command, it will prompt you to select from various options about the CSS and other functionalities.

- To leave everything to default, simply press the Enter or the Return key.
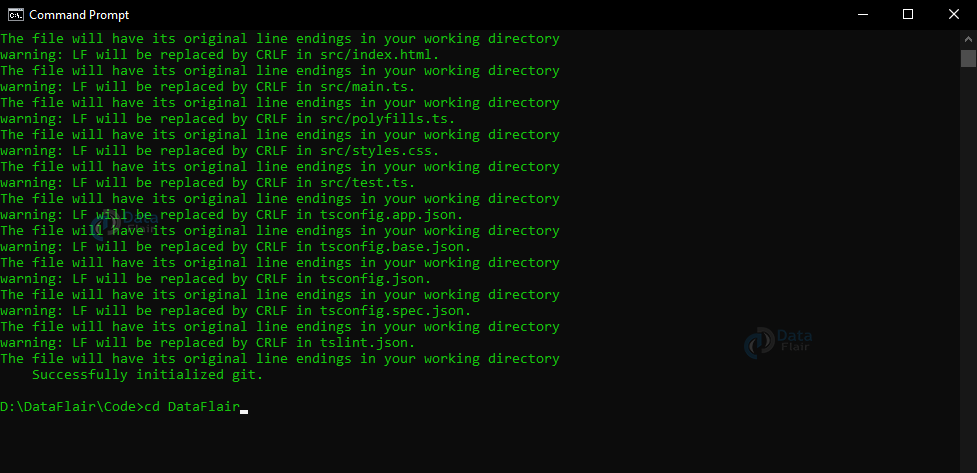
- After downloading some dependencies and creating files, your workspace will be created.

- By this command the Angular CLI installs all the necessary dependencies and npm packages. This creates a Welcome app in the workspace which can be run instantly.
- This process of workspace creation may take time depending upon your internet connection speed as Angular CLI has to download necessary packages.
- After the commands executes successfully, you are ready to run the application.
Running the Angular Application
For running the Application, go into the directory of the workspace you just created
cd DataFlair
- Here, run the following command:
ng serve –open
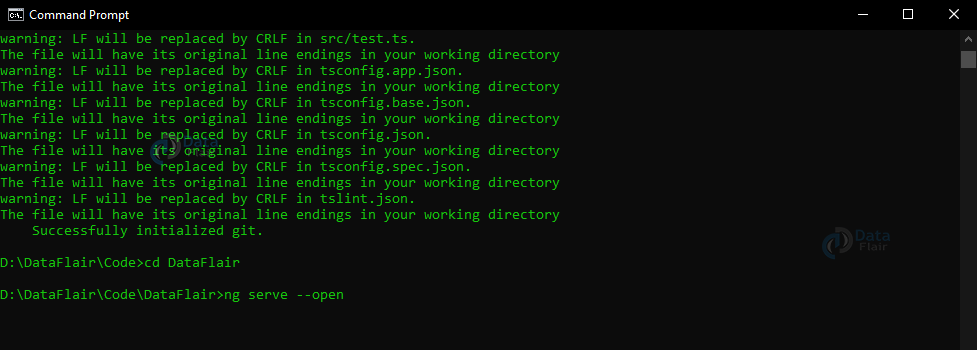
- The serve commands launches the server. Server is responsible for keeping an eye on your file. It is also responsible for updating and rebuilding the file according to the changes you make in the source code .
- The –open option launches your application in the default browser of your machine
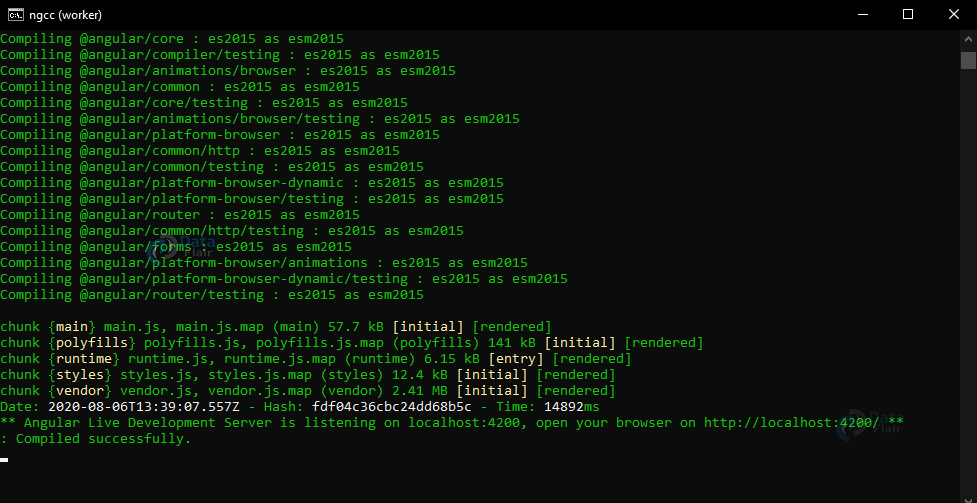
- If the browser doesn’t start automatically then you can always type this address in your browser to open the application window: http://localhost:4200/
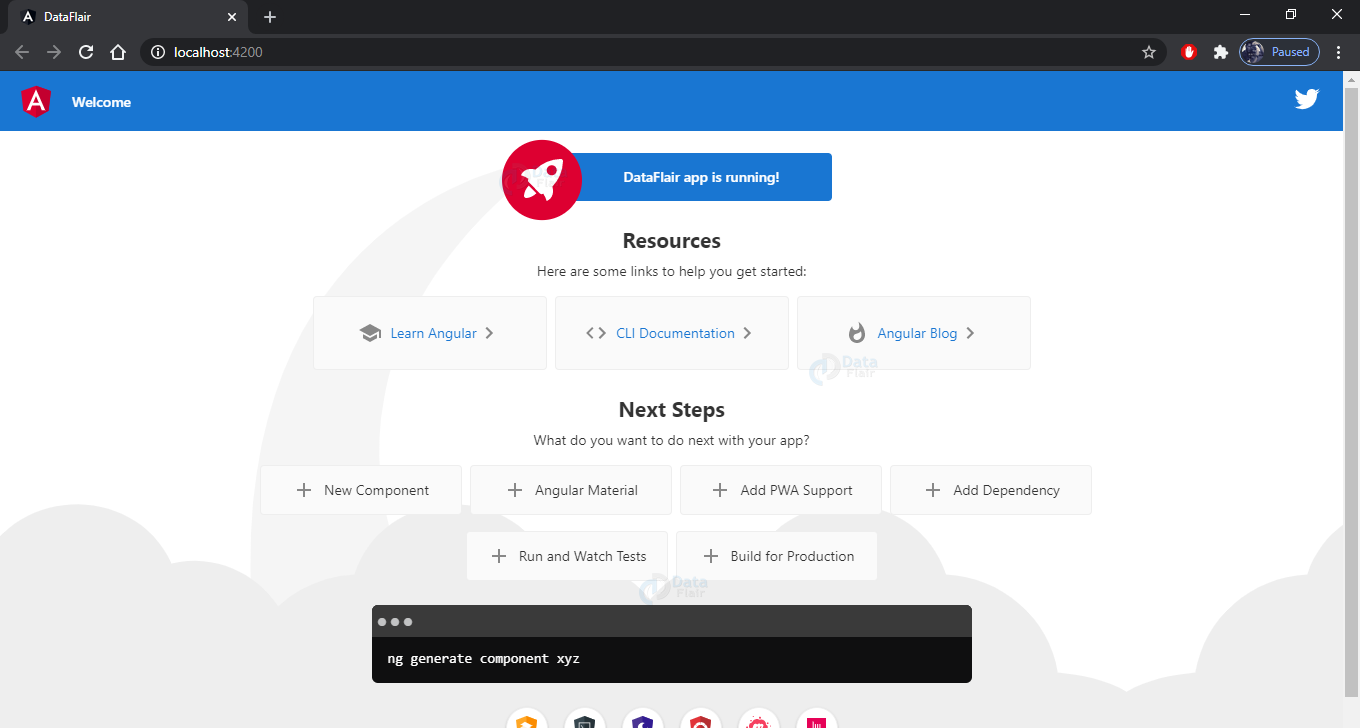
- If the process gets completed successfully, your browser window will open and something like this will be displayed on it.
2. Using Visual Studio Code
Downloading Visual Studio
Firstly Downloading visual studio code:
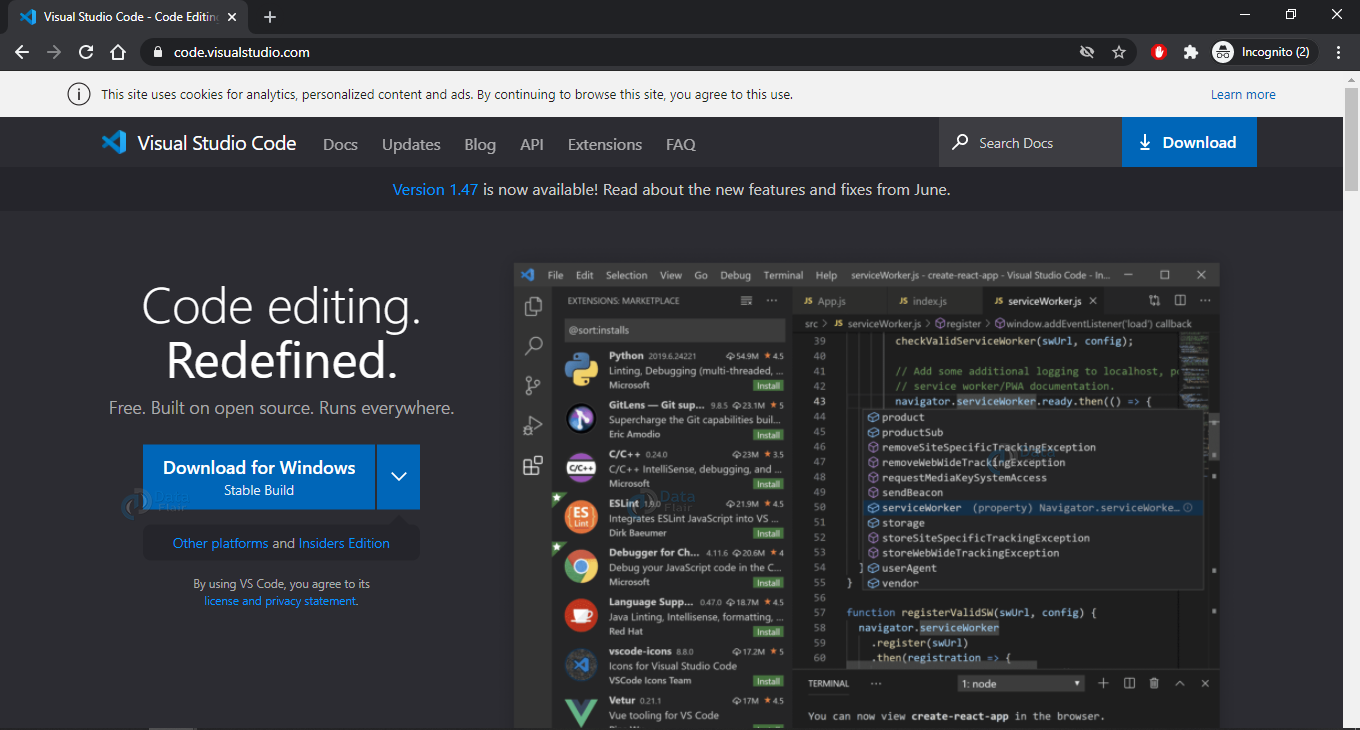
Download and install the version according to your machine requirements.
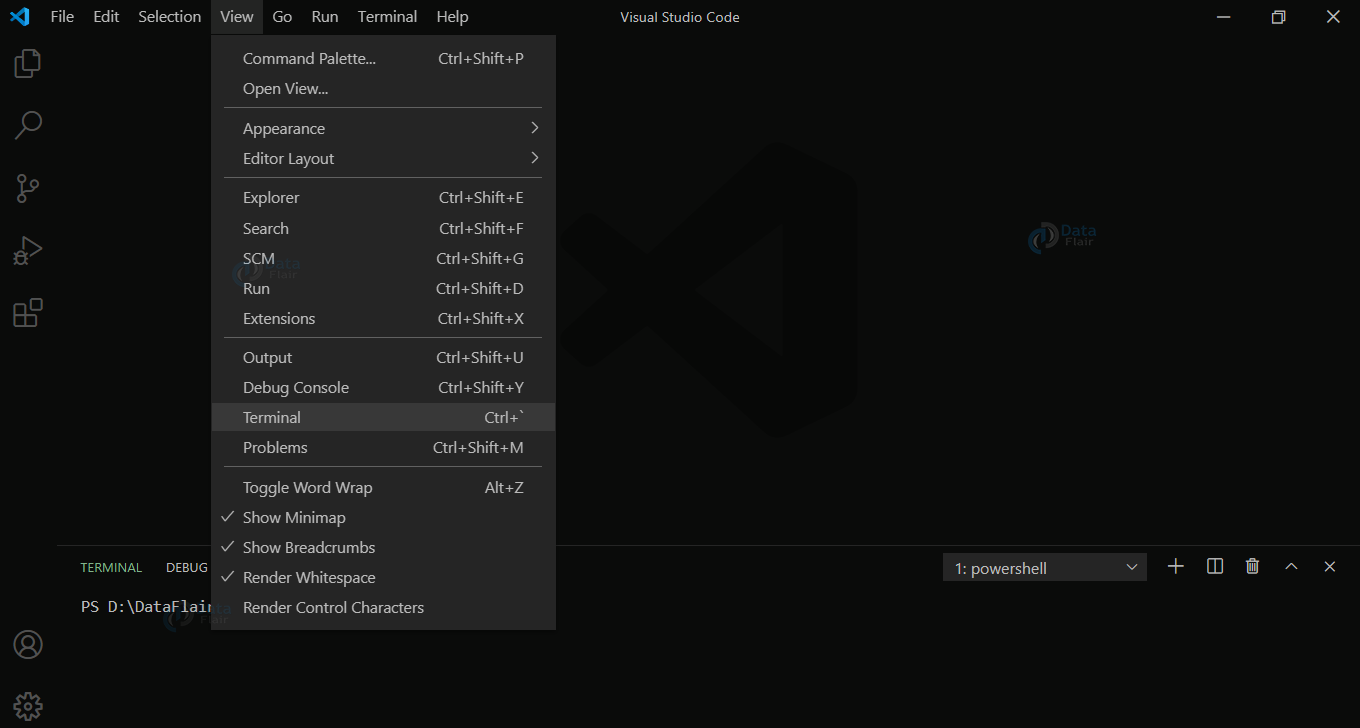
- Open Visual Studio and click on ‘view’ in the menu bar and choose the terminal option or you can simply press ctrl + ` .
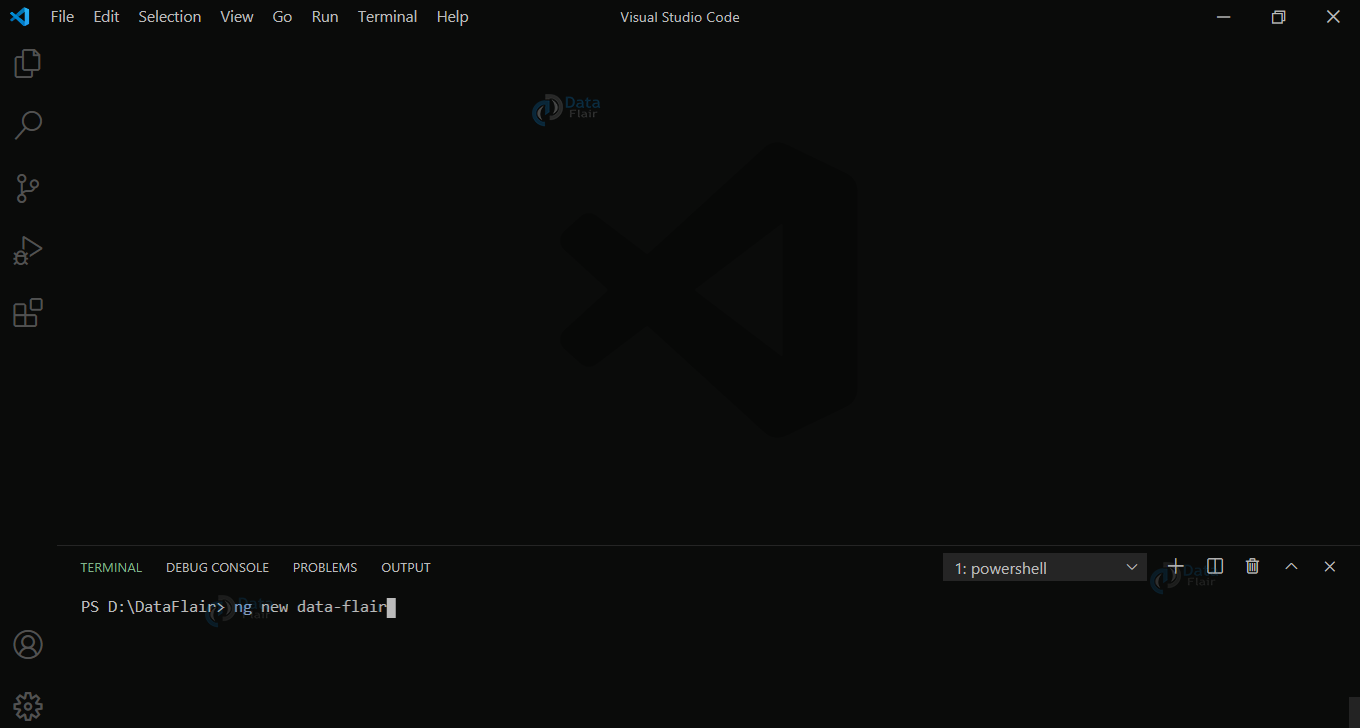
In the terminal, navigate to the desired directory and to create new app type the following code :
ng new YourAppName
Press the Return/Enter key to set all the parameters to default.
- After successful building of the application navigate to the app directory using the terminal by the command:
cd YourApp
- To start your application type the following command:
ng serve –open
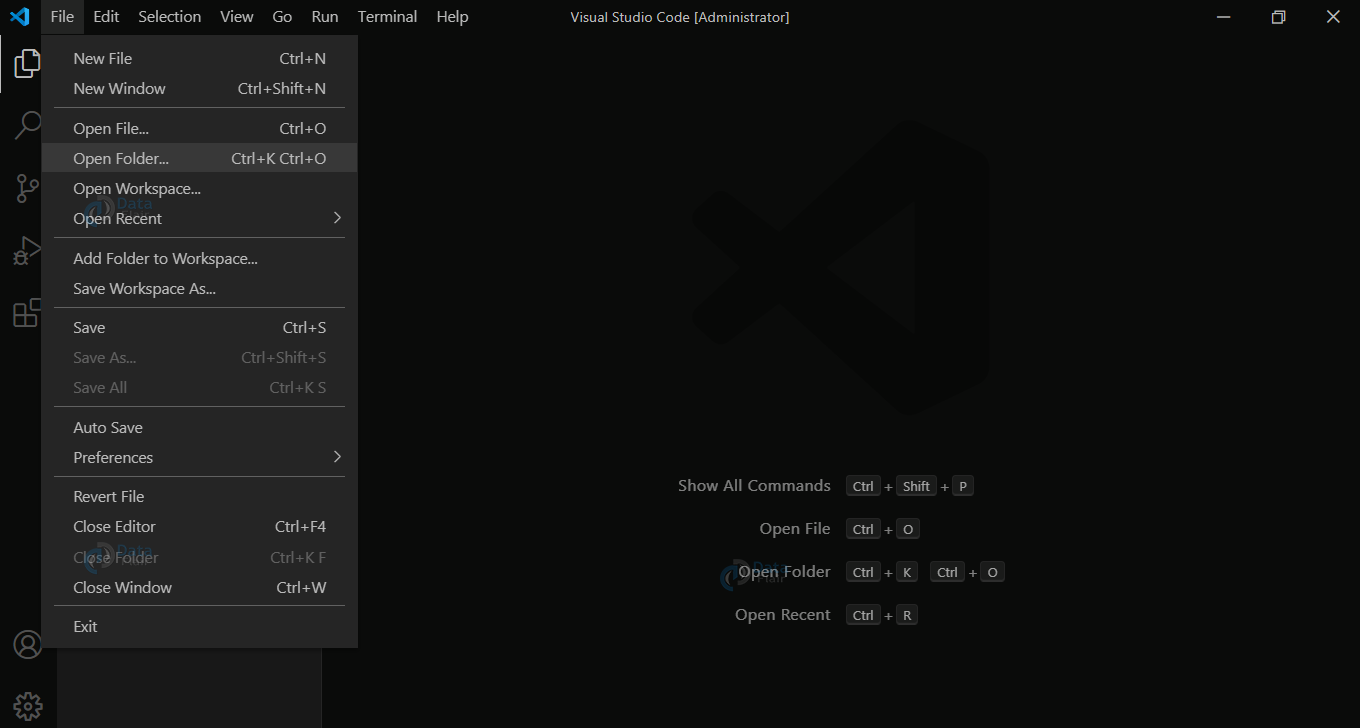
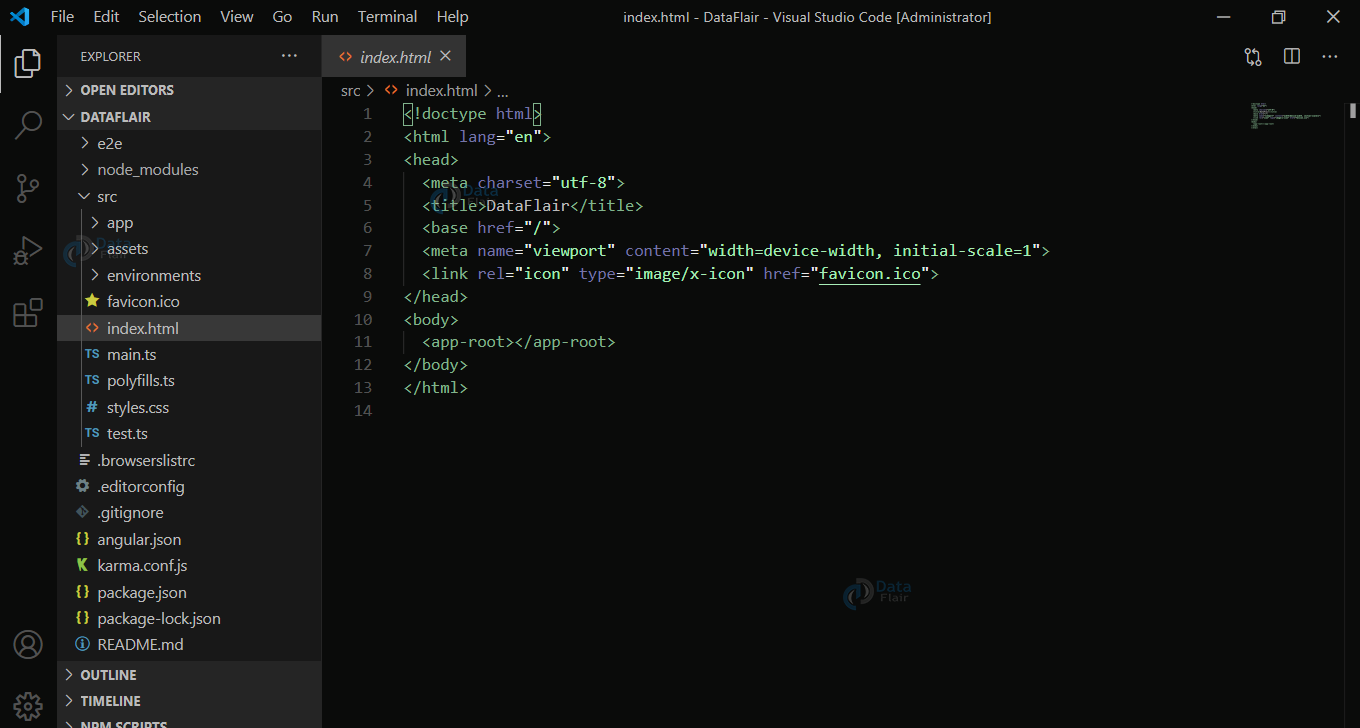
- You can also open a previously created project from the file menu. Select “open folder” and then choose the desired folder that you want to open.
- Now you can open the terminal window and start your application from here as well.
Summary
Congratulations, finally you have successfully installed and created your first angular application. Using visual studio code is preferred over using CLI because in VS code, you have many extensions that increase your efficiency and make it easy to develop applications. Angular may take time to install because it fetches data from the internet and then creates the application. For each application created, you may require minimum storage of 200+ MBs. Once an application is created, it is very easy to modify and launch it using the GUI it offers.
Did we exceed your expectations?
If Yes, share your valuable feedback on Google


