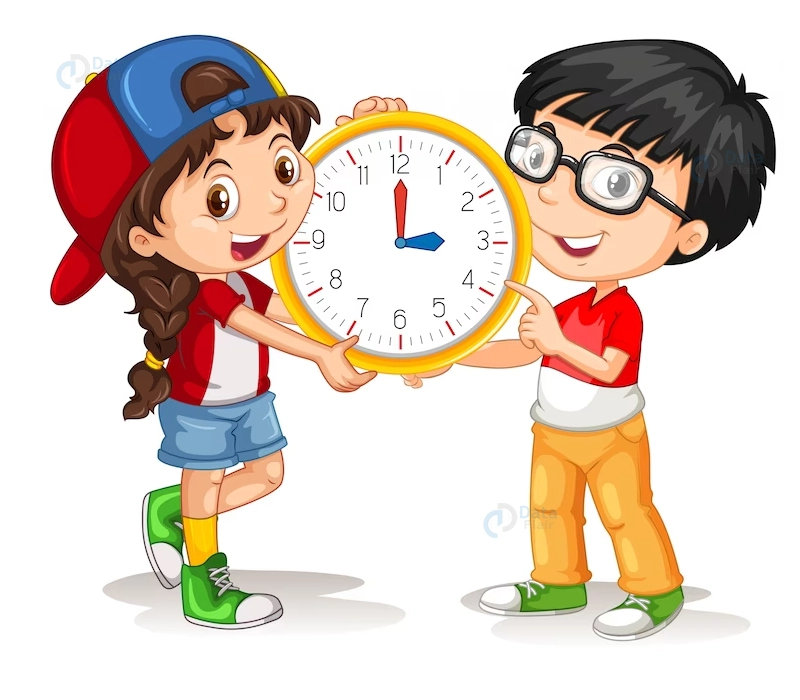
How to Teach Kids to Tell Time?
Expert-led Online Courses: Elevate Your Skills, Get ready for Future - Enroll Now!
Time telling is difficult, especially for young children. Making clocks with your child, however, is a fun project you can do as a parent or teacher to make learning how to tell time interesting. Make sure your child understands the fundamentals before you start building your clocks. Once the clocks are constructed, you can begin introducing the various time intervals to the students.
How to Prepare Your Child to Tell Time
- Kids need to have a fundamental understanding of the concept of time passing before learning how to tell the time. They must understand that time is split into discrete periods, such as days, hours, and minutes.
- Kids need to have a foundation in math before learning how to read an analog clock. They must be able to read and recognize numbers from one to sixty as well as count to sixty.
- Even while counting by fives and adding one to the total will eventually be necessary for children to tell time, these abilities are not required to begin with.
Step 1: Count to 60 as much as you can
To tell time, children must be able to count to 60 (in the correct order). On a sheet of paper, have your kid write out the numbers 1 through 60. As they write each number, ask them to recite it as well. Post this piece of paper on the wall and get them to recite the numbers on a regular basis.
- Point out double-digit numerals in public, such as in the grocery store, and have your youngster repeat the number.
- Counting songs can be used to assist your youngster practice counting. You could, for example, sing “100 Bottles of Milk” together. Look for other counting songs on the internet.
- To motivate your child to learn, reward them with playtime or their favorite snack when they do a good job.
Step 2: Define the Clock’s Components
The ability to recognize the components of a clock is the first step in learning how to tell time. This pertains to the numbers, minute hand, and hour hand. If at all possible, stay away from utilizing a second hand while teaching time telling. Kids may find this to be puzzling and distracting until they figure it out. Let your youngster practice identifying the different pieces once you have explained the parts to them.
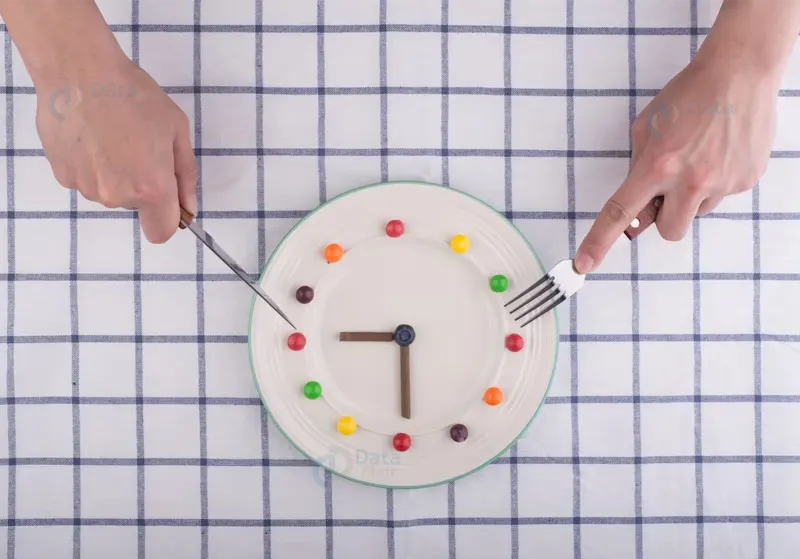
Step 3: Construct a paper clock
Understanding that the numbers one and two also represent five minutes, ten minutes, and so forth is one of the tougher components of telling time. The paper clock aids students in drawing that conclusion. Use paper plates to make this activity even simpler (pro tip).
Step 4: Teach How to Tell Time to the Hour
When your youngster is comfortable with the components of a clock, you may start demonstrating what the hour looks like. Teach them to look at the hour hand to determine the time, then at the minute hand to see if it is up at twelve. If so, the time is that hour.
Practice by asking your child what time it is on a clock and having them set it to a specific time. (For instance, “Can you show me what 5 o’clock looks like?”) Finding opportunities for kids to “find” time to the hour on a digital clock might also assist them in learning what time means. “If your child’s bedtime is 8:00 p.m., you may tell them that when the clock strikes 8:00, they must go to bed,” Miller adds. “They may look for the ‘8’ with two ‘0’s’ to see when it’s bedtime.”

Step 5: Put on paper watches
These accessible blank timepieces from The Big Little Book Club can be printed and cut out. On a master record sheet, mark hands on each clock face and note the time that each student’s watch displays. Kids should decorate their watch bands before having them attached to their wrists and having clock faces added. After giving each student a record sheet, allow them to go around the classroom and inquire of each of their classmates as to the time. They note the time by taking a look at their classmate’s watch. Compare their findings to your master’s.
Step 6: Create a clock by connecting math cubes
Youngsters can learn about time as a forward-moving timeline as well as a circular analogue clock by playing this telling-time game.
Step 7: Consider using a hula hoop clock outside
Take the sidewalk chalk outside and practice telling the time outside. If you don’t have a hula hoop, you can draw a circle to substitute if you want an analog clock.
Step 8: On the clock, draw pie slices
- Ask your child to draw a line connecting the clock’s center to each number. Tell your child to use a different crayon for each pie piece.
- Consider beginning with red at one o’clock and moving up the rainbow for each number. In contrast to employing random colors, this will aid in making the number progression more understandable for your child.
Step 9: Sort Time Paper
Students who are learning to tell time also need to comprehend how much time has passed. Ask them to group activities according to how much time they require—whether it is in minutes, hours, or weeks. Activities can also be categorized according to whether they are performed in the morning, afternoon, or evening.
Step 10: Give the hour hand a hook
With the aid of this time-telling trick, your pupils will learn that even though the minute and hour hands move about, the hour always belongs to the number behind.
Conclusion
- When trying to teach your child how to read an analog clock, you may not know how much more difficult it is to tell the time. Understanding a variety of mathematical ideas and being able to combine these ideas into a complex procedure is necessary for reading a clock. In order to tell the time, one must have a mental understanding of how time moves.
- Take a deep breath if you’re having trouble figuring out how to teach your child to tell the time. The first step in understanding how to read a clock is to develop a basic knowledge of what time is. The ability to read the time to the minute is eventually reached after a gradual buildup.
Your 15 seconds will encourage us to work even harder
Please share your happy experience on Google


