

Job-ready Online Courses: Click, Learn, Succeed, Start Now!
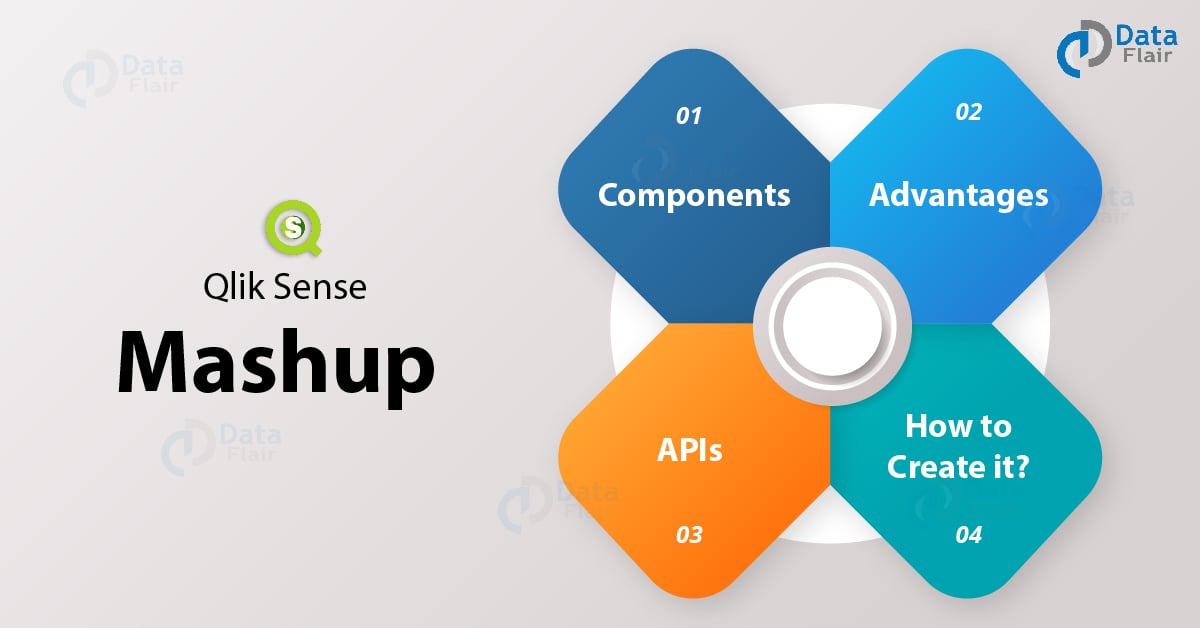
Let us start a new lesson on the very interesting feature of Qlik Sense, the Qlik Sense Mashups. In this lesson, we first learn the basics of Qlik Sense mashup, followed by learning about the components, creating mashups and relevant APIs for mashups.
So, let’s start the Qlik Sense Mashup Tutorial.
Qlik Sense Mashup Tutorial – Advantages and Components
1. Introduction to Qlik Sense Mashup
A Qlik Sense mashup is a web page, web site or web application which uses Qlik Sense objects from one or more Qlik Sense apps to create a unique web service with one graphical interface. In other words, a mashup is a combination of Qlik Sense web API with a web framework enabling web integration on Qlik Sense. You can create responsive web pages or web sites using data and visualizations from Qlik Sense apps.
2. Components of a Qlik Sense Mashup
Let us now talk about the components of a Qlik Sense mashup.
i. Qlik Sense application
It is the application created in Qlik Sense which is the main source of data or objects to be used in the mashup. You can use data or objects from multiple Qlik Sense apps in one mashup.
ii. Web Development Components (scripts)
There are various web development scripts that contribute to making a mashup.
HTML: An HTML script code is like the most basic form of a web page having all the required instructions on it. It decides the framework or the page layout of the web page.
JavaScript: A JavaScript code provides the logic and decides the behavior of the web page. It makes a web page responsive and interactive.
CSS: A CSS script decides the presentation and form of a web page. It is responsible for all the graphics and design of the mashup.
Qext and wbl file: A .qext file keeps all the Qlik extension details (parameters). Whereas, a .wbl file has the manifest list of files included in the current mashup project.
3. Advantages of Mashup in Qlik Sense
- Qlik Sense mashups are beneficial to users in many ways.
- Mashups allow an easy web integration of Qlik Sense apps and its objects.
- It offers great UI flexibility in terms of design (background color etc) and functions.
- Mashups enable integrating Qlik Sense into a web framework involving HTML, CSS, JavaScript etc.
4. Qlik Sense Mashup APIs
To create a Qlik Sense mashup, there are Application Programming Interfaces (APIs) available for different purposes and objectives. You just need to copy and paste the piece of code for an API method and modify it accordingly, to add the app objects of your choice in the mashup. This enables you to easily embed different elements and develop your mashup with the most flexibility.
Several APIs relevant to mashup development are given below. You can get codes for inserting different elements such as engine, backend, frontend (app), root, bookmark, variables etc. You can also modify these codes as per your requirement to make the web page. The API codes are usually from JavaScript or JSON libraries.
- Engine API
- Backend API
- Root API
- App API
- Bookmark API
- Field API
- Global API
- Table API
- Selection API
- Variable API
- Visualization API
- App Integration API
- Single Integration API
- Qlik-visual (web component)
- Enigma.js
- Leonardo-ui (web component)
You can get the code for these APIs and methods from the link provided here – Qlik Sense Mashup API Codes
5. How to Create a Qlik Sense Mashup?
Let us learn to create a Qlik Sense mashup using the Qlik Sense Desktop.
Step 1: Open the Qlik Sense Desktop and then go to the Dev Hub (Qlik Sense Development Hub) shown in the image below.

Step 2: You will be redirected to the web browser. Here the Qlik development hub (Qlik Dev Hub) will open.
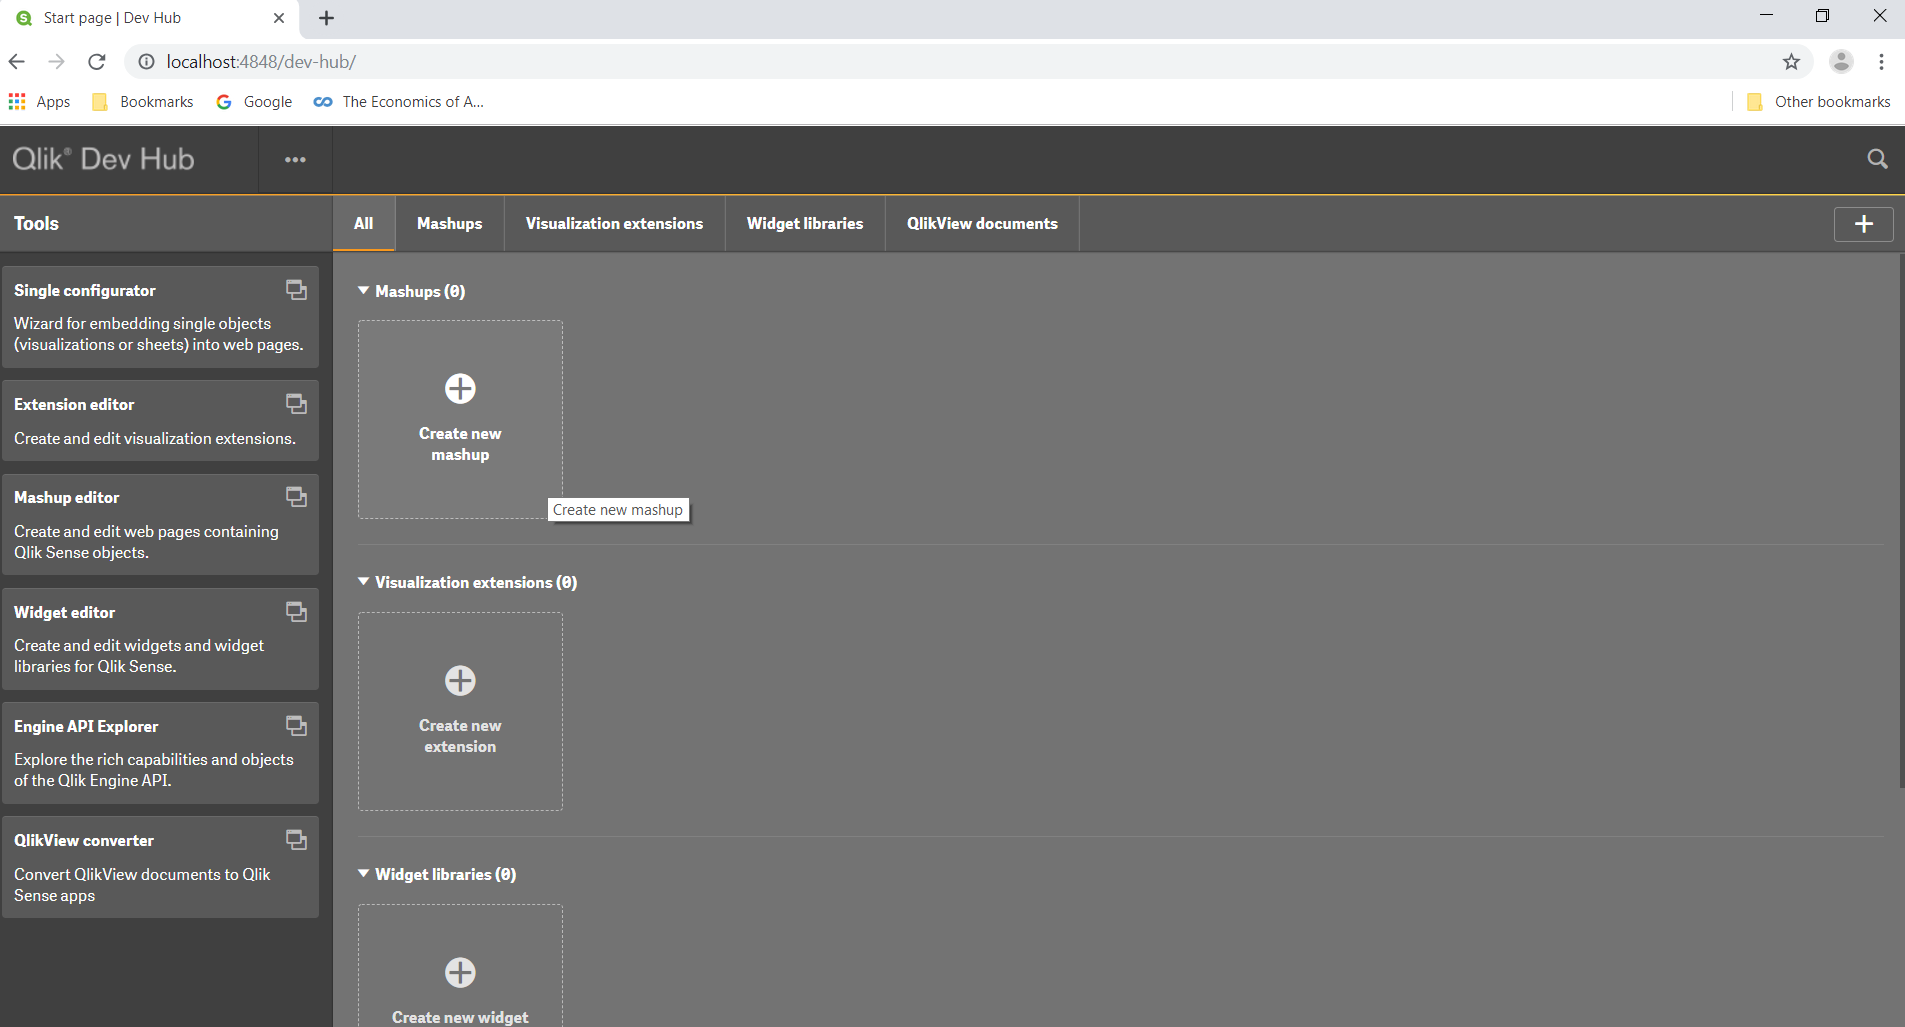
Step 3: Click on create new mashup in the Dev Hub. Enter the mashup name and select a template for the mashup.

There are four available mashup templates which you can choose from.
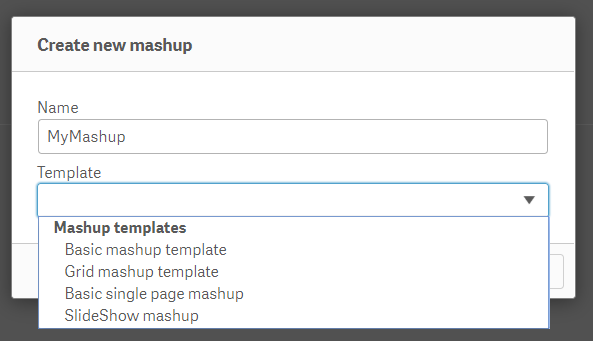
Step 4: We are moving on with our explanation by selecting the “Basic single page mashup”. This opens the mashup editor.
Step 5: Next we will select an app whose objects we can use in our mashup from the Select an app option.

We have selected a sample app named Helpdesk management. All the app contents or objects gets loaded into the mashup editor as soon as you select an app.
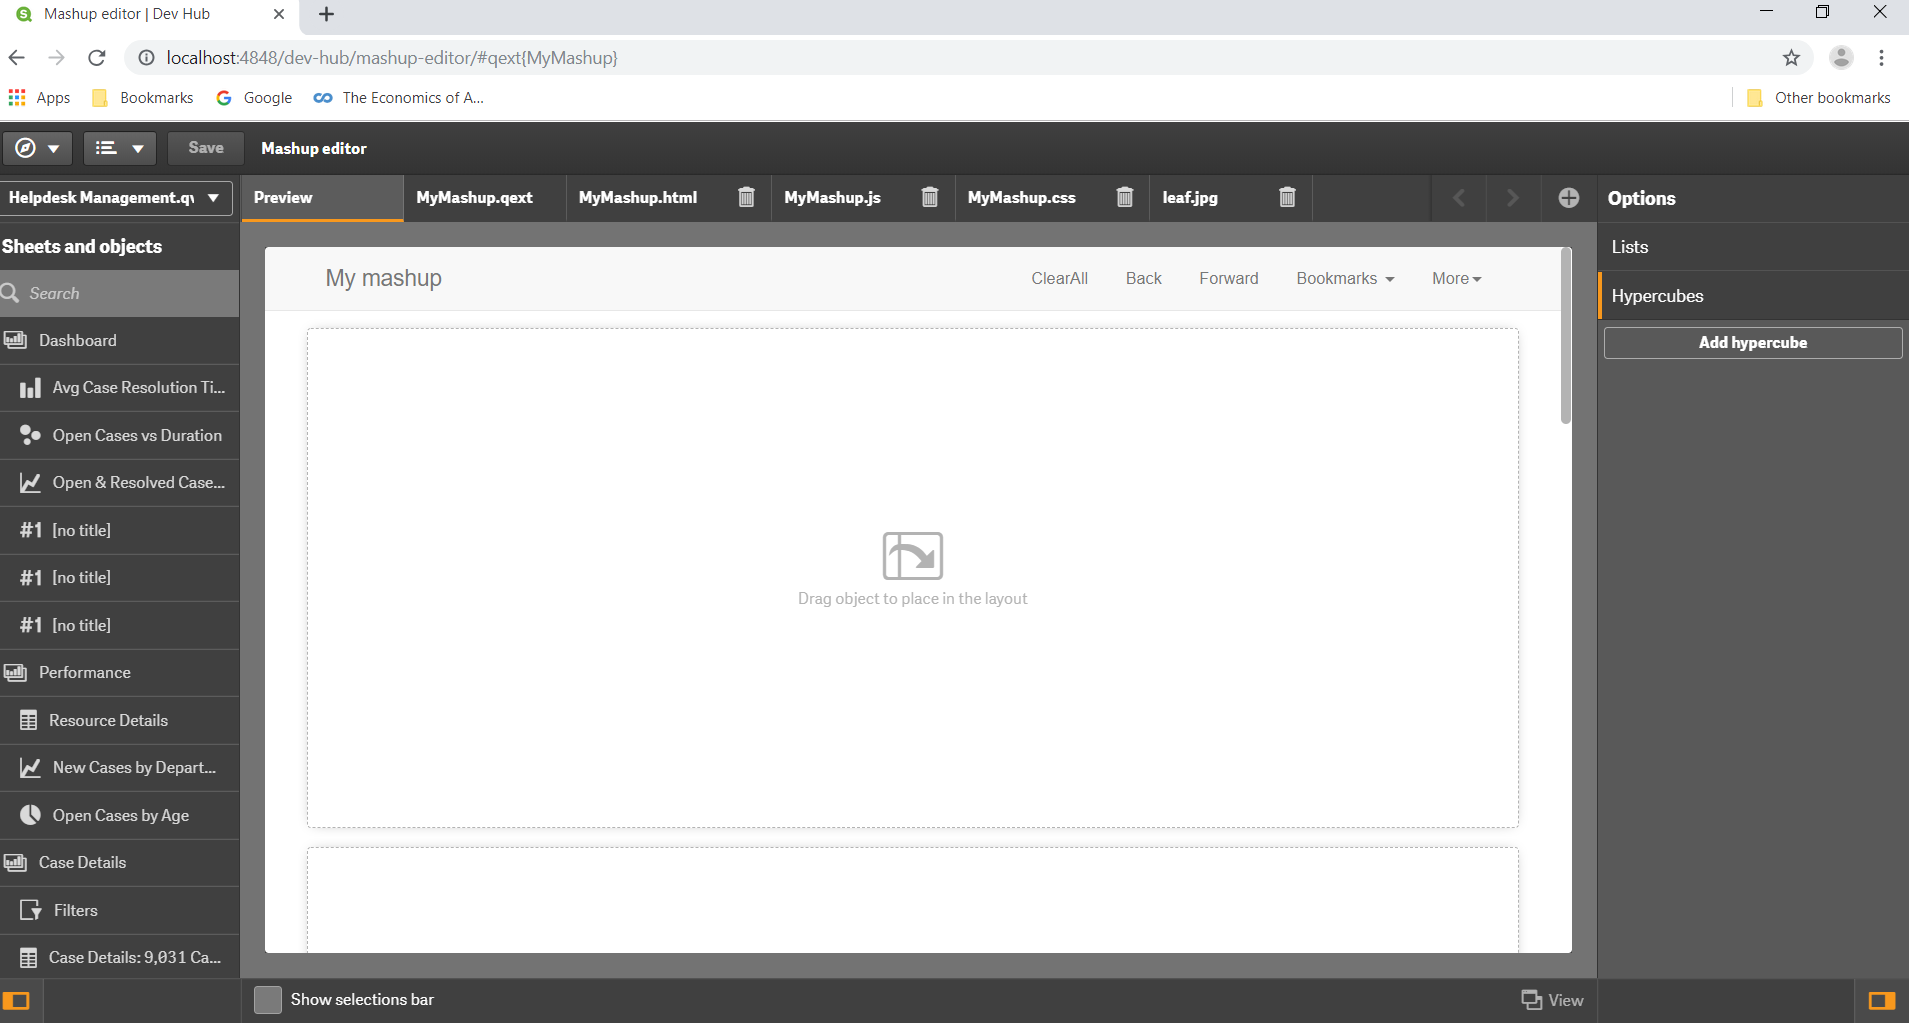
Step 6: A typical mashup editor window have separate tabs for different code sets i.e. for qext, HTML, JavaScript, CSS, and one window for the images (jpg or png). Each script contributes into making the mashup web site complete and more interactive.

Qext script
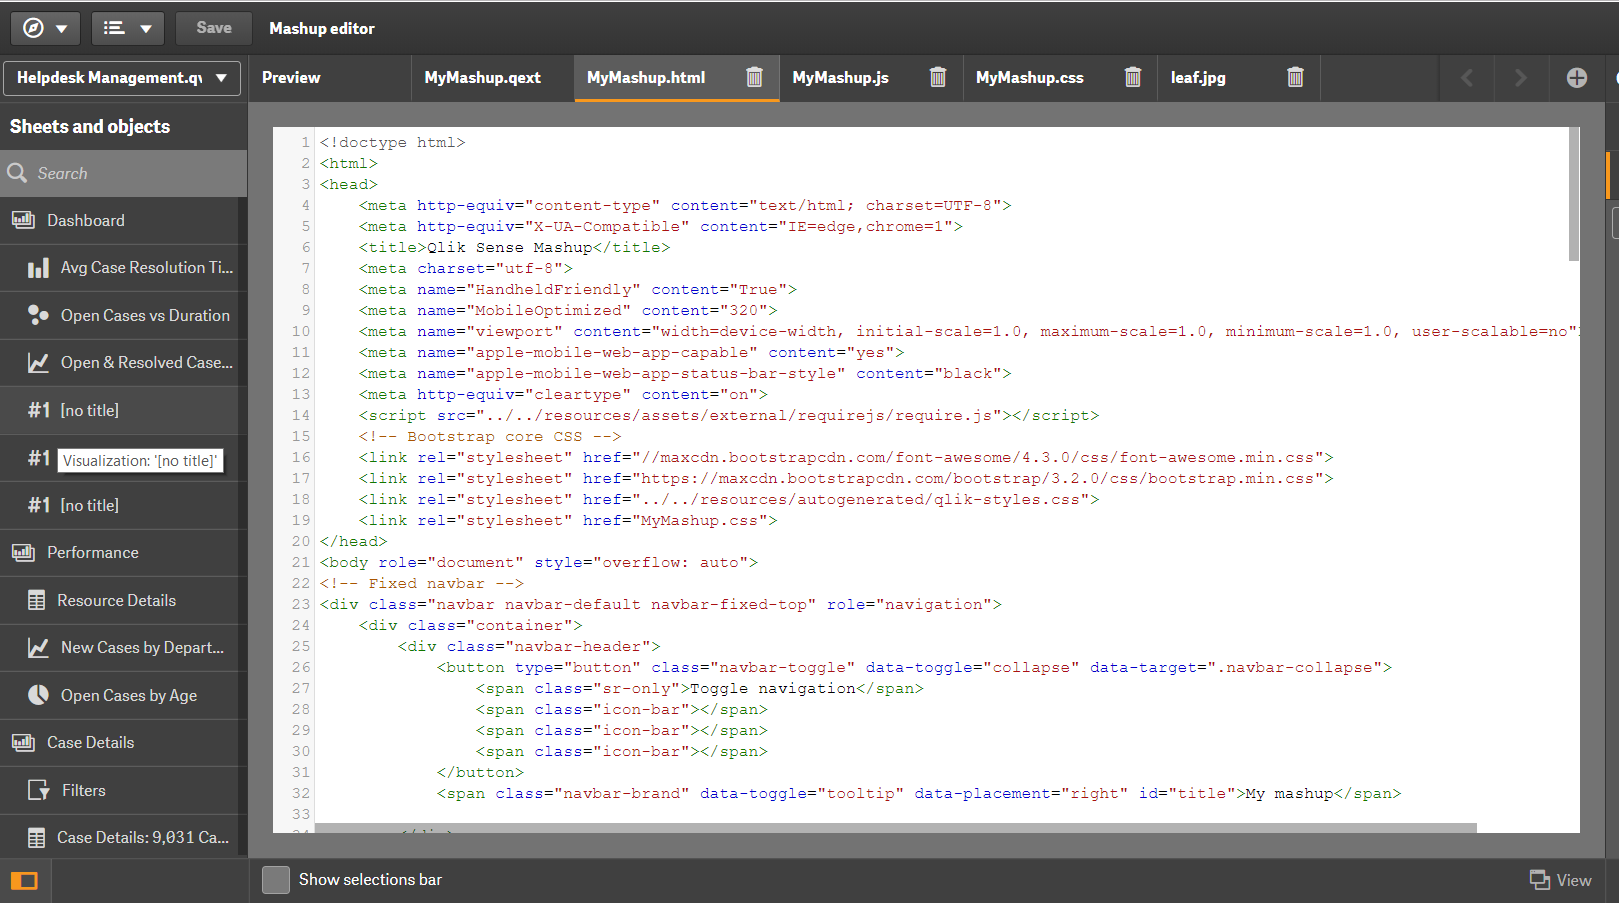
HTML script
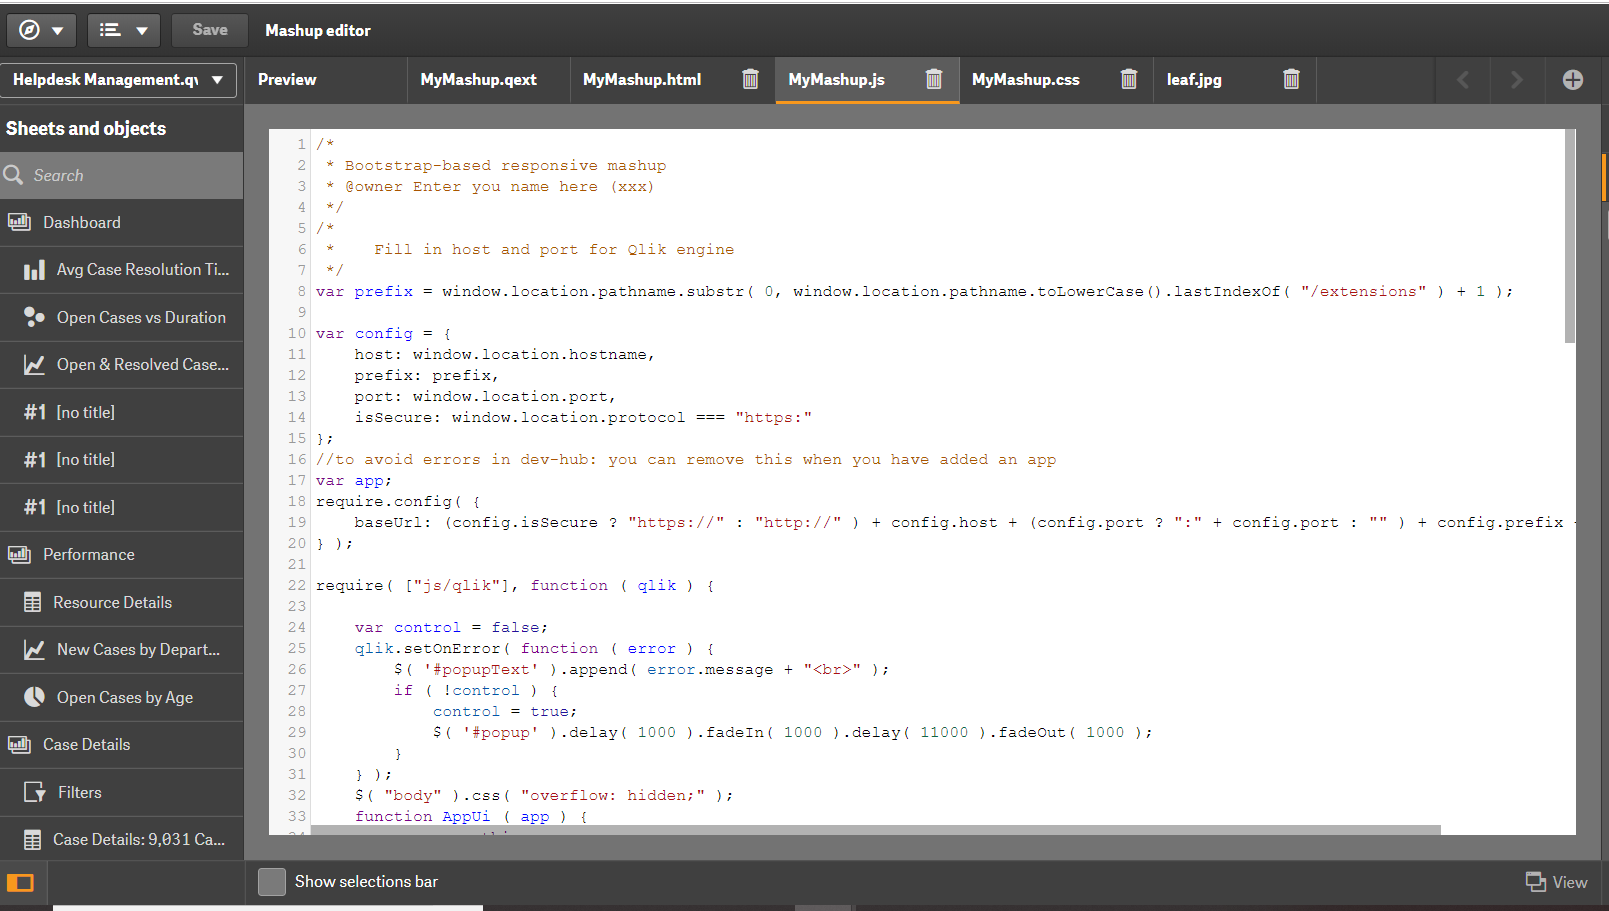
JavaScript code
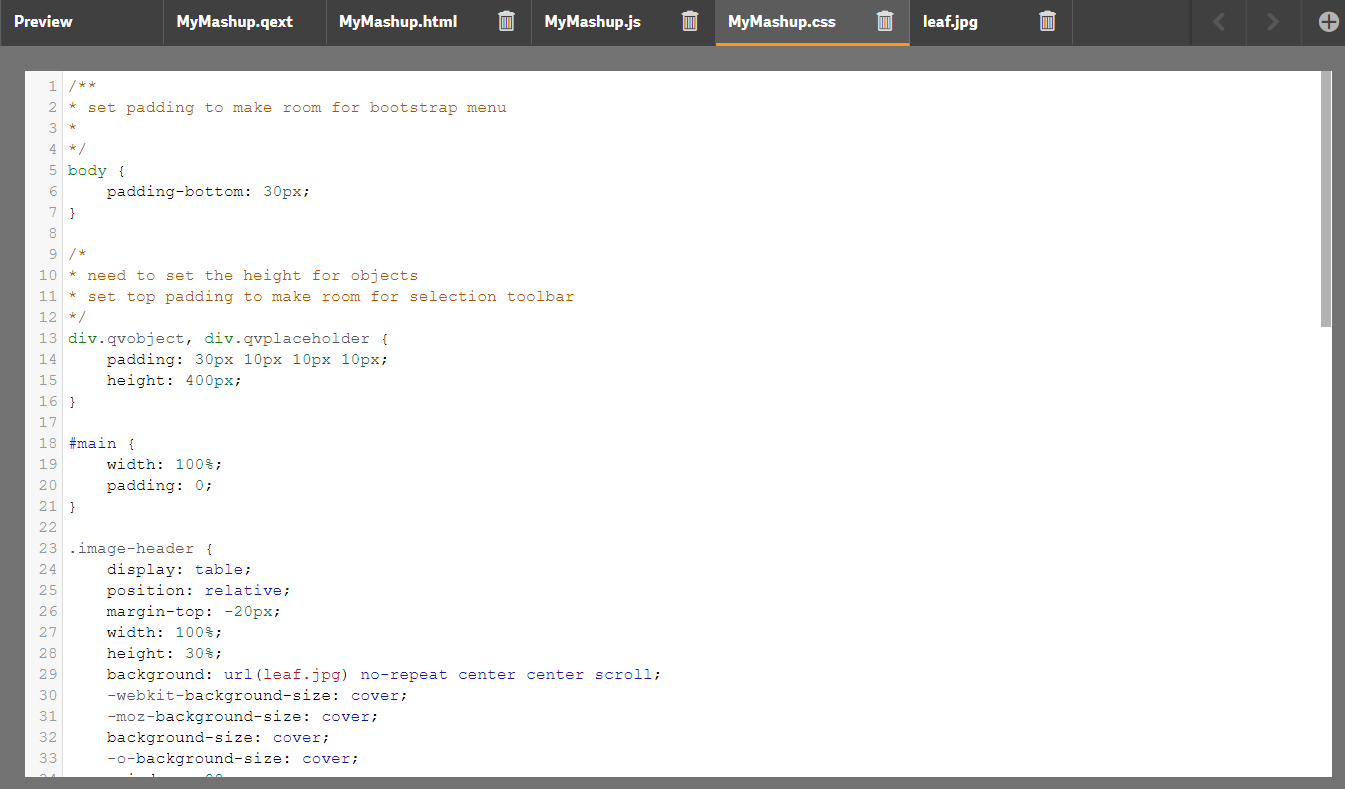
CSS code
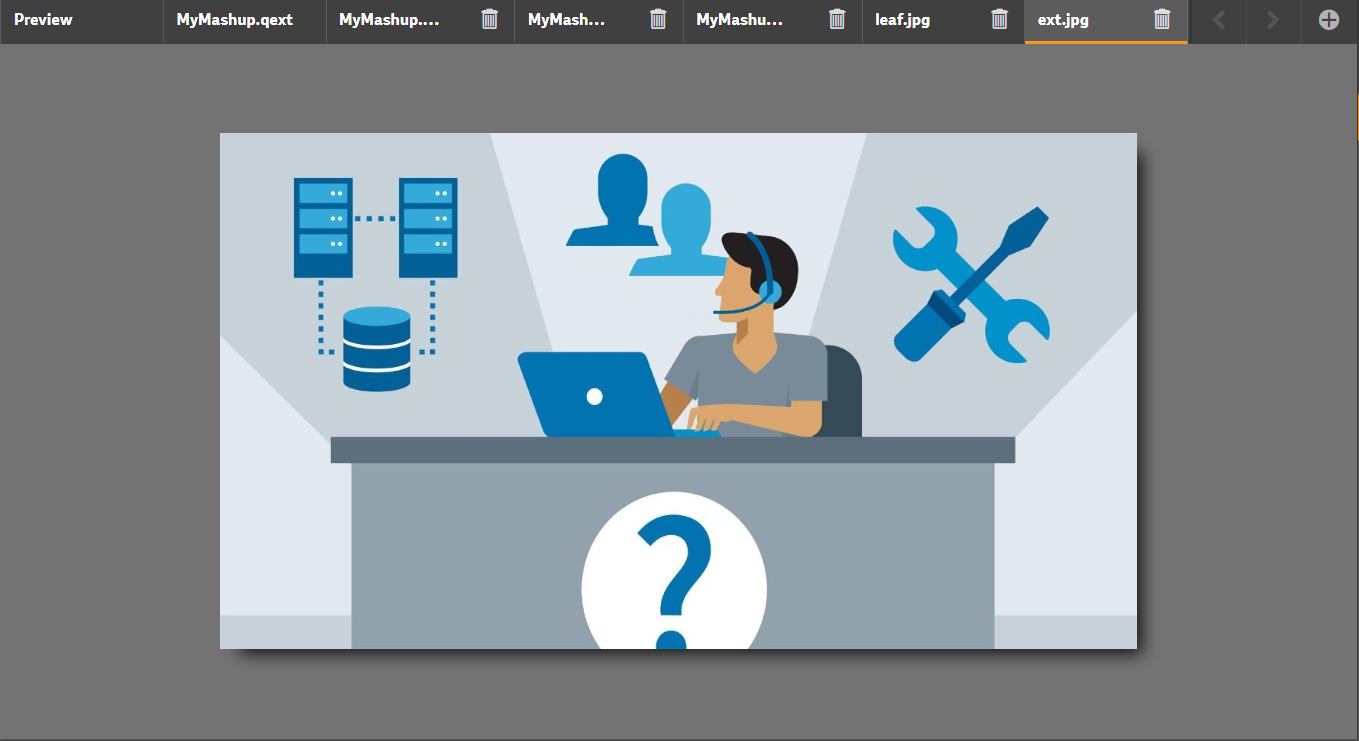
An image window.
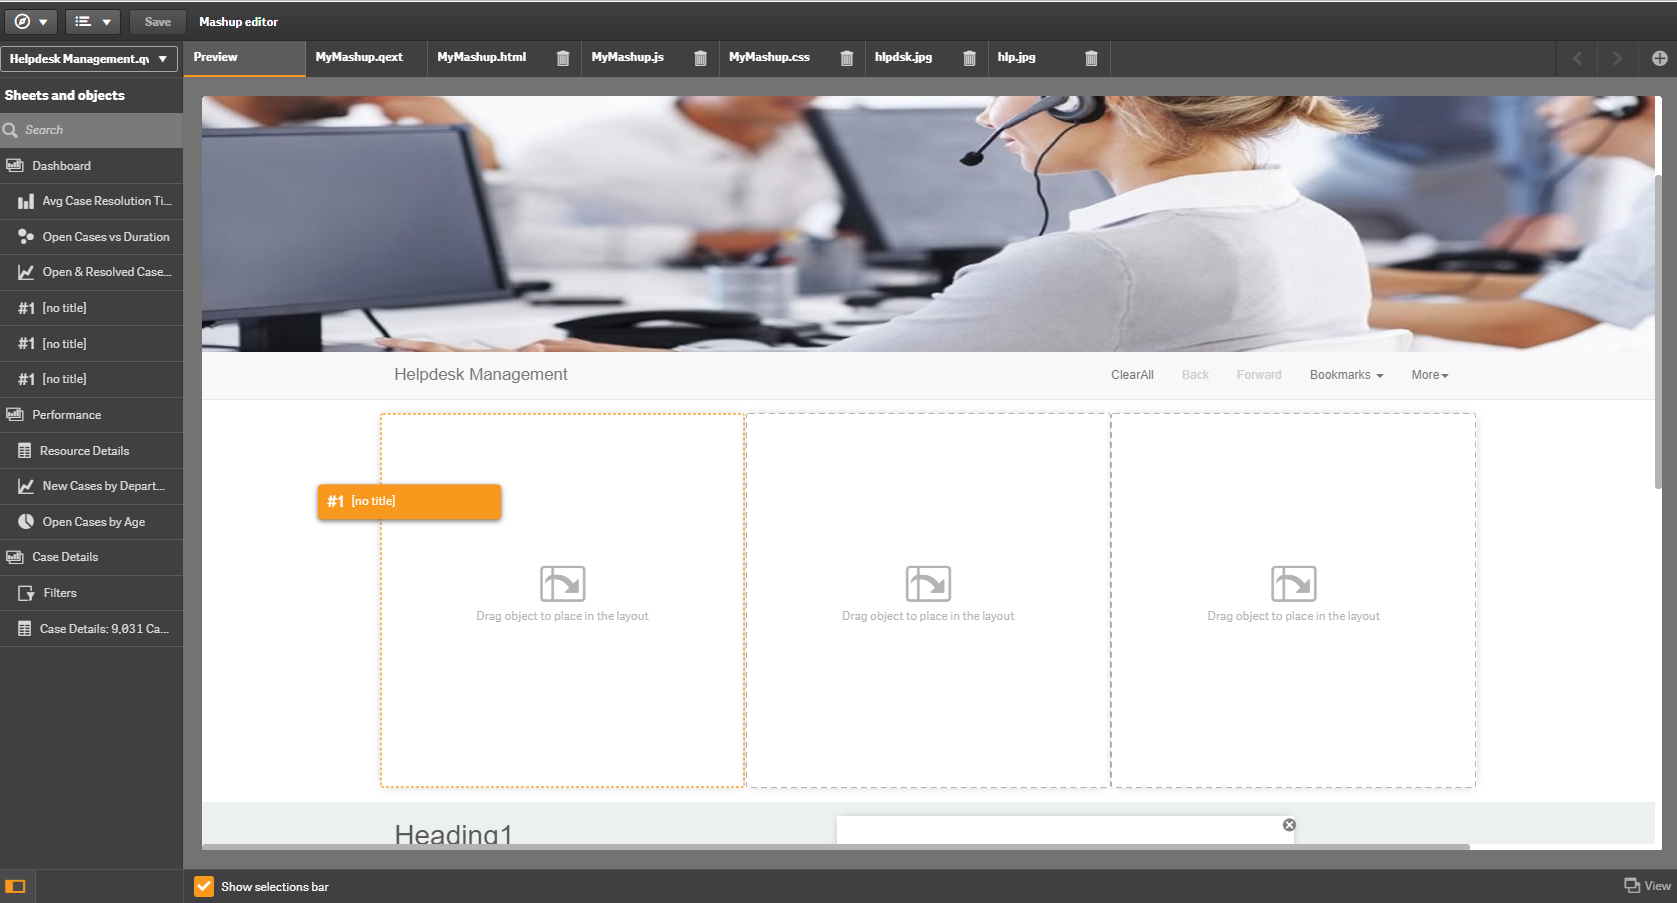
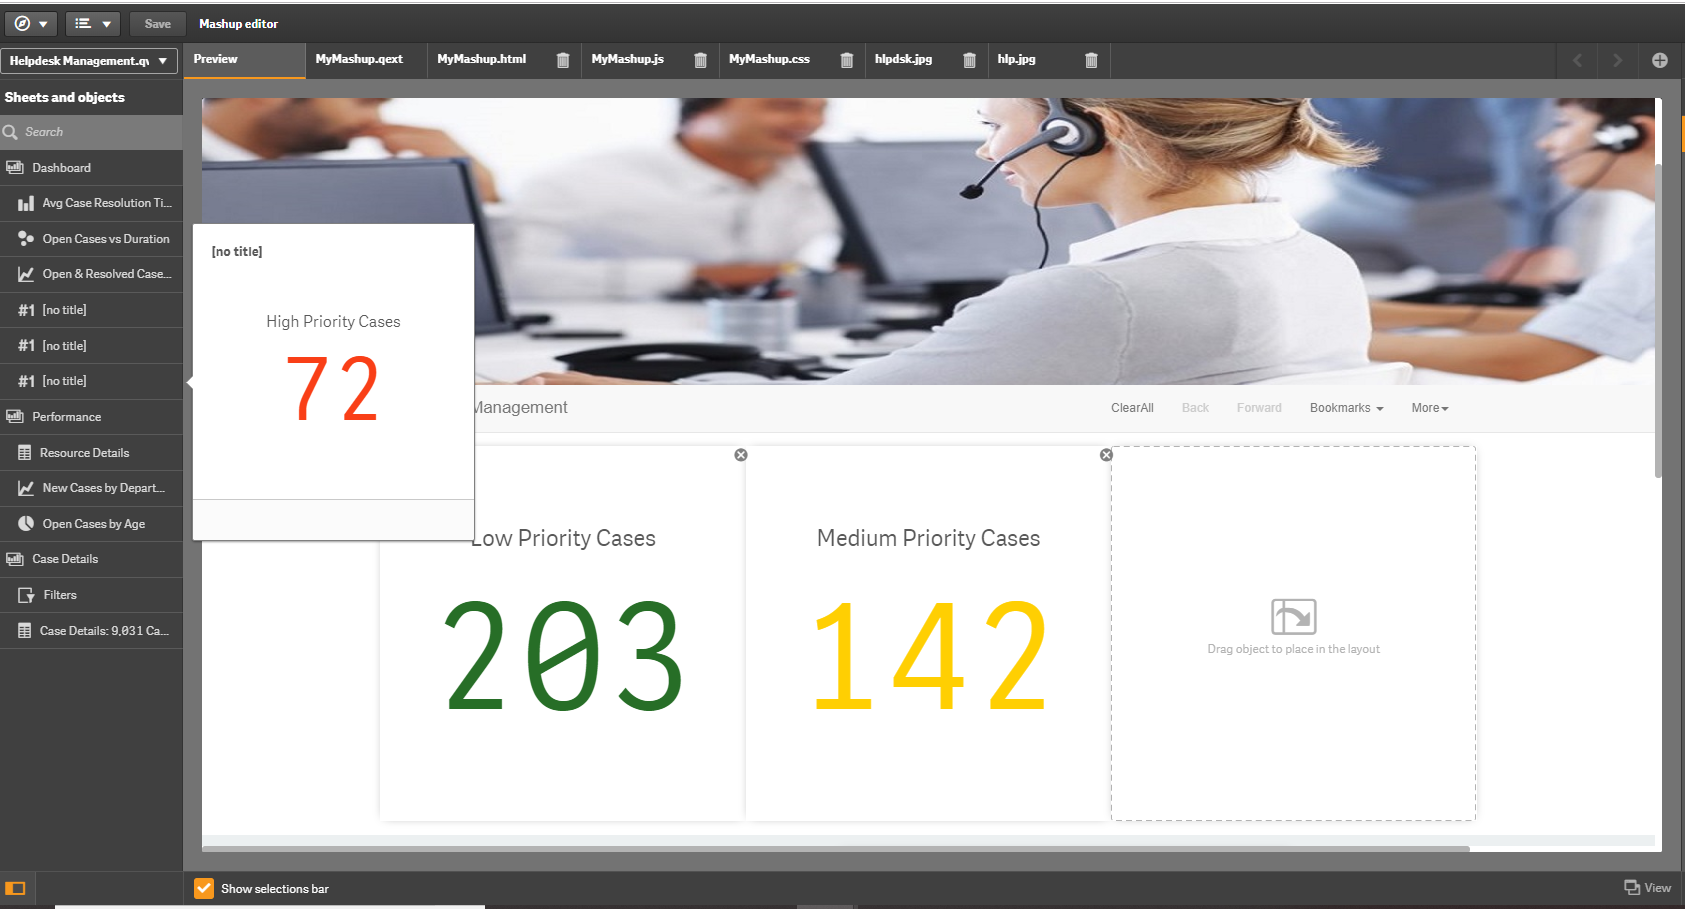
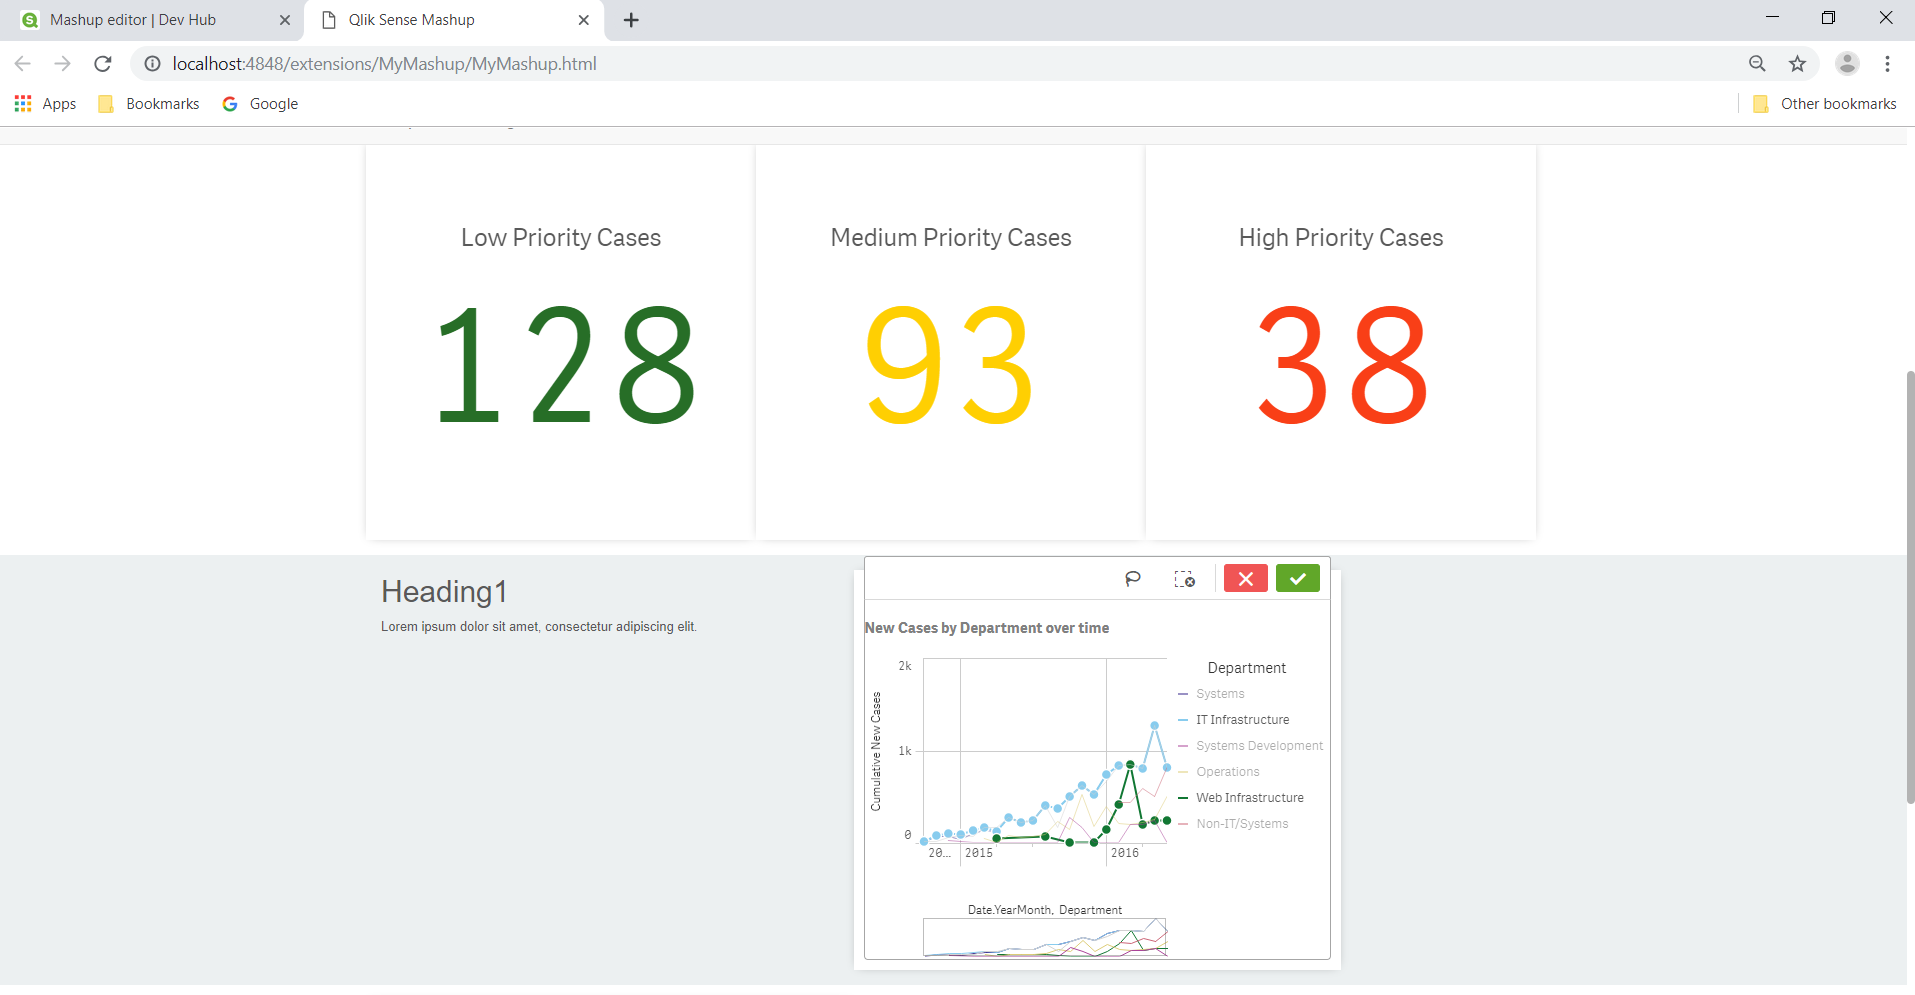
Step 7: On the preview pane, you can drag and drop objects from the selected app. As shown in the screenshot attached below.
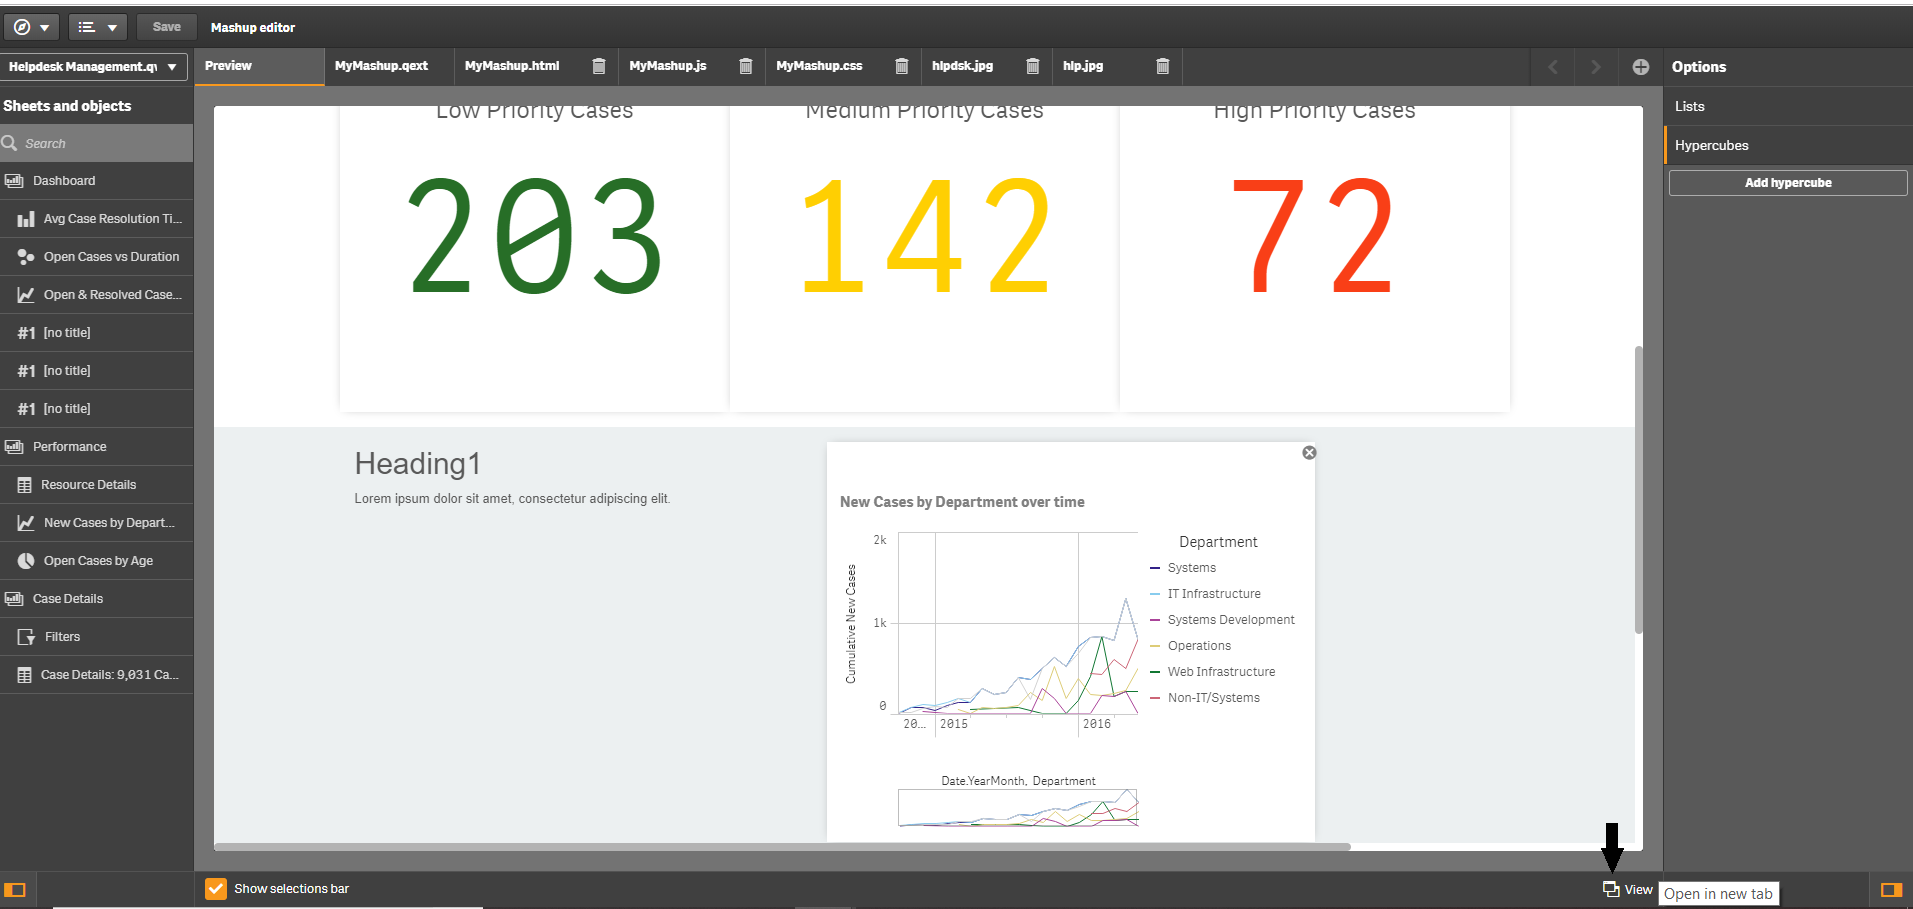
Step 8: You can view the created mashup in a new tab in the browser by clicking on the View option given at the bottom.
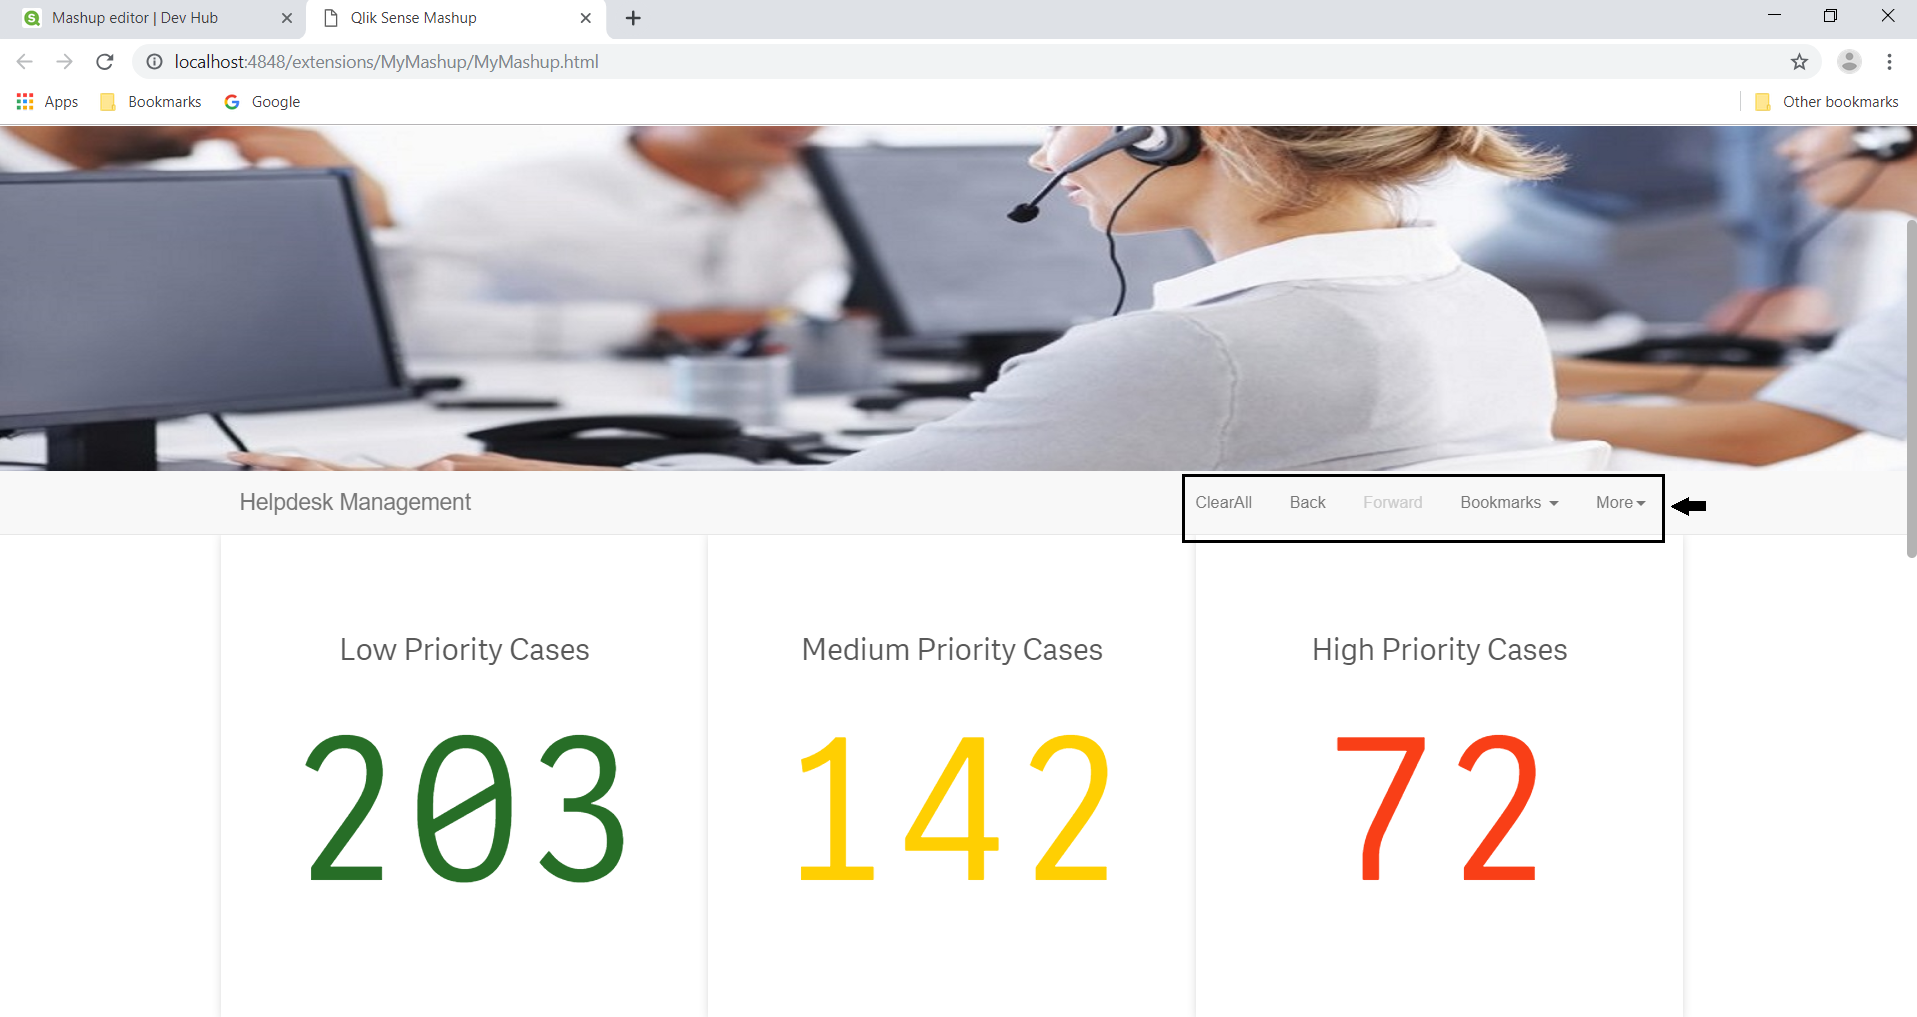
Step 9: It shows the mashup created in the Qlik Dev Hub as a web page.
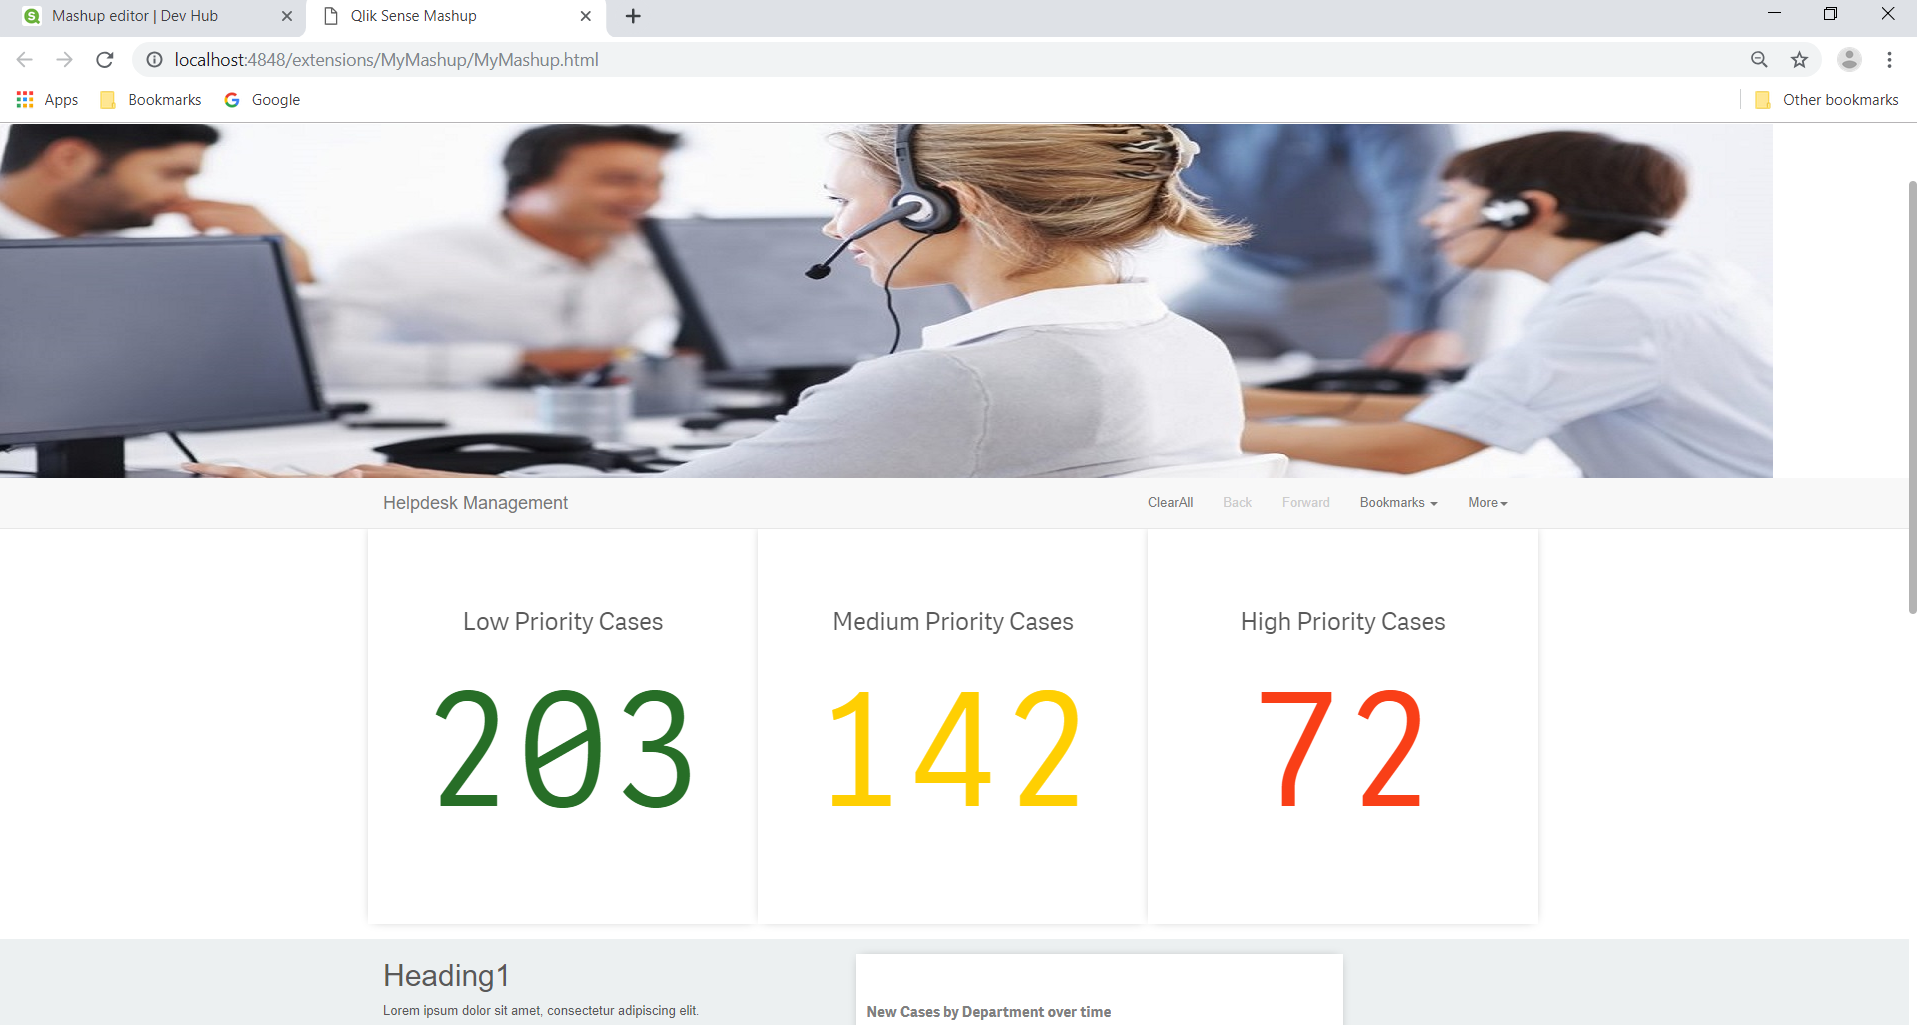
The graphs and charts shown in the web page are all responsive and change according to the selections made.
At the top of the web page, there is a navigation bar given from where you can clear selections, go back and forth in the selections, create bookmarks and lock/unlock the selection states. Such operations are exactly the same as they happen in a Qlik Sense app dashboard.
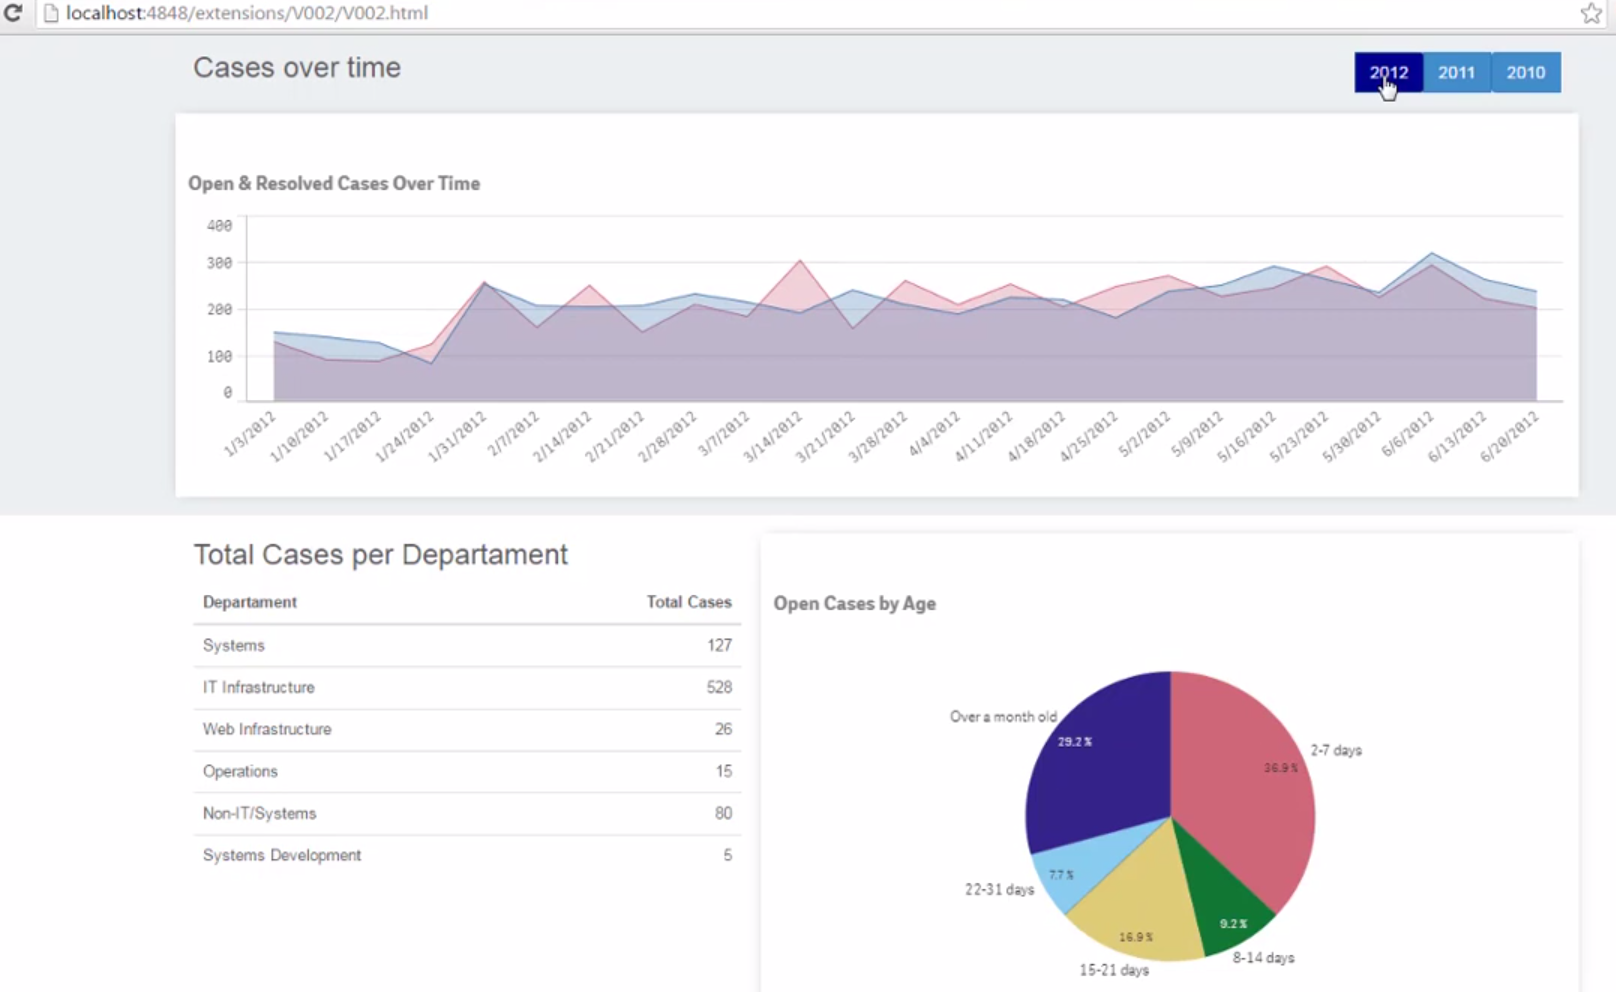
You can modify the apps as you like by adding new pieces of code in the HTML, JavaScript or CSS script. You can make the mashup as responsive as you like and also add non-Qlik objects. Typically, there are two types of objects used to add non-Qlik objects on a mashup, a list, and a hypercube.
A list consists of data values from dimensions, measures, and fields. You can create custom filters or drop-down lists using the list option. Once you add a list, the code gets added into the HTML script. The lists come with the selection capability.
A hypercube creates responsive 3D cubes. In one hypercube you can have a set of values like dimensions, measures, and fields all in combination. The mashup editor has got a hypercube builder using which you can add hypercube objects in the mashup.
The table shown in the image below is created by the hypercube builder. It is a responsive table whose content changes with any selections made on the web page.
6. Summary
So, this concludes our explanation on the Qlik Sense Mashup. We hope it was helpful. Comment us in case of any further queries related to Mashup in Qlik Sense or any other topic. It is the time to explore most asked Qlik Sense Interview Questions.