

Get Job-ready: Java Course with 45+ Real-time Projects! - Learn Java
In this article, we will learn how to install Java 8 on Ubuntu OS. We will install JDK in Ubuntu. Java is a programming language which is actually developed by Sun Microsystems. Java is free to download and use for commercial purposes.
So, let’s start with how to install Java 8 on Ubuntu.

Install Java 8 on Ubuntu – Step-by-Step Guide for Beginners
How to Install Java 8 on Ubuntu?
Here is the process of installing Java 8 on Ubuntu. Follow these steps one by one and start your journey as a programmer.
Follow these steps to install Java 8:
Step.1 Install Java on Ubuntu

Step 2: Install Java on Ubuntu
Do you want to install Java in Windows & Linux?
Step.3 Install Java on Ubuntu
Step.4 Install Java on Ubuntu
Step.5 Install Java on Ubuntu
Step.6 Install Java 8 on Ubuntu
Let’s explore the Career Opportunities in Java

Step.7 Install Java 8 on Ubuntu

Step 8: Install Java 8 on Ubuntu
Here we will discuss the steps to install Java 8 on Ubuntu-
i) At first, we will download the package file from the official website.
http://www.oracle.com/technetwork/java/javase/downloads/jdk8-downloads-2133151.html
The download package is different for 64-bit and 32-bit versions.
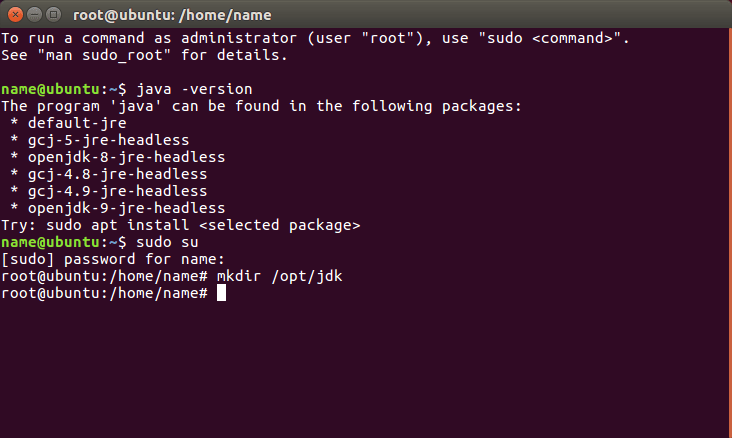
ii) We will need some superuser privileges to install JDK. So we will use the following command-
sudo su
iii) The /opt directory is actually reserved for all the software and add-on packages. This software is not part of the default installation. The command for creating a directory for JDK installation is-
mkdir /opt/jdk
Follow this link to know about Java Frameworks
iv) Then we will extract Java into the /opt/jdk directory:
tar -zxf jdk-8u5-linux-x64.tar.gz -C /opt/jdk
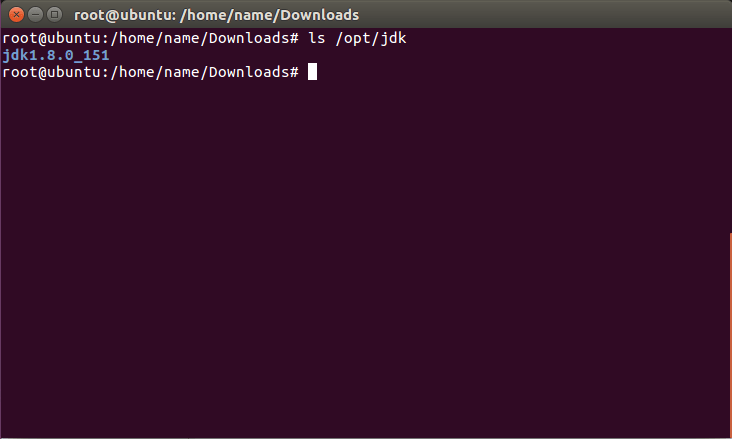
v) Then we use the following command. This command verifies the file extraction into the /opt/jdk directory.
ls /opt/jdk
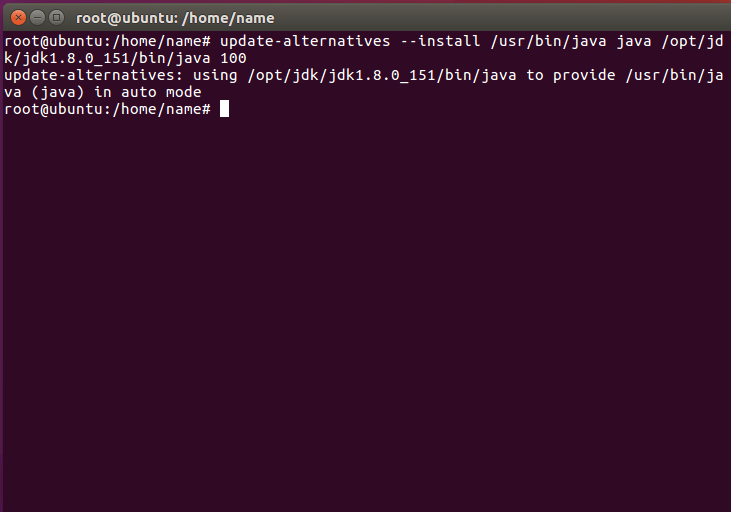
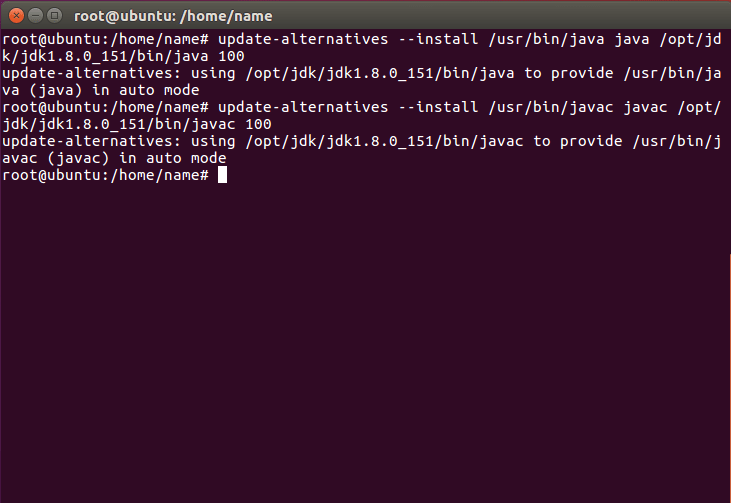
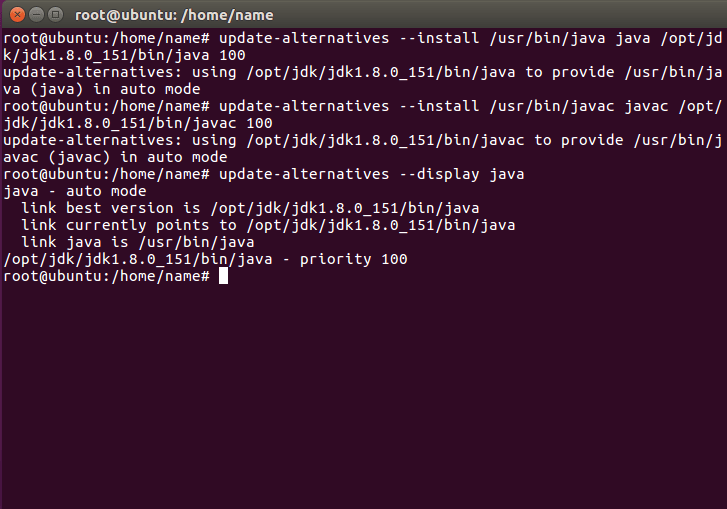
vi) By default, we can find the Java executable in /opt/jdk/jdk1.8.0_05/bin/java directory. To set it as the default JVM we will use:
update-alternatives --install /usr/bin/java java /opt/jdk/jdk1.8.0_05/bin/java 100
update-alternatives --install /usr/bin/javac javac /opt/jdk/jdk1.8.0_05/bin/javac 100
vii) Then verify that Java has been successfully configured. Run the following command-
update-alternatives --display java
update-alternatives --display javac
We can check the installation by-
java -version
viii) We can also update Java. Hence, download an updated version of Oracle’s website and extract to the /opt/jdk directory. After that, set it as the default JVM with a higher priority number:
update-alternatives --install /usr/bin/java java /opt/jdk/jdk.new.version/bin/java 110
update-alternatives --install /usr/bin/javac javac /opt/jdk/jdk.new.version/bin/javac 110
So, this was all about installing Java 8 in Ubuntu. Hope you like our explanation.
Conclusion
Hence, we studied the steps to install Java 8 on Ubuntu. Furthermore, if you have any queries, feel free to ask in the comment box. Now, it’s time to deep dive into the Java language.