


We offer you a brighter future with industry-ready online courses - Start Now!!
Let us begin our article on EditText in Android. Android EditText is an overlay of TextView, as it has made itself Editable. EditText supports the operation of editing itself and thus is a subclass of TextView. We generally add this to our App in order to provide the feature of taking Input from the user. EditText is one of the most important UI controls as it takes input from the users.
Know more about Android UI controls with DataFlair.
For Example, consider filling the details in a form.
To declare the Android EditText we write the following code in activity_main.xml:
<EditText
       android:id="@+id/Nametext"
       android:layout_width="wrap_content"
       android:layout_height="wrap_content"
       android:hint="Enter your Name"
       android:inputType="text" />
To retrieve data entered through Android EditText we do the following:
  EditText username;
username =(EditText)findViewById(R.id.Nametext);
We can also customize the EditText according to our needs, using attributes.
Android EditText Attributes
- id: It is required to uniquely identify the Android EditText.
To add this, we write android:id= “@+id/UniqueName”.
- gravity: Its use is to align the Android EditText in a certain position such as top, bottom, center, left, right, etc.
To add this, we write android: gravity= “right”.
- textColor: It is used to set the color of the Text.
To add this, we write android:textColor= “#0000”.
- hint: It shows the hint of what is to be filled inside the EditText.
To add this, we write android: hint= “Enter the name here”.
- TextColorHint: It shows the color of the hint.
To add this, we write android:TextColorHint= “#008971”.
- Text: It shows the type of text to be filled, like – text, password, email, etc.
To add this, we write android: Text= “Password”.
- TextSize: TextSize declares the size of the text to be shown on the screen.
To add this, we write android:TextSize= “30dp”.
- TextStyle: TextStyle sets the style of the text in Android EditText.
To add this, we write android: TextStyle= “bold | italic”.
- background: It sets the background color of the EditText.
To add this, we write android: background= “#000”.
Attributes Inherited from TextView Class
- android: autoText – It specifies a specific text that automatically corrects the common spelling errors.
- android:drawableRight – This is to be drawn to the right of the text.
- android:drawableBottom – This is to be drawn to the below of the text.
- android: text – This attribute is the text to Display.
- android: editable – This attribute specifies that the TextView has some input.
Attributes Inherited from View Class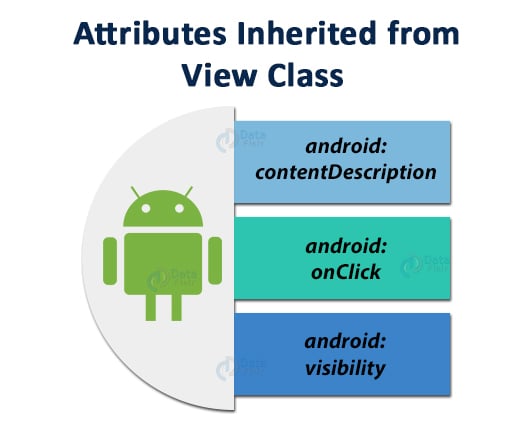
- android:contentDescription – It describes the View Content in brief.
- android: onClick – It is used to invoke View’s context when the user clicks on the View.
- android: visibility – It sets whether the View is to be visible or not.
Implementation of Android EditText
Now we will see how we can implement EditText in our android application:
Step1: First of all we will create a new project and name it. After that, we will open the activity_main.xml file and write the following in it:
<?xml version="1.0" encoding="utf-8"?>
<LinearLayout xmlns:android="http://schemas.android.com/apk/res/android"
   android:layout_width="match_parent"
   android:layout_height="match_parent"
   android:paddingLeft="40dp"
   android:orientation="vertical"       android:id="@+id/linearlayout" >

   <TextView
       android:id="@+id/textView"
       android:layout_width="wrap_content"
       android:layout_height="wrap_content"
       android:layout_centerHorizontal="true"
       android:layout_marginLeft="90dp"
       android:layout_marginTop="80dp"
       android:fontFamily="@font/aladin"
       android:text="DataFlair "
       android:textColor="#00574B"
       android:textSize="50dp" />

   <EditText
       android:id="@+id/Nametext"
       android:layout_width="wrap_content"
       android:layout_height="wrap_content"
       android:layout_marginTop="25dp"
       android:ems="10"
       android:hint="Enter your Name"
       android:inputType="text"
       android:selectAllOnFocus="true" />

   <EditText
       android:id="@+id/textPhone"
       android:layout_width="wrap_content"
       android:layout_height="wrap_content"
       android:ems="10"
       android:hint="Please enter mobile no."
       android:inputType="phone"/>
   <EditText
       android:id="@+id/textPassword"
       android:layout_width="wrap_content"
       android:layout_height="wrap_content"
       android:ems="10"
       android:hint="Numeric Password"
       android:inputType="numberPassword" />
   <Button
       android:id="@+id/Sendbutton"
       android:layout_width="wrap_content"
       android:layout_height="wrap_content"
       android:text="Enter"
       android:textSize="16sp"
       android:textStyle="normal|bold" />
   <TextView
       android:layout_width="wrap_content"
       android:layout_height="wrap_content"
       android:id="@+id/ViewResult"
       android:layout_marginTop="25dp"
       android:textSize="15dp"/>
</LinearLayout>
Step2: After that, we will write the following in MainActivity.java file:
package com.DataFlair.adapter;

import android.os.Bundle;
import android.view.View;
import android.widget.Button;
import android.widget.EditText;
import android.widget.TextView;
import androidx.appcompat.app.AppCompatActivity;

public class MainActivity extends AppCompatActivity {
   Button buttonSubmit;
   EditText username, pass, mobile;
   TextView Res;
   @Override
   protected void onCreate(Bundle savedInstanceState) {
       super.onCreate(savedInstanceState);
       setContentView(R.layout.activity_main);
       username =(EditText)findViewById(R.id.Nametext);
       pass = (EditText)findViewById(R.id.textPassword);
       mobile = (EditText)findViewById(R.id.textPhone);
       buttonSubmit = (Button)findViewById(R.id.Sendbutton);
       Res = (TextView)findViewById(R.id.ViewResult);
       buttonSubmit.setOnClickListener(new View.OnClickListener() {
           @Override
           public void onClick(View v) {
               if (username.getText().toString().isEmpty() || pass.getText().toString().isEmpty() || mobile.getText().toString().isEmpty())
                   {// if the user missed filling a block
                   Res.setText("All the Details to be filled...");
               }
               else
                {// if the user fills the details correctly
                   Res.setText(" Thank You for using EditText");
               }
           }
       });
   }
}
Step 3: Now we will run our code and the following would be the output:
i) The following would be the View of the application.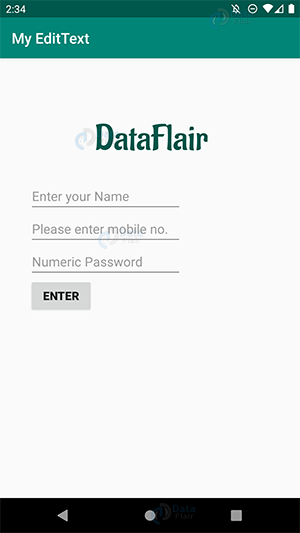
ii) Now we will fill the details and press Enter.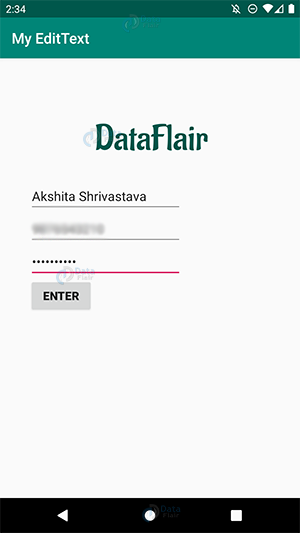
iii) After this, we will see the following generated message on the screen.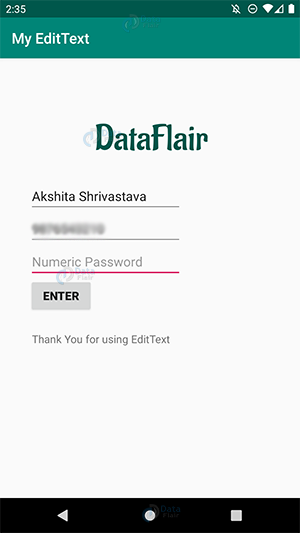
iv) Also, we will then, fill the details in such a way that one editText remains empty as given below.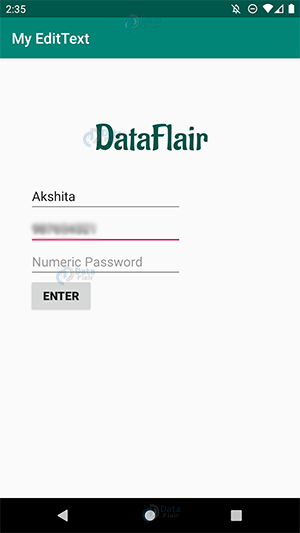
v) And we will Enter and check. For this, the following message would be displayed on the screen.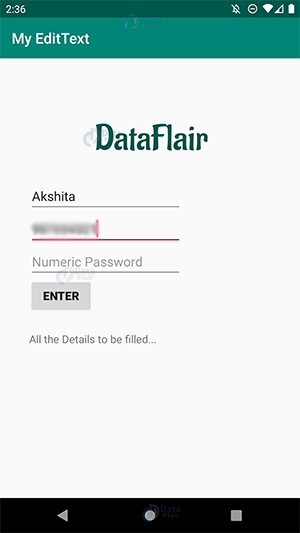
Summary
In this article, we read about Android EditText. We understood what Android EditText is and how we can declare it in the Layout file. In the end, we also made an application to implement Edit Text in it. I hope it was fun learning it, now it is your turn to implement it.
If you have any queries in DataFlair’s Android EditText article, mention in the comment section. We will be happy to help you.
Happy Learning😃