


With this tutorial, we will learn the complete process to install Hadoop 3 on ubuntu. The process involves some easy-to-follow steps including commands and instructions. Each step is attached with screen images which will guide you throughout the process of Hadoop installation.
Let’s begin the process.
Steps to Install Hadoop 3 on Ubuntu
Prerequisites
First, download the Hadoop 3.1.2 from the below link:
Here are the steps for installing Hadoop 3 on ubuntu for your system:
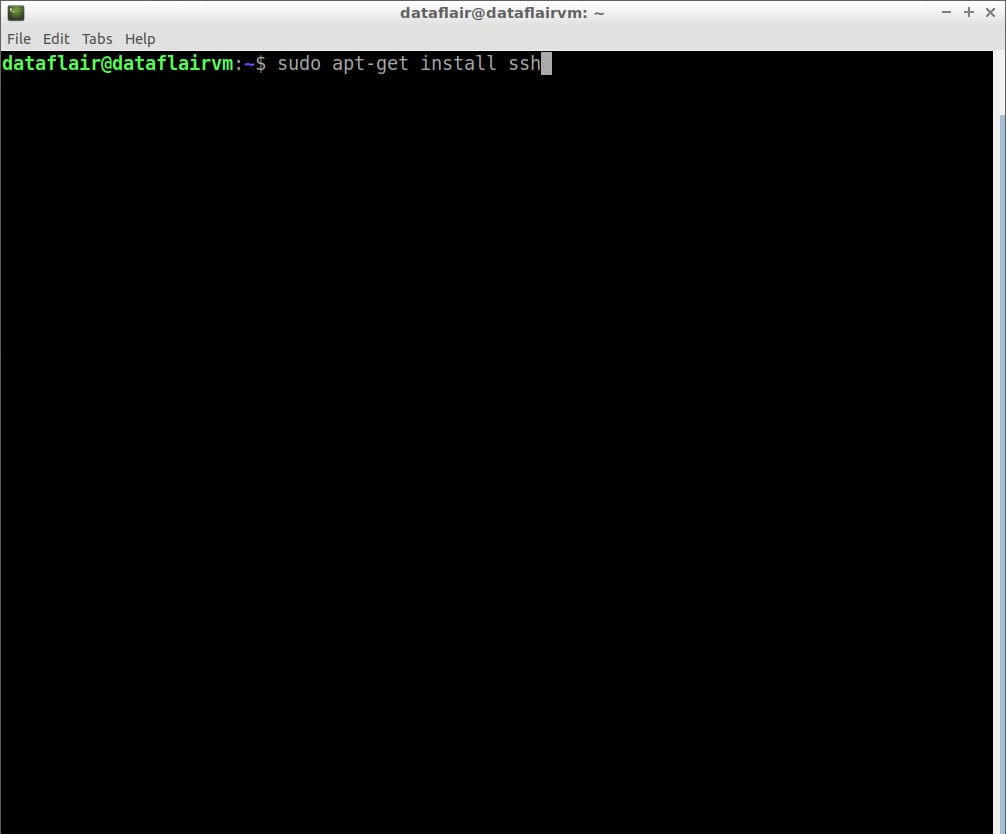
Step 1: Install ssh on your system using the below command:
sudo apt-get install ssh
Type the password for the sudo user and then press Enter.
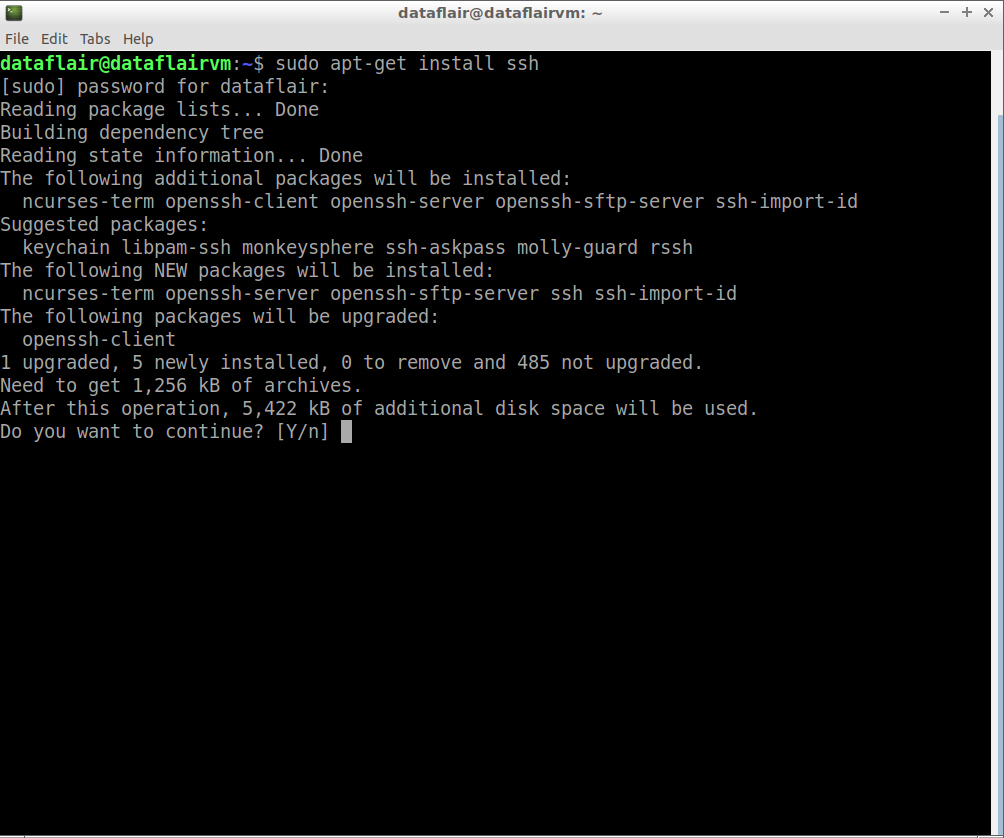
Type ‘Y’ and then press Enter to continue with the installation process.
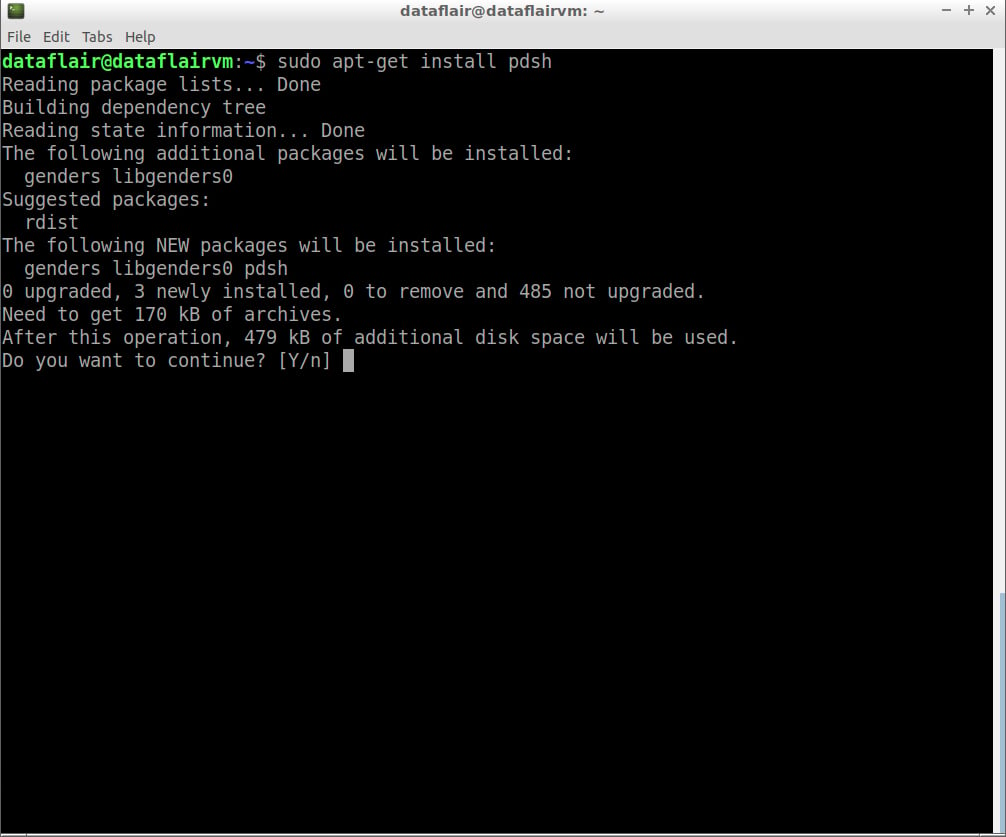
Step 2: Install pdsh on your system using the below command:
sudo apt-get install pdsh

Install pdsh command
pdsh installation
Type ‘Y’ and then press Enter to continue with the installation process.
Step 3: Open the .bashrc file in the nano editor using the following command:
nano .bashrc
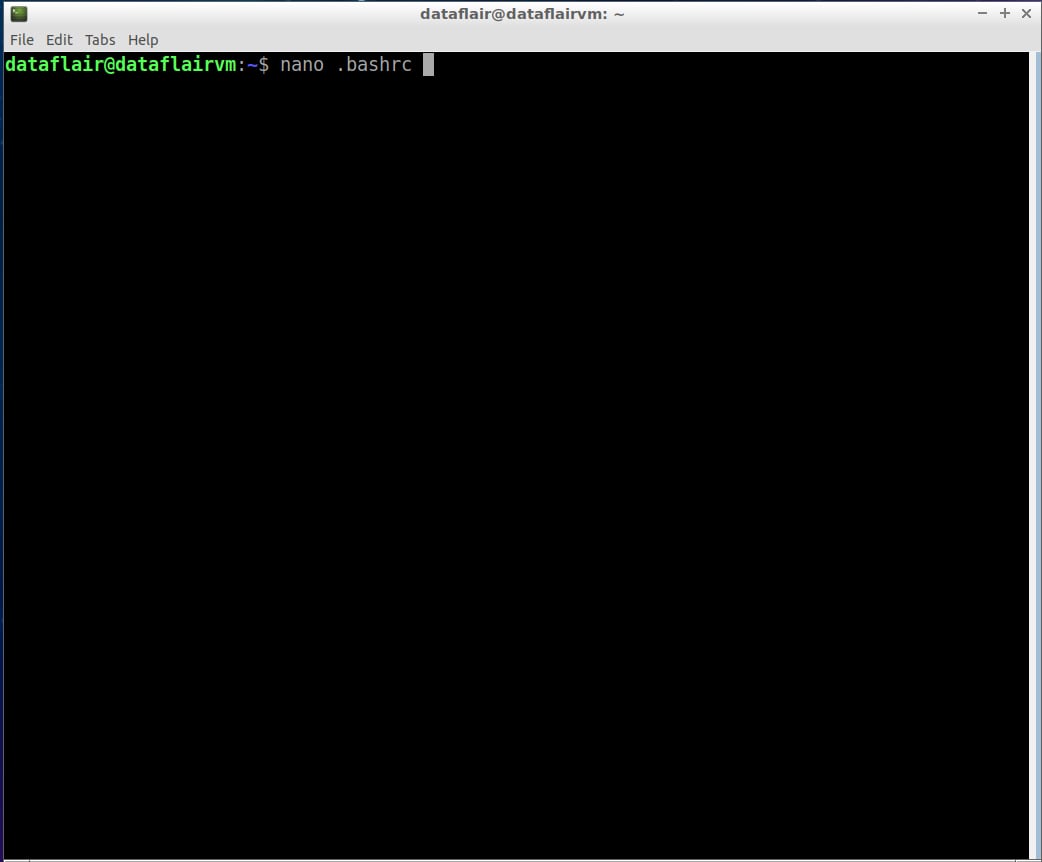
Now set the PDSH_RCMD_TYPE environment variable to ssh
export PDSH_RCMD_TYPE=ssh

To save the changes you’ve made, press Ctrl+O. To exit the nano editor, press Ctrl+X and then press ‘Y’ to exit the editor.
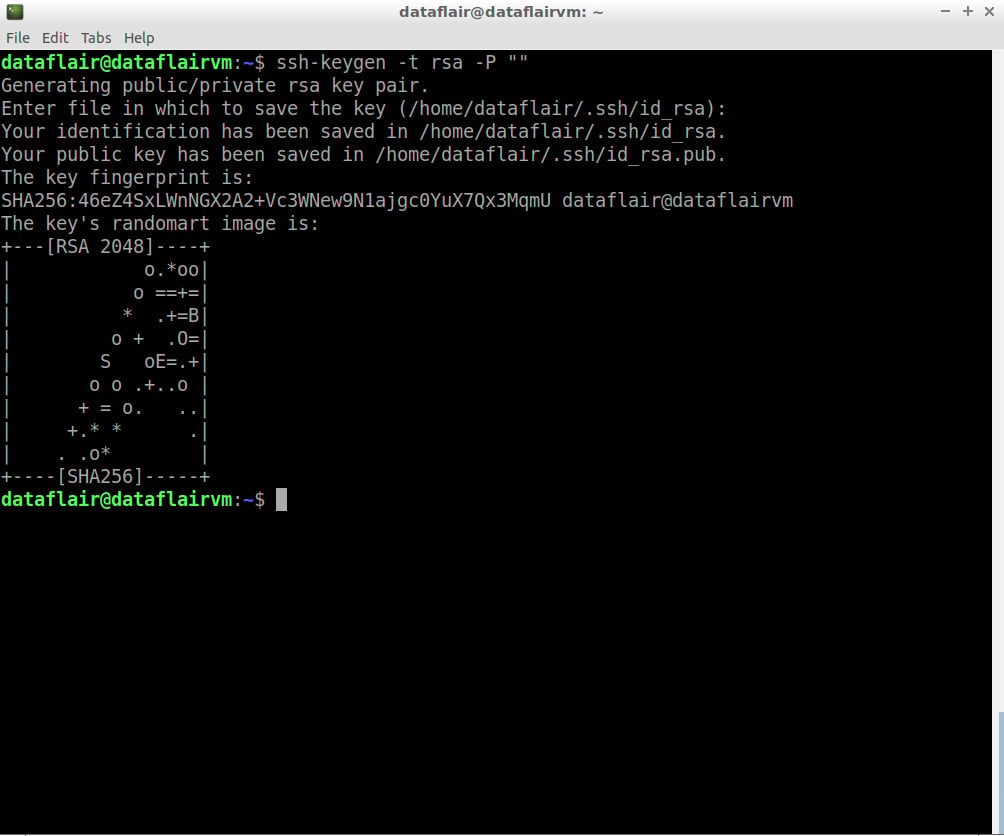
Step 4: Now configure ssh. To do so, create a new key with the help of the following command (don’t copy-paste following command, rather type):
ssh-keygen -t rsa -P ""
Press Enter when asked the file name.
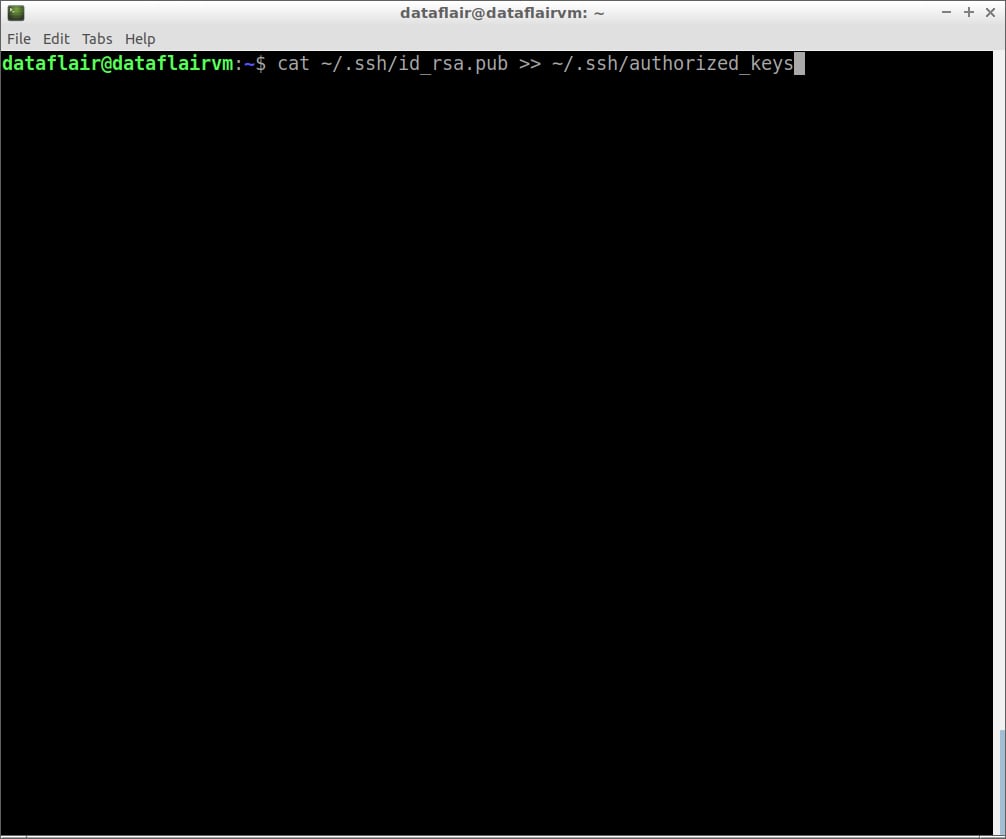
Step 5: Copy the content of the public key to authorized_keys.
cat ~/.ssh/id_rsa.pub >> ~/.ssh/authorized_keys
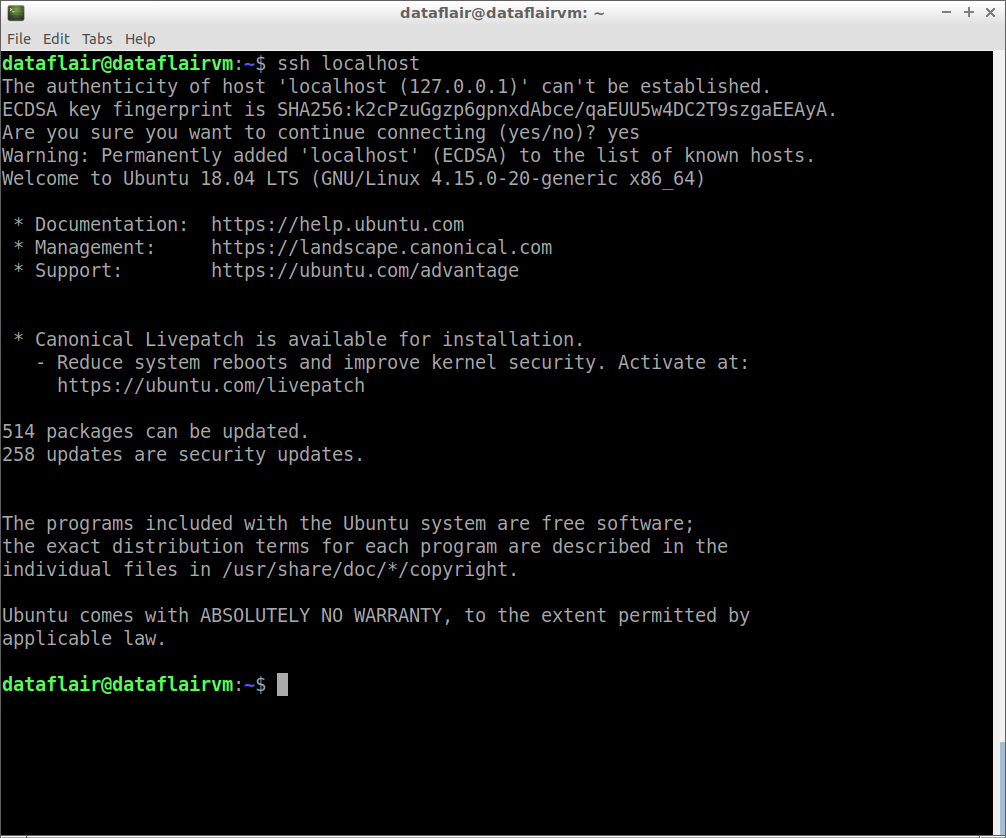
Step 6: Now examine the SSH setup by connecting to the localhost.
ssh localhost
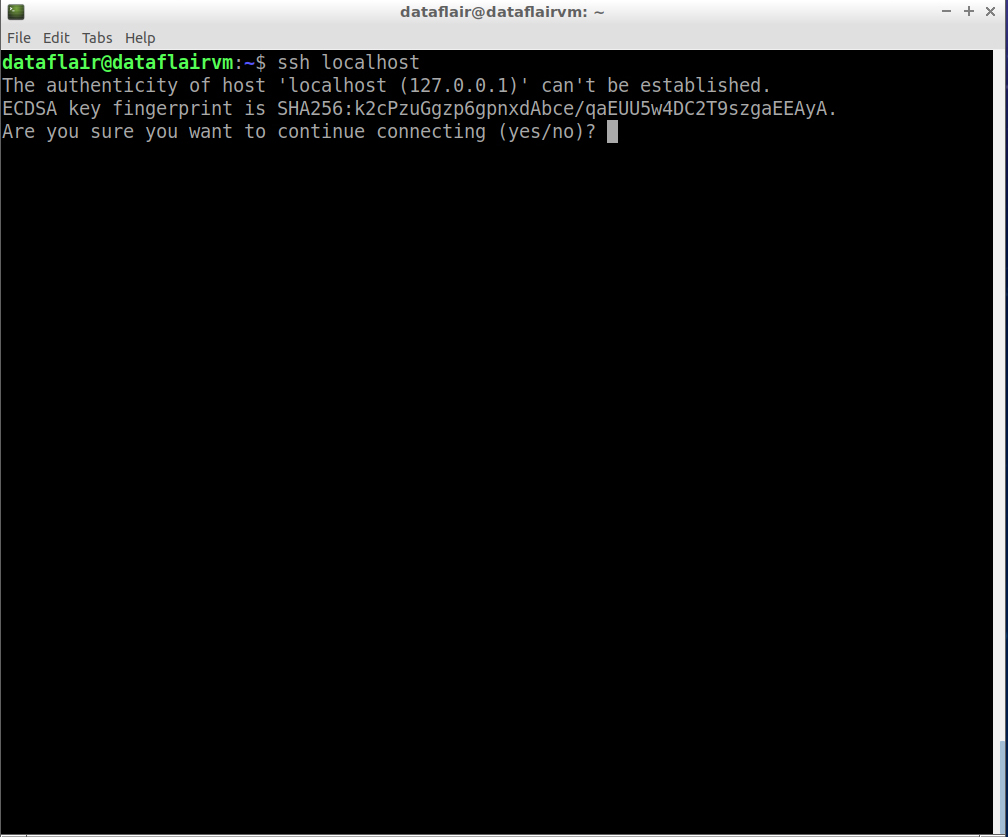
connection check of ssh
Type ‘Y’ and then press Enter to continue with the connection.
Step 7: Update the source lists.
sudo apt-get update
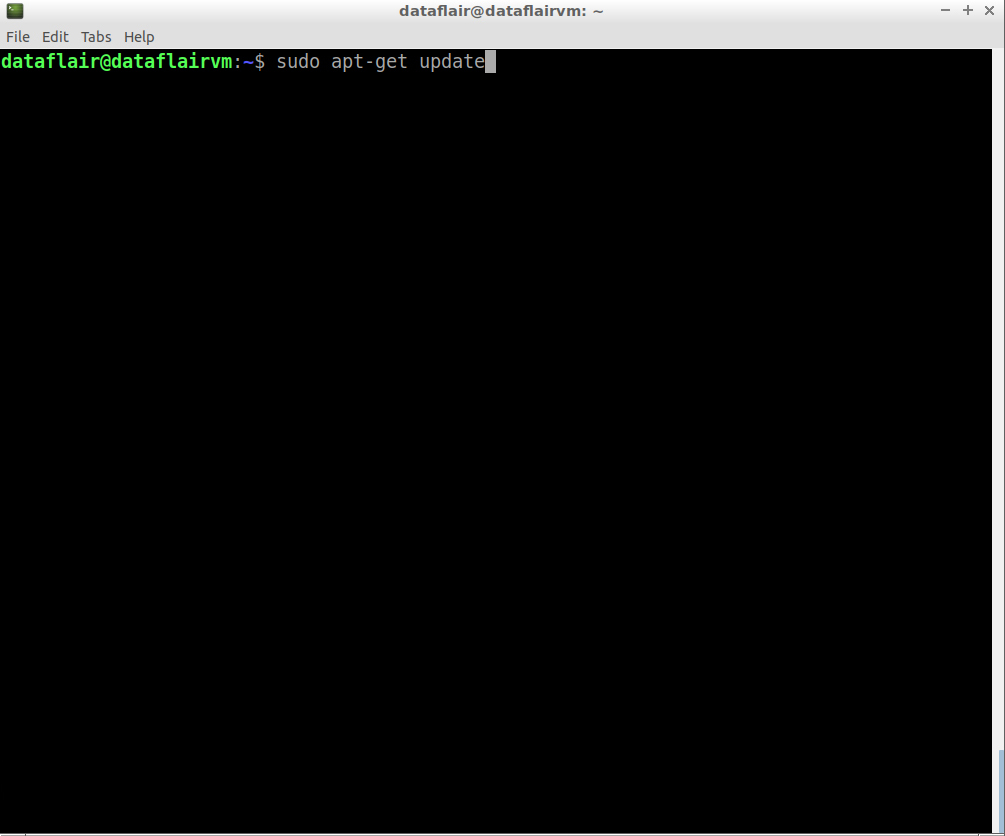
command to update packages
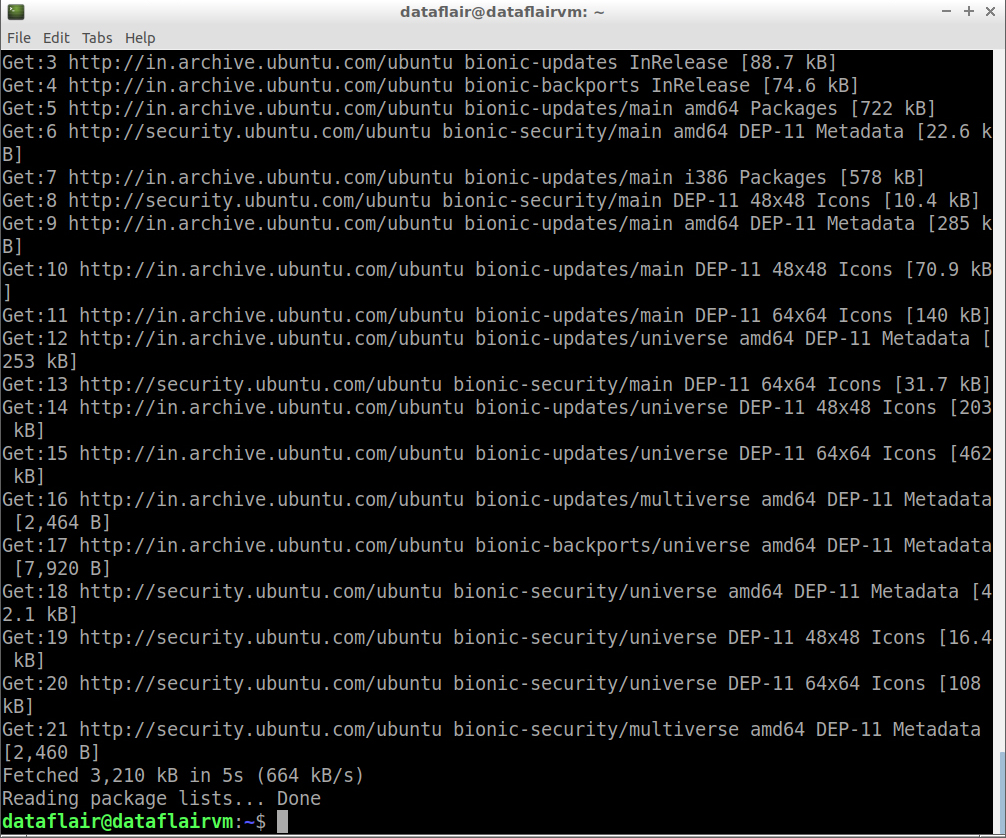
updating packages
Step 8: Now install Java 8 using the following command:
sudo apt-get install openjdk-8-jdk
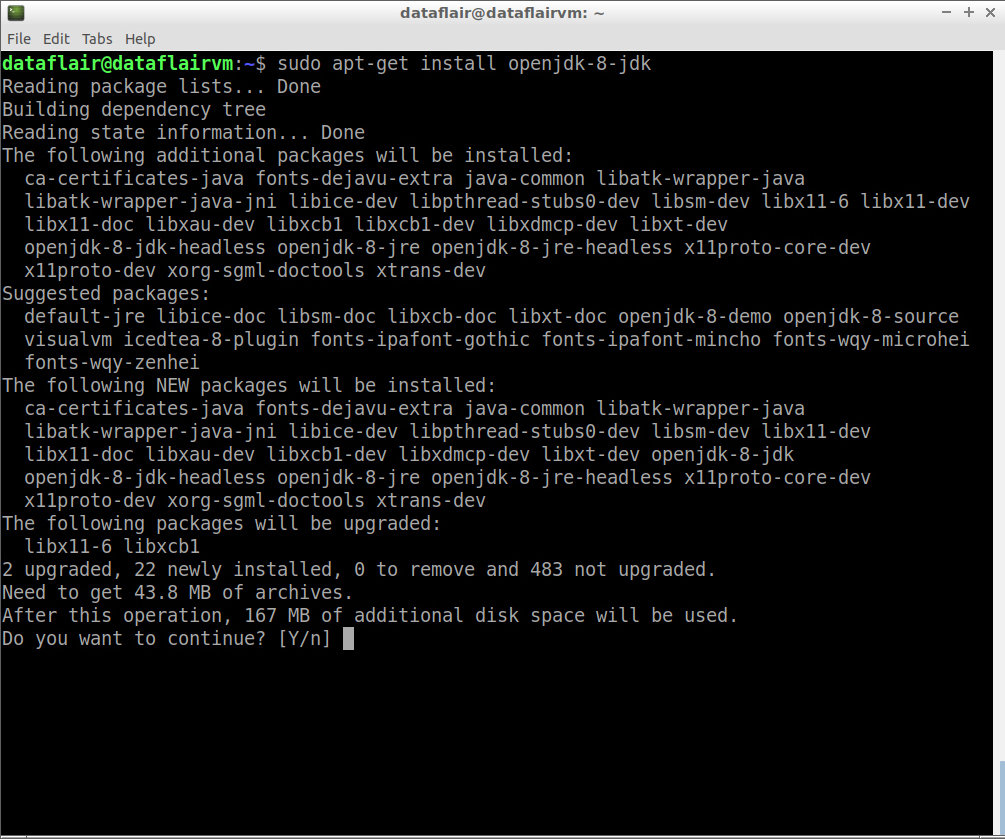
java installation
Type ‘Y’ and then press Enter to finish with the installation process.
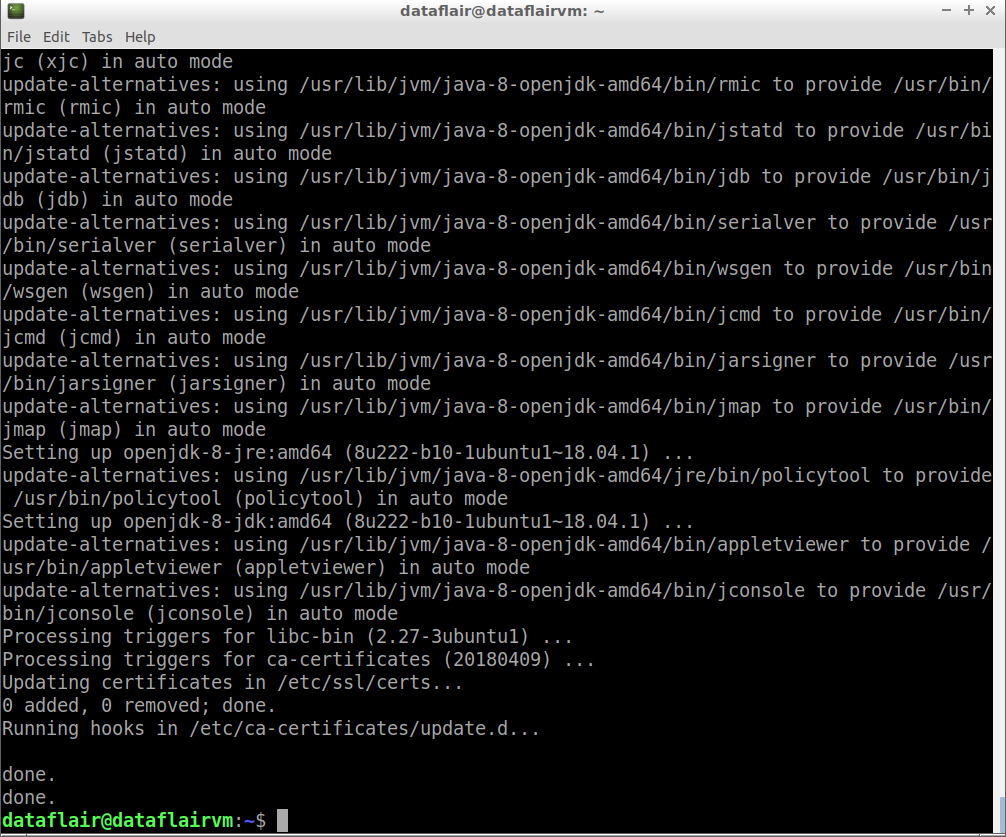
java installation completion
Step 9: To cross-check whether you have successfully installed Java on your machine or not, run the below command:
java -version

520+ FREE Hadoop Tutorials to become a Hadoop Expert
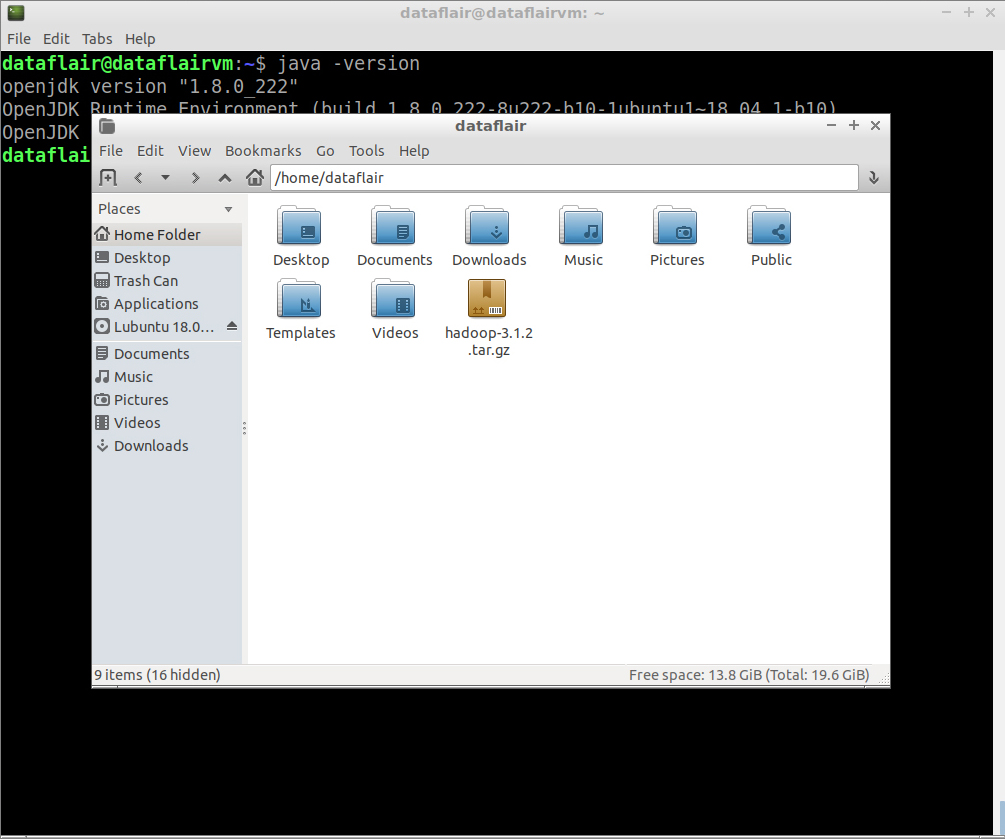
Please Download Hadoop from the link given in the first section and copy the setup in your home directory (/home/USER-NAME)
Hadoop Installation on Ubuntu
Step 10: Now locate the Hadoop tar file in your system.
Step 11: Extract the hadoop-3.1.2.tar.gz file using the below command:
tar xzf hadoop-3.1.2.tar.gz
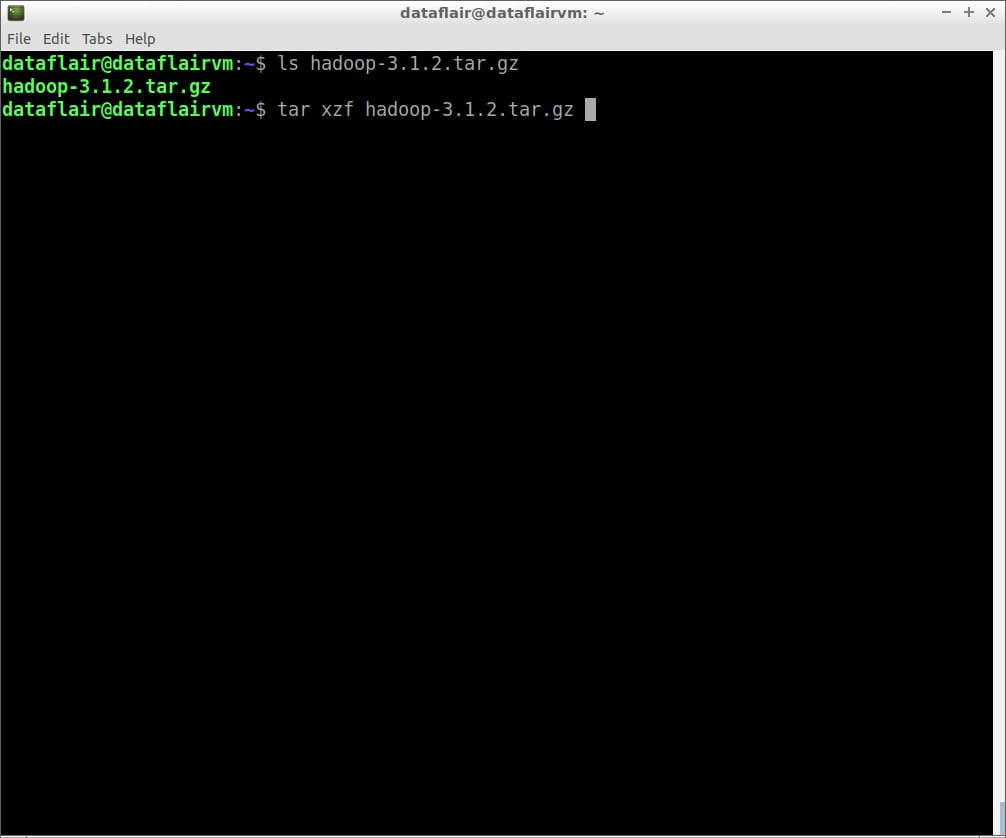
extract hadoop files
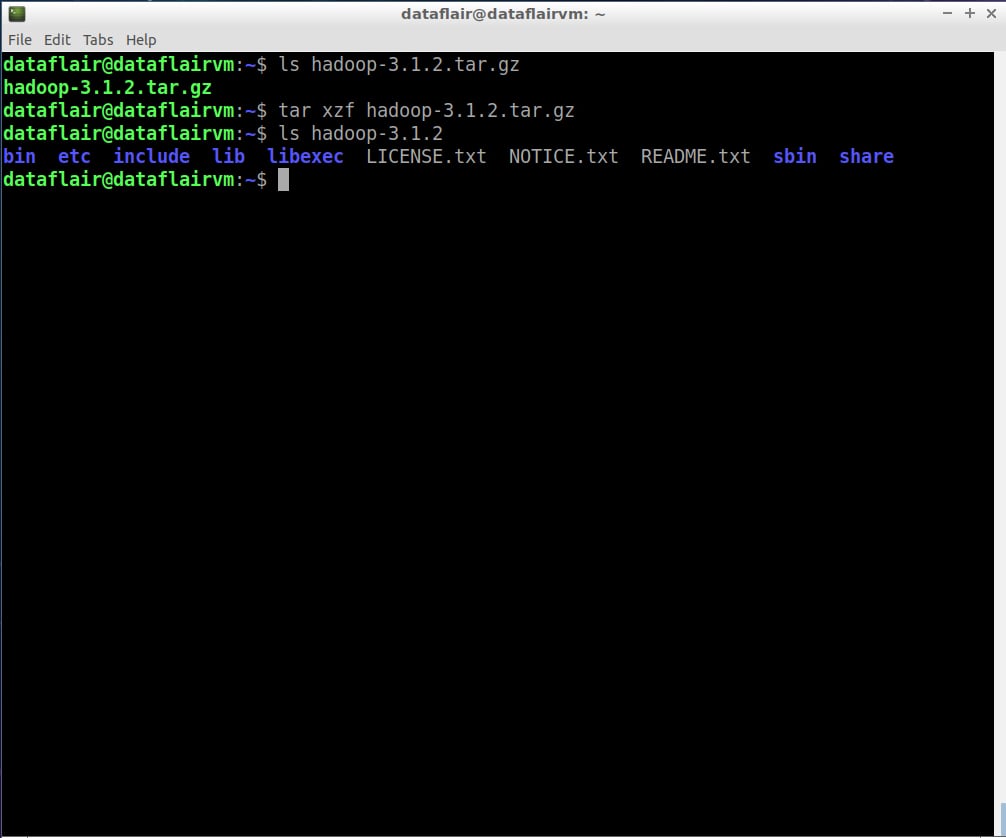
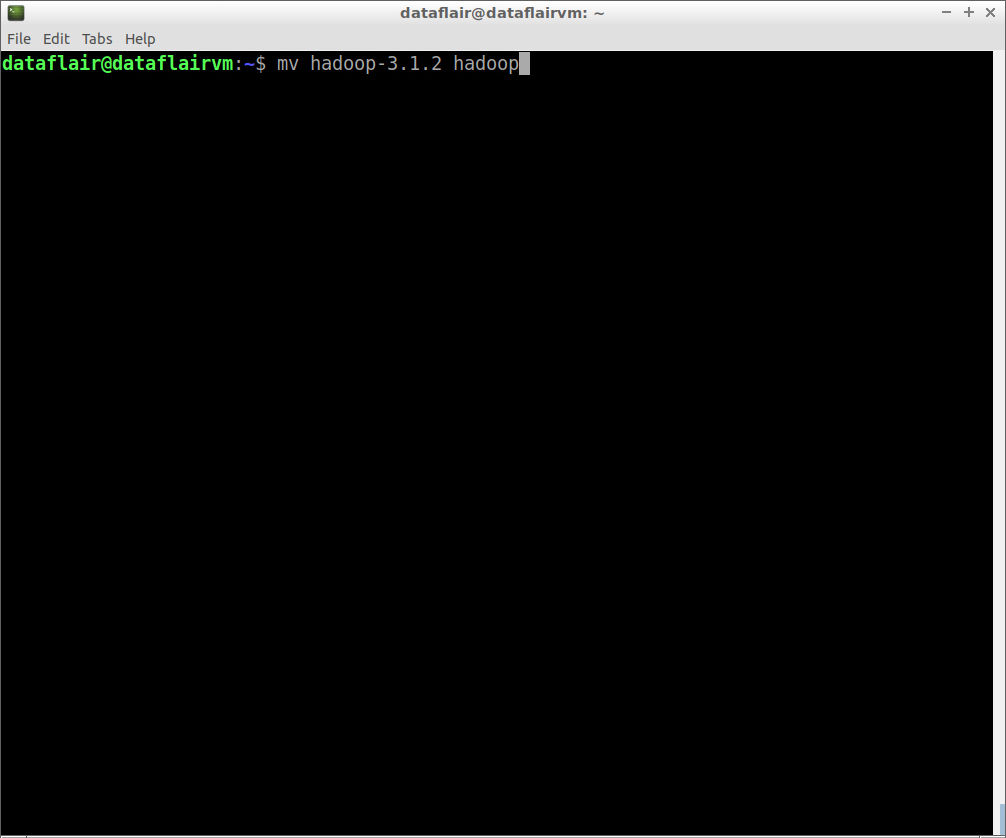
Step 12: Rename hadoop-3.1.2 as hadoop for ease of use.
mv hadoop-3.1.2 hadoop
Any doubts in the process to install Hadoop 3.1.2 till now? Share them in the comment section.
Step 14: Now check the Java home path
ls /usr/lib/jvm/java-8-openjdk-amd64/

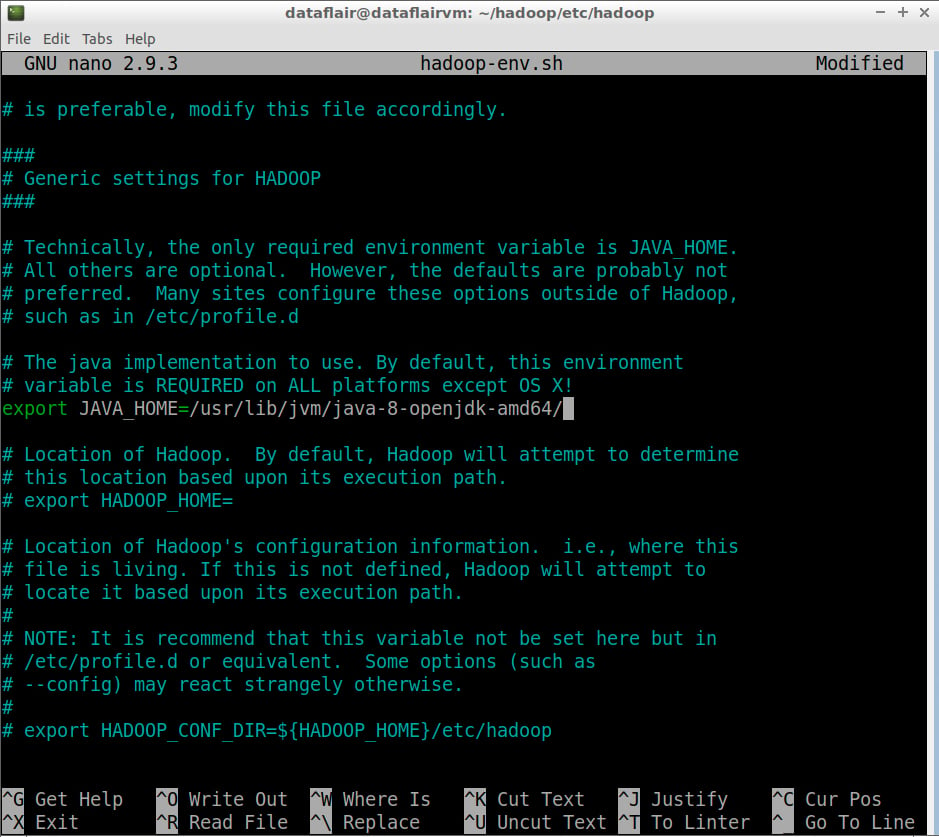
Step 15: Open the hadoop-env.sh file in the nano editor. This file is located in ~/hadoop/etc/hadoop (Hadoop configuration directory).
nano hadoop-env.sh
Now, Set JAVA_HOME path:
export JAVA_HOME=<path-to-the-root-of-your-Java-installation> (eg: /usr/lib/jvm/java-8-openjdk-amd64/)
To save the changes you’ve made, press Ctrl+O. To exit the nano editor, press Ctrl+X and then press ‘Y’ to exit the editor.
Step 16: Open the core-site.xml file in the nano editor. This file is also located in the ~/hadoop/etc/hadoop (Hadoop configuration directory).
nano core-site.xml
Add the following configuration properties:
<configuration>
    <property>
        <name>fs.defaultFS</name>
        <value>hdfs://localhost:9000</value>
    </property>
    <property>
        <name>hadoop.tmp.dir</name>
        <value>/home/dataflair/hdata</value>
    </property>
</configuration>
Note: /home/dataflair/hdata is a sample location; please specify a location where you have Read Write privileges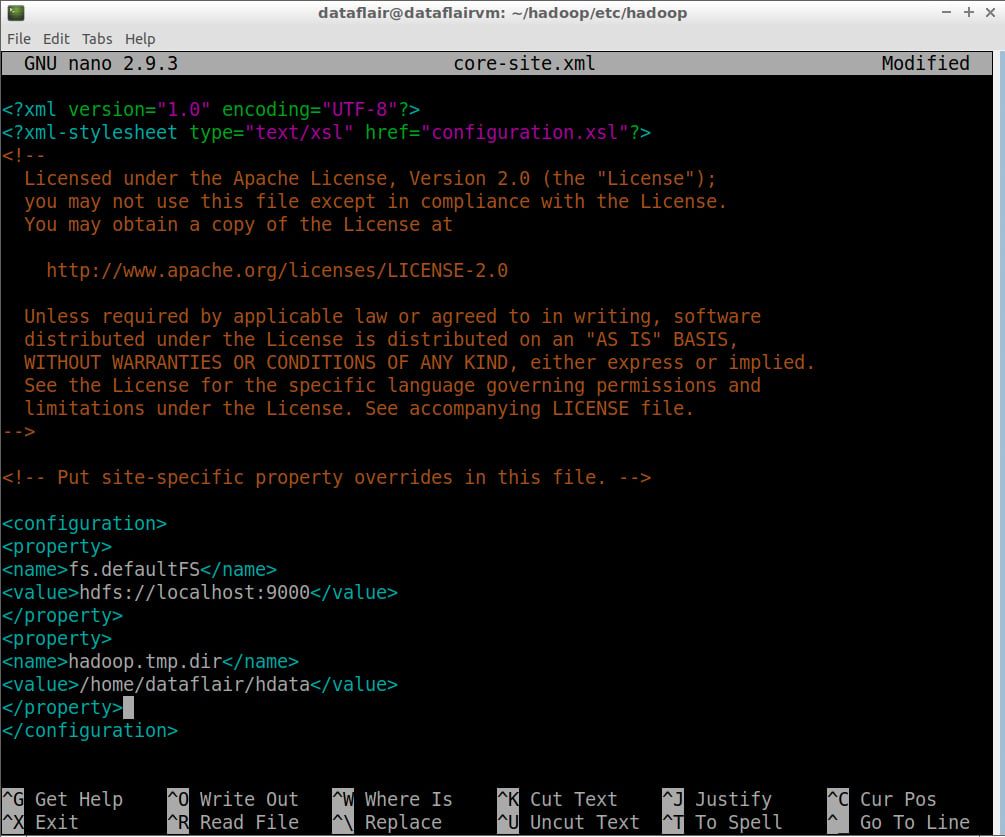
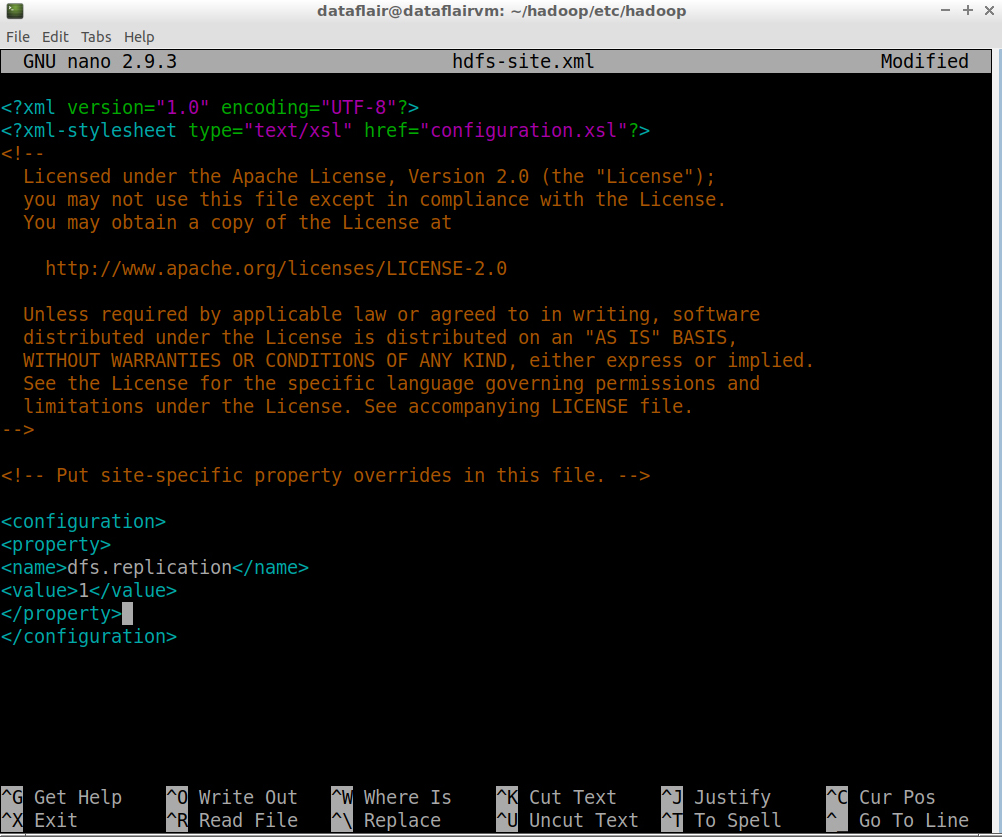
Step 17: Open the hdfs-site.xml file in the nano editor. This file is also located in ~/hadoop/etc/hadoop (Hadoop configuration directory):
nano hdfs-site.xml
Add the following entries in core-site.xml:
<configuration>
    <property>
        <name>dfs.replication</name>
        <value>1</value>
    </property>
</configuration>
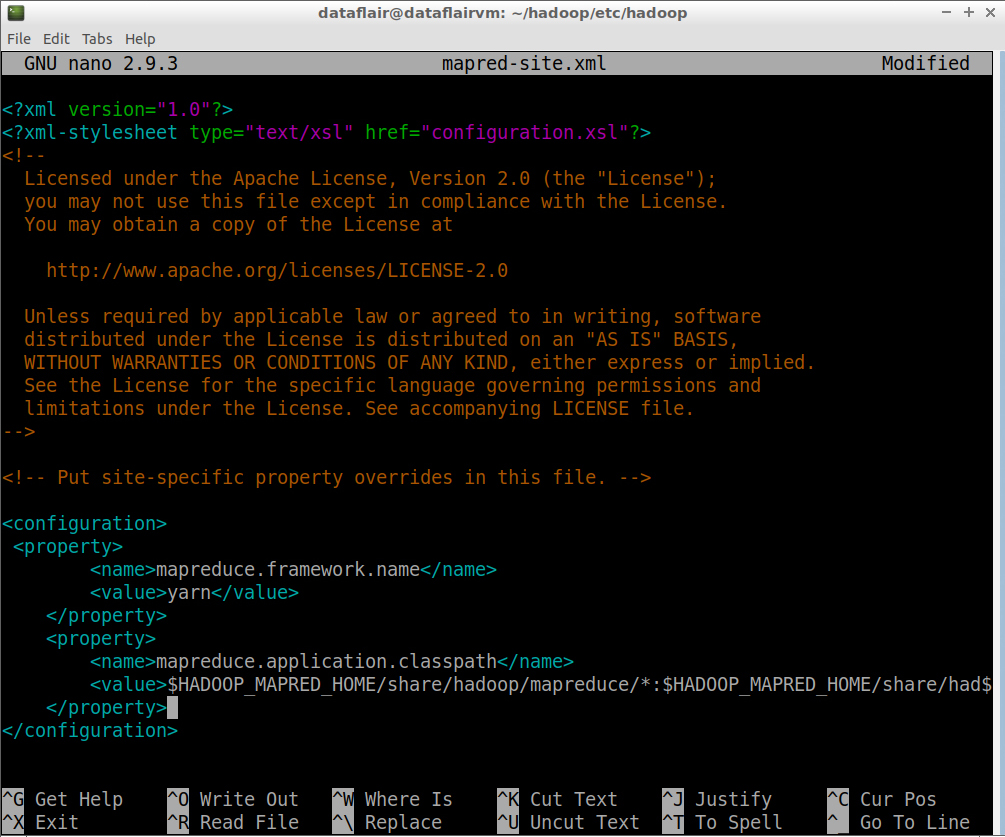
Step 18: Open the mapred-site.xml file in the nano editor. This file is also located in ~/hadoop/etc/hadoop (Hadoop configuration directory).
nano mapred-site.xml
Add the following entries in core-site.html:
<configuration>
    <property>
        <name>mapreduce.framework.name</name>
        <value>yarn</value>
    </property>
    <property>
        <name>yarn.app.mapreduce.am.env</name>
        <value>HADOOP_MAPRED_HOME=/home/dataflair/hadoop</value>
    </property>
    <property>
        <name>mapreduce.map.env</name>
        <value>HADOOP_MAPRED_HOME=/home/dataflair/hadoop</value>
    </property>
    <property>
        <name>mapreduce.reduce.env</name>
        <value>HADOOP_MAPRED_HOME=/home/dataflair/hadoop</value>
    </property>
</configuration>
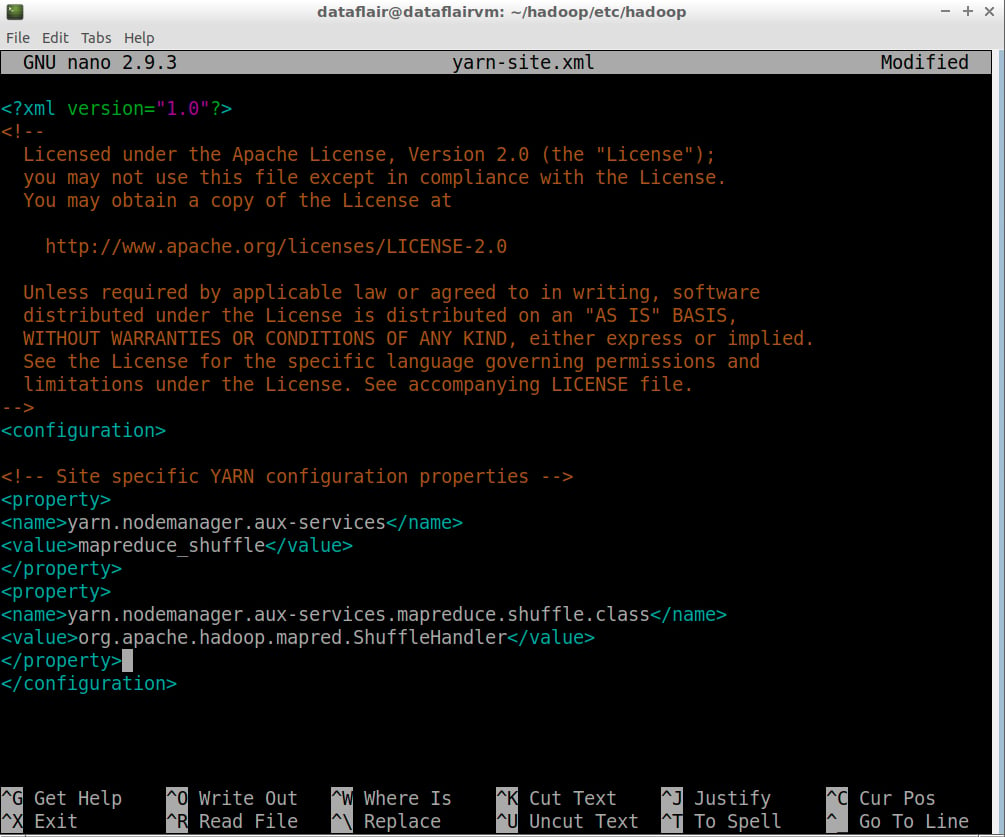
Step 19: Open the yarn-site.xml file in the nano editor. This file is also located in ~/hadoop/etc/hadoop (Hadoop configuration directory).
nano yarn-site.xml
Add the following entries in the yarn-site.xml:
<configuration>
    <property>
        <name>yarn.nodemanager.aux-services</name>
        <value>mapreduce_shuffle</value>
    </property>
    <property>
        <name>yarn.nodemanager.aux-services.mapreduce.shuffle.class</name>
        <value>org.apache.hadoop.mapred.ShuffleHandler</value>
    </property>
</configuration>
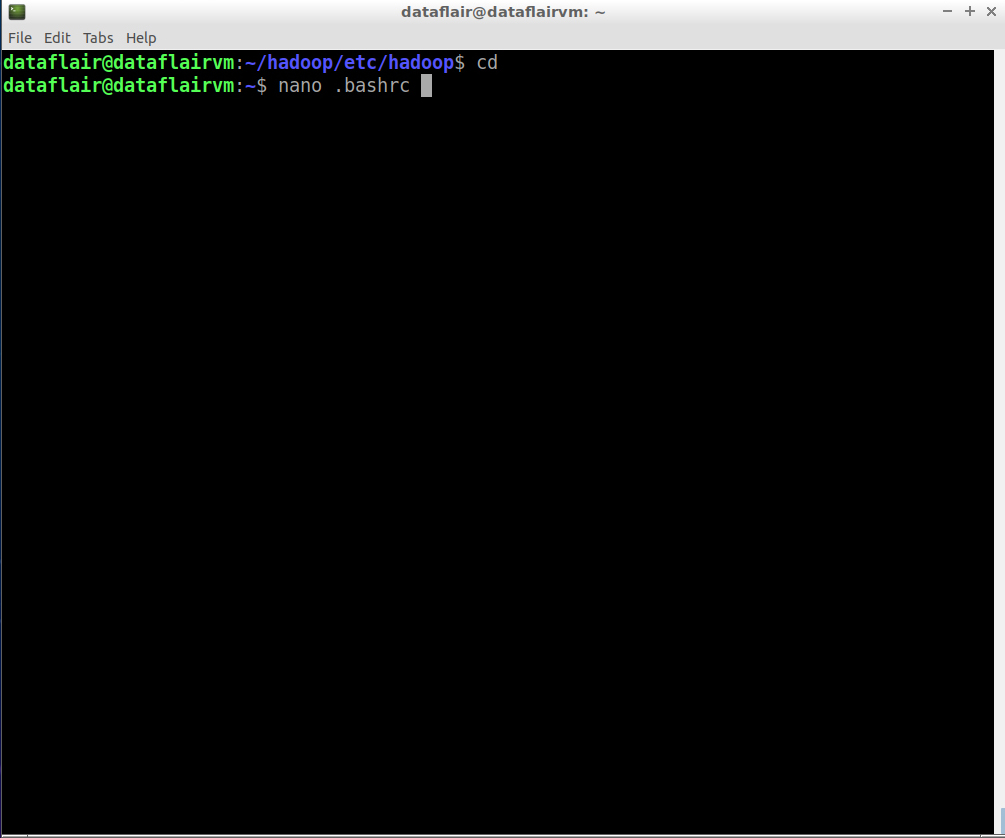
Step 20: Open the bashrc files in the nano editor using the following command:
nano .bashrc
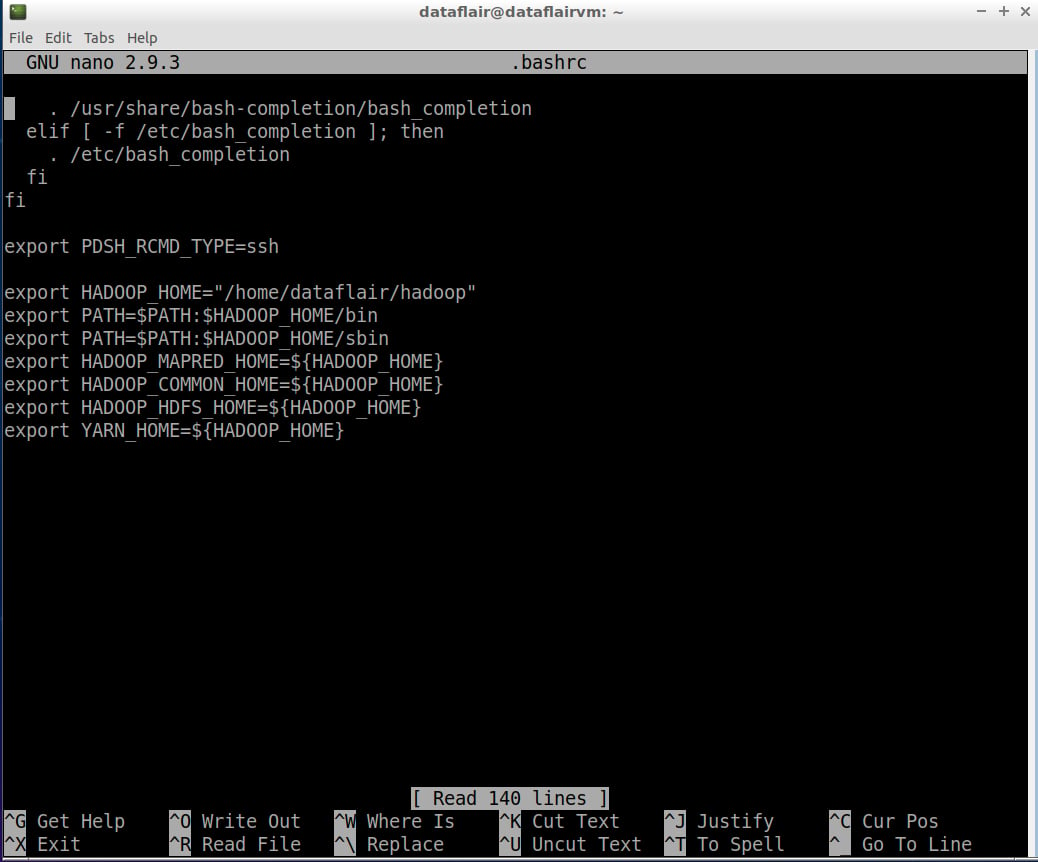
Edit .bashrc file located in the user’s home directory and add the following parameters:
export HADOOP_HOME="/home/dataflair/hadoop"
export PATH=$PATH:$HADOOP_HOME/bin
export PATH=$PATH:$HADOOP_HOME/sbin
export HADOOP_MAPRED_HOME=${HADOOP_HOME}
export HADOOP_COMMON_HOME=${HADOOP_HOME}
export HADOOP_HDFS_HOME=${HADOOP_HOME}
export YARN_HOME=${HADOOP_HOME}
To save the changes you’ve made, press Ctrl+O. To exit the nano editor, press Ctrl+X and then press ‘Y’ to exit the editor.
Now, source the bashrc file so that the changes will come into effect:
source ~/.bashrc
Step 21: Before starting Hadoop, we need to format HDFS, which can be done using the below command:
hdfs namenode -format

namenode format command
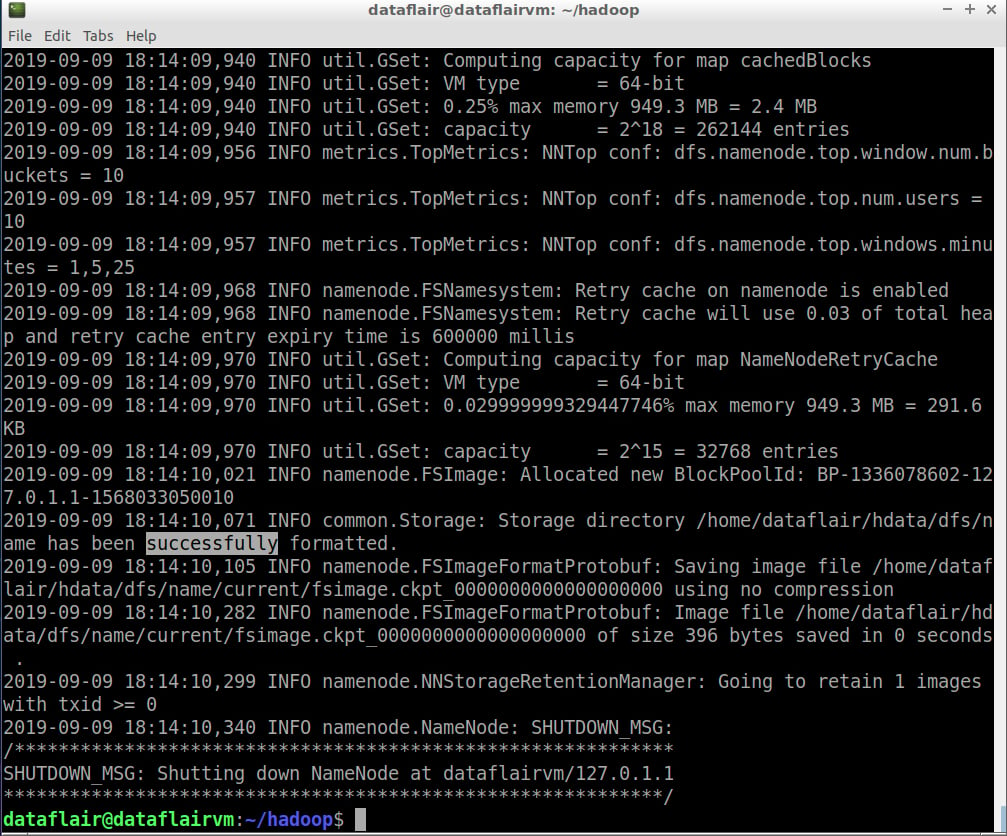
namenode format
Step 22: Start the HDFS services:
sbin/start-dfs.sh
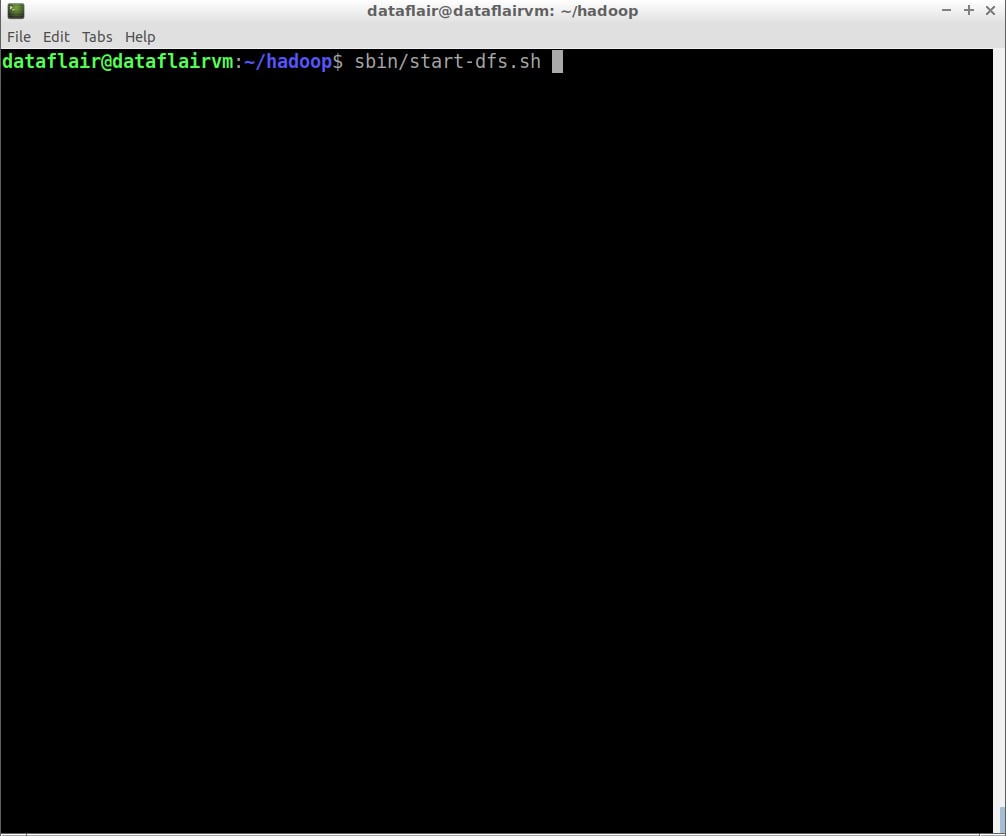
command to start hadoop cluster

hadoop cluster started
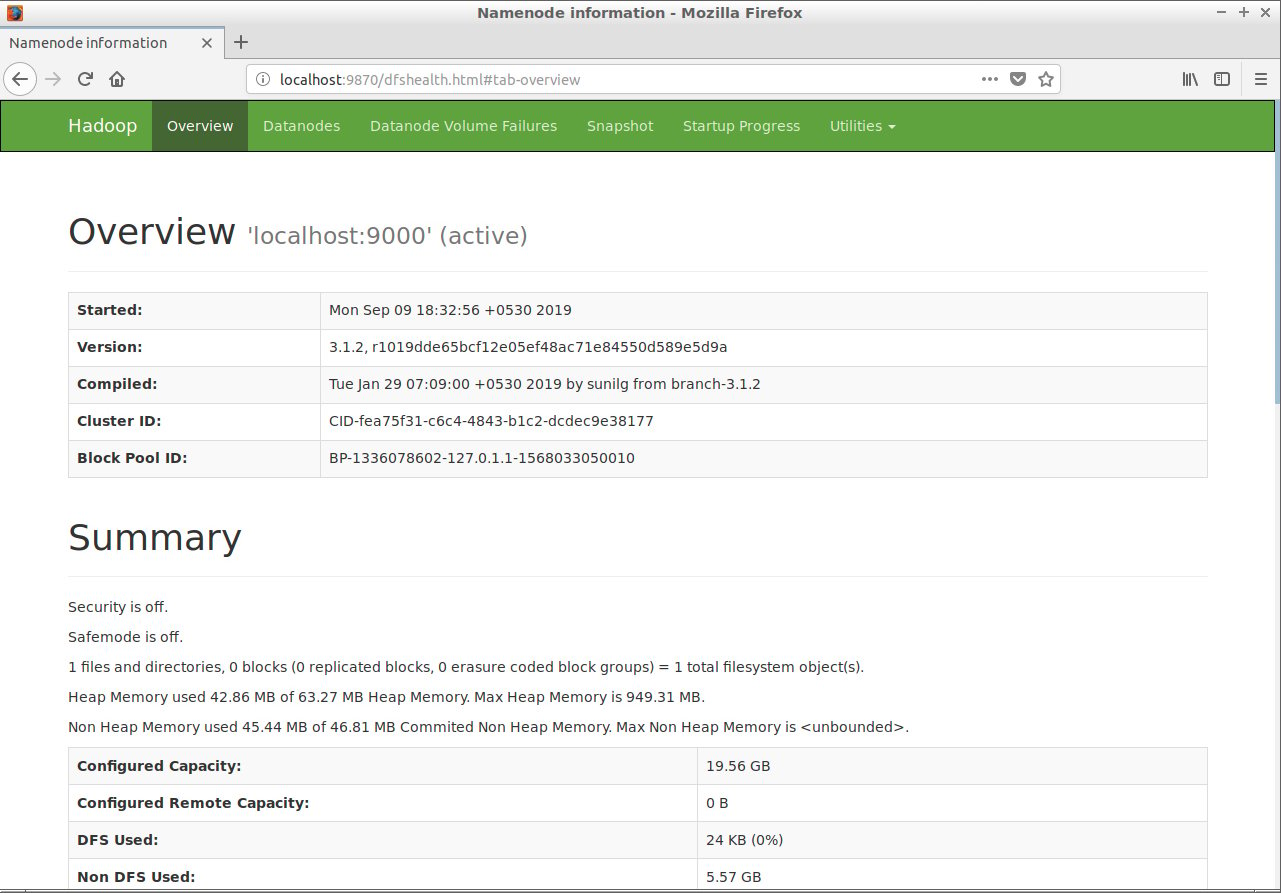
Step 23: Open the HDFS web console:
localhost:9870
Step 24: Now start the yarn services:
sbin/start-yarn.sh
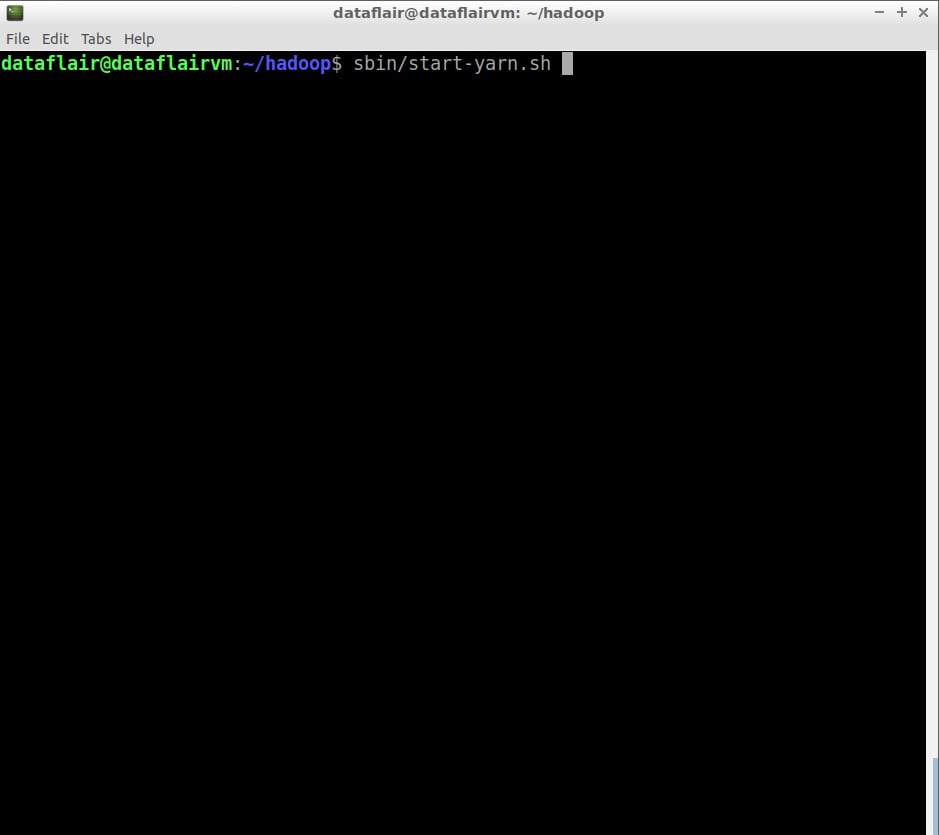
command to start yarn
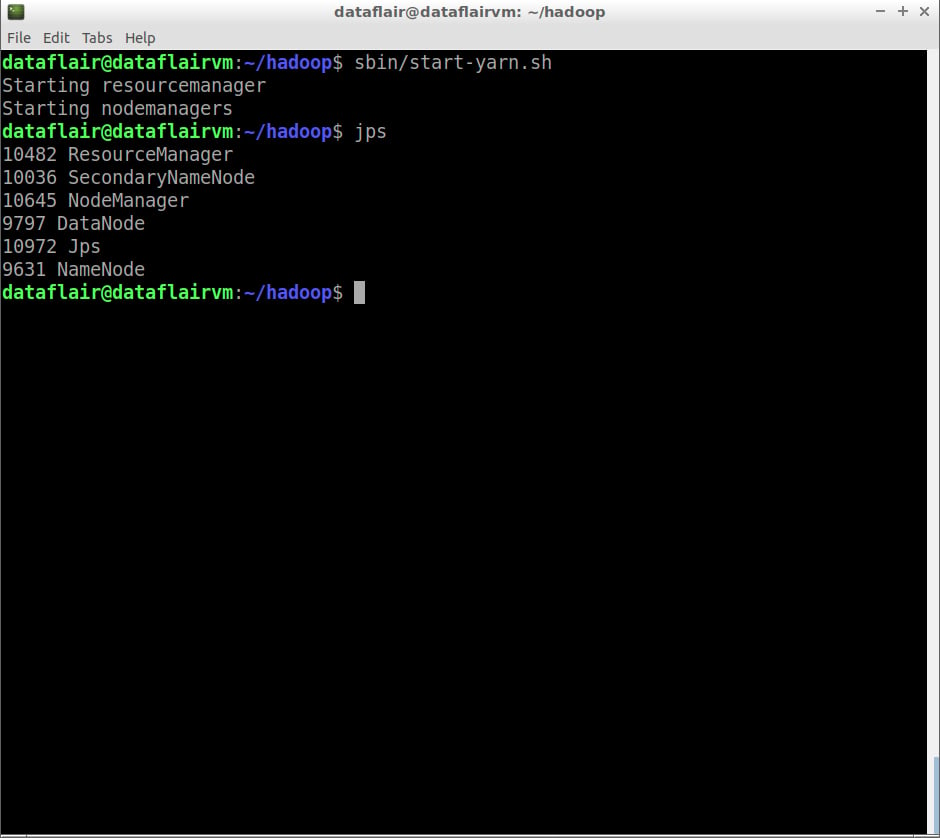
yarn started
$jps
NameNode
DataNode
ResourceManager
NodeManager
SecondaryNameNode
The ‘jps’ command is used to check whether all the Hadoop processes are running or not.
Step 25: Open the yarn web console:
localhost:8088
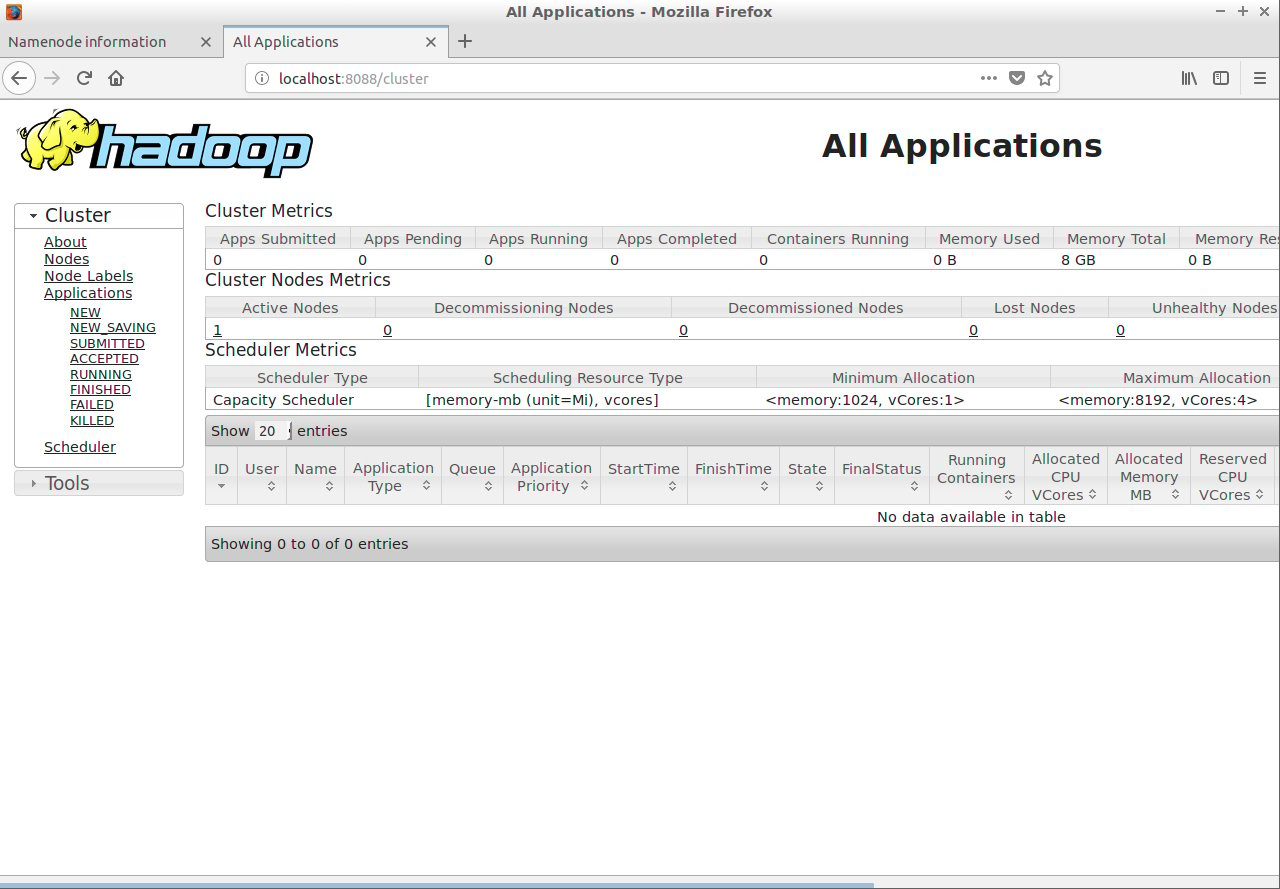
We have successfully installed Hadoop 3 on ubuntu. I hope you found the article useful.
What Next?
Start working on Hadoop Hadoop HDFS Commands Tutorial